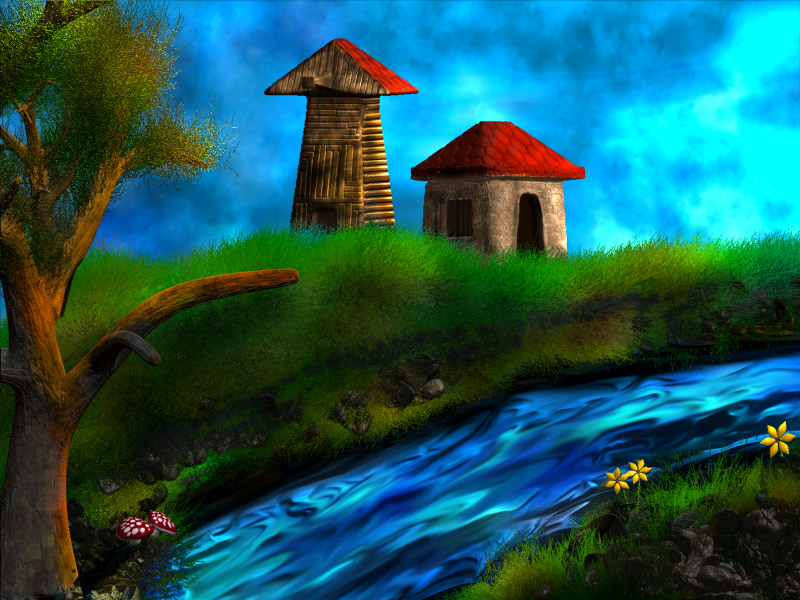
I like the lighting of your scene a lot! Nice mood.
Lemo
[ ]
]
Heres the update
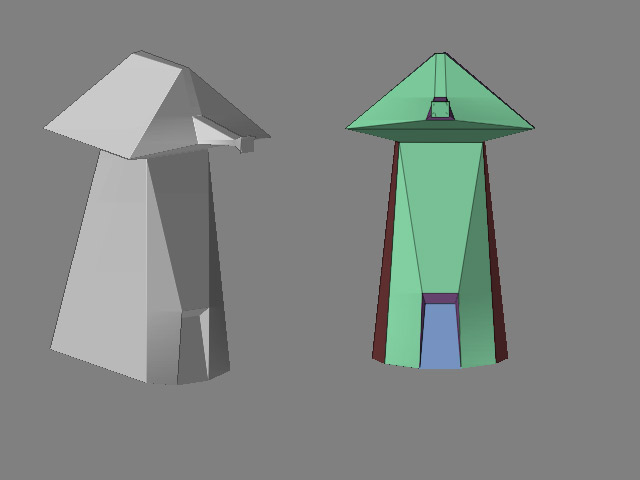
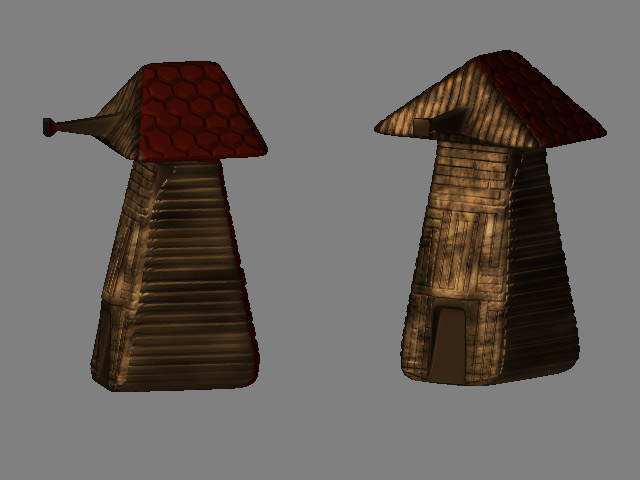
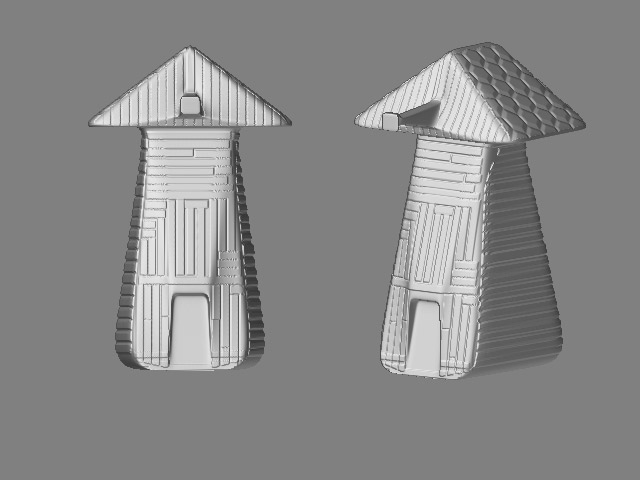
after 6 hrs of experimentation windmill body is ready, had to go through the edgeloop tutorial once again … wings are left… going to work on them now and complete this illustration…
Let me know friends hows the windmill looking like ?
Thanks Lemo
What I have realized is lightning makes the difference between good and bad work even more than material and texturing,
take a basic material and that can be used to create even metalic effects with proper lightings 
heres the snap shots of the wind mill… edge loop for basic modleing, then deformations in PM for the detailing
Dont go on the textures had a hard time with it but lighting makes even that look good… I hope so … :rolleyes: …
[ ]
]
Attachments
After lot of permutations and combinations i created these wings, somewhere I think there is something missing…
Guys please comment, need your help here, what is missing with the wings… 
[ ]
]
Love it all, you are developing a great style and it is evolving nice and fast.
Awesome! Thanks for showing the steps man, I look forward to trying to make something of my own, now knowing how to do so 
Same here. The problem is that if you make ‘real’ wind mill wings, then you have to change the building, and when you change the building then you have to change the texture, and so on. This is a windmill which belongs there, with the wings which feel like they belong there.
I think that this level of detail is more than sufficient for a comic. It has a real athmosphere.
Cheers
Lemo 
Thanks Guys
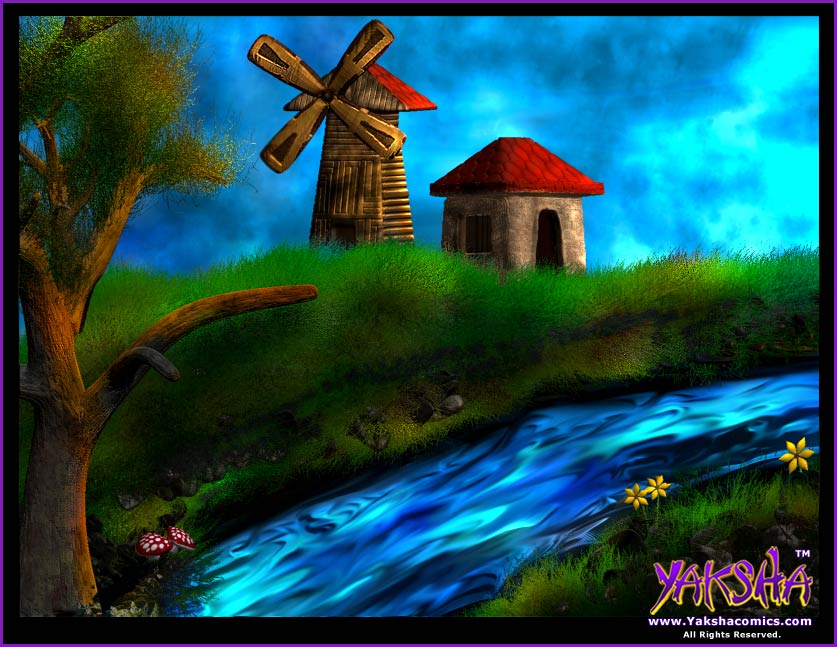
here is the final illustration with characters.
Will keep this as wallpaper on my site after next issue is launched…
[ ]
]
Thanks Ron
Ok
As I have started texturing for my new monster, so I thought to share steps by step procedure.
This is the first creature which I am texturing properly as till now all my characters are toon shaded, hence no texturing till now…
1st step was to create the inner layer of skin , this is basic skin shader painted at low levels for inner side and same material painted on back with high intensity…
Just started so hope to post screen shots as I progress…
please provide tips and suggestions as I progress, I want to create it in a way which everyone will like seeing… that will help me learn professional texturing properly…
[ ]
]
Hey Sunny
I just wanted to say that you are improving quite a bit and I really like your last image composition in this thread. It is unique I am going to answer your kind words from my armor thread here as I will be going back and starting a new thread. I used combo stencil and black and white texture which I converted to mask. I am still learning on that in between writing my novel. You are getting better and better. Dont stop now 
Ok friends
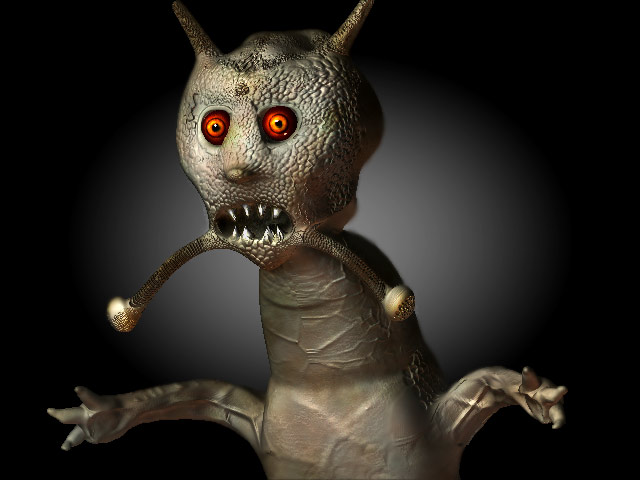
Here is first proper realistic texturing of mine… well I am kicking myself for not going back and reading the practical guide again after I caught on with zbrush. ( I simply left it when I logged in ZBC last year)
I dropped the model , so actual texturing isnt still done… but this was just a mock up for me to really undersatnd the texture painting basics in zbrush…
You all can expect me to create more realistic creatures for my comics from now on… :lol: :lol: :lol:
Final render
[ ]
]
Funky monster! Maybe you can shade the belly lighter and the rest a tad darker to give the critter a bit more depth. The Z-Sphere model must look more terrifying than the result 8-). A real monster to work with ;-).
Lemo
Lemo what I actually missed was the whole modeling and texturing basics in the practical guide( the lizard one) I think thats the reason my models dont look that realistic… my biggest problem is use of zspheres posing and sometimes I carve for using edgeloop because of it, I will have to learn rigging , I am learning blender a bit, lets see if I can caught on with it… or Xsi is there with your rigging tutorial…
This was just a sample test, I will be giving totally differnt material and coloring to this monster…
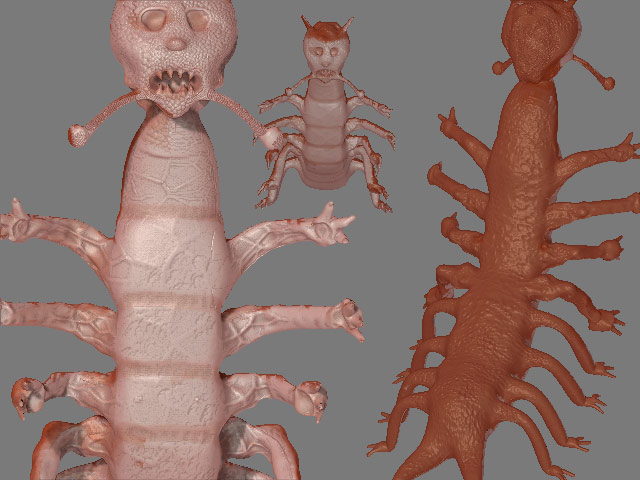
Well after texturing I went one step back and tried learning modeling properly.
The result was that I understood why I was not able to sculpt proper detailings before… the catch was hiding the portions of body we dont need to sculpt on and turning quick 3d off… now I am able to sculpt details yahoooo…
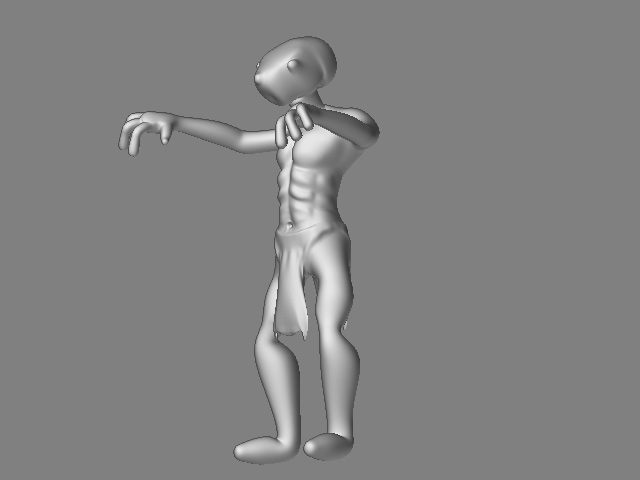
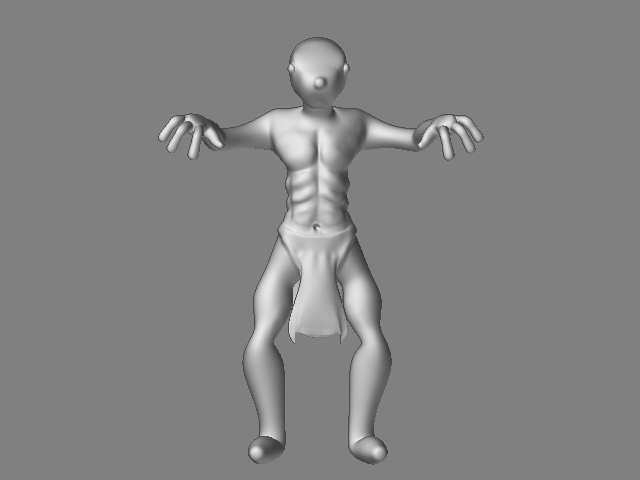
This is my first go at scultping details without bump maps so there will be mistakes for sure, but do all of you let me know hows it coming out…
Its a man with a dog face… only the body part has taken me over 2 days to sculpt, well with practice I will catch up…
[ ]
]
Attachments
I like him, he’s cool. Love to see how you develop the face.
Getting better all the time man!
What was your method for his loin cloth? That one atenna looks like a flame or something, was that your intention by chance? hehe (not trying to patronize you if it seems so.)
Attachments
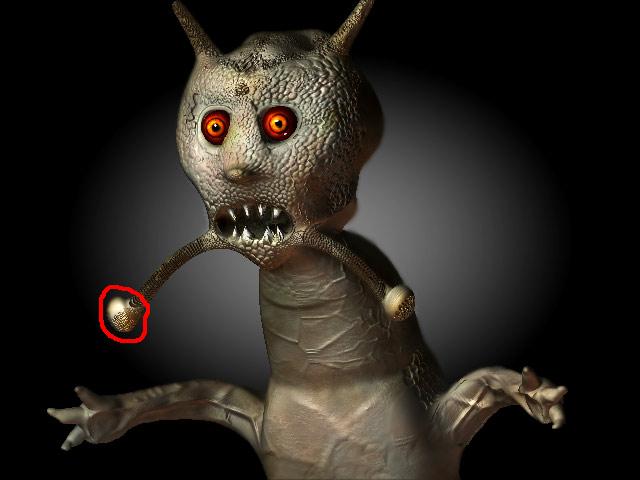
Well man
You can say I didnt worked on his antenna at all - I was so mesmerized with the first paint texturing I was doing, I simply missed working on it… though my main aim to create it- is to glow in dark, which would attract creatures to him…will create proper texturing on it after I finish my model…
Regarding Landscape tutorial , I will create one soon just wait few days, I am too busy to even breathe now days
tip- Remember always create sky first, when you are done with it, bake it and start from next layer