ZBrushCentral

Vir Norin Sketchbook

Hahaha, I was talking about the transition area that relates more to the human part. I saw so many examples (mainly photo-manipulations) where the human part was blindly stacked on top of the horse. So trying to avoid this mistake and give this transition anatomical foundation yet pleasant to watch. Originally I was thinking about rudimentary human pelvis (only sacrum and ilium) but now I’m thinking about making it cartilaginous and floating. Similar to the absent clavicle in horses - they have brachiocephalicus muscle with tendineus/cartilaginous part in the middle that functions almost like a collar bone.

Yeah, with every iteration I’m moving towards more thinner horse. Actually, I did just a horse sculpt first but later realize that its body is too bulky. So looking towards arabian breeds now - they are really elegant.
Probably I should polish it a bit more and show the entire sculpt so it would be easier to judge about proportions.

PS Basically there are two types of proportions: when human and animal parts are relatively proportional and when the horse part is scaled down. Both have their pluses and minuses but I prefer more the first option. Here is an interesting diagram about proportions. I found it quite appealing since here the horse part doesn’t look ridiculously small as I often see http://www.deviantart.com/art/Centaur-Anatomy-101-Proportions-321617310

don’t worry, I won’t get bored!

awsome anatomy

Thank you, Cosmick. It is always great to hear when people like my work and also to realize that I’m actually progressing as a sculptor.

My PC sucks. There are ~40 000 hair strands and even with Previs at 20% my computer become really sluggish. So styling a hair is a real pain for me.
A bit better than it was previously. I find that I need much more polygroups to make more or less good looking hair without making clumps too flat.
In case of light hair default Zbrush hair materials aren’t working for me. Even after a lot of tweaking. So for now this is just slightly modified SkinShade4 material.
getting_more_familiar_with_fibermesh_by_vir_norin-d6vpowi.jpg

Looking very nice. :slight_smile:

What are your system specs?

Thank you. My PC is an old dinosaur. I believe all my problems are due to the old CPU. It is E6750 C2Duo. Or maybe something wrong with my system (although I’m keeping it clean). Even while moving a simple PolyStar3D navigation is a bit… strange. Like watching animation with some deleted frames or playing online game with lags. It wasn’t an issue in Zbrush 4, only in R2 and later versions. I have 4 gigs of RAM and this is not an issue since rarely Zbrush is using all of it. It is also not because my document size since now I’m working on pretty small monitor. So really dunno what is causing this problems

I feel your pain, I’m learning fibremesh too, but I do think you’ve got something very nice going on.
The model alone is beautiful, and I look forward to more updates! :slight_smile:

Thank you for a kind words. It means a lot.
Usually I was spending not so much of a time for hair styling. But now I realize how much of patience and love it requires to look good. When it comes to styling the hair, I also find that default settings for the groom brushes aren’t working for me. So i disabled forward and inverse propagation and also a twist. Otherwise when I’m trying to comb her hair in one place, it destroys it in another. And you can always add some twisting to the hair afterwards.

The model is more or less ready (I’m not counting micro-details and polypaint) but I’m still not sure about proportions between the human and horse parts. Thanks again, I will try to post some updates soon.

Started making some animals to populate my future scene. Still not even sure about final environment so maybe I will scrap the entire forest idea and this guy will be left alone. Nothing special, just establishing basic proportions. I was really amazed when I saw this little guys with no fur - almost snakelike creatures with tiny limbs.

Process goes quite slow since there are not so many references of them without a hair so it requires a lot of guesswork. Still not sure about proportions. Fur makes them to look much thicker than they really are. Interesting, what is an average length of a ferret’s hair-strand?
Probably should learn rat’s anatomy first and then adapt it for the ferret’s sculpt.
FerretWIP.jpg

Don’t bother too much about the anatomy if it’s covered with fur, try to catch the basic shapes with fur and then smooth out some of it, when you apply the final fur you will have a better result that way.

Thanks for commenting!
Yeah, I already saw several tutorials where people are saying it is better to sculpt simplified shape underneath for easier fur styling later. Though ferret’s skin quality is so interesting that I’m tempting to sculpt it just for practice. They have very tight skin in some places, showing bony structure underneath while in other places skin is sagging and wrinkling. Never sculpted something like this so it would be a nice challenge.
BTW why the workflow described by you is more preferable? I mean, I understand that after growing a fur on very irregular surface there is a chance to have a lot of hair intersections but wouldn’t it be eliminated during the styling process? Probably should try both ways and find what problems may occur.
Thanks again for your support.
PS Haven’t time to register on CgHub and all this stuff but since I found you and your wip on ZBC - will follow you here :slight_smile:

Some detail shots. Started working on small things. Probably my favorite part when it comes to females - mouth and it’s structure. Don’t like flat looking lips. They should be puffy and with a lot of volume
ZGrab01.jpg
ZGrab02.jpg

The thing about sculpting “fur under the real fur” is made because for long fur is more

manageable if the forms underneat are nearly of the shape of the final fur, however it depends on which kind of fur you’re making.
If the fur is really short though, like for horses it’s better to sculpt the anatomy because it could be seen more than with the long fur.
However the best way it’s always trying every different tecnique and find the one that fits you best. Go for it^^
ps: good job on the lips!

Oh, that was my first thought - fur length. I actually wrote it in my previous comment but after deleted it. Yes, agree with it. I did several hairstyles for different characters and dealing with a long hair is much more difficult than simply comb a short hair. This process in many cases is unpredictable - some brushes behave really strange unless you tweak it’s parameters.
And looks like you are reading my mind since I was also thinking about better workflow for covering my horse part with a hair. After a bit of research I found they have very interesting arrangement of fur - it is short and lies almost parallel to the skin and sometimes even looks almost synthetic http://www1.extension.umn.edu/agriculture/horse/care/managing-horses-during-hot-weather/img/dsc05474.jpg . I also assume that because hair-strands are placed so tight, this is what causing such a well known anisotropic specular across horse’s body.

Yeah, I will try both methods. It would be a good practice.

PS Thanks, I like sculpting lips :). This is my favorite part on the entire female face.

She looks a bit surprised here. Maybe I should test my skills and do severall expressions for her.
Adding freckles. Took me some time to figure out the best brush for it. Surprisingly, ended up with clay-brush + specific alpha + funky Lazy mouse settings. Just because freckles aren’t a simple dots on the skin but rather have a lot of inner color-variations and not round at all. Drawing them manually one by one since this result is much more natural rather than using splatter brush.
Strange, with this lips color micro-details aren’t looking so good. With default grey material they look much better. Probably it is skinshade4 material fault. Should tweak it more or probably blend with another one that represents a lipstick. Sure I also might change her lips color… it looks a bit too bright and saturated.
Hair is aliased a bit - BPR requires a lot of AA for the hair when rendering small-res images.
Too sad almost all details are hidden here. Like the iris texture for example. I spent a whole day painting it with brushes but in this image her eyes looking almost monochrome
Probably it is time to export her into Maya and check how it looks with good lighting.

PS She is totally symmetrical now. So maybe not a best angle for render. I will break the symmetry later
PPS Always forgot to mention this character is heavily inspired by a beauty of Devon Jade. And freckles pattern is almost copied from her real freckles.
freckles_by_vir_norin-d6wtm75.jpg

:+1: 
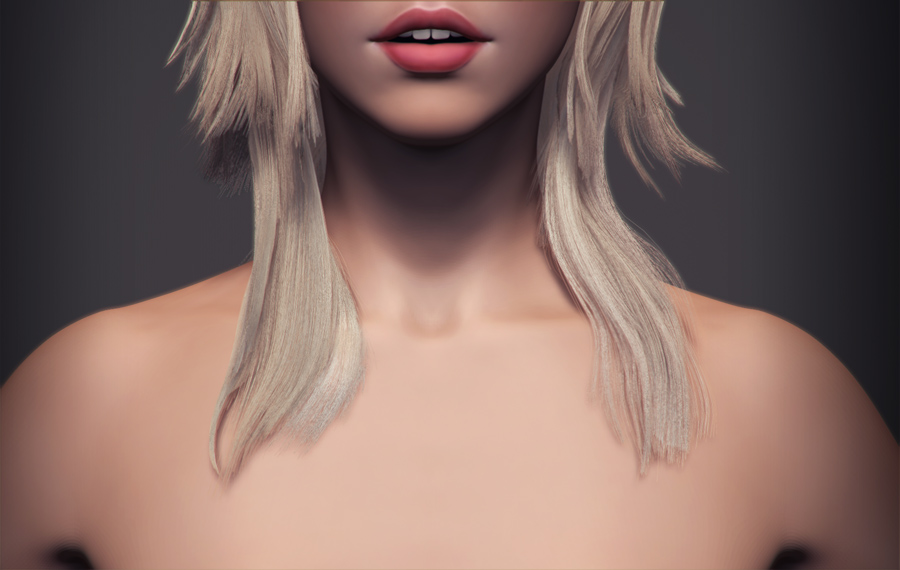
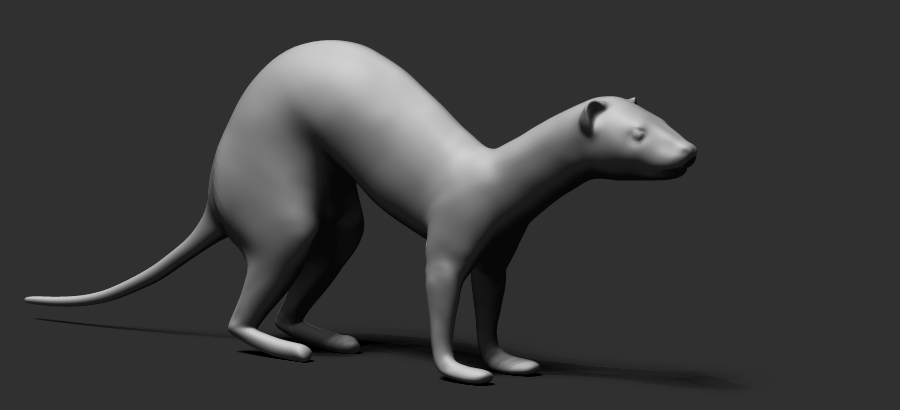
Love the girl, and the ferret.

nice work!

Thank you, guys! I’m glad you like it :slight_smile:

So decided to throw my sculpt into maya and make some checks. Never used this workflow before. I mean, I was always finishing my sculpt at 100%, bring it into Maya, making some renders, feeling sad because it looks like crap and abandon the project. Now I will try another way - concentrate on the main part, jump from one software to another (Zbrush-Maya), make some tweaks, re-render, make even more tweaks. And i promise this time I will be more patient.

This is a straight export from Zbrush - only sculpt, normal and texture maps. No reflectivity or glossiness maps. Though I tweaked her specular afterwards in photoshop. Showing black and white version now since still not sure about final colors.

PS Sorry for mistakes in the description - I’m very tired and want to sleep. So tomorrow I will continue working at shaders hence any feedback is really appreciated.
PPS Lighting is very simple here - just a sun-light. Since the final render would be outdoors, I already exploring ways to achieve a good results with only one natural light.
PPPS Image is heavily compressed. You can check better version in my DeviantArt gallery.
Centauride Test2.jpg

The result is very good, looks like a pencil drawing
with white background would be even cleaner
good job, congratulations
a hug;):+1: