@ Crusoe, tried it out.
A really amazing feature. making topos in seconds.
Very cool.
@ Crusoe, tried it out.
A really amazing feature. making topos in seconds.
Very cool.
that tut ur refering to, in the front page, is pointing at an invalid link.
and btw, thanks for all the effort.
Has anyone tried to use a mesh created in maya or max for the new base mesh? I got it to work but the uvs i creted for it were lost. It seems the adaptive skin is created with enable uvs off, which im guessing is why they are lost. Has anyone experimented with this at all?
@ sadicus: Found it. ‘Transform -> Transparency’ activates mesh-transparency
@ Giantsun: Yes, sorry, the tuts are so frequently updated that all links Plakkie set are now invalid. Try http://www.zbrushcentral.com/zbc/showthread.php?t=46117, this is my thhread where you will find all.
well still following this thread as it goes on…man you guys have all put in alot of work so far. here’s what i’ve go to add, hope it helps…
after trying the ghost image teq. out… in the top view zb crashed so no success there although the process was defined well in the tut, i have had no success with this method.
in the lower pics i did see that after setting up a z sphere rig and you bind it to your selected mesh that when in frame mode you can see the area of influence of each of the sphere’s and after a few test i was able to unbind and adjust the position,and scale, to adjust the area of effect.
as i rotate the chains the only distortion that i get is right at the edges of the color changes. it seems to react like an unblured mask.
has any one tested weather this color variations show up in wire frame mode in the other process that have been outlined. it seems to be an easy way to adjust the placement of these sphere’s perhaps it could help with the placement of the microsphere’s that are created using topology process and moved into the tool.
still playing around, hope this helps a little.

got the z rig set up and ready to test but… moving the high poly modal around crashed it all…well back to some more tests.
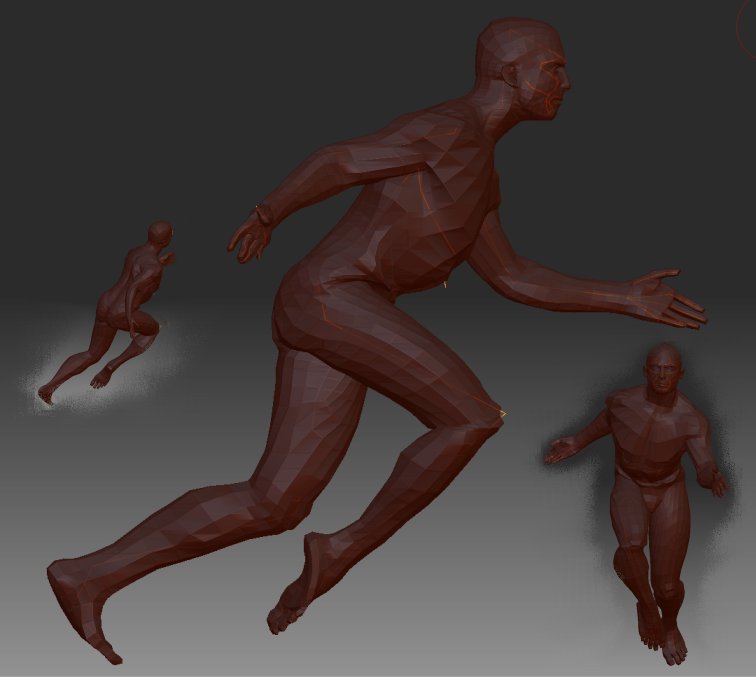
I devised a good zsphere armature for making human hands via adaptive skin, and some minimal pushing with the tweak tool. When designing my human though, when I generate the adaptive mesh, the arms came out way higher polycount wise than the body ( I think I partially subdivided somewhere afterwards! ).
So I took the lowest res version of the mesh, and started reworking the topology. I used shift+paint to copy the low level polys of the torso and legs into a new microsphere mesh, as I discovered earlier. I then uped the “Max strip size” to like 24 and rapidly blocked in the arms at a lower more sane polycount level! Man I love zbrushes ‘patch’ based method. Then from there, I reworked the topology of the fingers.
AngelJ, wanted to send you a PM, but your box is full! I’m posting the message here anyway, but you want to clear up your junk. :lol:
"I got so many PM’s in one go that I overlooked this one, sorry!
Hi AngelJ, thanks for the note, you’re right. We should let people know more editing was required. I’m planning to change the front page by making a division between one rigging method and the other. Rastaman has given me a description of the differences. When that is done I will put your model, rig and pose under the right heading, with cool picture. 
Thanks for letting me know, it’s hard to keep track of all the discoveries."
Cheers,
Plakkie
Threetails, thanks for the contribution. We all need to test what the Frame button does during the different techniques. If it shows affected geometry, it could be most helpful to setting up rigs.
The front page has been updated! Now the two different methods of rigging are displayed, with a big thanks to Rastaman for explaining me the subtle differences between the two methodes. Dargelos: I named your method Yellow Soul Rigging  , Rastaman: I’ve called yours Convert to Main Rigging but maybe you could find a better name? I try to keep the amount of text on the front page as small as possible, so people can use the front page as a quick guide while working. If they want to take more time, they then can download the more great detailed and illustrated tutorials that were made.
When I find more time I wnat to provide a ZScript and rigged model for each method, so people can jump right into it. Maybe it’s best if those scripts and models were made by the two Inventors, in case I forget a step or make an error? 
Please continue to keep me informed on this thread (or a PM) when a link needs refreshing. I refreshed most of them now, so they should be working again.
The Topology issue is growing and growing, it’s surprising how much there is to learn about just one single issue in Zbrush3…
Well done, Plakkie.
This is OT, but I think It should be said once:
Who would have thought two weeks ago that this could grow in such a enormous amount with harmonic and effective cooperation of people who don’t personally know each other and come from different cultures, races, religions etc. from all over this planet ? 
In a time, where again racism, violence, fanatism, unscrupulous politicians, religious agitators and pure financial interest try to separate the people once more into good and bad :evil: , depending on the nation or religion you live in, a simple (but indeed genious ) software-Programm can initiate this excellent cooperation over all borders and show what we could be if we only stop to make borders in our minds.
It’s a pleasure to cooperate with all of you, my friends.
So, enough with that, now let’s go on and discover the rest Pixologic has hidden inside ZB3.
Topology and rigging is truly one of the diamonds in ZB3, but let’s not forget the other very cool new features.
Yesterday I tried first time the ZPoject-Brush. Cooooool :D, if you can get it cleanly to work (not so easy).
@ Plakkie, again one note to the difference between Dagelos’ and my rigging-method (btw, the names you gave them are OK for me):
Dargelos’ way works directly with the topology-Zlines without converting them first into ‘Main’. But as you also already noticed the Topo-lines are always connected on the various inside-surfaces of the yellow mesh, so sometimes each micro-zsphere need to be repositioned before you use it to pose the model properly.
Although my way also needs a repositioning, you can mostly move the entire rigg in one or two short drags into the right place because it already has the right shape.
@ Threetails:
Looks promising, but you used a normal ZSphere-rigg so far I see ?
Will check if this also works with topo-riggs.
Hey guys,sorry if this was asked already,but is it possible to see a texture while doing new topology? I mean,I used Zack Petroc’s method when you paint those polys on your model so that you have guides in other app to follow,but I never got the texture work in MAX so I left my model hoping I could do the retopolgy in 3.0…
So…ummm…any suggestions?
Hi Mr. Bananas! Yes, you can do this. Although texures are not visible while topologizing, polypainting is! So you apply your texture and convert that to polypainting (Tool:Texture:Texture>Color) or you paint your guidelines with Polypainting. This colorinformation stays visible while retopologizing.
Rastamam: I totally agree, although it doesn’t surprise me. This artrelated forum has always been a warm home with openminded people. That you can learn Zbrush together is such a big plus. Like being on the same school together. Also the generousity of the members here makes you want to do your bit for the community. It’s just honoust, selfless sharing, and it’s great! This thread has so far been most rewarding, and my pleasure too.
I’d love to learn about the ZProject tool, ofcourse not on this thread, but are there any tut’s around?
And thanks for the extra difference between Yellow Soul Rigging & Convert to Main Rigging, Rasta, it’s all clear to me now. 
Great,thanks a lot for the info,Plakkie! The “texture” got a bit blurry,though,but it’s quite alright as long as I can see all the lines.
Andreseloy
Woah, it just keeps getting better and better with all the new ingenuis tips and tricks that fellow forum members find, its incredible. Have yet to try this new stuff but sure it’ll be great and have its uses.
Rastaman- Well said!!
Plakkie- Ack will empty my inbox, didn’t realize thanks. Yeah didn’t want anyone to get the idea that with the initial Dargelos model they could achieve the kind of quality deformations in their poses with the model as is compared to the one in the pics without editing the rig. Especially at that high of density/subdivisions. Didn’t want anyone getting frustrated.
I’m just glad I get to play and add my humble thoughts with the methods from amazing members like Dargelos, Rastaman, Crusoe and the rest who made this awe-inspiring thread. As well as my hats off to you plakkie for helping to keep the threads front page organized and updated!!
Your welcome! The blurryness comes prom low polycount: the resolution of your polypainting is as high as your polycount. Divide your mesh a few times before converting texture to color, that might help.
Must run,
Plakkie
I just uploaded my new Tutorial about adapting existing riggs to other meshes.
You find it here:
http://www.zbrushcentral.com/zbc/showthread.php?t=46117
To ZProject-Brush: Yes, there is a Tutorial from Sebastien Legrain ‘TutorialZProject and SubTools’ in the Tutorials-section of the Wiki.
Sebastien only missed to descripe how to adjust the models to match in size and orientation, what gave me the idea to write my new tutorial which also covers mainly these essential and universal to use steps.
Check it out.
Hi,
I was retopologizing a model, saved my tool and when I reloaded it and wanted to edit it I had a problem :
the edges connecting the previous vertex (ZSpheres) I placed were visible but all the vertex (and edges at the same time) I create now don’t appear anymore (invisible, but the preview show clearly that they were created.)
It’s quite anoying to work without any visual informations, so if you could tell me how to make the reappear, I would be more than happy !
thanks,
-Joe
@ joebount: Yes, that’s a known bug.
Simply create a clone of your topo-model and work with the clone.
Then all topollogy is visible again.
You can find this topic in my topo-tutorials as well.