Cool character. i like the second render more. The DOF is a bit too shallow in the fist render. Are these zbrush renders?
so badass
Thanks guys!
Soulty666: yes, in this render the dof was a bit more tricky… I added three level of depths with some foliage, but obviously having a 3d environment is another thing…
I rendered these images in Zbrush and edited in After Effects, below you can see the raw render and passes:
Attachments
Nice Stefano! Polypainting this guy instead I see. Are you using the same kind of shaders on the skin and other surfaces as you did for your troll character? Looking good.
grande stefano, always amazing render!!!
[QUOTE=stefanobernardi;952871]
Epiginosis, here you can see a tutorial about baking material attributes from Zbrush: http://www.youtube.com/watch?v=aJj4sLtp9tA
I think however that apart from baking polypaint for diffuse map, is best to paint by hand all the other maps like specularity.
Thanks for watching!
[QUOTE/]
And thank you! I was aware of that technique but that requires me to repaint my materials after I had painted the materials onto the model. I’m sort of surprised Pixo hasn’t allowed us to bake color information/Shading from the cool SSS and wax materials into the color map with all these new rendering features now available. I hope that comes soon!
Love your Paul Bonner fan art, that guys stuff is my fav!
Jason
just in case you guys missed this zscript that automates material baking
http://www.zbrushcentral.com/showthread.php?170886-MatCap-Baker!-unofficial-Information-Installation
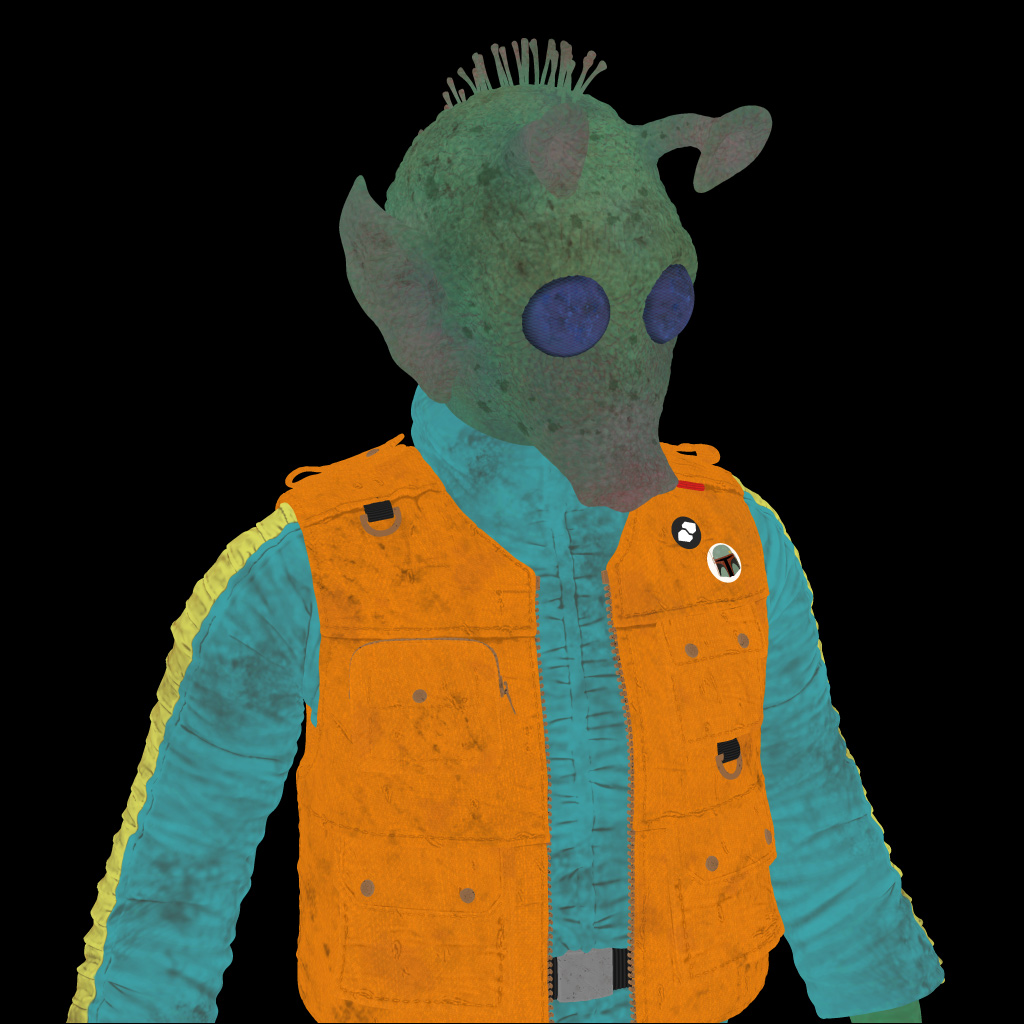
Greedo fan art.
Modeled and rendered in Zbrush, post in PS and AE.
Doing this I learnt a few tricks to speed up workflow and enhancing rendering, noisemaker plugin is a bless 


Not even funny, this is so good. Is that a Levi’s vest? I see that little red tag there. Did you make sure to model his high heels?
Nice job
Thanks guys!
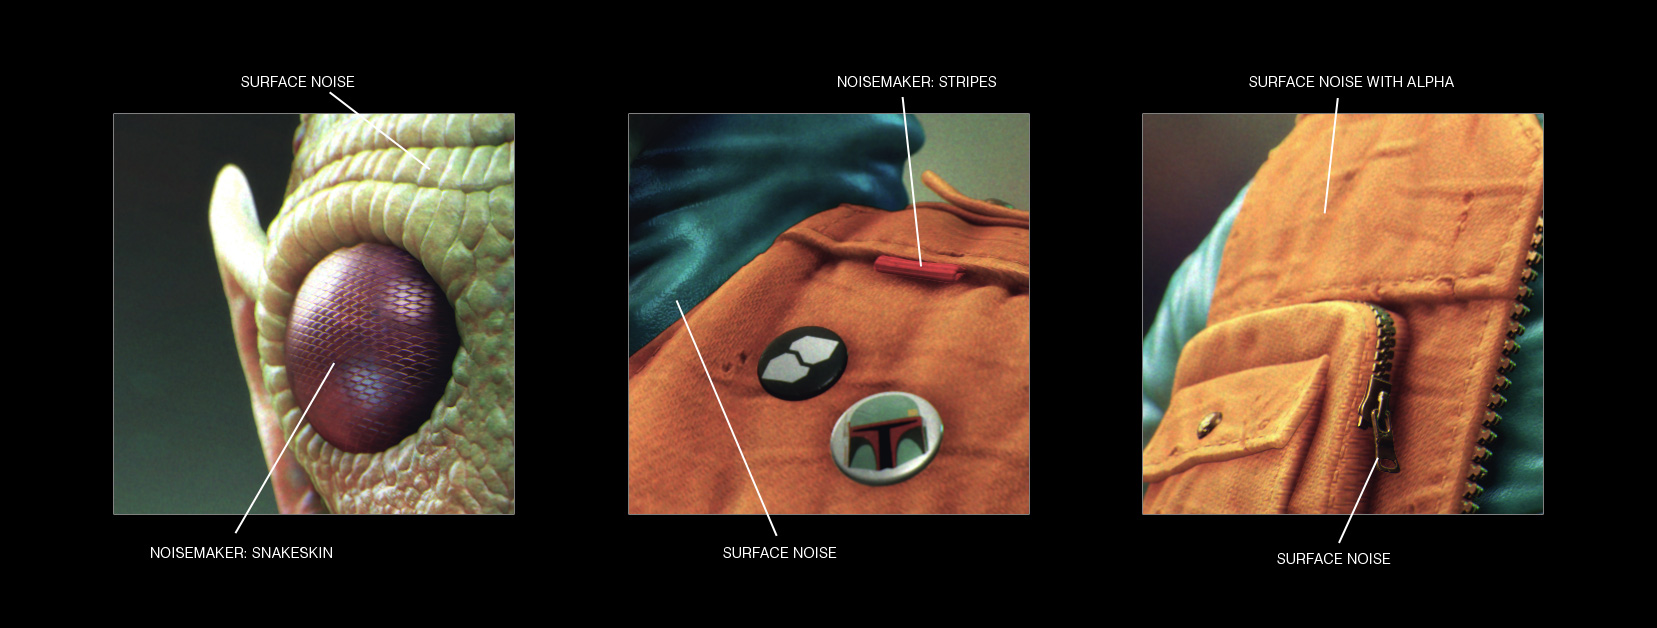
Wetterschneider actually I wanted to add some details as this was a real piece of cloth and not just an anonymous movie prop, so maybe it’s really a Levi’s, but with the imperial logo on the buttons 
Here are some 100% crops from the 3K render with some notes about my inconsiderate use of surface noise.
Attachments
very inspiring. I need to learn how to render
Love it! WOnderful piece! Noisemaker is great, love how you used it here! I gotta question, what kind of work do you do to this in After Effects? I was curious, I know my way around AE and Premiere but wondered what kind of adjustments, filters, lights, etc. do you do to the final in there?
Just lovely. I’m trying to master cloth production.
Jackets like the one on your Greedo.
Brilliant stuff.
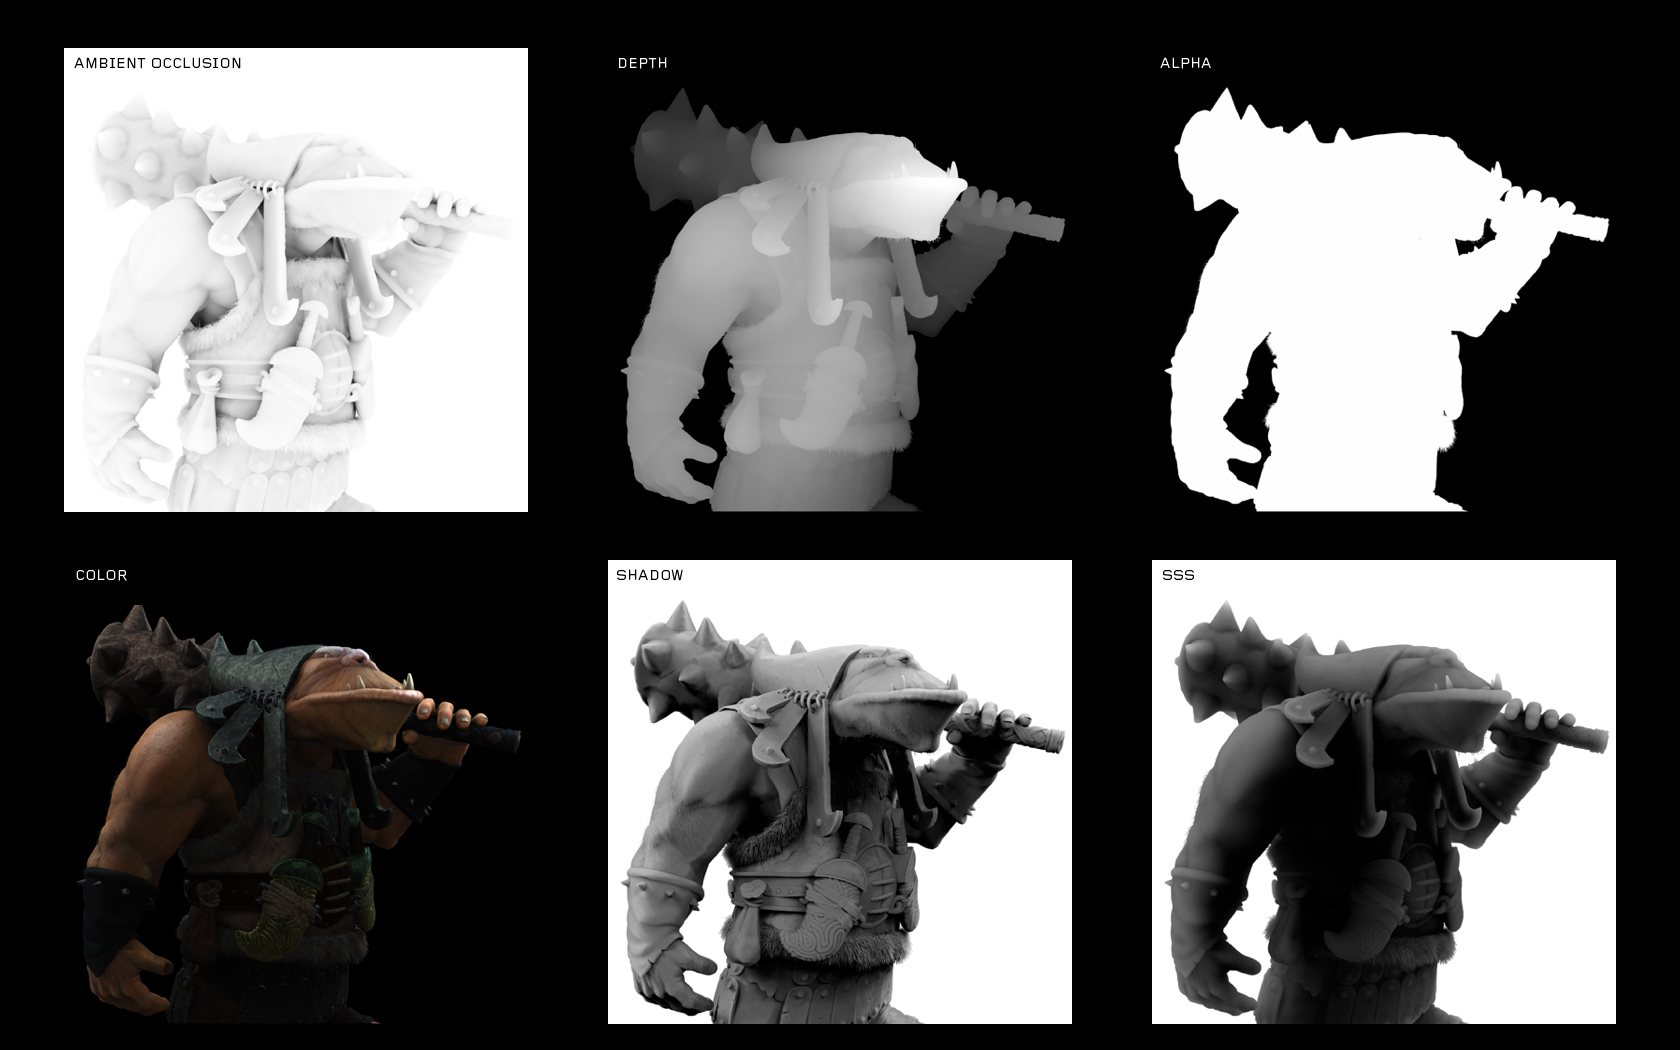
Thanks Cosmick: actually, in Zbrush post production counts a lot more than rendering; below I’m posting the render passes I made for this pic, hope this can be helpful.
Thank you GrizzlyJake! I make almost all compositing in Photoshop, then I use AE only for the final color grading and some filters: the most important filter for me is Magic Bullet, can dramatically improve the look of your pictures; the plugins I use are also available for Photoshop, but I like the non-destructive workflow in AE, so I can experiment various moods and decide what’s better.
Thanks Skeptic3D, I learnt a lot about clothes making this one! I spent a lot of time gathering references and studying various approaches made by other artists; the “Last of Us” thread is a goldmine for references 
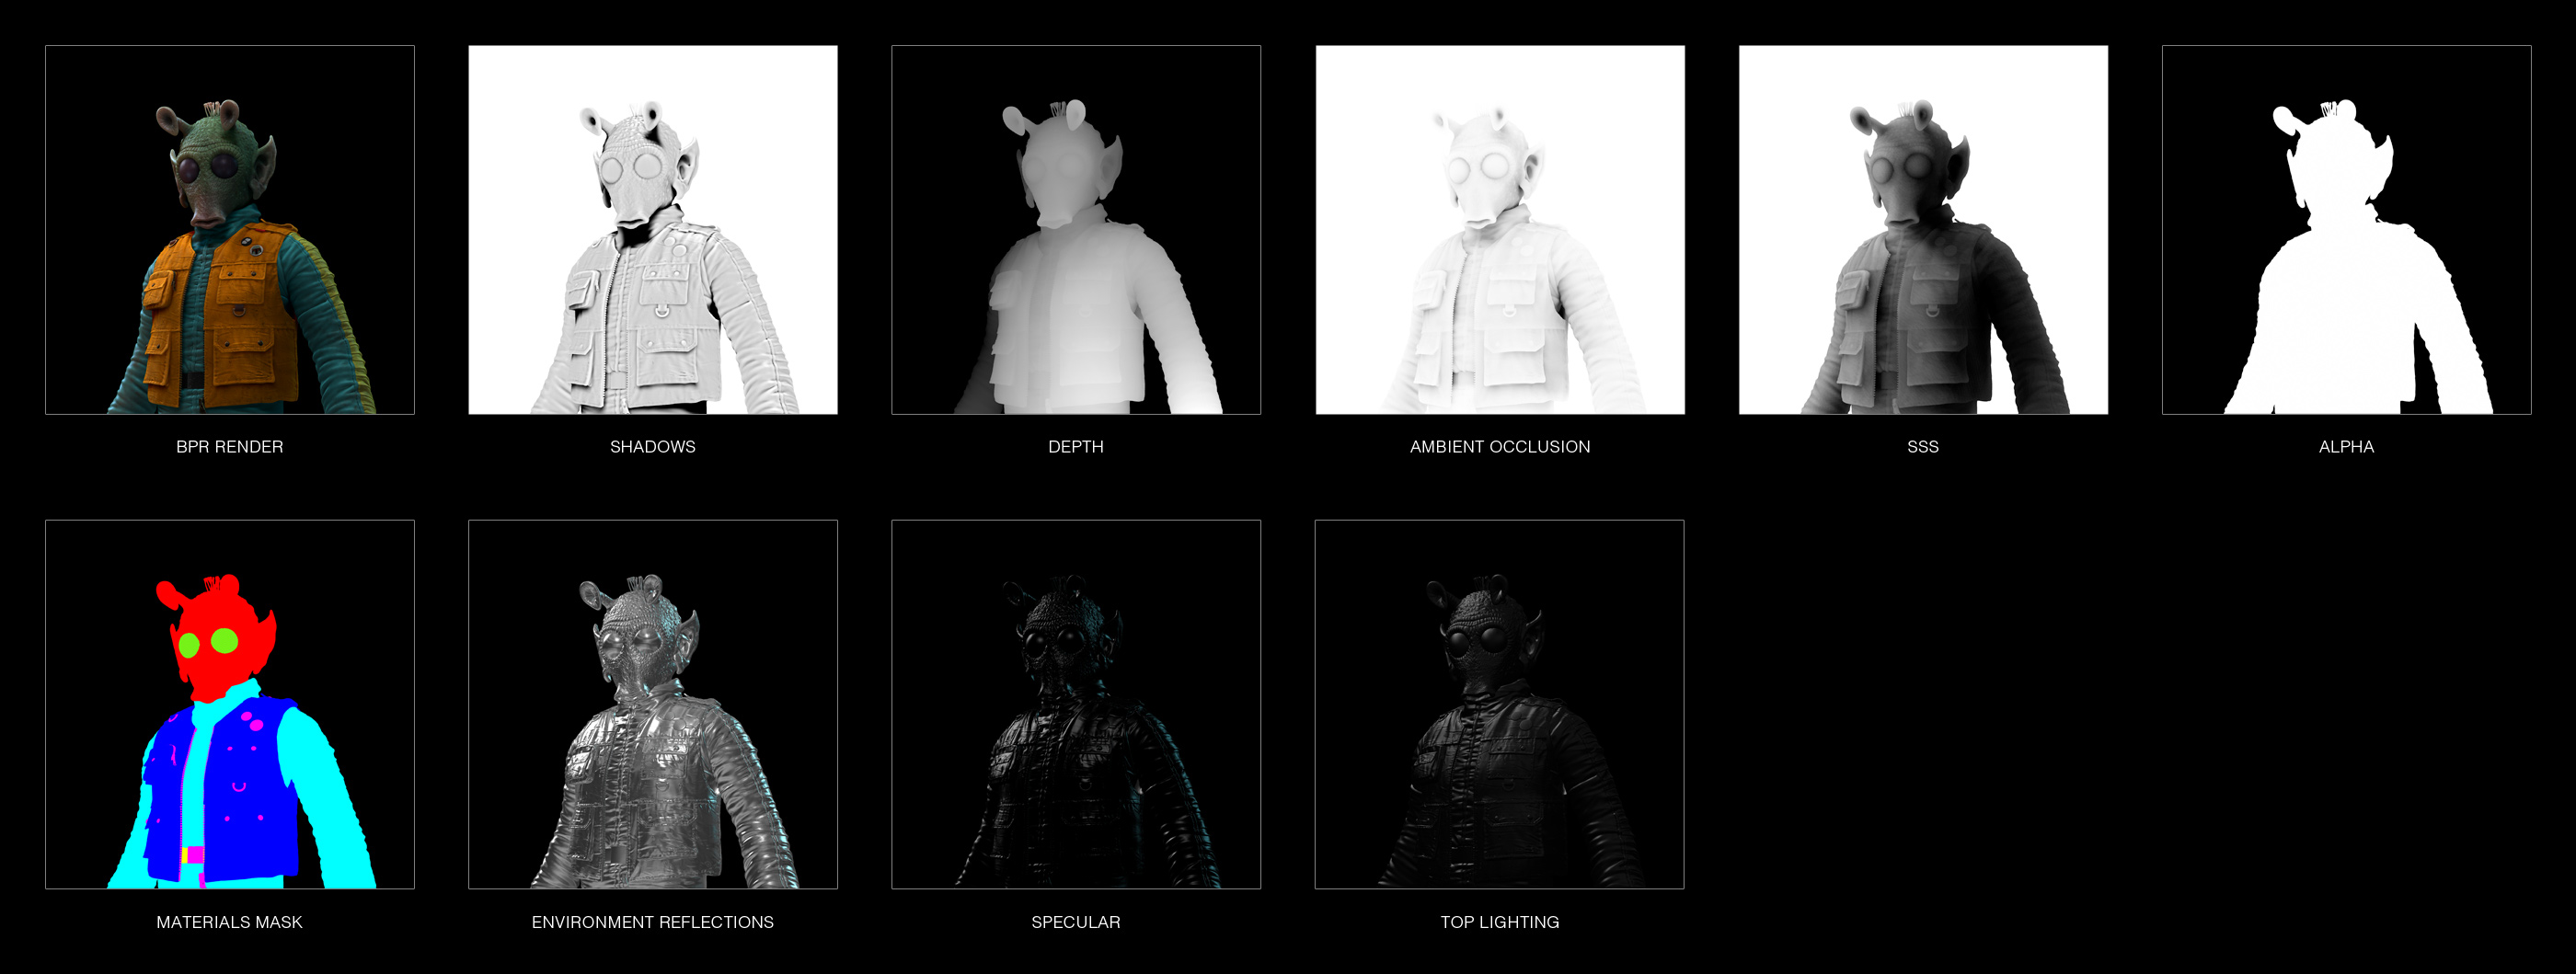
Here are the render passes I created for this image: on the first row the standard images created by BPR render, on the second row a few extra passes I create to add more lighting and specular variations; I don’t have a rule about these passes, but usually I render a material ID pass, an environment reflection pass and one or more specular passes.
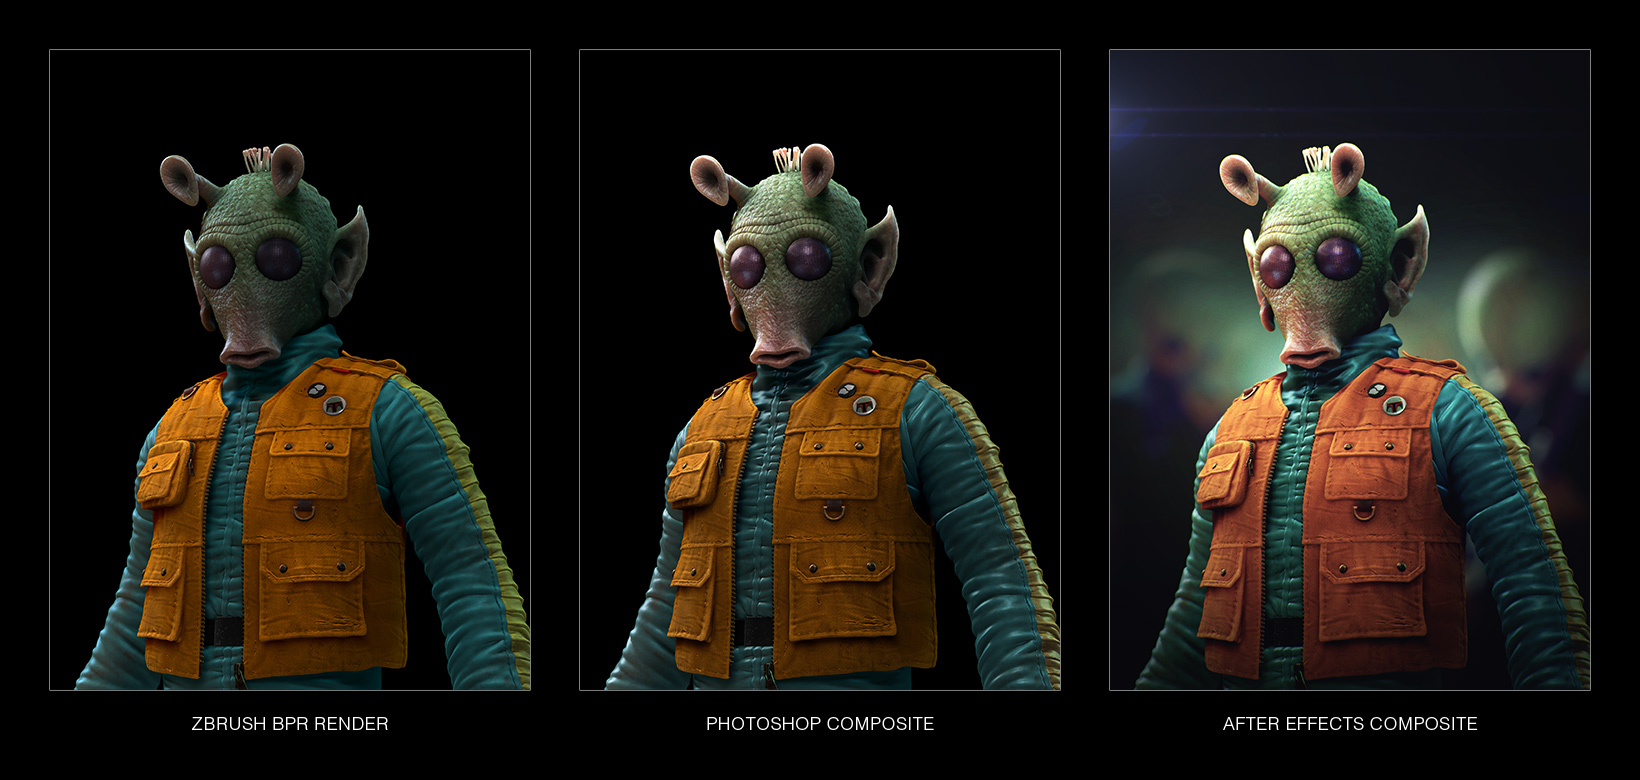
Here are the main steps of the render: raw Zbrush render, Photoshop compositing and final image in After Effects: Zbrush lighint system is really limited and can’t create dramatic lighting effects, so usually I make just a decent render with a good rim light and avoid to have over-exposed or under-exposed areas, so I’m not missing any pixel information. In Photoshop I take care of the materials, and only on the last step I work on the lighting creating lighter and darker areas to draw the viewer’s eye on the character’s face.
And here’s the flat polypaint color: I used also noisemaker’s color blend feature to get more variation.
Thanks for watching
Attachments
WOW, brilliant info there. Thank you for sharing that and also what an amazing piece. Great job :D.
Nice 
Thanks for the breakdown. Good stuff!
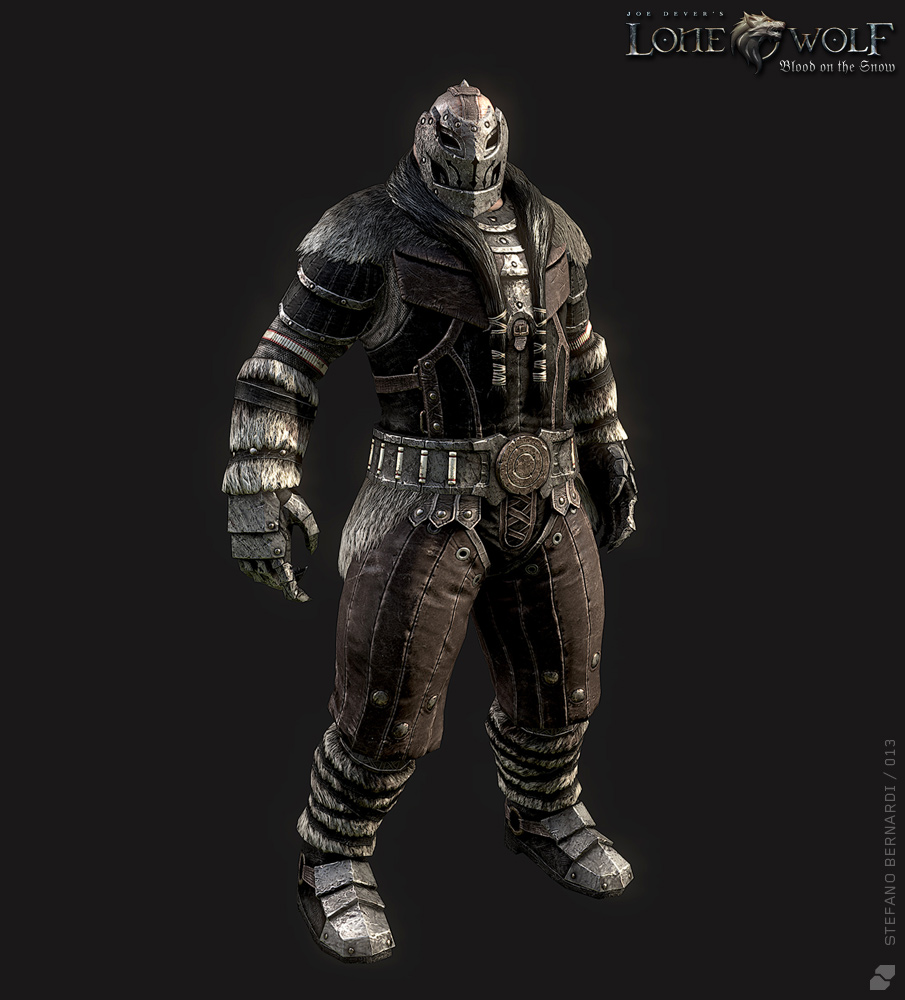
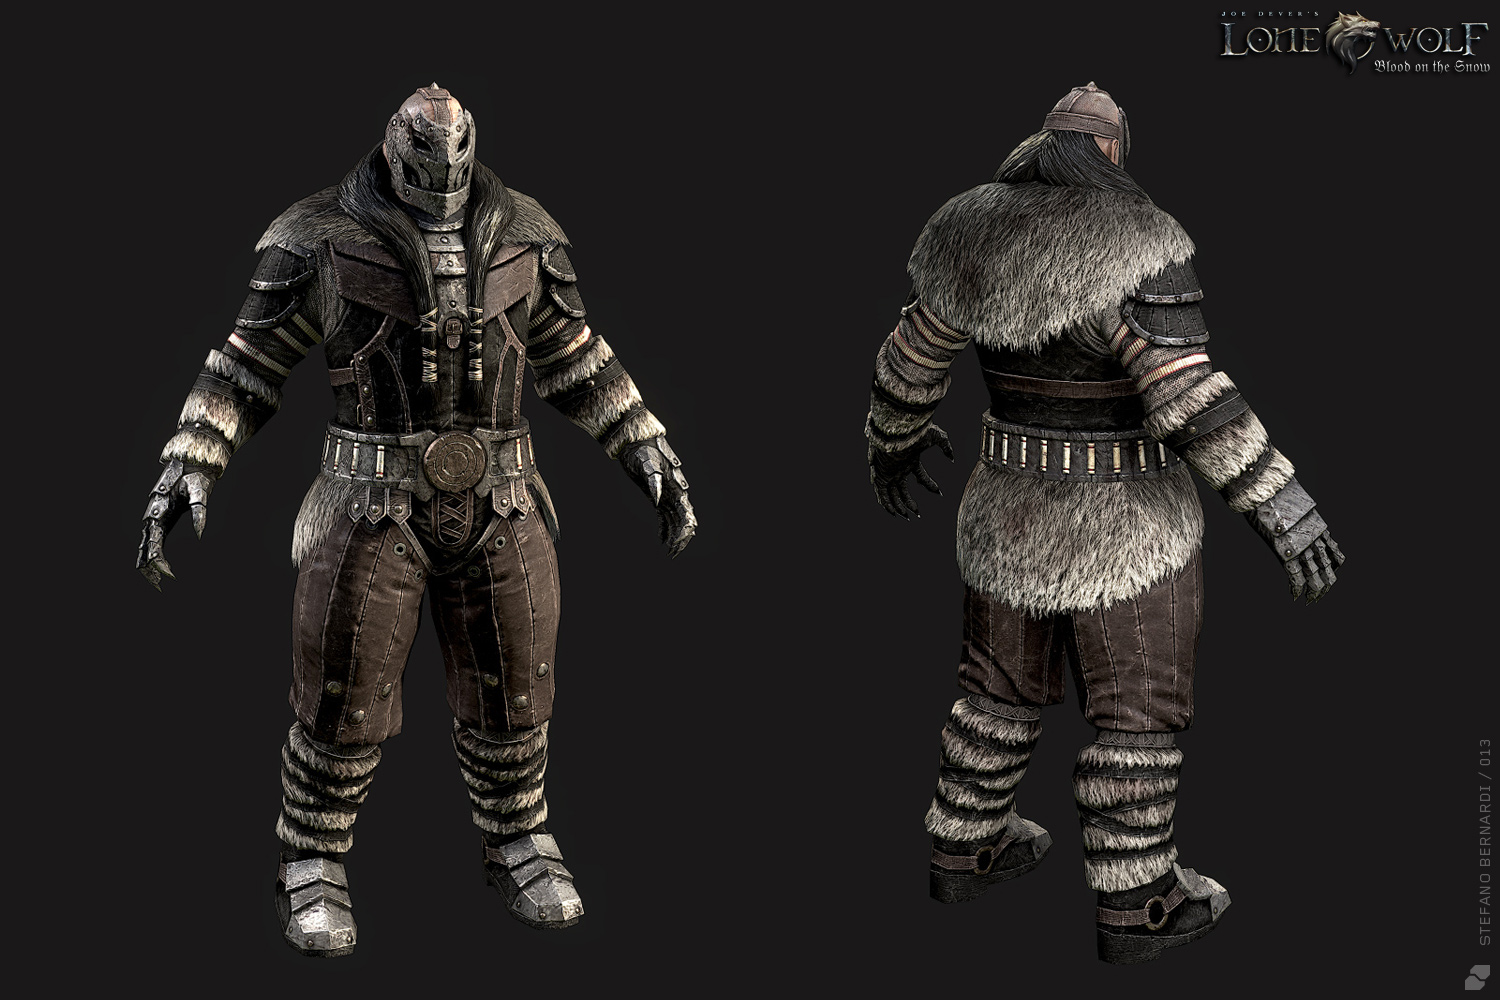
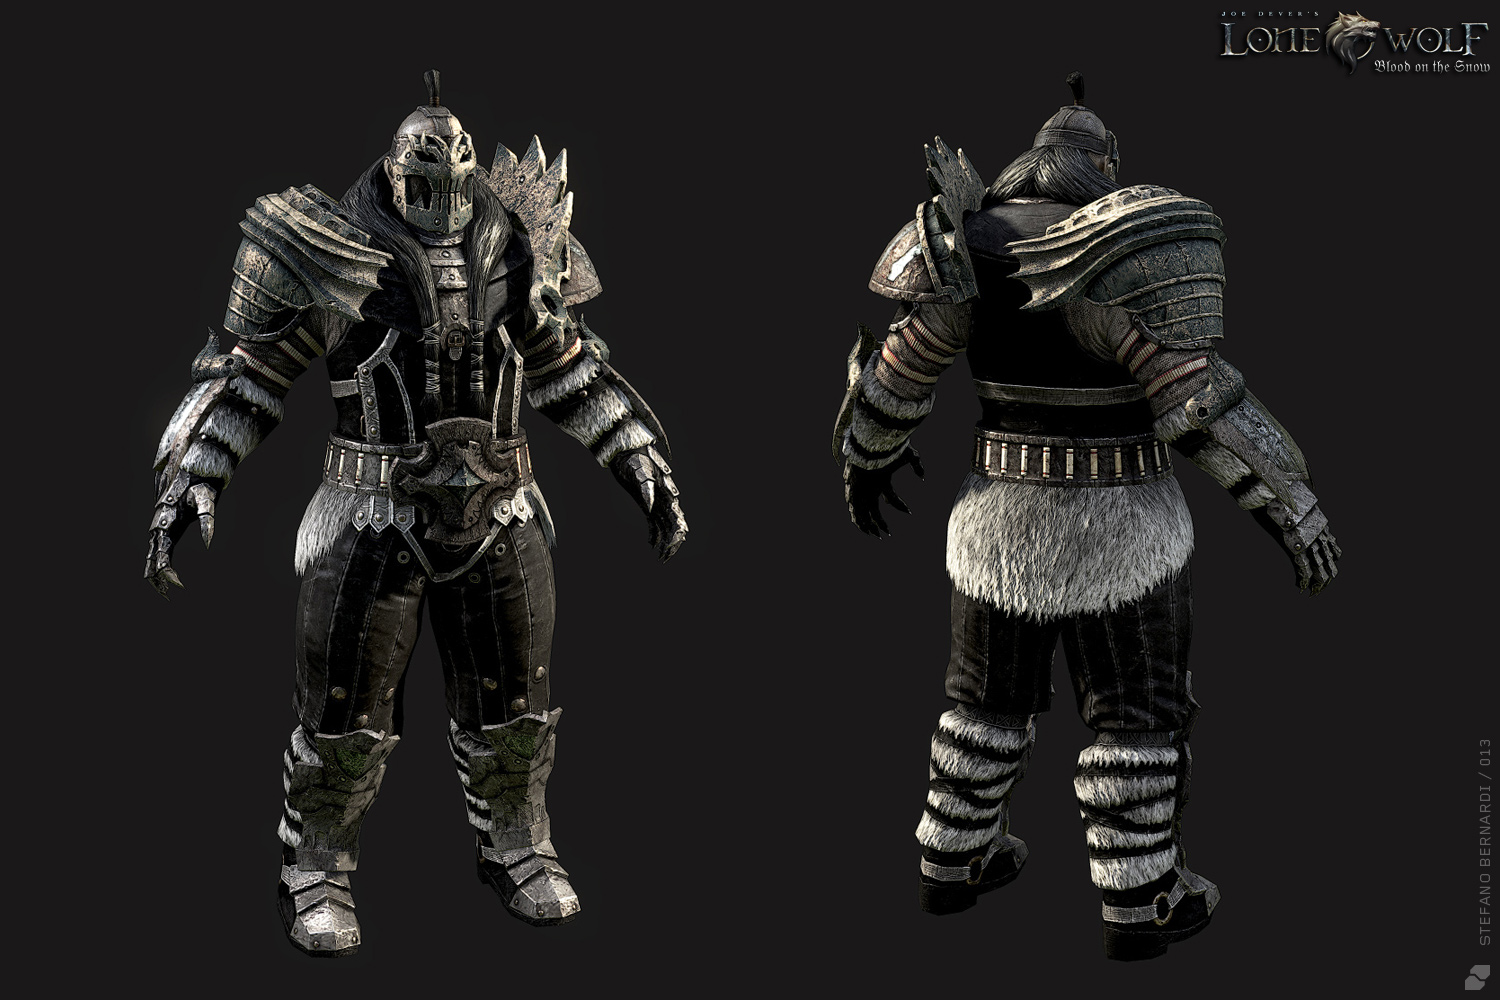
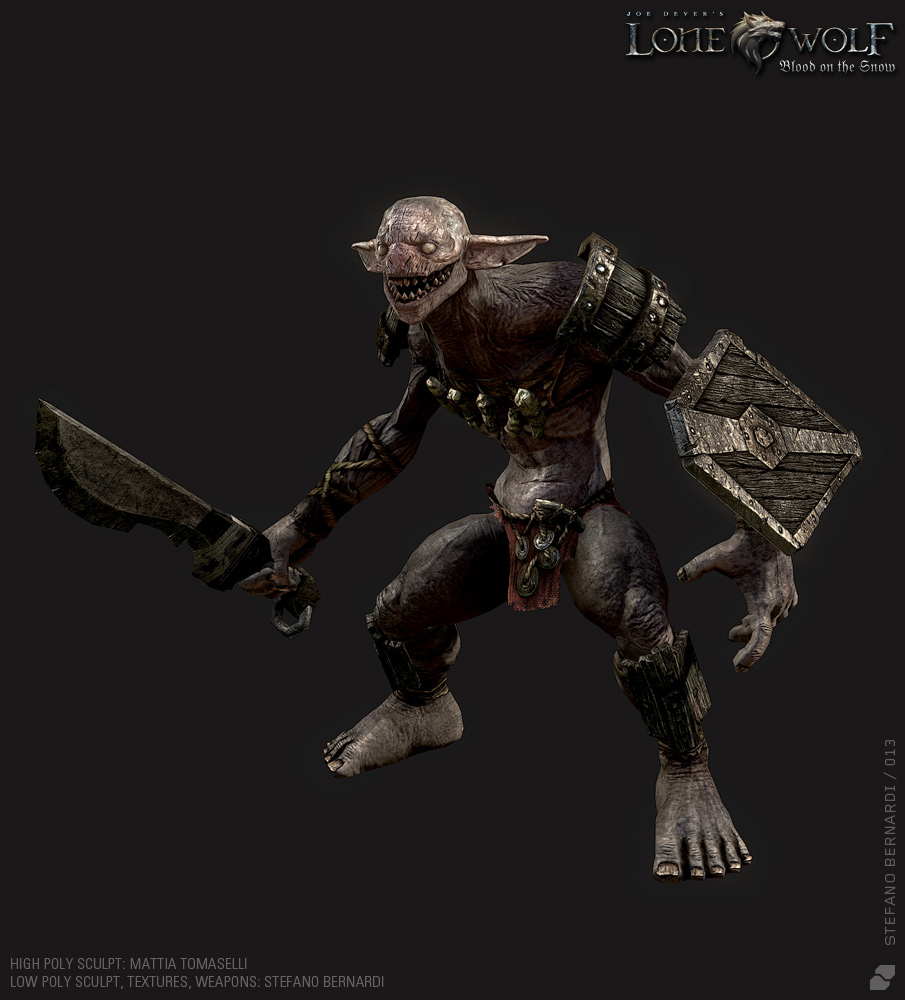
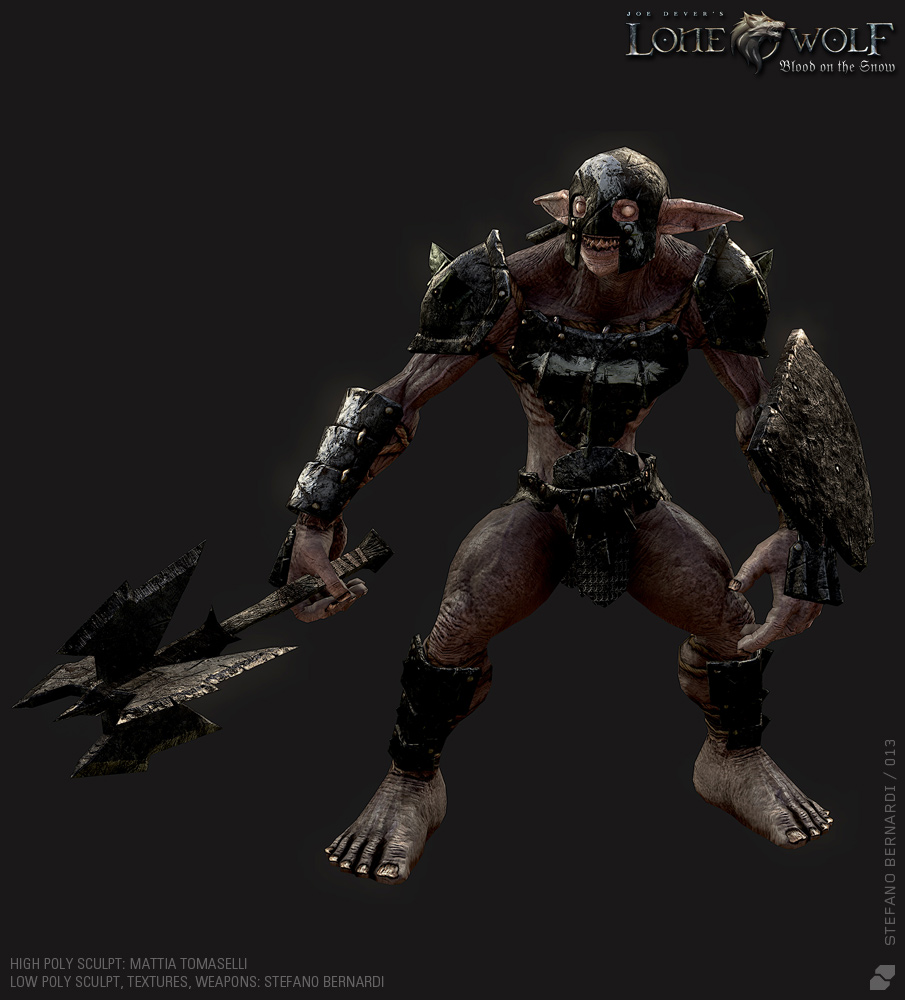
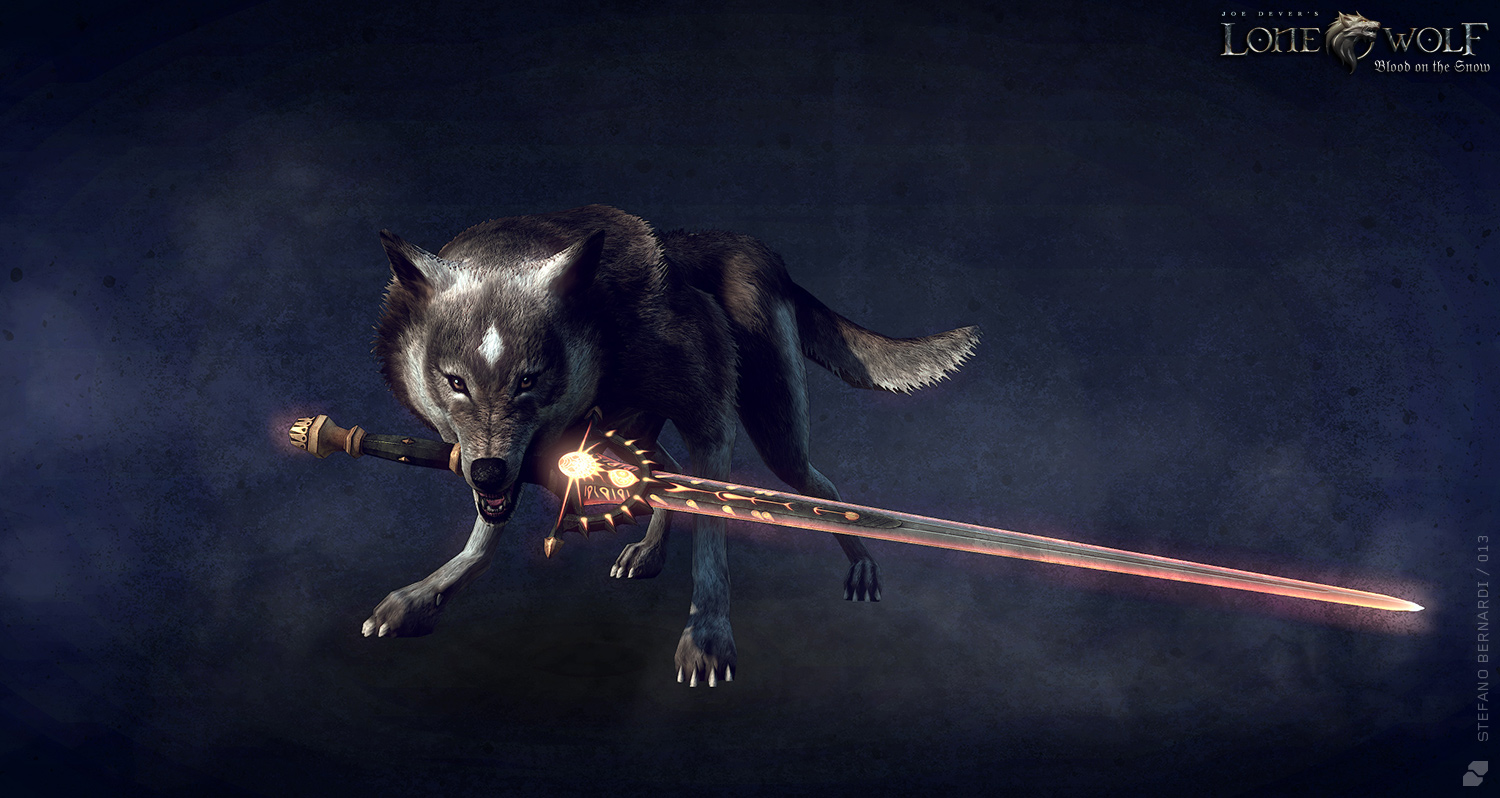
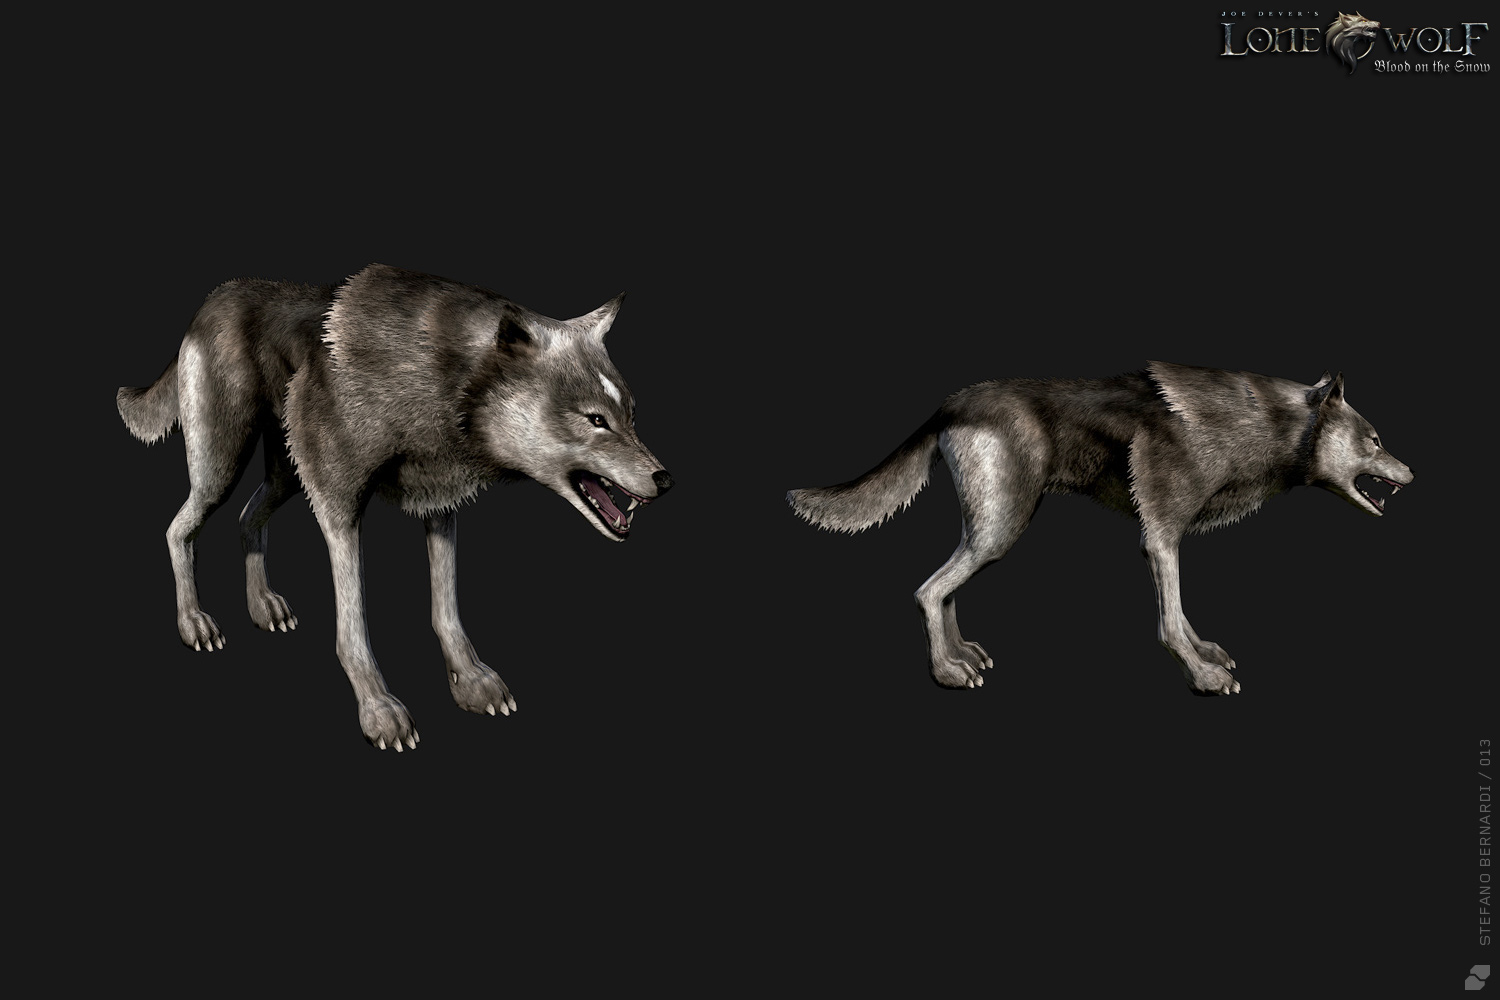
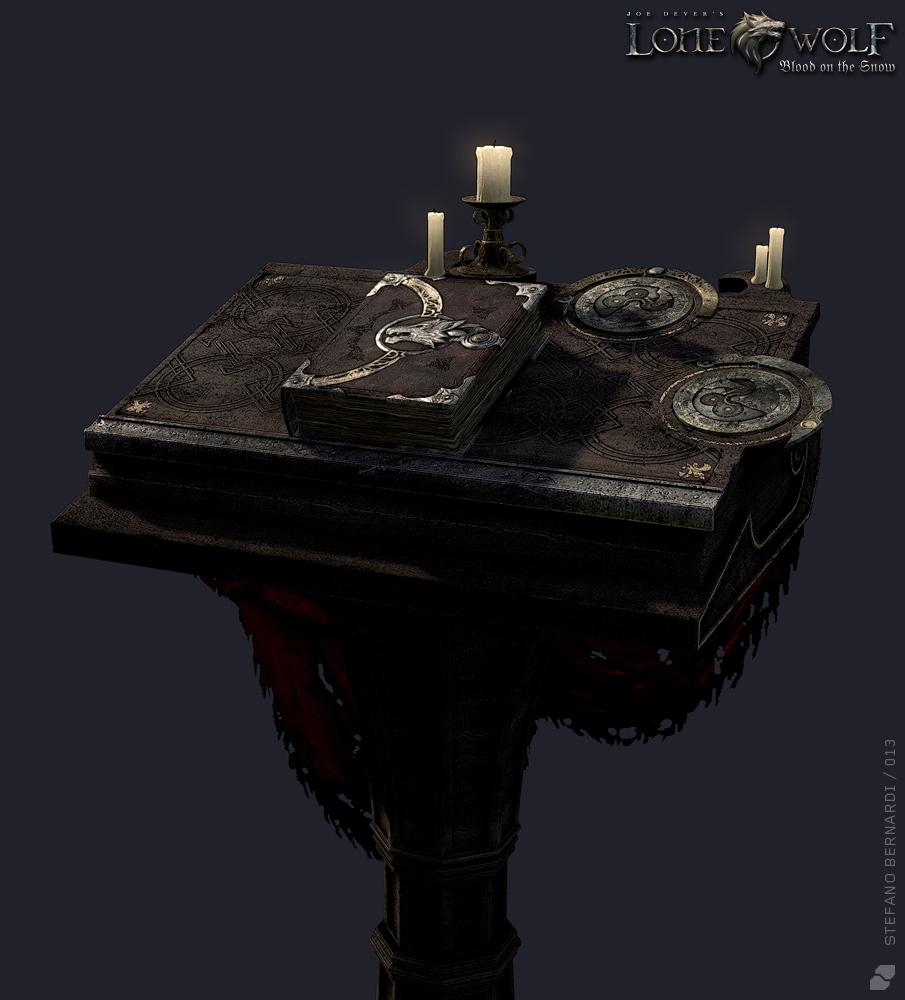
Here are some of the models I made for the mobile game “Joe Dever’s Lone Wolf”.
We worked pretty hard to achieve a console-like quality for creatures and shaders.
Thanks for watching!

Attachments
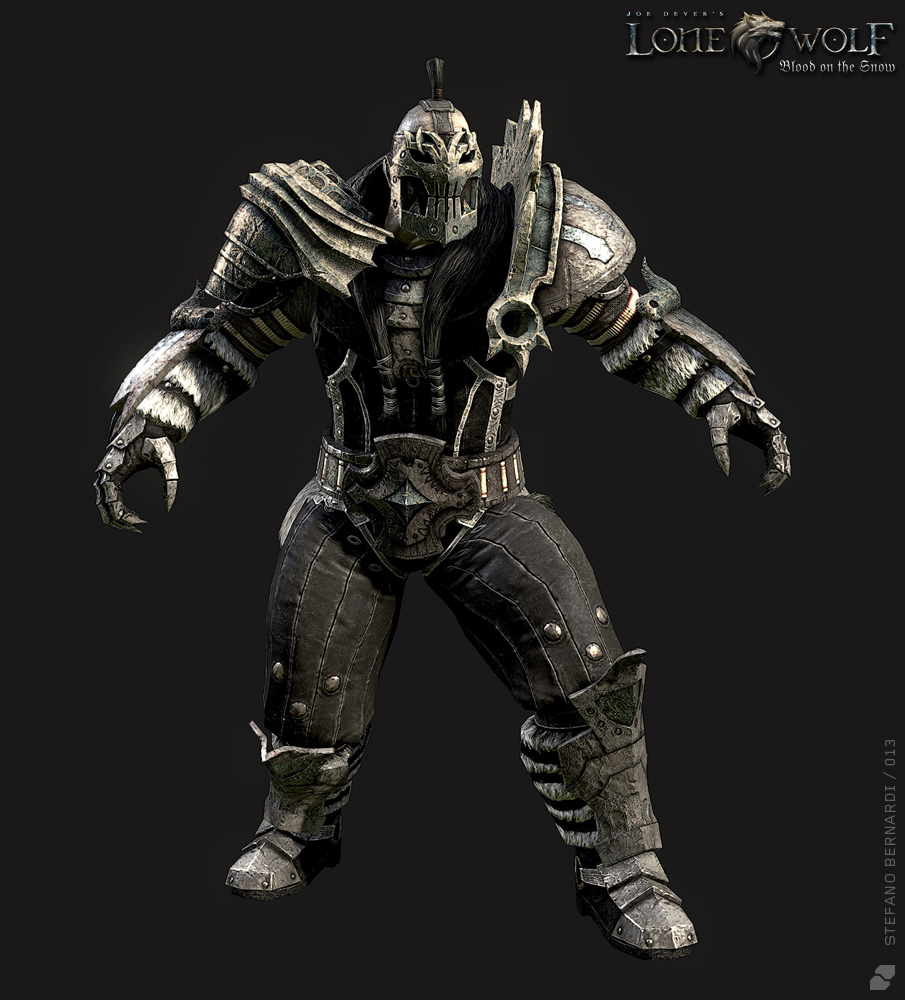
Moar

Attachments