Nice work man! 
That bunny is wicked! 
I added a youtube link to the scene from Akira. Its kind of trippy. Its not based of any of them just inspired by.
VIDEO: [color=orange]AKIRA SCENE
Julian_K: Thanks, Well thats pretty much what I was after so thats nice to hear. That painting is freakily similar?
anigroove: Cheers.
robertofernandezxy: Thanks man, The Venom sculpt was a very quick one but I thing that helped the raw look of it. Im glad you like it.
qoyun: Thanks.
Sixus1: Cheers.
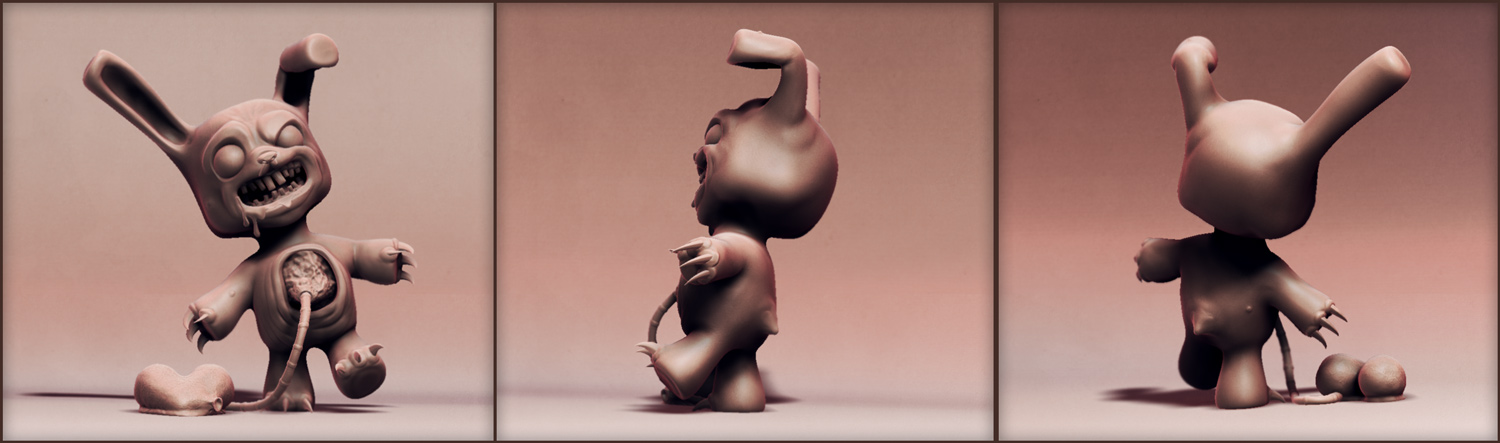
Heart Attack Rabbit
TUTORIAL
Just some basic stuff I found handy.
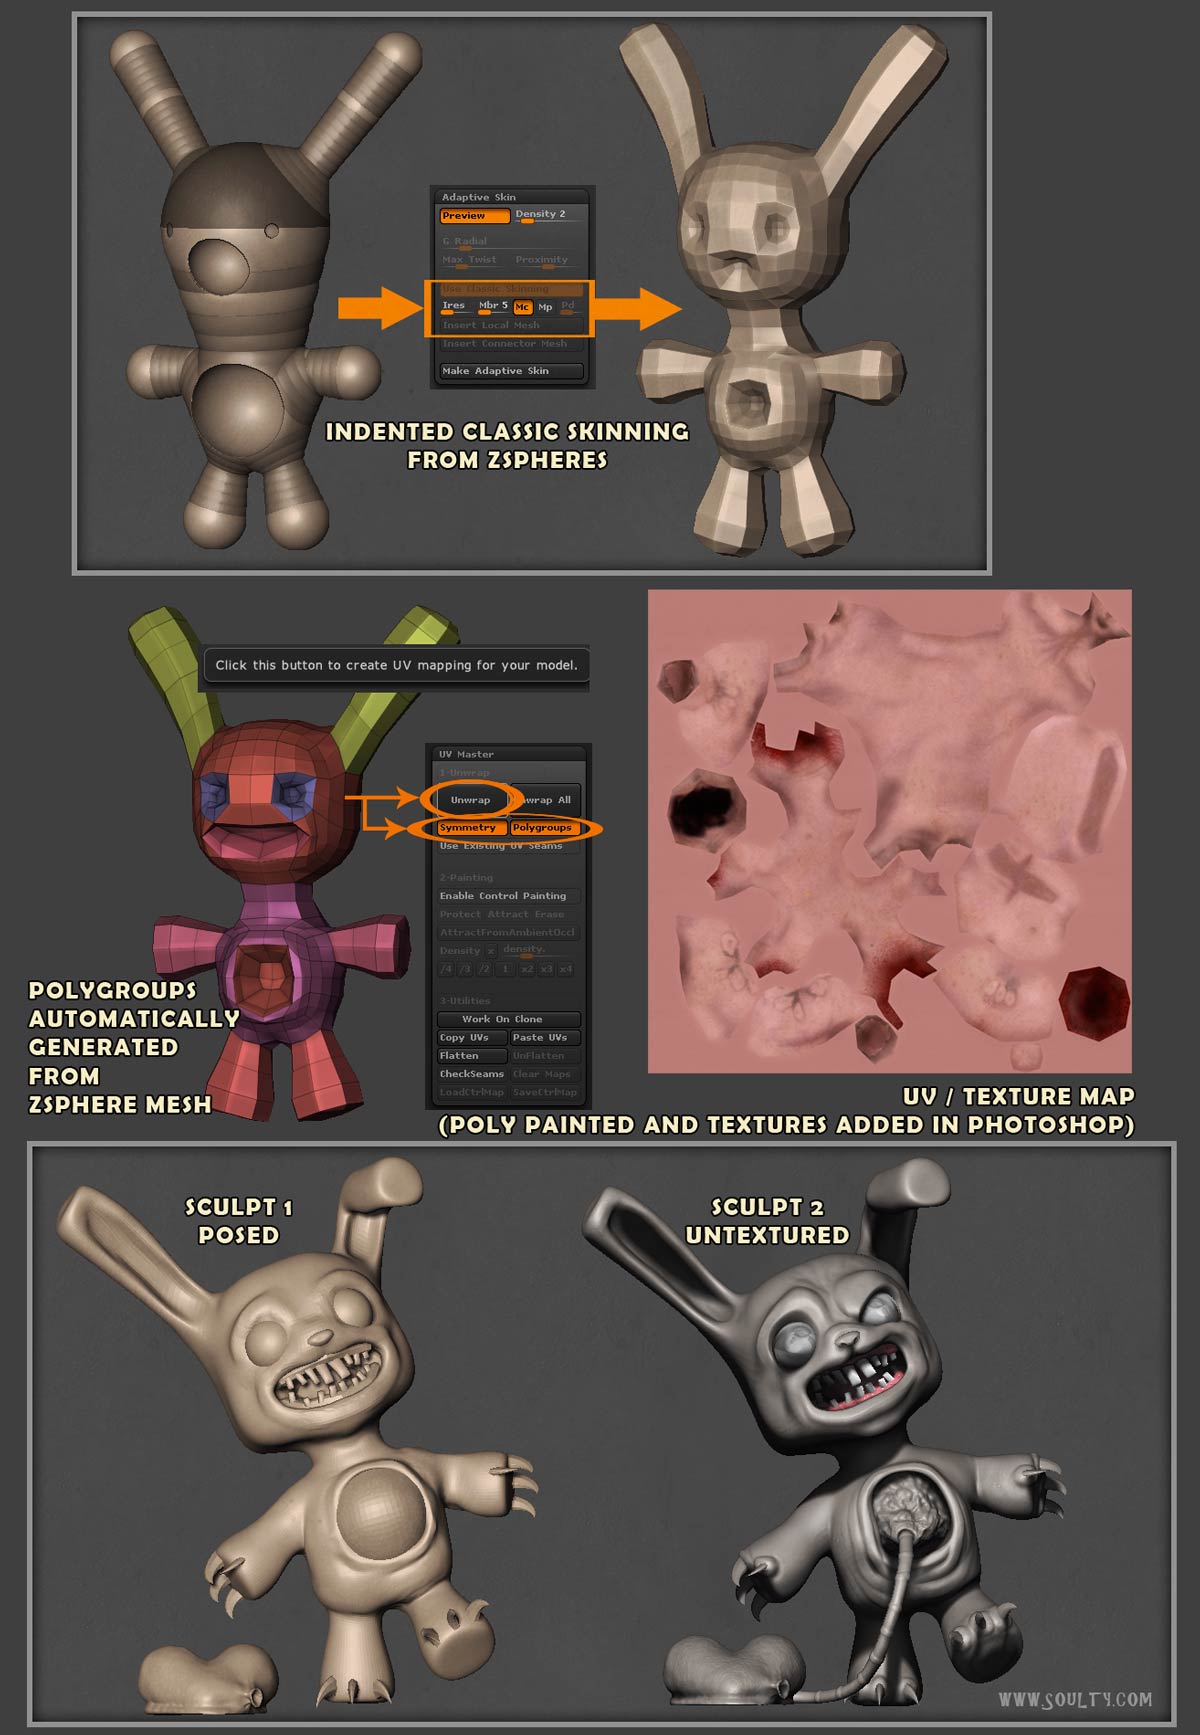
Attachments
nice tutorial
Ardox: Thanks.
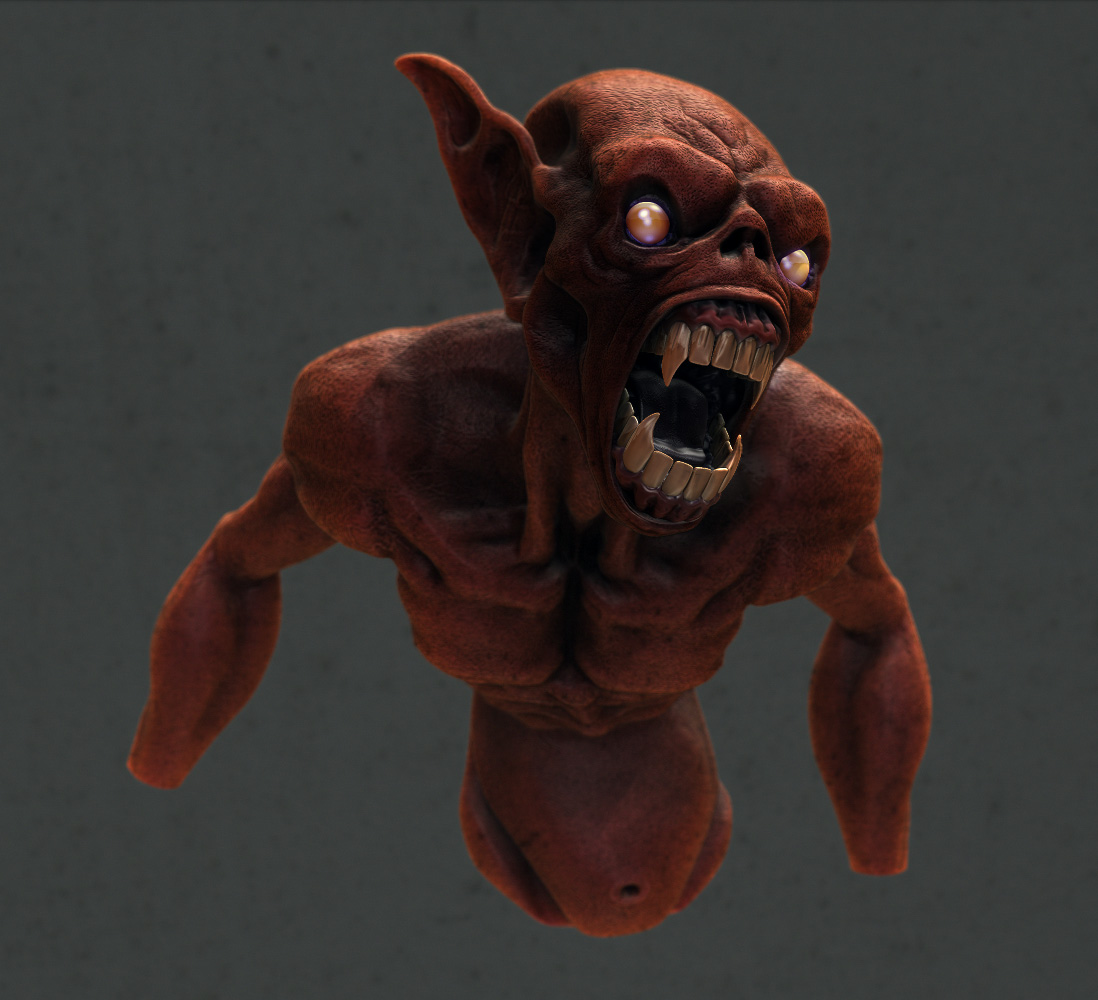
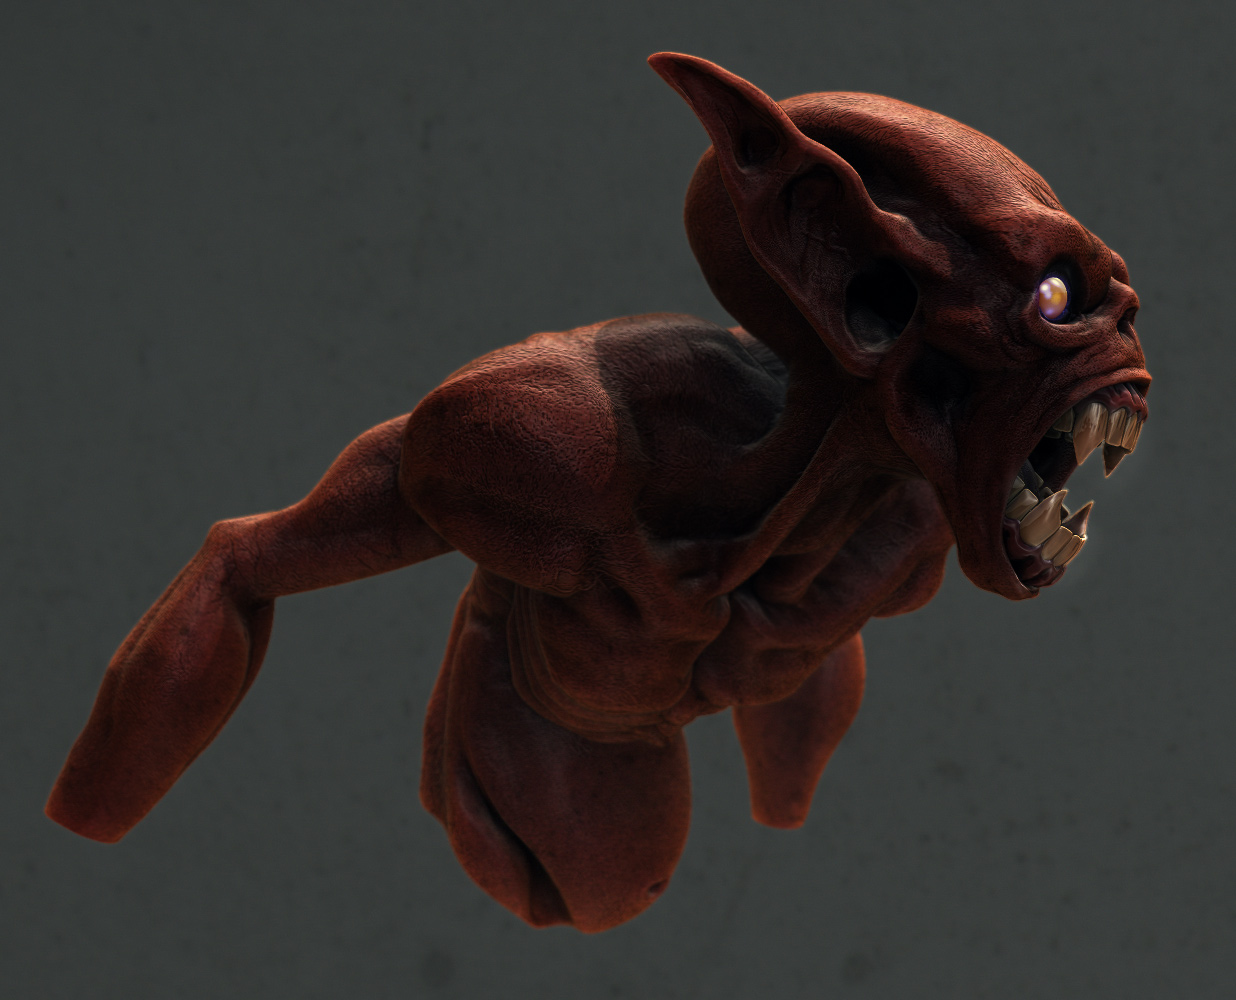
This is is a creature from my favourite anime ‘BLOOD’. Theres a reference video below. Modelled and rendered in Zbrush 4.
VIDEO: BLOOD-AMV
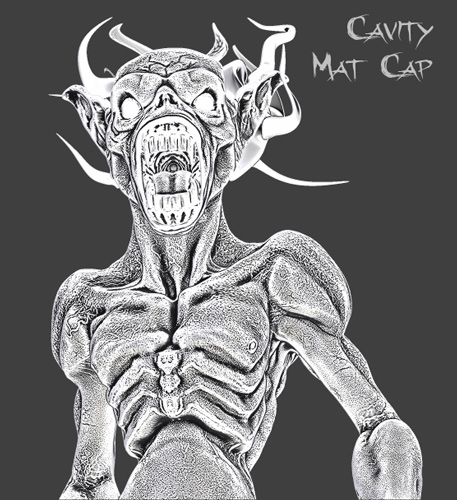
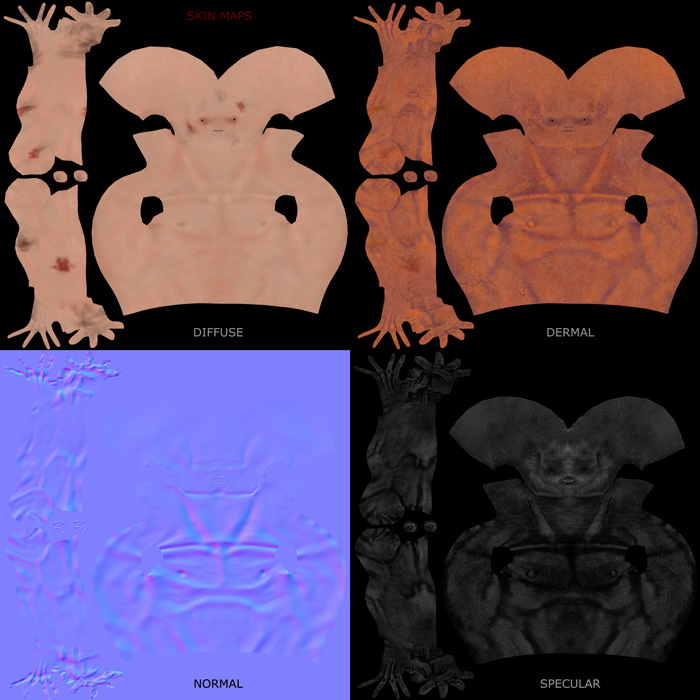
This is a Cavity matcap I made. Nothing special here but saves making cavity shading in the polypaint if rendering in Zbrush. I use it as a render pass for compositing.
[attach=234134]cavity.jpg[/attach]
Attachments
Beautiful renders! and thanks for sharing your technique.Somehow i get white in the background in my renders even though it is set to black.
moonlitmaverick: Thanks, I like your creature and render from post #95.
nice work !!! thanks for the cavity mat cap
Excellent renders and sculpting. Impressive !!!
RenoAnimations: No worries.
michalis: Thanks man.
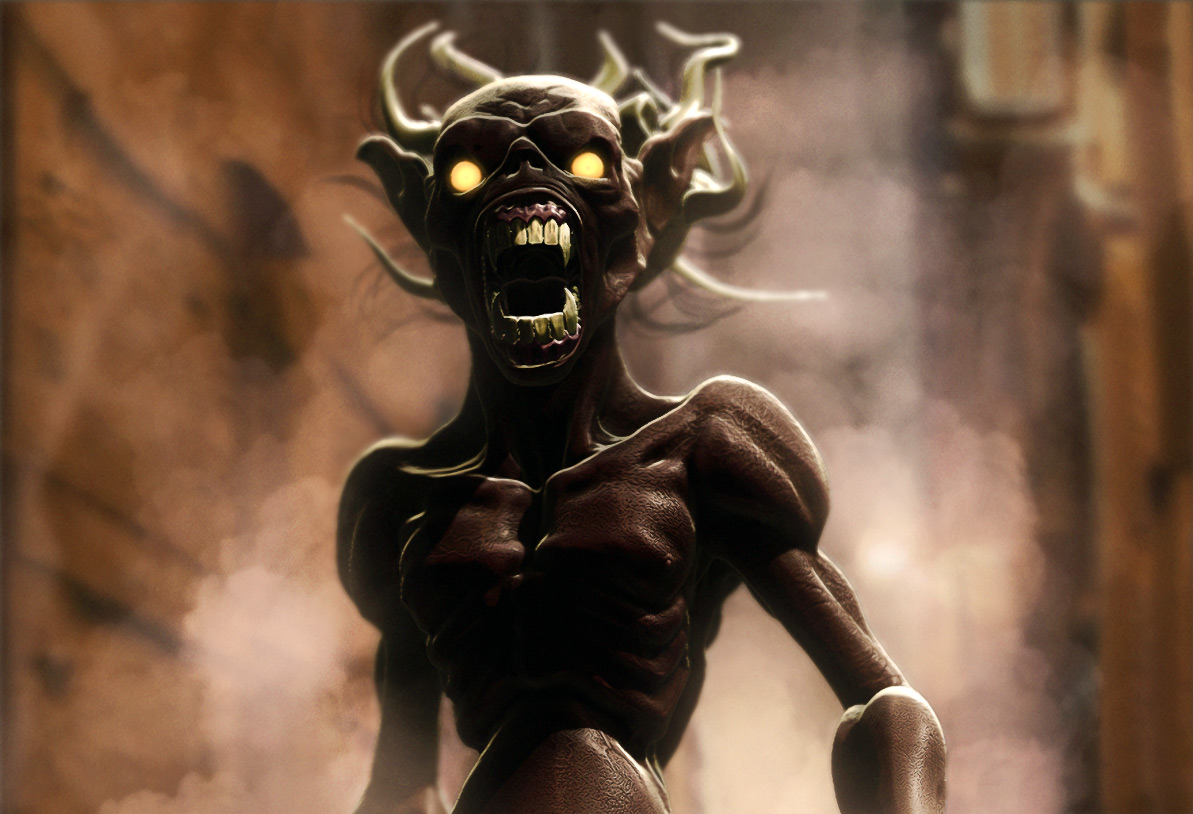
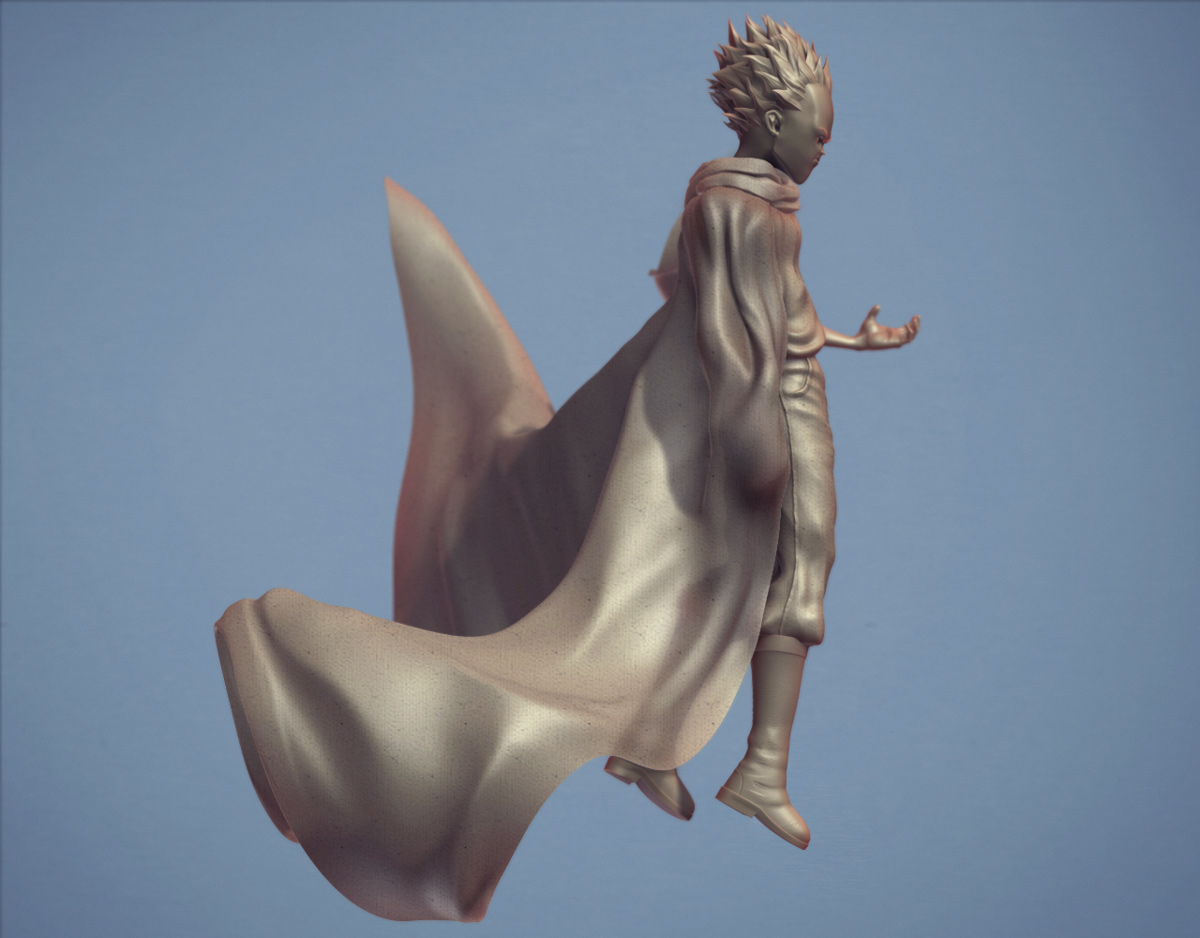
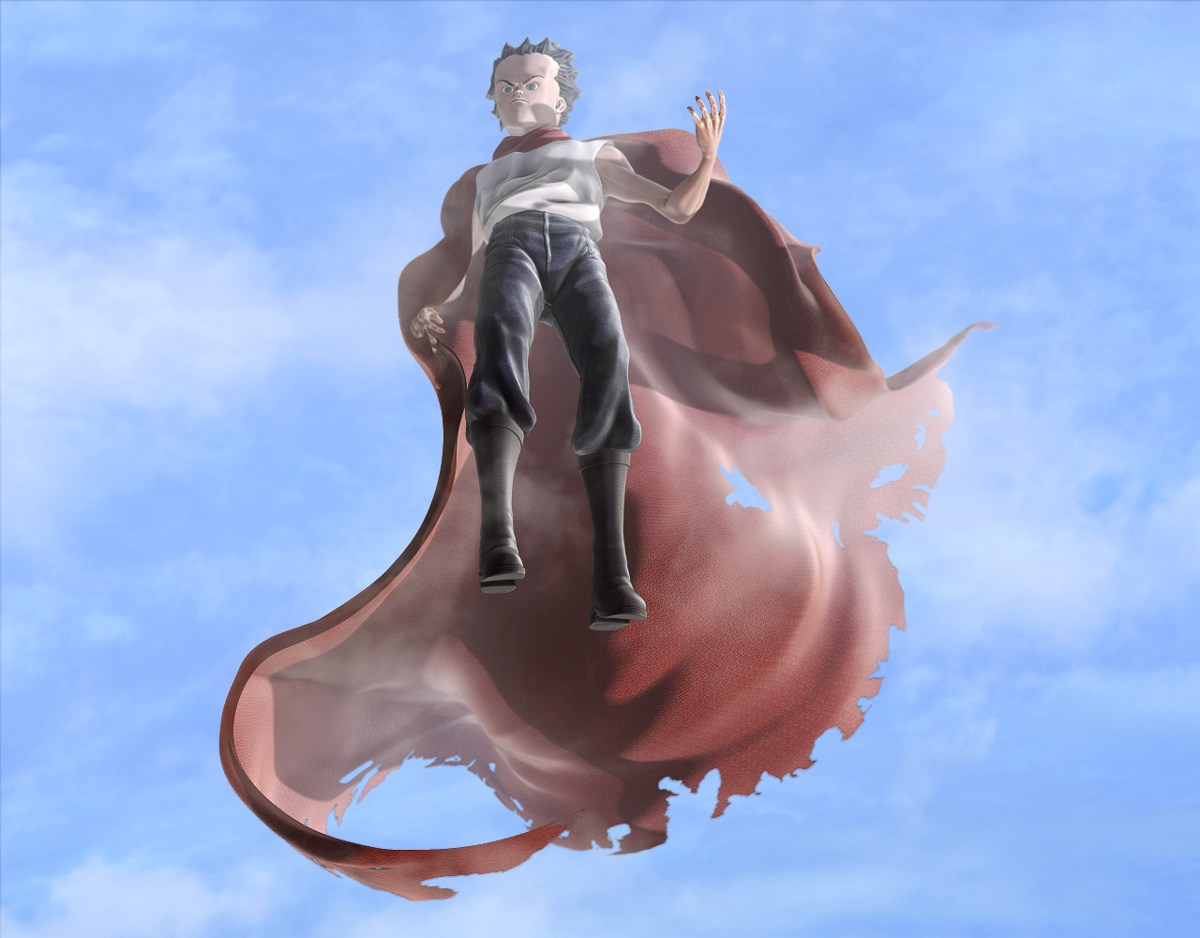
TETSUO from Akira anime
Mental Ray
turntable video
[youtubehd]YOSdHd2CmXA&hd=1[/youtubehd]
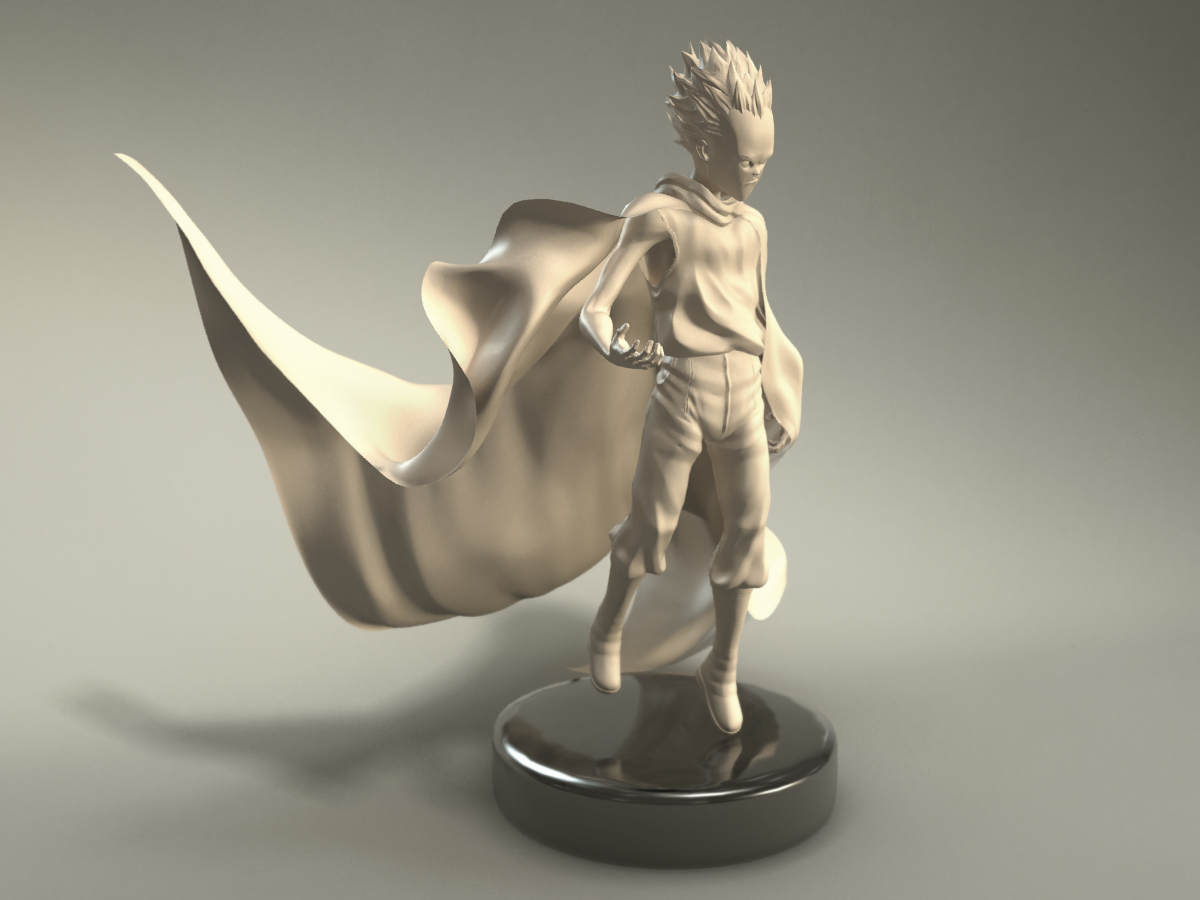
[attach=235680]tetsuo-sky.jpg[/attach]
[attach=235575]Tetsuo-Akira.jpg[/attach]
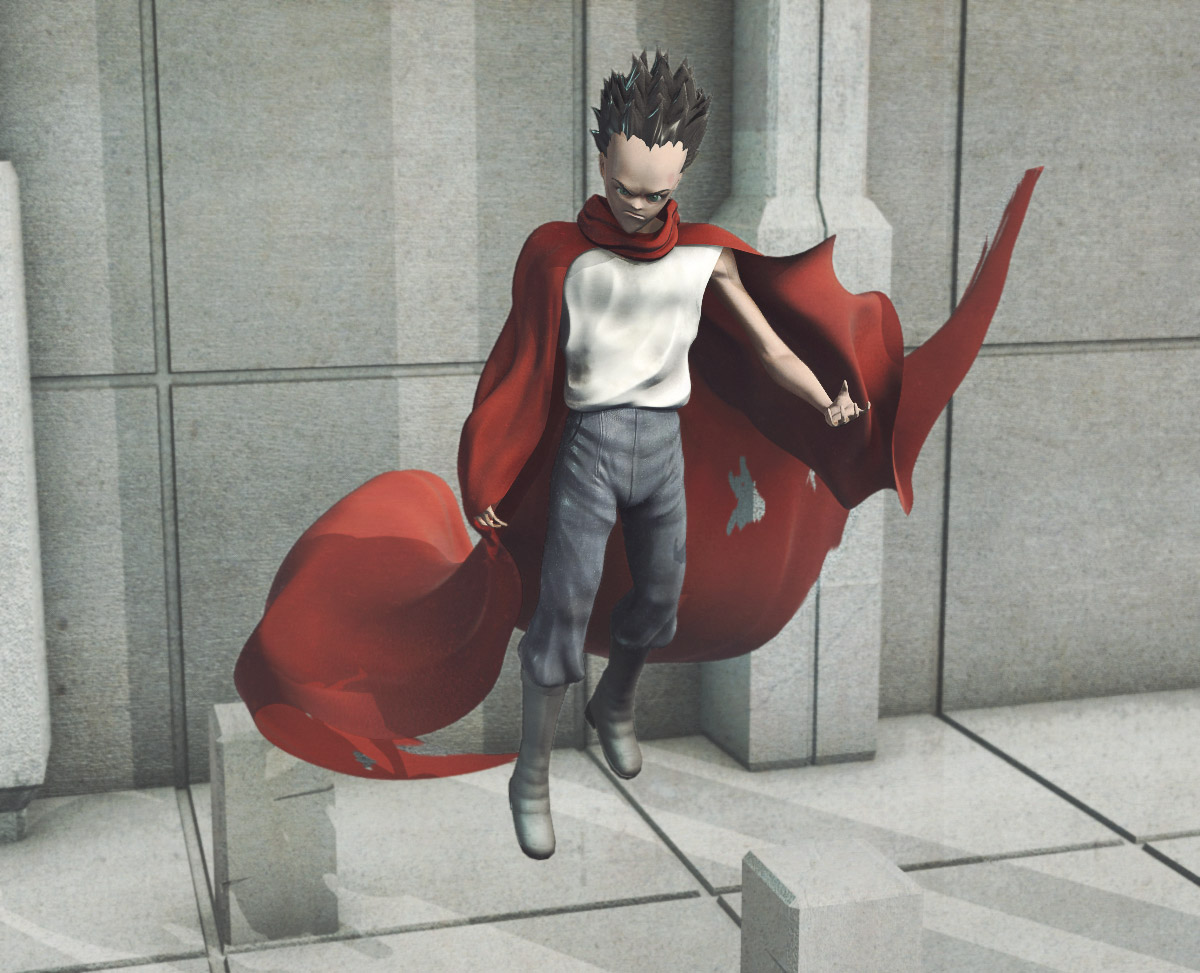
Getting the cape to look see through with shadows of body in the cape.
[attach=235631]Cape-opacity.jpg[/attach]
Attachments
Great !!
sick work man loooove it
Thanks guys.
How do you make your images so huge? I’m trying to do that
Thank You
Shalabum34: Its under the document menu. Set the size you want(its in pixels) then double it for both height and width. Once the Doc size is twice the size you want press the AAHalf button on the right side of your document. This way only works if you are exporting document. If just using the BPR and exporting from there make the document the actual size you need. I think theres some tutorials on this site if you use the search function.
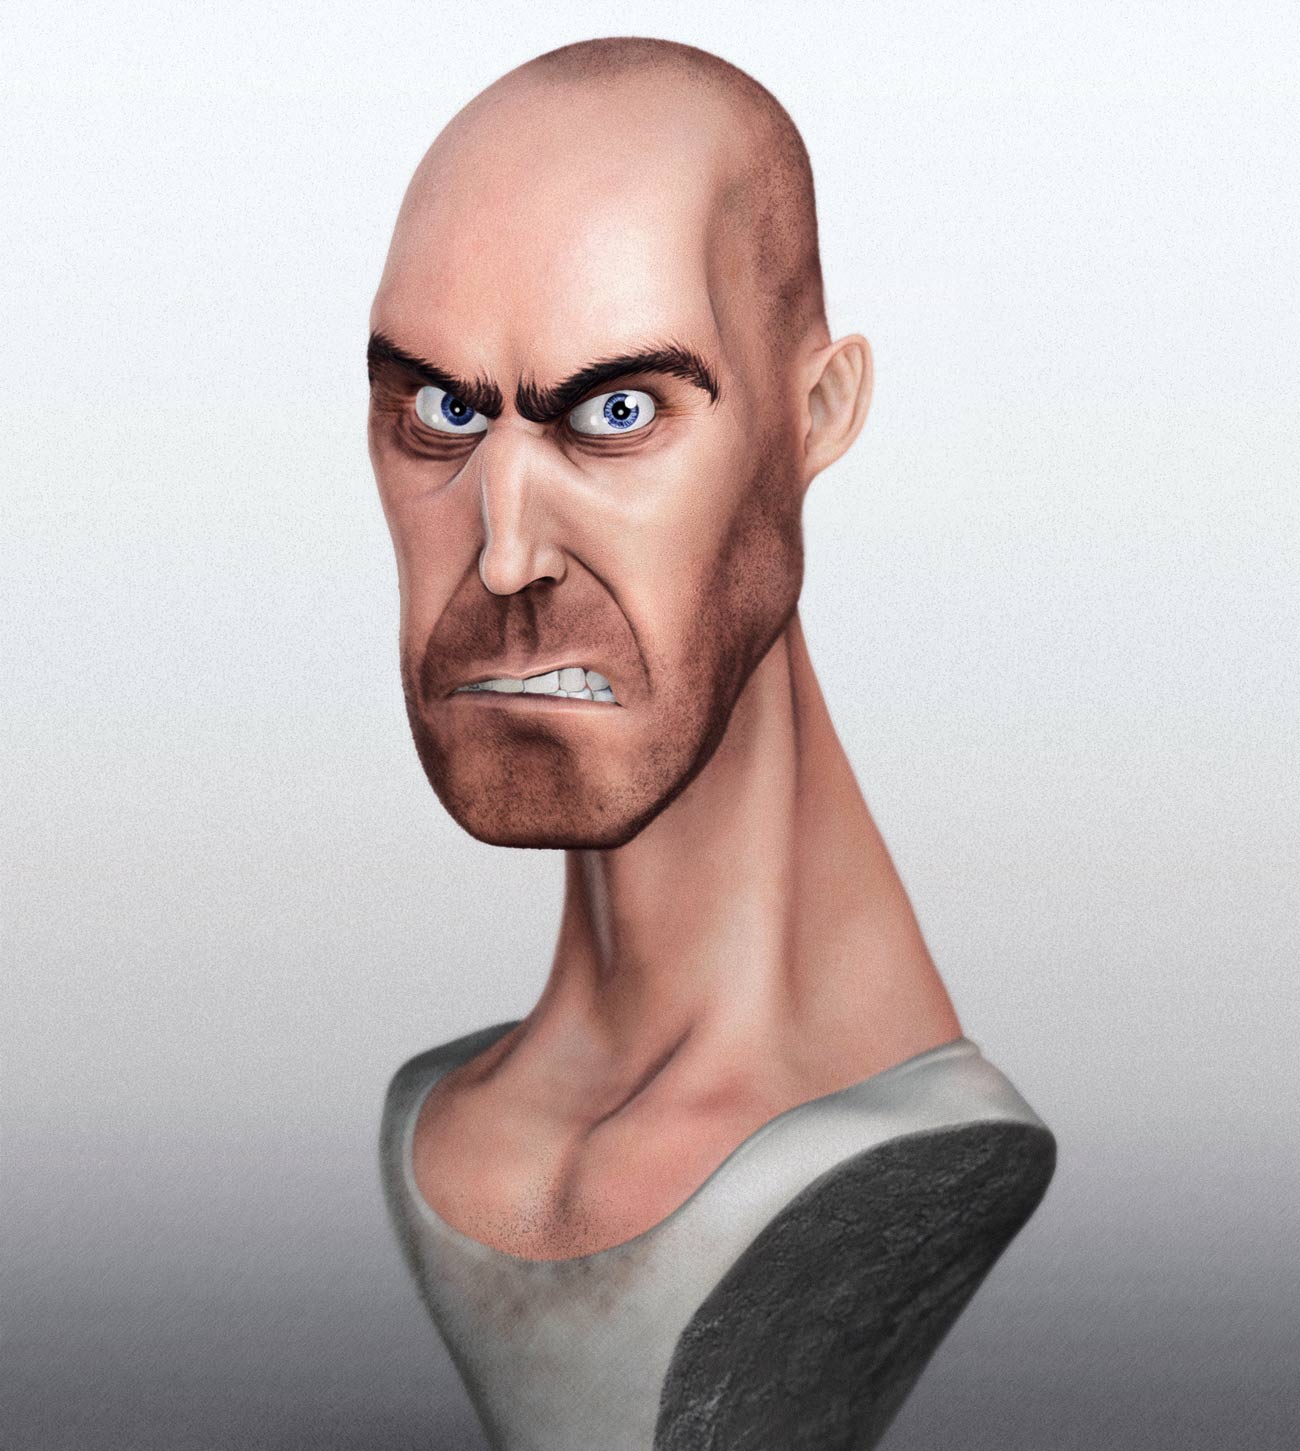
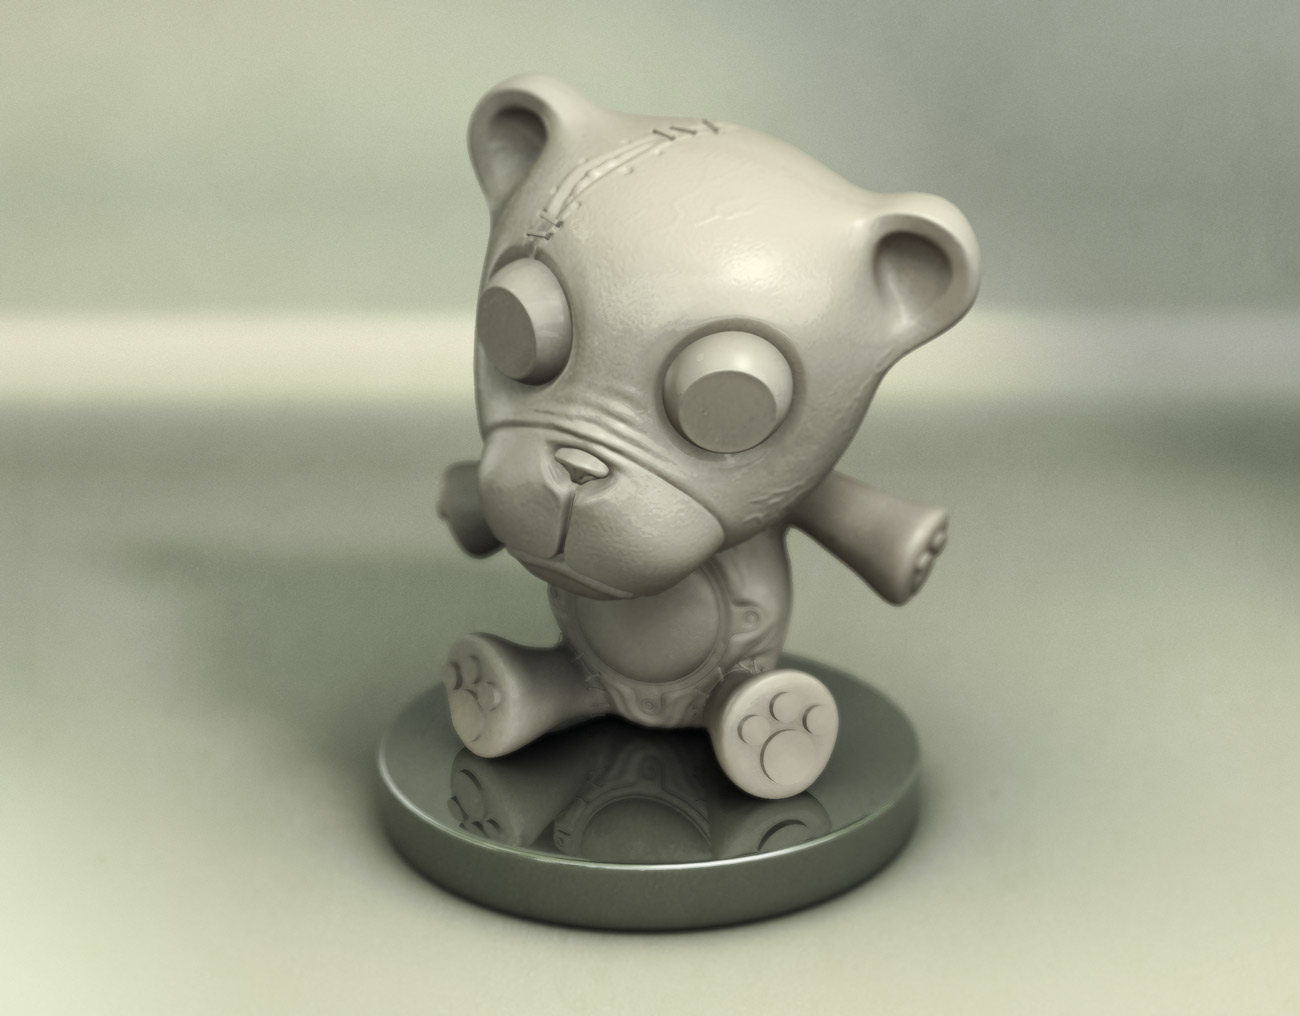
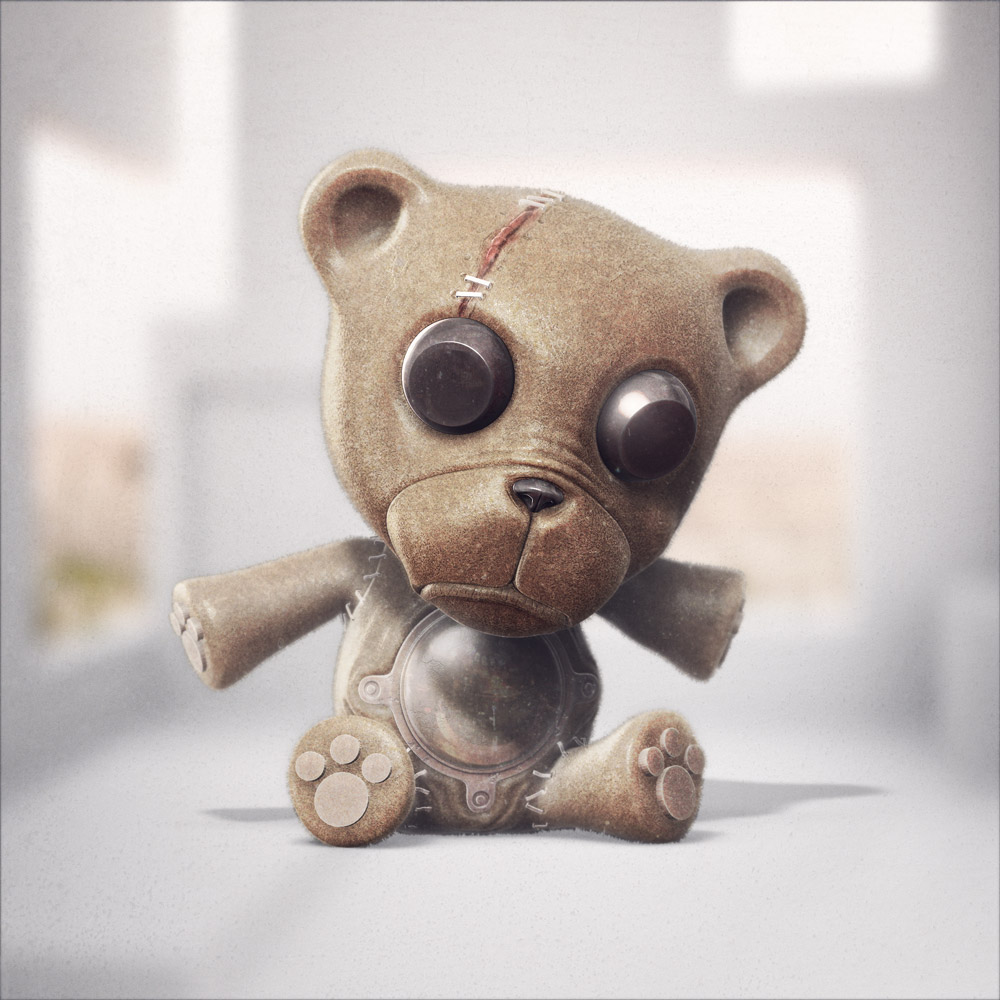
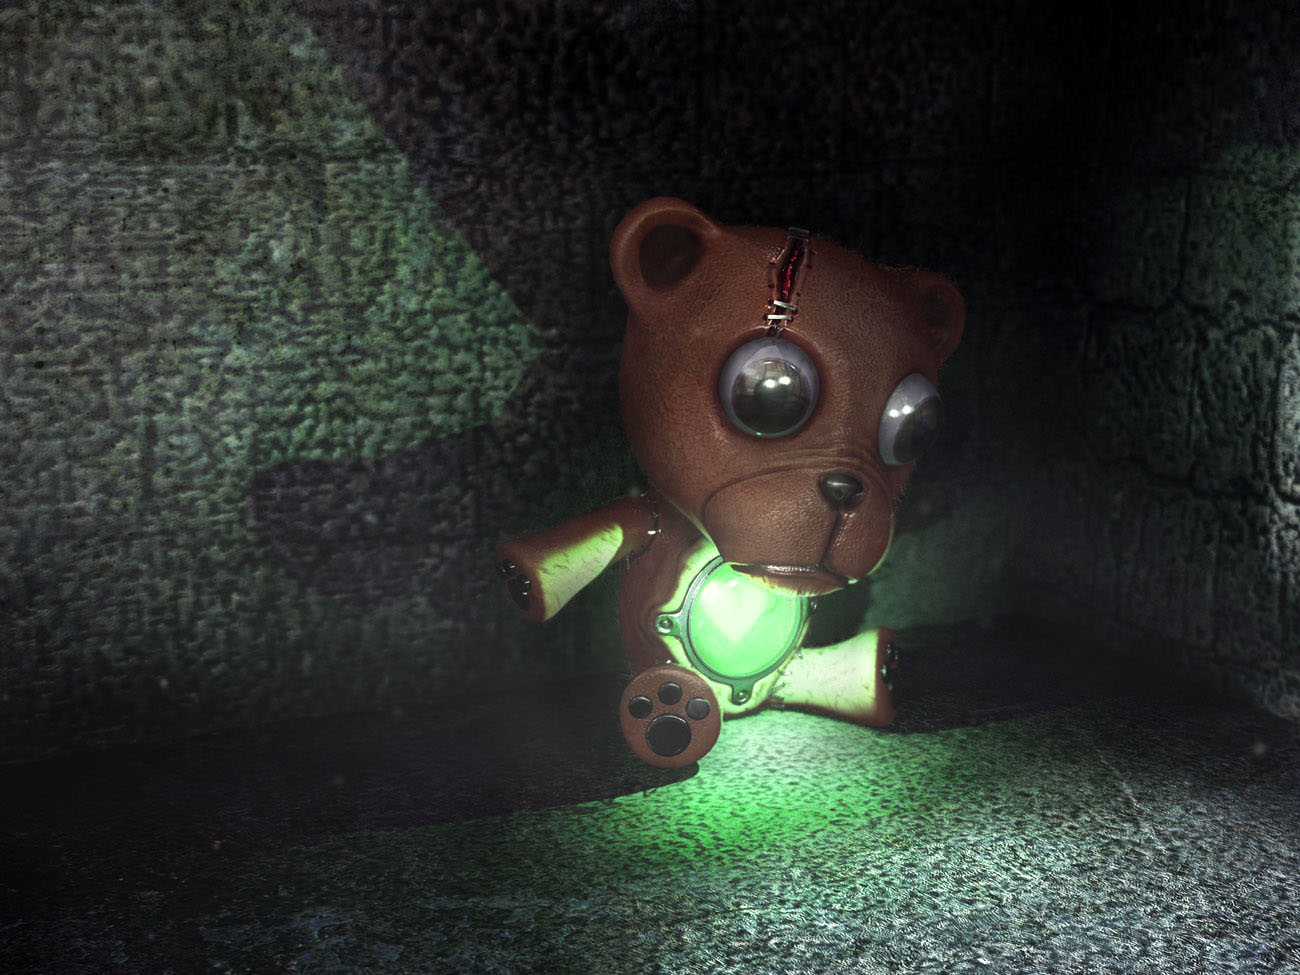
ABBEY BEAR
Color render.
Attachments
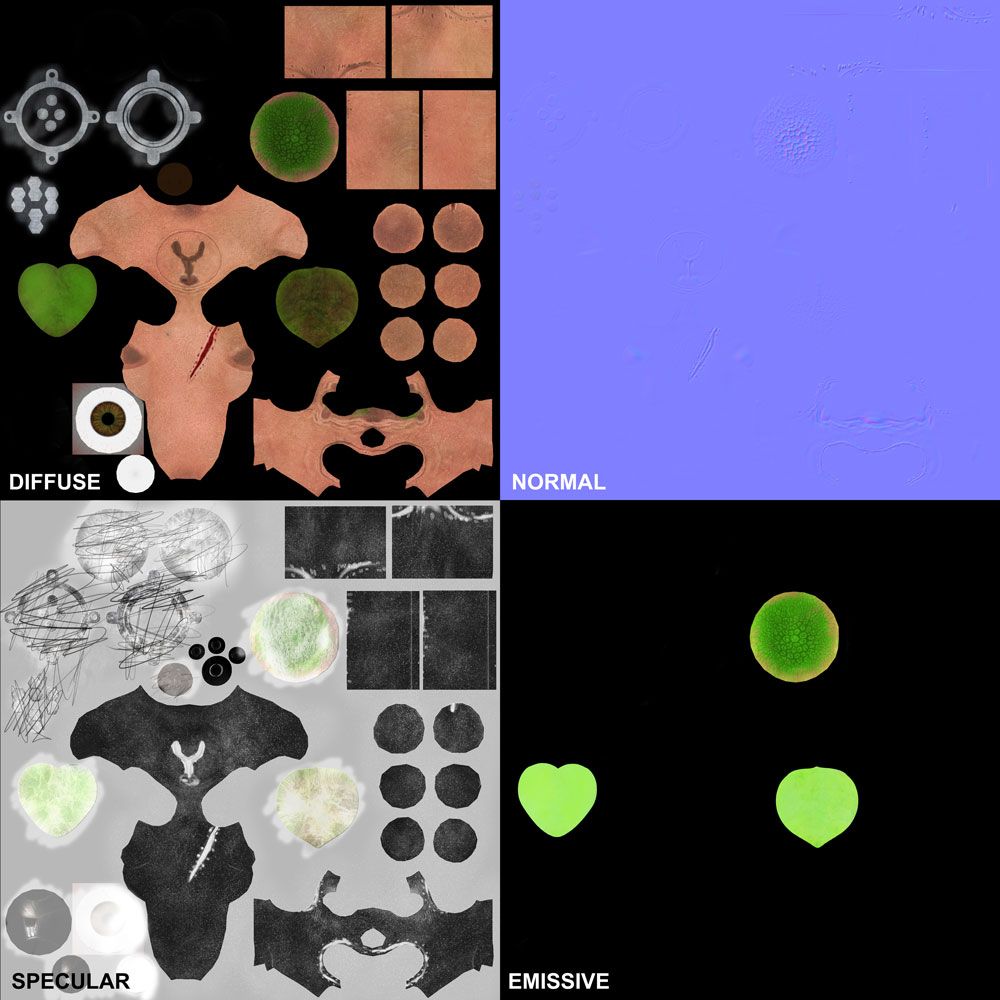
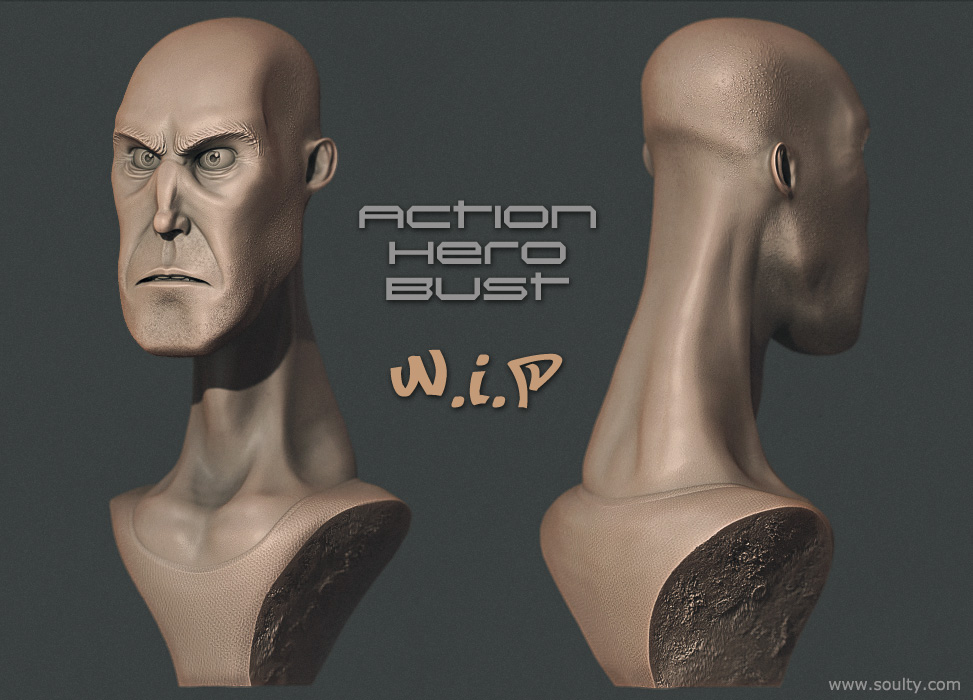
Clay render

Attachments