ZBrushCentral

Sketchbook - Mine.

Mahlikus - I actually have Hogarth’s drapery book sitting in my stack of books to read. I looked through most of it when I got it but I am still learning to actually practice the things I read so I forgot most of the useful bits! I kept thinking that this study would have been easier on paper first, I have trouble bouncing between observation and interpretation when copying from a reference so I’ll definitely draw it out next time.

Rory - It started out really enjoyable because the initial sweeps stretched down from the top come out nicely but when I got to the bundled areas I was a bit frustrated though it kept turning out nice so I was motivated despite that. I think if I had planned ahead better it would have been easier. I kept my dynamesh low and tried to mark in too much at once without finishing off each level. The changes in the light from my window actually annoyed me more though as I could never see all the forms at any given time (the cloth was a vibrant yellow, not given to subtle colors). Cloth is one of those details you get really excited about when it works.

EricShawn, Webhead, Chalkman, Kokoro, Lex - Thanks guys! Always encouraging to hear from people!

Ha! I have that book right here! How funny.

-E

I’m mostly finished with Giacomo Puccini, based on this photo. It’s hard to capture it in a render as I found it hard to get all the different forms to show up with any one
lighting set up or material. I wasn’t very excited about using the portrait with a hat in it since I could neither make it too flat without ruining the depth of the portrait or too deep without making it unworkable in glass. I managed to find a middle ground that doesn’t look too strange but it can’t shadow the face the way it should.

If you can be specific about it I’d be happy for any critiques or suggestions. Even if I don’t need to fix it I can take it into consideration for next time.

yes, the hat is difficult in a relief, but i like how you managed… i like also that his arm is coming out of the frame a little, but the collar from the jacket, i think should not do that too. since, as he sits, this is much farther back, and when it also penetrates the frame this illusion is broken… the eyes, somehow i think the upper lid should come a tad forward, it seems lower and upper lid are same level, maybe that is why the shading is off. when you add a little mass to the upper lid, it should create a tiny little darker shade on the eyeball and lower lid… just my impressions, your sculpt is really good, likeness is strong too. wonderful work, again :slight_smile:

Oh, the frame isn’t the final one, it was just temporary, but I agree that there’s definitely an added layer of illusion to how the frame interacts with the portrait.
As to the eyes that was actually something that bothered me about it. The more I zoom out the more obvious it is but at the time I had sort of focused in too much to notice it. That’s why I always appreciate people’s “at a glance” critiques.
When I was charting out the depth for this one I originally planned to have the recessed side of the face almost flat, thinking that I might go for a shallower depth. When I started bringing it back out again I didn’t have enough space for it. There is some extra thickness to the lids but they aren’t tipped out enough I think and the shadow pass alone was too heavy and made it look even less balanced (to me). My client suggested making the socket deeper on the right so clearly I’ll need to address the imbalance.

As always, thanks for the response!

Based on the photo, I think his lips and nose need a little more roundness and fullness even a little bow in his noseline, except if you are going for a heroic idealisation. He seems a bit crosseyed, but so he does on the photo.
very nice portrait!

Hey man, a very cool and inspiring. Thank you for the process!

Love this :slight_smile: great stuff

Looks like you posted this in January? Now with the new forum, I’ll be able to see art that I can find that visually interest me… and this does. Very compelling approach here. I think you were successful in capturing the spirit of the photo. Nice work! How did you go about modeling her hair and bonnet? Great hands and gloves!

great job…really good piece

Jake - I agree with the eyes. When I went back and fixed them their planes were actually facing different directions. I also filled his cheeks and lips a bit. It was really difficult to find agreeable preview materials and lightings but taking a break from it helped.

Artbot - Thanks! I was confused at first because you were looking at a previous post (I haven’t messed with the new interface much yet). As for the bonnet and frills, they weren’t too bad. The bonnet itself is just a cone shape with grooves cut into it really. The frills I sort of gave up trying to make from scratch so I actually just overlaid the texture on a new plane, masked off the frills, and extruded it until it looked right. The hands were one of my favorite parts too, though they were horribly misleading to sculpt in partial depth.

I’ll hopefully have some new stuff coming soon, I only just realized I had more replies than I thought.

Woah, I’ve been slacking off on posting my goodies. Here’s my attempt to remedy the situation.

First, I finished Gioacchino Rossini, my latest “last” composer in the series. I’ll probably be doing Puccini from the side later but I’m taking some time to work on another project first. The material for the render is a bit overly biased to bring things out but it still looks about right.


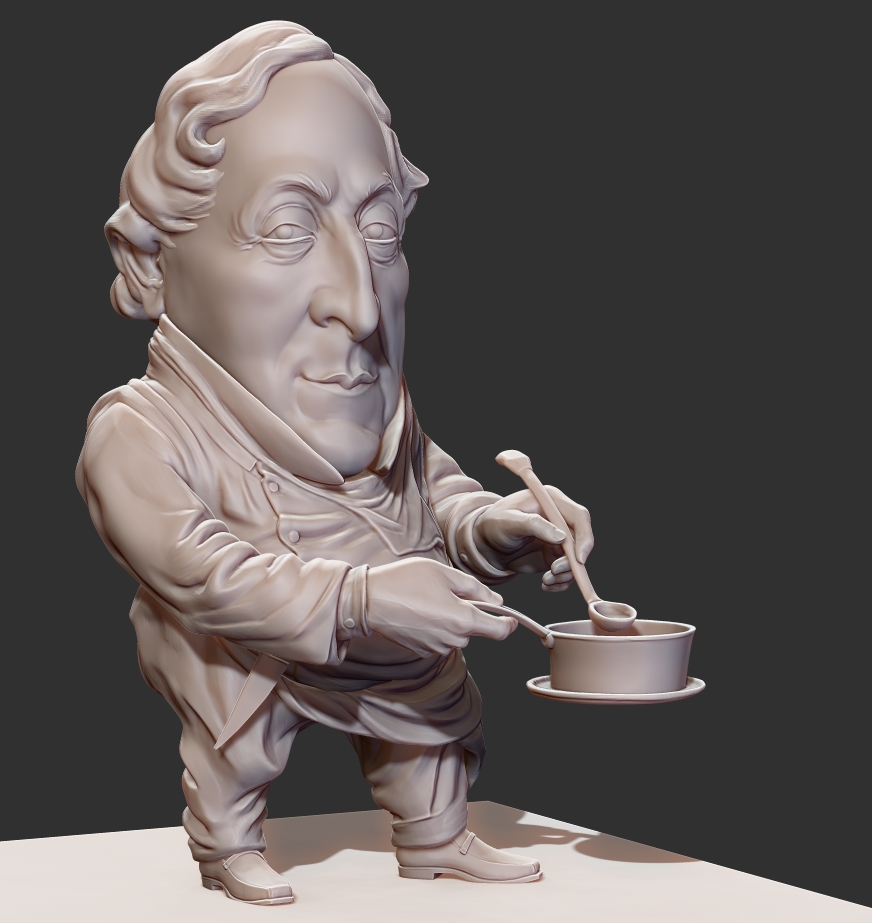
Before I sculpted the relief I sculpted a caricature of him based on an image I found. I figured it would let me actually practice something less tedious. It’s unfinished and the render was a really quick one but if I get around to it I’ll clean it up.
rossini_car.jpg
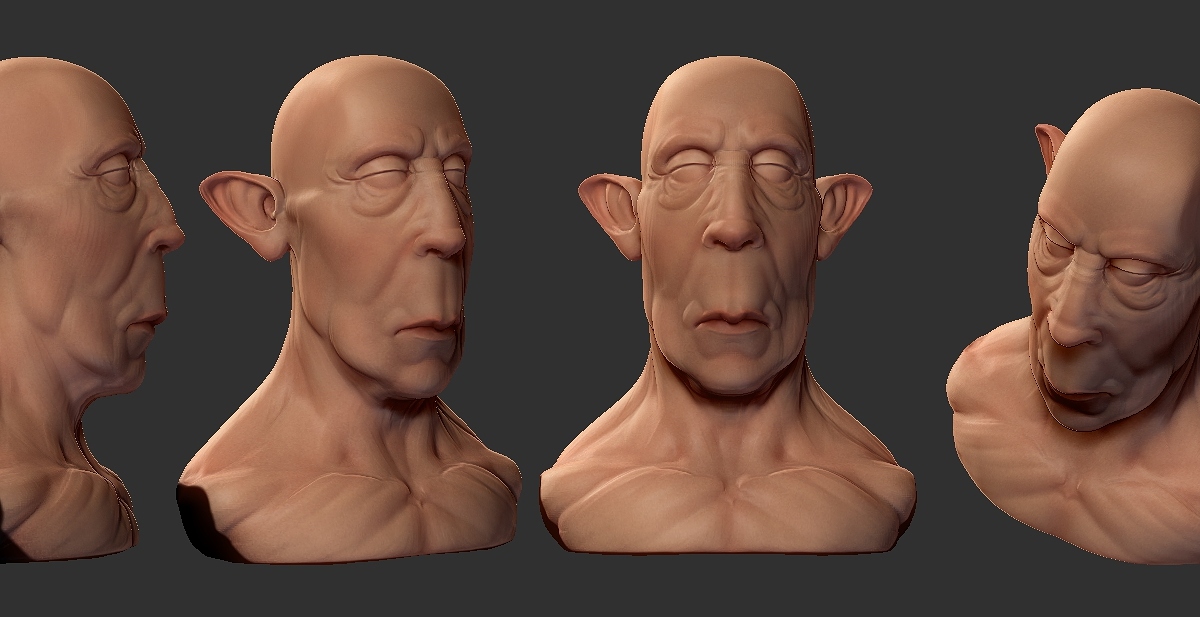
Next up on my list of things worth posting for the world to see is a quick bust I did that I practiced some quick texturing on.

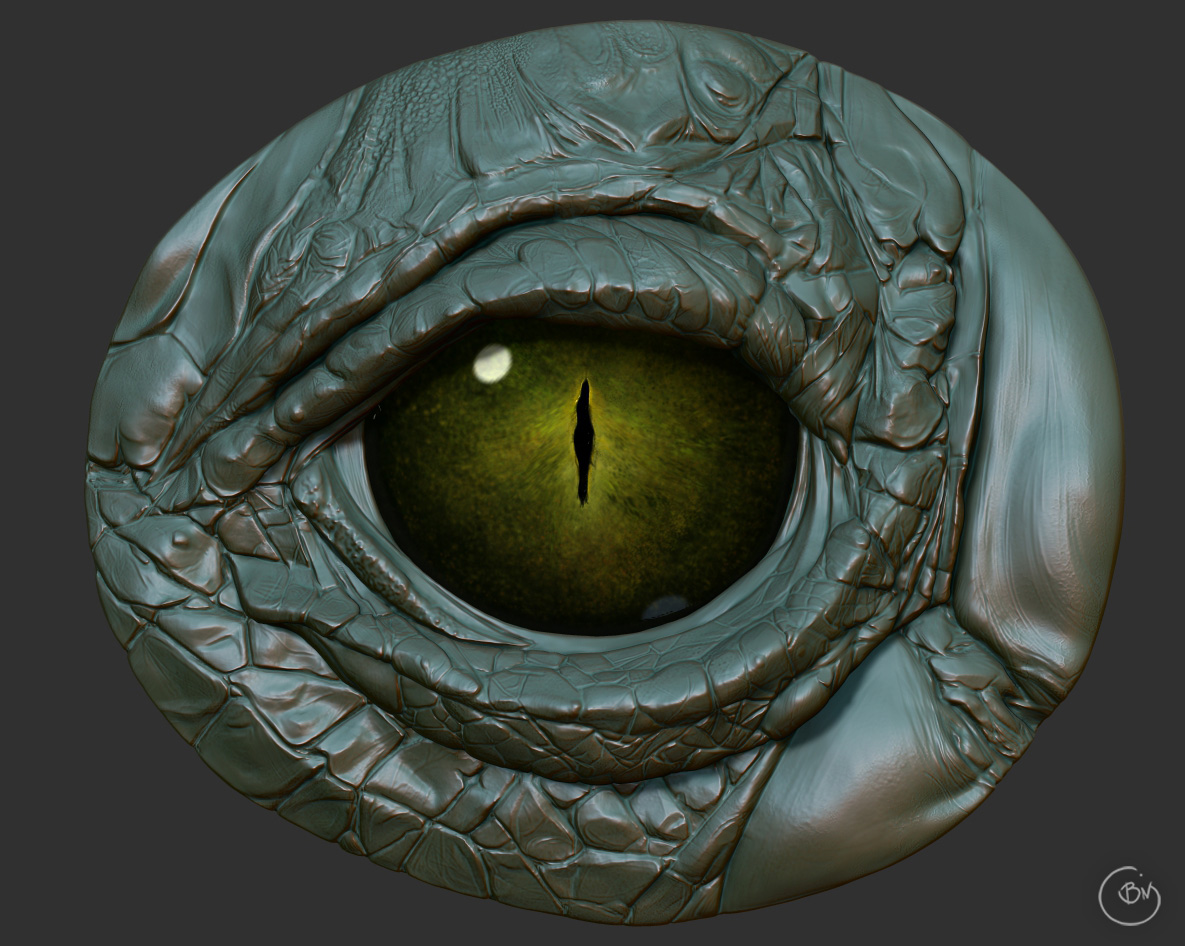
In my search of things I can convince myself to sit down and study I chose a picture of a alligator’s eye. I was a bit indulgent in that I went too much on observation and perhaps not enough on intuitive filling in the gaps but at this point I will learn something from the process regardless. I really badly want to texture the rest of the piece since it turned out so nice.
eye_preview2b.jpg
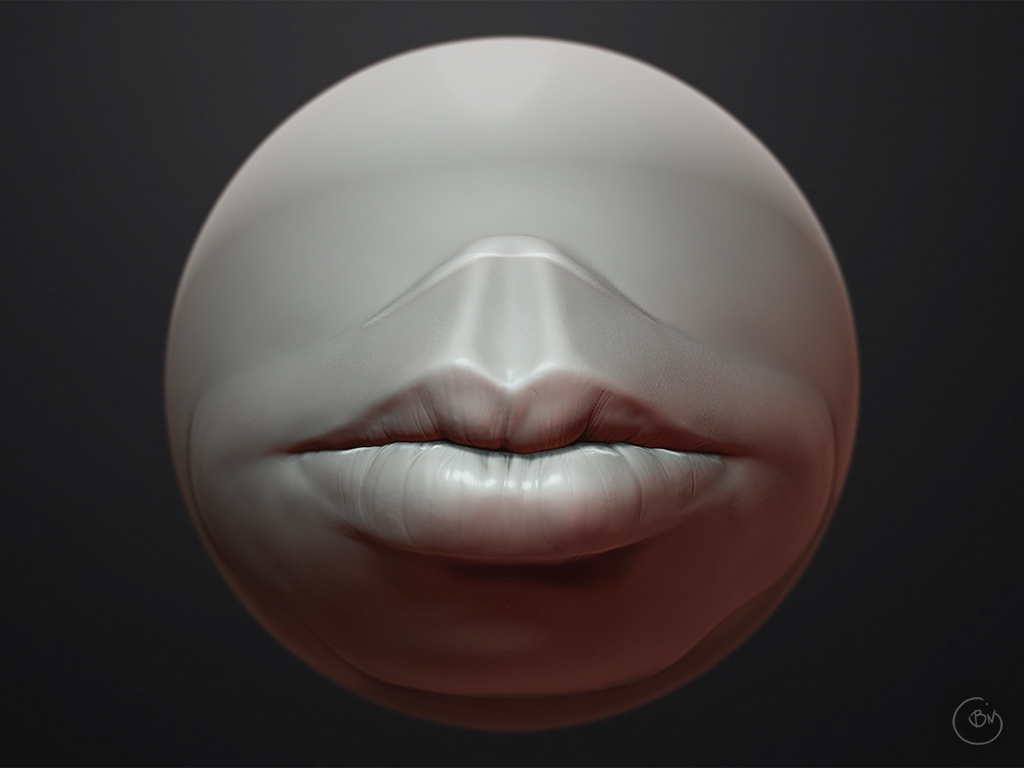
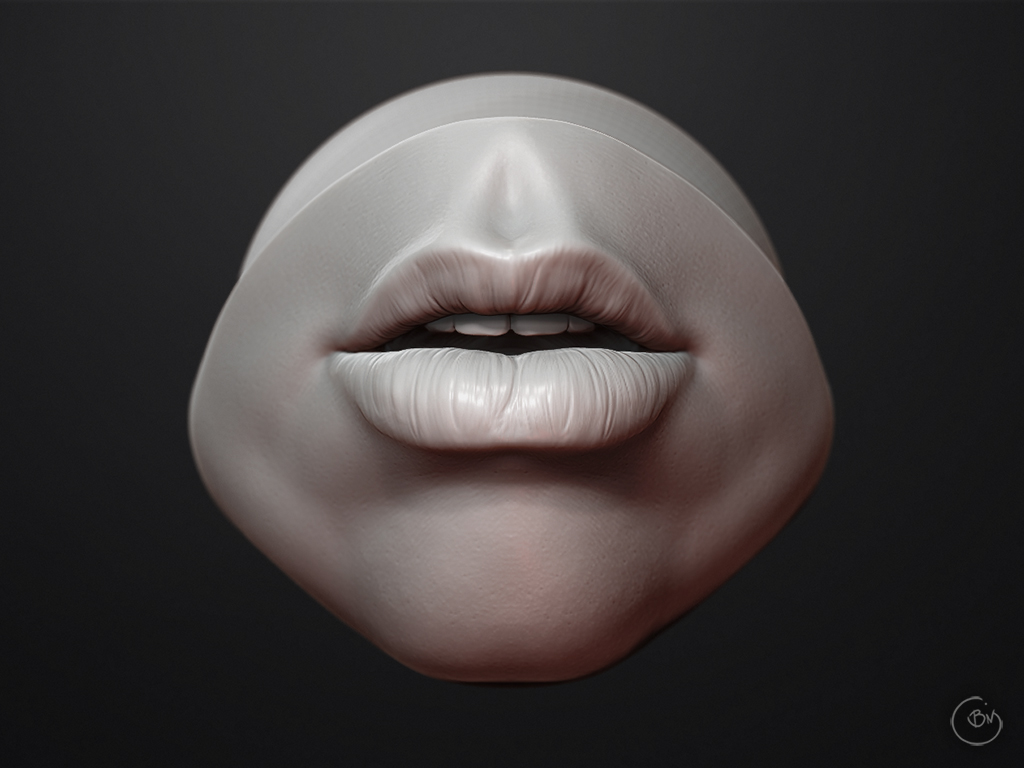
The last thing I wanted to post is my new hobby (I hope). I saw someone’s study of lips sculpted on a sphere and thought I’d try it using some of the many portraits I’ve collected in a folder on my desktop (as everyone probably has). It’s incredibly easy and quick and I pick up on the various forms that appear really easily. I want to do a skinless one at some point to practice the actual anatomy and to indicate as many forms as possible.
benMiller-Lip_Render.jpg
benMiller_Lips_B.jpg

Reference for the first set.
Reference for the second set.

really nice work i like it !

nice mouth studies, i like particulary how well you sculpted the skin structure of the lips. very nice :slight_smile: … nice work on rossini too, eyes look a little too bulging, maybe? … what is after the composer series? got a new series to sculpt? i find doing series is a great way to concentrate on a topic to learn, you certainly learned a lot about doing relief works in zbrush, as it shows :slight_smile:

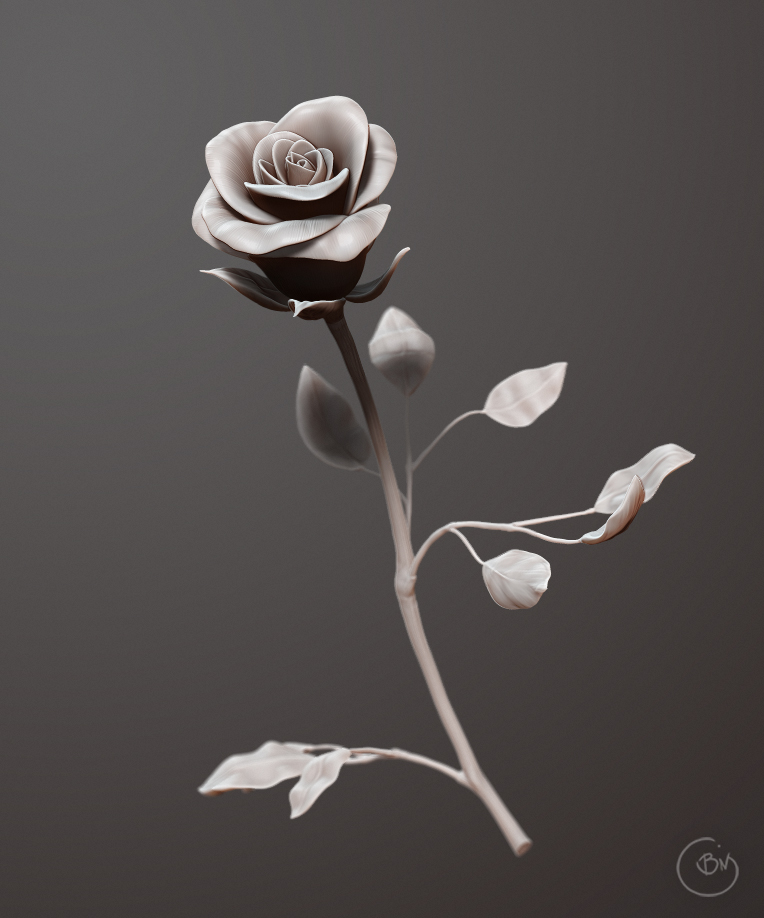
benMiller_TheRose.jpg
Made this for mother’s day. It took me awhile longer than I expected so I’ve only just now sent it but I’m glad I put the extra time into it. Made entirely in zbrush.

I had no clue how to make a rose and it’s nearly impossible to search for anything I need around the holidays anyway. I considered sculpting the flower as a single blob with edges carved into it but I couldn’t keep track of the different petals well enough to even start. Eventually I realized that all the petals are the same, just different scales and different bends. I ended up starting with the small closed petal in the center and slowly unraveling it until I had the larger ones. I tried to get some important variations to it and went over it with the standard brush as I explained above to break it up even more. I filled in some of the gaps with some small petal tips and tediously moved them around until they all more or less tucked in the way you would expect (with less concern for hidden areas). The leaves at the base of the rose I started off with a bend but I found they were difficult to make unique and realistic like that (changing the concavity of a leaf or petal in zbrush involves manually filling, scraping, and bulging opposite sides). For the rest of the leaves I started with a flat leaf shape from shadow box and bent it around until I had a few versions to fill the stem with.

Does anyone have any suggestions for how to bend with more control? If I have a bent object, like a leaf, I can never seem to reverse the bend (like to curl the tip of the leaf in a different direction). Another example would be bending the petals outward and down. I would like to be able to use the sBend in the deformation palette but that operates with the pivot point at the center of the scene while I want it to be more like the transpose tools. I’ve tried bending using masks and the rotation transpose tool but I get sharp bends almost no matter what I do. I saw a few ways to stretch an object to create a bend, but not a way to get that sort of sweep without stretching.

As for bending you could try making a custom curve brush from your leaf.

Beautiful work!

Your Rose looks real, thought about texturing it ?.. Very cool :smiley:

Awesome stuffs :+1:

Too good, a tutorial to learn