trustter,
Thanks. Your model looks nice man. I’m not in Brazil yet, next week.
ltrain7,
and I can tell you that inspiration comes also with nice words, not only with images. So, thanks for your nice words man. It’s a great inspiration for me and makes me keep moving forward because I too believe in CG as artistic expression, more than anything 
STAVREV,
probably not a specific tutorial because I went too far to make a tutorial for this model. Maybe when I start the next one, if I get the free time. All I can say is that the textures I’m using here are produced exactly like in the tutorial I already posted here at ZBrushCentral (Artists in Action) and the wrinkles and skin details are also available for download (alphas) and other artists already posted tutorials showing the same techiniques to create these details. So, nothing new at all, just atention to the details.
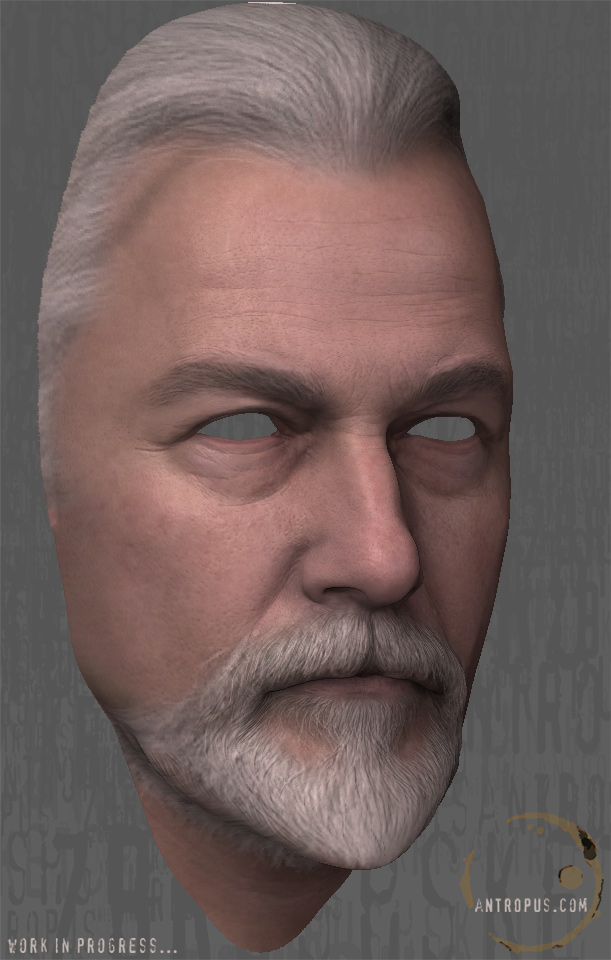
Ok, I started making the textures. For this basic texture, I used a picture that Rick himself sent to me for reference (thanks a lot Rick!!!). The picture had not a very good resolution (I think it was 400x600 and shows not only the head but part of the body, so it’s really lowres for texturing). I used the picture as base for the color and now I started painting details over it, redoing the beard etc. The texture was only projected in the front view. That’s why you will see problems in the sides of the head, mainly in the beard area, very stretched for now. I’ll fix it using a combination of samples from pictures and manual painting. The skin shader and light are the same I posted before in my another thread about detailing the human skin. The only difference is the skin color included in this model. I personally liked the way that the texture integrated with the pores and wrinkles I modeled and also the 8% reflection in the shader helped to create some nice diffuse specular effect in areas like cheeks and forehead. Still a lot to do but man, ZBrush rocks even for rendering!
I hope you like it. Now I’m going to sleep.
Cya,
-Kris