sorry,double post
hello
i’ve got a problem with my OBJ Auto scale value. when i work on a model and later on try to export it the auto sclae numbers are always x=1.0000y=1.00000 z=1.00000(sometimes even x=0). so i cant use the equation:Amount = (displacement-gain / OBJ auto scale value) * 10
what do i wrong?
and another question.it seems that my auto depth factor is to high,it is about 2.54,thats unnormal,isn’t it?
please help me
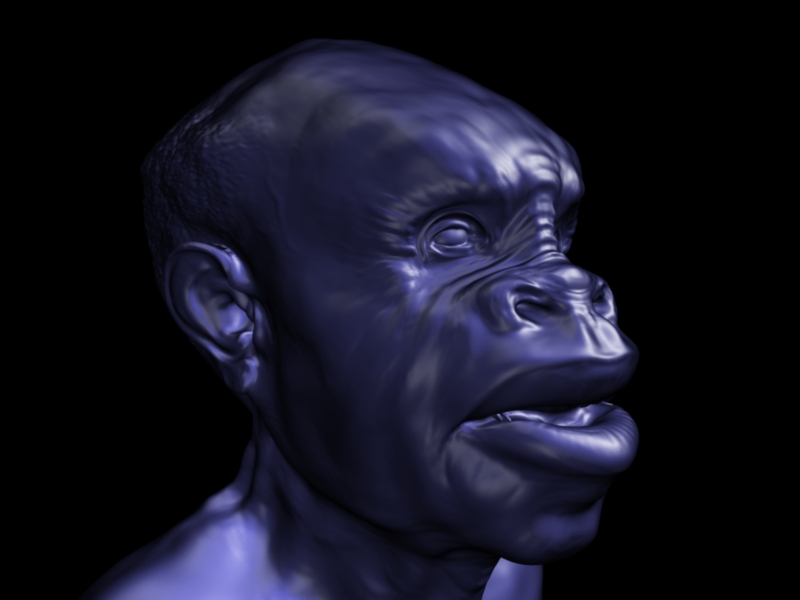
Rendered in Carrara Pro 5.1. An amplitude of 12 was used for the displacement and a smooth rendering of 4 was used on the polygon model.
Updated. I had some time to figure out a bit more about displacement.
Thanks for looking.
hehe, this is fun. Well, after hours of experimenting, here is my result.
3D studio max
Mental ray
meshsmooth 4 iterations
displacement strenght 6,0
luminance center 0,0
And a homemade skin shader 

Raytrace material with a lot of specularity
standard material, no lighting

Attachments
This is my attempt using R10.
Standard map as supplied,added into filter and contrast tweaked
15 second render with the skin shader
I don’t know if the hypernurbs object has changed but using settings mentioned early inthe thread the render takes about 15 minutes and still looks poor.
The main setting difference is no hypernurbs object just setting 4 and round geometry in displacement.
by “R” do you mean PRman?
I bet he refers to Cinema4D R10. Here is my attempt with the same weapon:
Lemo
You’re right Lemonnado, Cinema 4d it is.
Sorry didn’t mean to cause any confusion .
What settings did you use for your displacement map ??
I used micropolygon displacement in AR and the Sinc Algo for mapping the displacement map. Unfortunately the 16bit map still shows quantizing errors without blurring it. MIP mapping is flattening everything badly. But I think the detail came out nice with that setting without showing any ridges.
Cheers
Lemo
for your posts…
and also your demo and tut about displacement maps. 
I tested many different ways to keep the geometry between ZBrush & Maya and before, the result was awful!
Then, I did your example and it was really better! So, I tried to see what is happening with our meshes, and… it works!!! (but I have to scale x10 in Maya)
Really thank you for help and sharing!!!  +++ Respect!!!
Hi people, I hope all have had a wonderful xmas and start to the new year.
I use zbrush alot but unfortunatly cannot afford any large quality 3d programmes like Max, Maya and C4D but have been playing with a tutors version of C4d as I intend to buy one in the next few months. We also have Maya in our computer Lab.
Anyway, I have had a play using the maps provided. The sword works fine. I duidnt do anything with contrast as do not know how to yet. This coming weekend I will take the manual home and study it.
Let me know what I have done wrong as it seemed really simple.

Attachments
Hi, I did the two test files attached to this thread and they worked out fine. I did then did a test with a low poly model I had that I did some additions in Zbrush with. I first just did it on one object of the model a shoulder pad and I brought it back into maya, rendered it with MR and it worked fine.
I put it down and I decided to do the whole body and followed the same steps, now when I render it with Mental Ray I see the changes on the model but it is in a hard edged mode. I open up the render log and the script ediitor and I see this error.
// Error: (Mayatomr.Geometry) : NewbodyforMaya:polySurfaceShape1: polygon mesh can’t be exported as a subdivision surface //
MENTAL RAY RENDER DIAGNOSTICS:
Textures
- Filter type of file node “file1” (Quadratic) is not supported.
Performance
-
file1 has a resolution of 2048x2048 which may be unefficient.
-
If file1 is not a memory mappable file, use imf_copy to convert it to .map format, to improve the performance.
// Warning: 3 warnings, see script editor for details. //
any help would be awesome and very appreciated.
Rendered In 3DSMax9 using Scanline:
-Displacement map image has a -.5 RGB Offset and .01 blur
-Turbosmooth applied with 6 render iterations
-Displacement Modifier applied with a strength of 10 and existing mapping checked.
-All other settings not mentioned are at default values
Hello all.
Just wondering if anybody knows how to set up displacement maps in Maya and render it in Maxwell?
Thank you!
hi…i use 3d max 8 and vray 1.50 rc 3…i cannt find the right size for amount and
shift…but i ussualy use 10 and -5 for that…can all of u help me for that?..and one major factor is size of u divide mesh…but since i turn down my subdivision to 4 ,many kind of various result. is that right the lower divition my impact the result for displacement?..if i go to sub dived 5
…my displacement sometime become more sharp and bummpyyy…please help…and what tipe of tile that 3d max and vray user ussualy use for sclupt and game industry??..is guv or auv?
and i cannt find right size for vray light to…so please help me…
This is my first displacement test ever 
I’m really new to the whole 3D thing, the apps just seem too complicated for me.
I LOVE the way Zbrush works and Modo was recommended to me for being a great modeler and renderer.
Thanks to Philip Lawson at Uberwave.co.uk for the tutorial on how easy it is for these two apps to work together.
[](javascript:zb_insimg(‘57299’,‘head06.jpg’,1,0))
Nice! Pigumon…
As a mac user I think you staying in Modo and Zbrush is nice solid set of tools to accomplish what your interested in.
Stick with it. and dont let the extensiveness of the 3D world overwhelm you.
Take it it one step at a time.
Hi all from Bulgaria. I am new user of Zbrush and I want to make a nice workflow with Maya and Maxwell render so. Here is my tut it is combined from all kinds of material found about this topic so I will be very greatfull if you guys fine tune it:
Zbrush->Maya->Maxwell render
PS: It is still under construction. Because I have exams to take;).
Hello,
Here;s my attempt. Been learning zBrush for about 3 weeks and decided it was high time that I started practicing displacements so that I could take my stuff to the next level.
Thanks so much Pixolator, Scott Spencer, Ryan, Aurick and Sunit for the fast displacement tutorial you posted some time ago. Been ferociously reading all I can on the forums.
Played around with attribute displacement settiings in both Maya and Mental Ray ( actually still playing…).
My render time in Mental Ray for this was quite quick = 12 seconds with an Alpha gain of 14, alpha offset -7.5.
Machine is 2.4 gHz with 2 gigs of Ram.
Just had to say thanks and keep up the good work. We appreciate itThanks,
Clare
South Africa