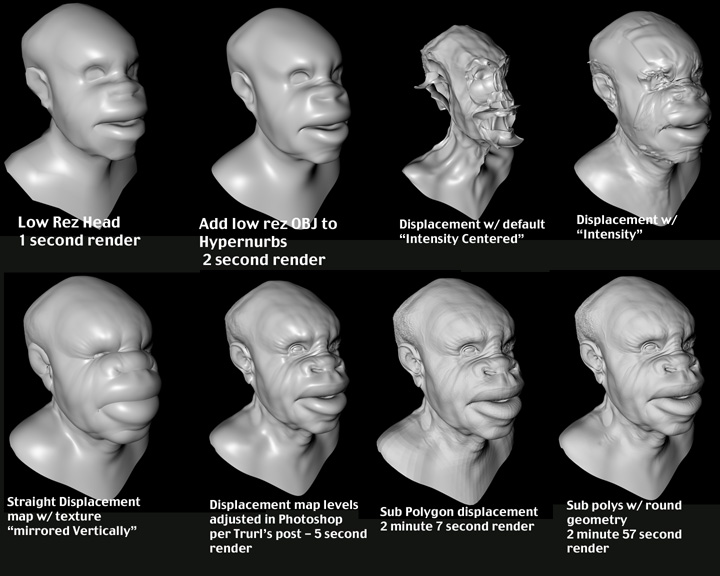
For info on the settings: http://www.microcan.nl/forum/viewtopic.php?t=6

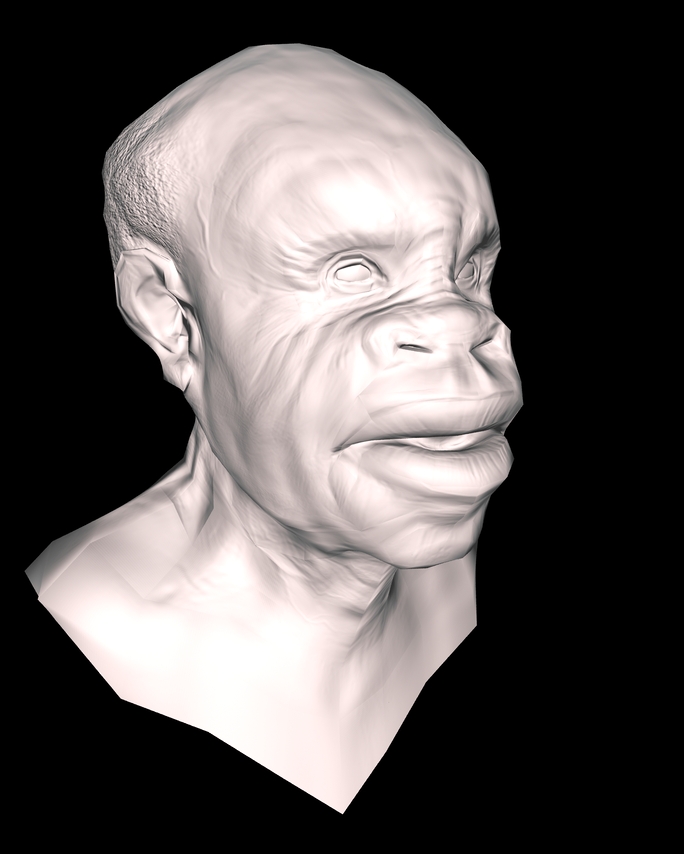
Here’s my test using Cinema 4D 9.5 and following Trurl’s directions in his post. There are a few differences in 9.5 from the version 6 he is using I guess.
Attachments
Heres a render test done in Lightwave 8.5
36.8 sec
1.7 million polys (subD render level=25)
texture mipmap = off
texture pixel blur = on (this was required to stop creasing I beleive was introduced due to the non contiguous UV’s - just a guess. It didn’t seem to affect detail however)
1280x960 5-pass Low Antialiasing
default light no shadows
This was done using an alternate version of NormalDisplace plugin and a 16bit tiff loader plugin both found here http://lynx.aspect-design.de/plugins/normal_displace_info.htm
Hi, this is a nice thread and i’d like to post my solution for 3d max 7 with VRAY. It took me quite a few hours to read through all the tutorials and tips but i’ll post here instead of making a new thread.
1-Import obj
2-Convert to editable poly
3-Editable poly > Tick the Render > Iterations box and put a value of 3
4-Create a new material (i create a VrayMtl but standard should work too)
5-In the material put the displacement map TIFF file in the displacement slot (under Maps rollout)
6-Go to Coordinates rollout of the map > V tiling set to -1.0 (not needed if you flip the displacement map vertically in an editor)
7-Blur: 0.01
8-Add a VRayDisplacementMod modifier to the stack (should be above Editable Poly)
9-Click on the “None” button under Texmap to choose a texture map for the displacement modifier.
10-When the new window opens, find the material you just made with the displacement map and select it. You can do that by choosing “Mtl Editor” and you’ll see a list of materials you have in the editor at the moment.
11-(Still under VRayDisplacementMod) Put Amount to 13.34 and Shift to -6.672
Now you should be able to render and the results should be OK as seen in many pictures above. I dont think i missed anything. 
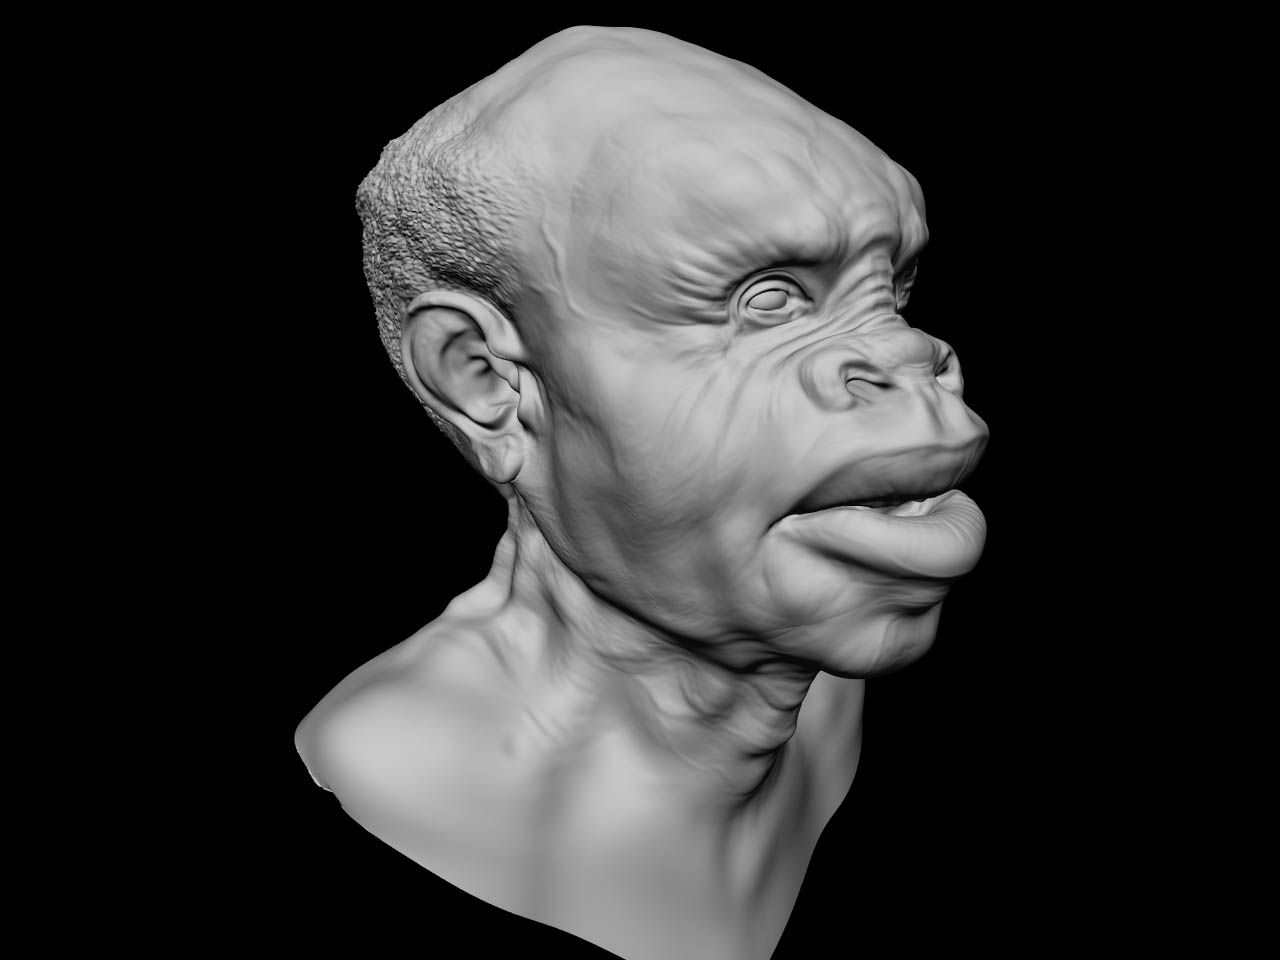
Edit: Here i added one of my renders
An important note: How to calculate the “Amount” and “Shift”?
Amount = (displacement-gain / OBJ auto scale value) * 10
Shift = -(Amount/2)
Displacement gain you get from zbrush when you make your displacement, or in this example it was given in the first post.
OBJ auto scale value you get by opening the exported OBJ file in a text editor and looking at the Auto scale x= values (three of them should always be the same). In our example of this head:
Amount = (0.834 / 0.625) * 10 = 13.344
Shift = -(13.344 / 2) = -6.672
Edit2: Another note: If you take the alpha depth factor as the displacement-gain (which you should) after making the dispmap the usual way (without any plugins) then amount should be that2 and shift -that. You get the alpha depth factor from the alpha menu, select the created alpha and its at the bottom.
Edit3: But now in some testing it can also be amount=alpha depth factor10 … i dunno im confused, just see what works 4 u 
that’s cool but i don’t think u need to put the iteration at 3? anyway if it works for u , then great! :lol:
Yea you can do with 2 i guess, i just used 3 to make sure low iterations werent my problem. Getting rid of banding was a headache so i had to try everything.
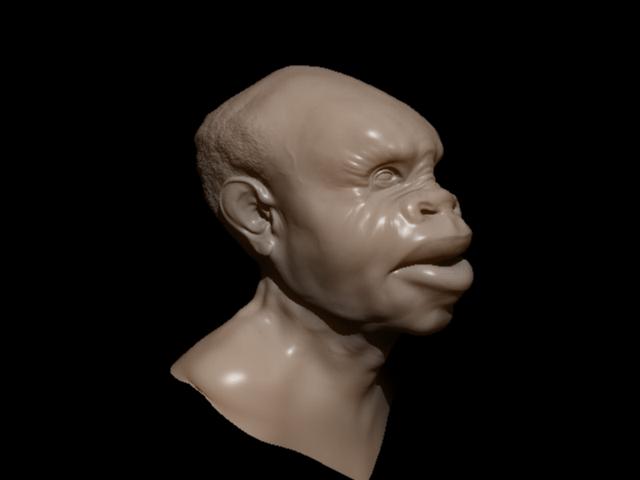
Rendered in Carrara Pro 5.1. An amplitude of 12 was used for the displacement and a smooth rendering of 4 was used on the polygon model.
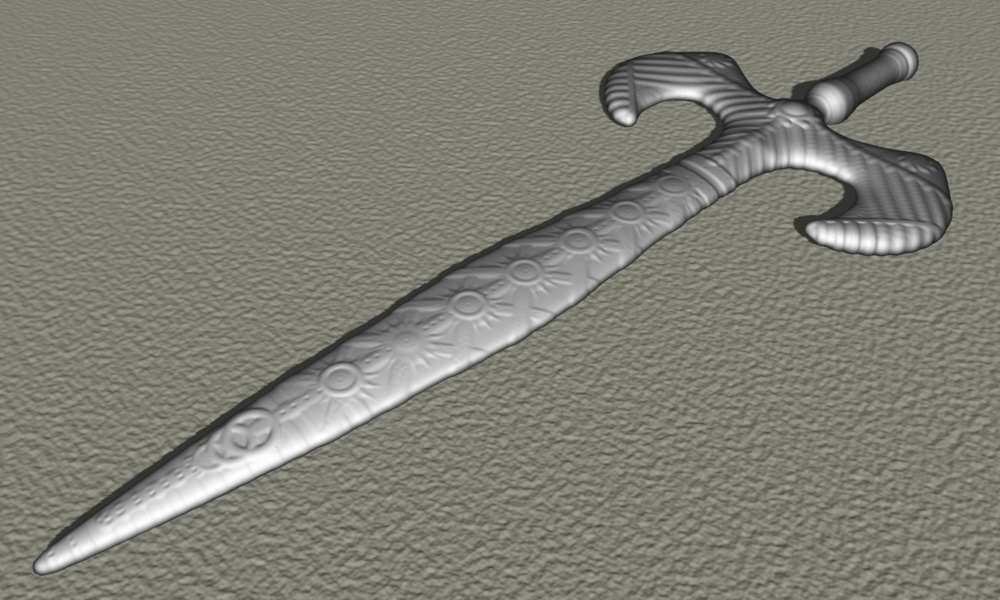
Finally got a good sword render from ElectricImage 6.5
Using AUV tiles, the trick is to turn off texture AA, turn up the sampling level to 2x2 under “object info” and under render settings/ Anti-alias.
Reuben
how were the maps exported? which special settings were used? i export disp maps out of zbrush through the normal zbrush tool routine and they generated models look always trashy.
the models generated with the pixolator ispmaps look awfull crazy perfect
why do his maps generate a perfect 3d disp object in my renderer?
and why dont my do this? what should i use for settings for exporting a disp map`?
Now that Blender has better subsurf-UV interpolation and can use >8bit/channel textures (cineon, DPX, EXR) I thought I’d give it another try, and was pleasantly surprised.
Subsurf level 4, ~1 min render (1Ghz Powerbook G4)
Subsurf level 5, ~3 min render (1Ghz Powerbook G4)
I’m not sure what’s causing those gridlike artifacts though - they seem to be following the topology/subdivision, but also influencing the spec, which is odd. Might post a bug, unless I made a mistake when I flipped the UVs vertically…
Hey Broken! Glad to see you here! I have had a similar problem with displacements. However normals work quite well in blender as well. Even in version 2.41. I will post my Journey begins in several places when its done. The dog zbrushed. And I tested what looked better, normals or displacements. If you use a lot of light normals will show more of the details you want. However they do throw off the lighting a bit.
Free Daz Studio 1.3
Attachments
I did these some time about. The first time I ever got Zbrush displacement renders in ElectricImage. Still studying the process. EIAS doesn’t have 32bit renders, it’s great but will only do 8bit. Nor does it do mid gray level displacement. DE may be a great help with this,
I did the pixolator head but I’m using Photoshop to separate 8bit pos and neg displacement/bump maps and I think I cut image data can got flat parts.
Vray 1.48.03
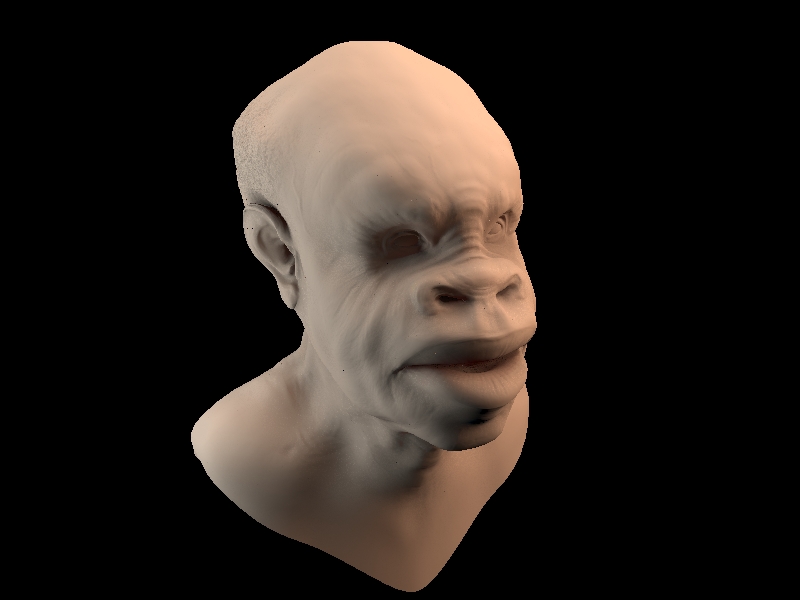
Probably could’ve done with some extra tweaking but it looks ok =)
Details:
nurms subdiv 2
vraydisplacementmod:
2d mapping
amount 8
shift -4
resolution 1024
displace map flipped (u 1.00 v -1.00)
blur 0.01 offset 0
no colour map curve editing
Attachments
this is my render
Attachments
this is my first try for few mins during the class ( oops  )
)
for description :
im using Xsi 5.11,
Im doing a little bit tweaking from deffault rendertree (generated for displacement if you load up the disp map at the first time)
I cranked up the new start and end range ten time (maybe hundreed time i forgot :D)
and max disp into 2, sometimes I tried more than 2 it doesnt change anything
lemme know if this sword suppoesed to have more detail.
ps : im not usually
using fine displacement
usually using angle disp, it render faster, but it also create seam prob
http://archive.zbrushcentral.com/zbc/attachment.php?attachmentid=40246&stc=1

Attachments
hey woundering if you could help with a detail problem in maya , i see your displacement is perfect. i export using Multi displacement export2 and even tried the in built zbrush exporter on adaptive… in maya i make sure filtering is off in mental ray and off under the file node, my displacement settings using the =file#.alphaGain/2 expression, yet my renders are not nearly as high detailbut when rendered the poly count on the mental ray appox (displacement and SubD) are really nice and high…
where is the detail being lost and why does it look smoothed out?
without the subd approx (if that is the reason for the smoothing effect and loss of detail ) and just the displacement approx …the render looks blocky and lower detail still , so it needs the subd approx
I Like that lighting. Dam That just got me back into Maxwell as a renderer.
Thanks for sharing:)
hello
i’ve got a problem with my OBJ Auto scale value. when i work on a model and later on try to export it the auto sclae numbers are always x=1.0000y=1.00000 z=1.00000(sometimes even x=0). so i cant use the equation:Amount = (displacement-gain / OBJ auto scale value) * 10
what do i wrong?
and another question.it seems that my auto depth factor is to high,it is about 2.54,thats unnormal,isn’t it?
please help me