I don’t know what “TestShot” is, but I LIKE it!!
Alien steam punk? 
Do more, do more!
ps- what renderer? Nice sky.
I don’t know what “TestShot” is, but I LIKE it!!
Alien steam punk?
Do more, do more!
ps- what renderer? Nice sky.
#2024
Now you’re talking!
Amazing!!!
@Patpotloo:
hehehehe!
I started off that way too!
Crazy is good for you sometimes!
@Zber:
Thanks!
2011 was a lot of fun, screwing around with shades of white because of that one, its interesting…
@Megacal:
Thanks!
Its in KeyShot, made in ZBrush.
I have no idea what it is but I called it a test render because it is, the full render takes too long, it looks like maybe as long as three days…
@Michalis:
GRIN!
Thanks!
I have a question for you about this this, how do I get it into Blender with separate polygroups?
Is that an export setting for .OBJ files?
GOB seems to make them all one object and thats not what I want… You know what I mean?
And now for something completely different:
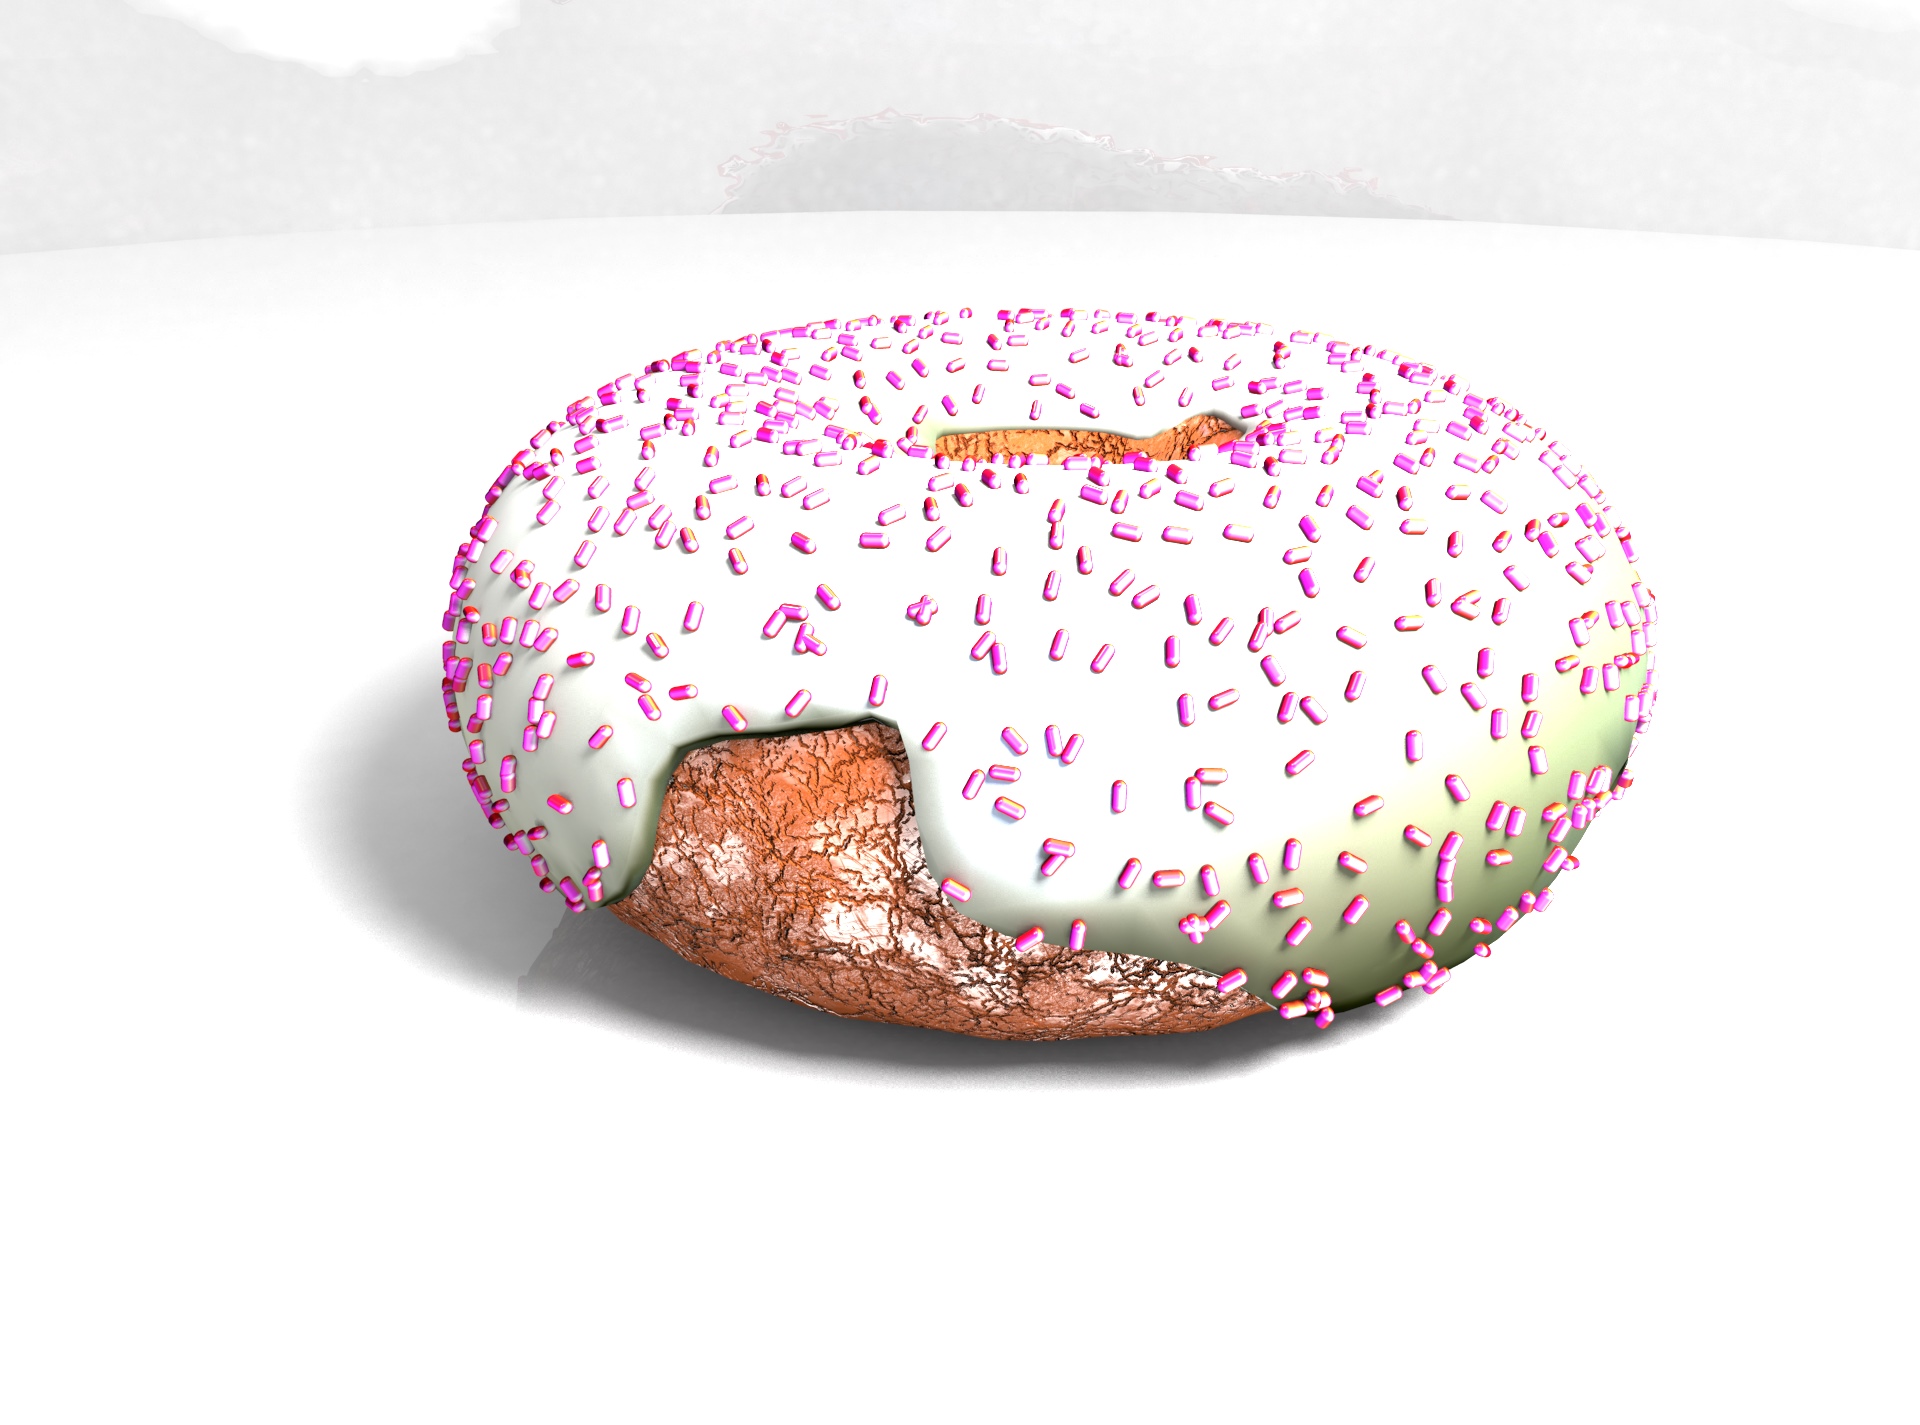
MealeaYing :
My first impression of post #2029
Is the render might be a glazed doughnut with sprinkles !
Then on a second closer inspection it is something completely different.
And it doesn’t disappear in flash of flame and puff of smoke
More likely it is just having fun!
I have a question for you about this this, how do I get it into Blender with separate polygroups?
Is that an export setting for .OBJ files?
GoZ doesn’t seem to export polygroups?
Anyway, obj export will work.

It depends now how you would like to use it.
It will import polygroups as separated objects, in place.
You could assign (in blender) vertex groups first. (or/and materials)
And select them all after, CTRL+J to join them as a single object, enter edit mode, select them all, W(submenu) remove doubles.
Or, you may keep working on them, having them separated. (not sure for what purpose)
Anyway, the equivalent of polygroups may be the blender vertexgroups. (select faces -edit mode and assign v-groups (properties panel/obj data tab) (select etc buttons there)
Polygroup might converted to separated materials as well. In materials tab you’ll find similar assign or select(by material) buttons. (to the bottom of this panel you’ll find settings/viewport color).
Assigning this way you’ll be able to preview (and render such colors)
michalis,
sorry, I don’t see the same export dialogue in my ZBrush 4R7 (?)
Where is the export dialogue in your ZBrush screen shot?
Using GoB?

Also, not sure where you’re importing in Blender (?)

Megacal,
In ZB you wil find it waaaaaaaaaaay down in the main Tool Palette ( last one at the bottom )
Note : a) You need to have Txr ON, IF you want to include the UVs in your obj ( I know cause I learned the hard way )
b) It’s been my experience that if you press the Export button in the Tool Palette, it will only export the main Tool and NOT the SubTools.
If you want to Export ALL the Tool AND Subtools , then you need to go to the Plugin Palette/Subtool Master and press the Export Button there.
With this method, all the subtools become DIFFERENT objs and you 'll need to Import each one separately ( into Blender ).
In Blender, the menu Michalis is mentioning, will be found AFTER you press the Import/Wavefront(obj) button - bottom Left.
Thanks Paleo3d!
Learn something everyday! ;)
- Make a scene of whatever you want in ZBrush.
>- Spit it over to KeyShot.
>- Make a sphere (Control 5).
>- Resize your sphere till it completely surrounds your ZBrush objects.
>- Make a light out of whatever you like, I usually use another sphere for this but it can be anything.
>- Make sure its inside of the first sphere, otherwise it will be dark in there.
>- In the environment section double click on Black, this turns off all that bloody HDR lighting.
>- Zoom your camera inside of the first, outer sphere and look around.
>- Add lights as needed and move them around till you have what you want.
>
Im seeing some VERY strange and cool stuff doing this.
It seems like lights inside of objects does a lot of strange stuff to KeyShots little pea brain and it increases its usefulness dramatically
Cool! But we want to SEE it, too! 
Megacal:
You posted that while I was typing up that last thing!!!
The only light sources in this are the eyeballs
Whoa! Waaaay cool! ;)
lots of floating fuzzy mote looking things, haze and fogginess and all sorts of other odd stuff.
First impression is she’s floating in outer space. I like the contrasty dramatic lighting, and the sculpting…crap? No way!
Looks like she works out.
making a fresnel lens in ZBrush and using it,
Great idea! Not emitters, but transmitting the light?
#2024 is her interstellar “boat”???
Heres a zipped folder, its too big for ZBC so I put it on DropBox
https://dl.dropboxusercontent.com/u/76310757/ItsMaddnessITellYou/FresnelTest.zip
Theres two ZTools and one .Bip (KeyShots format).
heh…
Unrelated fiddling about.
crazy stuff again.
you are the champion in out of the box thinking.
also last one is beautiful
I would love to see a few more pics from this latest object. Not a turntable, just some images from different angles.
It’s got something very ‘alien’ and this is meant as a compliment.
Now thats very cool,i can see a whole city made from this on an alien world good job nice one
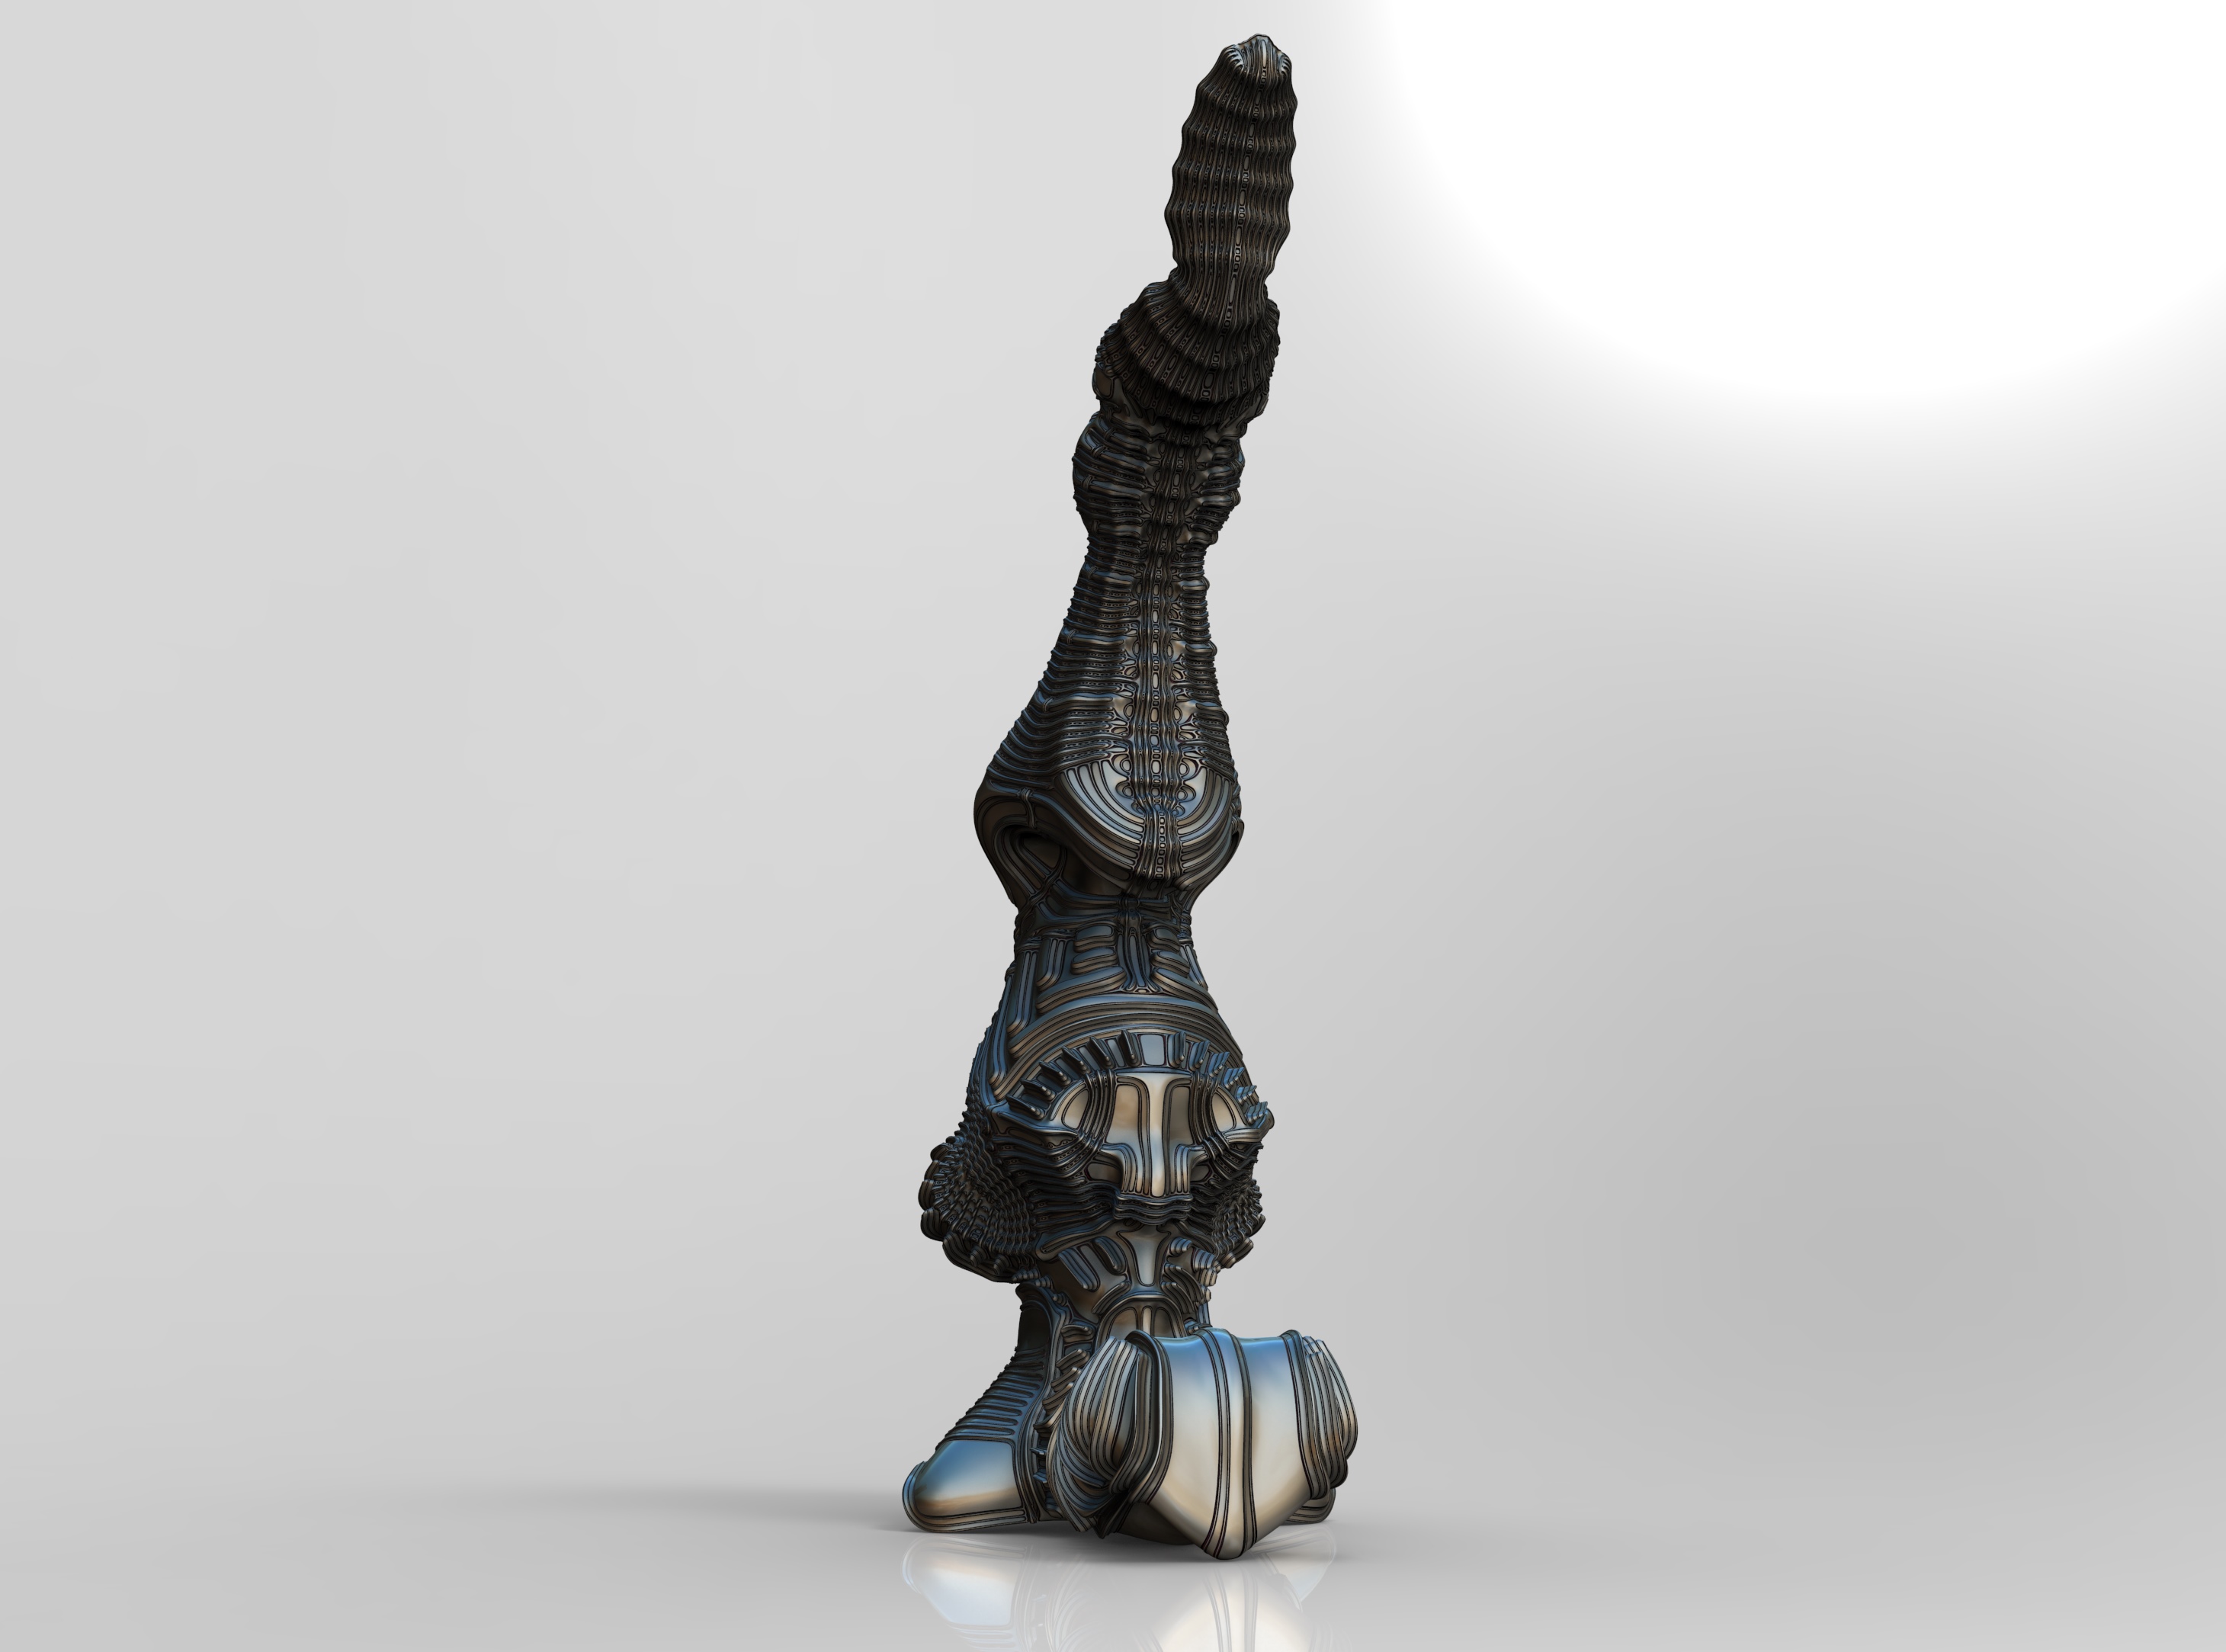
re: #2045 “Fing” …nice elbow stand…great loops!
You never fail to amaze us. ;)
#2045
Not sure what you’re asking. However there’re many ways to skin the cat.
Here’s a trick (very fast render times though)
Basically a textured spot light. (procedural)
https://dl.dropboxusercontent.com/u/24090090/Radial%20textured%20light-spot.jpg
About your .blend file/mesh.
-Not welded vertices (in blender select all/W/remove doubles)
-Glass material is not an out of the box solution. It won’t produce caustics, not just like that.
(usually a mix of glass, glossy and transparent with a few more tricky noodles)
My miss, sorry Mealea.
I meant select all In Edit Mode.
https://dl.dropboxusercontent.com/u/24090090/Screen%20Shot%202015-05-05%20at%207.39.39%20PM.jpg
Why so complicated in cycles?
Cycles is not an out of the box render engine.
There’s a good reason for that.
Cycles, though a physically correct path tracer (like Keyshot), it also makes possible to hack, to fake, certain situations.
Meaning, an impressive reduction of render times, desperately needed in animation renders.
It’s a kind of coding, therefor of hacking.
However, my workaround goes like: I keep a library of saved blend files and I append any texture or light or object on my new projects.
Not really out of the box. It works for me.
Waiting those guys to construct out-of-the-box shaders, I better visit that planet (interstellar movie) where one hour equals to seven earth years.
(great planet for waiting our renders…)
There’s another workaround with faked MIS-like lights.
Here
Avoid the same mistake I made, read carefully, it works with area (or mesh) lights.
(mesh lights may be a plane with emission BSDF)
Looks like a dildo ;f