ZBrushCentral

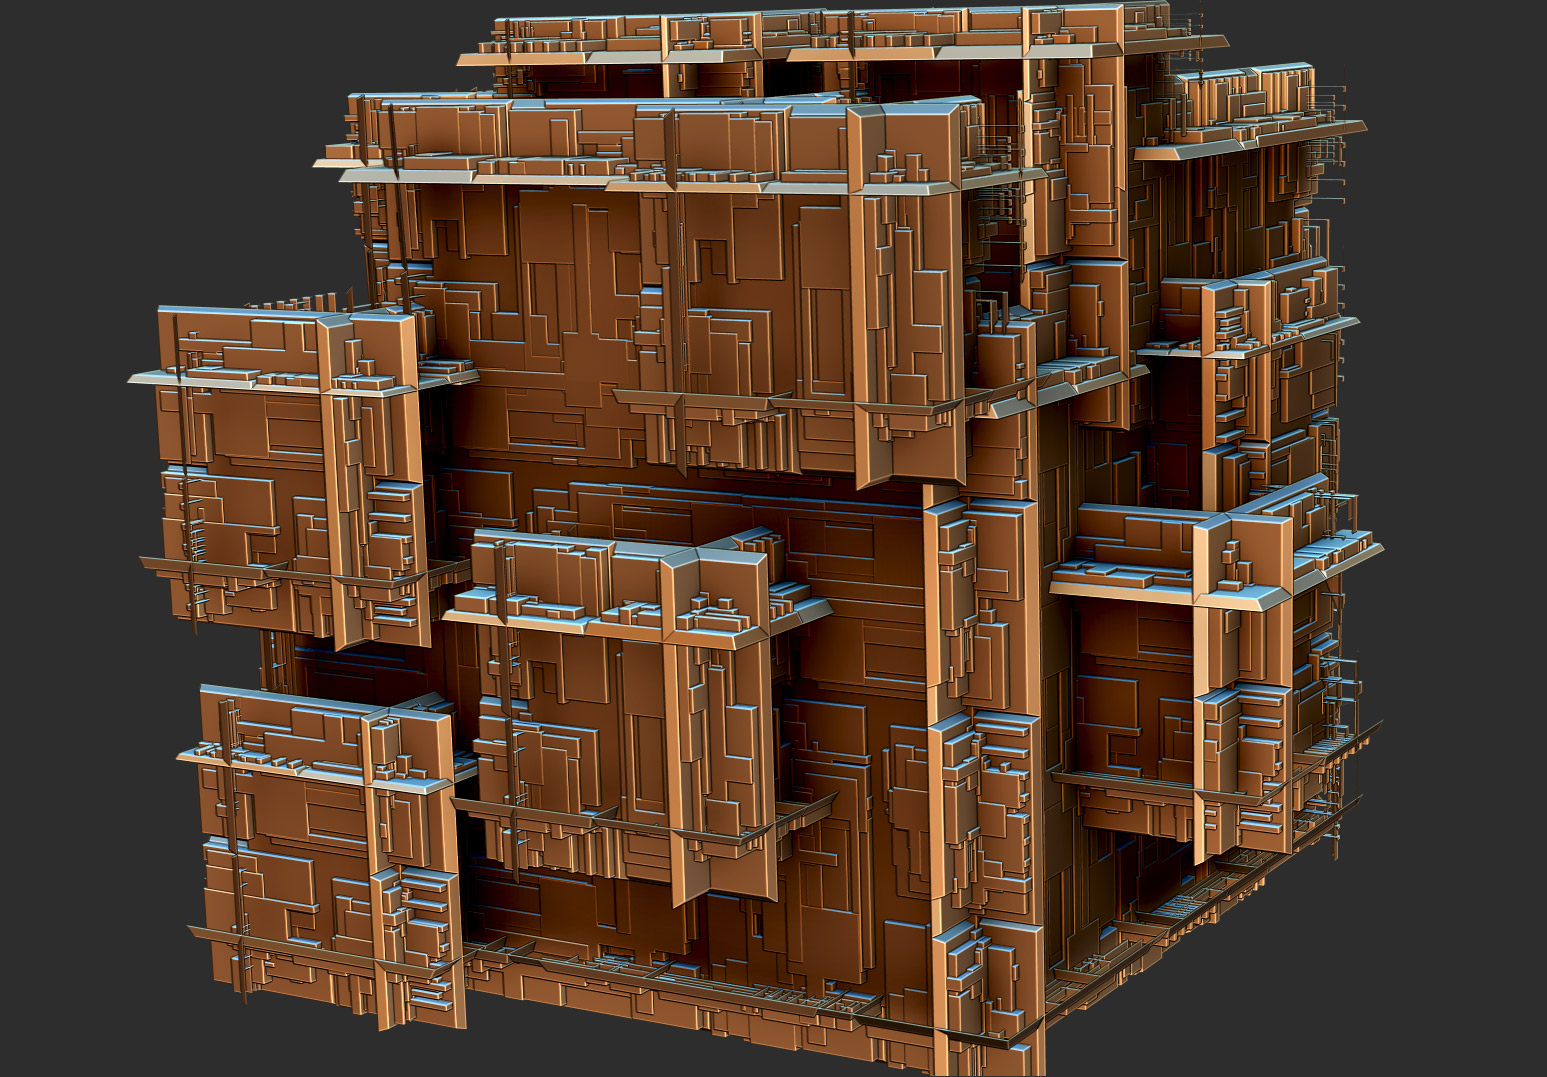
Now Im having fun

Michalis, Your method works real great! Thank you so much. ( I was doing it the wrong way up to now )

  • Need more practicing and do something about coloring/Texturing.

( ZB’s antialiasing is not always so great is it? What’s this about making the document twice the size for antialiasing? )MichTest3.jpg

Attachments

MichTest3.jpg

@mealea
ZBrush is a crossplatform app, so, same directory ZStartup.
IMO, not very wise. Pixo should create this startup directory in something like user/application support/ZB4r7/Zstartup.
Sorry for the big images post, ZBC makes me crazy sometimes. I did ask for thumbnails only. Didn’t work. Fixed it now.

Question:
WHen using nanomesh (basically a particles system), I pick an M brush (basically a group of tools-brushes)
Is it possible to have random access when instancing? (nanomesh). I was expecting a way to select this group from the nanomesh, use randomness when placing this multi object group. Can’t find it.

If I understand your question Michalis , I think that the answer is YES but its a “longer” process.

  • Select faces/Island then click M , choose a greeble and apply. Select other faces/Island, click M and choose another Greeble and apply…so on and so forth. You are asking if this can be done in one operation? I’ve tried but did not find a way to do this yet. Maybe 4R7B?

What is an M brush?

I don’t care where they put the directory, it makes no difference to me, I have a shortcut to it on my desktop.
I like ease of use!

By M do you mean insert?

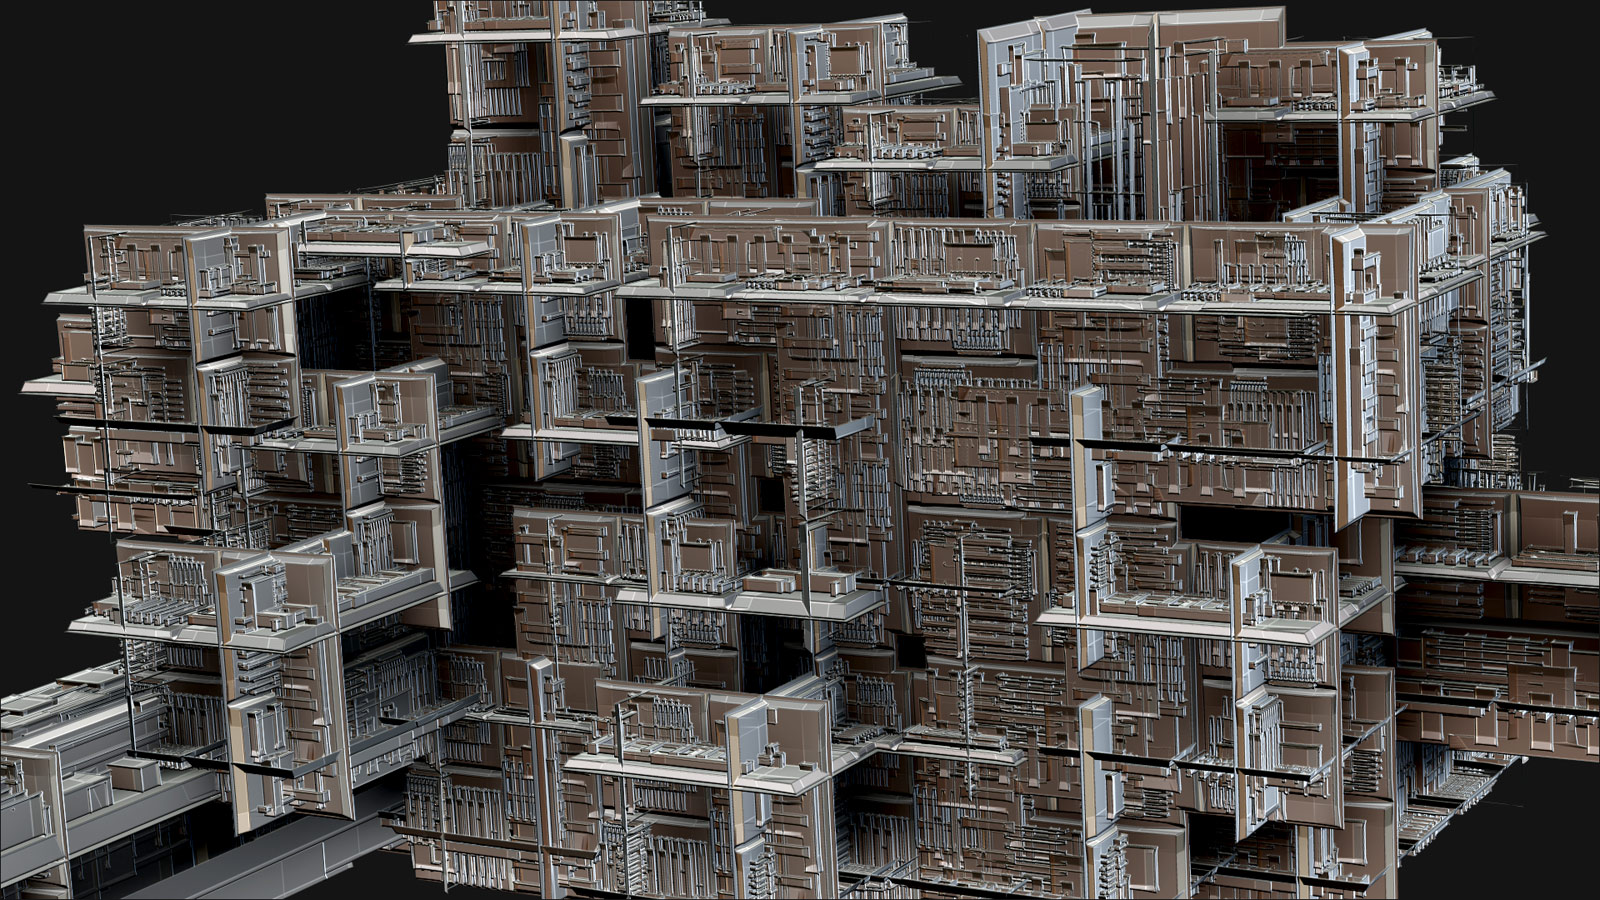
Yes, After selecting the Greeble Insert Brush, clicking M will show the sub-brushes for this IMM.MichTest4.jpg

Attachments

MichTest4.jpg

I know about that with IMM brushes, but wasn’t he talking about NanoMesh?
Im confused.

Yes, but your IMM brush is now a Nanomesh brush ( after clicking make Nanomesh brush with your IMM selected )

IF YOU NEED MORE HELP JUST ASK AWAY…

Here is the general recipe for doing this.

Create a cube ( with MakePolyMesh3D and all that… )

Click Initialize QuickCube (QCube) and turn PolyFrame ON

With smooth OFF divide once and delete Lower

Select the Zmodeler brush

Select the Greeble Brush and in the Brush Palette click Make NanomeshBrush

Now back to the cube, for faces select QMesh and start pulling and collapsing

faces at will. You can also use features from the Deformation Palette ( size (x) for example…)

With this Base Mesh now done do Group Visible

Press M and choose a Greeble ( we can change this later if we want )

For faces choose Insert Nanomesh and All Polygons

Clik on a face and every face should get a copy of the Greeble.

Don’t bother to place it exactly, we can fix all that later…

In the NanoMesh menu click FIT, and make sure all the XYZ rotations are set to zero.

Crank up the SIZE and don’t hesitate to go beyond 1 ( that’s where the magic happens)

At this point all the faces are the same --> boring…

To remedy this, click in the Alignment menu Align to Random Edge --> Much better…

If you don’t like this Greeble, press M and choose another one then click, in Inventory

Replace Nanomesh

At this point you can play with Colorize…

RENDER WITH LOTS OF AO IN THIS CASE STUDY

There’s more but this should do for starters…

So, one of the things we have learnt here is that we can introduce Nanomeshes via an IMM brush…
and if you want to play with this , after having done the above, select the TRAIN IMM brush, make it a
Nanomesh brush and then by pressing M choose a component and click Replace Nanomesh!!
and fiddle with size etc… ( of course you can do this with any IMM ) The possibilities here are endless…

@everybody : If you go through this tutorial it would be nice to see your results. Please post your images…

Thank you MICHALIS

@michalis,
Thanks for that short tut on displacement & ZModeler!
“who needs displacements these days?” Right! :smiley:

@mealea,
re: “To get things like Alphas, Materials and Brushes that you want to always be in ZBrush into ZBrush you need to put them in the right folder/directory.
In this case go into your Pixologic directory and look for the Startup directory, on the PC it would look like this:
C:\Program Files (x86)\Pixologic\ZBrush 4R7\ZStartup”

I tried copy/pasting the displacementLow.exr in C:…Pixologic\ZBrush 4R7\ZAlphas and in the …\ZBrush 4R7\Startup\alphas, but still doesn’t show up in the Alpha palette.
I even put the preset alphas in another folder to hide them, but they still show up.
Just can’t win! :laughing: Don’t need the exr anyway, so not a problem.

BTW, I’m using 4R7 64bit, but only see the Pixologic folder in x86 (?)

@paleo3d,
thanks for your “general” recipe…will try to cook up something worth showing. :wink:
I’m still a fly on the wall, but it’s much easier to follow now.

I’m copy/pasting all your (including mealea, michalis, cgmystic, whoever) info into
a rtf doc, and printing it out.

Also printed out and spiral bound a copy of the 4R7 What’s New Guide ~90 pages (double-sided).
It came in handy today as I had to wait a few hours without access to my computer, so
used the time to read up on ZModeler (p37~92)…WOW!

If that was the only new thing in 4R7, it would be awesome, but there’s so much more! Woweeeee!!! :):+1:small_orange_diamond:+1:small_orange_diamond:+1:

Has anyone used Vector Displacement to create geometry in ZBrush?

The online doctells how to create the maps for using in other apps,
but not in ZBrush (?)

Here’s a very good tutorial on the workflow from Zbrush to VRay.
I may try it (for Octane or Blender Cycles), but would like to
use it for rendering in ZBrush as it looks like it significantly increases
details.

Any reason not to use it for displacement in ZBrush?

Zbrush 4r7 is full of surprises !

Retopo using Z-Spheres seems broken in the ZBrush 4r7 64bit version.

There is also the possibility I’m doing something wrong.

Yet, re-topology with ZSpheres using the 32bit version of 4r7 still works :smiley:

And exporting turntables as ***.mpg works and no codec required.

KeyShot for zbrush has some pretty sweet materials.

It is easy to assign a different texture in these Keyshot and/or ZBrush materials inside Keyshot.

Note: adjusting your texture settings makes renders better!

More goodness in Zbrush 4r7!
Using the ZModeler a box structure quickly evolved using edgeloops, polygroups, and extrude.
Blender to set up the uvs with the general box shape being seperate uv islands.
Exporting from Blender with uvs, was imported in Zbrush with exported subtool selected.
The new uvs were accepted cleanly by Zbrush.
With the rough uvs imported the next step was UvMaster.
Working on clone in UvMaster i discovered you can poly-group the uv islands. :smiley:
So, taking it farther and flattened the model.
The transpose features work nicely for moving, scaling ,and rotating the islands.
Holding control key and left clicking on island masks the other islands.
UvMaster has a general grid in the flatten mode.
So you can position, scale, and rotate.
Wish we could have the texture to be projected on the model as background!
Flattening the model in UvMaster brings the texture turned on in Tool/Texture.
When you Unflatten adjusted uvs are visible on the model.
Now doing a bpr render and seeing the result in Keyshot is refreshing.
You can easly replace textures in Keyshot for your models material.
When scaling the texture in Keyshot it only seemed increase the clarity of my render.UvMaster-flattened-uvs.jpgZbrush-low-poly-render.jpgKeyshot-high-poly-render.jpg

cgmystic,

Working on clone in UvMaster i discovered you can poly-group the uv islands. :smiley:

The transpose features work nicely for moving, scaling ,and rotating the islands.

Holding control key and left clicking on island masks the other islands.

UvMaster has a general grid in the flatten mode.
So you can position, scale, and rotate.

Nice job! Thanks, that’s great news! :):+1:

@cgmystic Thanx for this info… can’t wait to try it out!

At first I was a little confused since you already had UVs from Blender, so why would you reUV your “box” since these were already established. But I guess UV Master does more than “first meets the eye”. Maybe the seams of the box were definedin Blender and UV Master used these to establish a new ZB-compatible set of UVs. Have I got this right?

paleo3d:

Your correct.
Blender to establish the seams along the general cube shape.
One, can assign polygroups prior to doing UvMaster unwrap to define islands.
Both methods work!
Blender seems to have finer controls to work with uvs.
UvMaster has its approach of painting where you might get seams.
And, we can use masking :frowning: (I wish the masking had more contrast) and try the Clip curve brush to line up uvs in a flattened uv model.
As uvs go having even distribution of polygons and minimal stretching of a applied texture is ideal.

@cgmystic,

Blender seems to have finer controls to work with uvs.
Yes, Blender does offer much better control…hope for something like it in ZB5. Here’s an excellent tutorial for it by Oliver Villar.

UvMaster has its approach of painting where you might get seams.
Can define (mask) where you want them or not want them using “Enable Control Painting”.

And, we can use masking :frowning: (I wish the masking had more contrast) and try the Clip curve brush to line up uvs in a flattened uv model.
Ok, good idea.

As uvs go having even distribution of polygons and minimal stretching of a applied texture is ideal.

Did you try ZRemesher? Compare the flattened UVs before & after ZRemeshing…much better. :wink:

I have no idea what you guys are doing!

Just roll with it, hon. :wink:

I have no idea what you guys are doing!

:lol:
Having fun with zbrush, I guess.
However, LOL, simple, spontaneous sculpting, is less predictable and much more funny. No tricks (there are lot of them, can’t escape, I admit it). Academies, anatomies, geometries, you know how it goes.