@megacal
You seem to think that this is much more complicated than it really is.
Just follow my INITIAL recipe and things should fall into place.
Ok, thanks. I’ll keep that in mind, and not look down. ;)
@megacal
You seem to think that this is much more complicated than it really is.
Just follow my INITIAL recipe and things should fall into place.
Ok, thanks. I’ll keep that in mind, and not look down. ;)
paleo3d:
I like what you have in post #1831
The Higher detail certainly gives the impression of more geometry !
Did you create both the Primary.jpg and the Secondary.jpg image in Zbrush?
Exploring generating displacement and fog.
Using Tool/noise edit noise ( in this case bricks ) has yielded displacement map for a brick like pattern.
Aligning the brick mortar seams to to geometry is tricky.
Yep!
At least if he’s talking about ZBrush…
If you are using his maps, the ones I usually use, there are two, one he intended for displacement, and one he intended for AO (I think in Blender) I use the AO one for displacements most of the time, I like it better for some reason, but if you use the displacement one to actually displace, you can then use the AO one as a bumpmap to enhance the hell out of your object in preview, or if you crank the repetition as an awesome bumpmap.
He makes his displacement maps in Blender, and does a spectacular job of it, I was working on making some in 2.5D but never finished them because I got interested in something else… sculpting hands if I remember correctly.
Anyhow, with 2.5D you can make your own, and it does an astonishingly good job of it as 2.5D is almost nothing but height in a very loose sense.
Also you can do things like use the PixolsTo3d Plugin from Francesco and Marcus to pop your 2.5D stuff into 3D, render it and use render passes like depth and AO and stuff for your displacement maps like Michalis is doing with Blender, though I suspect its a bit easier in ZBrush.
This is a very simple example of what I said above, it took 30 seconds to create:
One other thing to note, if you render a displacement map as a preview with Mode turned on it will take a long time, Mode is just a way of seeing how much you are displacing something, rendering it is ugly and takes a long time. With Mode off its still just a preview and looks great as a bumpmap and renders as fast as ZBrush normally renders stuff.
I just wanted to say thank you for this thread. I have learned a bunch! 
Again Mealea, you’ve comed to our rescue. I was looking for a method to build Displacement Maps other than in PhotoShop
and using your method as described above I made my very first one in 2.5D.After rendering ( BPR ) with no shadows , I got
the following image. Thank you. Thank you. Thank you.
paleo3d,
re: your method for displacements,
# Create some fancy geometry
# Apply Uvs with as many repeats you heart desires
So far I’m learning to work with UVs using UV Master.
Also found these cool apps for creating maps (I know ZB & Blender can create them, too).
I’m trying out * ShaderMap2 $40 & MindTex $15.
One step at a time. 
(*edited price of ShaderMap2)
mealea, you said,
He (michalis?) makes his displacement maps in Blender, and does a spectacular job of it, I was working on making some in 2.5D but never finished them because I got interested in something else… sculpting hands if I remember correctly.
Anyhow, with 2.5D you can make your own, and it does an astonishingly good job of it as 2.5D is almost nothing but height in a very loose sense. .
I’ll try Blender & 2.5D in ZB for creating the maps, and use ShaderMap and/or BitMap2Material to edit them.
Also you can do things like use the PixolsTo3d Plugin from Francesco and Marcus to pop your 2.5D stuff into 3D, render it and use render passes like depth and AO and stuff for your displacement maps like Michalis is doing with Blender, though I suspect its a bit easier in ZBrush.
Will check it out, too. Found this cool video demo.
Here’s another very cool map generator…BitMap2Material
$49, but great GUI…very impressive…lots of editing options.
4R7
This program is so amazing its amazingness is amazing.
fantastic, always enjoy playing:D:D:D
I missed your post and Im sorry, things where I live have gotten… interesting. This is sort of a Buddhist curse.
I am VERY glad you have been learning stuff, that is a very very good thing, and thank you very much for saying so!
More soon, I am going nuts with this new stuff…
You’ve got the ZModeler setup down already.
Congrats. I’m reading the docs now, thanks for the heads up in the other thread (about the docs).
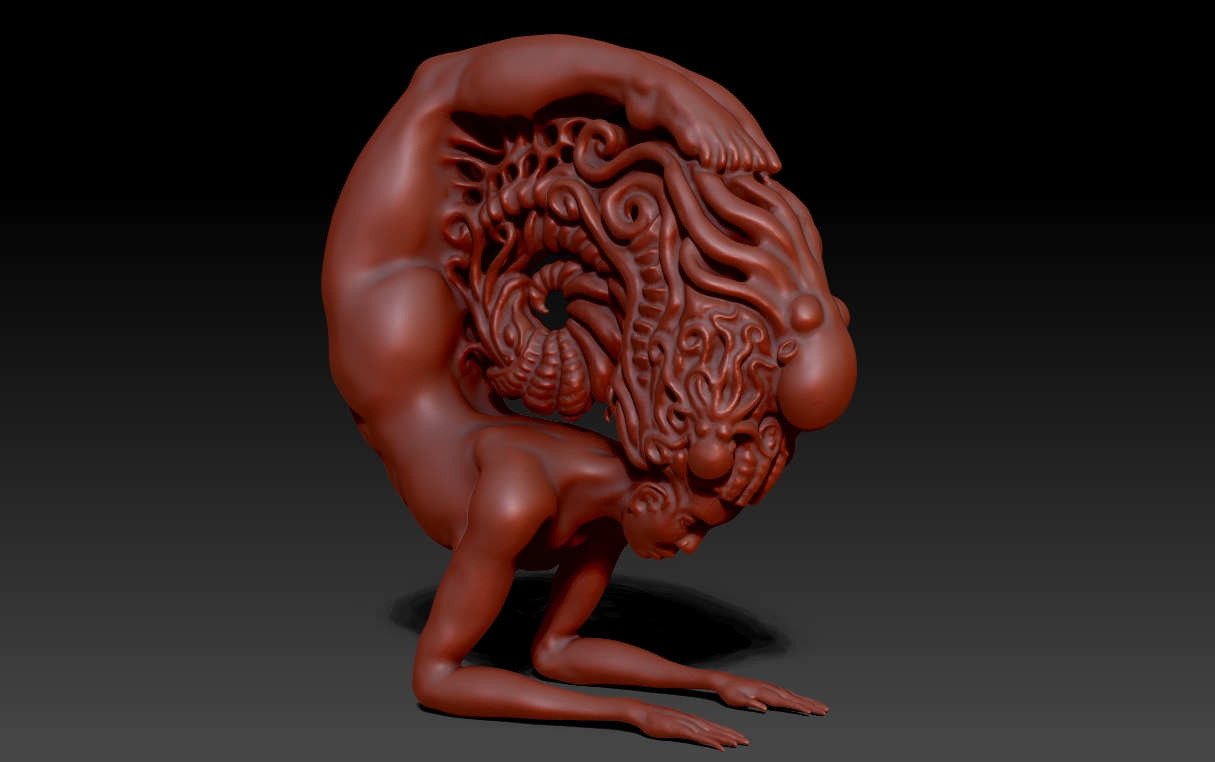
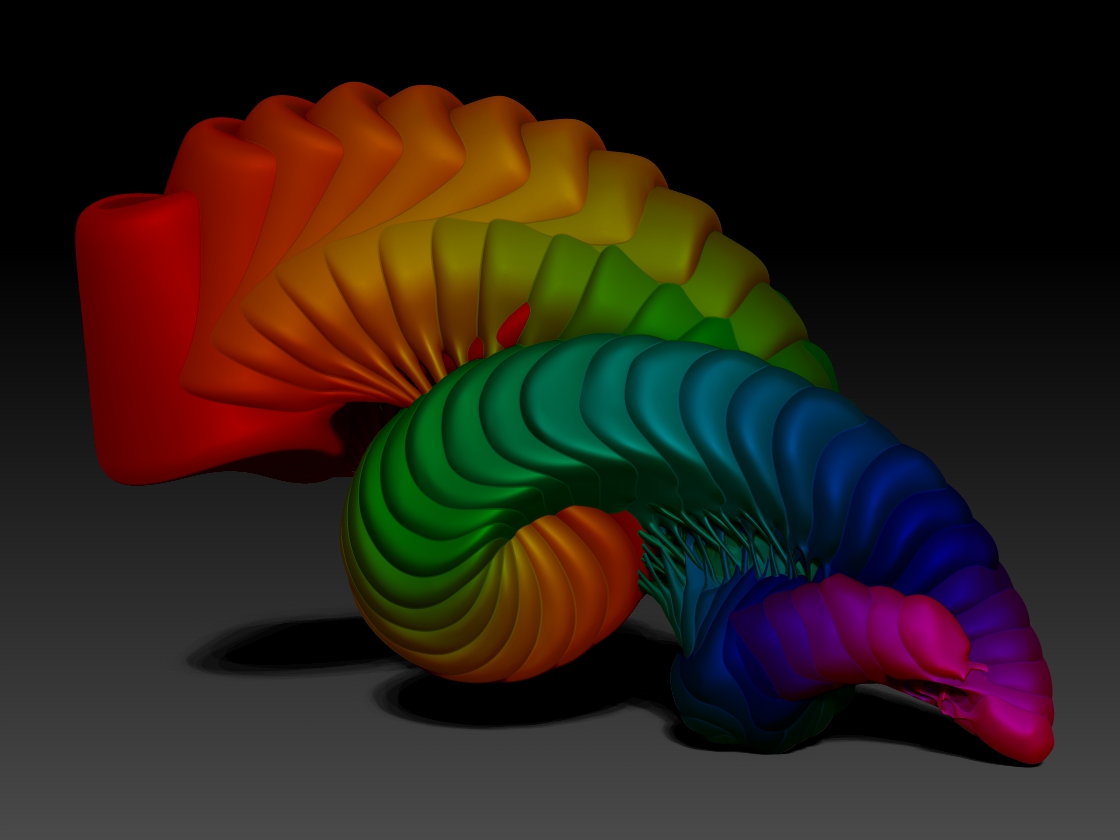
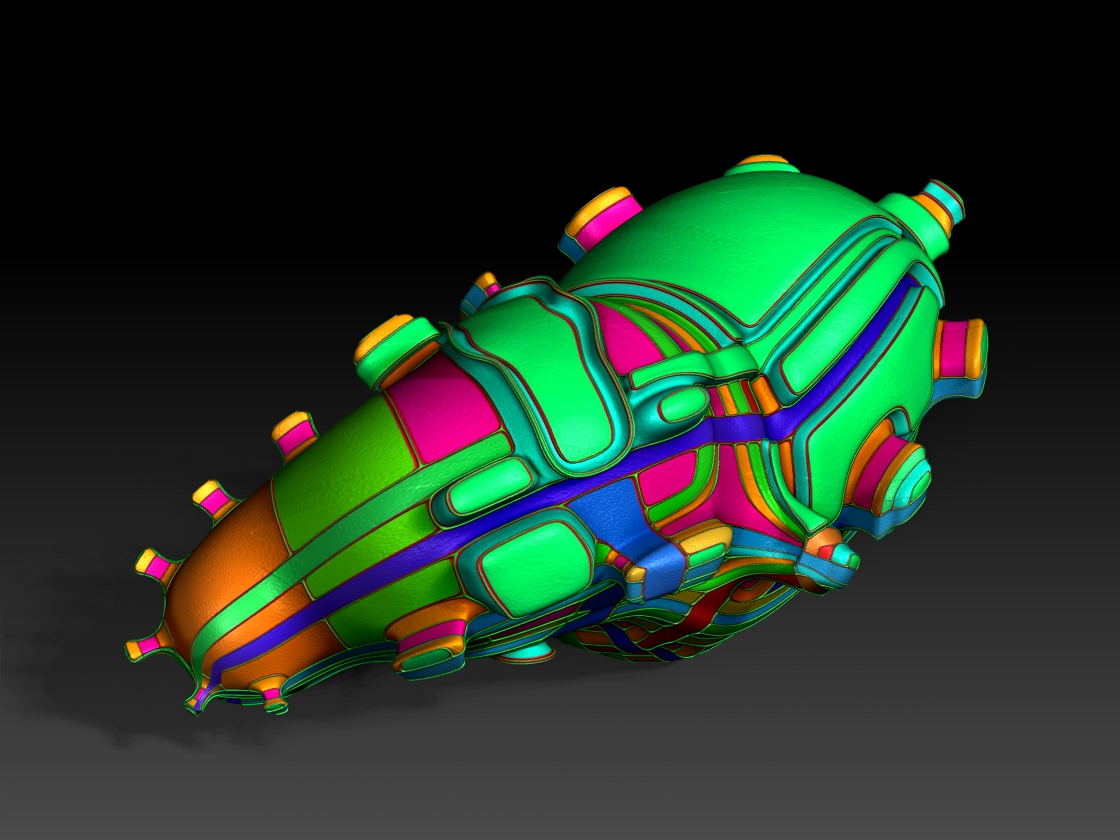
Those last three images are real elegant…
As elegant as your #1288 and #1313
Always the master you…
Zmodeler!
Excellent, Mealea
I was just trying r7, for stability mostly, hmmm
GRIN!!!
That is a terrific thing Michalis!!! Its astonishing huh?
Paleo, I can’t figure out which ones you mean but thanks!
Jan, its EASY! I just started trying out all the options, its utterly mind blowing what you can do with this stuff.
And now since I have had 4R7 for almost a whole day I figure its time to whip up a tutorial!
So, heres this amazing thing to NOT DO:
And there you have it!
This program is insane…
I can’t say holy **** here but I’m going to anyway:
HOLY ****!
You can hold down ALT while using the ZModeler brush and PAINT polygroups!


