Yes that’s right and my tests show that the polygroups remain even at the new edges. The Morph Target is pretty easy to use but you can get confused if you loose track. Essentially the Moprh Target is a snapshot of your model at a particular state. Using a morph target you may still have a tiny gap between edges of subtools; if necessary you can simply mask the offending edge, blur it, invert the mask so just the edge is effected then use the move transpose to move ever so slightly to clean it up.
So your process might be:
Hide a portion of your model (probably best along a particular axis).
Split Hidden and repeat until you have as many subtools as you require.
Starting with the first subtool; go to Tool> Morph Target> Store MT.
Subdivide the subtool (if you have the smooth button selected this is where you will see the edges “shrink”; not to worry :))
Step back down subdivision levels until you reach the starting level.
Go to Tool> Morph Target> Switch (this will reset your model to it original state).
Step up your subdivisions and you should see the subtool holding its shape.
You can go to Tool> Morph Target> DelMT to delete the morph target if you like.
From here you just follow this same procedure for each subtool starting at step 3.
I think that should do the trick. If your system bogs down from having tens of milliopns of polys you might try turning off visibility on subtools you are not working on.
The Morph Target technique should only be necessary if you are subdividing with with the smooth button turned on, but it might be worthwhile to save a morph target regardless as an insurance policy.
The link was broken, but thank you VERY much, that was very sweet!
It does work, but… see next bit!
hehehehe!!!
Here’s the but:
If I do it this way I’m going to end up with hundreds and hundreds of millions of polygons, I don’t know how to say it, thousands of millions I guess, and then each subtool will end up with a bunch of very large textures…
What I’m doing is dividing my initial object into as many polygroups as I need (lots and lots, often way over a thousand) then taking each Polygroup and doing a mesh extract on it and then doing the same stuff to the extract. Each extract ranges anywhere from a half to over a million polygons, and there is (shockingly) not enough detail, I figure I can fake it with textures but they wind up looking pixelated and stretched and stuff…
I think this is where texture, normal and displacement maps come in and one uses lower res mesh and sort of fakes the detail with mapping… right? That is as I understand it how games make things look like they have lots of detail when they have almost none… I think…
What you showed me here however is very very cool, its making other stuff MUCH more possible and sealing a lot of gaps that were driving me nuts, that morph target thing is VERY interesting. I have run into one other rather ugly problem with it, I don’t have any subdivisions to switch to (I’m using GroupLoops), so what I’m looking at now is trying to use your method to replace what I’m doing somehow, If I can have both it would be amazing (it is amazing actually but I keep getting stuck), I need something like “find edges” for masking!
Thank you very much for this stuff, its very very fun stuff!!!
Also sorry it took so long to reply, I have been sick as hell and also digging into Blender a bit. I need a sharper shovel, Blender is NOT a nice program, in fact its outright sadistic.
Thank you!
I wish I had, I got the flu for the first time since I don’t even know when and it lasted about three weeks and I had outrageous fevers and stuff…
As for Blender, I’m going to take it apart and shove it up its own pipe.
Awww…
Michalis, I know how you feel right now and I wish you didn’t have it, it IS the worst one I ever had.
Also I love Blender, its just beating me over the head (and being a bit of a masochist, I enjoy this sort of thing!).
If I could afford things like Maya and Max I would not allow you to be effected by austaurity(sp?) programs and things like that, you would be comfortable for life with no other worries then what sort of thing to snack on and when to take a nap.
Im very sorry you are sick, I hope it ends faster then mine did.
Am sorry to hear that the flu has you down also. I am lucky not to have it but it has been making it’s rounds in my area. I hope that both you and Mealea get better soon. I am sure she is still feeling the after effects. I like Blender but to a person first trying it out it can be a painful experience until they learn various ways of modifying the interface to suit previous 3d experience. I am not fond of 3dMax or Maya however. I do have a dated copy of cinema 4d R11 that I enjoy much more than those 2 but anyone who delves into 3d knows how versatile Blender can be. Irregardless I am glad to see the 2 of you in the land of the living.
Yes painting textures or polypainting on the high res version and then applying them to the low res version is what you want to do.
Have you had a chance to look at the new videos in ZClassroom “Building Game Resolution Meshes”? They may help you with the process better than I can describe it in words.
This is something Edu “Grungers” Sacramento (I hope that’s right) was asking about.
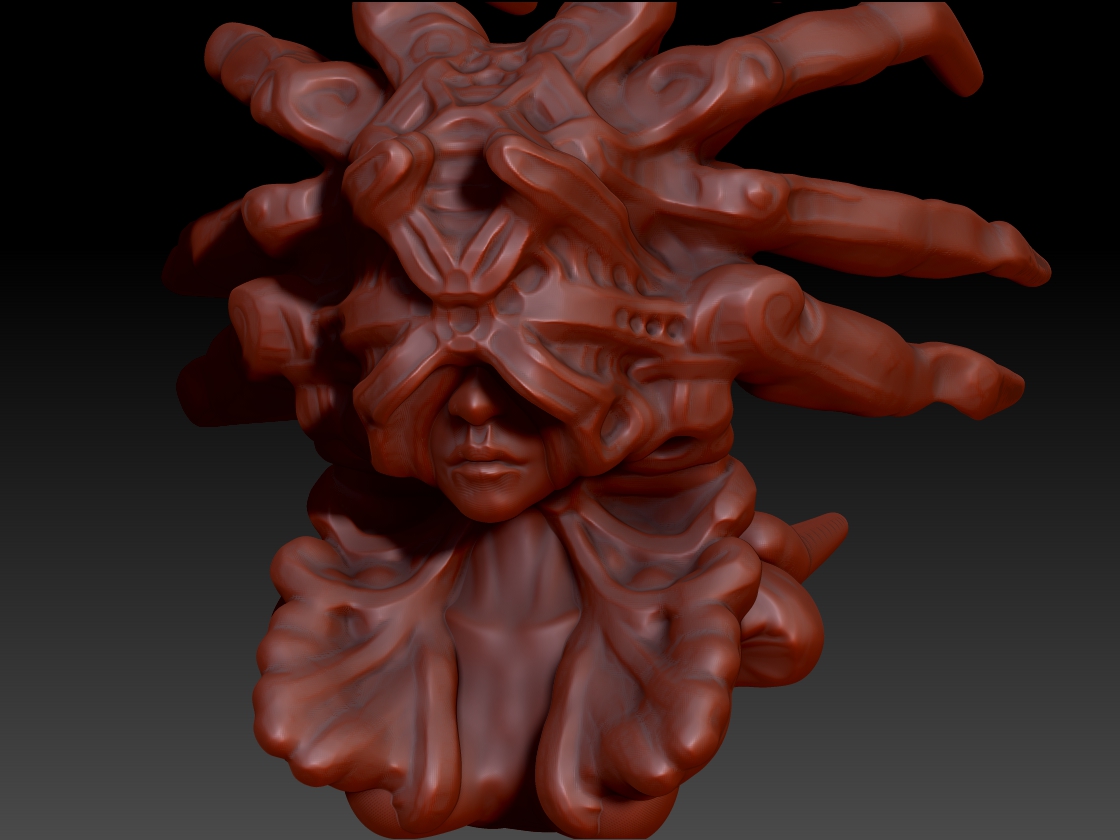
When I did the first one I was just messing about with the Clay Tube brush which I like a lot and then grabbed the bottom of the pod thing I had drawn and pulled a chin and mouth out with move and more clay tubes, it was totally unplanned.
The second one I did later with a different head I made ages ago after not being able to find the first one and while I was working on it I realized that it was sort of like Pascal Blanche’s stuff like Grungers said he was influenced by, I see it more in his stuff and his is far better. Personally I would not compare my stuff to either of them, they know what they are doing.
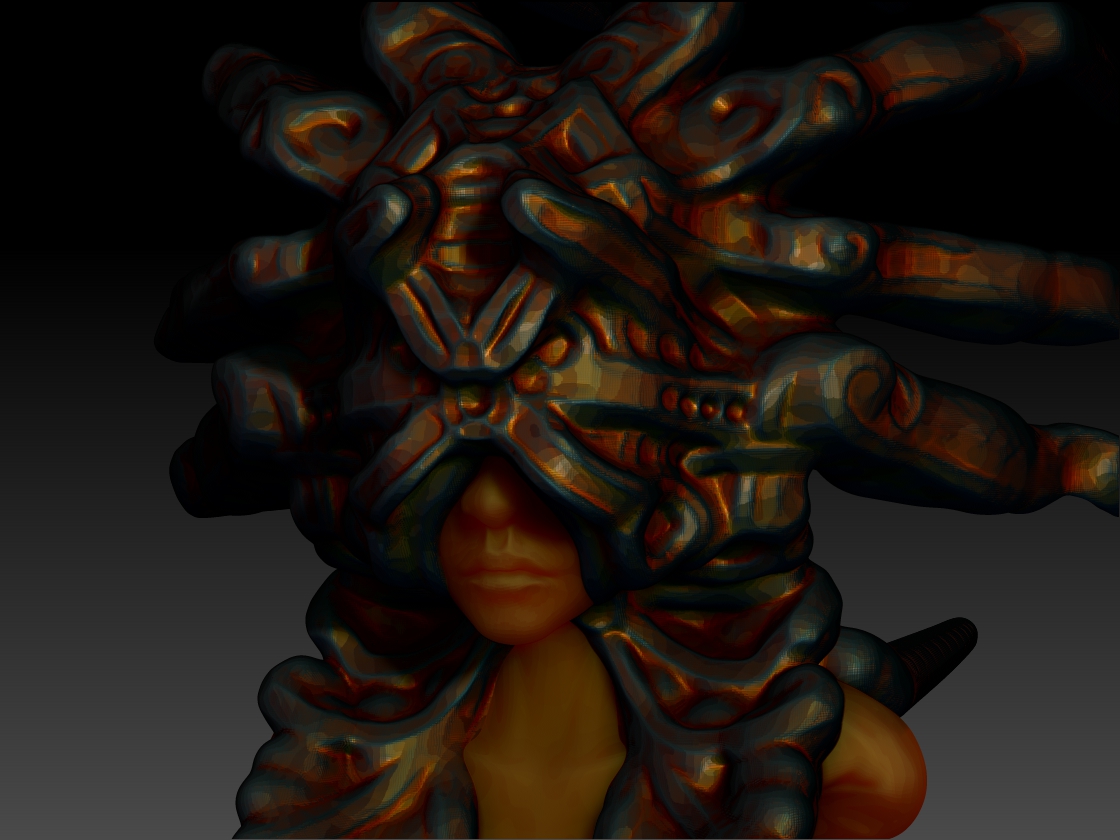
Anyhow these suck but they were fun, the first is from when I first got ZBrush, the second is partially from then, the face part, and partially from this past week while I was delusional and coughing up things from horror movies only with more eyes.
The most amusing part is that as of today we have what I call the AutoBlanche Slider at the top of the render menu and that made the third one easy.
GRIN!
But no, I have not seen them yet, I’m utterly out of bandwidth. I’m going to hit whoever thought of quotas in the face with a frying pan if I ever find them.
I will see them in a few days however… (the videos I mean!)
In the mean time I am going to try to make up for lost time from being sick.