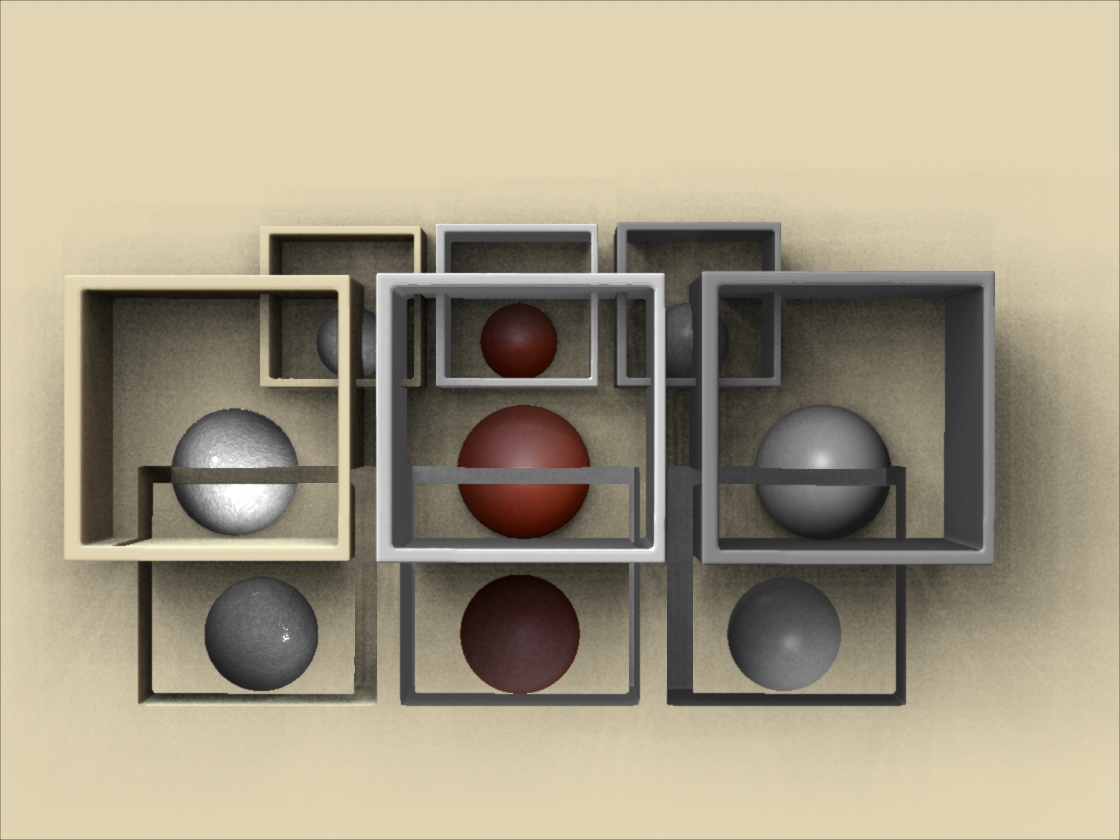
Hehe… I’m glad you asked before I got the chance. I think the one on the left is just standard red wax, but I don’t recognize the other three and they look awesome!
hehe… I was going to ask the same stuff.
He says the two in the middle are not matcaps which means they are standard shaders right? Just changed some how.
I play with the materiel modifiers a lot but have only come up with three things I like, its basically way over my head but interesting when suddenly something happens after a lot of twiddling about.
Mostly its completely unpredictable but fun especially when you get something you like.
Ha.
everything is a 2.5D brush.
Attachments
looks like some bauhaus architecture…!
You know you have a point!
Can you imagine living in something like that? It would make me go crazy.
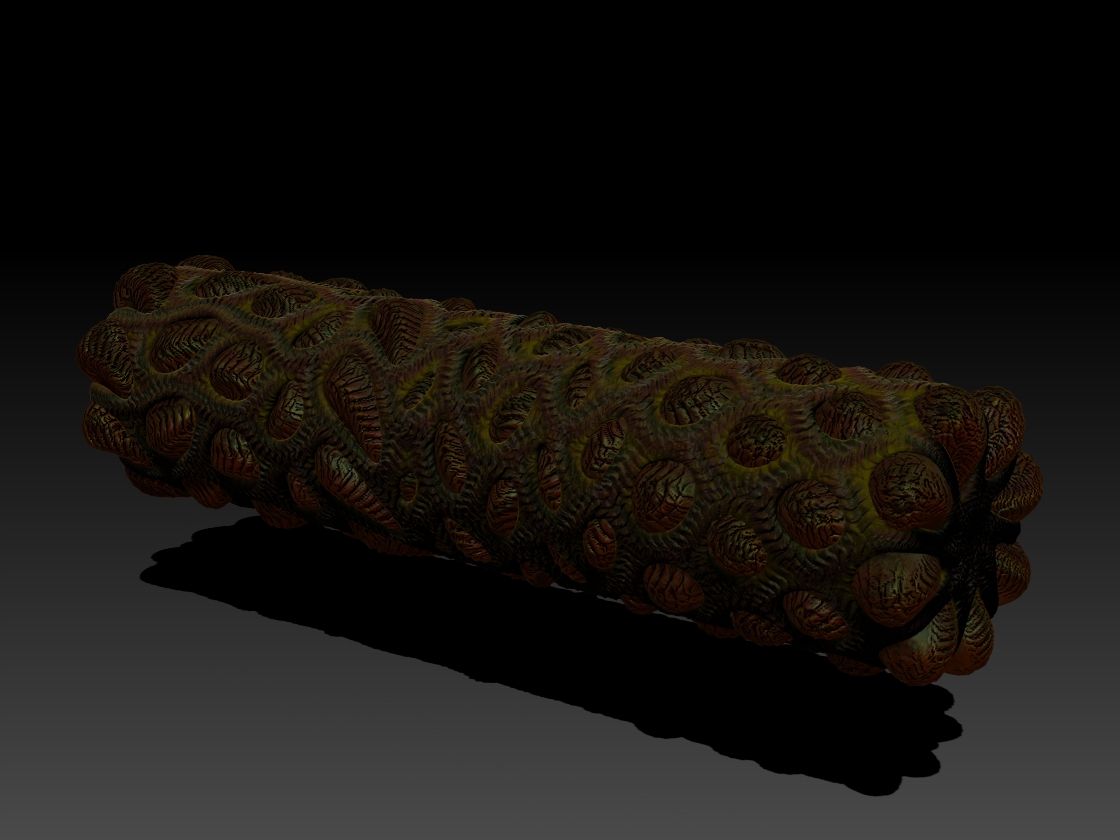
Ok this is your doing; subject, lighting and concept, the fact that its revolting is my fault:
Standard lighting:
Non-standard lighting (I think I have some learning to do still, like a lot of learning)
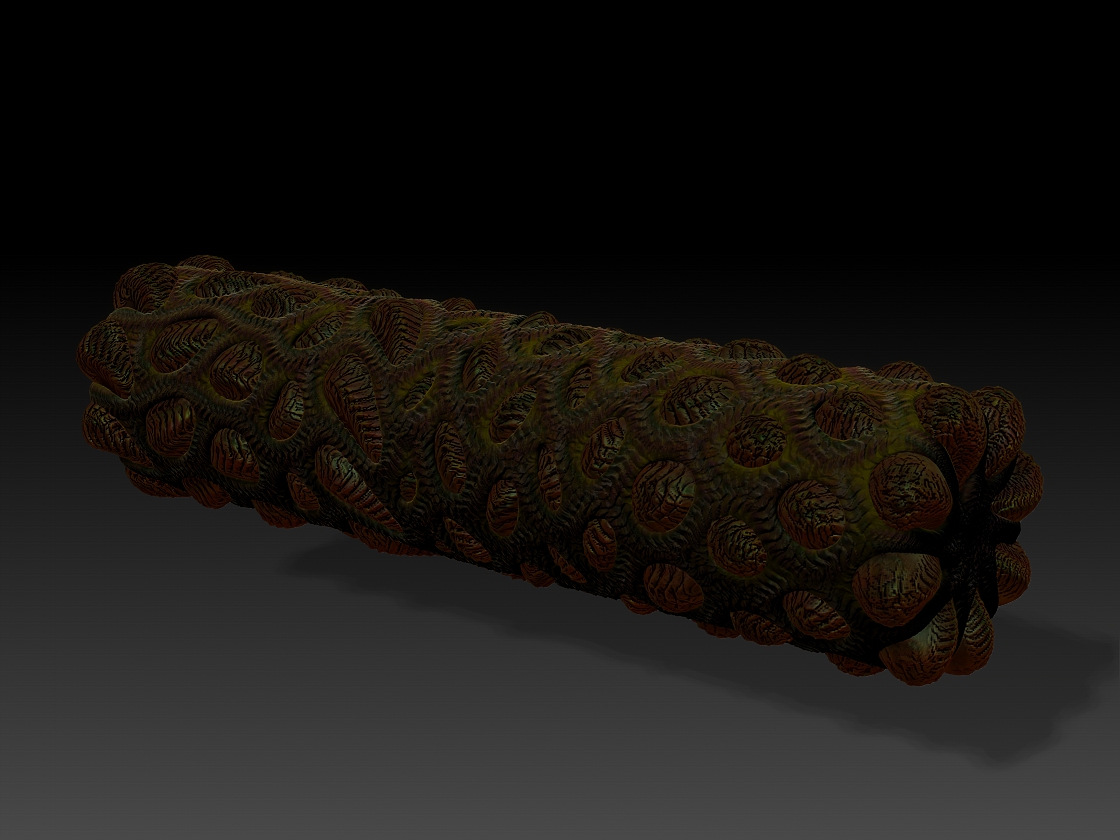
Attachments
OOOhh goody ! ****roach payday candy bars…Excellent and Tasty tooo…
just kidding the lighting experiment is very interesting, as I’m having a hard time getting different materials unto different subtools…???
THAT is VERY funny!
C0CKROACH CLUSTER. With added crunch!
Someone else (a star trek fanatic) called it “CaptainsLog5426.2” but that devolved rapidly into a serious case of the sillies and a lot of giggling.
What are the problems you are having?
I have a LOT of problems with subtools and materials just make the problem more complicated.
Well to start with getting different materials to stick to different parts of a model ( either matcaps or standard type )
example below can use only one shader when i wanted to use at least 2 or 3… (hope its ok to post this on your thread)
if not please tell me… Deke

Deke it is ALWAYS ok to post in here if you want to, dont worry about that ok?
I just spent an hour typing up stuff about this problem and a Google Analytic script crashed my web browser, Google Analytic is now blocked.
Ok…
Now that that is out of my system.
Where the hell was I?
Oh yah, Materials and stuff…
It looks to me like you have about 7 subtools in your example (That is coming along great by the way, seriously nice work!)
Body
Eyes
Hair
Shirt
Belt
Skirt
And maybe pants?
Anyway the number is not all that important (aside from the more SubTools you have the more chaos happens in the SubTool Pallet).
Generally the process as I think you most likely know already but I will go over anyway is something like this:
- Set ZBrush to MRGB. (not just M, all subtools with a materiel need to have a color assigned as well (at least in v.3))
- Select your first Subtool in the SubTool Pallet The body for example.
- Select the Color from the Color Picker and Material you want for the skin in the Materiel pallet.
- In the Color Menu hit the Fill Object button. All your subtools will now have the color and materiel of your skin- not to worry!
- Switch to the next SubTool in the SubTool Pallet The eyes for example. (ignore the fact that this may turn off or on others for now, ok?)
- Select the color and materiel you want and hit Fill Object in the Color Menu again.
- Do some poly painting (you can switch to RGB for this but you dont have to) on the eyes so they have things like irises and pupils.
- Select the next subtool and repeat the processes above till all your subtools are how you want them.
Ok…
In the ZBrush wiki on this subject which is from ZBrush3 it says that all tools with materiel assigned need to have a color assigned, if you do not select a color it will pick white for you, no big deal hopefully.
Here are some of the problems that I run into with this process:
- Switching SubTools turns on and off other SubTools at random (that blasted eye icon needs to be poked out). (see #5)
- After filling a few tools with materiel and color and maybe poly paint they change to other colors and or materials with out being told to do so.
- If I paint a subtool with more then one materiel some of its materials change to what ever I have selected at the moment or to something totally random from another SubTool.
- Sometimes the whole project goes blank and all you can see is the outline of it, I have never been able to fix this.
- Sometimes everything is fine till you move your point of view and whole Subtools change materiel and you get to play chase trying to get it back (good luck!)
- There is some profound difference (and incompatibility?) between Standard Shaders and MatCaps that I do not understand.
I have things where i could record video of the one where you have more than one materiel on a subtool changing the materiel on another subtool messes up the first.
Anyhow all this leads me to think that there is a combination of limits on how many materials you can use, and maybe a number of bugs that cause the subtool menu to misbehave and that the combination of those two problems causes users to have to fight to get stuff done.
Personalty I hate the subtool menu most especially the eye icon which is not what it imitates, the photoshop layer visibility toggle.
If its going to look just like something from other software it should do the same thing in my opinion. I haven’t had Photoshop since v.7.1 so maybe its different now, but I have been using it since before v.1 and I remember when they introduced layers and that eye and how they worked.
I have to stop editing this now as I have no cursor and cannot see where I am typing…
Ok… cursor is back, lovely.
Where was I?
Um… oh yah, Im going to look over the last four PDF files from v.4.0 till 4r3 to see if I can find any information about limits and maybe the differences in types of materiel…
This could take a while, PDF’s are horridly slow to work with and these are all about 150mb or so and there are a a lot of them…
More soon I hope, and wish me luck, maybe I can find a way to make the subtool menu act like it ought to.
Mealeaying; one thing I’ve found is that if you’re working with a subtool that’s in dynamesh mode and you’re already assigned a color and material to it, it will change to whatever material you currently have selected when you control/drag to remesh. Say you worked on a dynamesh for a while and then changed subtools to assign a material/color to it. When you switch back to the first subtool and need to remesh it for whatever reason it switches to the new material. It’s a really irritating idiosyncrasy of Zbrush, but what are ya gonna do? Also, mats assigned to subtools with a texture map assigned always seem to switch mats as well… Arrrggghhh. 
ooo! Thank you!
Yes I should have mentioned that, always turn off dynamesh if you were using it, it screws up all sorts of things and even makes masks when you are not expecting it to do so.
So once you think you are ready to start working with materials or painting go to each subtool turn off dynamesh and hit Clear Mask in the Masking pallet.
The part you mention about it switching when you remesh happens all the time with any subtool (not just the first and not just when remeshing), merely switching from one to another kills off things in ones you are finished with or changes their materiel and cause you to have to redo them. It also turns off and or on the visibility of other subtools for no apparent reason something that makes me not want to ever use subtools if I can avoid it. I hate them with a vengeance. If I didn’t click the eye icon it should not be changing and if I do click one it should not change others, right?
As far as texture maps go I dont know how to use them yet, so far the only way I have managed to get textures (meaning a picture in the Texture Pallet) is to paint it on. This is an obnoxious limit to me as I have made a lot of textures that I want to wrap around objects in ZBrush but I have no control over the result (actually I have no result, I just crash usually).
That I suppose is my own fault, I haven’t spent much time looking at that process as it seems to involve UV’s which I dont understand yet either.
Also Deke:
I am digging through the PDF files and I’m getting nowhere. The PDF files are for people who already know all this stuff and need reference materiel I think, or maybe for masochists who want to make a ShadowBox tank with a million subtools.
I would say stick to the wiki, even if it seems out of date it should be more useful. I think they only update it when something is actually different, but I could be wrong.
I did notice that the wiki has old graphics, but ignore that in a way its easier to understand as its got FAR less little things and visual clutter.
Here is the page I’m looking at:
http://www.pixologic.com/docs/index.php/Materials_and_SubTools
Wow… So I am not the only one that has these problems, thats making me feel a whole lot better…
And yes you are right I need to spend more time researching this stuff, but it sure is hard to find stuff that actually applies to the problems…
I get the part with the dynamesh now thanks to you…so that will be extremely helpful…( I was cranking up the sds for painting purposes -
and now realize thats a part of my problem, and not just my talking monkey brain )
and thanks to both of you for the advice which I have copied as a mini tutorial for myself…
" break out of the box " Deke
ps : the link is helpful…
hehe…
yah, the hardest part of all is knowing what to call the problem when you are looking for answers, this is part of why the PDF files are less then useful.
What do we call this problem for example?
“The thing where ZBrush decides to undo all your work with materials on subtools”?
I dont think so…
I did a search on “how many materials can you have on one subtool in ZBrush” and came up 57,600 results almost all of which were irrelevant or very old but still useful. That wiki article was one of them.
I still dont know the limit but there seems to be one.
The next step is to ask support I guess but since this is a feature and not a bug its sort of hard to say…

THAT was great, twisted, amazing and frightning all at the same time. I think the bit where the two heads trade places and do things like sharpen the tooth brush and toothpaste the toast sums up what we are talking about with subtools turning anarchist on us.
Can you imagine the amount of work the beginning sequences took to make?!?
COOL!
I am very glad that helped.
Also the image after it using Glenn’s idea is terrific!
AND…
I think I have discovered something but I’m not sure…
It looks as though importing materials or making your own custom materials is a bad idea other than as a quick preview UNLESS you actually instal them into the \ZStartup\Materials directory.
What I think I have been seeing with just importing them is that they displace one of the existing materials and replace it, like if I have red wax selected when I do the import I lose red wax and all of the places where it was are replaced with the import.
I do not think that this is the source of either of our problems but is something that adds to them and makes them more complicated…
So, putting your custom materials into \ZStartup\Materials could make life easier.
One last thing on that, I do not use lightbox so I dont know if that does the same thing or not in terms of importing vs installing materials, I should check that out…
Im no closer to understanding lighting, matcaps, lightcaps, standard shaders, or the noise maker.
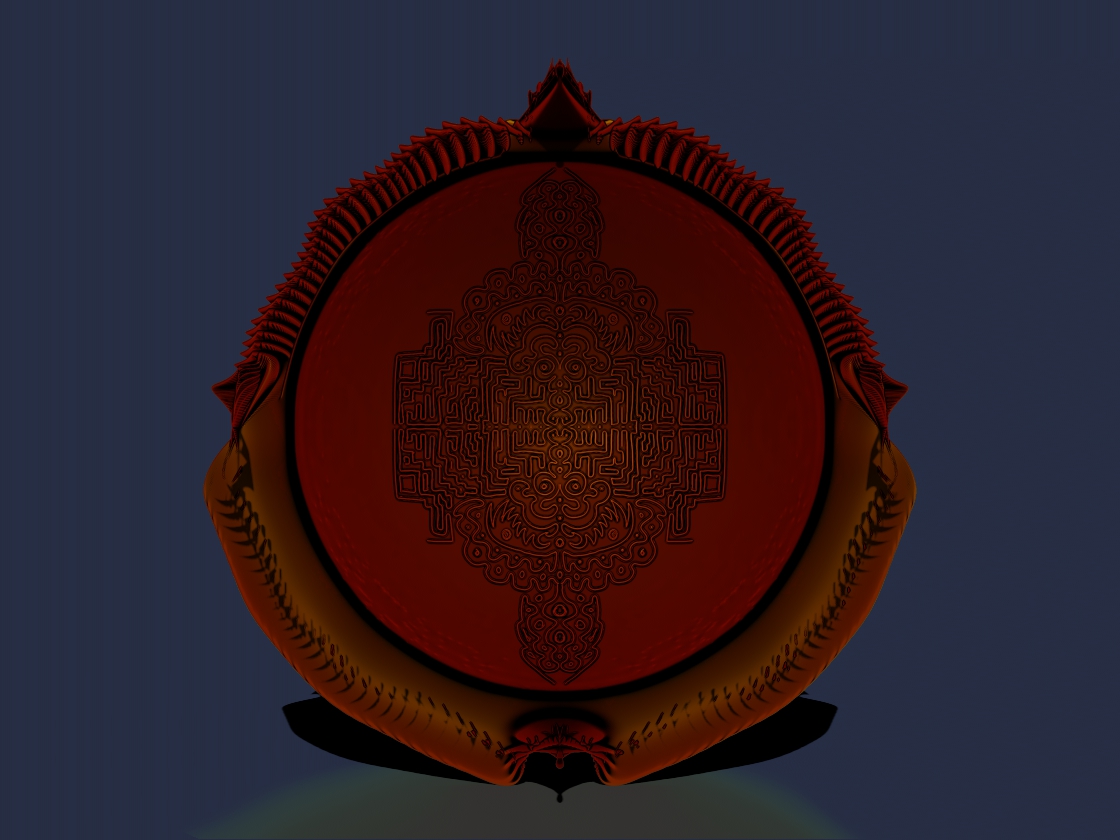
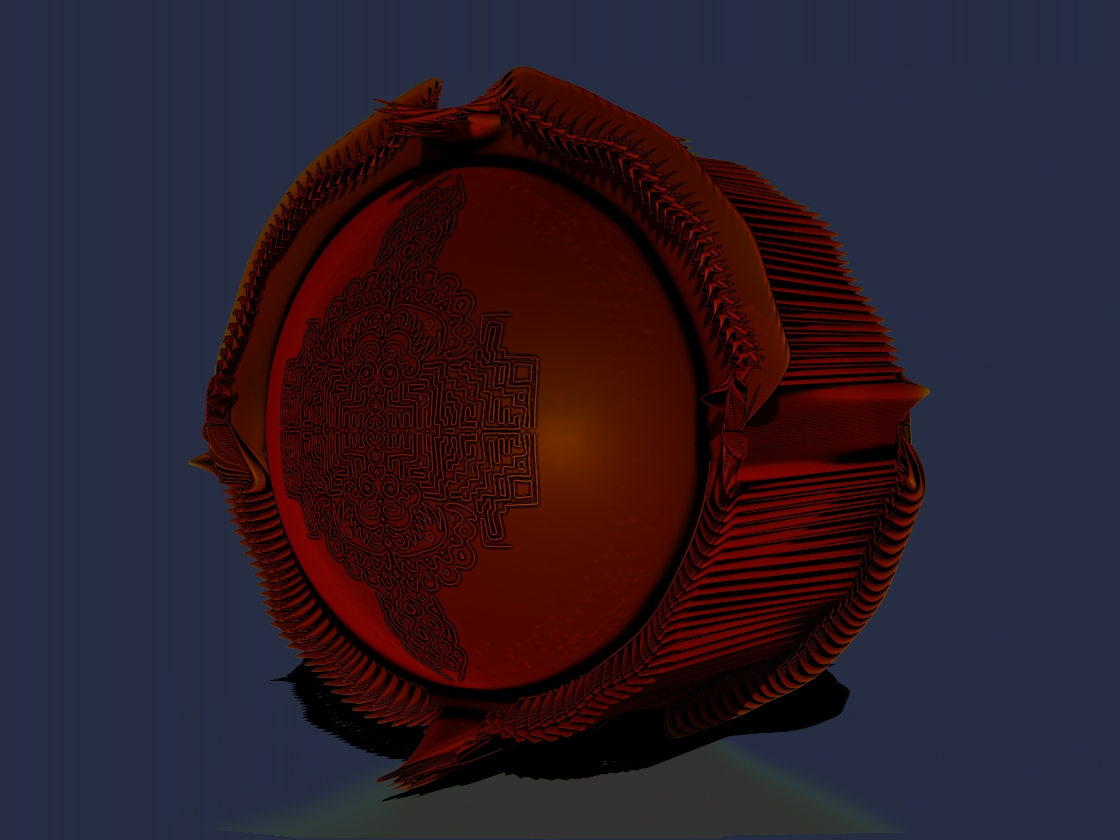
However I came up with this thing so I dont give a damm.
The edge is one brushstroke. Oh yah, heres the matcap for it as well:
MineOneOfNiceOutLinelynessisim.zip (45 KB)
 MineOneOfNiceOutLinelynessisim.zip (45 KB)
Attachments
That looks so cool! It looks like some kind of ceremonial item that belonged to an ancient Chinese emperor or something. Tell me how you did it so I can steal the idea and stick it in one of my environmental pieces!
I was JUST looking at your environmental pieces and going crazy!
Its interesting you say Chinese, I was thinking of Tibet.
Which part do you want described? The whole thing or just the edge?
The matcap is the result of getting mad at lighting and doing something else, all I can say about that is I saved it and its available in the post above, I think I started with MatCap Perl but I’m not sure.
The heck with it!
I can make a tutorial for the whole thing, sometimes I dont know which is more fun the result of making something or the process of making it.
Either way, making a tutorial drills it into my head, hopefully helps people, and causes me to think of other ways of doing stuff.
First of all grab Corey Schroeder’s brushes from here:
http://www.zbrushcentral.com/showthread.php?163187-NEW-The-Organic-Buildup-Brush
And here:
http://www.zbrushcentral.com/showthread.php?163216-NEW-The-Textile-Wrinkle-Brush!!!
These are both very very good brushes for all sorts of stuff.
You can either instal these permanently or load them as needed, I have them installed permanently as I use them constantly for all sorts of stuff.
Ok for that last image I did this:
As usual with no details skimmed over, and this makes it LOOK long, but its not that bad.
- Turn on something good and loud, something that makes you space out. Opium is optional.
- Make a Sphere3D on the Canvas from the Tool Pallet.
- Hit the Edit button at the top. (or forget to do this and yell something so foul the air around your head turns black)
- Turn on the Floor on the right. (good for knowing up from down and stuff)
- Make sure Perspective is on by hitting the Persp Button on the right, this is so you can see the next step.
- Hold down the Shift Key and Click the Rotate Button on the right, you should now be looking at the FRONT of your Sphere.
- Turn off Persp, drawing like we will be doing in a moment can distort with it on.
- In the Tool Pallet again, hit the Make PolyMesh 3D Button.
- In the Geometry Pallet turn on DynaMesh and then turn it back off (WTF???? Yah I know, but it fixes stuff so just do it and I will explain later ok?).
- Again in the Geometry Pallet hit Divide over and over till you have your sphere at around 2-4 million polygons.
- In the Transform Menu turn on Activate Symmetry and turn on X,Y and Z, and make sure M is on.
- Now zoom WAY in using the Scale Button on the right.
- Wiggle the mouse around in the middle of your sphere to make sure you are in the center.
- Set your brush to Corey Schroeder's Textile Wrinkle Brush. (you did get that right?)
- Try drawing.
- Adjust your brush size at the top, you should be making lines that are about 6-8 polygons wide maybe a brush size of 10 or so.
- Zoom back out (using the Scale thing on the right again) to have a look at it.
- Keep working till you have a design that is so complicated people cant see how many mistakes you made.
Ok the reason I had you turn on Dynamesh and turn it off again is that doing this makes your sphere have a a pattern of polygons that works better for drawing on, if we left it the way it was and just divided the hell out of it you would have nasty areas at the poles (top and bottom).
Now for the outside edge thing I did life gets simple, but its a one shot deal kind of, it either works or it doesn’t.
(Also there are some other brushes that cause this nice sort of tidy chaos.)
Ok the edge thingy:
- Zoom out a bit so you can see your whole sphere (again using the Scale thingy on the right).
- Select the Spiral Brush from the Brush Pallet on the Left
- Draw a line on the outside edge of your sphere maybe 10% - 20% of the way in and from the top to the bottom.
- Note that results vary wildly depending on how you do this.
Try the Fibermesh grooming brushes for the edge work you can do some zany stuff if you use those wrong.
There are some other ways of making the Mandela part, this is just one.
You can do some sick things with the curve tubes and radial symmetry but that is VERY crash prone as you can make a huge amount of geometry in no time flat.
You can also use Alphas, this is an interesting and potentially excellent way of doing this, I think using DragRect or Drag Dots would be good and I’m going to try this out now. (40 seconds later) Yep works great!
Something else to consider is that I just used one brush on the Mandela, but you dont have to do that.
Oh yah, try the Deco Brush, its awesome!
Voodoo Dad, this last typing binge is all your fault…
I’m going to go oil my eyeballs now.
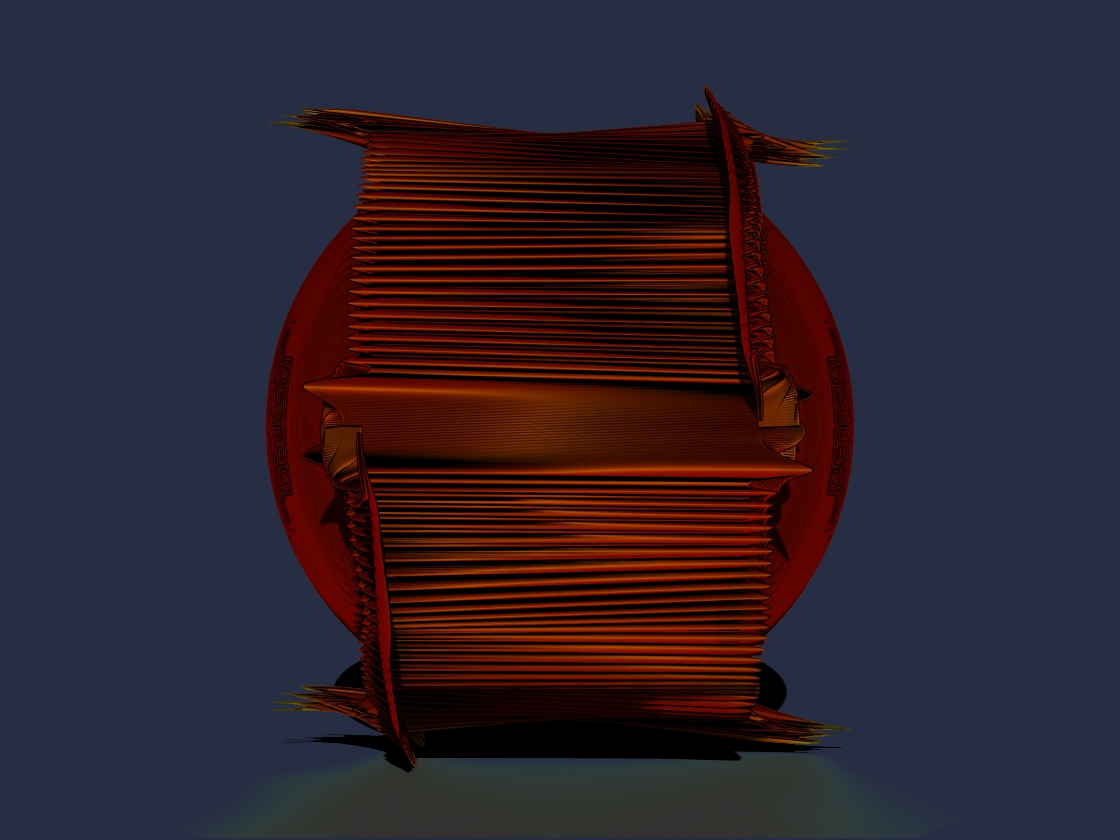
Heres another:
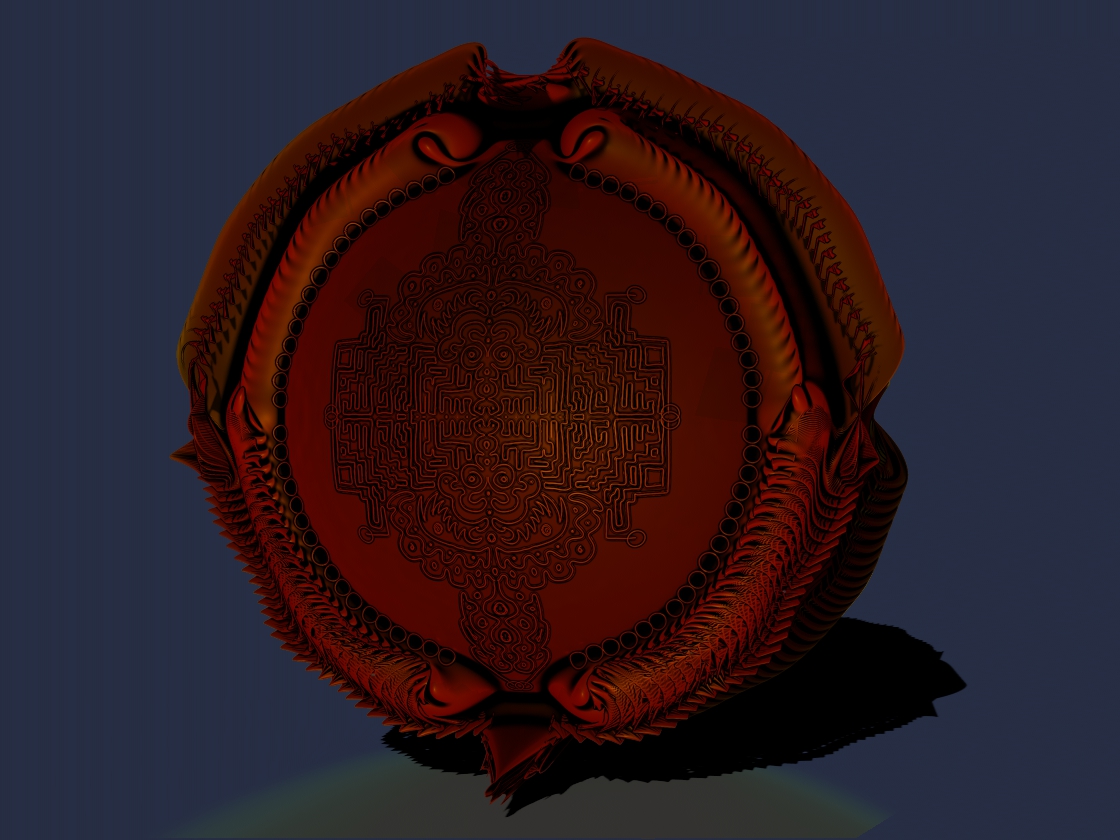
Attachments