ZBrushCentral

MrNunez Sketchbook

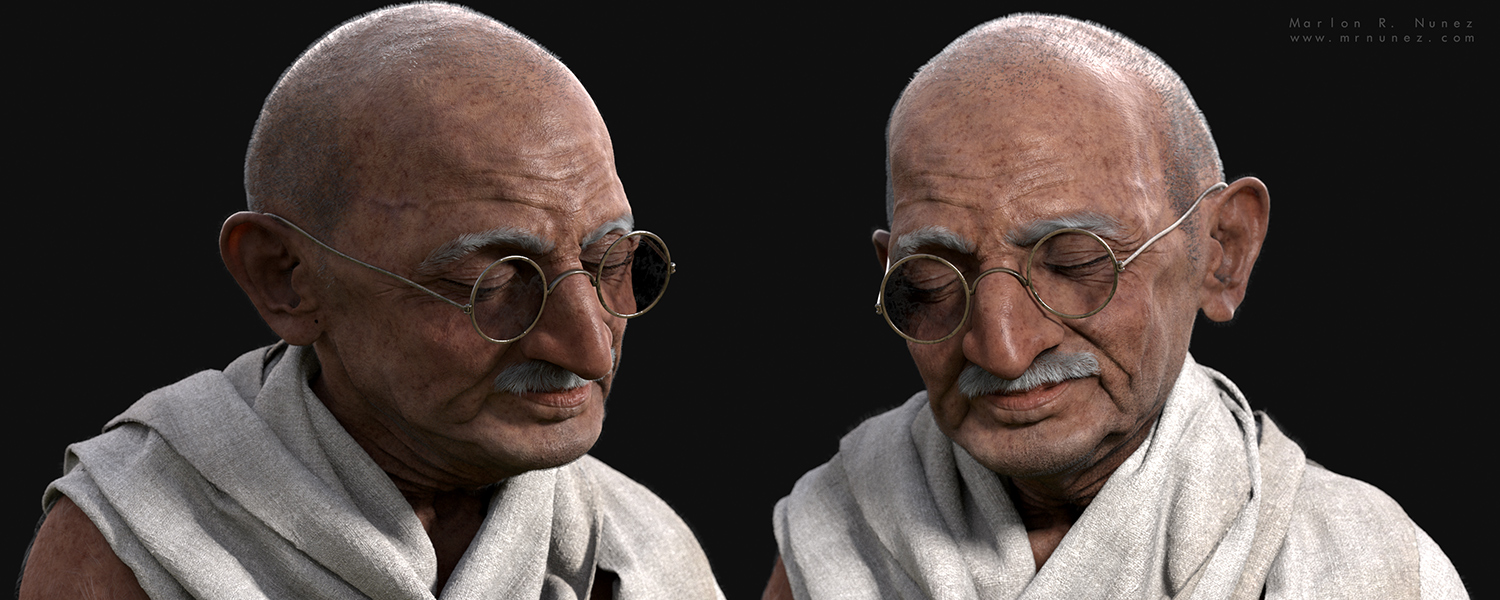
@YKatz, thanks mate! Very nice words
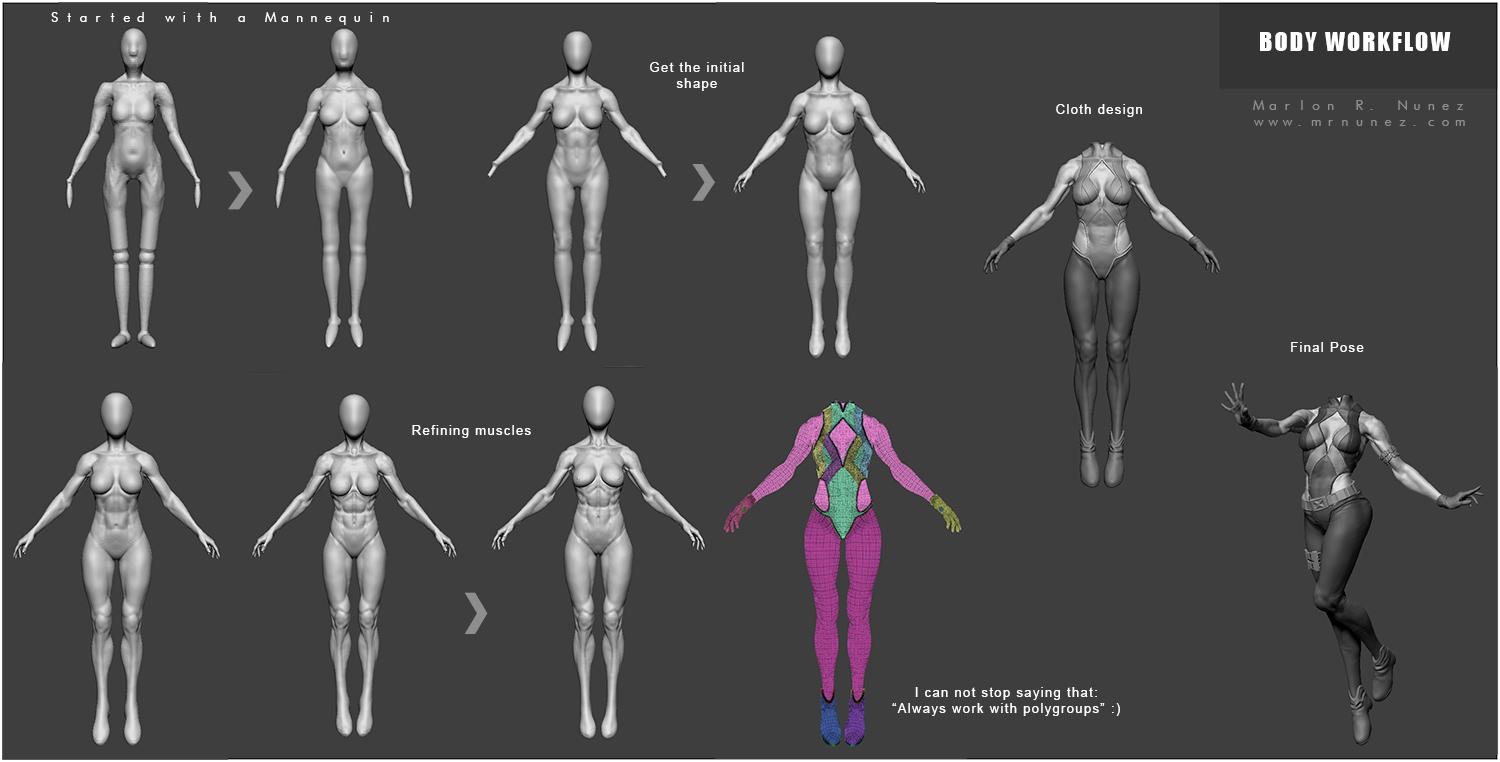
 :smiley:

BODY WORKFLOW

I would like to share with you the workflow I used in order to sculpt the body. It was a while ago since I sculpted my last female body so I tried 2 different approaches and eventually just liked one of them. The 1st apprach was using the same methodology I use for heads, working with primitives. After a while sculpting, I realized it was not the best approach…as it was incredible slow.

My 2nd approach was working with Zbrush Mannequins. It was more out of curiosity but the fact that you can pose the mannequins and already have some nice body proportions, it make the workflow waaay faster. Working along with the clay and clay buildup brush, I could get the body I wanted for Polaris. In this case I was basing my references in a fitness female bodies.

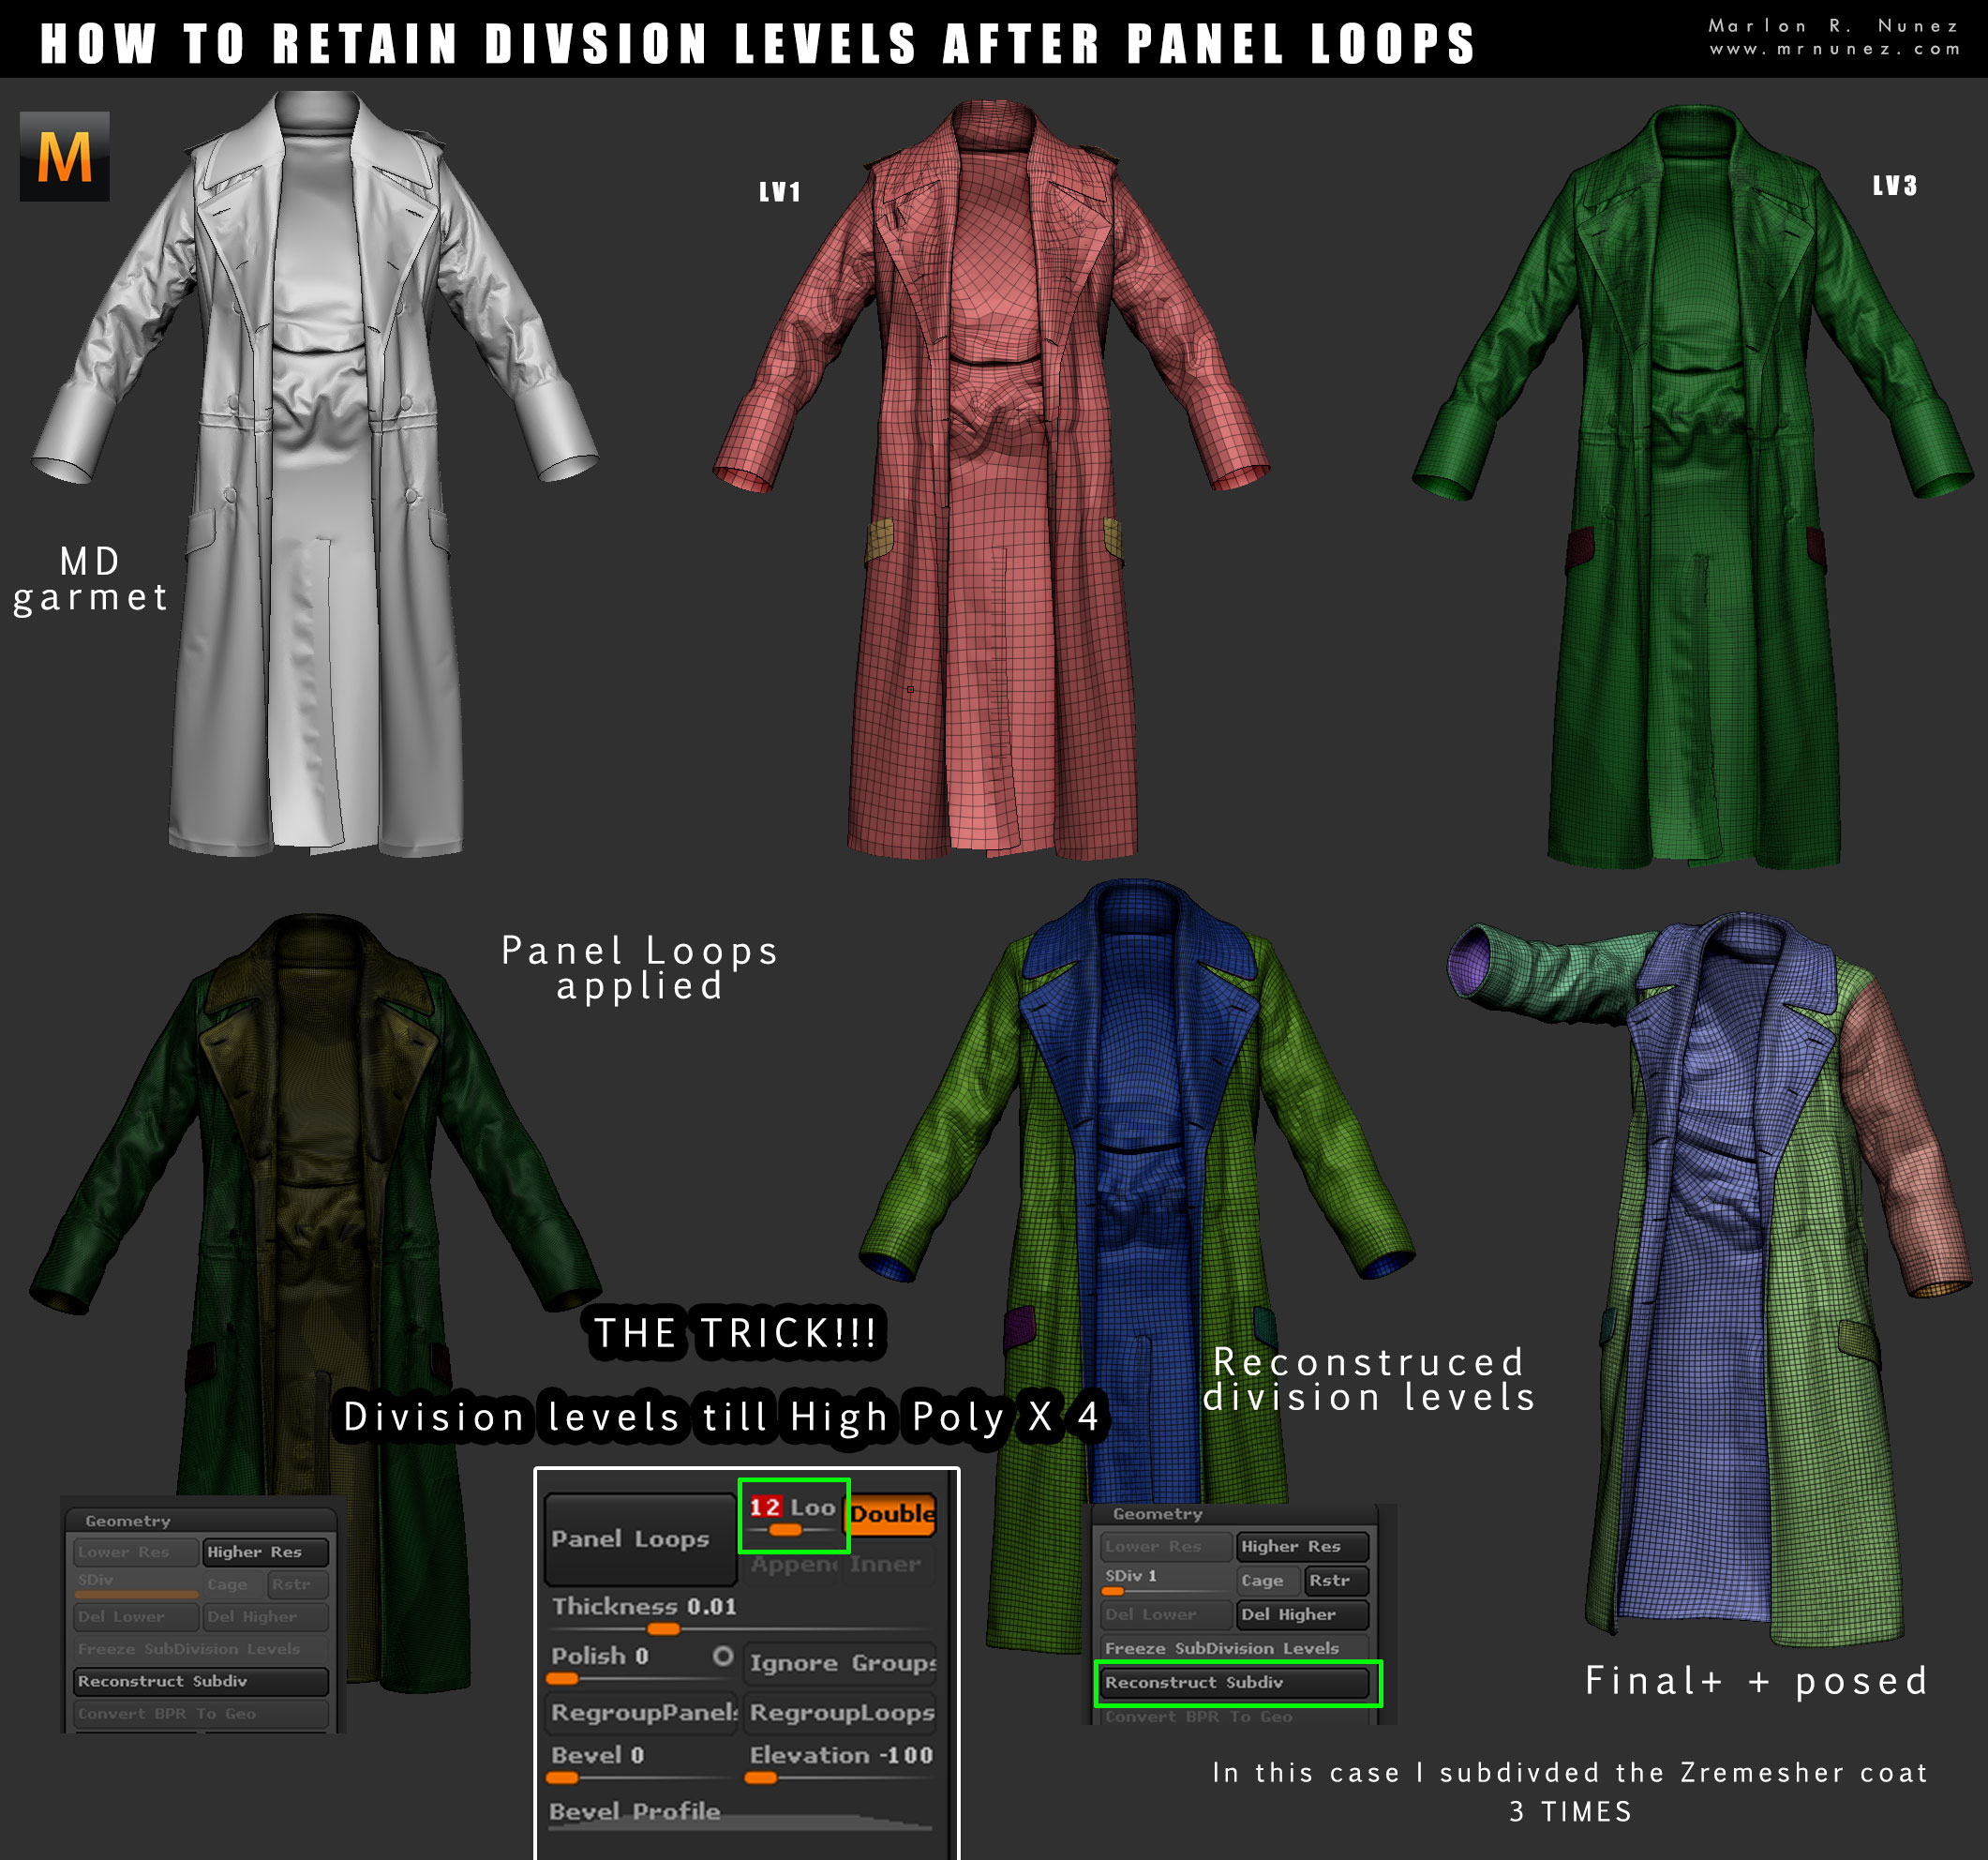
Once the body is done, is a matter of extracting the clothes by masking out the parts. Once I was happy with the design, was time to pose her :wink:
For my was a big point, using Mannequins was extremely important to get an initial base mesh. A really big point to Pixologic to include those
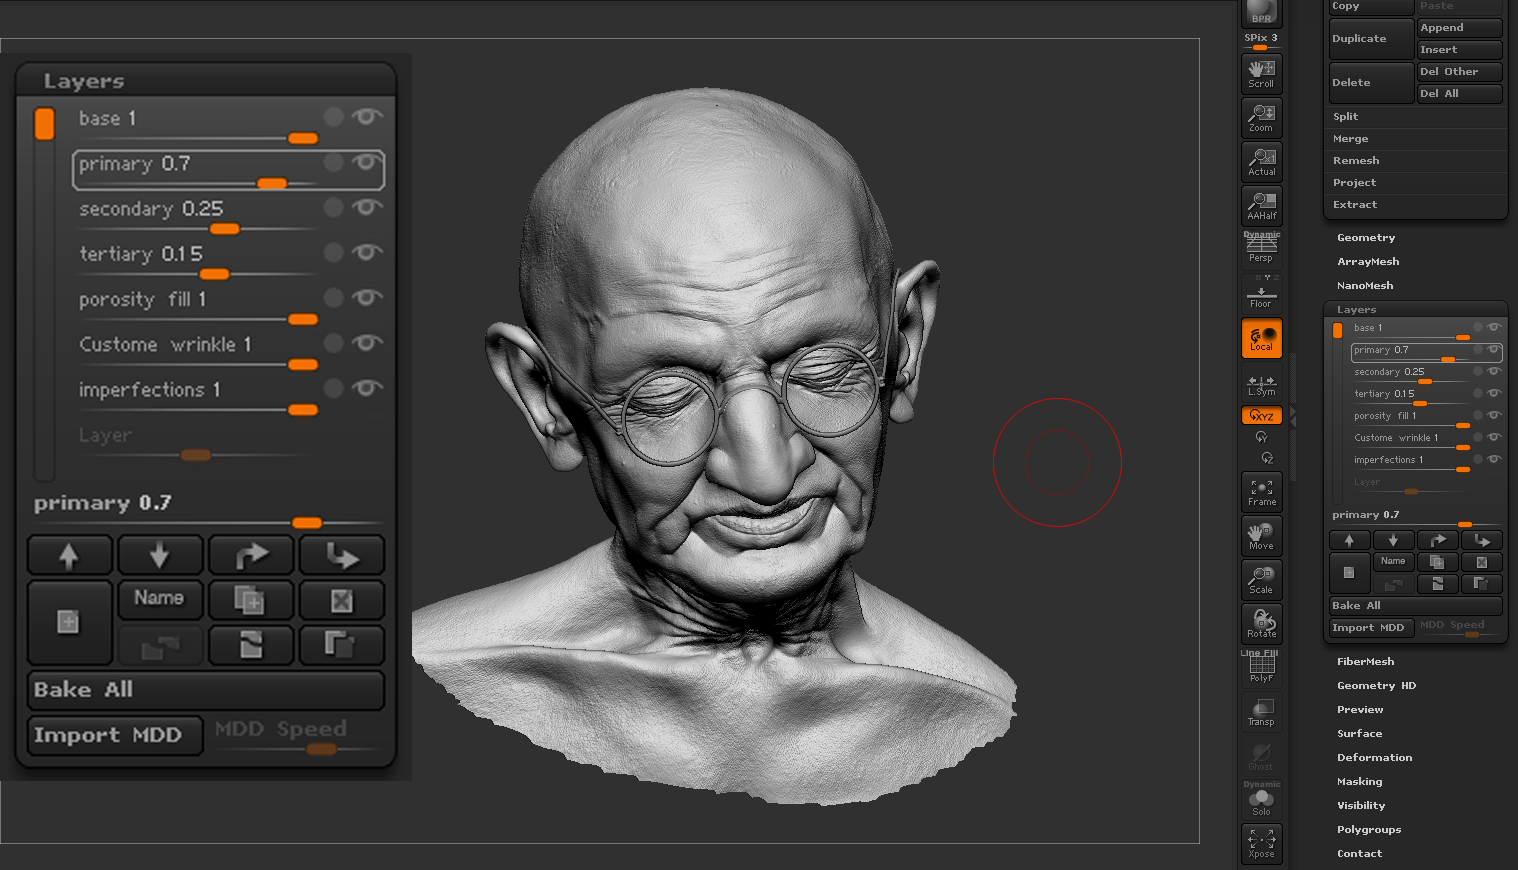
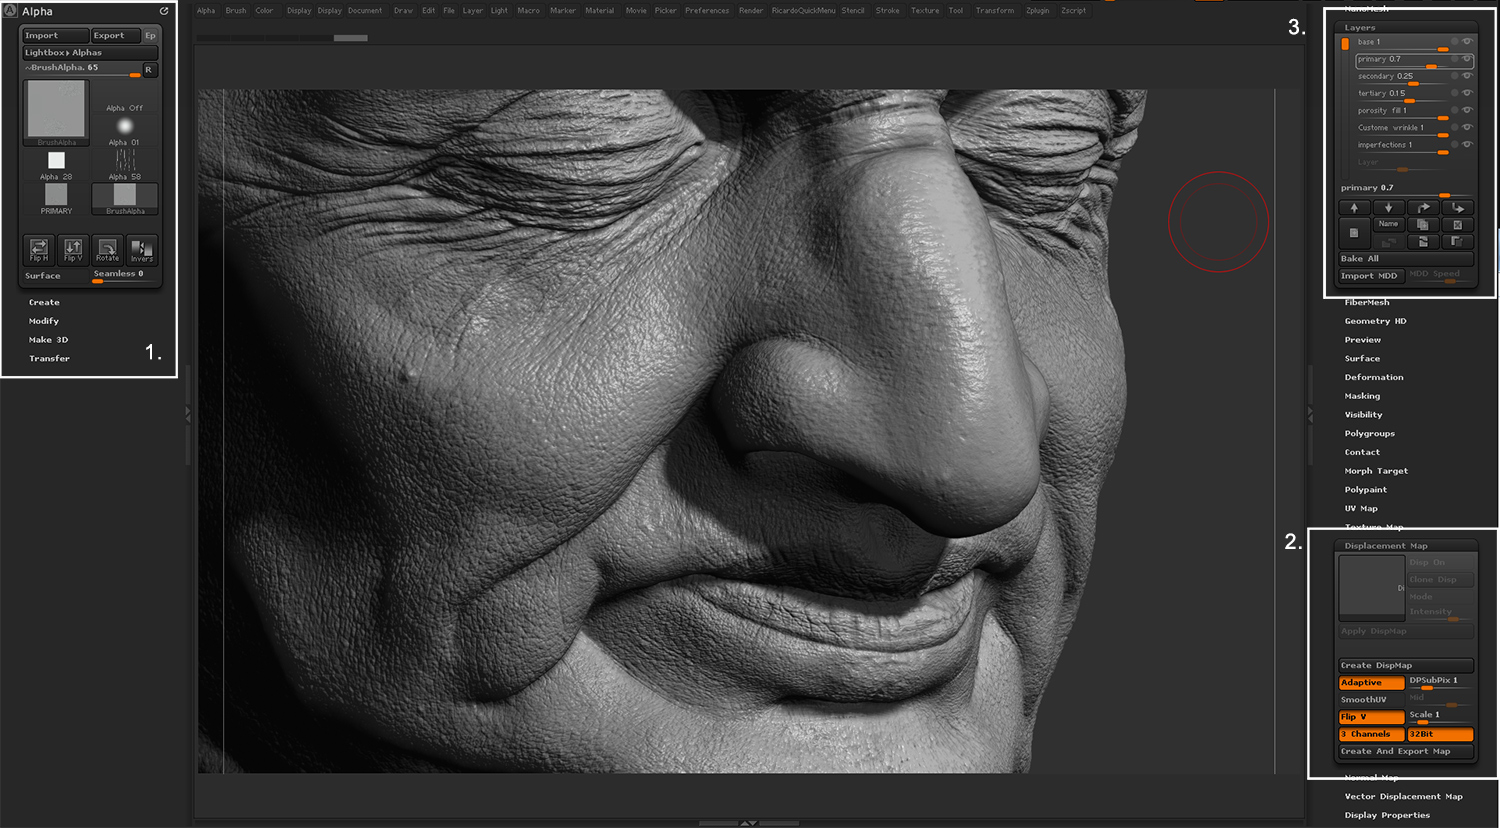
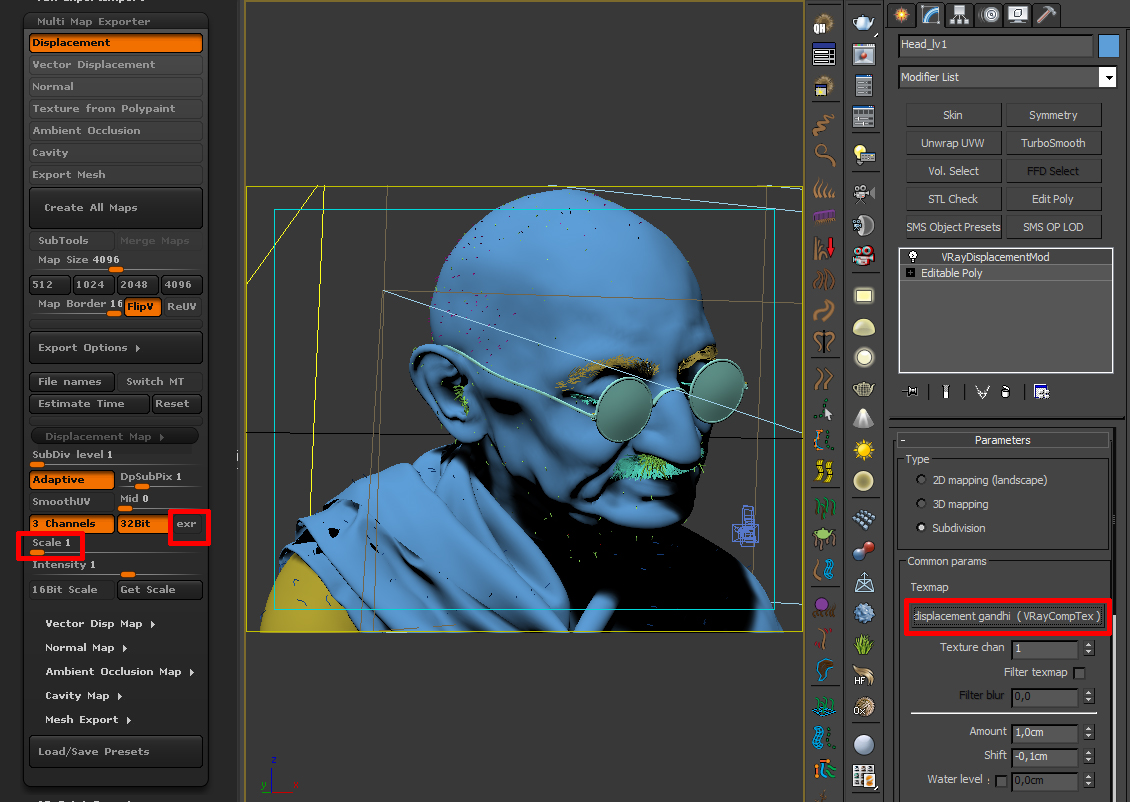
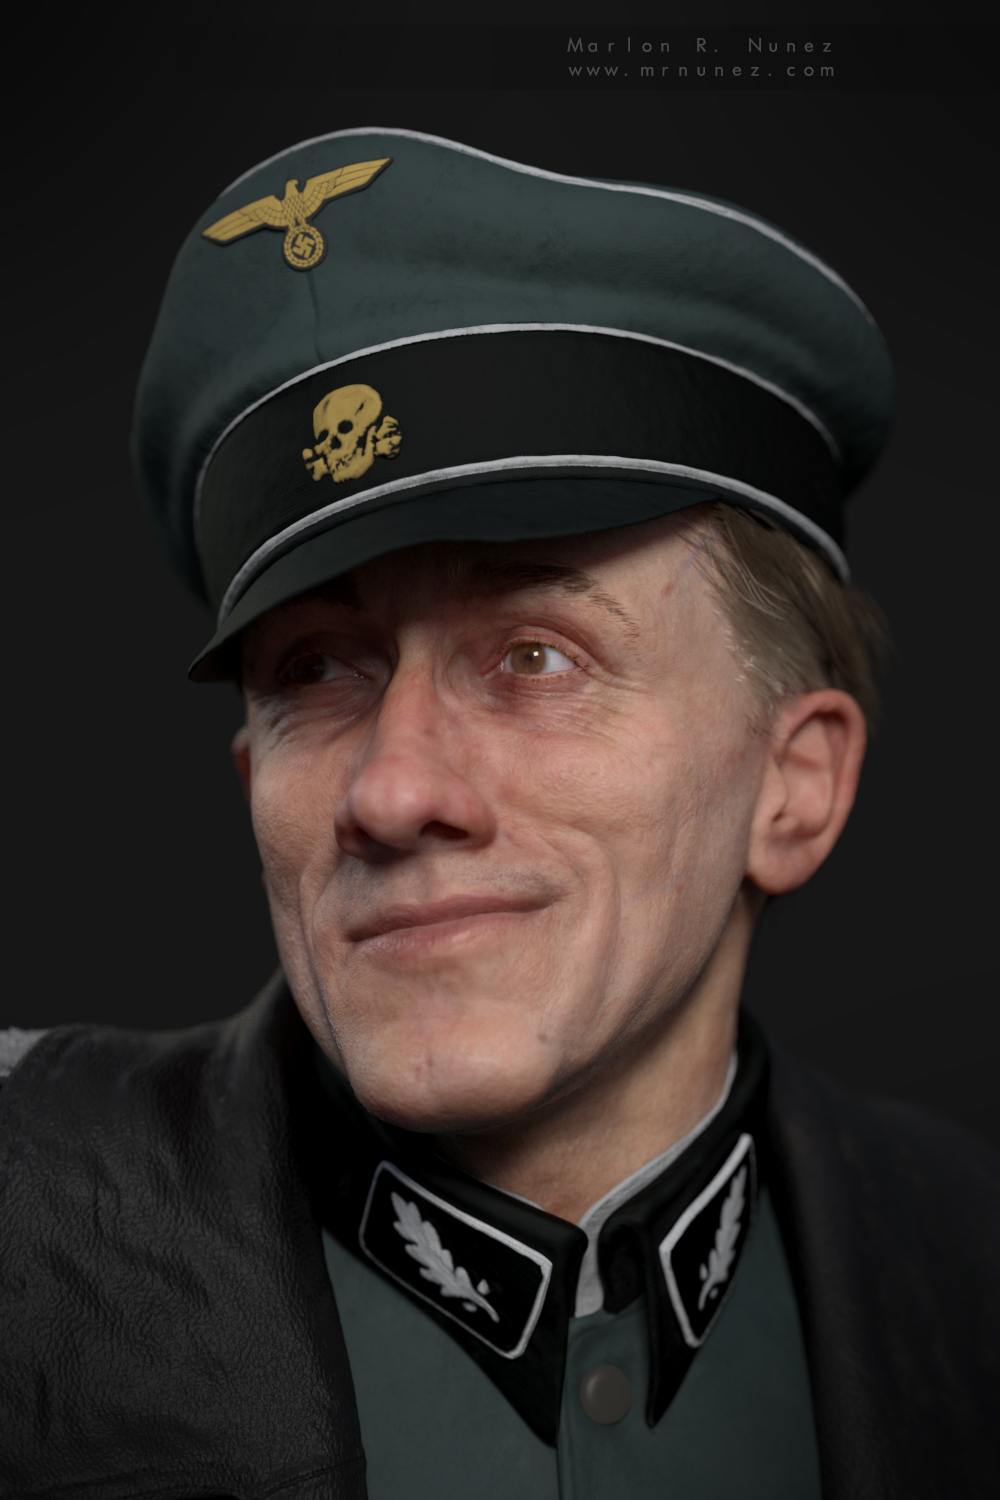
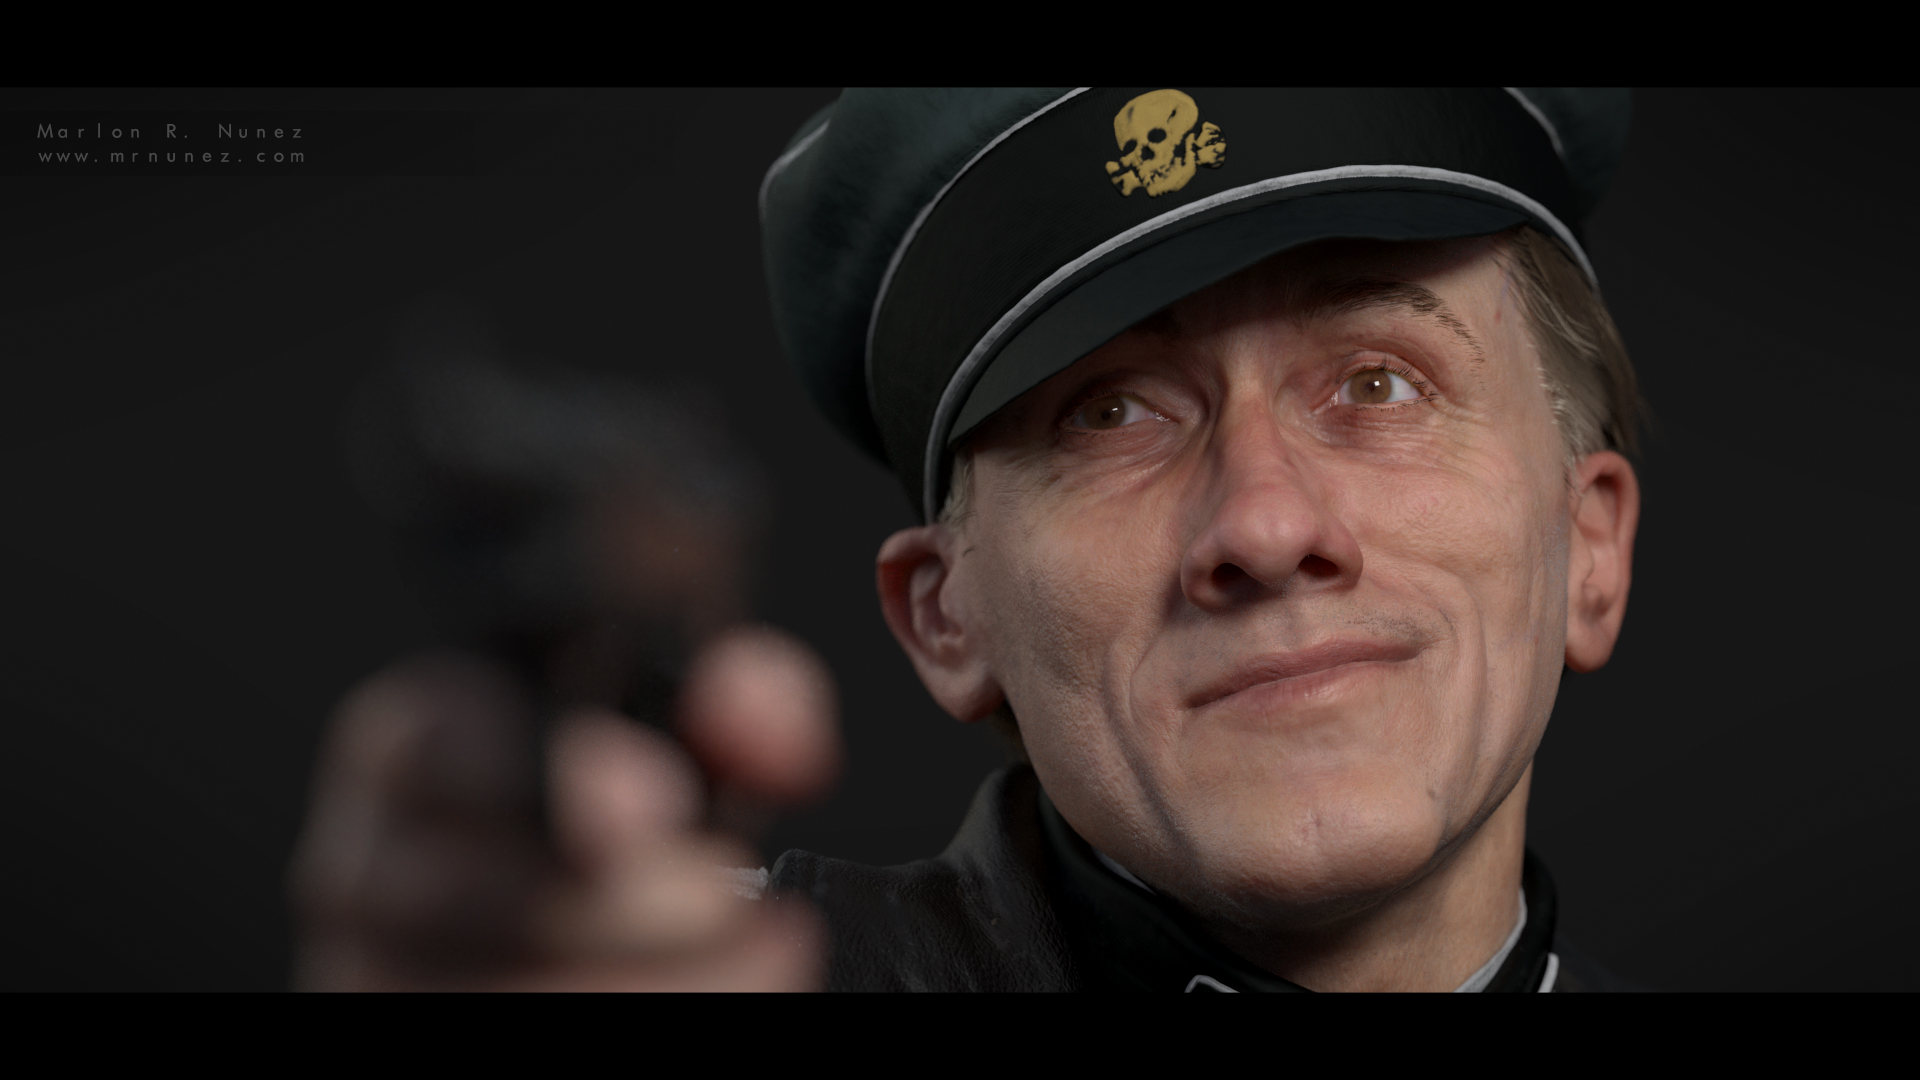
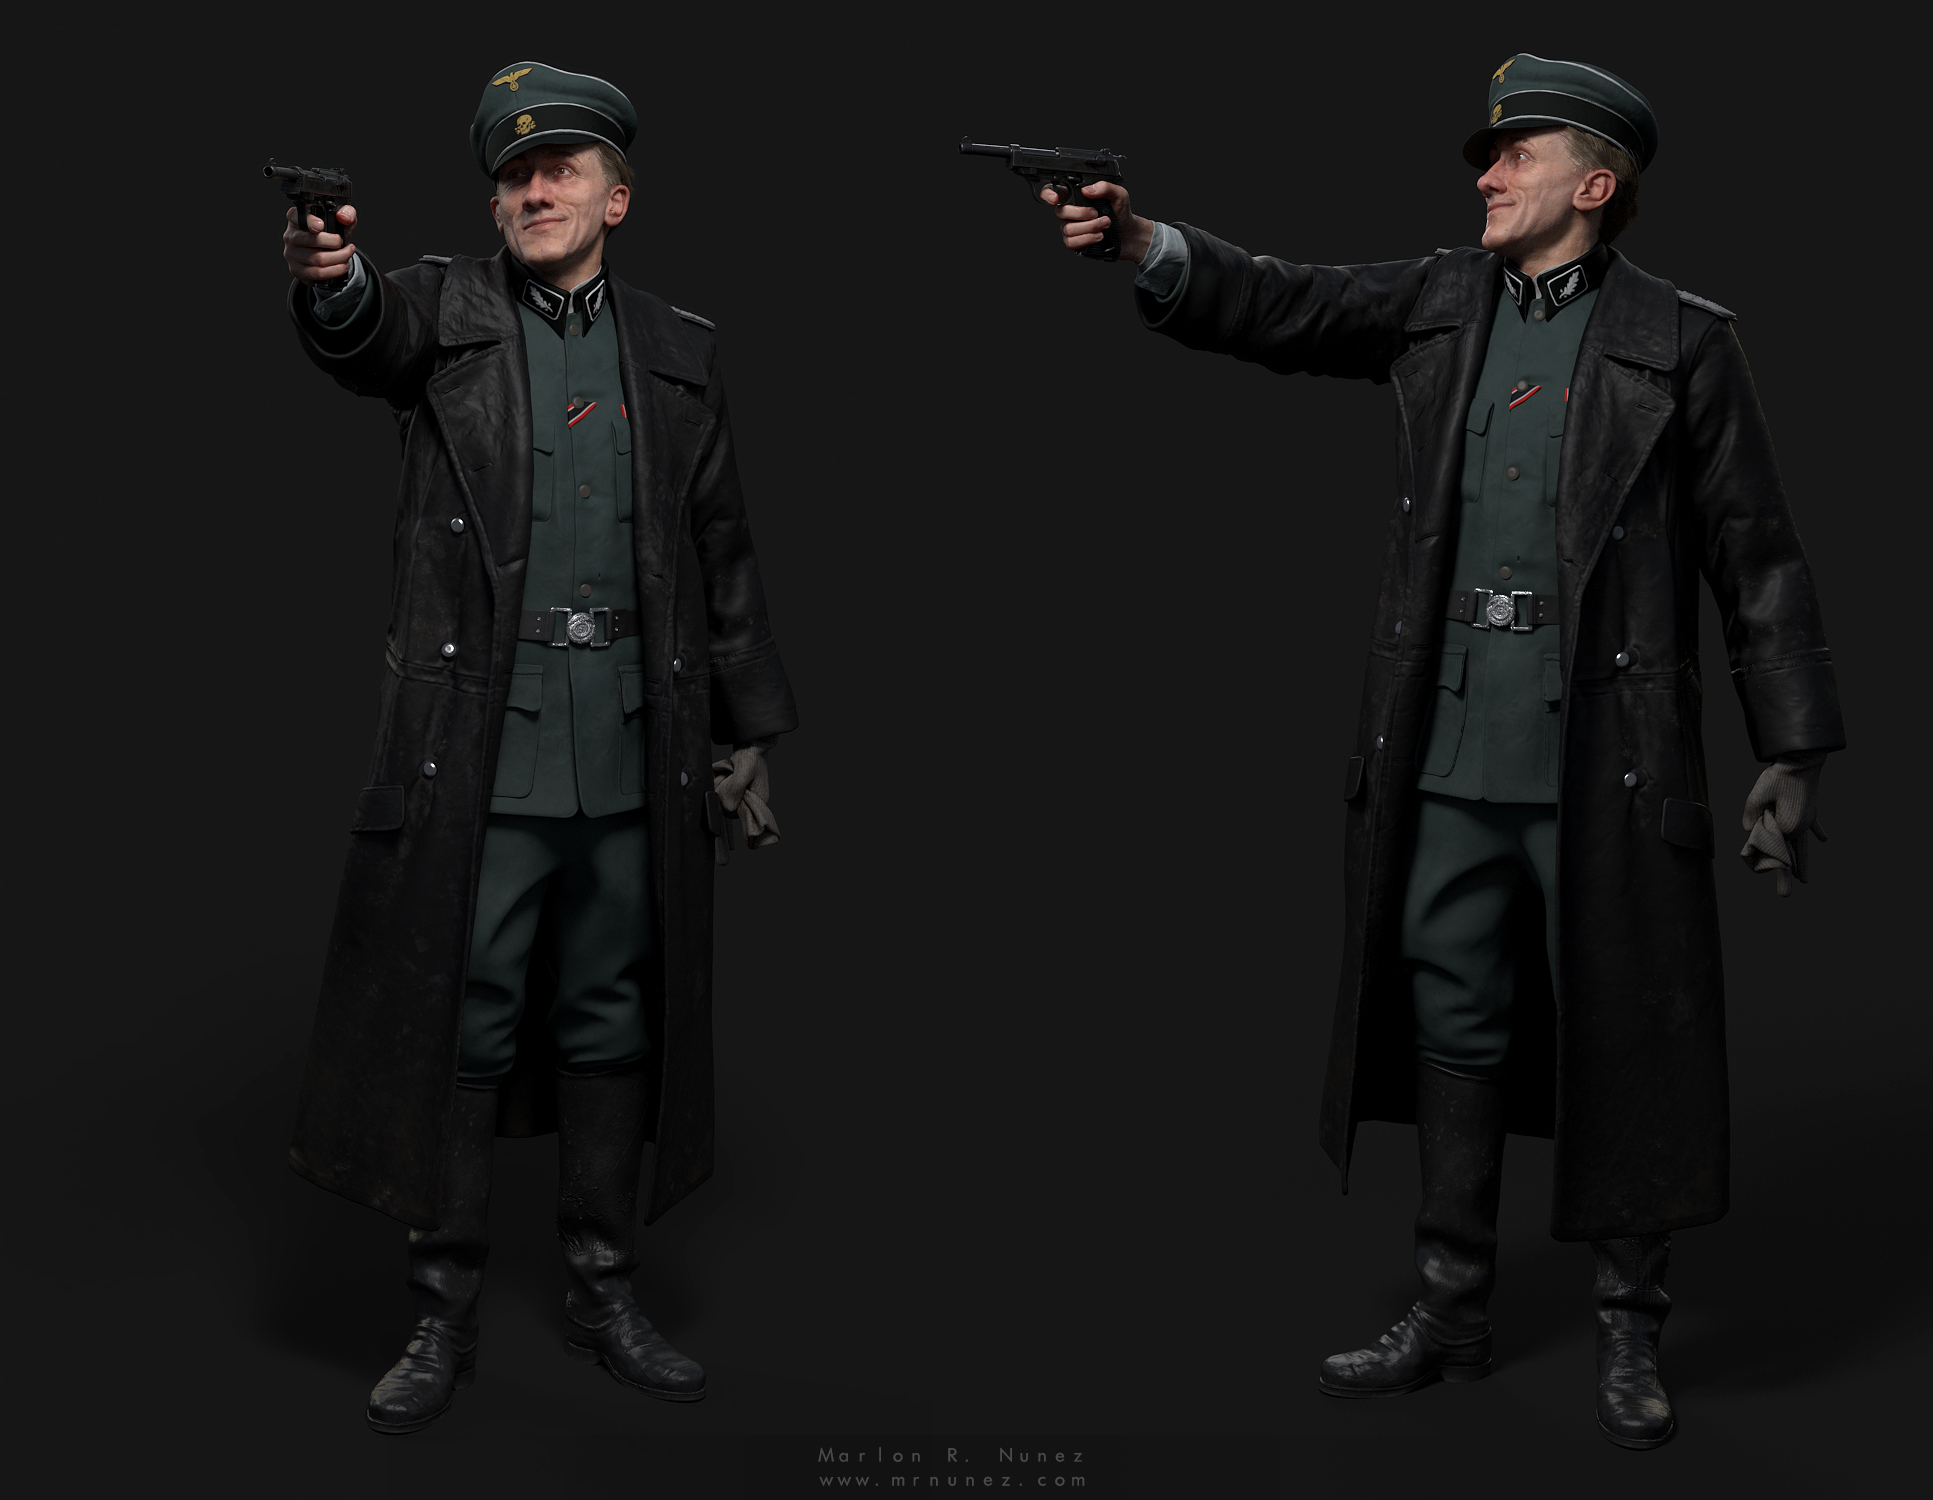
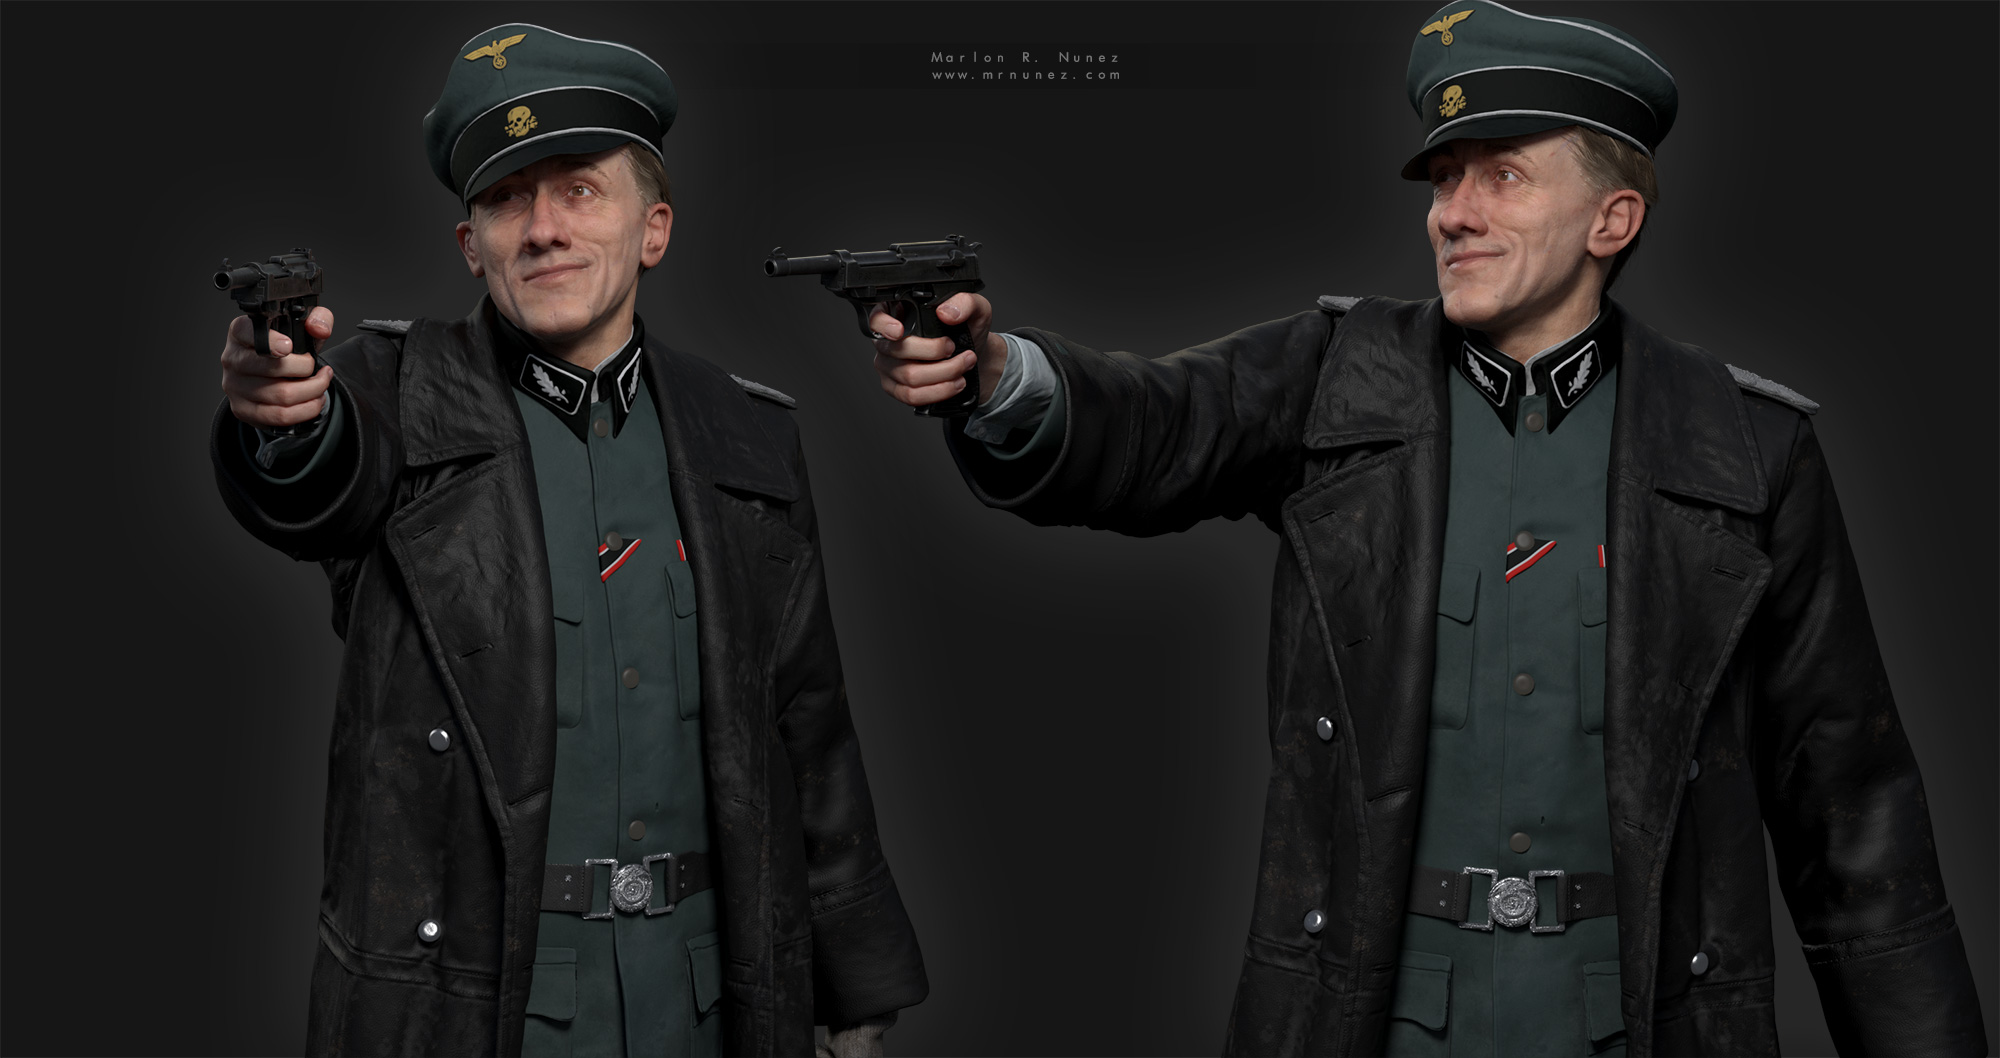
 :smiley:

zbrush.jpg

Attachments

zbrush.jpg

Congratz on the Top Row. :slight_smile: Much deserved. :wink:

very beautiful

very cool stuff mate

That’s awesome! Thank you for the break down. I’ll give it a go and see what I can come up with. Such a good render. :smiley:

Thanks guys, you are welcome! I hope it helps :wink:

Polaris: Magnetos daughter 3D print

Hey guys,

just would like to share with you the first images from the 3D print from Polaris, which was toprow here at Zbrushcentral.

Thanks for all the support, more will be come!!!

14055174_10207366975718023_3644857421861473938_n.jpg14095921_10207366975398015_1815607916444468544_n.jpg

1 Like

Finally I can share my last work for 3D print.

“THE DEATH OF WOLVERINE”

It was a blast working on this project and probably one of the most iconic heroes from all times. My intention was to give the Rage feeling, after all thats what wolverine is…an animal!!! LOL
I hope you like it. Comes with 3 head kits as a bonus :wink:

I will post making of images during the next days as always

You can see them in HD in my Artstation: https://www.artstation.com/artist/mrnunez

Main.jpg
3Faces.jpg
02.jpg
01.jpg
03.jpg
04.jpg
05.jpg
06.jpg

Attachments

Main.jpg

3Faces.jpg

02.jpg

01.jpg

03.jpg

04.jpg

05.jpg

06.jpg

And some Zbrush renders, so you can see all the detail sculpted

For the heads I used the displacement maps from Texturing XYZ

01.jpg02.jpg03.jpg04.jpg06.jpg

Attachments

01.jpg

02.jpg

03.jpg

04.jpg

06.jpg

052.jpg09.jpg08.jpg07.jpg

Attachments

052.jpg

09.jpg

08.jpg

07.jpg

Would like to share one project I started on January, but took me a long while as I was still trying to improve my sculpting skills in zbrush and shading techniques in 3DsMax.

The idea is to recreate Mahatma Gandhi digitally, I hope you guys like it! :smiley:

HD images in ARTSTATION: https://www.artstation.com/artwork/3mz9E

Gandhi_3dtotal.jpg
superclose_1500.jpg
closeup_01_1500.jpg
body_1500.jpg
Zbrush01.jpg
Zbrush02.jpg

Attachments

Gandhi_3dtotal.jpg

superclose_1500.jpg

closeup_01_1500.jpg

body_1500.jpg

Zbrush01.jpg

Zbrush02.jpg

1 Like

I want to share my Zbrush pipeline to create busts. I call it the “The method of the Spheres”
1.Start with a Sphere and find the head volume and shape
2. With other spheres append Nosea, Ears and Eyeballs

Pretty much already from this stage you should be able to see the character

3. Dyamesh it and remove gaps. Fix the volume and start with the anatomy work.
4. After it is where I spend most of the time. Likeness is very tricky and sometimes it can take some time to get it right.
5. For the high frequency details I used the displacement maps from TexturingXYZ. Very handy for the face
6. Remain body details are done with standard alphas

I always make sure to work in layers so later on I can intensify any of the details in order to get a better displacement map. Check out the image below:

layers_zbrush.jpg

Attachments

layers_zbrush.jpg

1 Like

Some people were asking about the displacement map workflow.

  1. Load them as Alpha > Invert in Vertical as Zbrush flip them during export
  2. Load the alpha in the displacement
  3. Adjust the value, most of the time low values around 0,3 do the job
  4. Create a layer and bake the information from each Channel into separated layers (Primary, Secondary, Tertiary)
  5. Adjust each layer until it looks right
  6. Create any new layer for imperfections, wrinkles and extra porosity details


  7. displacement-zbrush.jpg

Once you are finish, in order to bake the displacement map I use Multi map exporter inside of Zbrush. Make sure you turn OFF EXR and the scale is set to 1. With the displacement map baked, in 3DsMax I add a VrayDisplacementMod on the lv1 OBJ imported from Zbrush. An amount of 1cm should do the job, though depending on the case I like playing with the SHIFT value too.

max.jpgsuperclose_1500.jpg

Attachments

displacement-zbrush.jpg

max.jpg

superclose_1500.jpg

1 Like

Scarlet “The Witch” for a 3D print commission

Artstation: https://www.artstation.com/artwork/0ZXOw


Attachments

HOW TO RETAIN DIVISION LEVELS AFTER PANEL LOOPS

Hi guys,

would like to share with you one trick I found out during the process of my last character. More specifically about level divisions in a garment exported from Marvelous Designer.All of us knows the basic pipeline about using Zremesher and re-project the details into the new mesh. But in some cases you are requested to have thickness on the cloth. Well, to be able to do this you can use Panel Loops but immediately you will loose all your subdivision levels.

I asked myself how to reconstruct the previous subdivision levels after the panel loop process. The answer is mathematics LOL.

All is a simple to multiply your previous division levels number by 4, and apply the resulting number as the Loops on the Panel Loop operation.

i.e: I have a cloth that I subdivided 3 times in order to project all the details:

  • I delete the division history in order to apply Panel Loops, but set "12" as the loops should be generated during the process (3 x 4= 12)
  • After that just hit "Reconstruct Subdiv" button, and you will be able to get down on the division level to the fist one.
Now on division level 1 is easy to pose it, create UVs, etc..

Have fun :smiley:

tutorial_begins.jpg

Attachments

tutorial_begins.jpg

Likeness study from Christoph Waltz as Hans Landa from Inglorious Basterds movie.

ARTSTATION:
https://www.artstation.com/artwork/vB5yv

closeup.jpg
Main.jpg
Posed_double.jpg
UpperBody.jpg
Zbrush_pics_01.jpg
zbrush_presentation.jpg

Attachments

Main.jpg

Posed_double.jpg

UpperBody.jpg

Zbrush_pics_01.jpg

zbrush_presentation.jpg

This is some great stuff, especially like the Scarlet Witch :slight_smile: :+1:

Just wonderful! His is expression is brilliantly done!

great job on the face, it’s nice that you went for an expression too

Man, amazing work!!! I am currently working on a realtime likeness model myself, and you have raised the bar! Excelente trabajo!

Character Artist
Portfolio