ZBrushCentral

JaySuS Sketchbook of Love

Dude, those swords are badass! Excellent designs, as pygmalion said, virtual metal smith! Excellent metal textures too, superb looking weapons :+1: You should consider making a tutorial if you haven’t already, might inspire some other Skyrim players to try their hand at modelling :stuck_out_tongue: I’m pretty interested in workflow too (so thanks for the pictures so far!) since I’m trying to learn methods for efficient flow between zbrush, modo and other tools -> game ready model.

Dragonbrand sword is so good :sunglasses:

excellent work!!

Awesome as always:) If you are getting tired of swords how about trying some maces and hammers?

Hey jaysus

I have really been enjoying your work and the variety that you have created so far…
so i echo the sentiments of maybe a video tutorial or a time-lapse of your workflow from beginning to end,
to get an idea of how you go about making these hard-surface weapons and the crisp hardsuface details you incorporate in each one…
thanks again for posting your progress on these… and keep up the great work… :stuck_out_tongue_winking_eye:

made some screenshots inside the Skryim SDK and i think it looks quite ok :slight_smile:

somin around 3.5k polygons atm and one 4096x1024 texture

the blue glow is actually there ingame too, it glows and twirls and other fabulous stuff :smiley:

A09.jpg

Attachments

A09.jpg

another screenshot, this time ā€œingameā€
currently packing everything up for release of the newest update to ā€œJaySuS Swordsā€A11.jpg

Attachments

A11.jpg

nice weapon on your weapons man, great sword designs!:+1:

Jaysus, could you possibly explain number 7 of your workflow( baking textures onto the duplicate )? I have been looking at tutorials as you suggested but sadly I’m still a little lost:(

not sure which worflow you mean atm… sorry lol, its late XD

but i guess we just created an awesome thing in high poly and now need a low poly version for realtime/game use?

if so then you need to transfer the detail of your high polygon count model to the lower resolution version of it somehow, project all for example in the subtool palette works quite well for that,
however you might not need that if your new low poly uses the very same uv map… which could be the case if your high poly has one because it was made out of your low poly… then you could just bake the textures and apply them… your model however woulndt end up with as many detail as with a new low poly based on the high poly,
whatever you do lol, keep in mind that project all can take ages and not always does it work well… usually it does tho…

there are sooo many ways… it really just depends on your workflow…
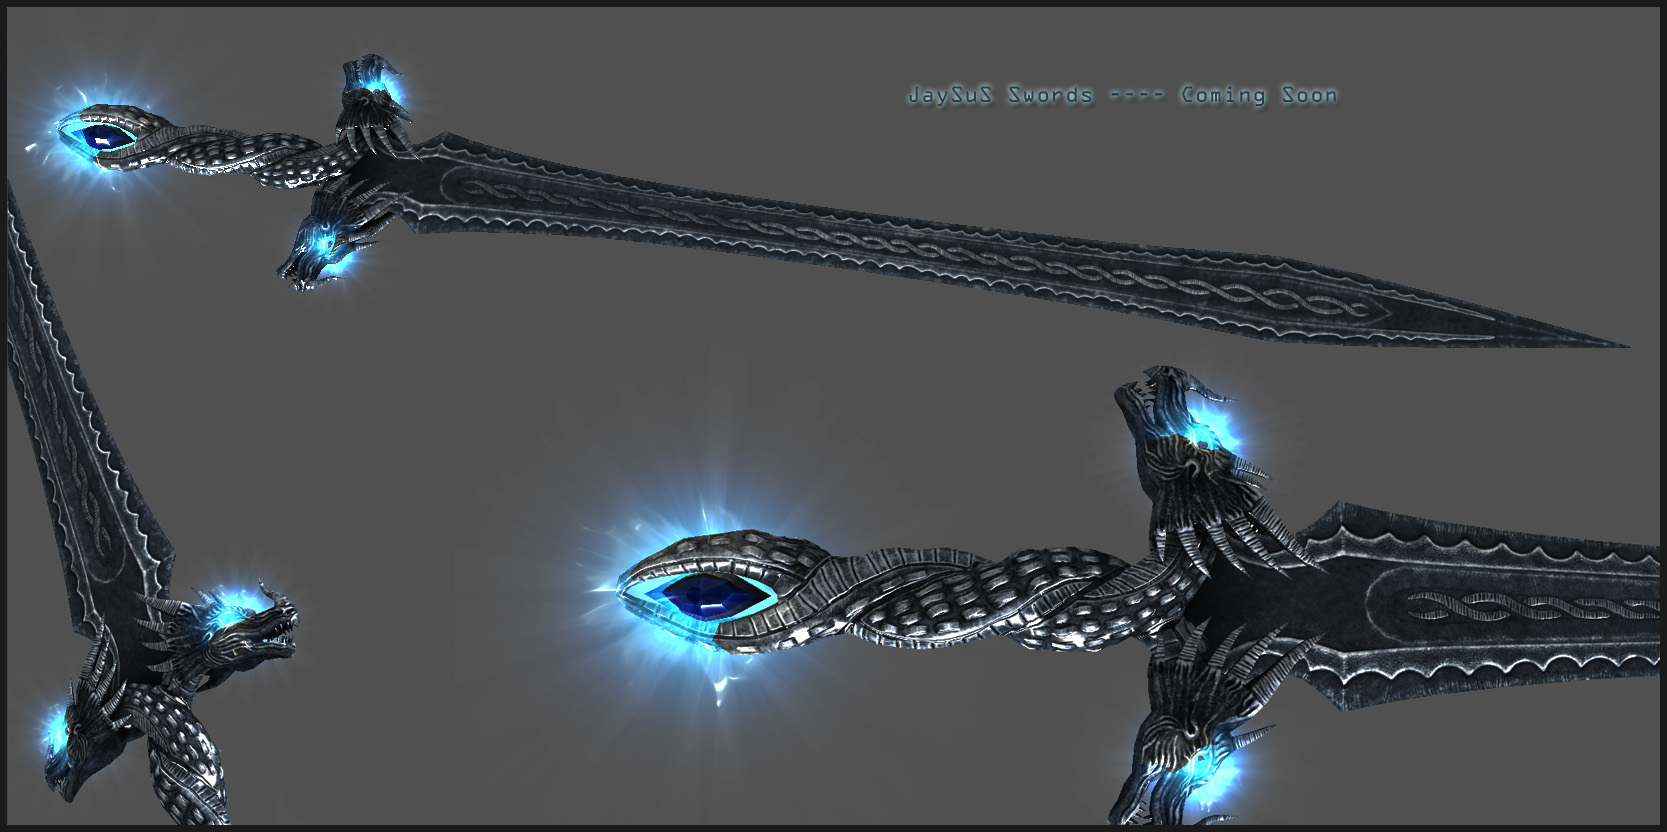
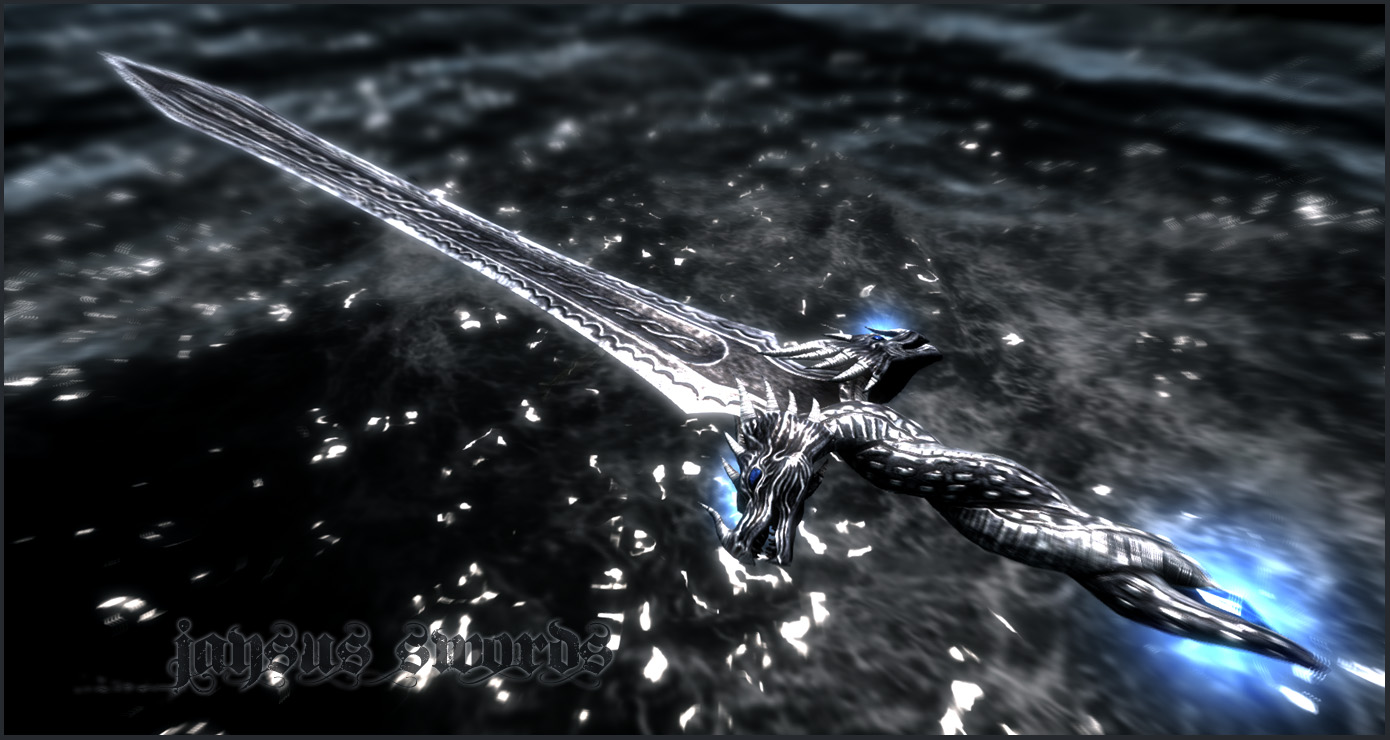
for most of these swords i had a uv mapped low poly version made in max already, like the last sword, i made a simple dragon head in ZB, retopoed in 3DCoat, adjusted in max, uvmapped it, exported back to ZB, detailed it all…
thats not always a good workflow, especially not if you create your design on the fly on ZB not knowing where it will go… if you know how your endproduct shall look however, creating the low poly first as described above might be better

Thanks jaysus. I’m just simply creating a one handed warhammer in 3DS max, then to zbrush for UV’s and details, its the whole mapping and baking of maps thats getting me confused:(. As little as I understand it, I need hi rez mesh either decimated down or retopoed, color map, normal map, and a specular map. I know x normal can generate maps, so I may try that. Sorry for aggravating you:) I appreciate the advice you have given.

aggravating me?
lol no no…

@baking
ZB does that for you

if you have a uv mapped low poly, add subD levels and sculpt the detail you can immediately bake all kinds of maps from your high poly model onto the low poly model’s uv map texture space thing

which maps you need depends on your design and material
but you always need to bake the polypainting aka colour aka diffuse and the normal or bump map… the specular can often, or most of the time actually, quickly be created in photoshop or gimp by simply adding contrast and reducing saturation…
mind that for skyrim and other bethesda games past morrowind need the specular or your object will be shining bright…

summer, beaches, crowds, bbqs… sharks! yes sharks it is!

just been doodeling a bit and kinda like what you can do with the ā€œthin outlineā€ material and simple, recognizable shapes… tshirts come to mind, logos and so on :slight_smile:

2.jpg
3.jpg
7.jpg
8.jpg

doodeling here and there on the shark…

13small.jpg

nice work JaySus on your shark creature!
the silhouette is great man:+1:

just doodled around once again and made a really dirty easy portrait of a musician friend of mine for whom i sometimes make record covers and such,
its simply an alpha of a photo i took, smoothed out a little… no sculpting or any of that sophisticated stuff :stuck_out_tongue:
yet i think it looks kinda sexy

relief.jpg

some more artsy things i created rescently:

half a logo im currently animating for a buddy
jungeditsA01.jpg

some bolisemehn
riotgear.jpg

finding timeline entertaining and exciting i toyed around a bit with it and made this older bust of mine smile and stare… basicly timeline with a camera track and a track for layer visibility, one layer for each expression:
Orphitecktion ZBrush Shapekey Test (Youtube… no idea why it doesnt embed meh)

Attachments

riotgear.jpg

mmh… ill repost that link XD, i think it kinda got lost underneath that picture :confused: …poor linky
ZB layer/shapekey test
i am currently toying around with ā€œRealflowā€, a fluid, particle, physiques thingy tool whislt working on that logo i did for a buddy… all still very experimental and rendering or rather simulating takes ages, but it gives a bit more flexibility than the ZBrush timeline features, which however are awesome for what they are actually supposed to do lol, got some nice basic animations down with ZB, spinning and getting closer with nice material variations, kinda stylized, ill ask if i can show some of :slight_smile:

the stuff below are just some test runs:
ZBrush animation (emerge from the deep)
RealFlow/Max animation (bleed and explode)

JE1.jpg

Attachments

JE1.jpg

short logo video test for another project im working on, the request was ā€œsomething with bloodā€ (lol)

Malefiz-Haus Logo Test

the letter models were done in C4D and provided but the geometry was horrible and had to be redone by me, since 3DMax’s turbosmooth was not the right tool this is where ZB came in, i used the smooth group import and subD levels to smooth my low poly model out… its probably not something that sounds very reasonable but in this case it was imo the fastest solution to get good looking geometry

am still learning realflow atm and this render video obviously isnt in the best quality, cheap scanline renderer resulting in weird shadows and so on…

a secon test run of that logo with a tad more blood
Malefiz-Haus Logo Test 2

that very logo from my last post, still renders from the scene

mental ray, shadow field = shadows suck
smlogoA03_1.jpg
mental ray, ray traced shadows = shadows ok
smlogoA03_2.jpg
ZBrush BPR, single pass, mmh well… no… dont like it this time, the shading on the blood mesh is kinda weird imo
smlogoA03_3.jpg
that was the model i got lol… it really pays off to invest some time in clean modelling :wink:
logo1.jpg