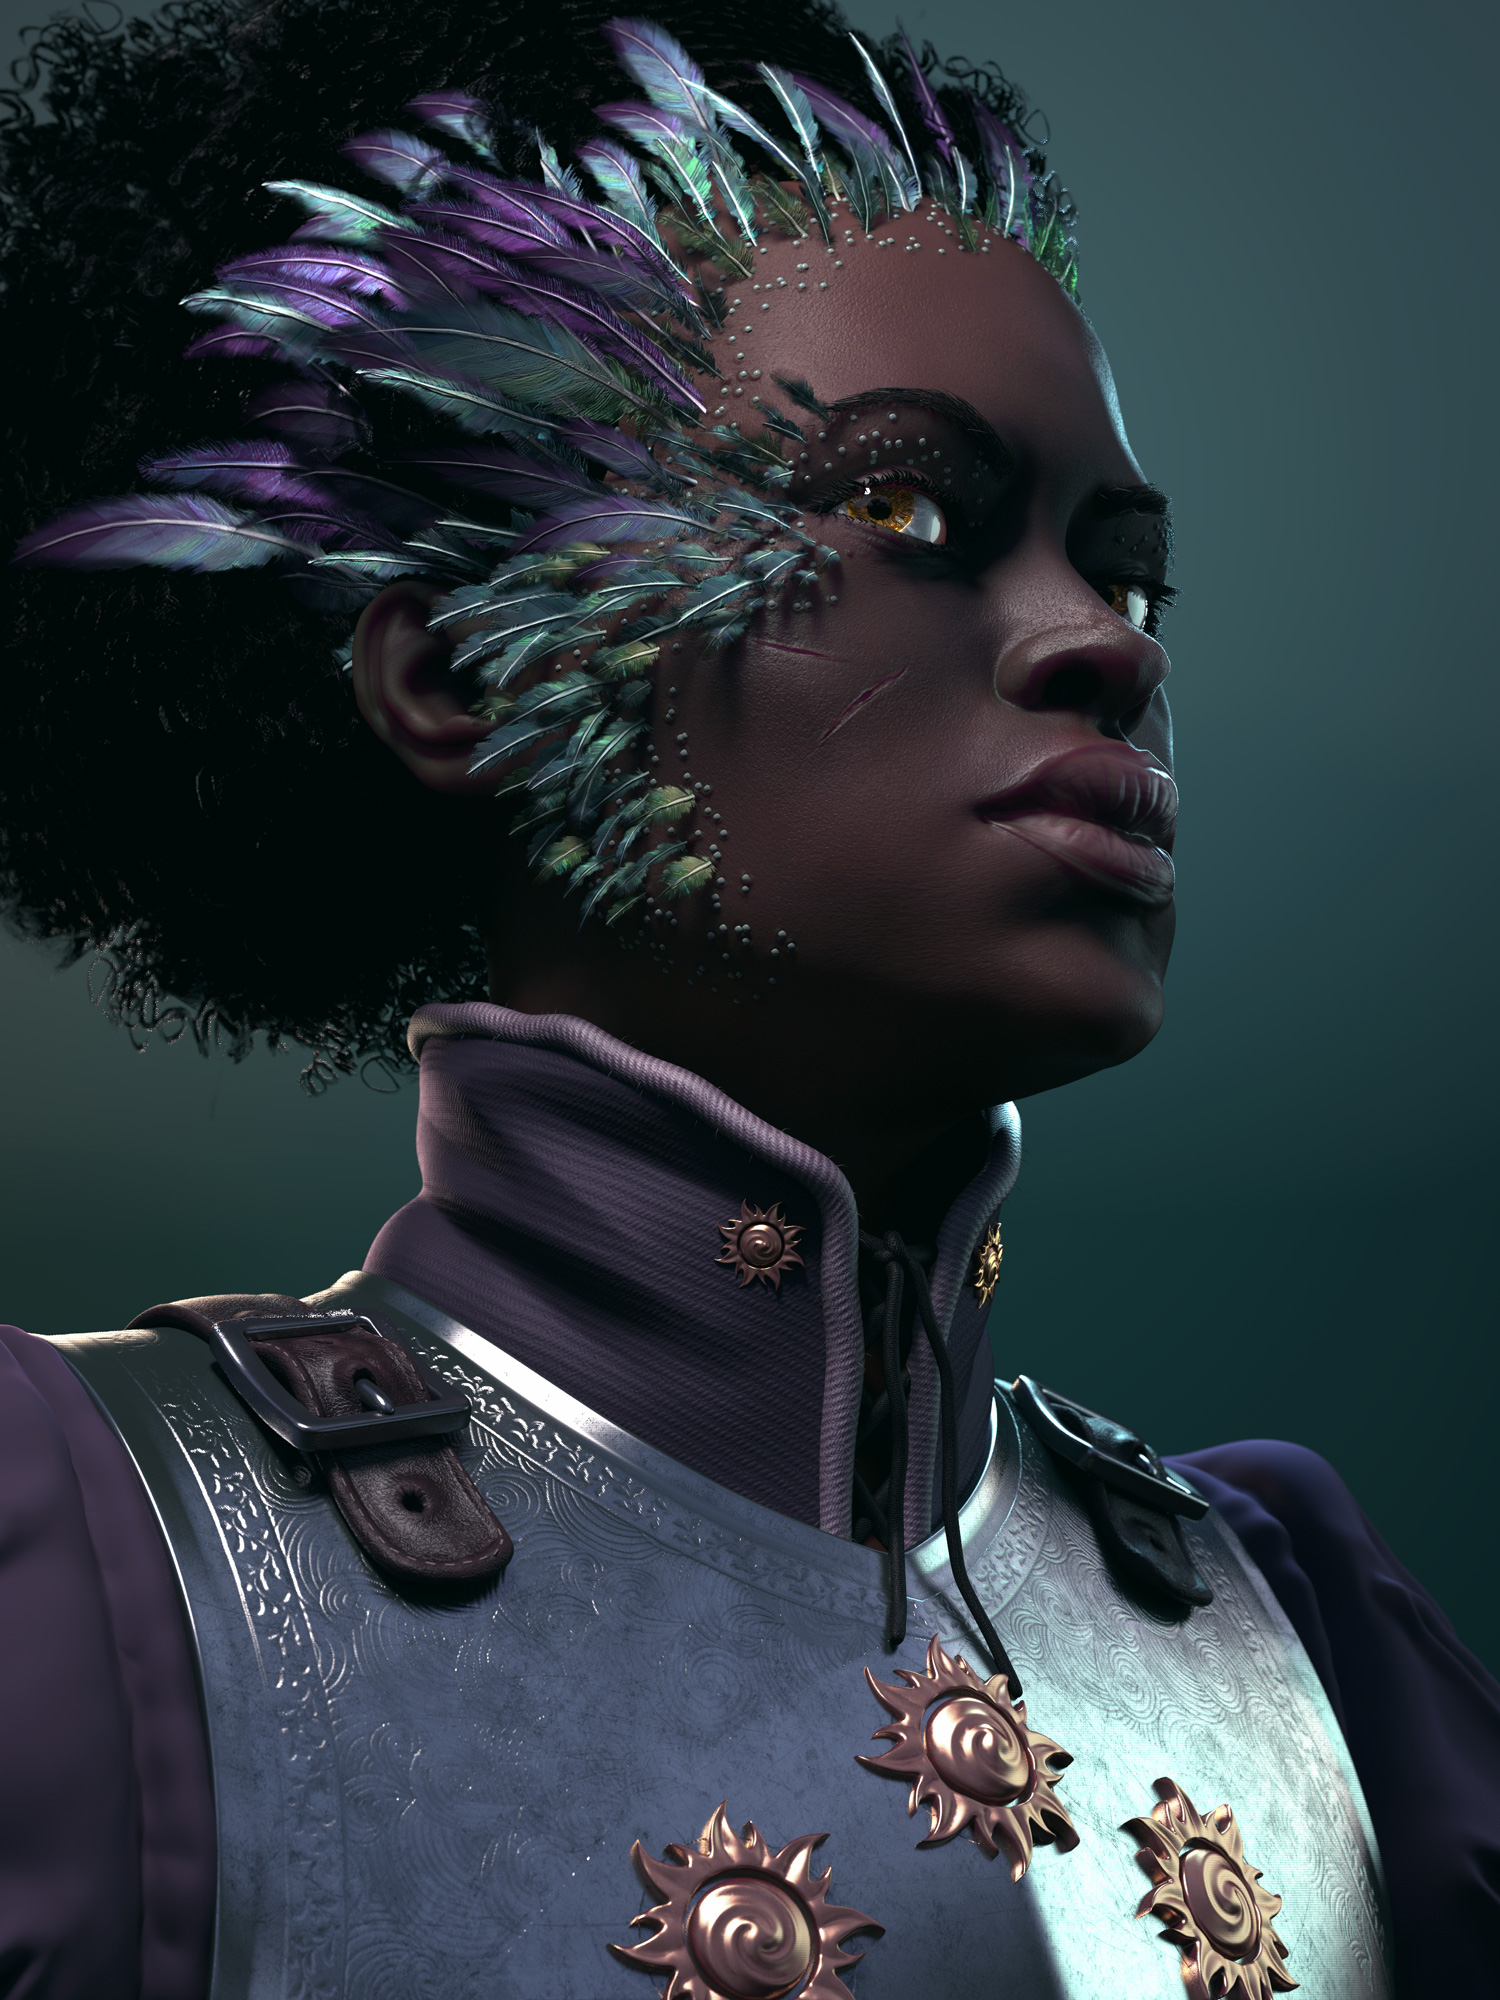
Empress Jessamine Kaldwin - Sketch over the top of an older sculpt

Attachments
Empress Jessamine Kaldwin - Sketch over the top of an older sculpt
Fantastic!
Here’s a print of my Saint of Killers sculpt, printed using Shapeways High Definition Acrylate material and finished in metallic black.

a good thing turned out
Pallegina from Pillars of Eternity- Zbrush and Keyshot
A project I rescued after languishing half completed on my hardisk for a few months. I’m pretty much a noob with textures and UV’s so it was a good opportunity to learn some new stuff!
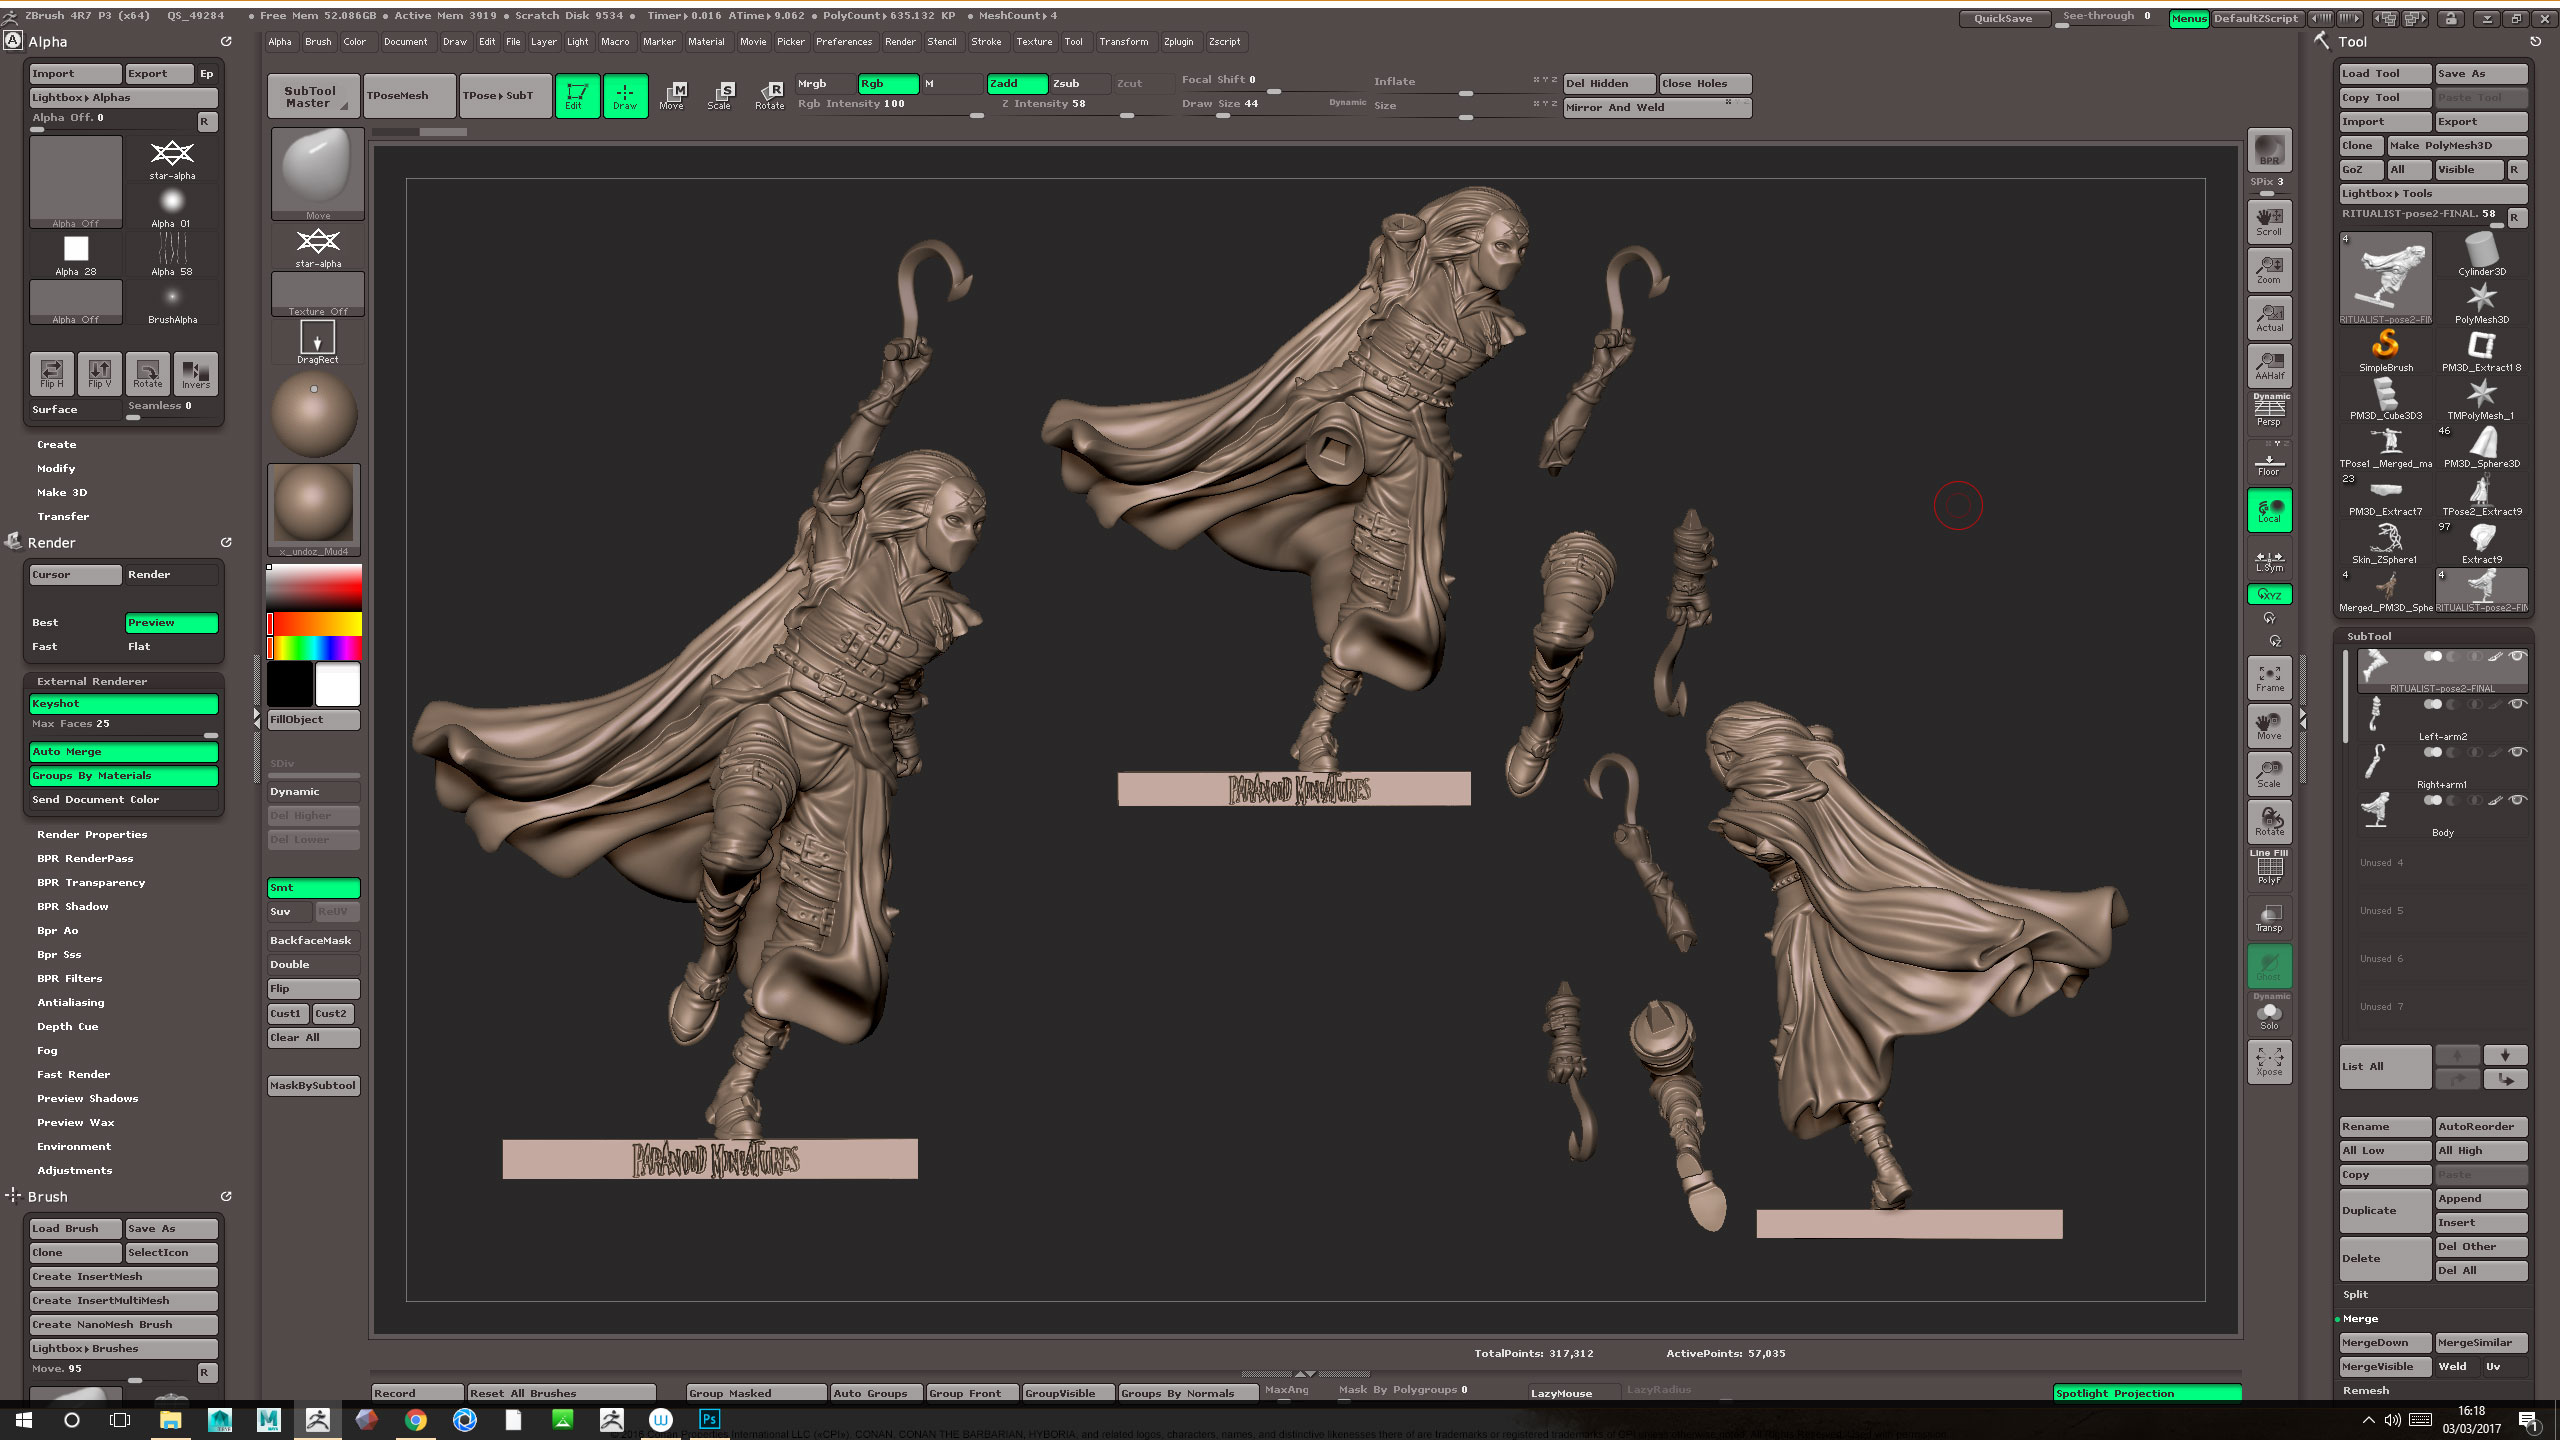
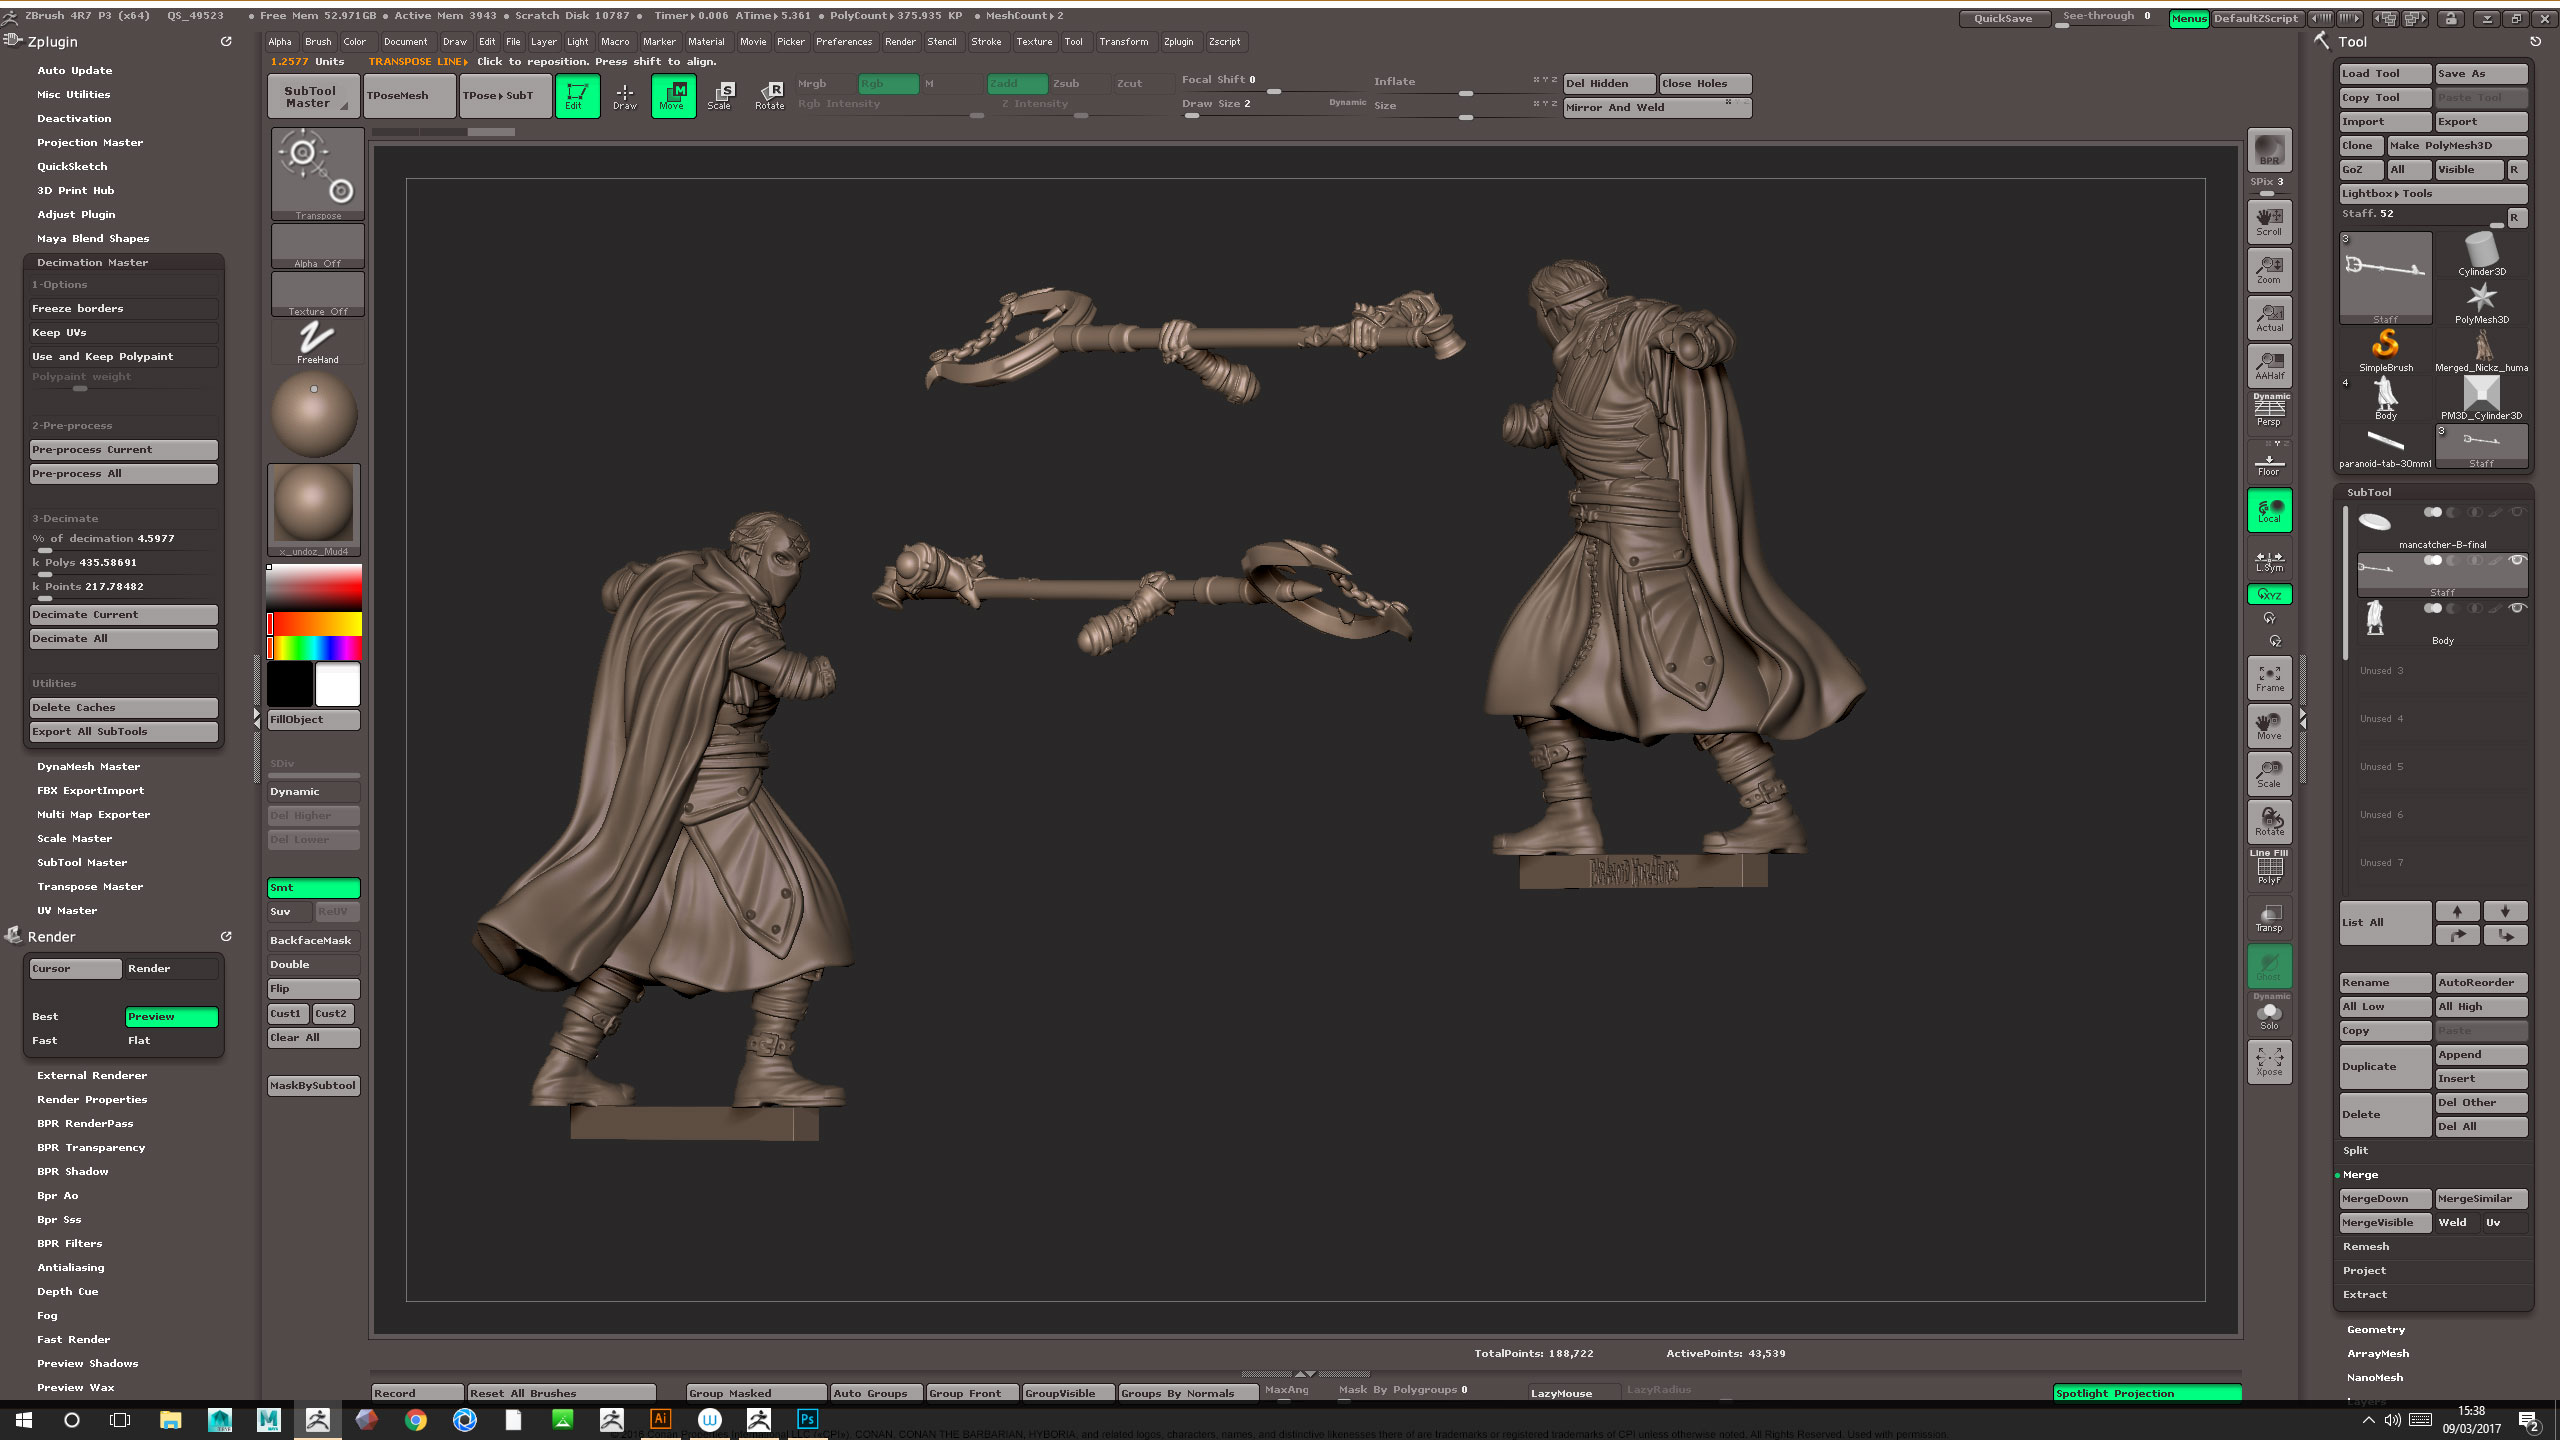
Hi all, just wanted to update my thread with some professional work I’ve been up to over the past year. I’ve been working in the miniatures industry here in the UK for several different clients who have been really good fun to work with. It’s been a great opportunity for me to learn lots about working as a freelancer to strict deadlines with creative briefs and limited concept art. For all of these projects Zbrush has been the primary tool both for sculpting and cutting up and producing the print ready models. Since scale master was introduced it’s also been so much easier to produce the models consistently to the right scale, something I found difficult at first before.
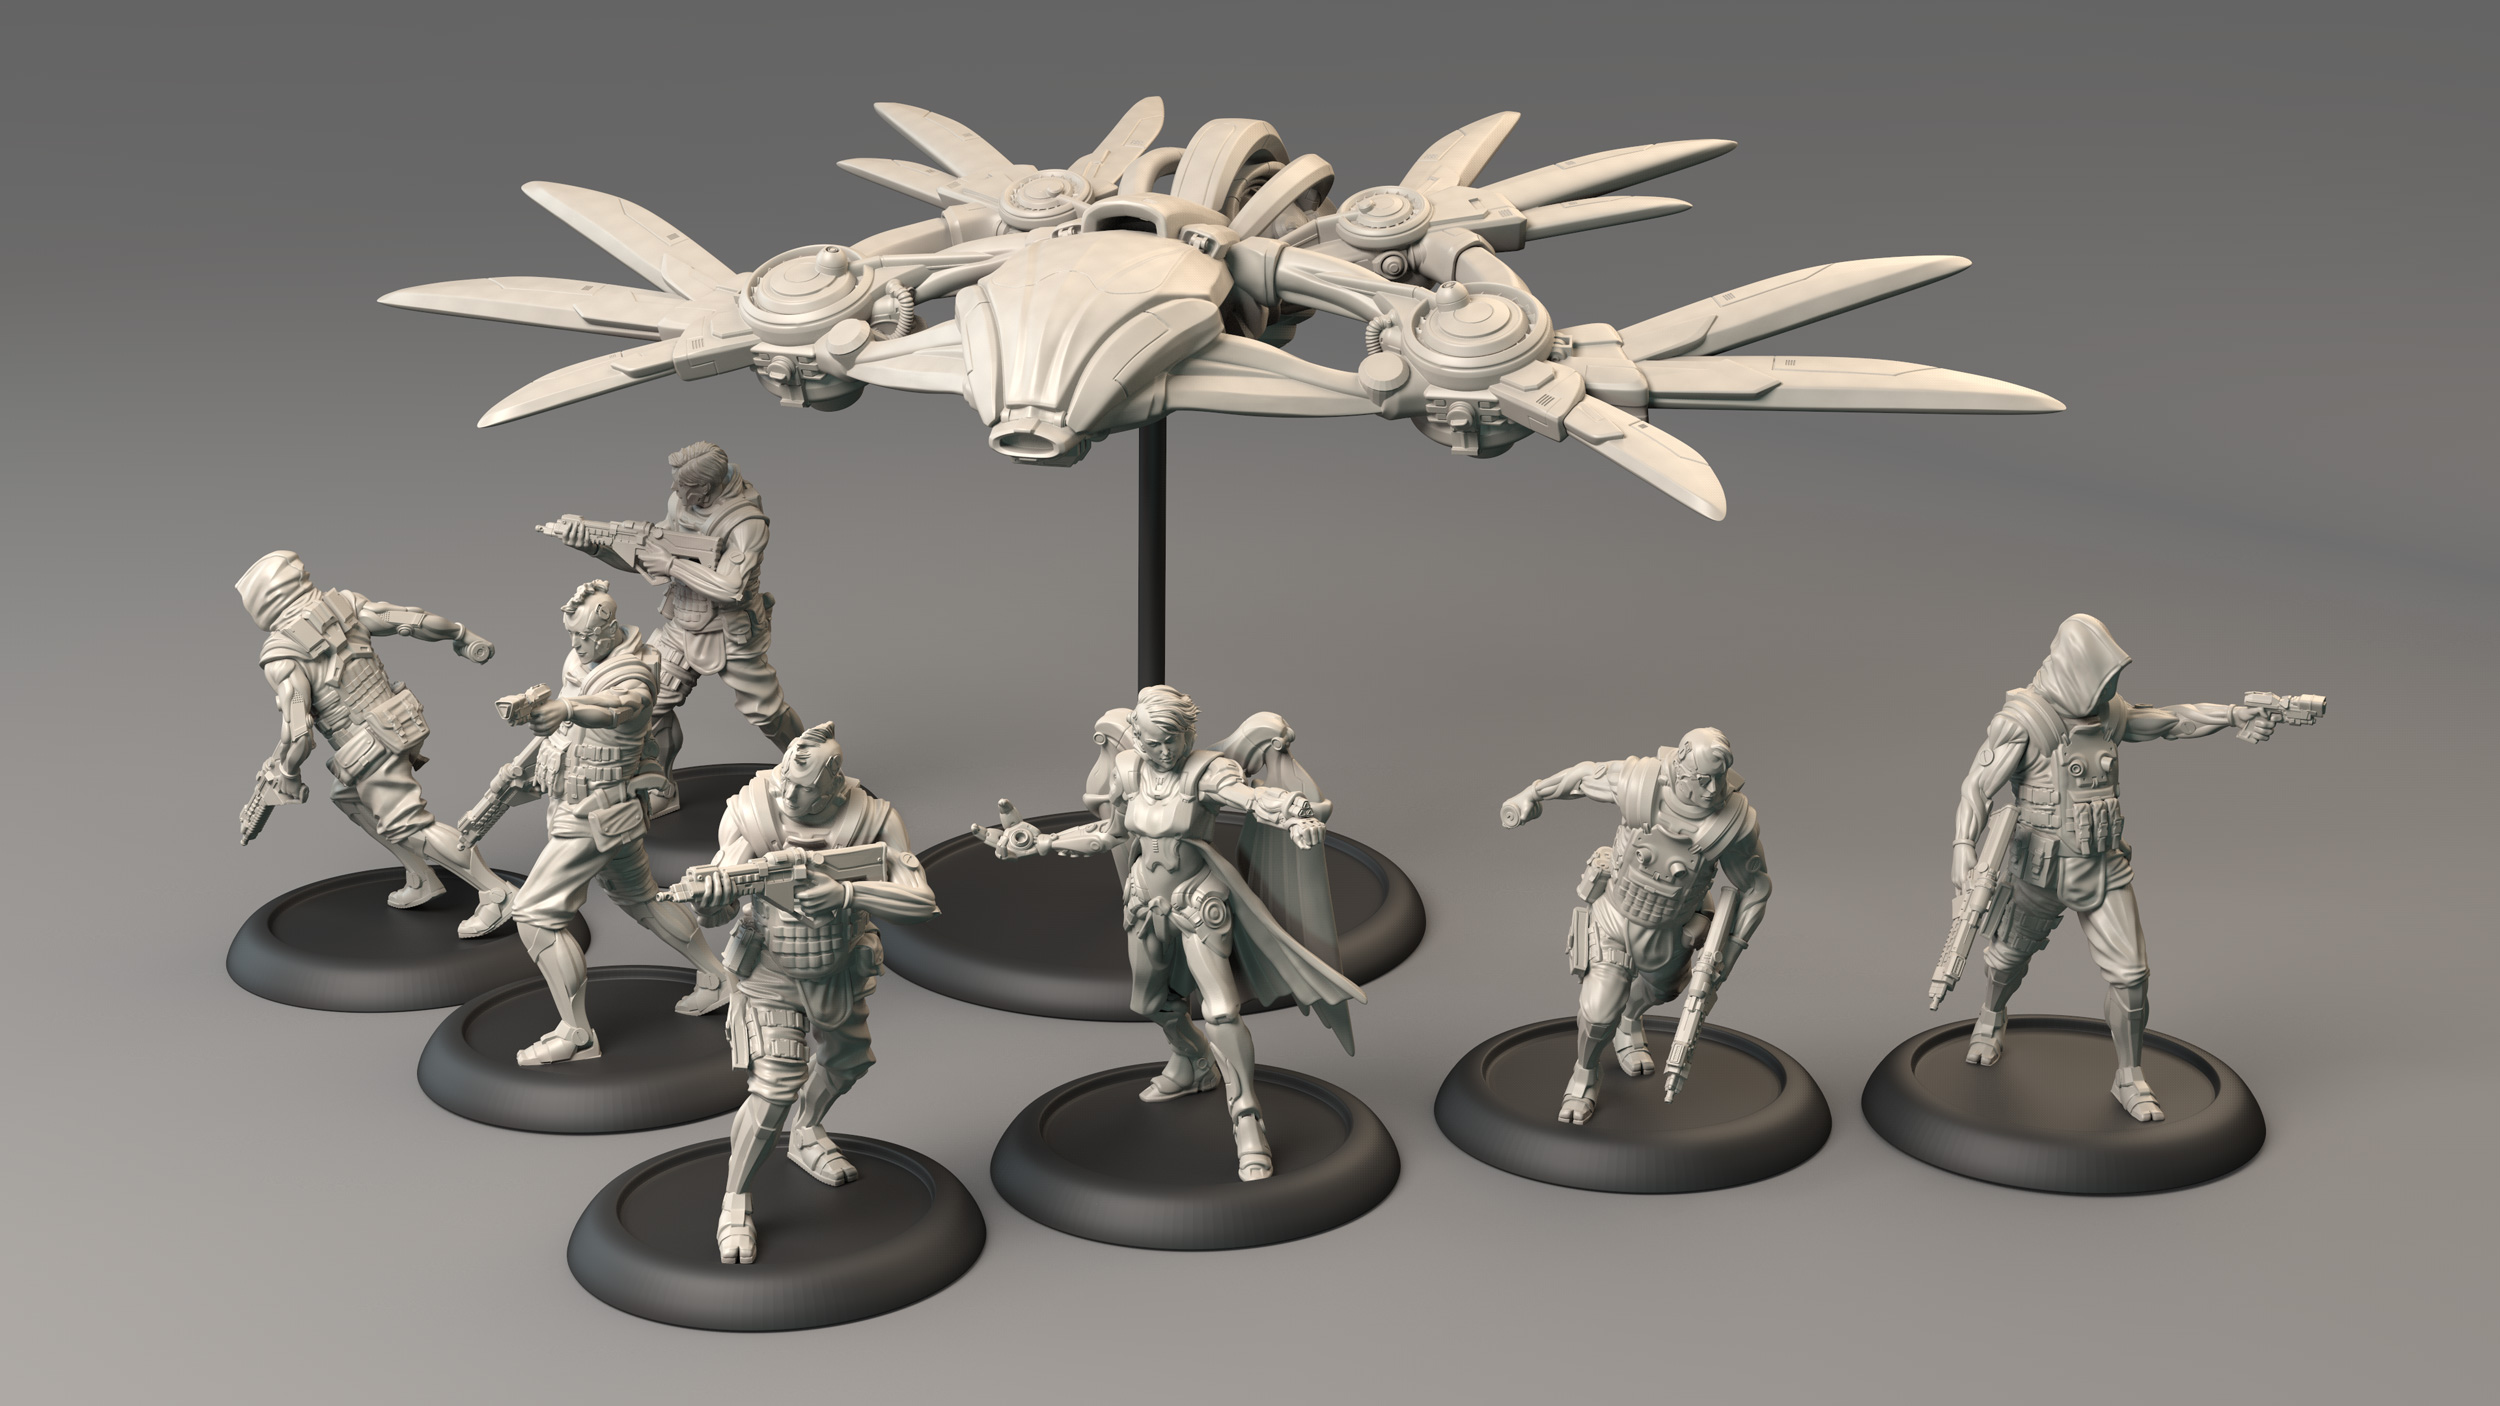
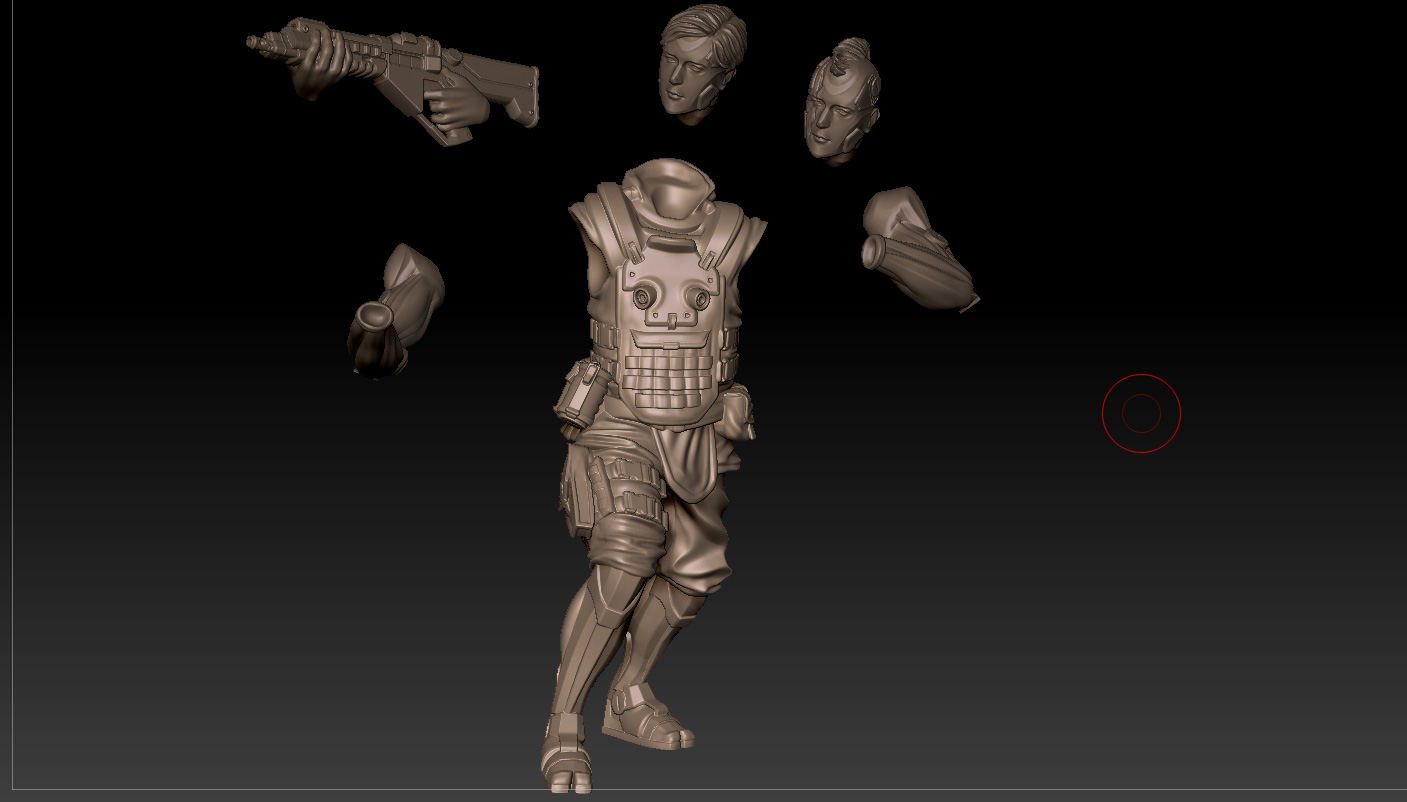
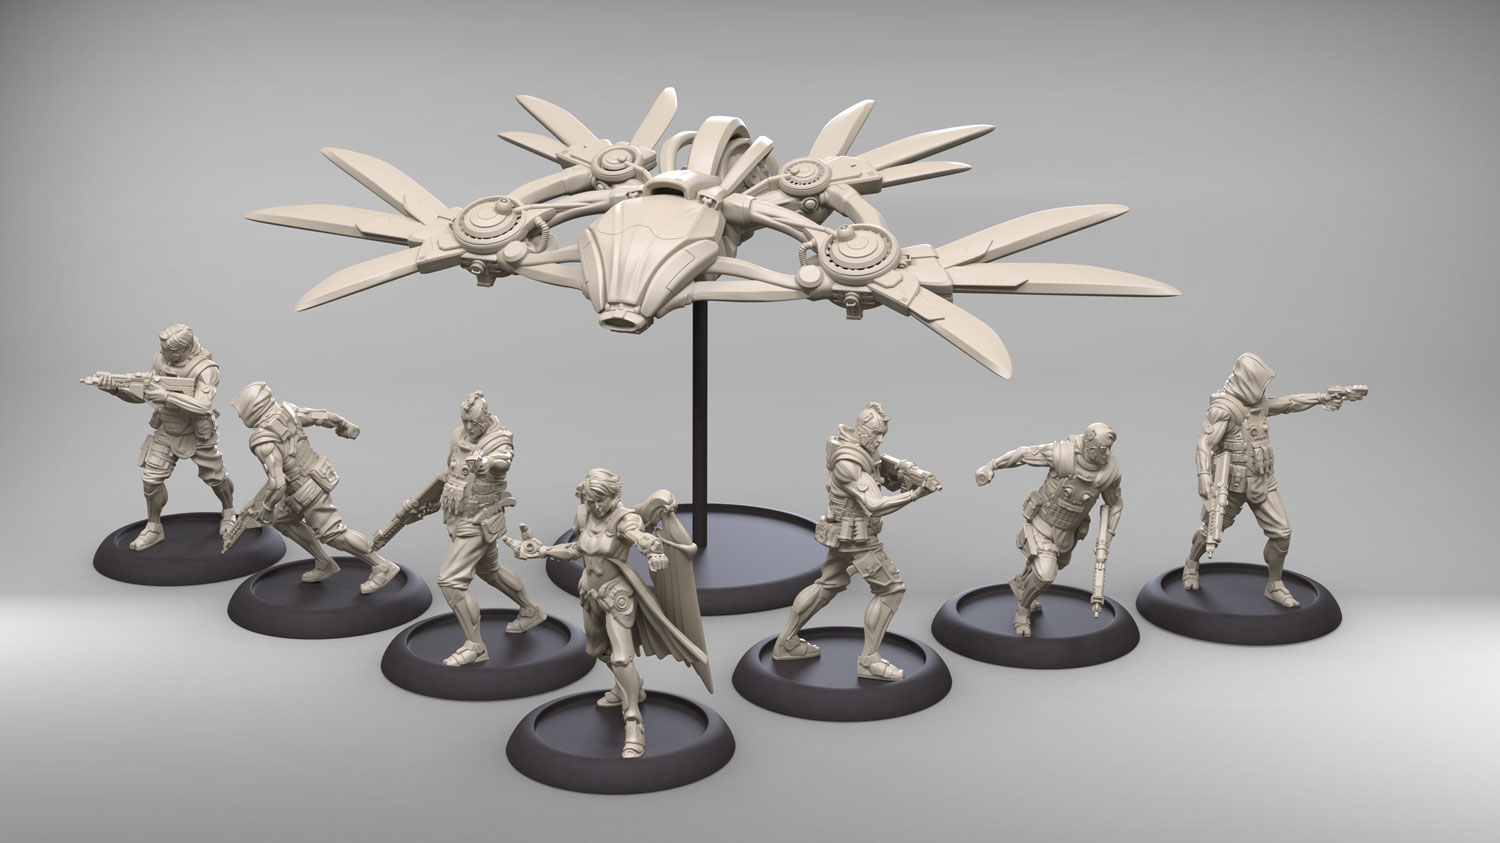
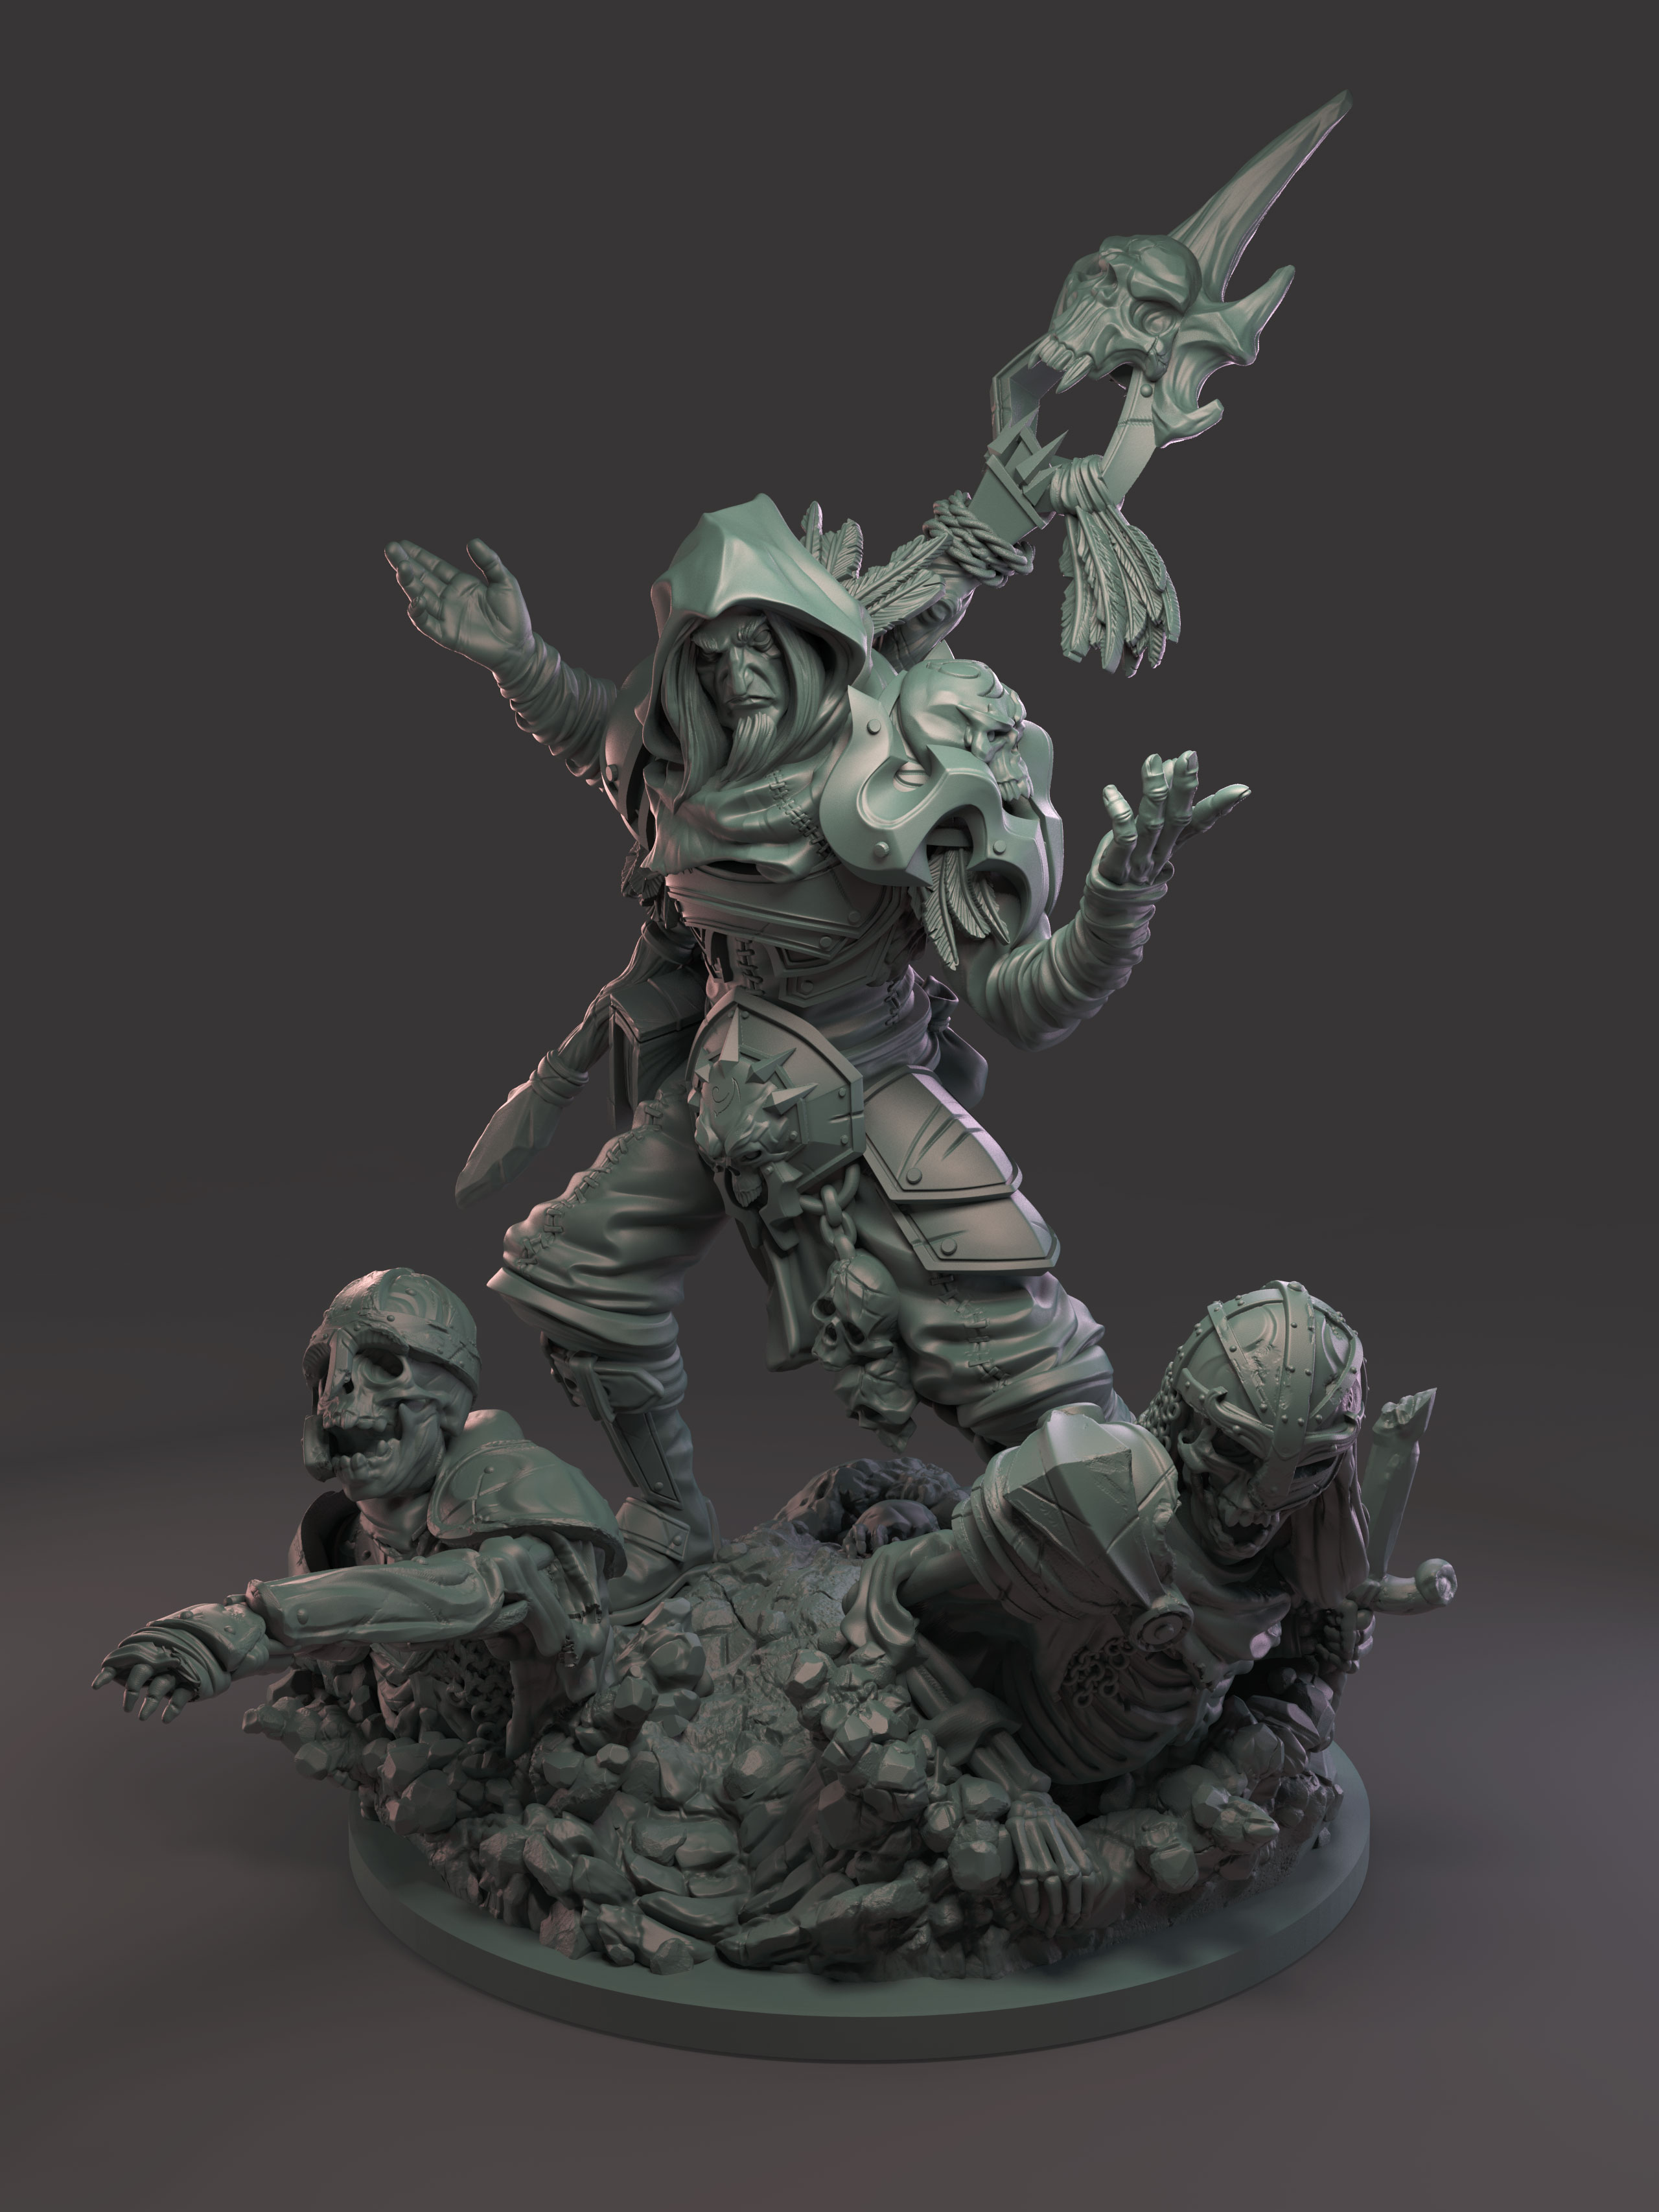
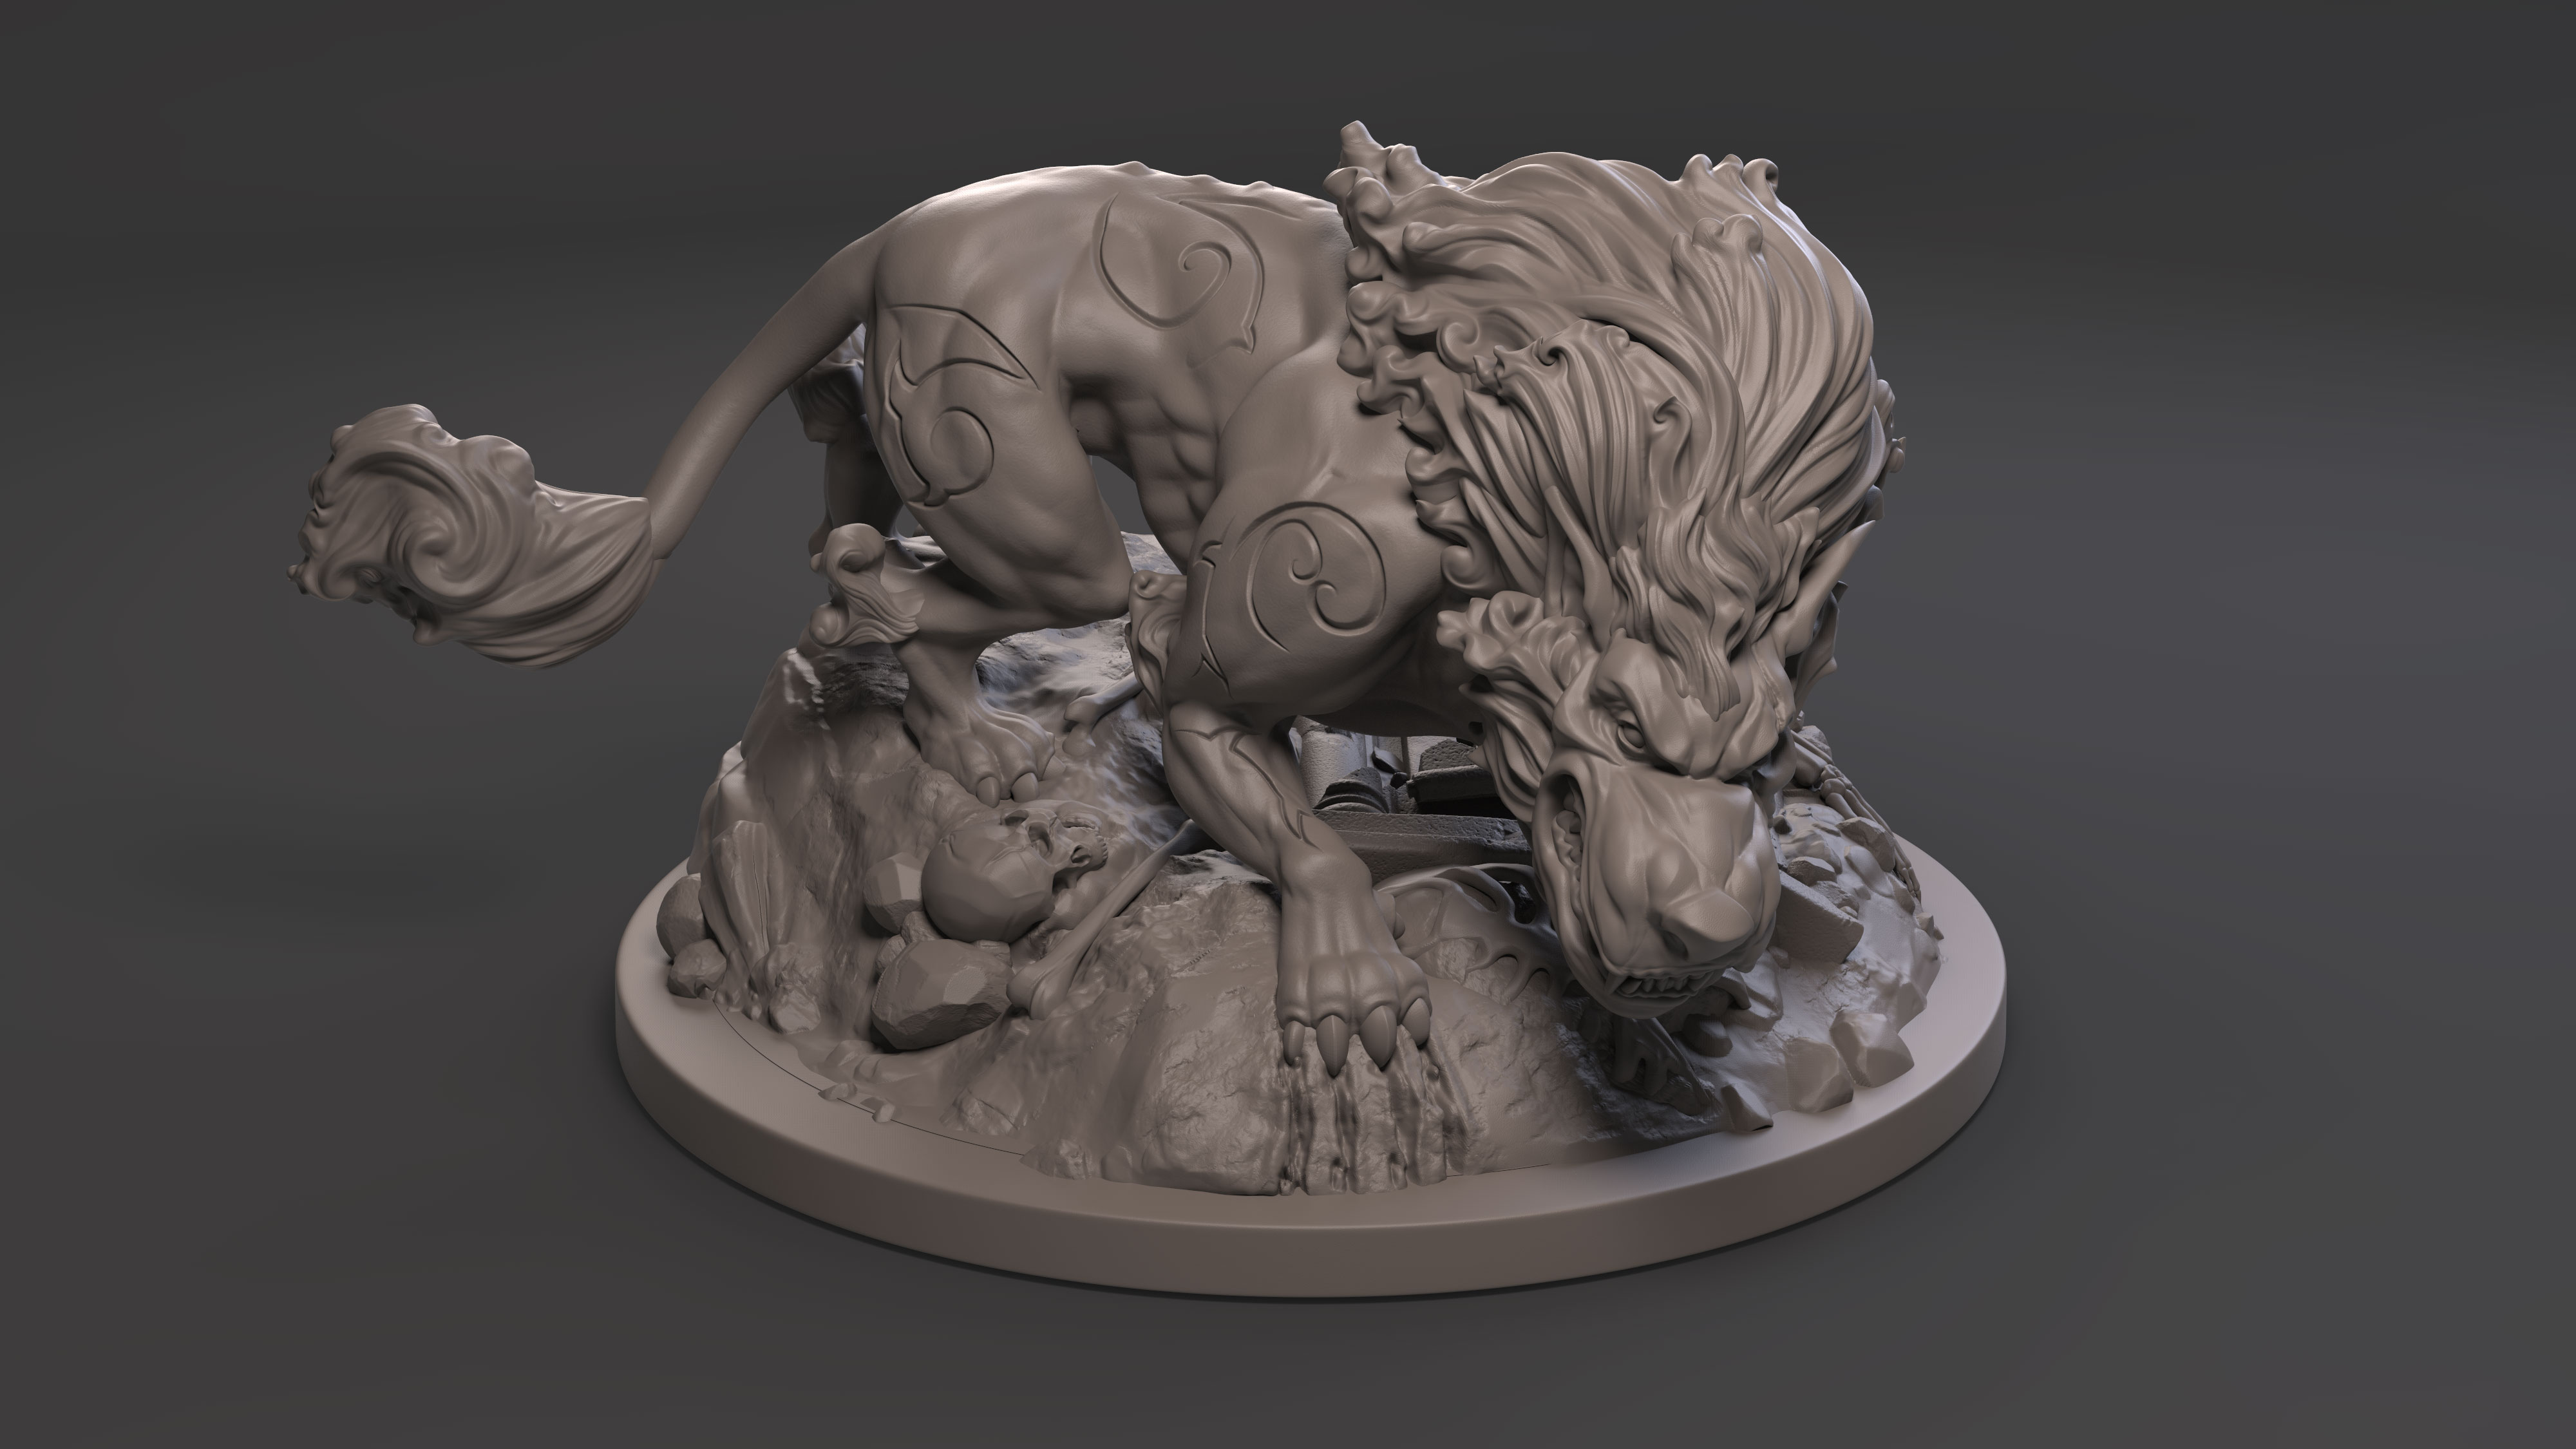
First up is Shattered Earth for which I worked on 2 factions. This was my first pro job in the industry…
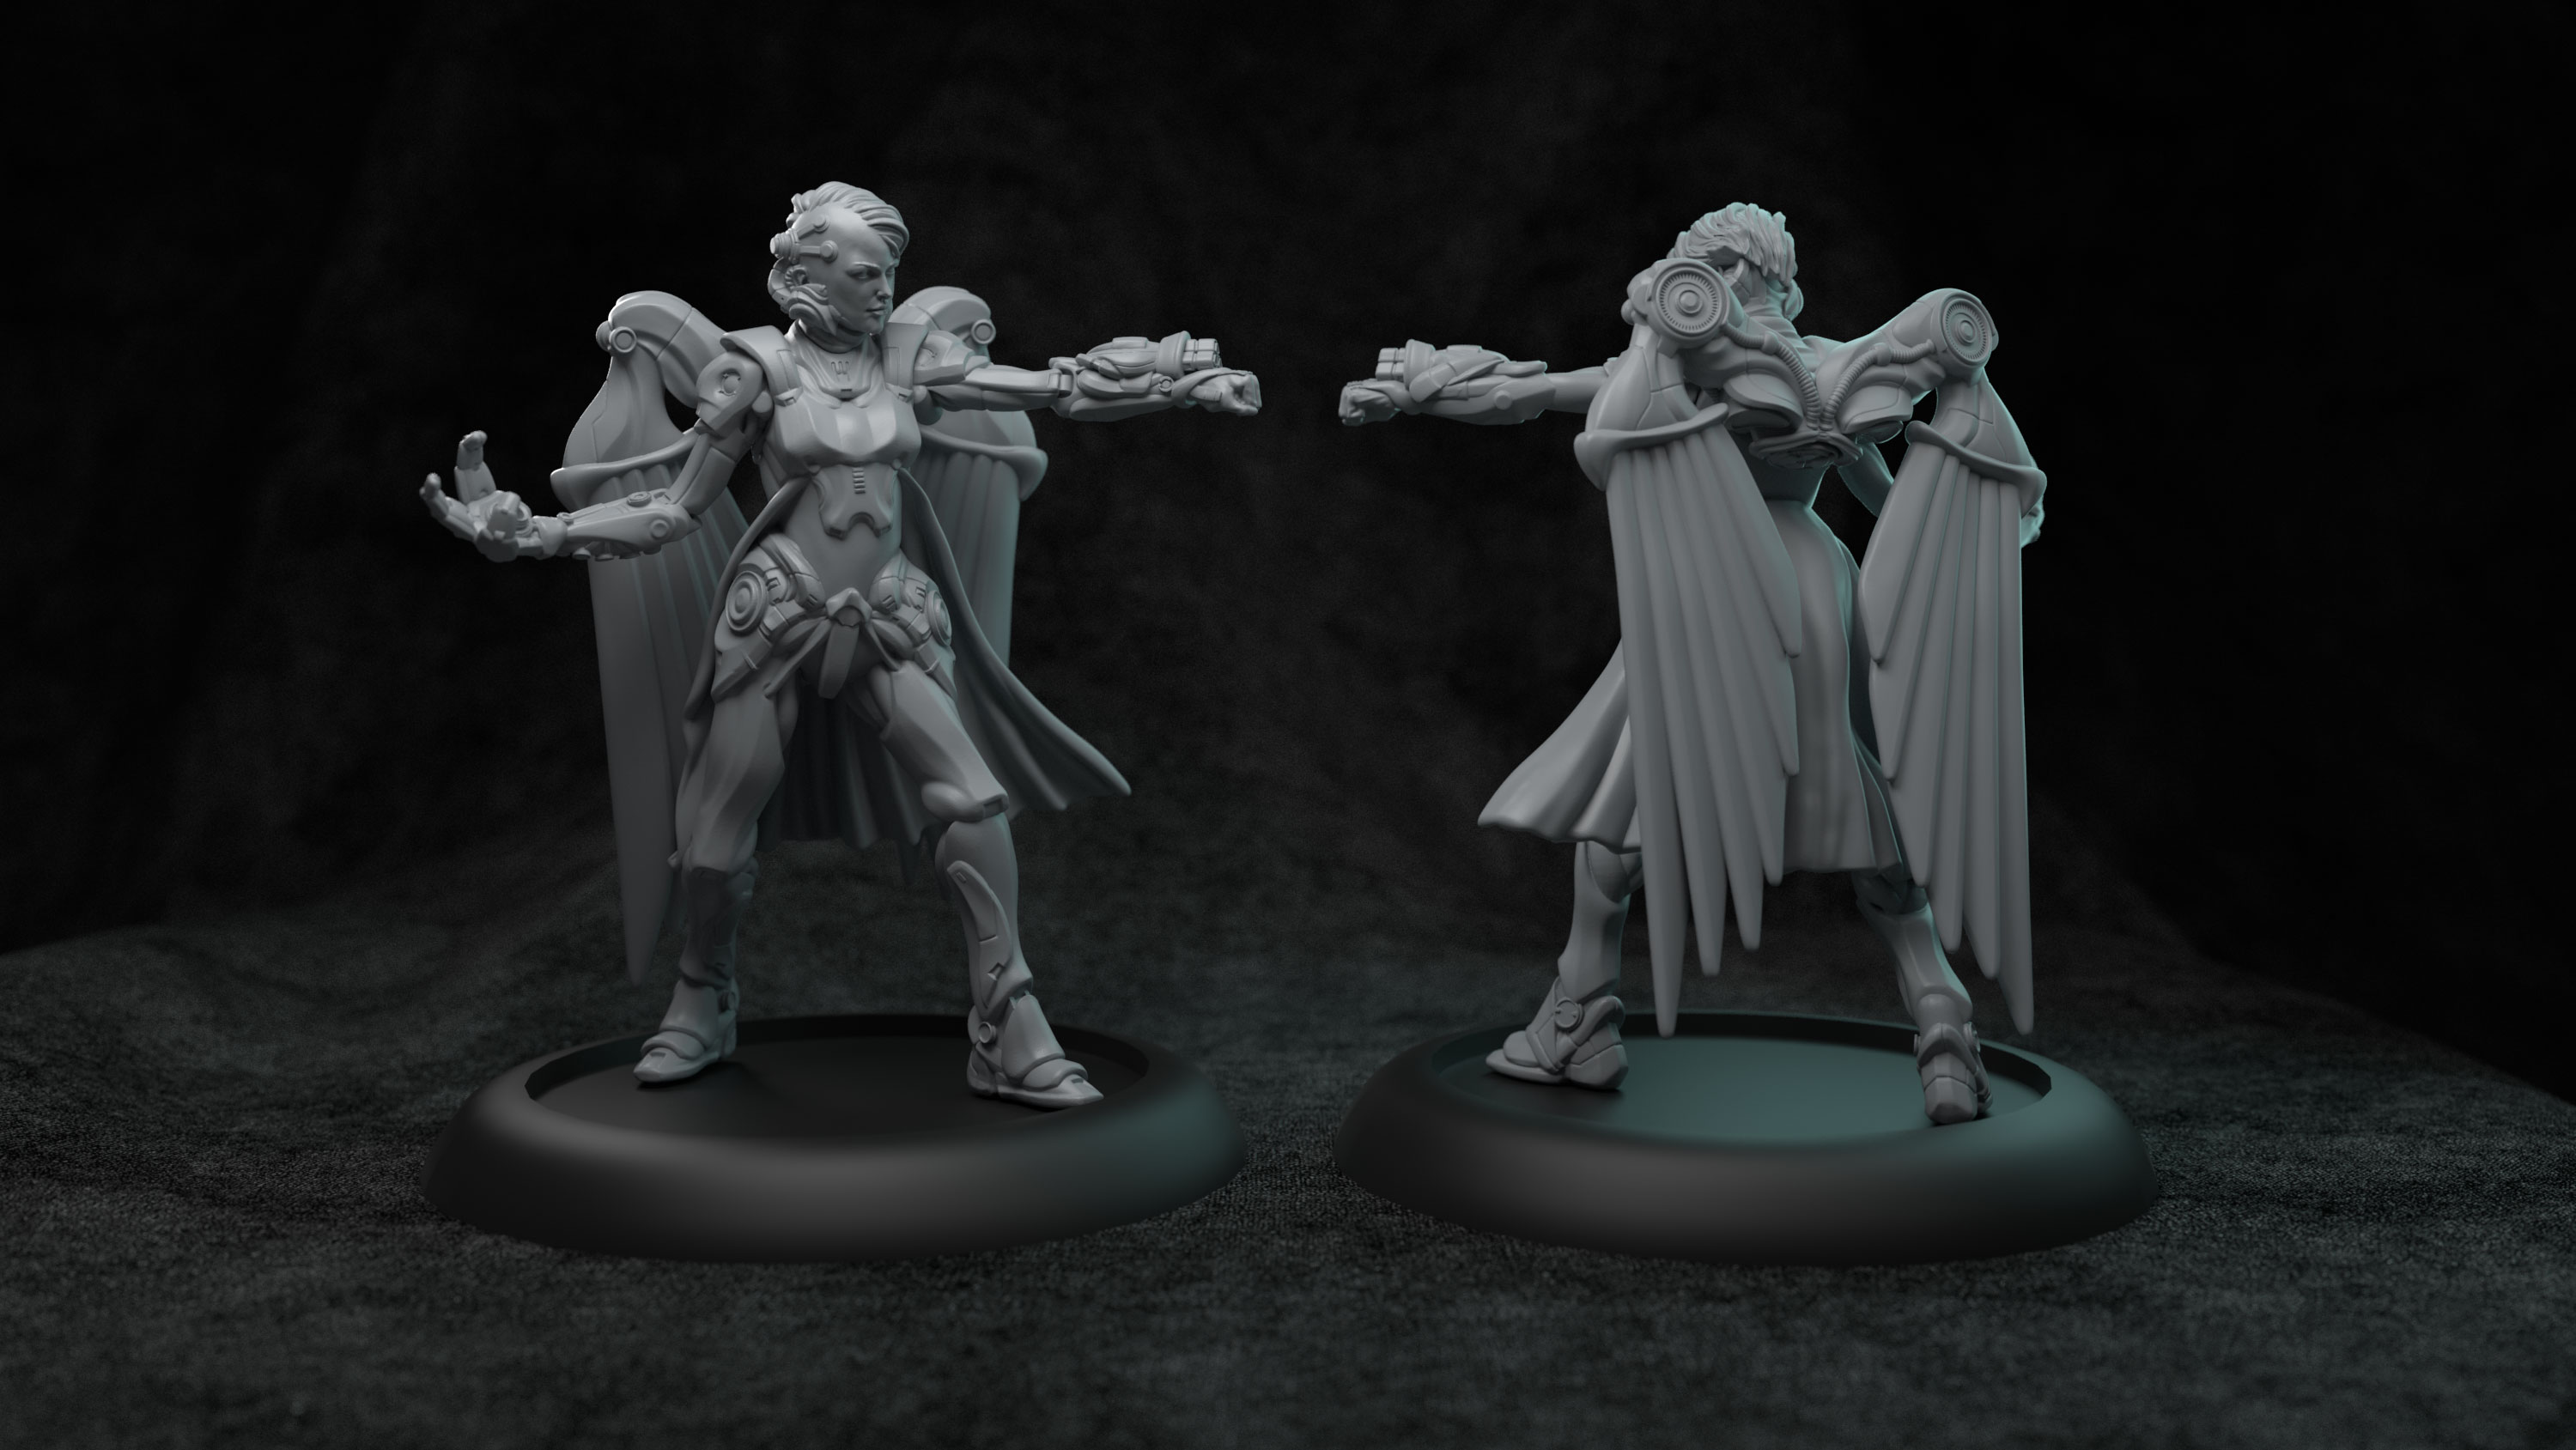
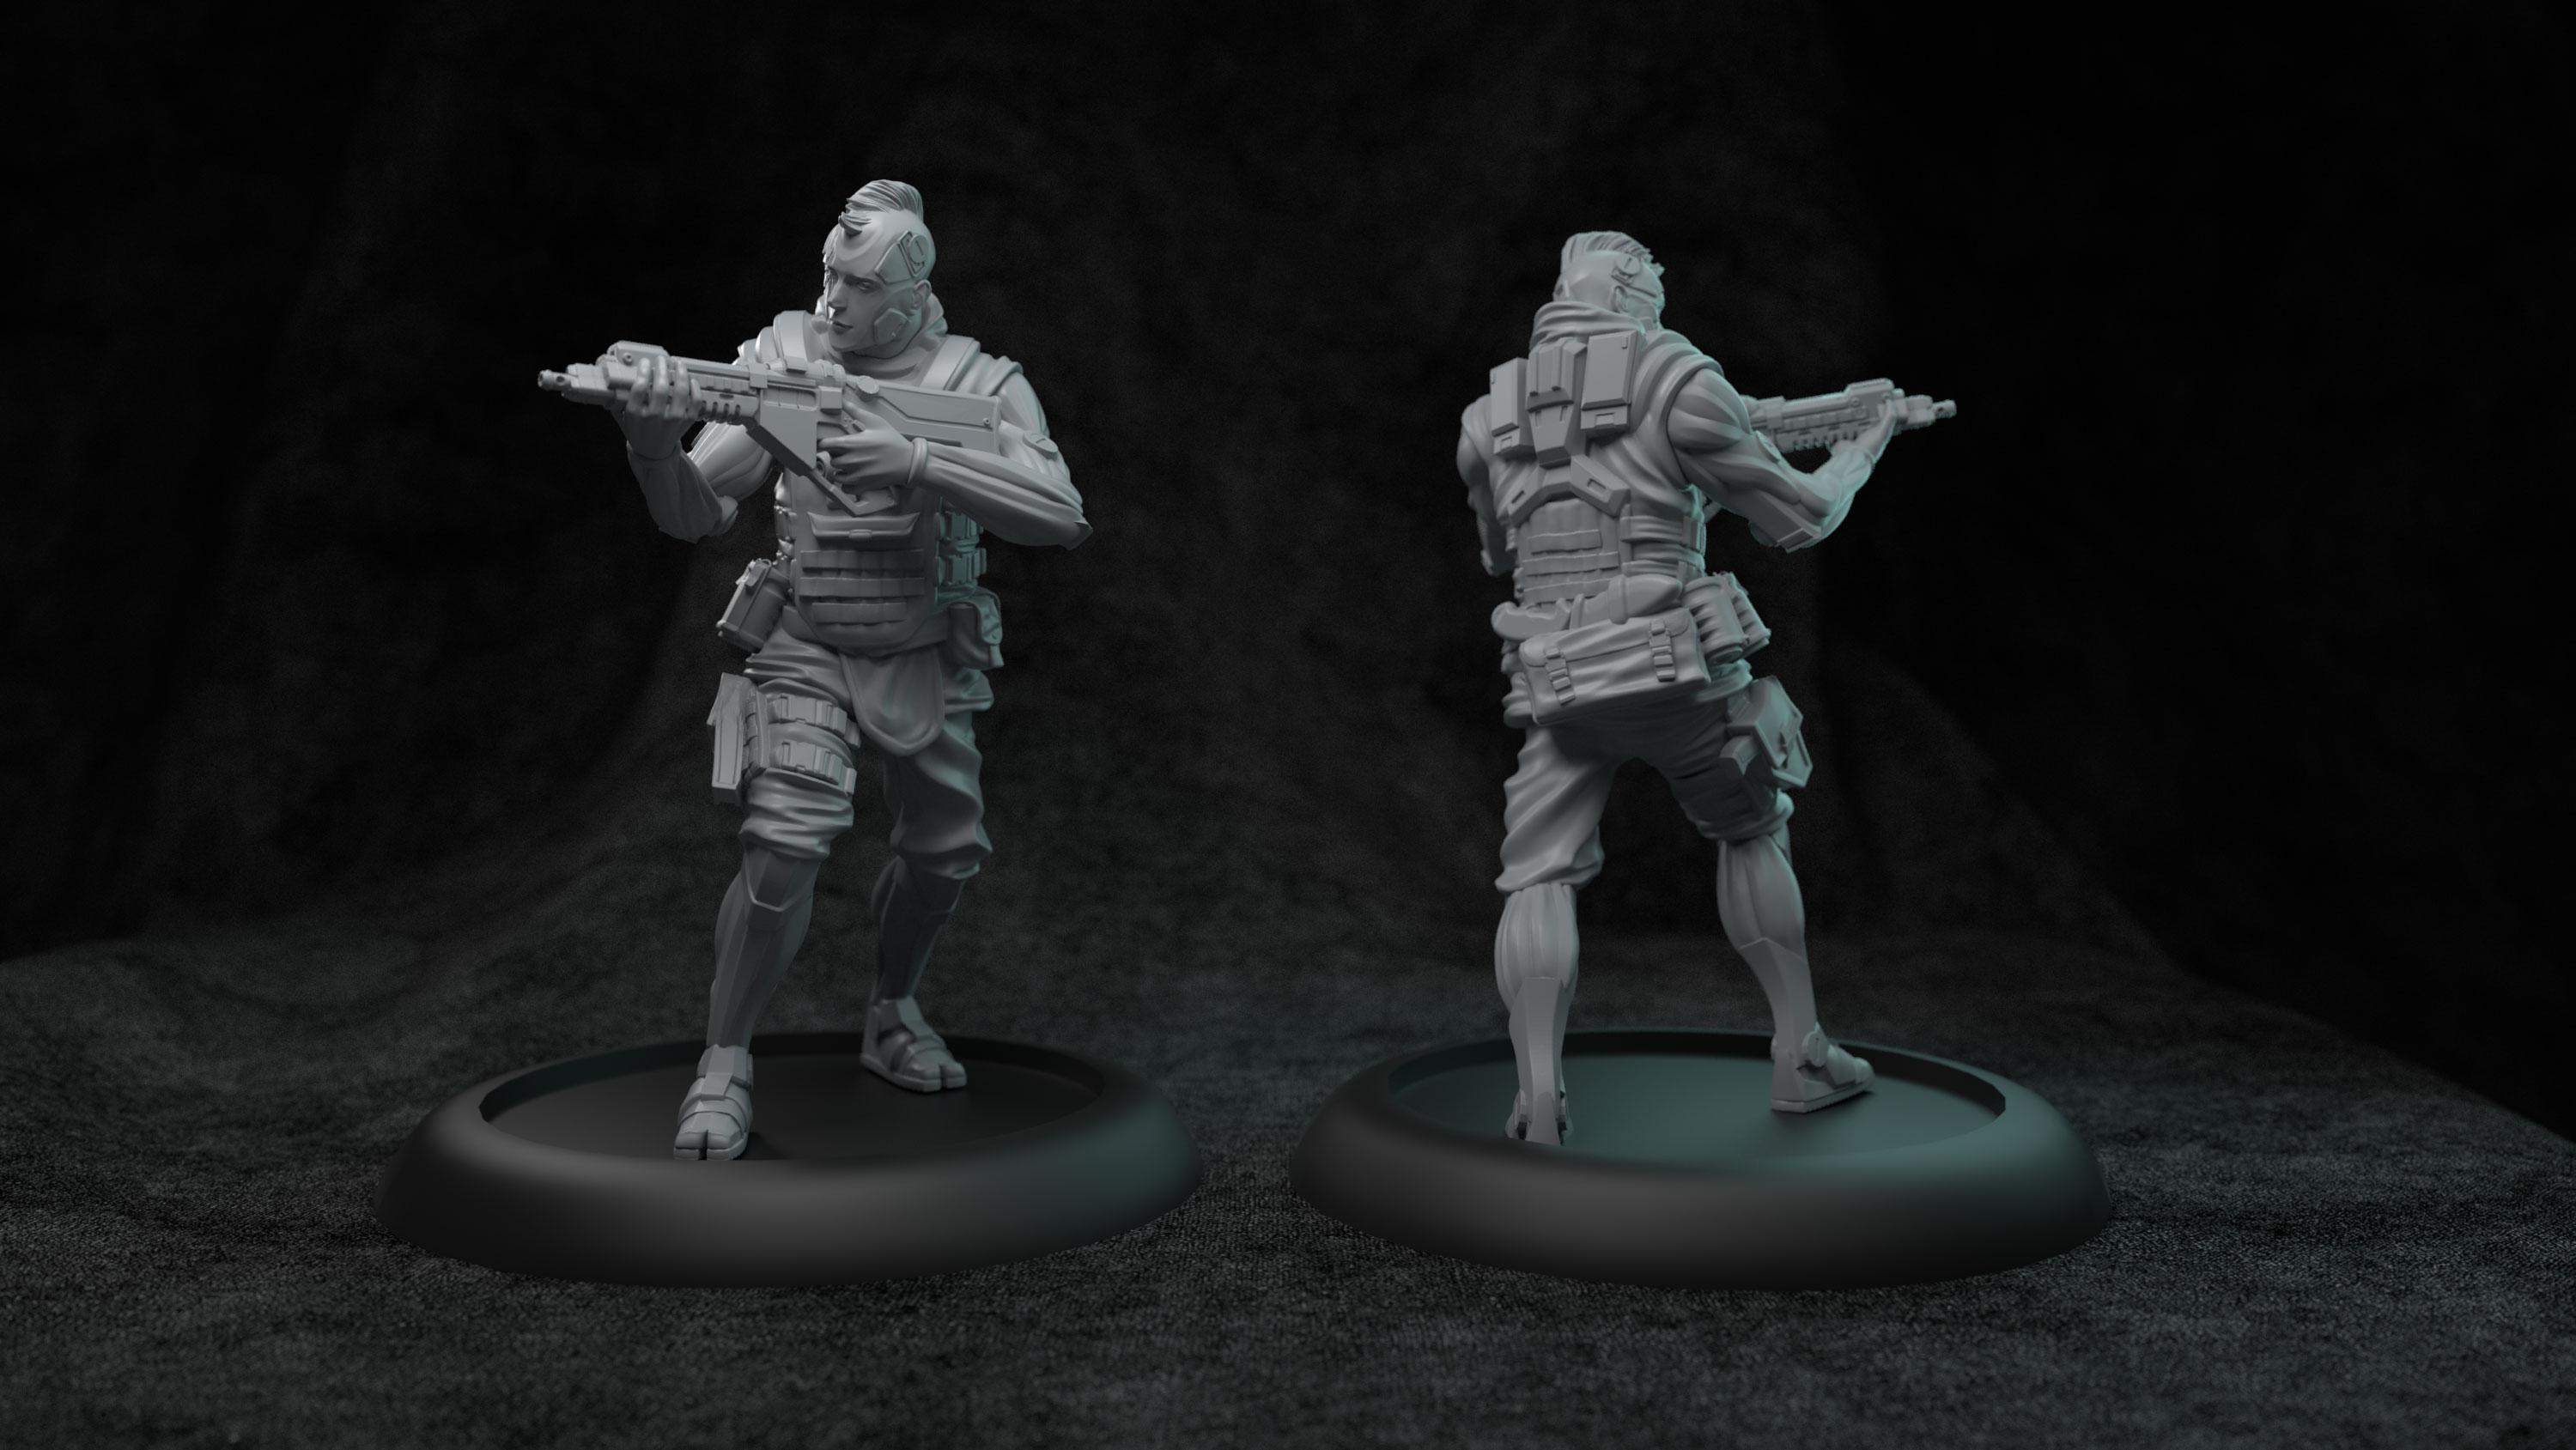
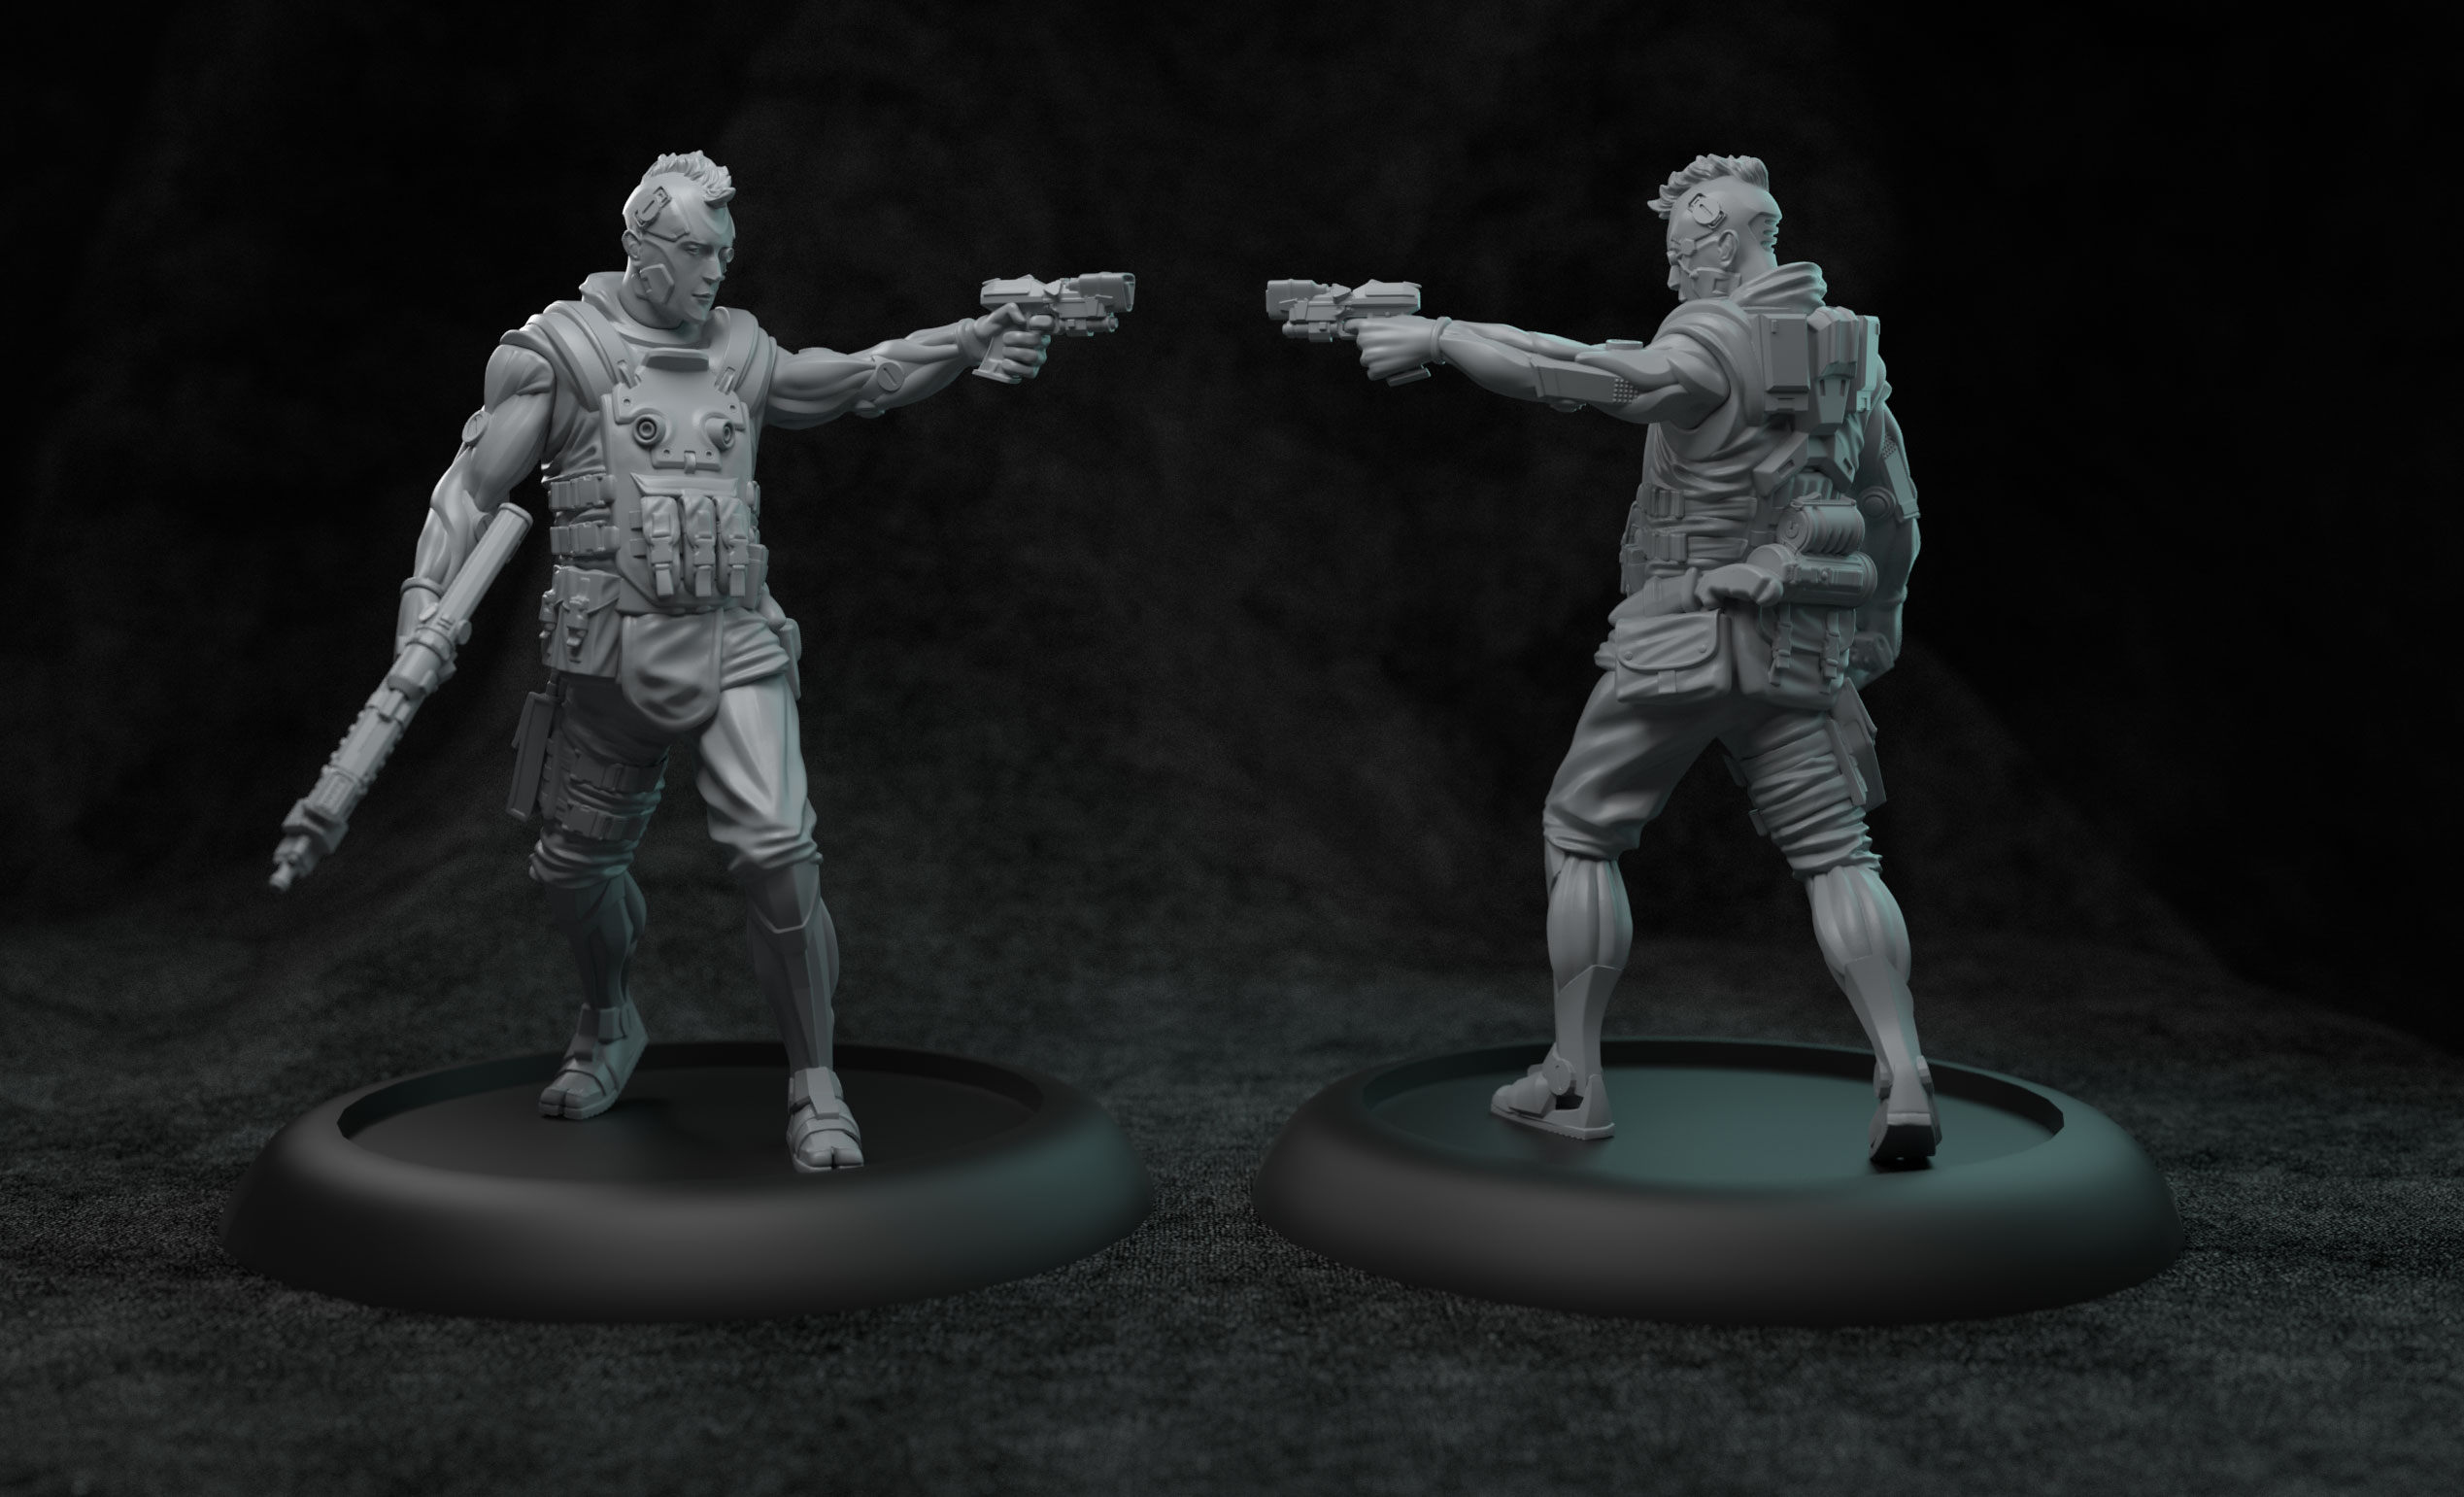
More Shattered Earth with some pics of some of the cut ups
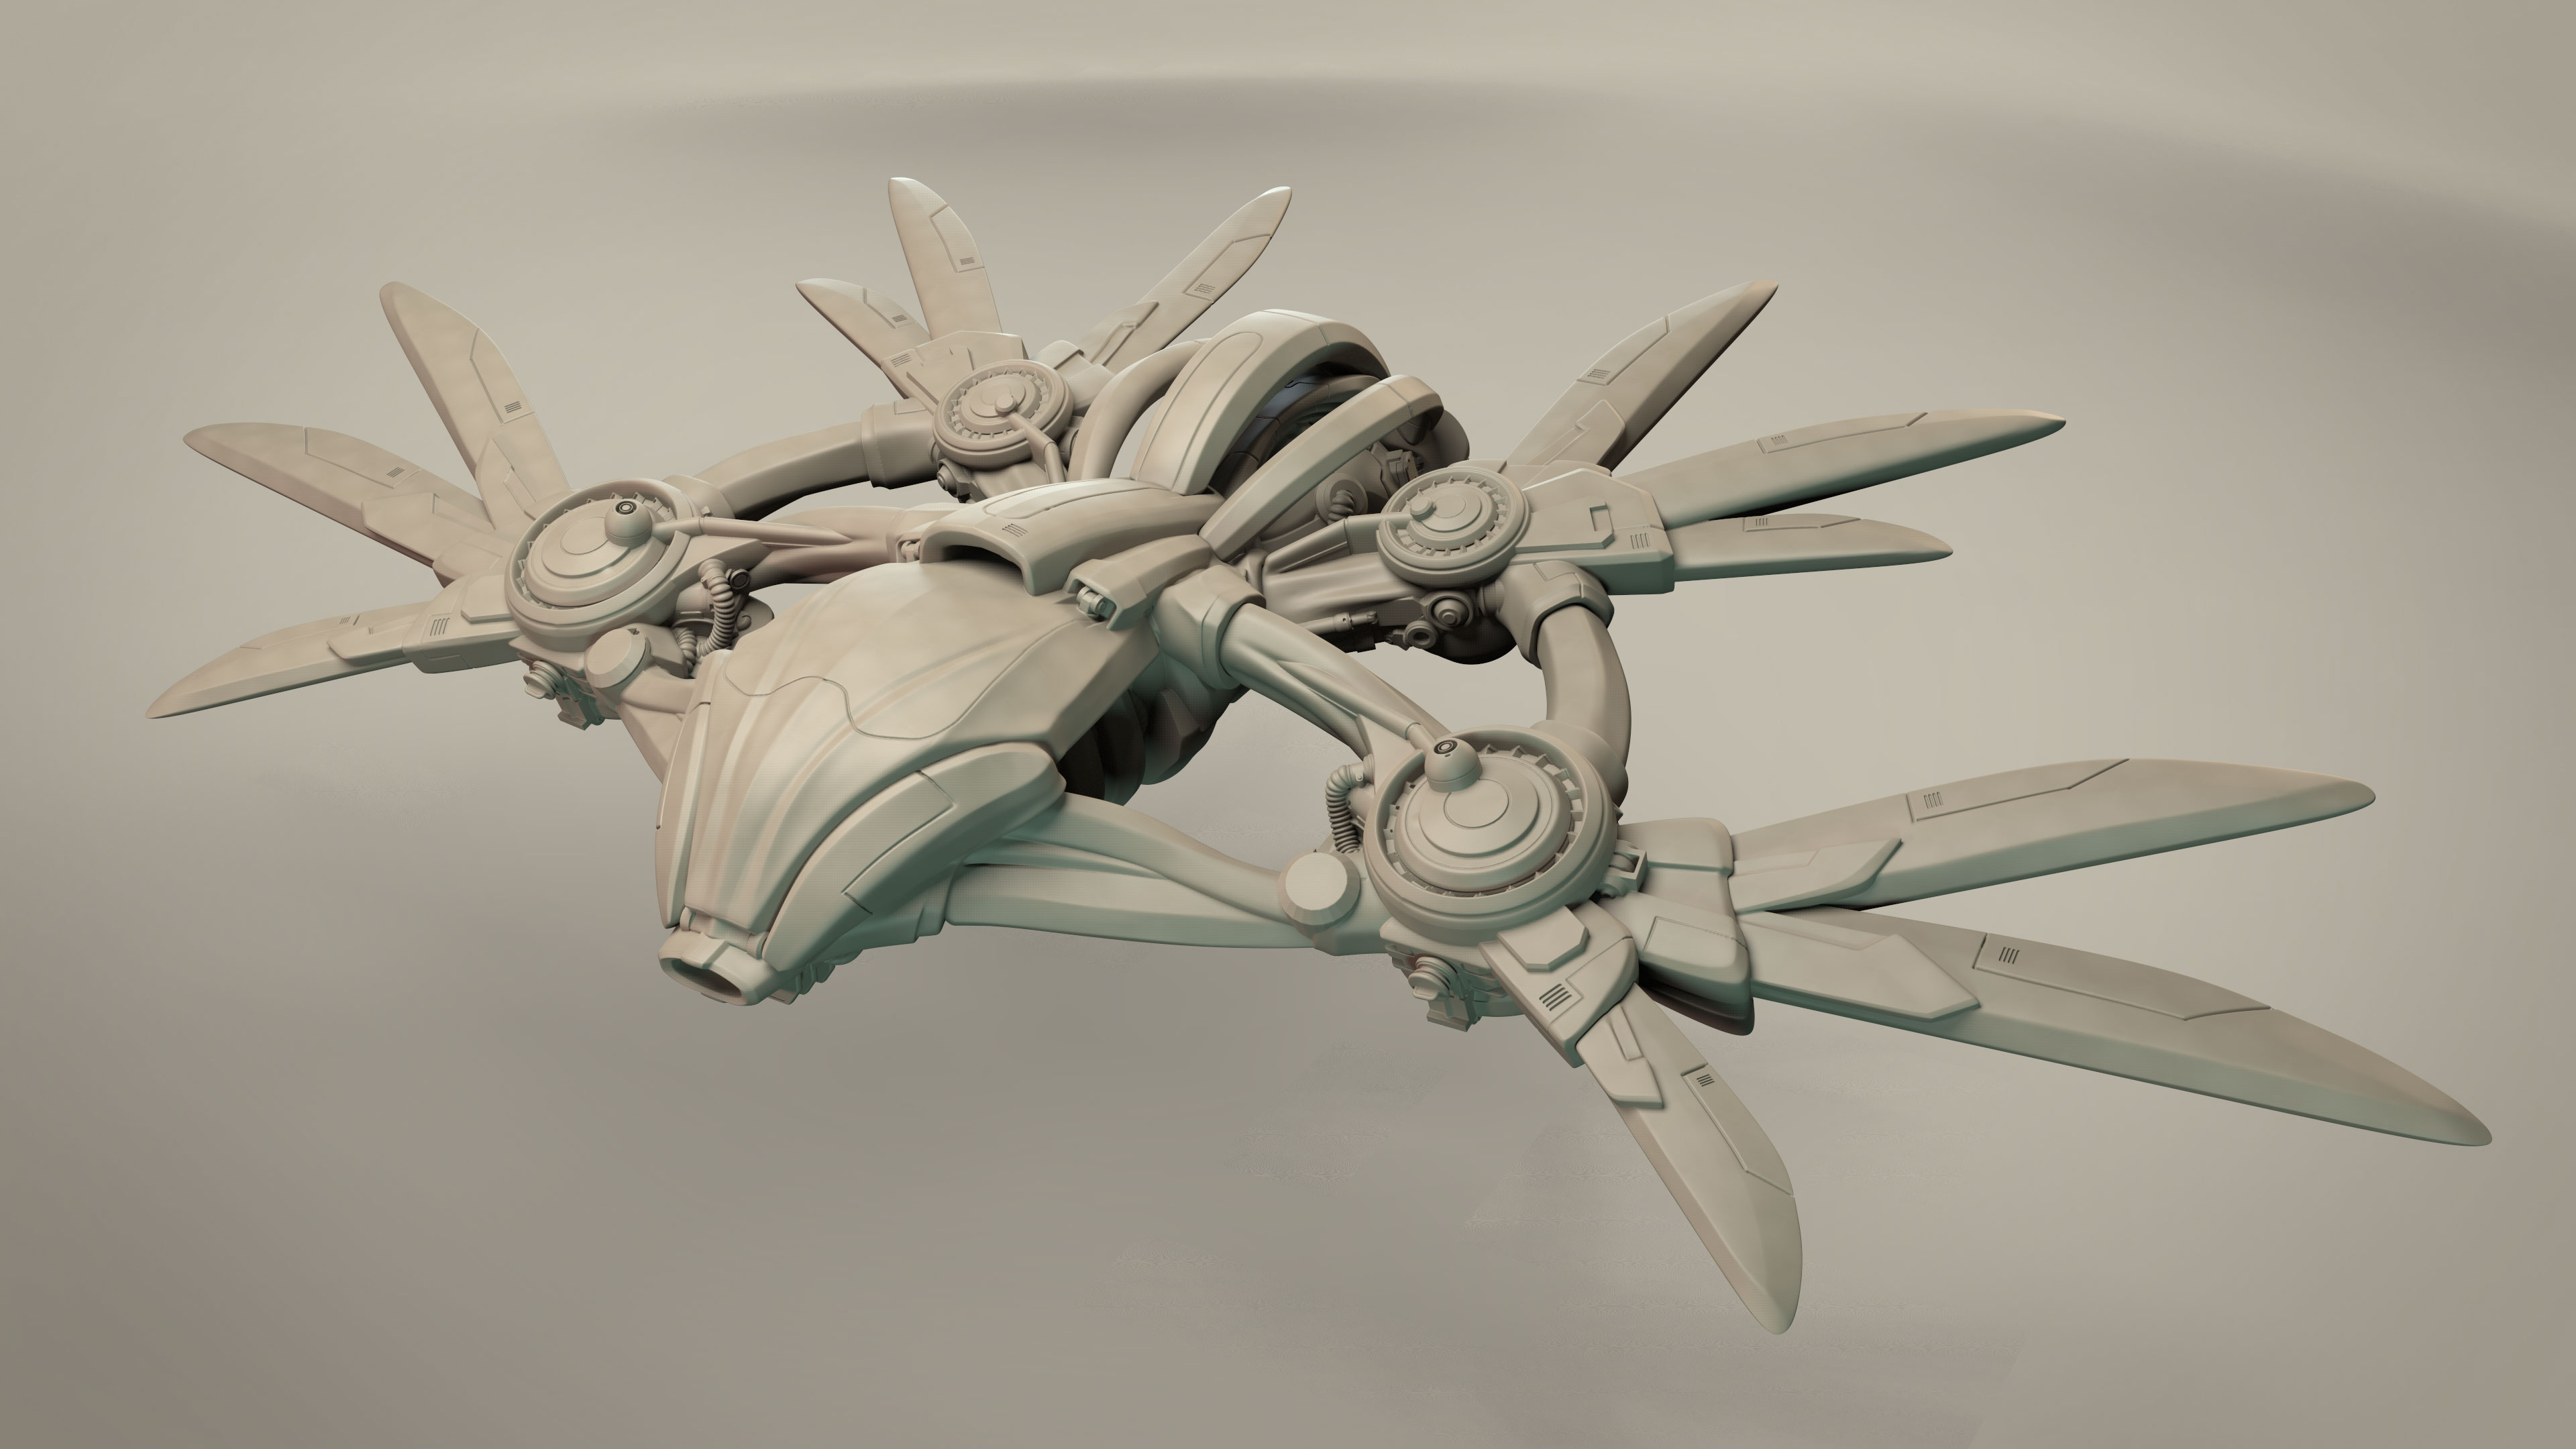
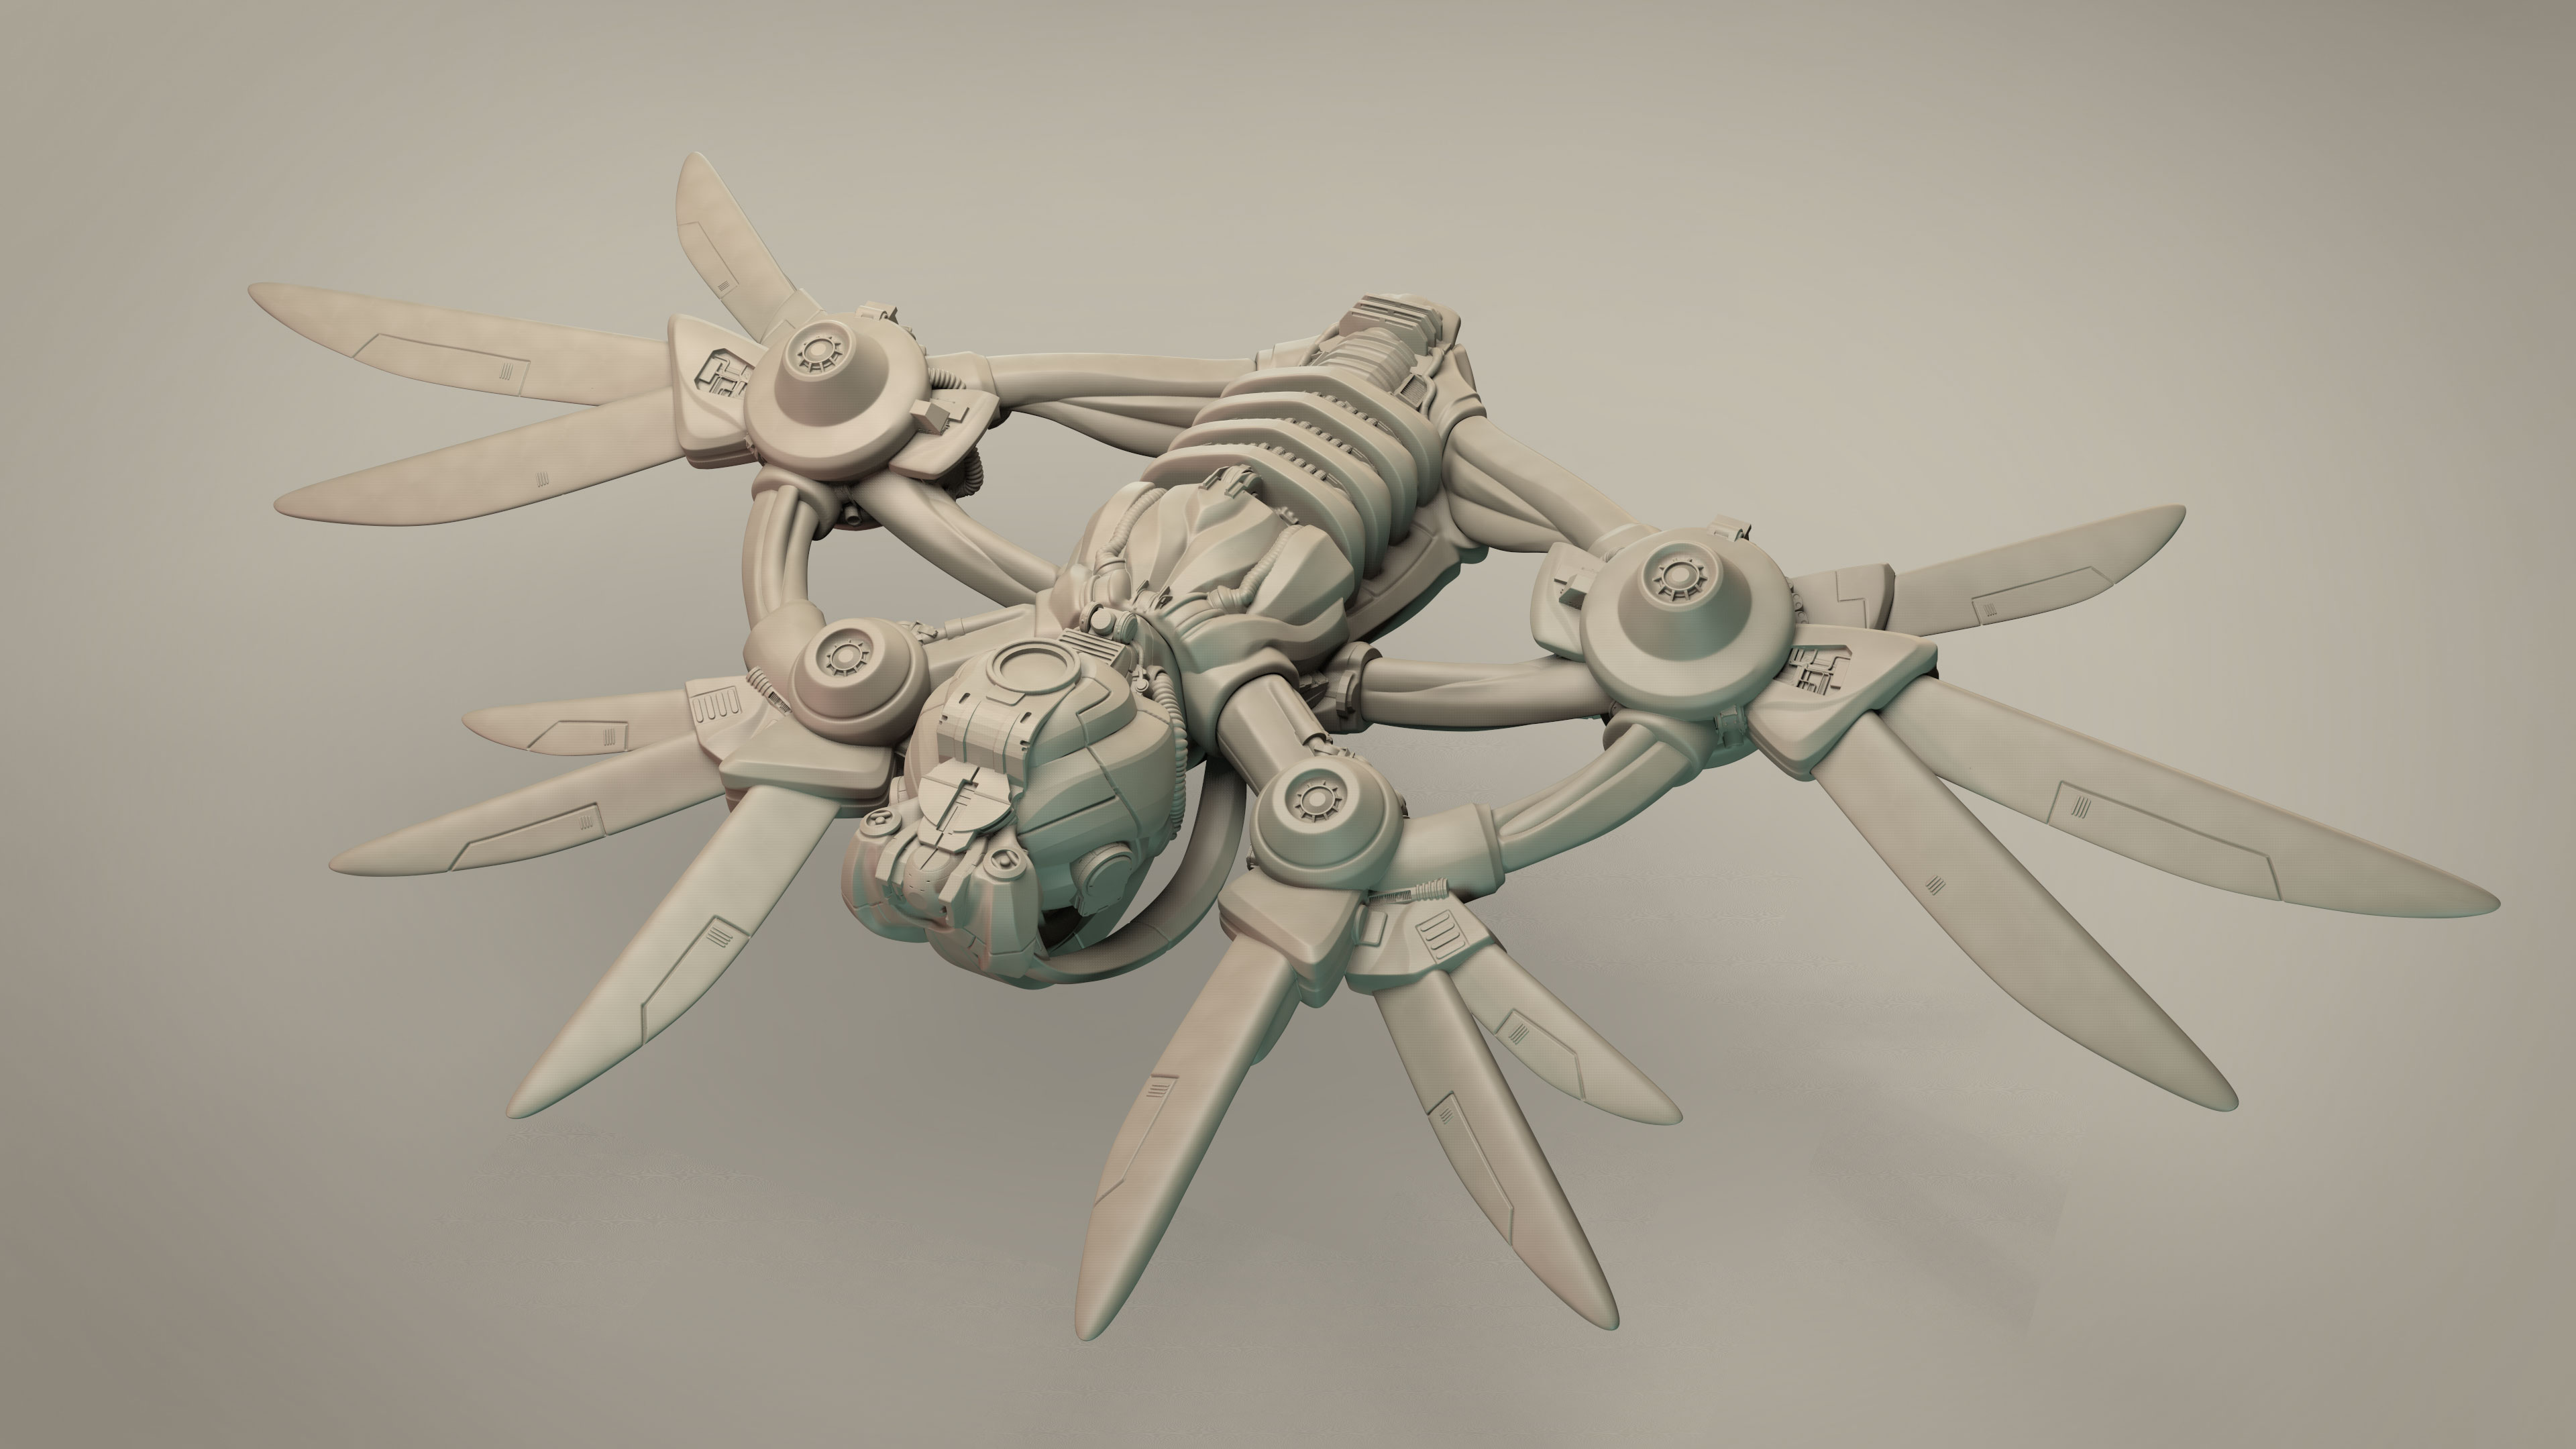
(main model by Sir Tom of Lishman)
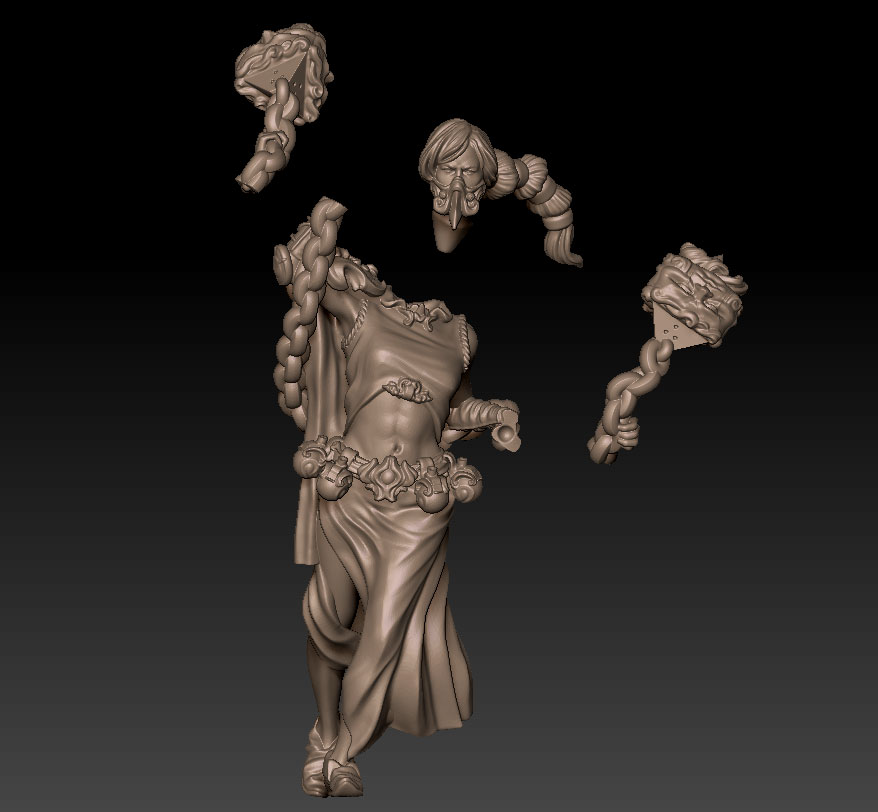
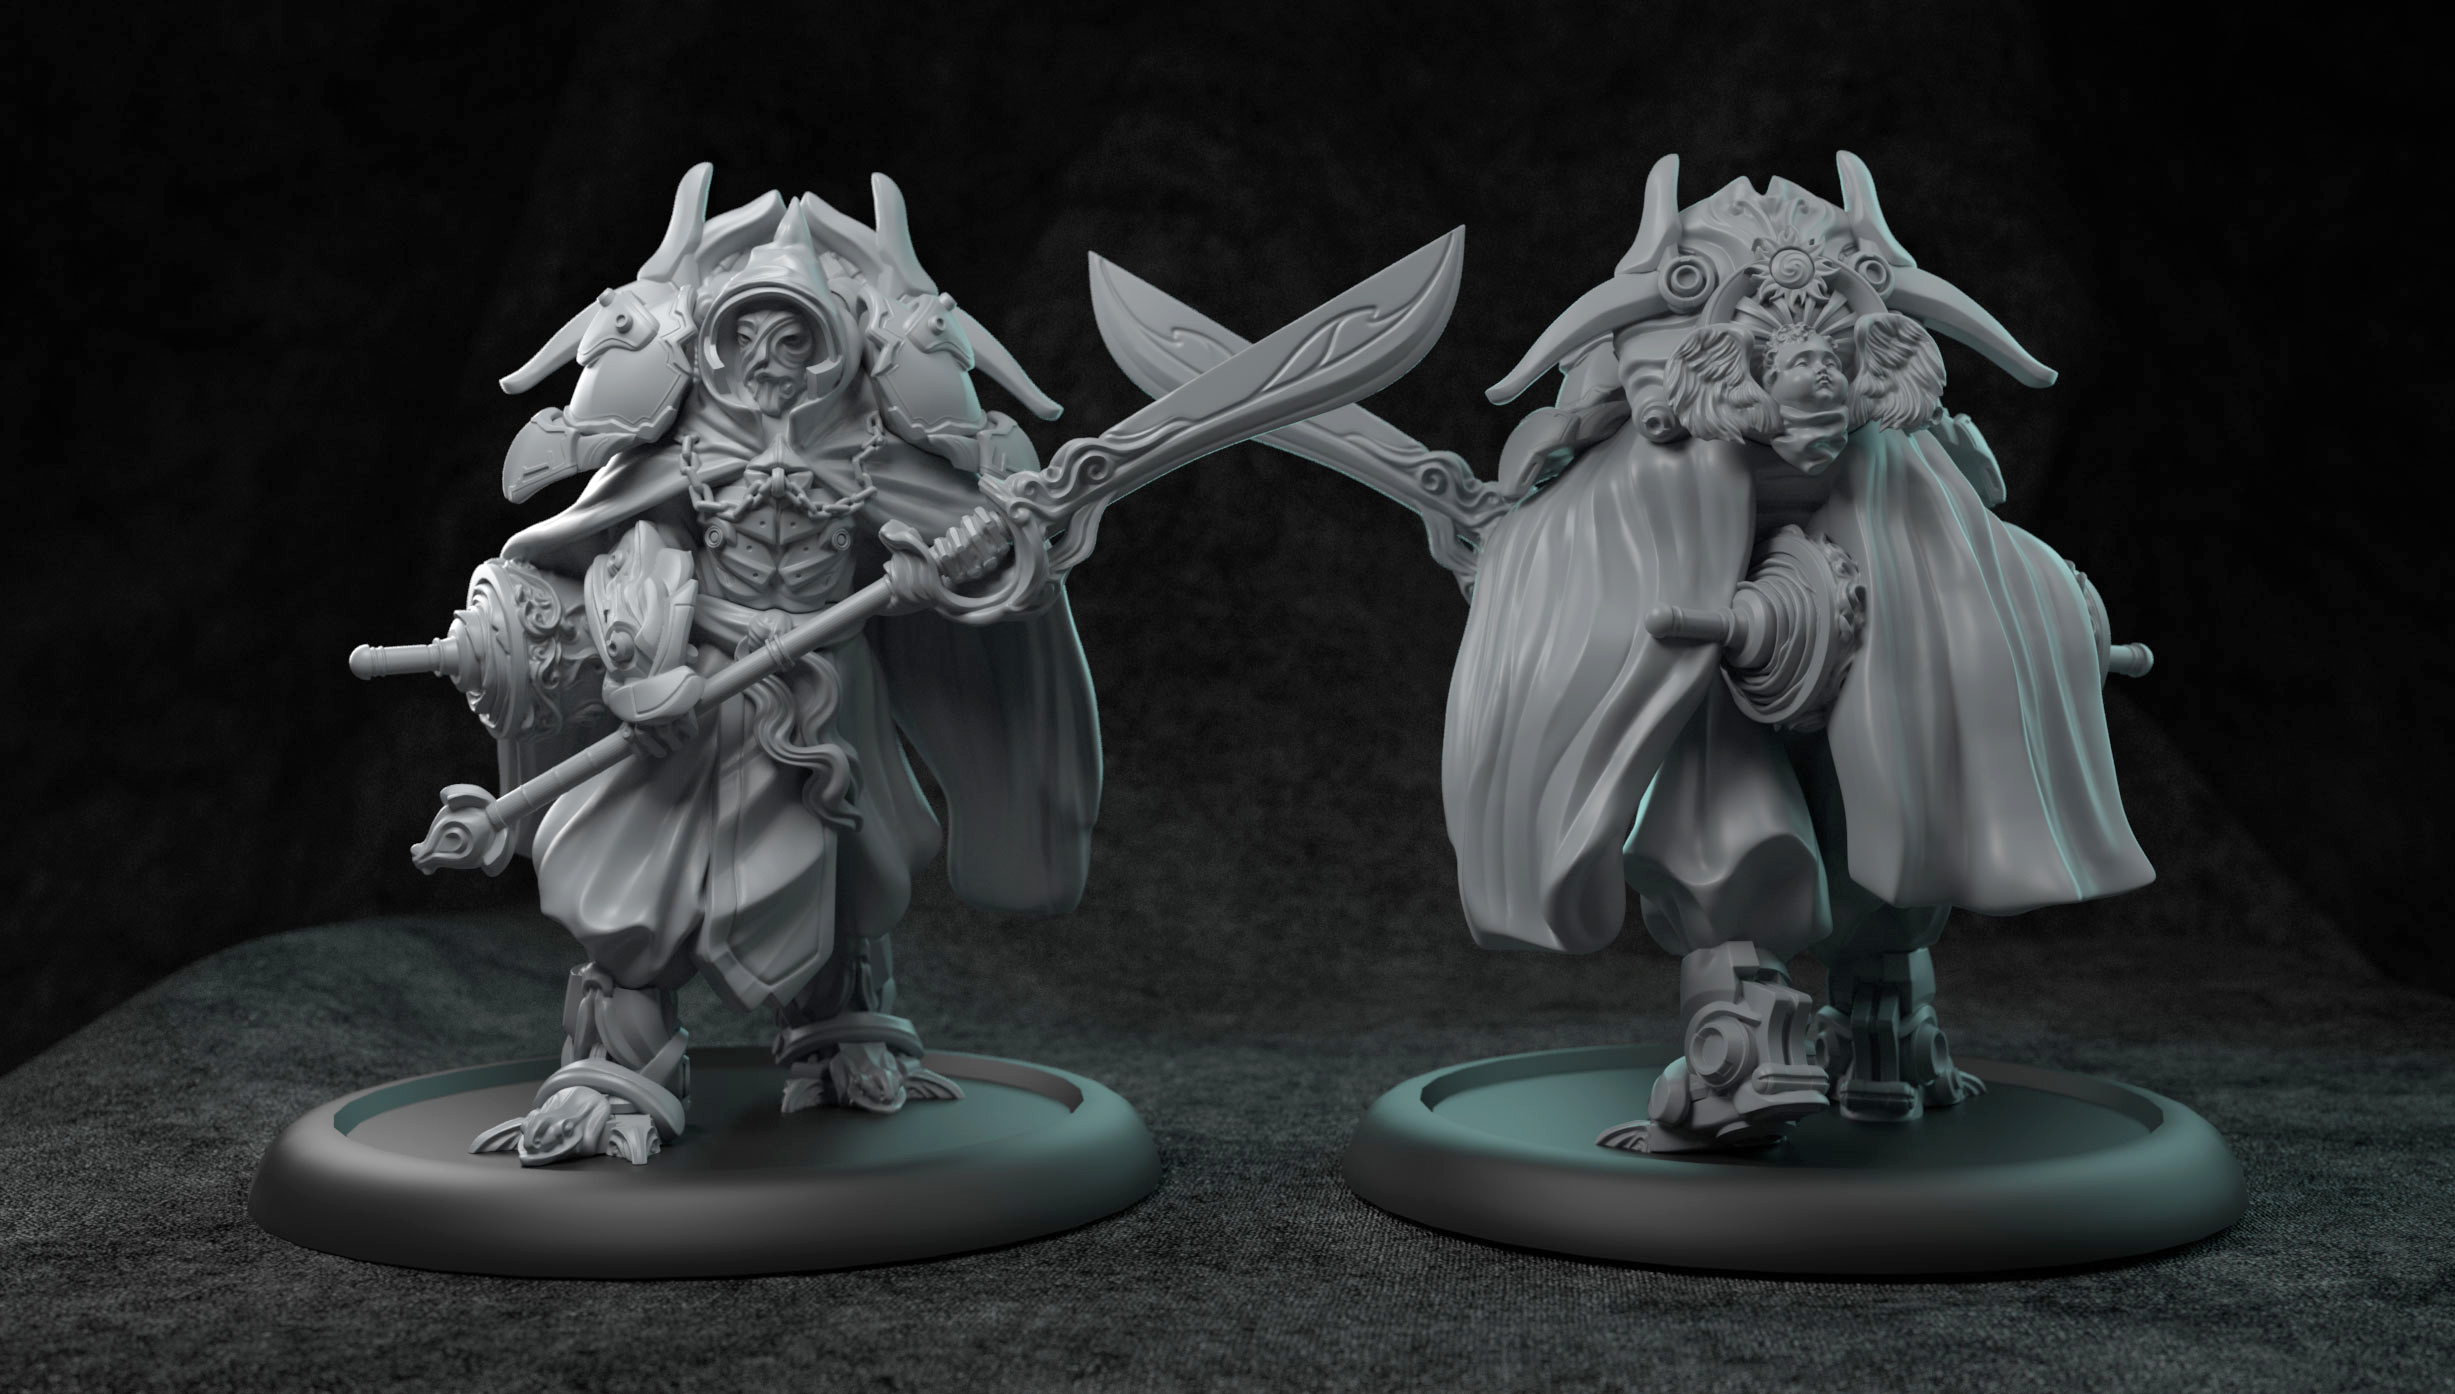
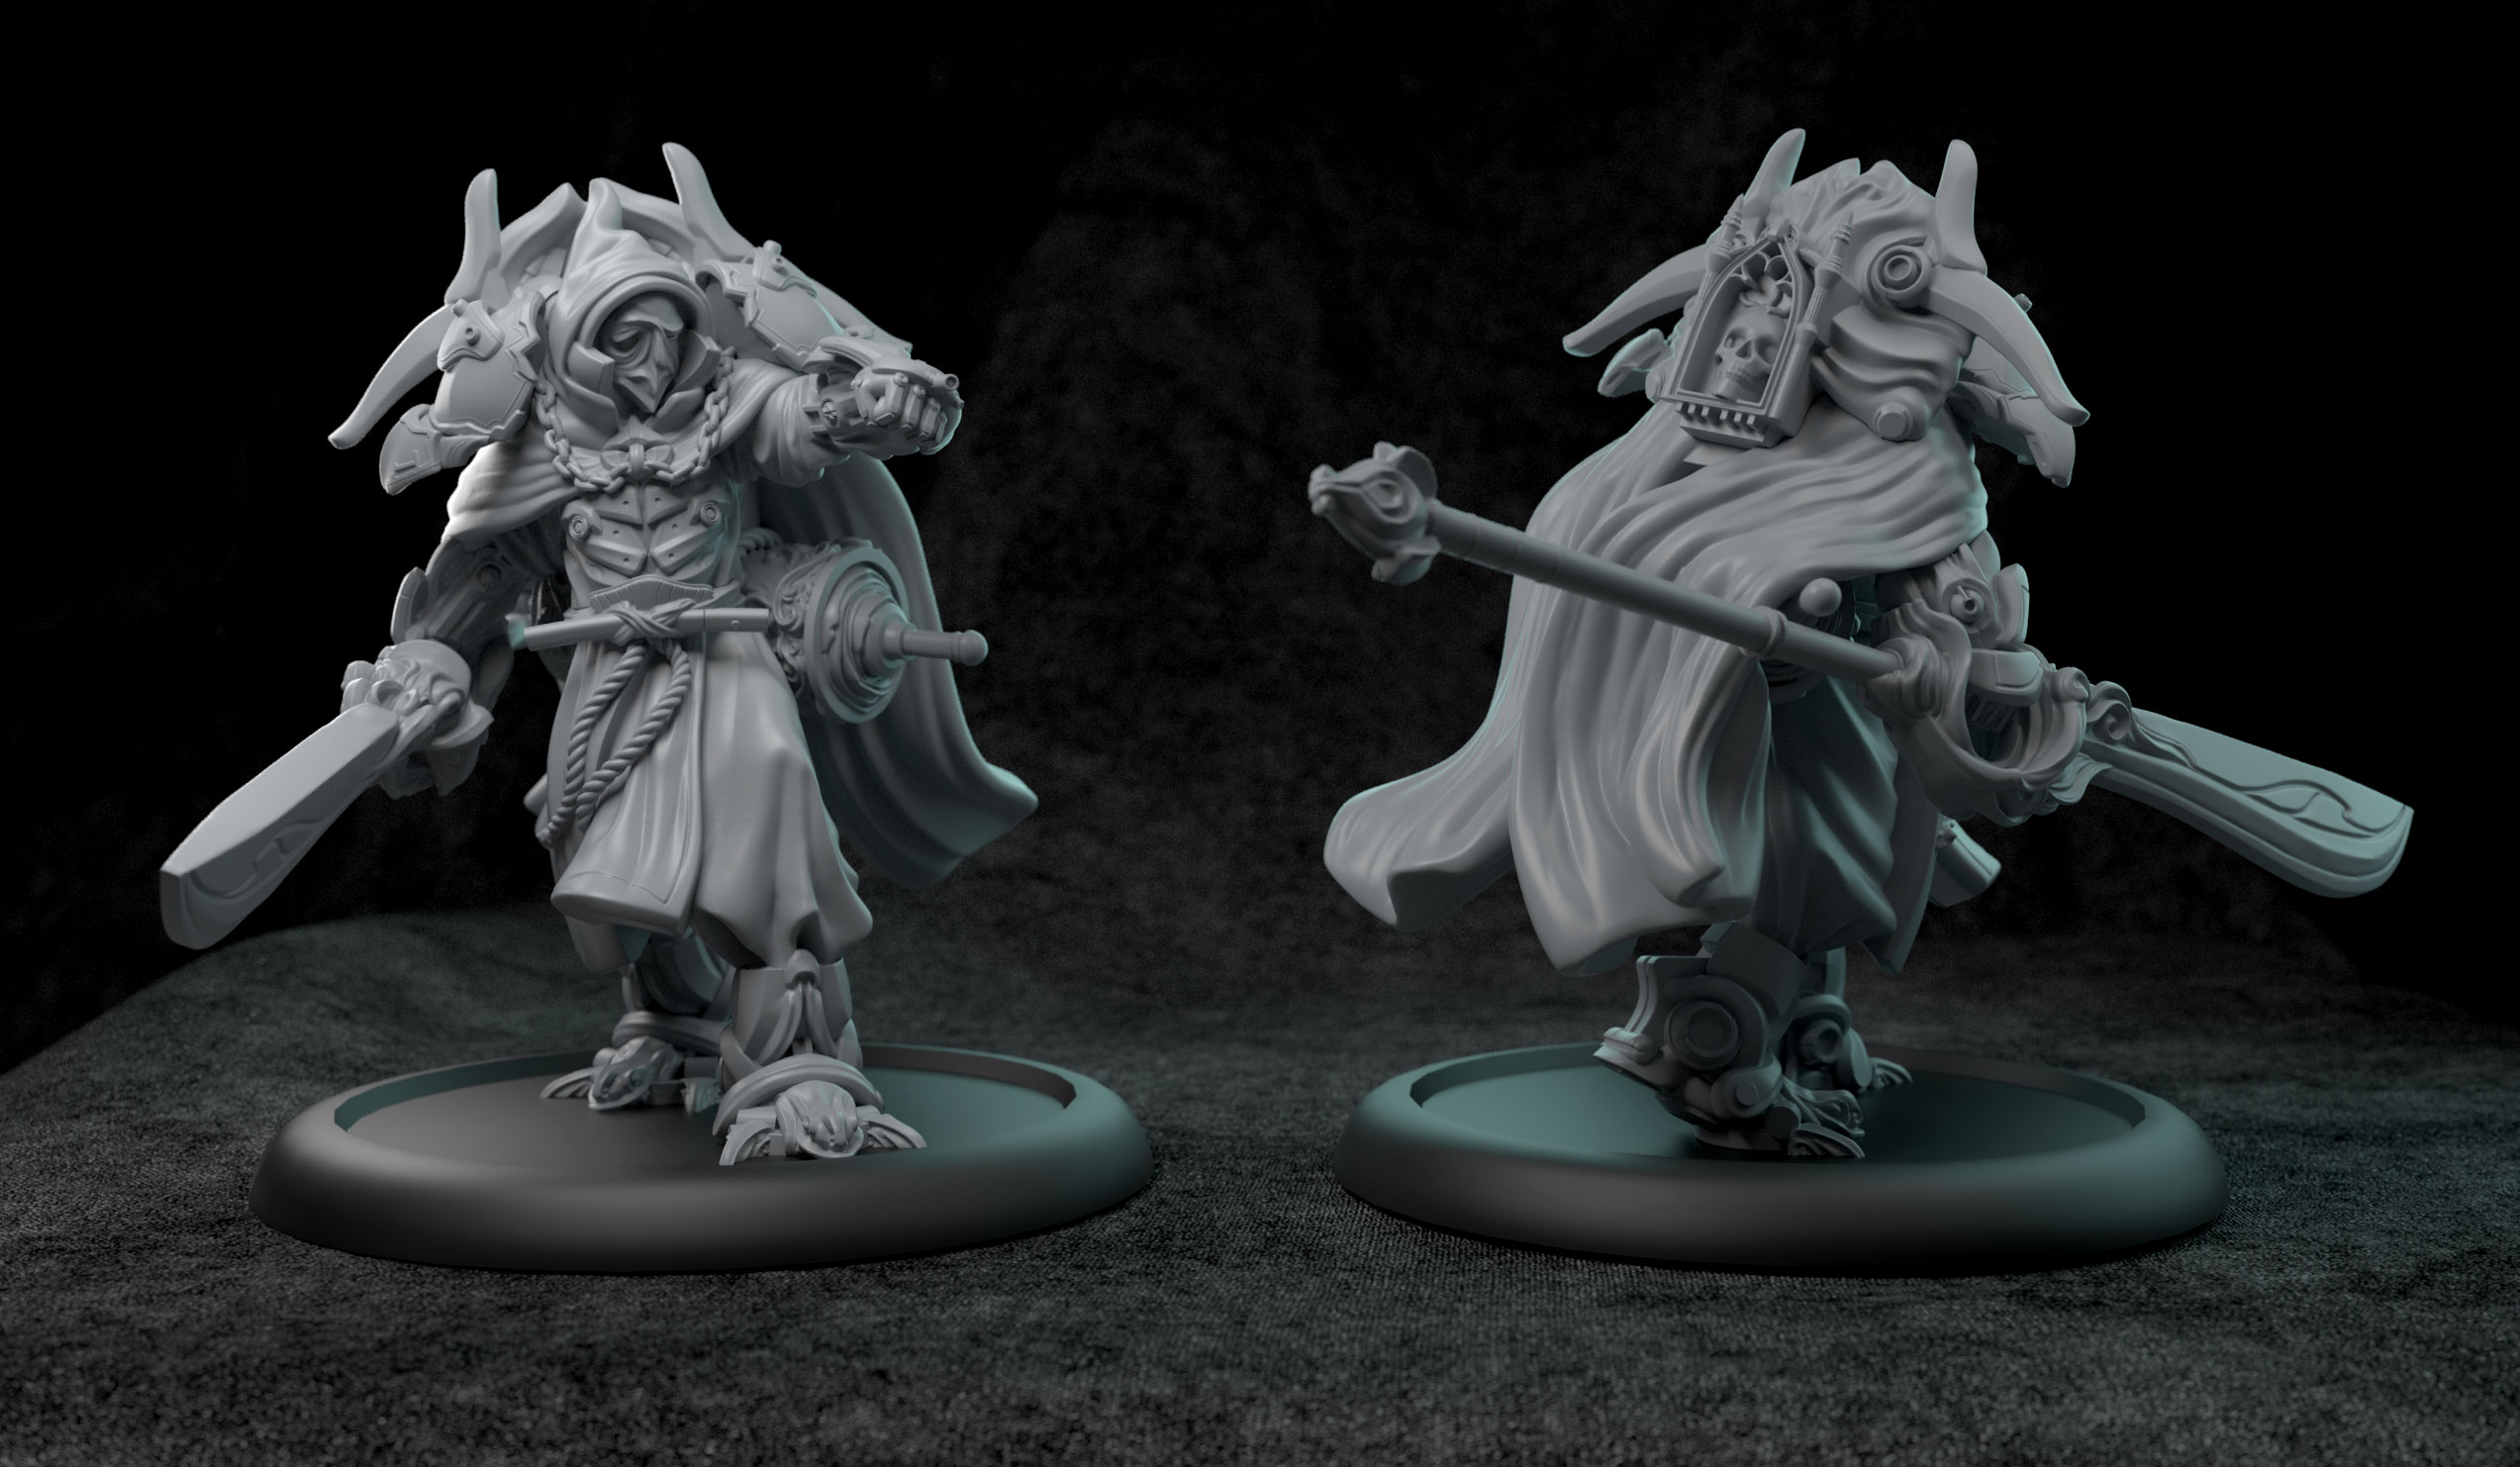
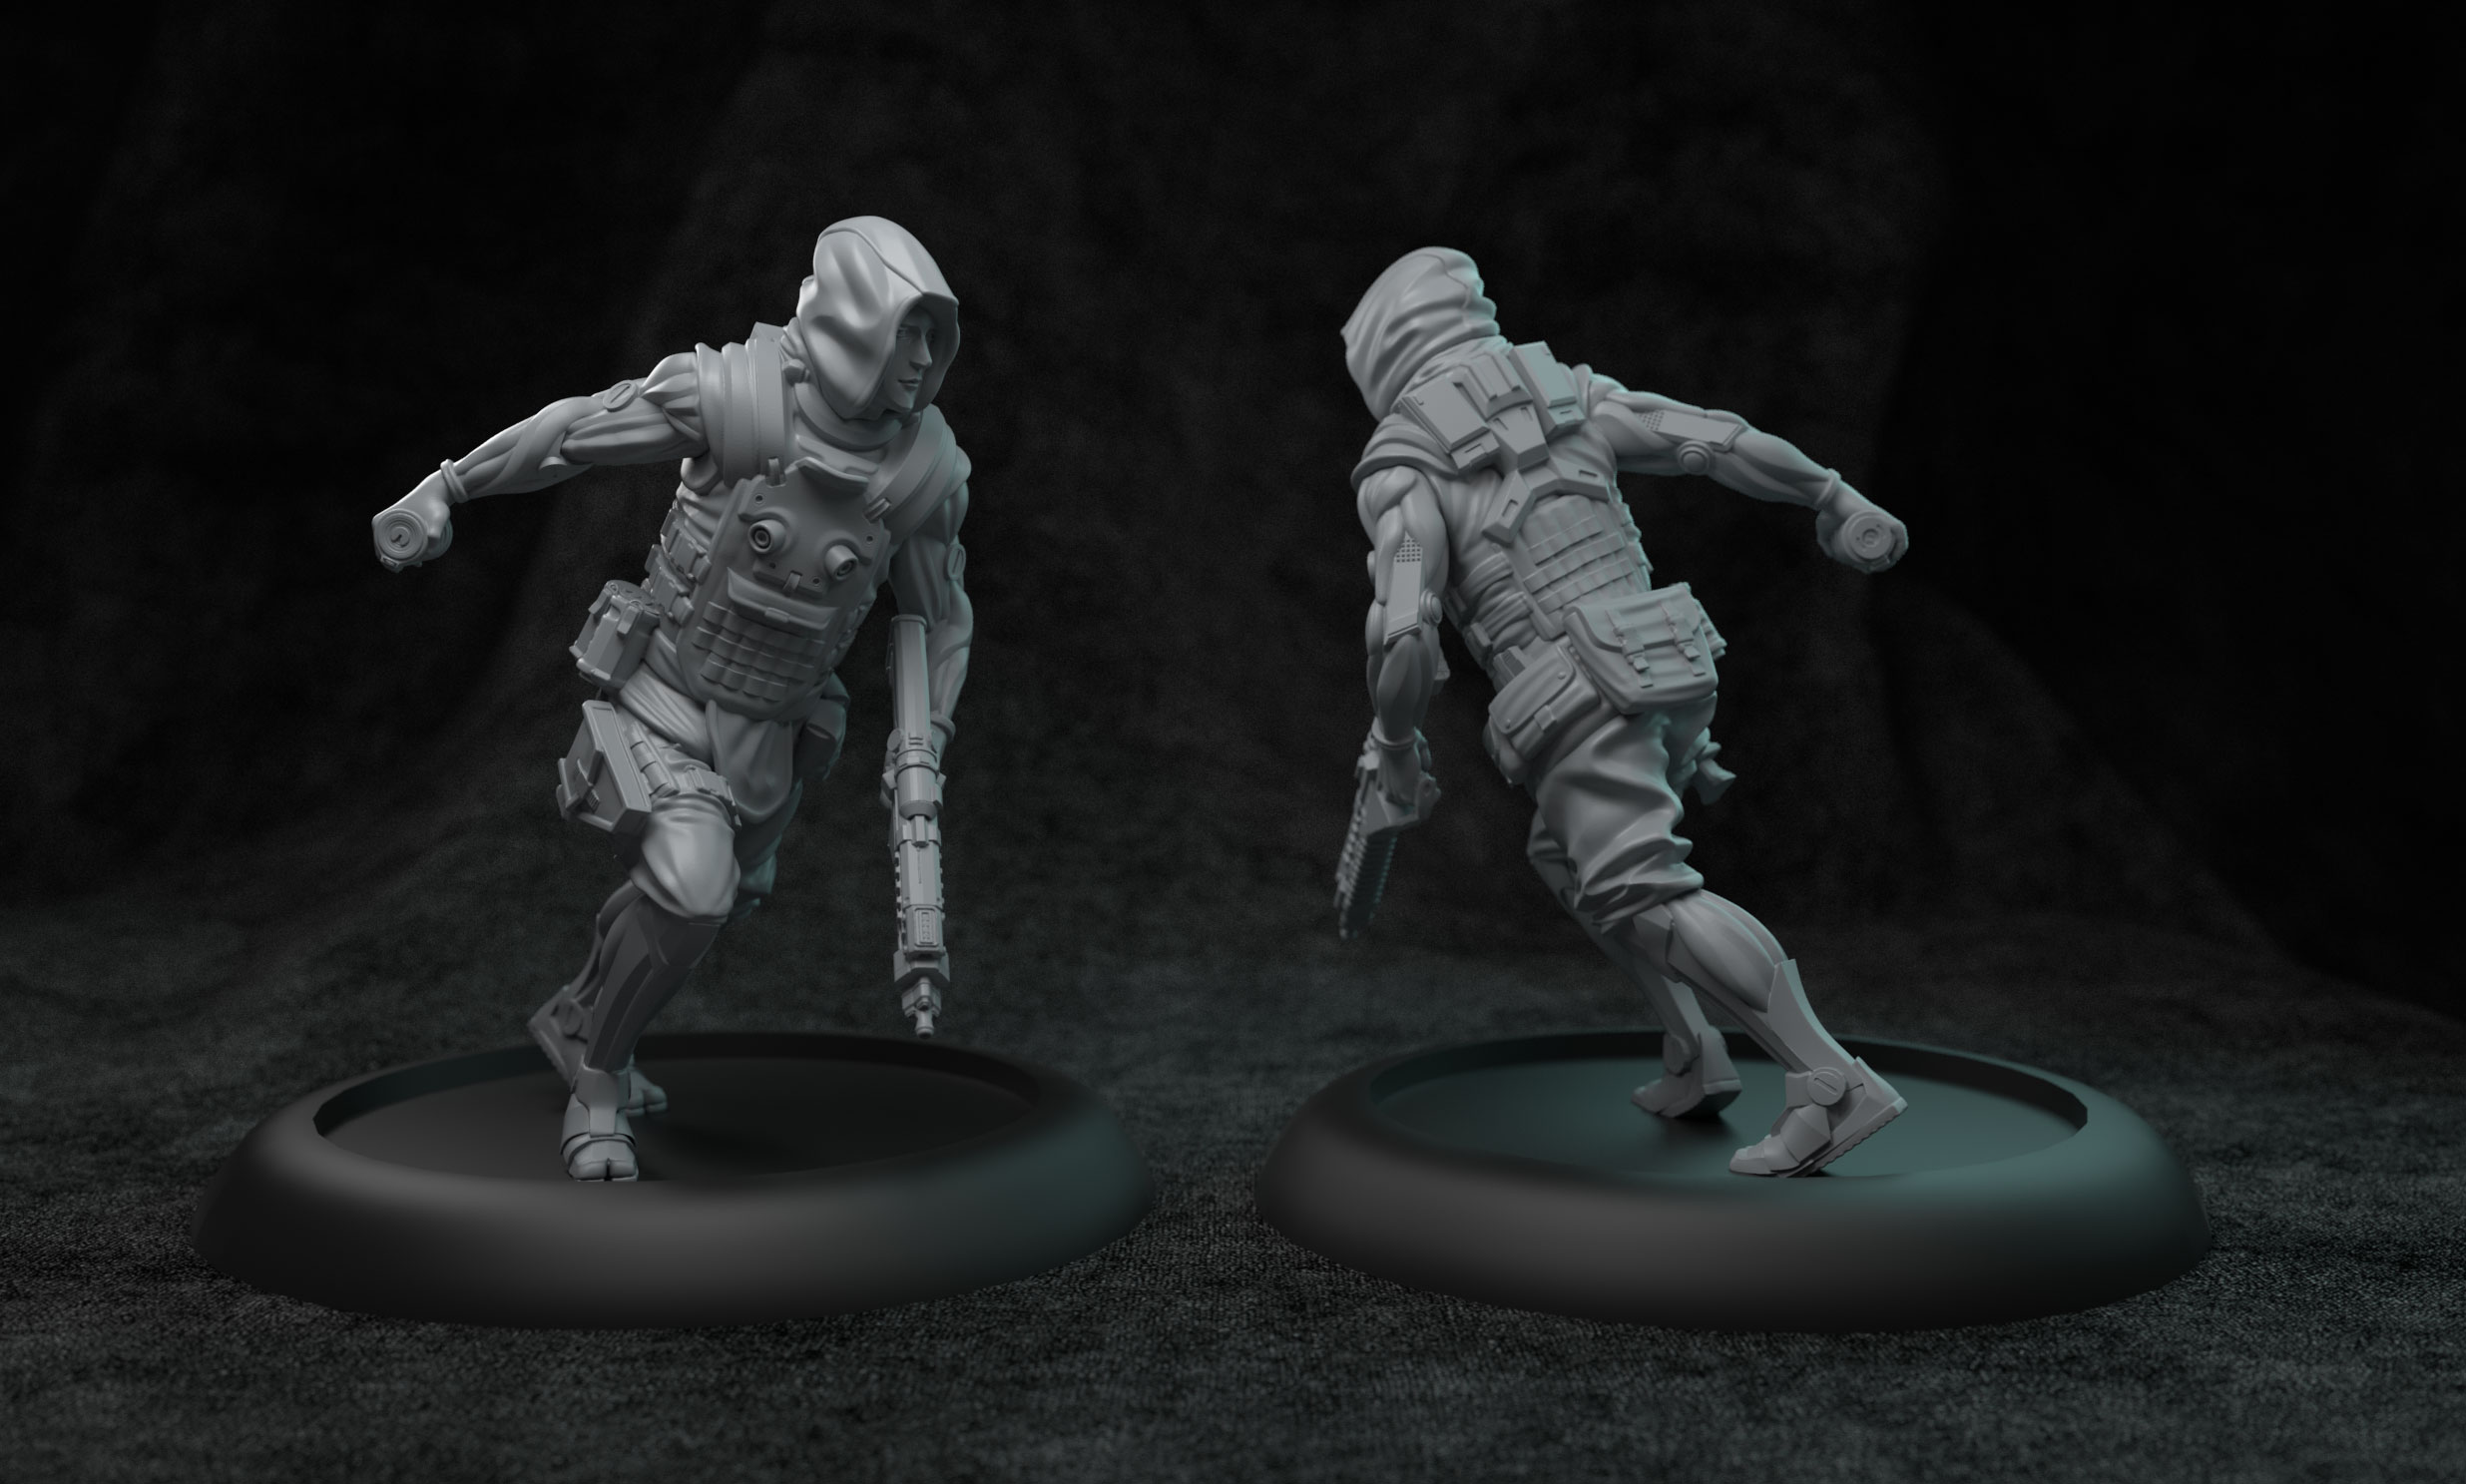
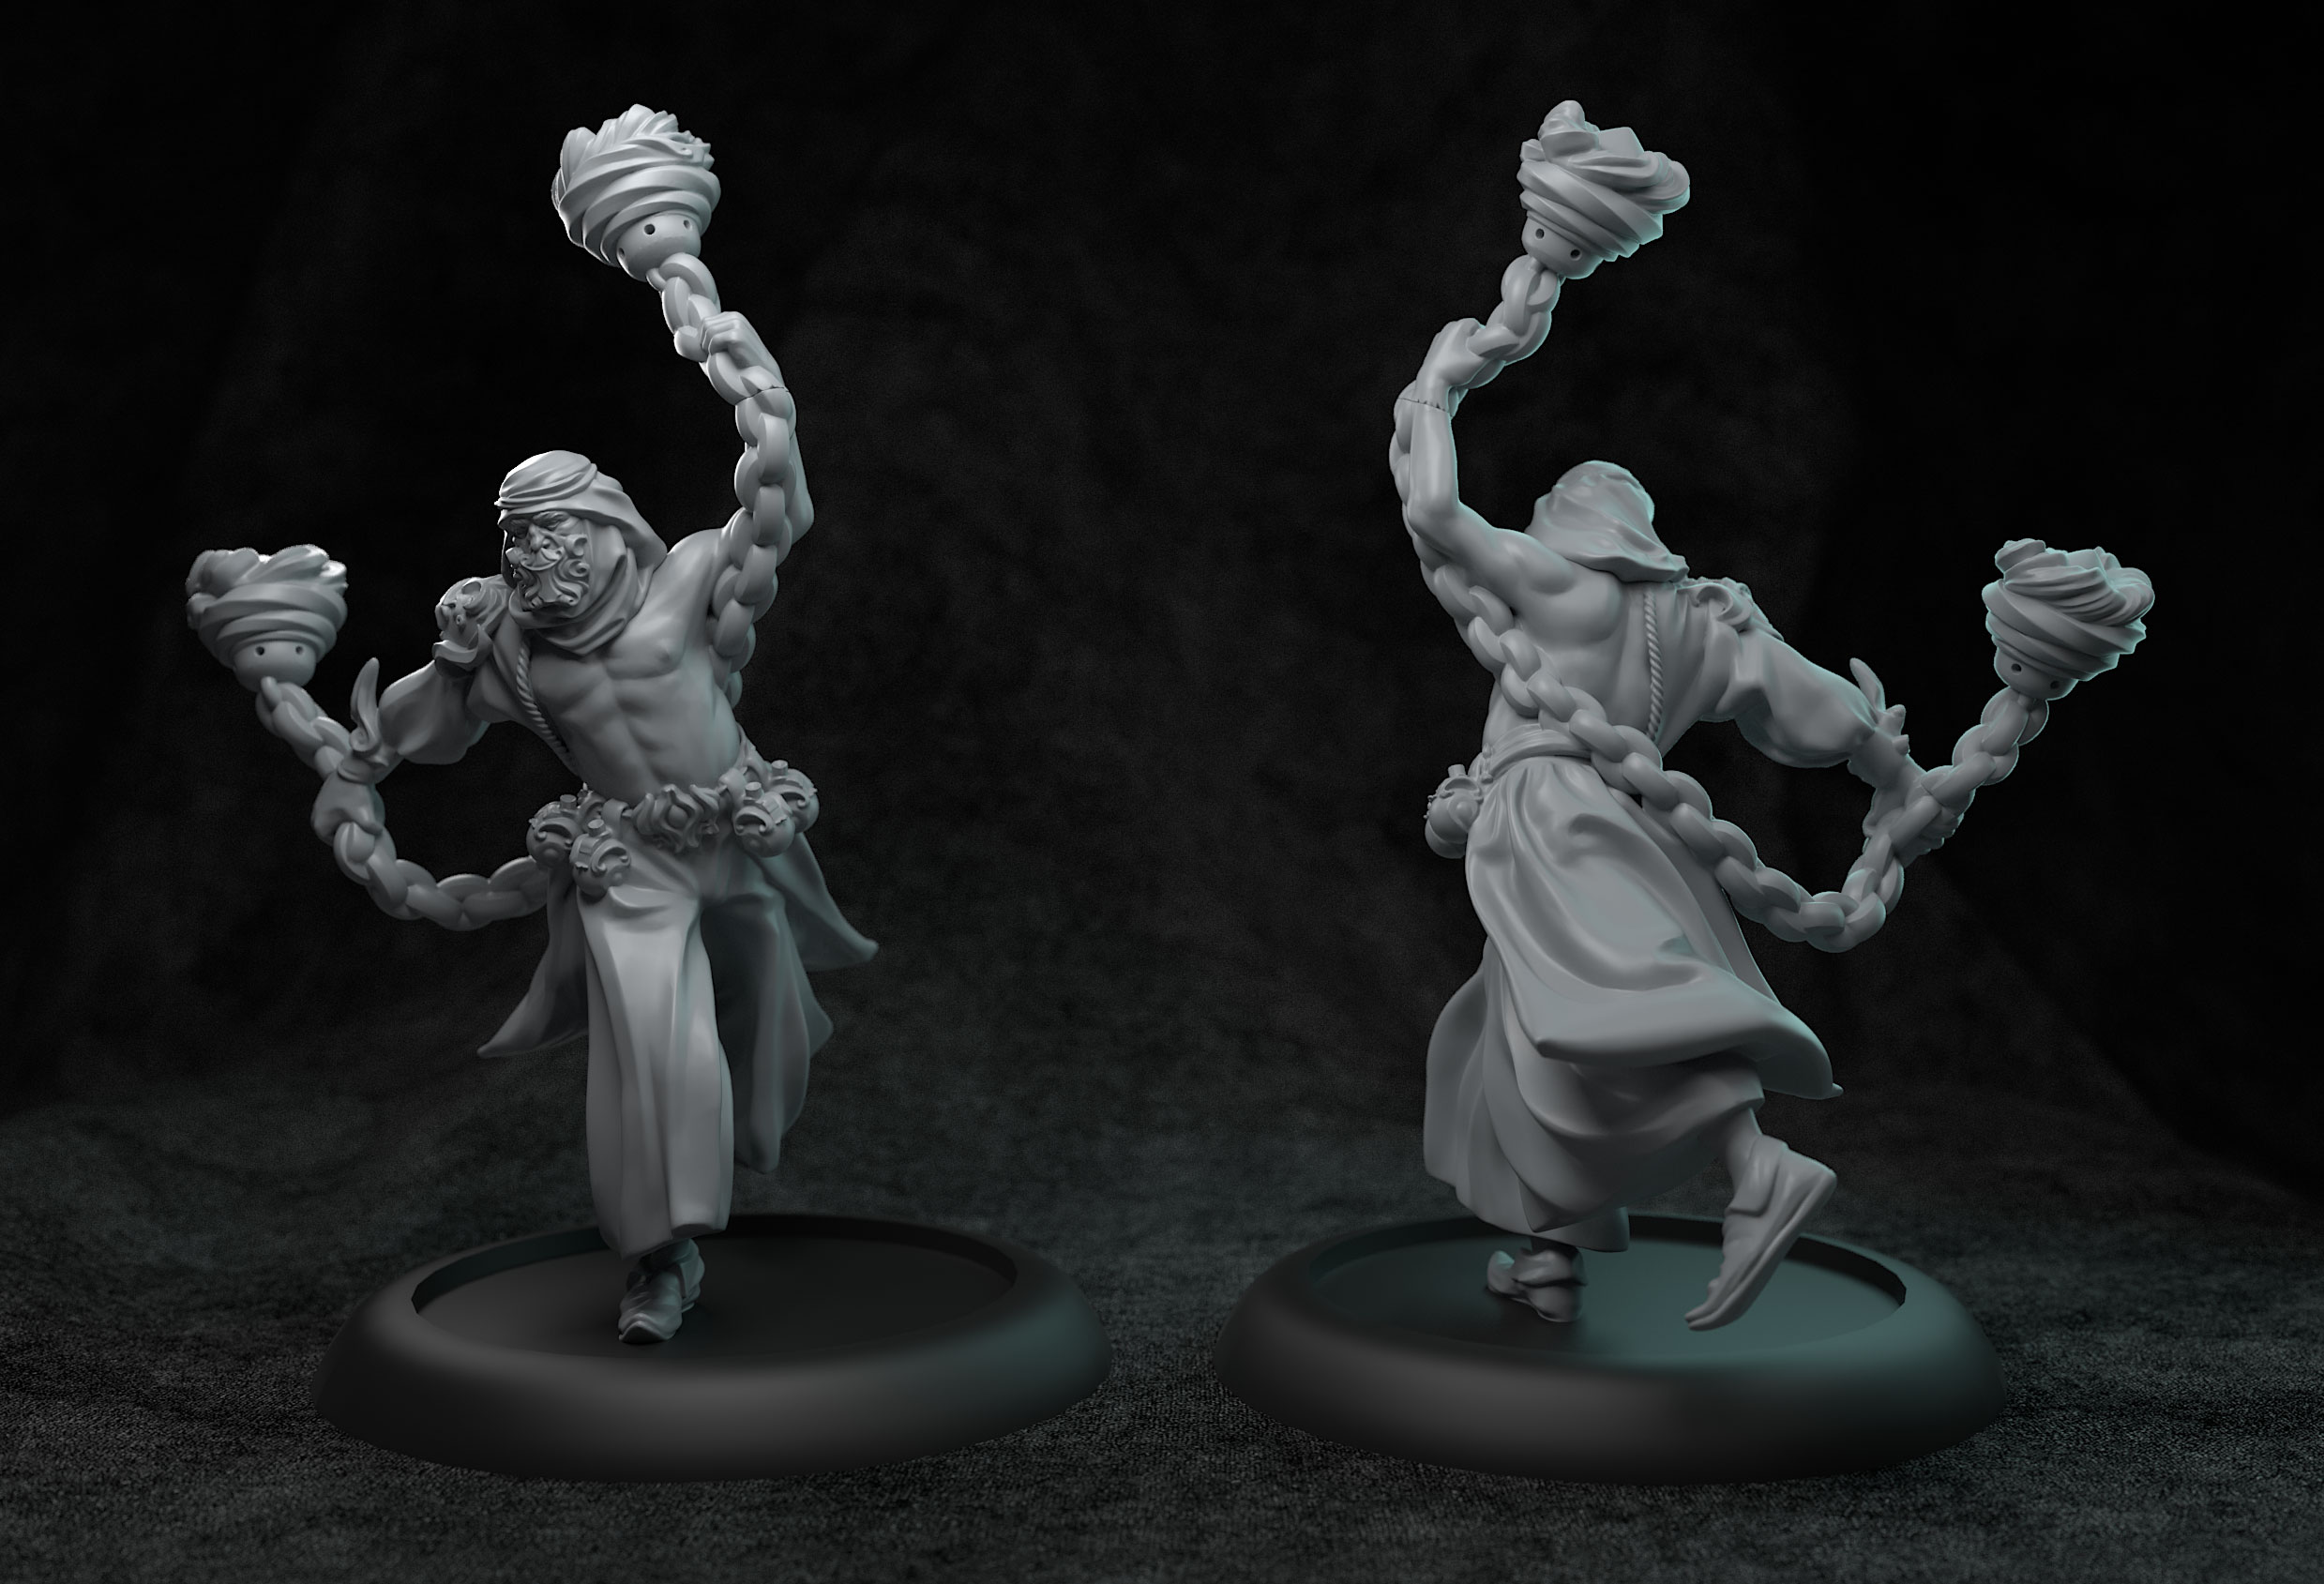
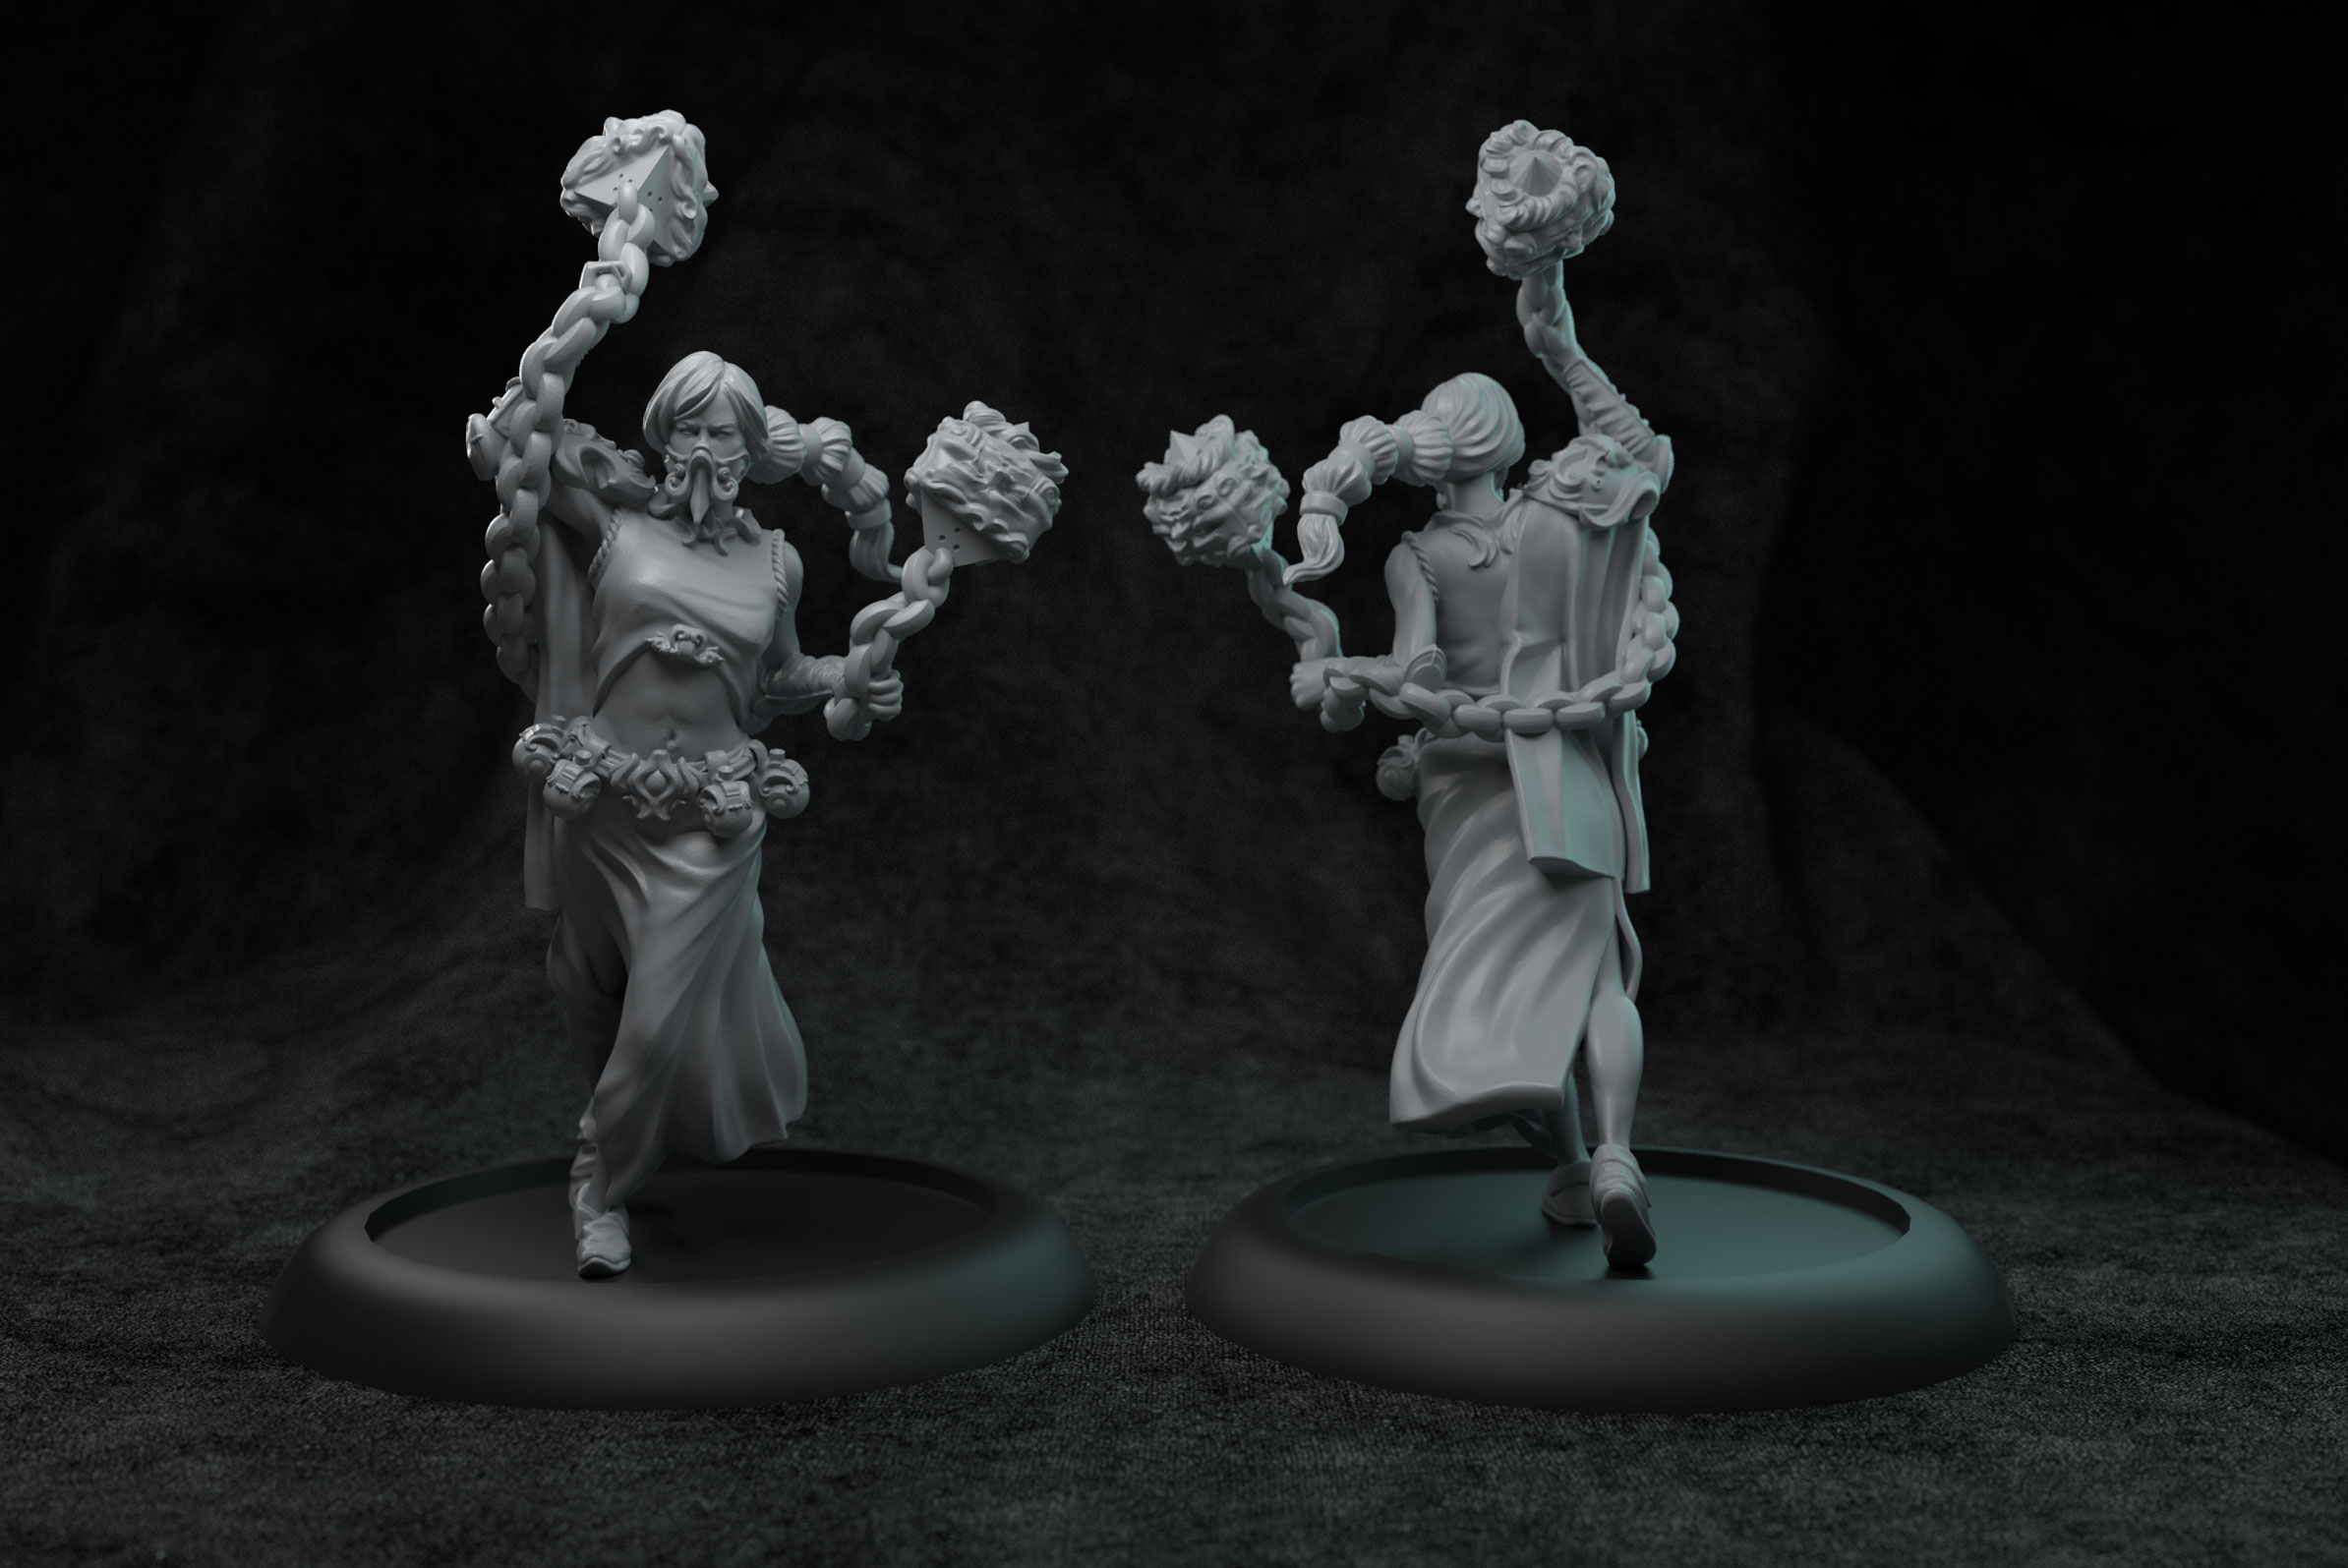
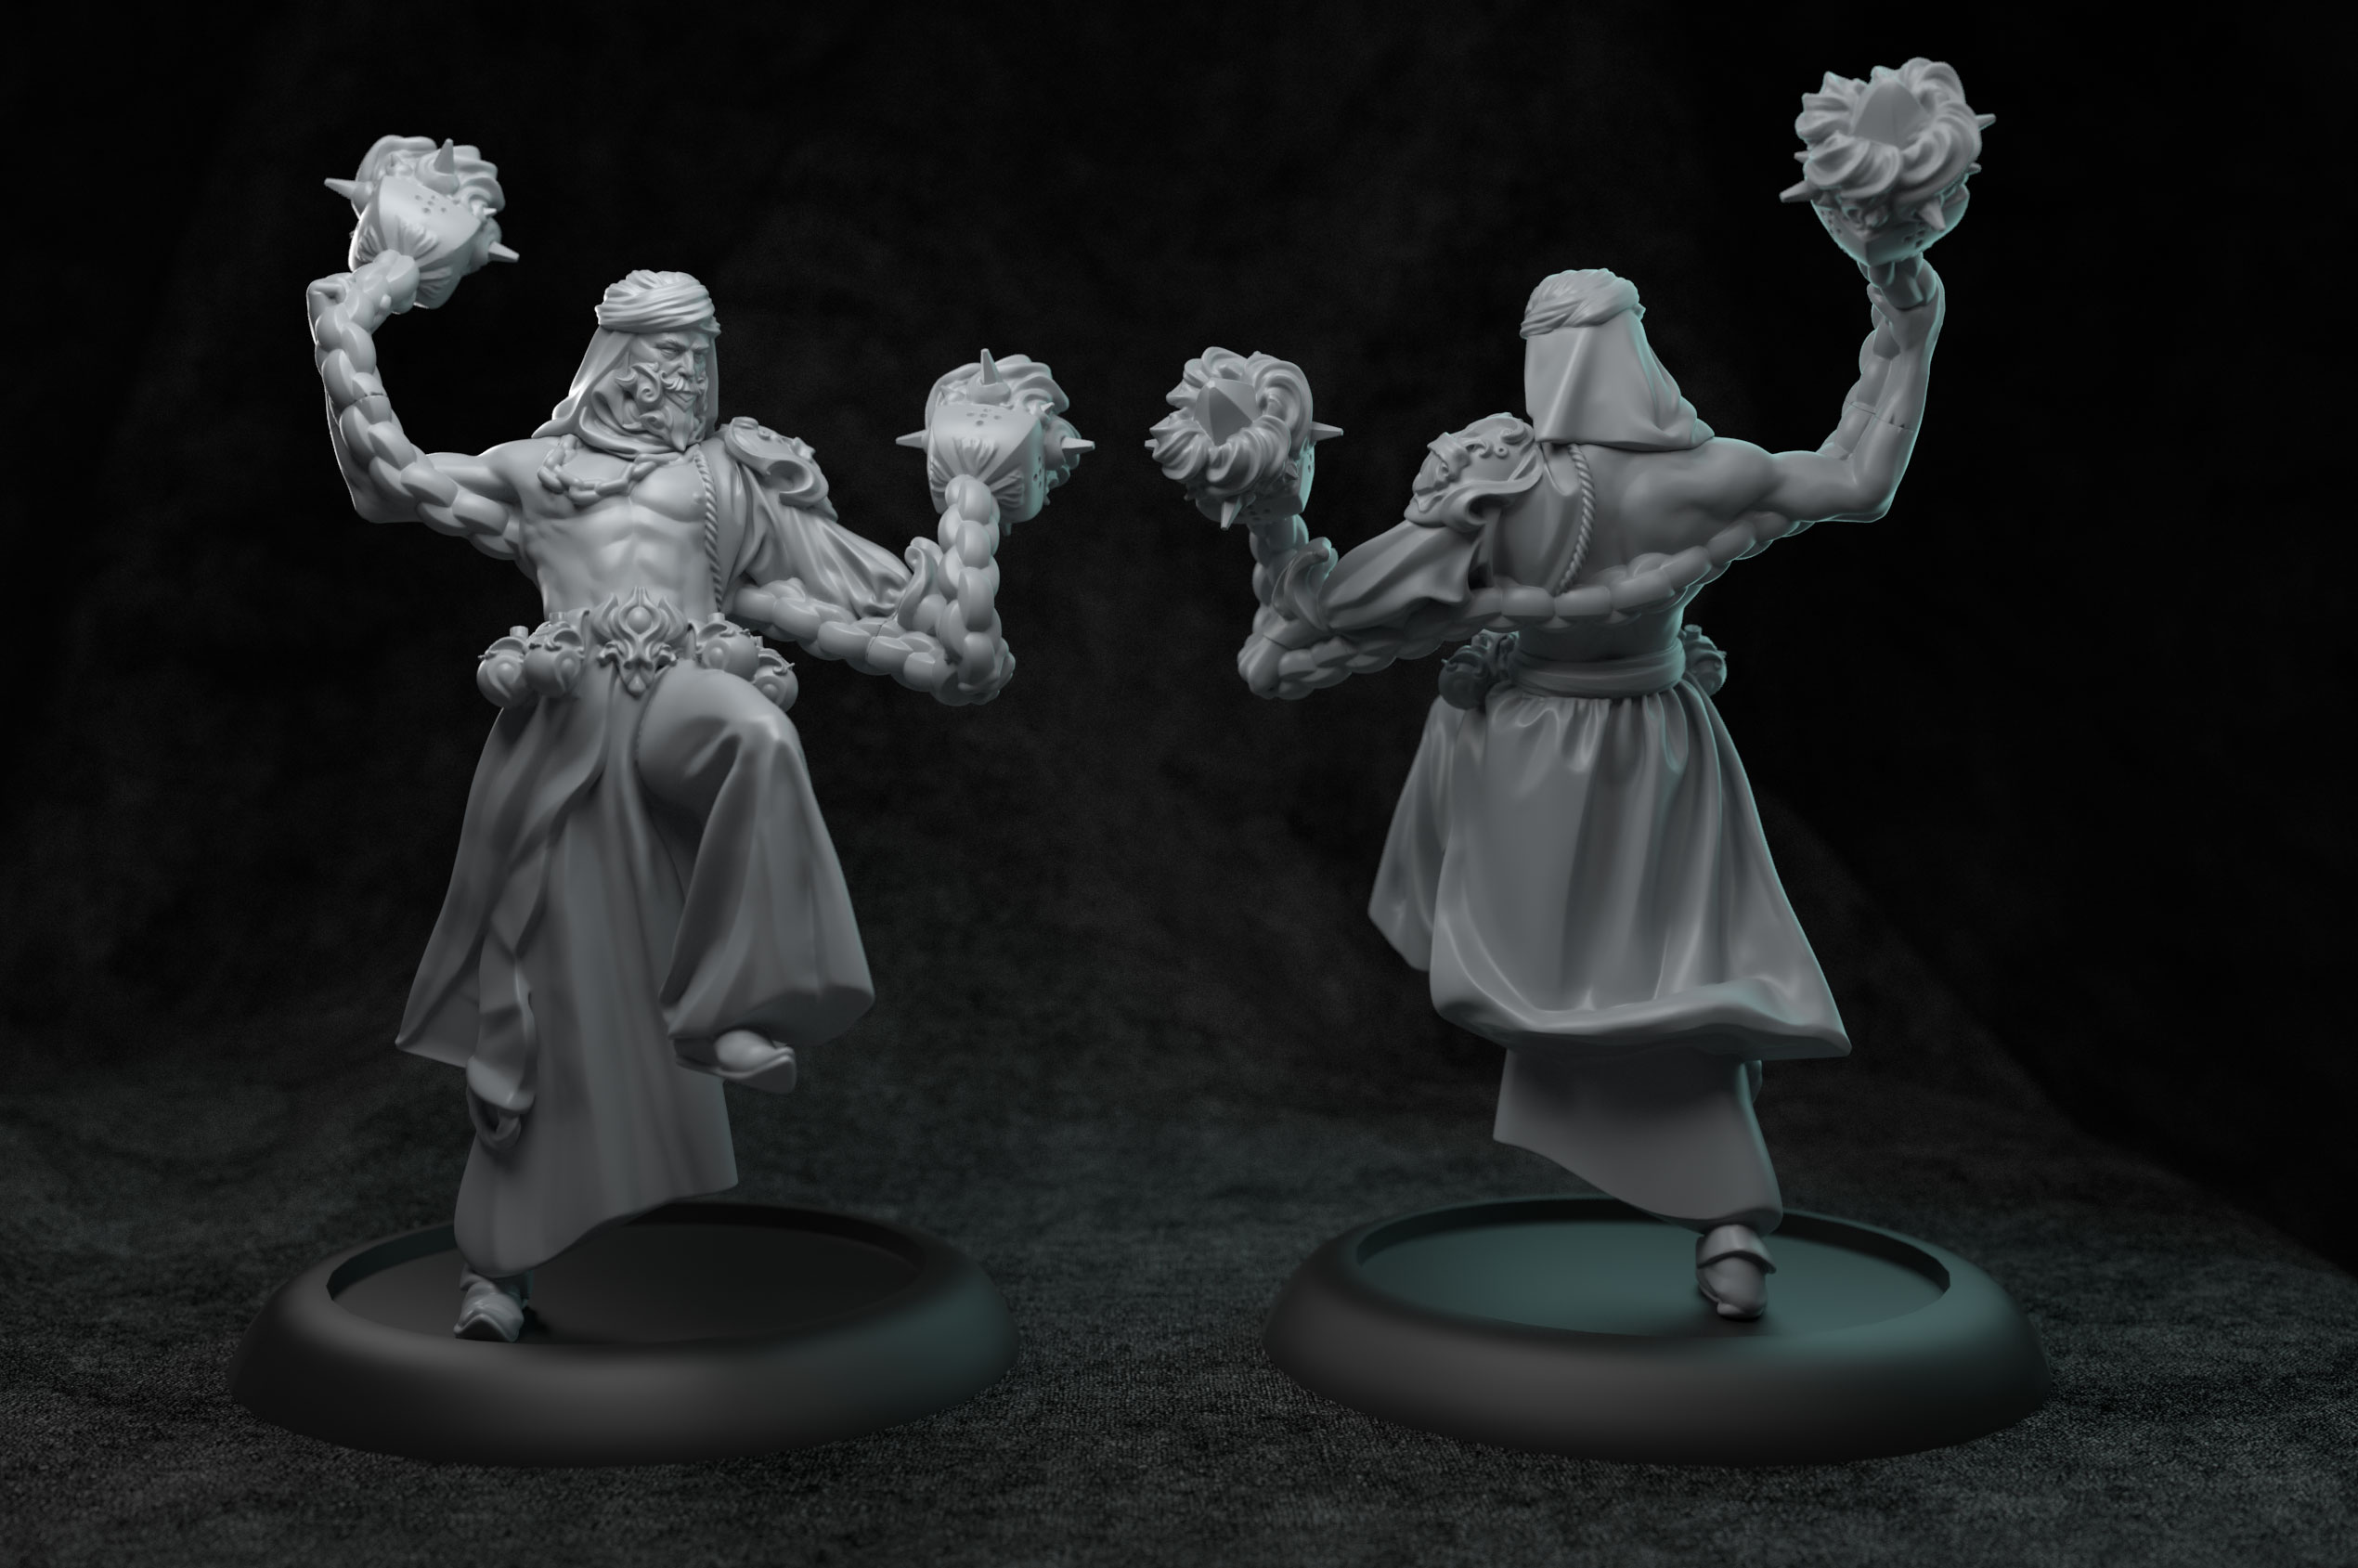
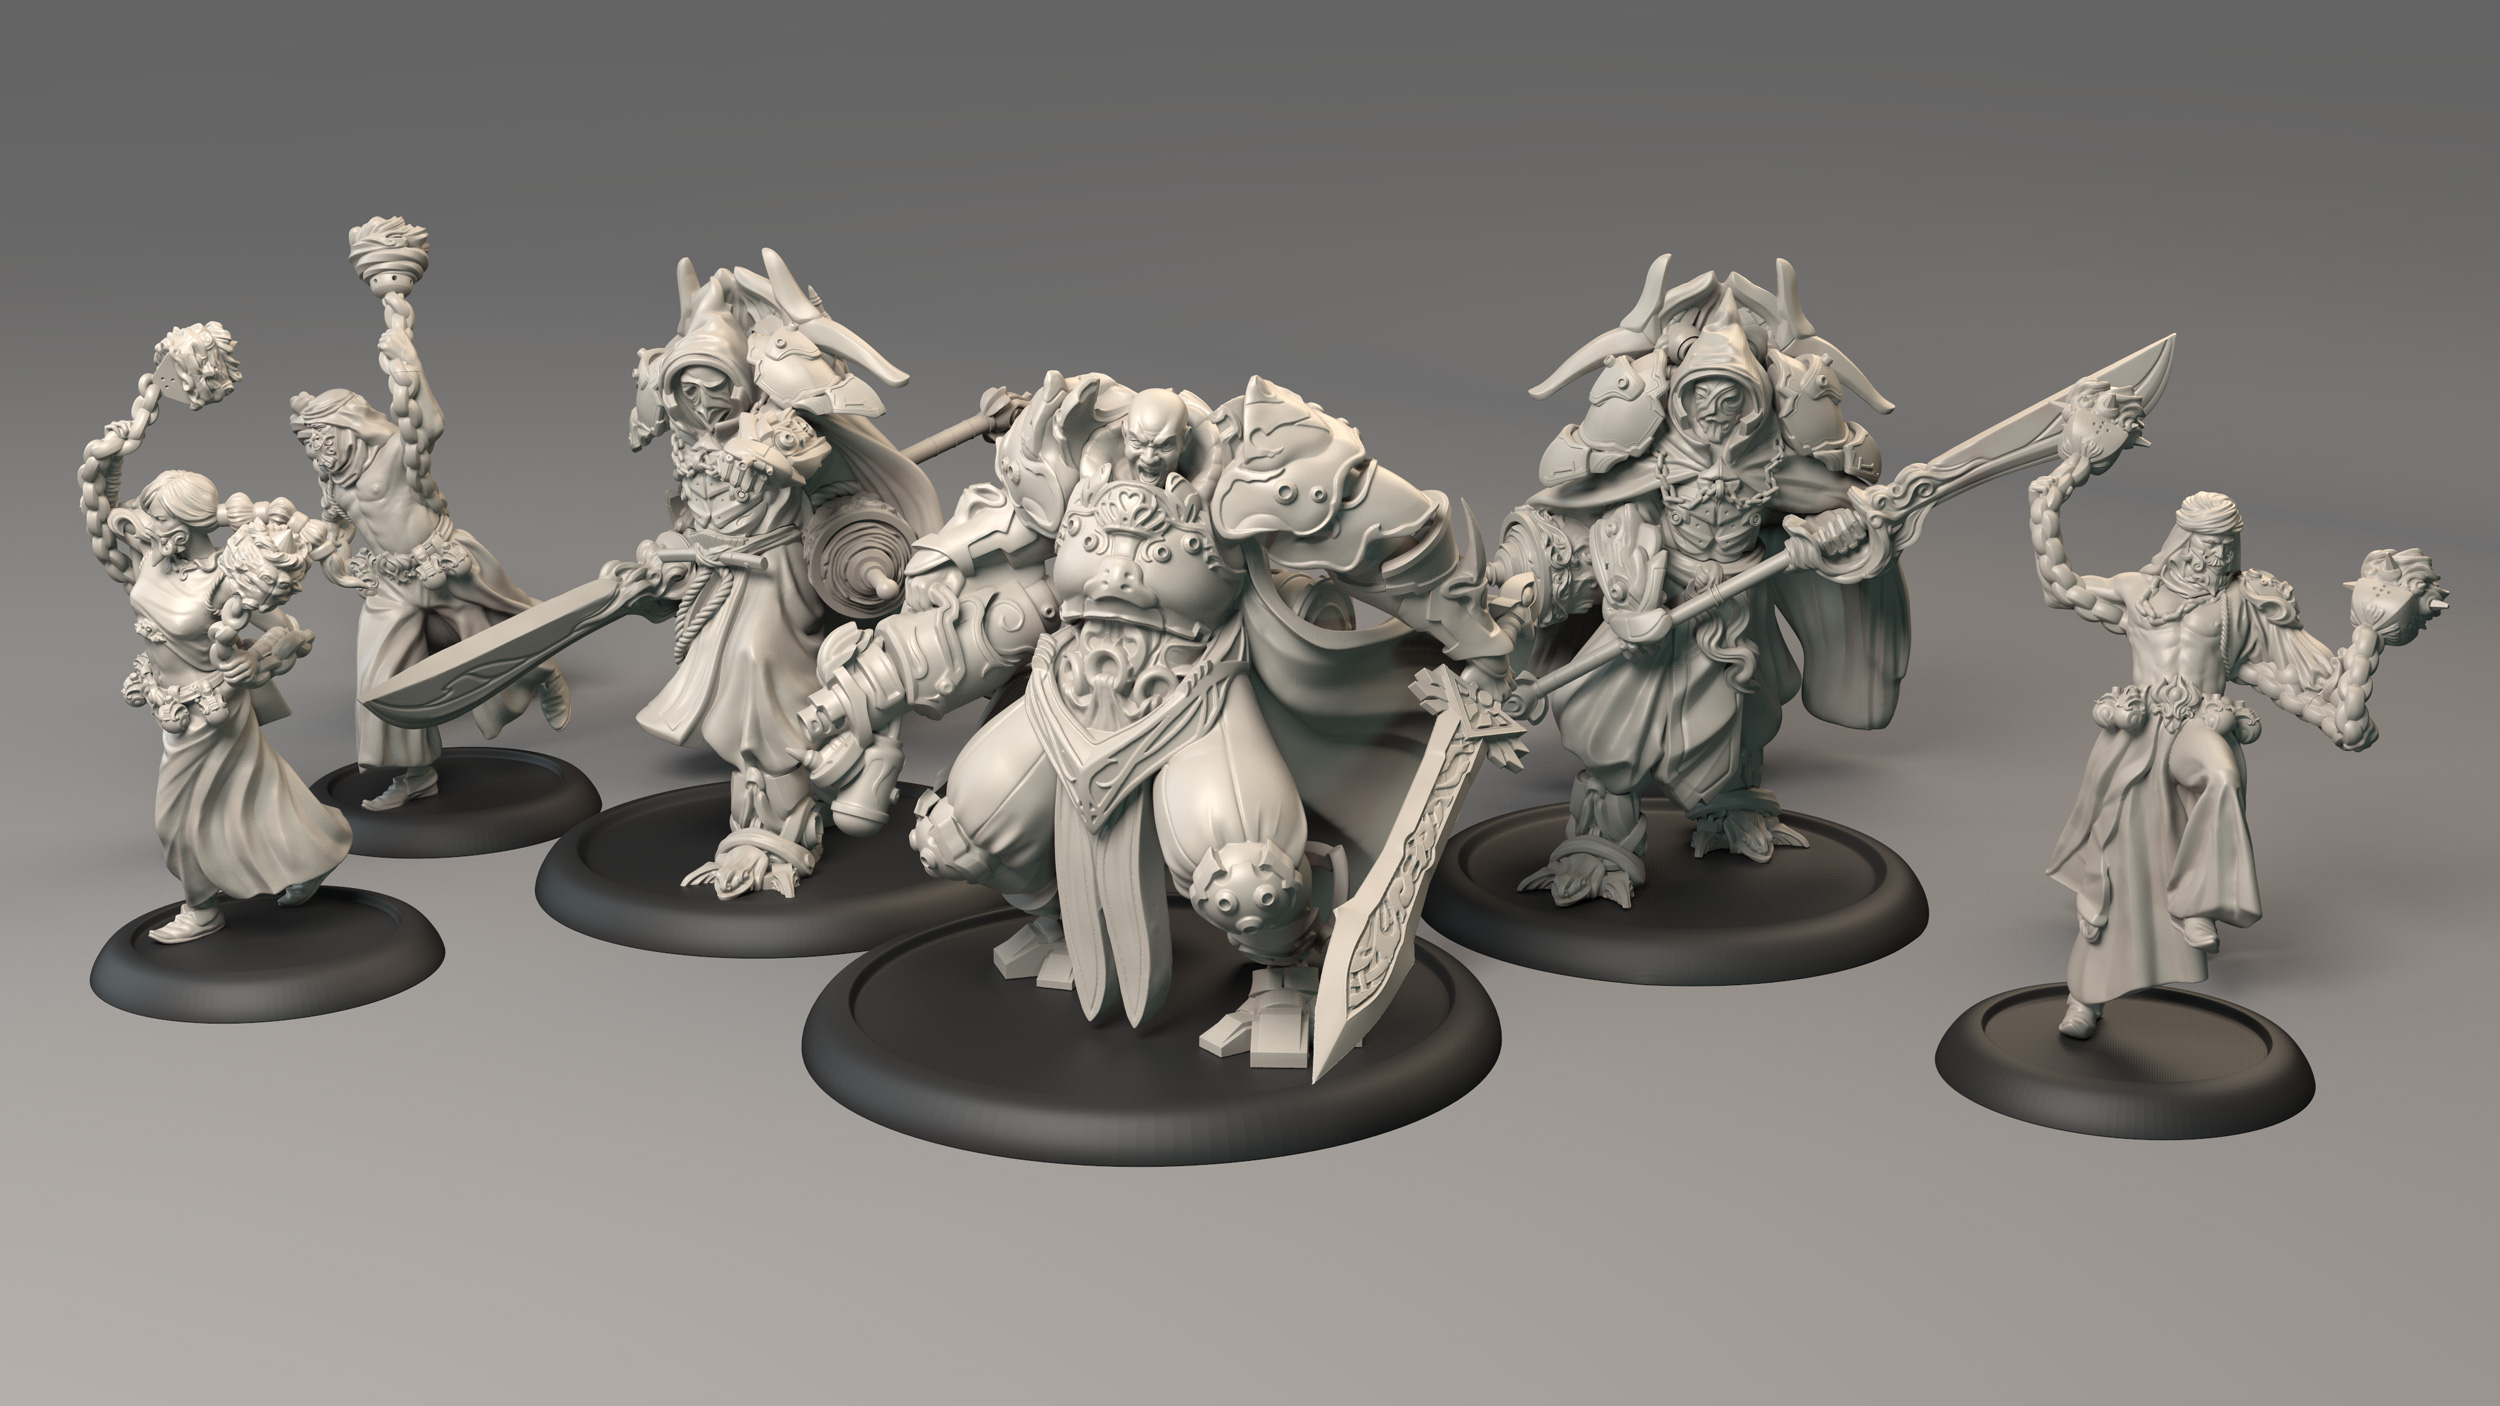
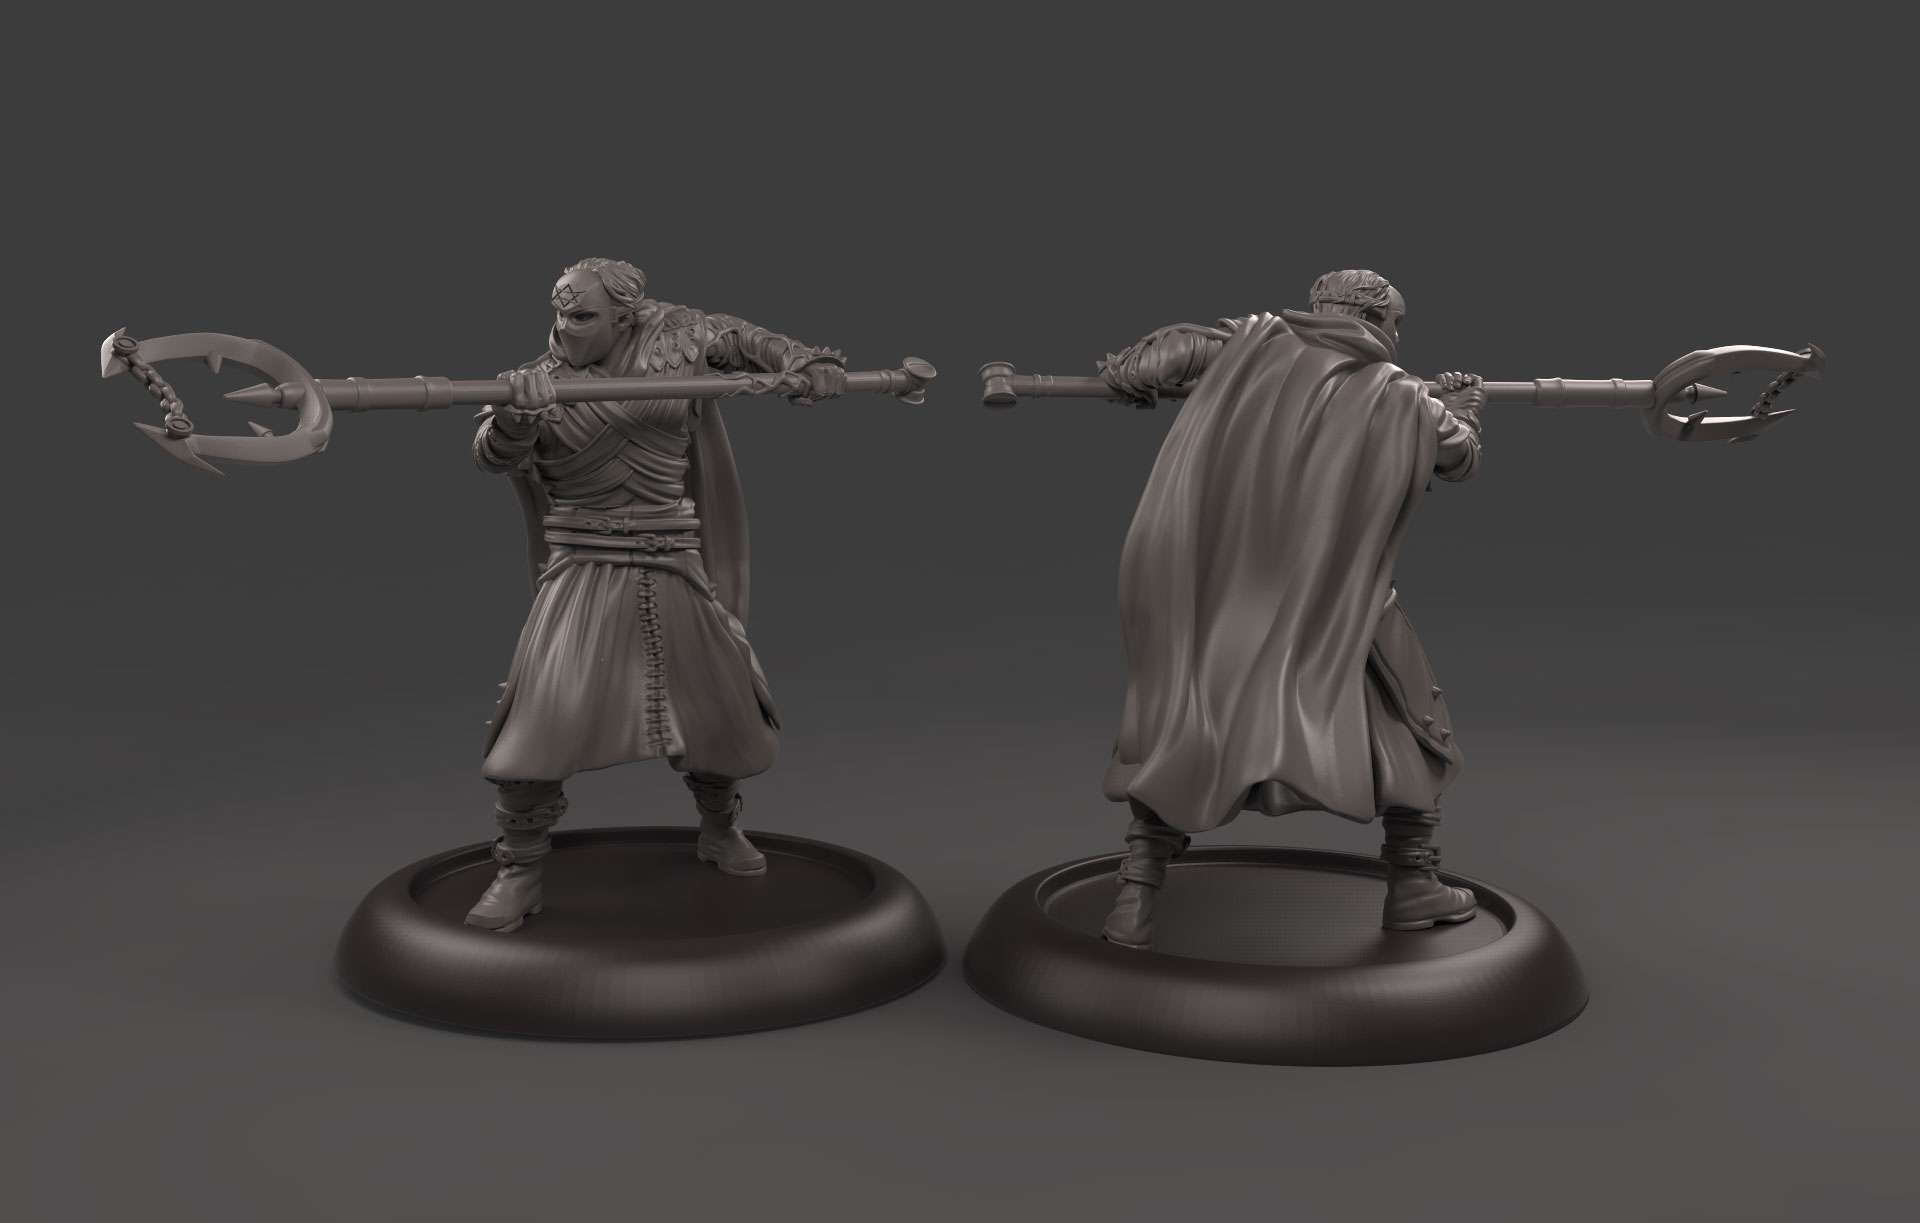
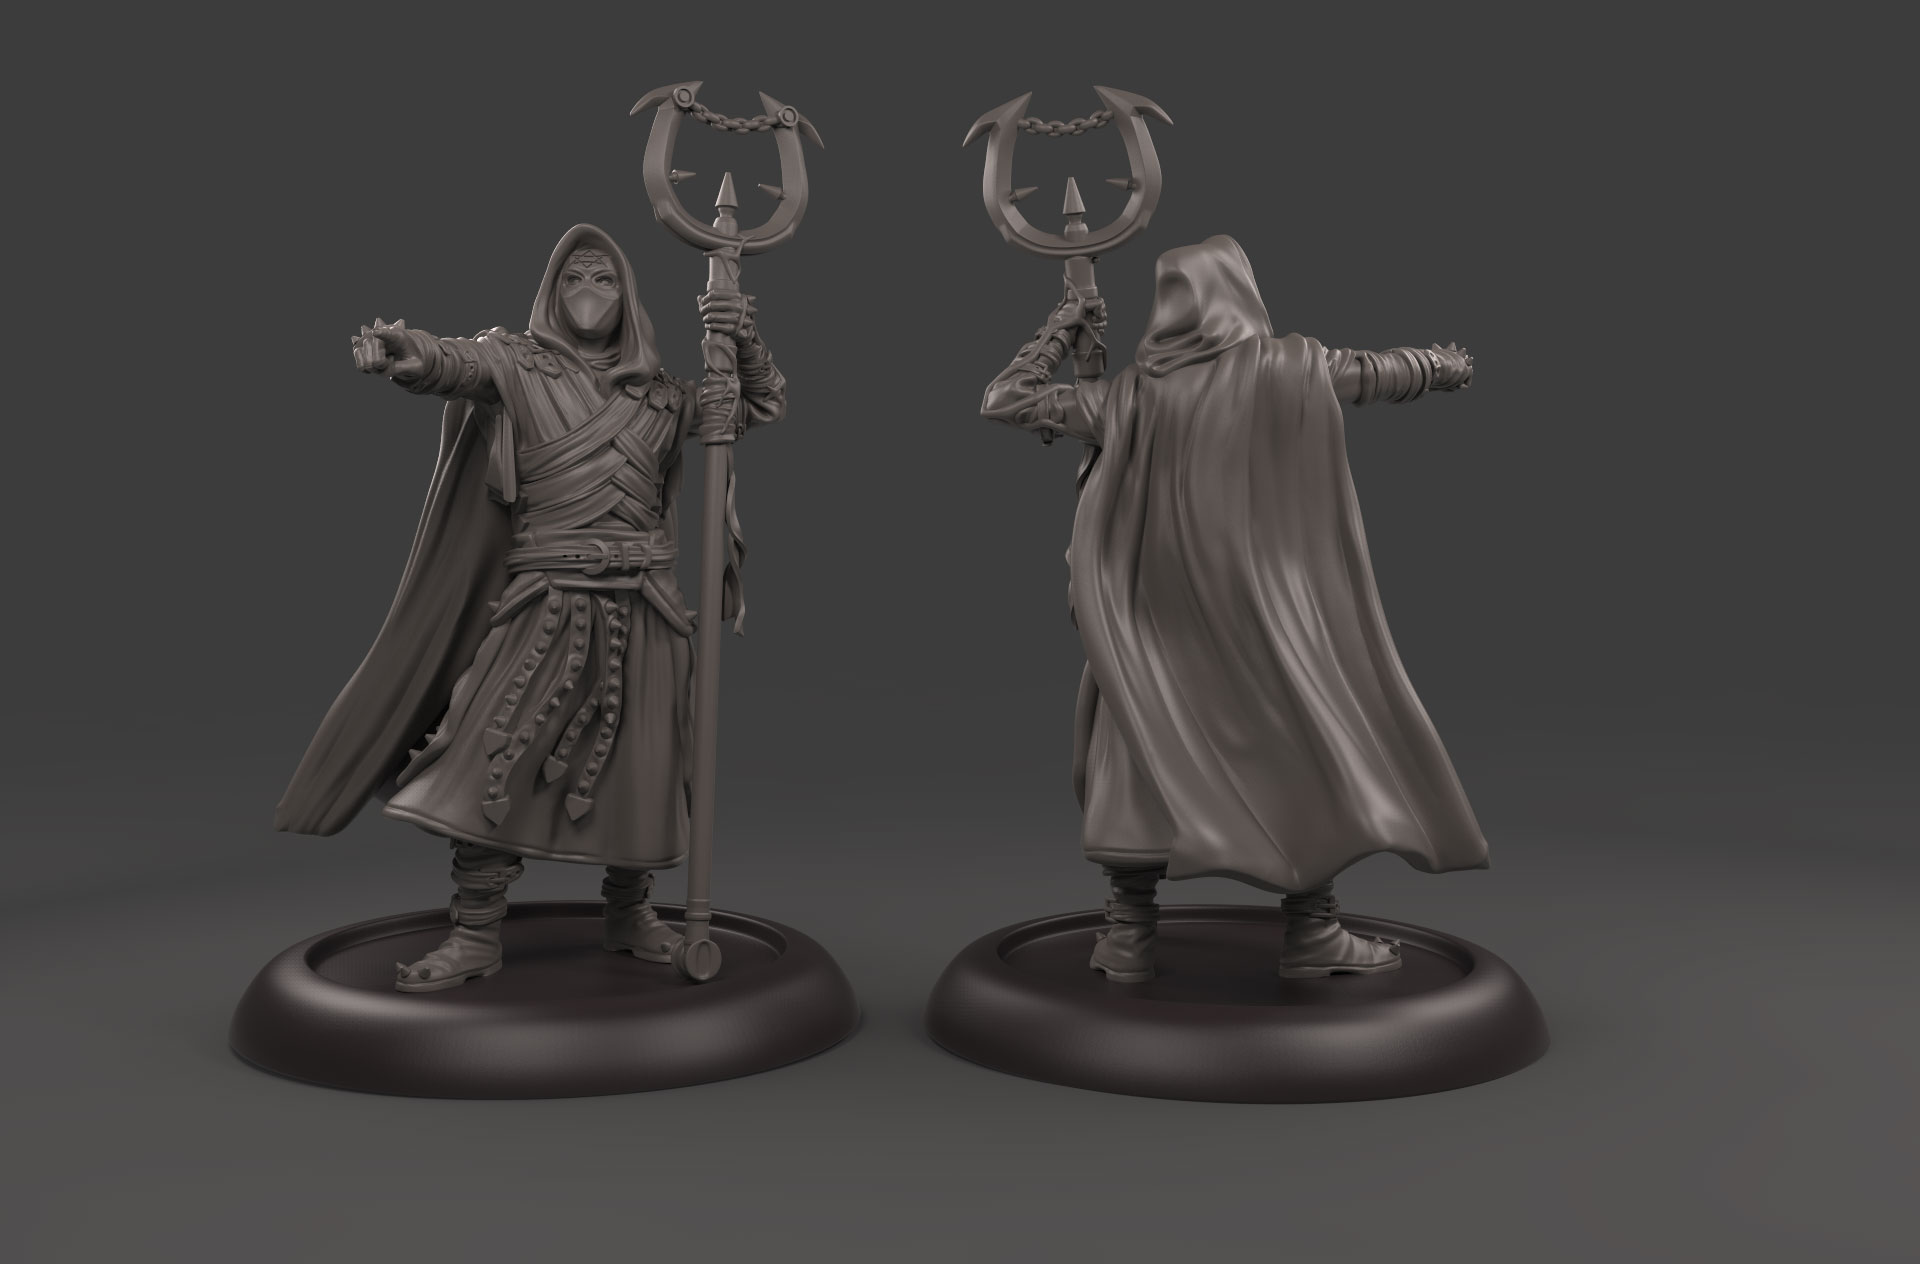
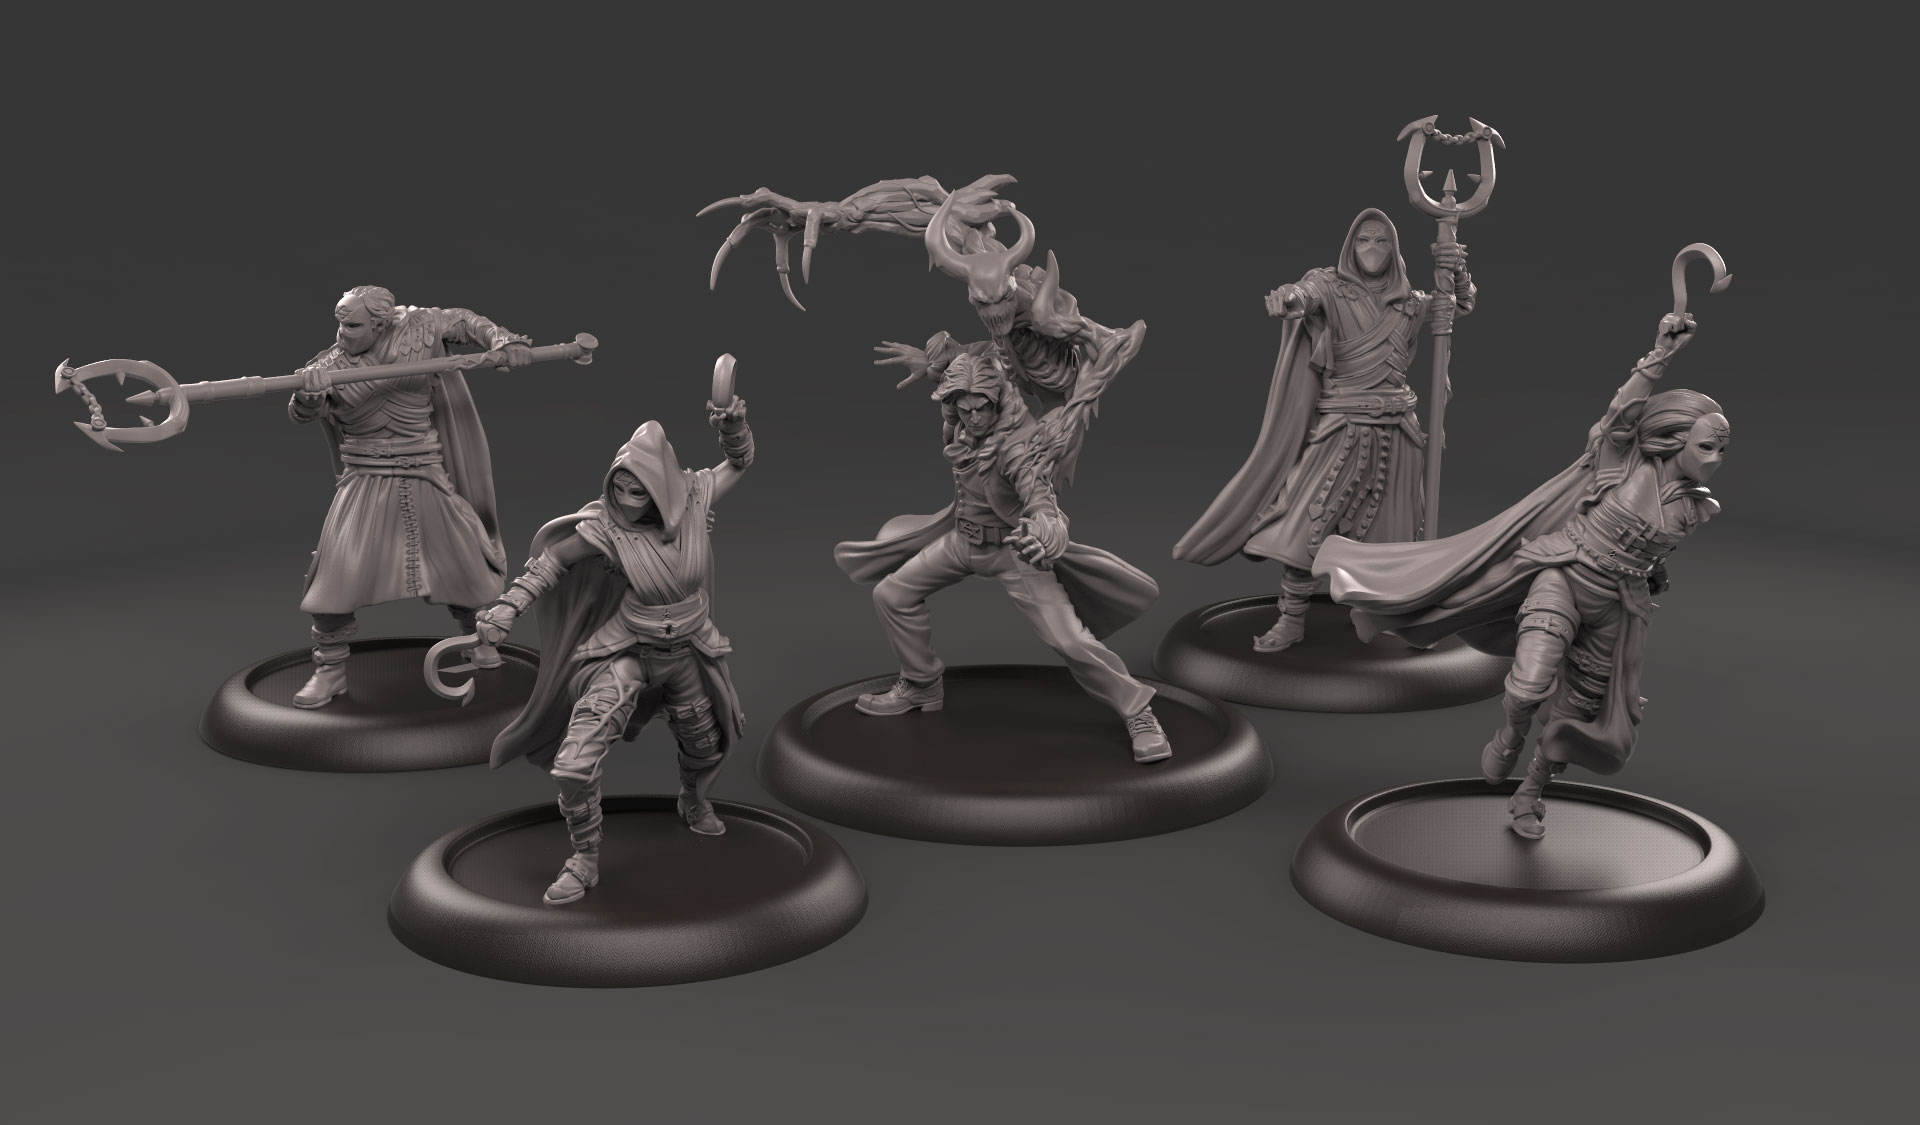
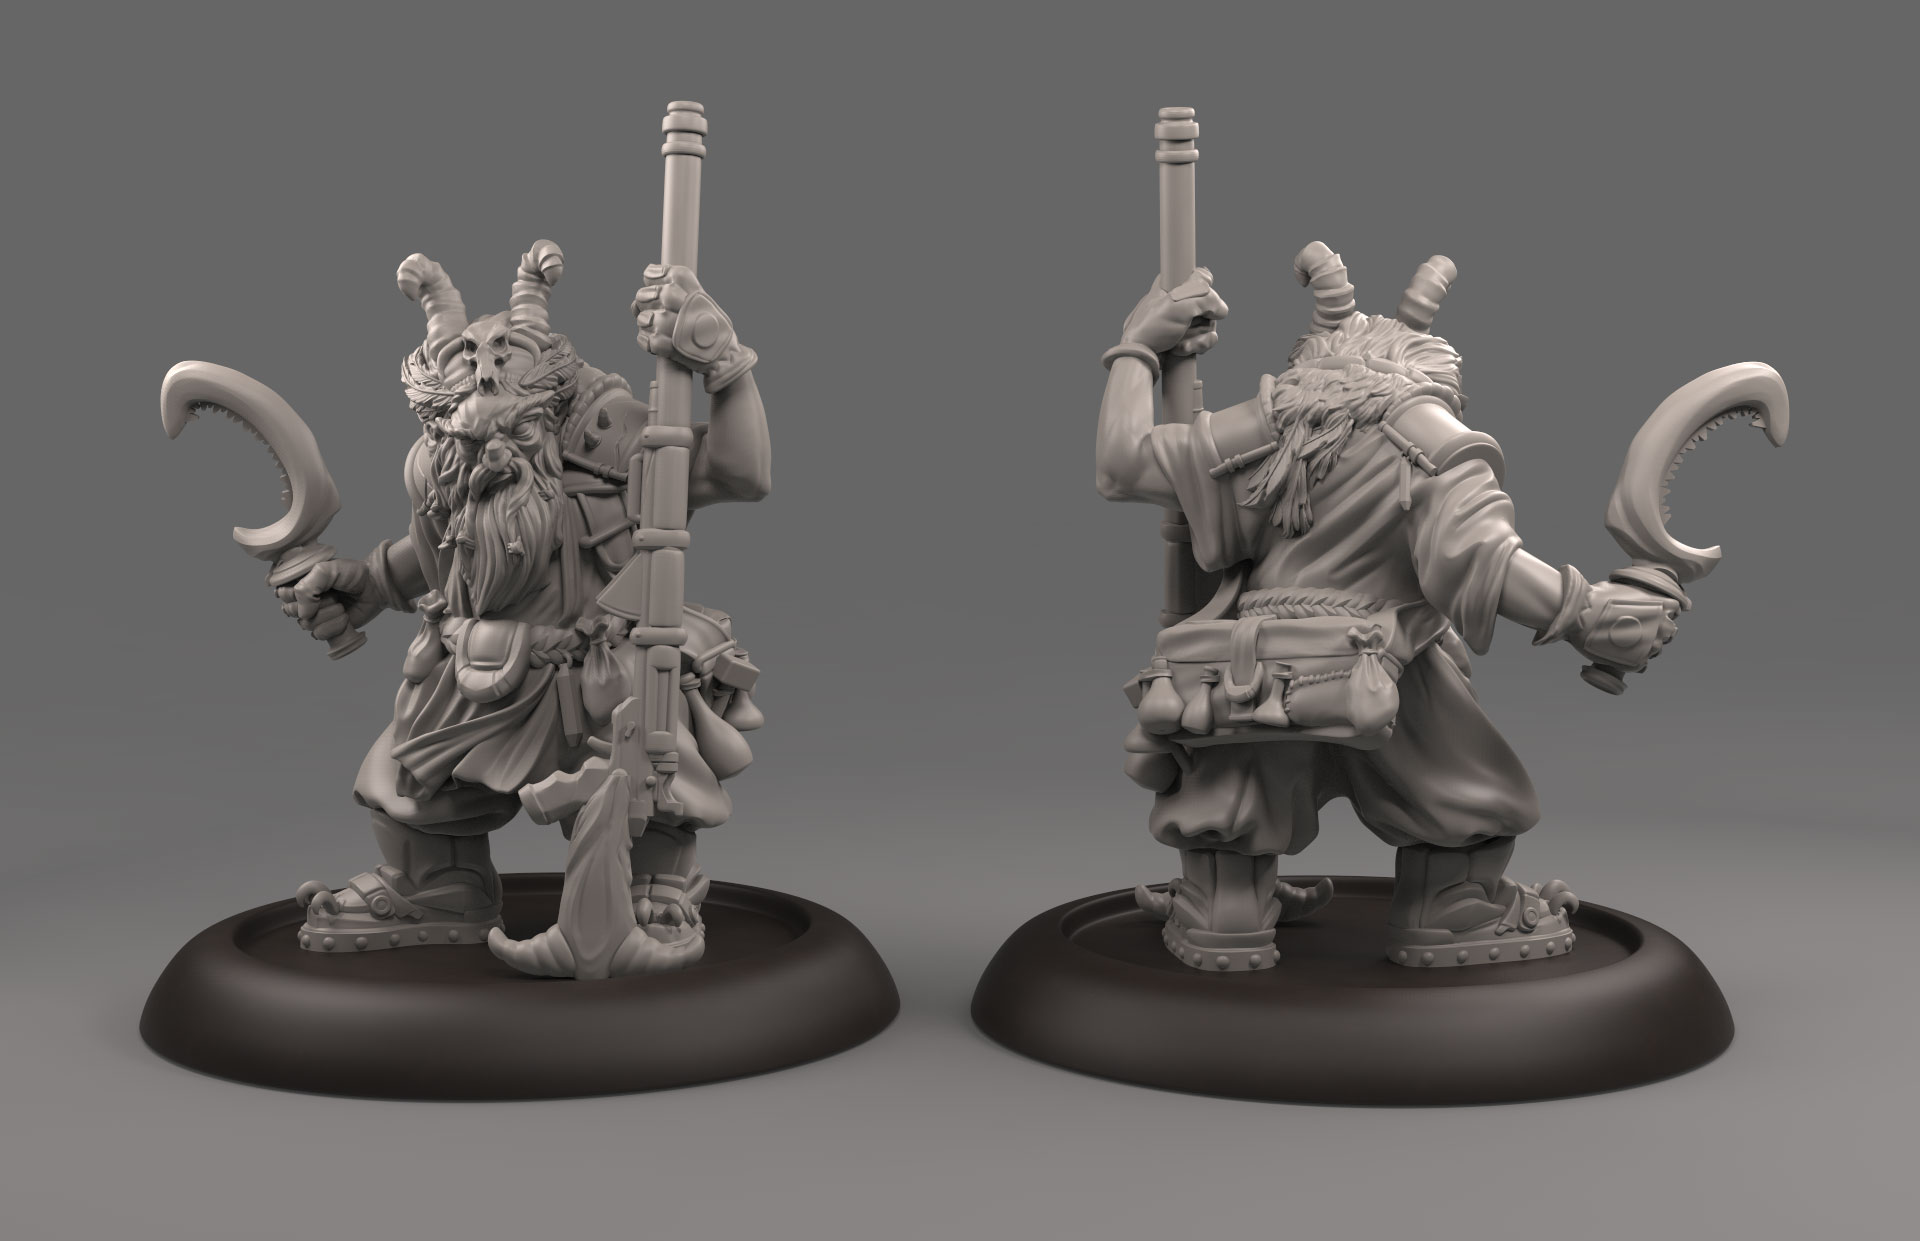
Next up: The Order of the Enlightened Path for Paranoid Miniatures…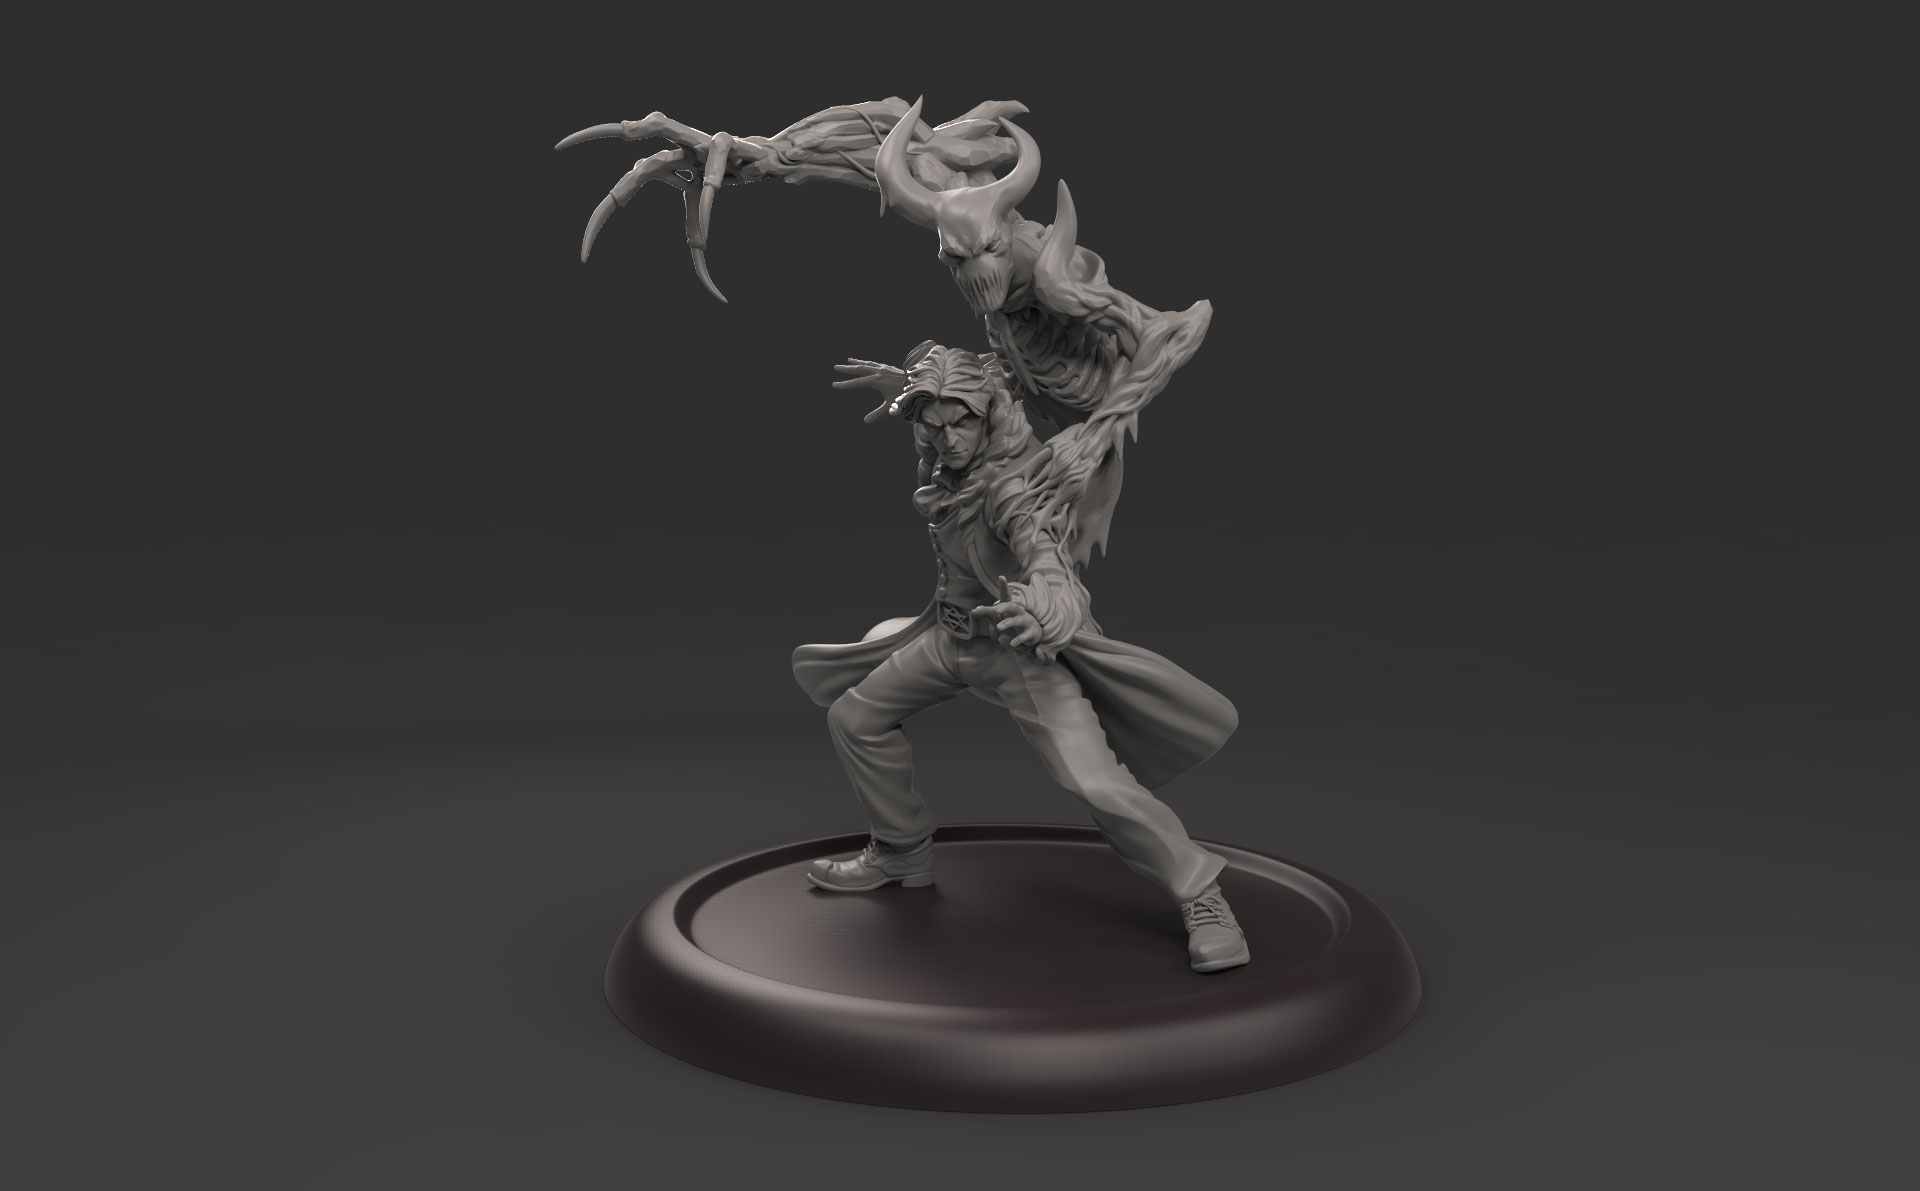

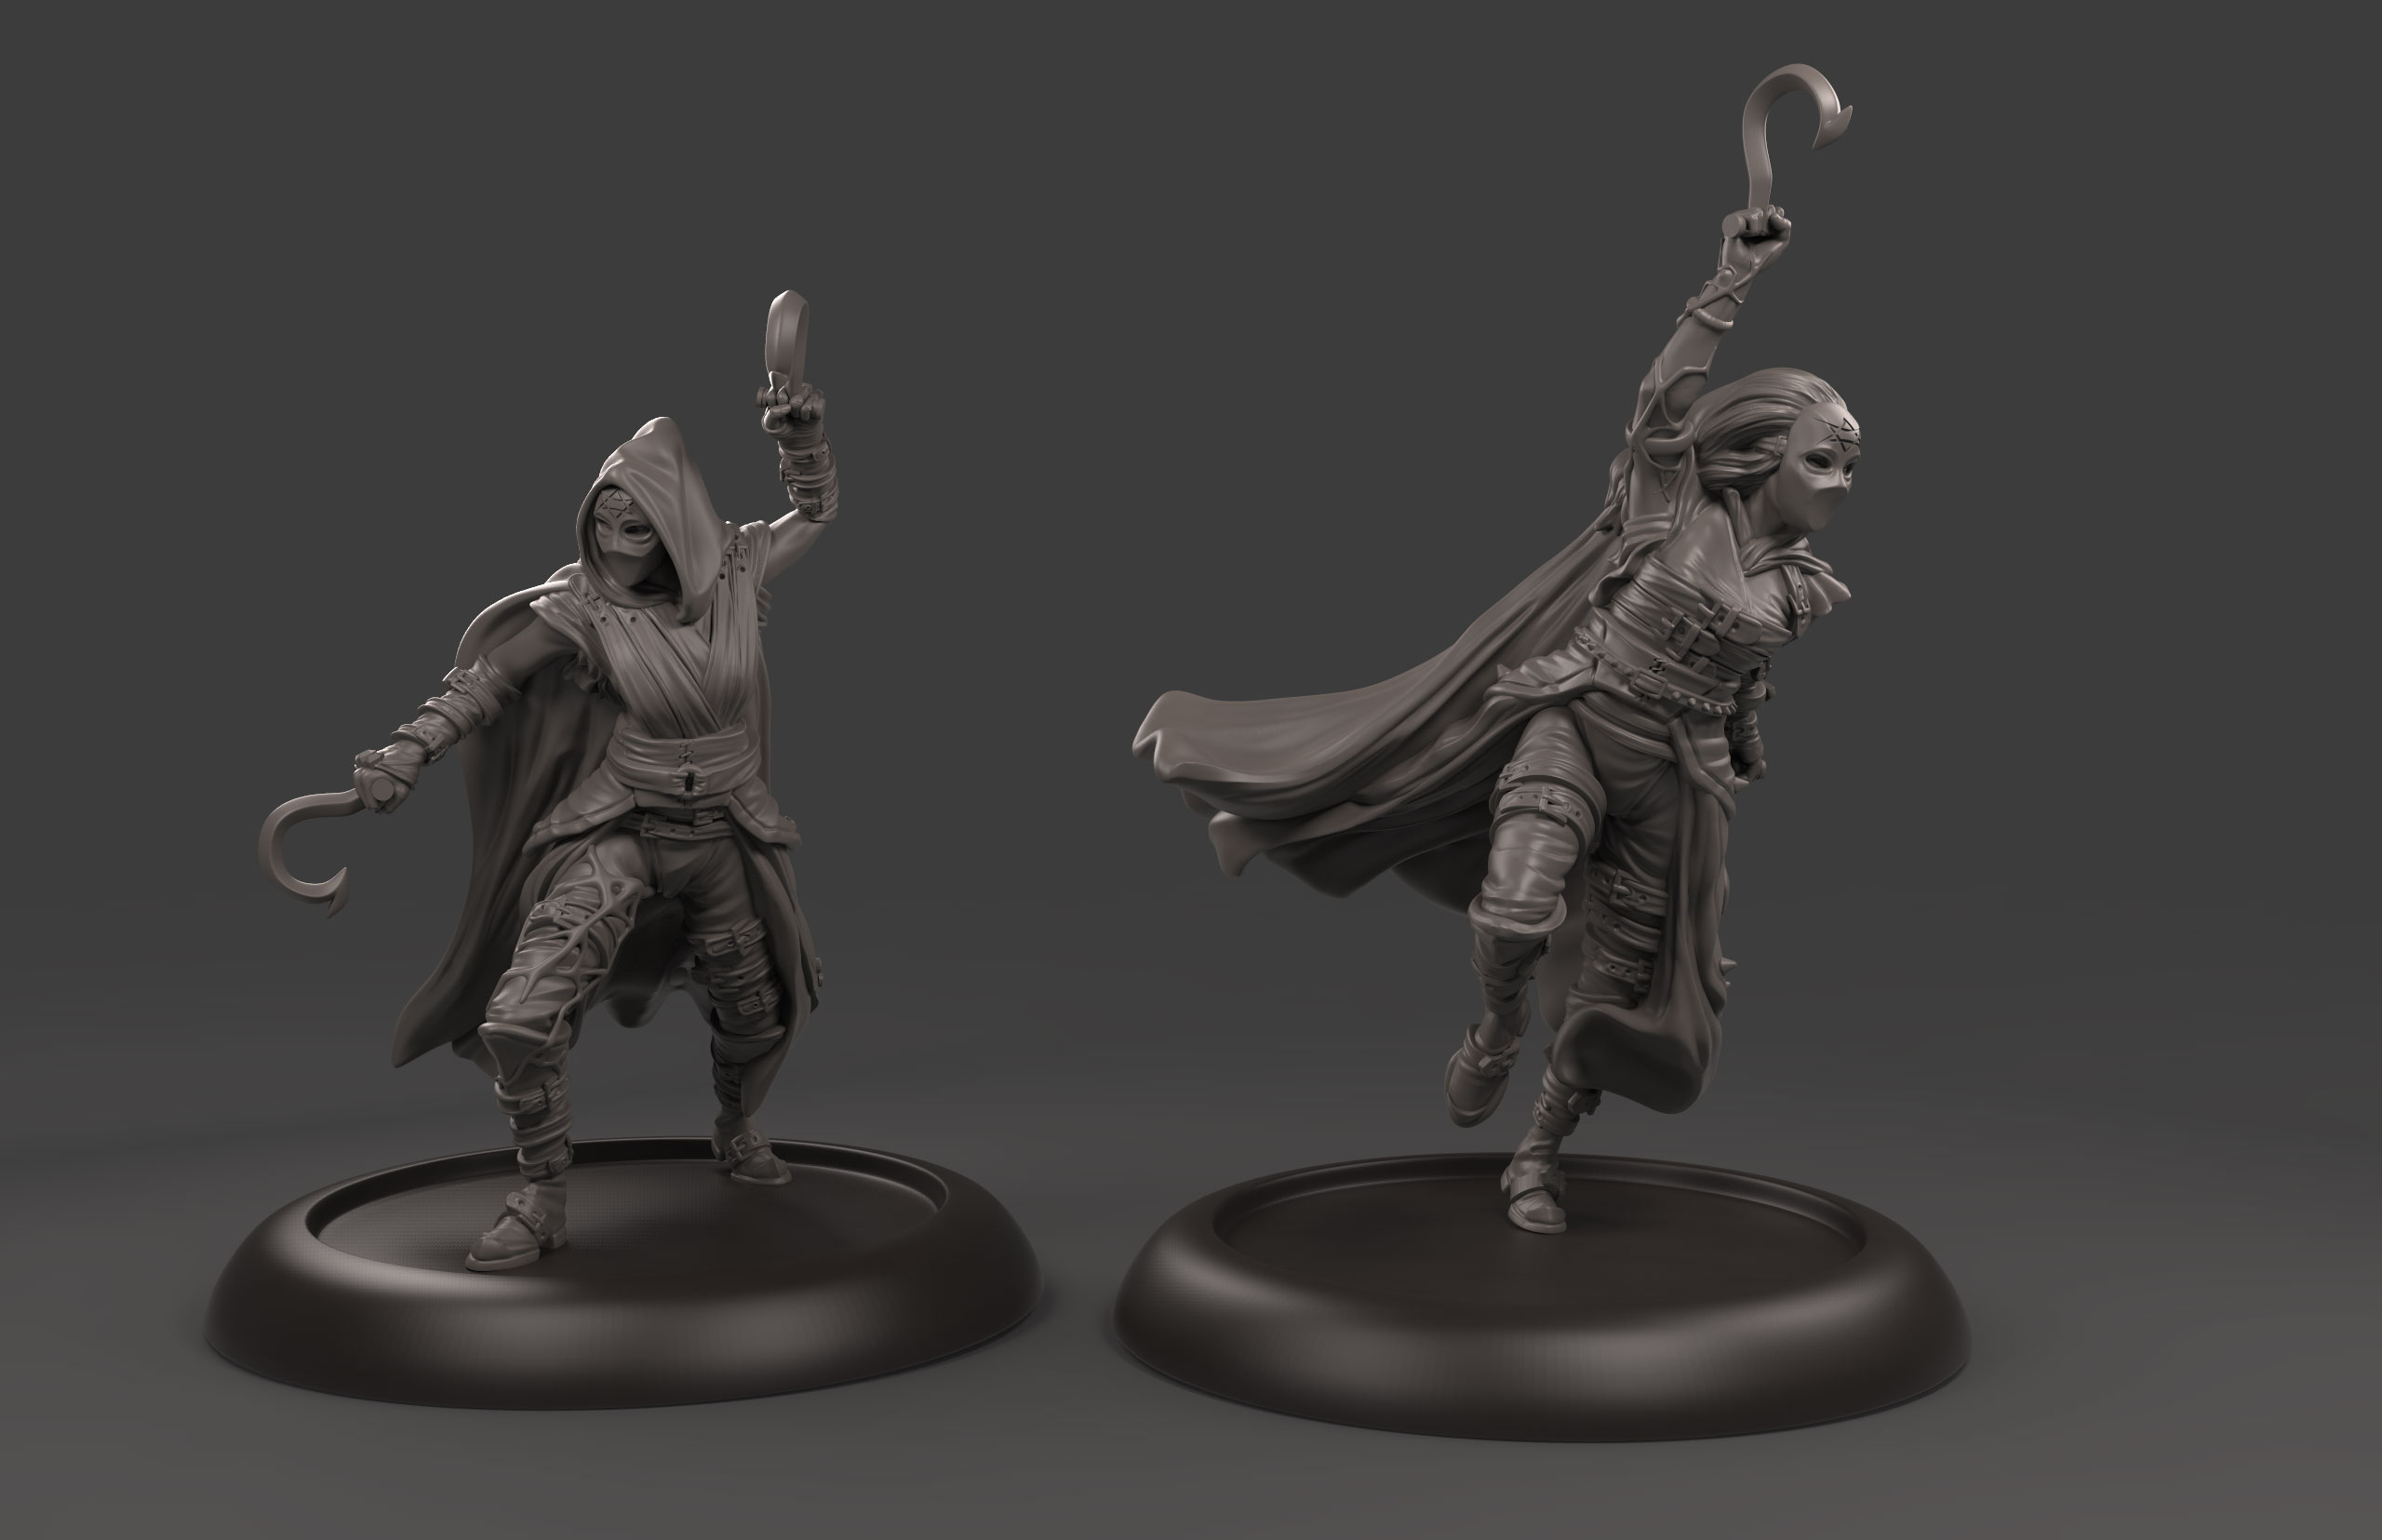

Some photos of the Paranoid prints (done on someones phone)


 …
…
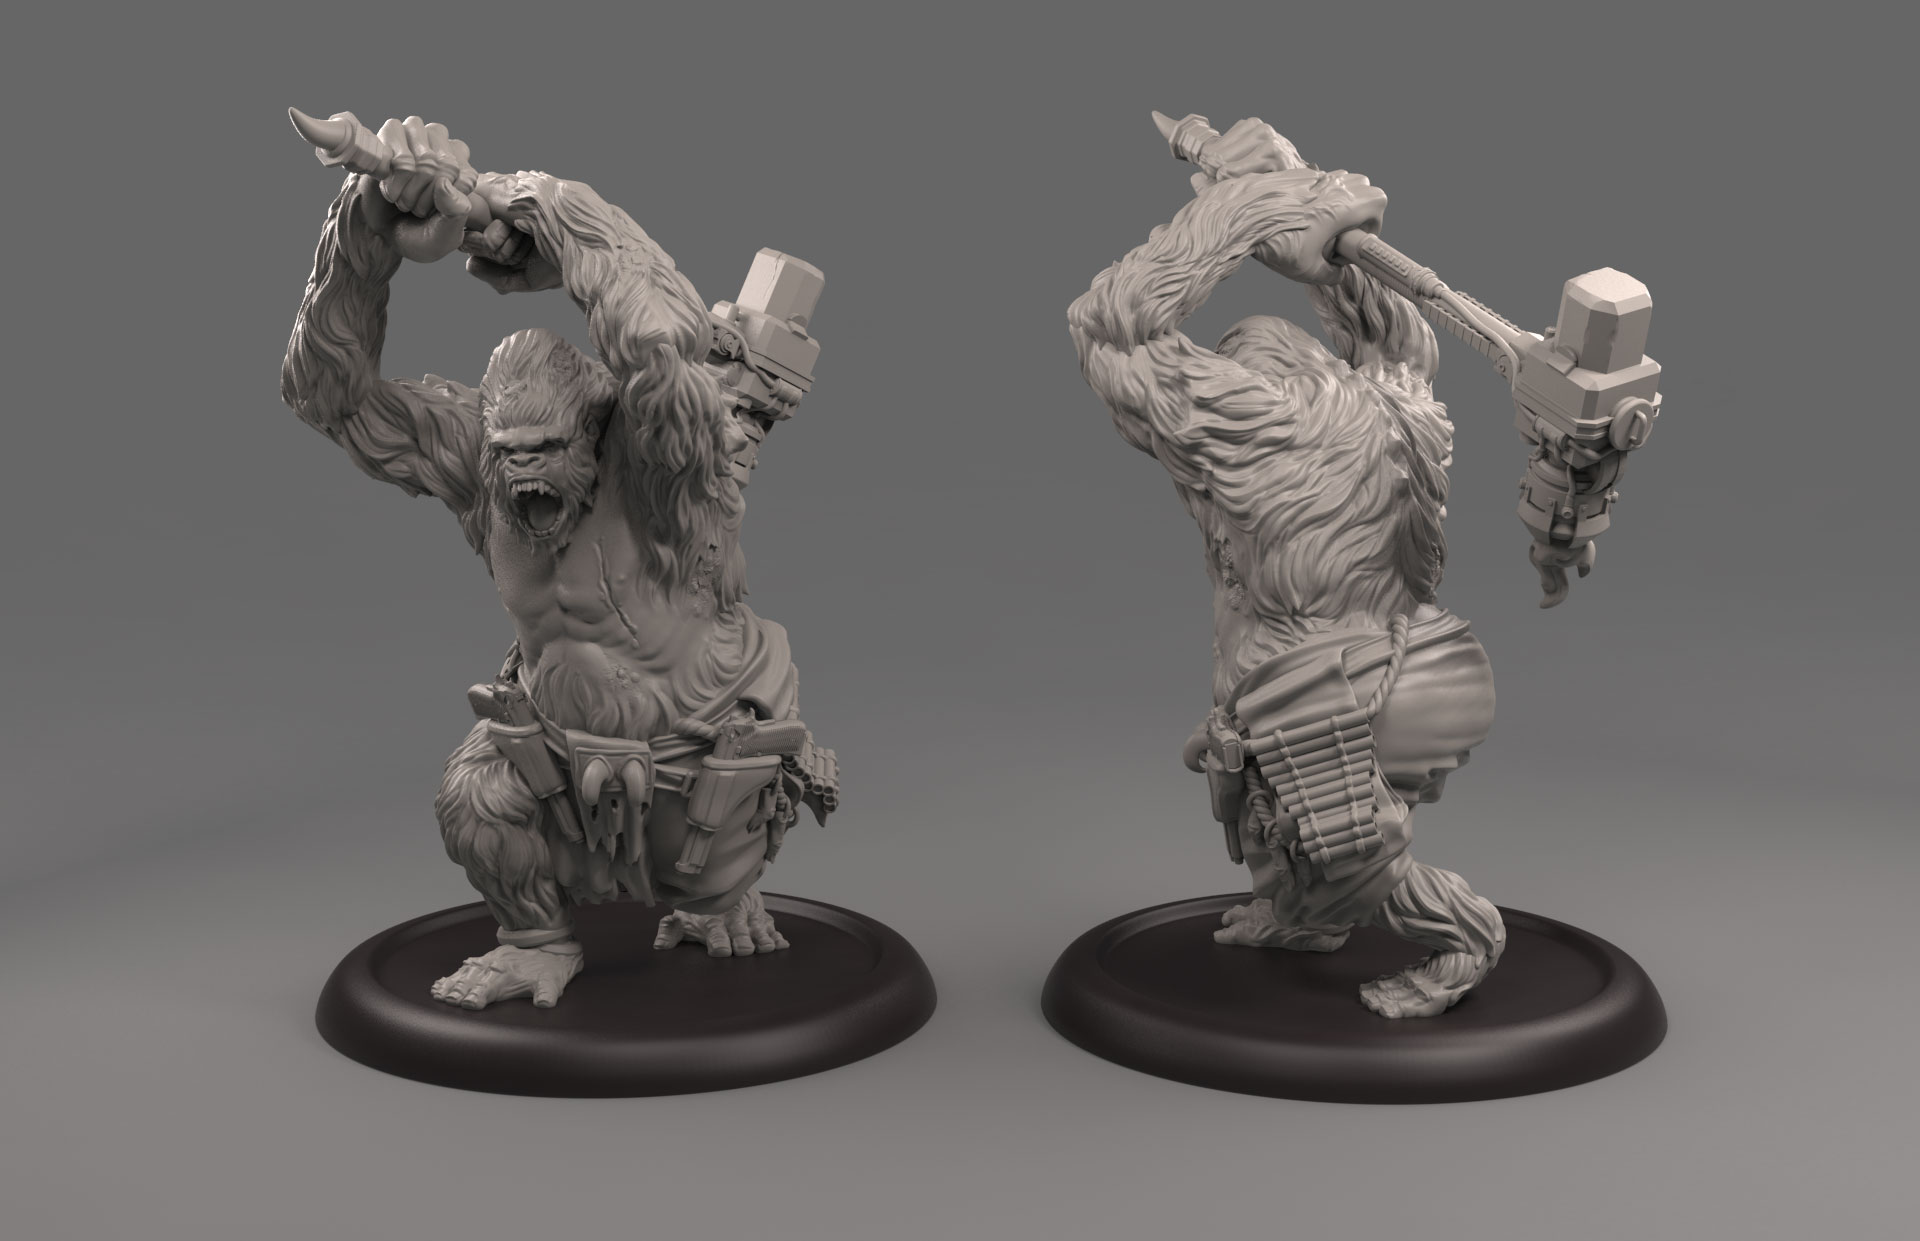
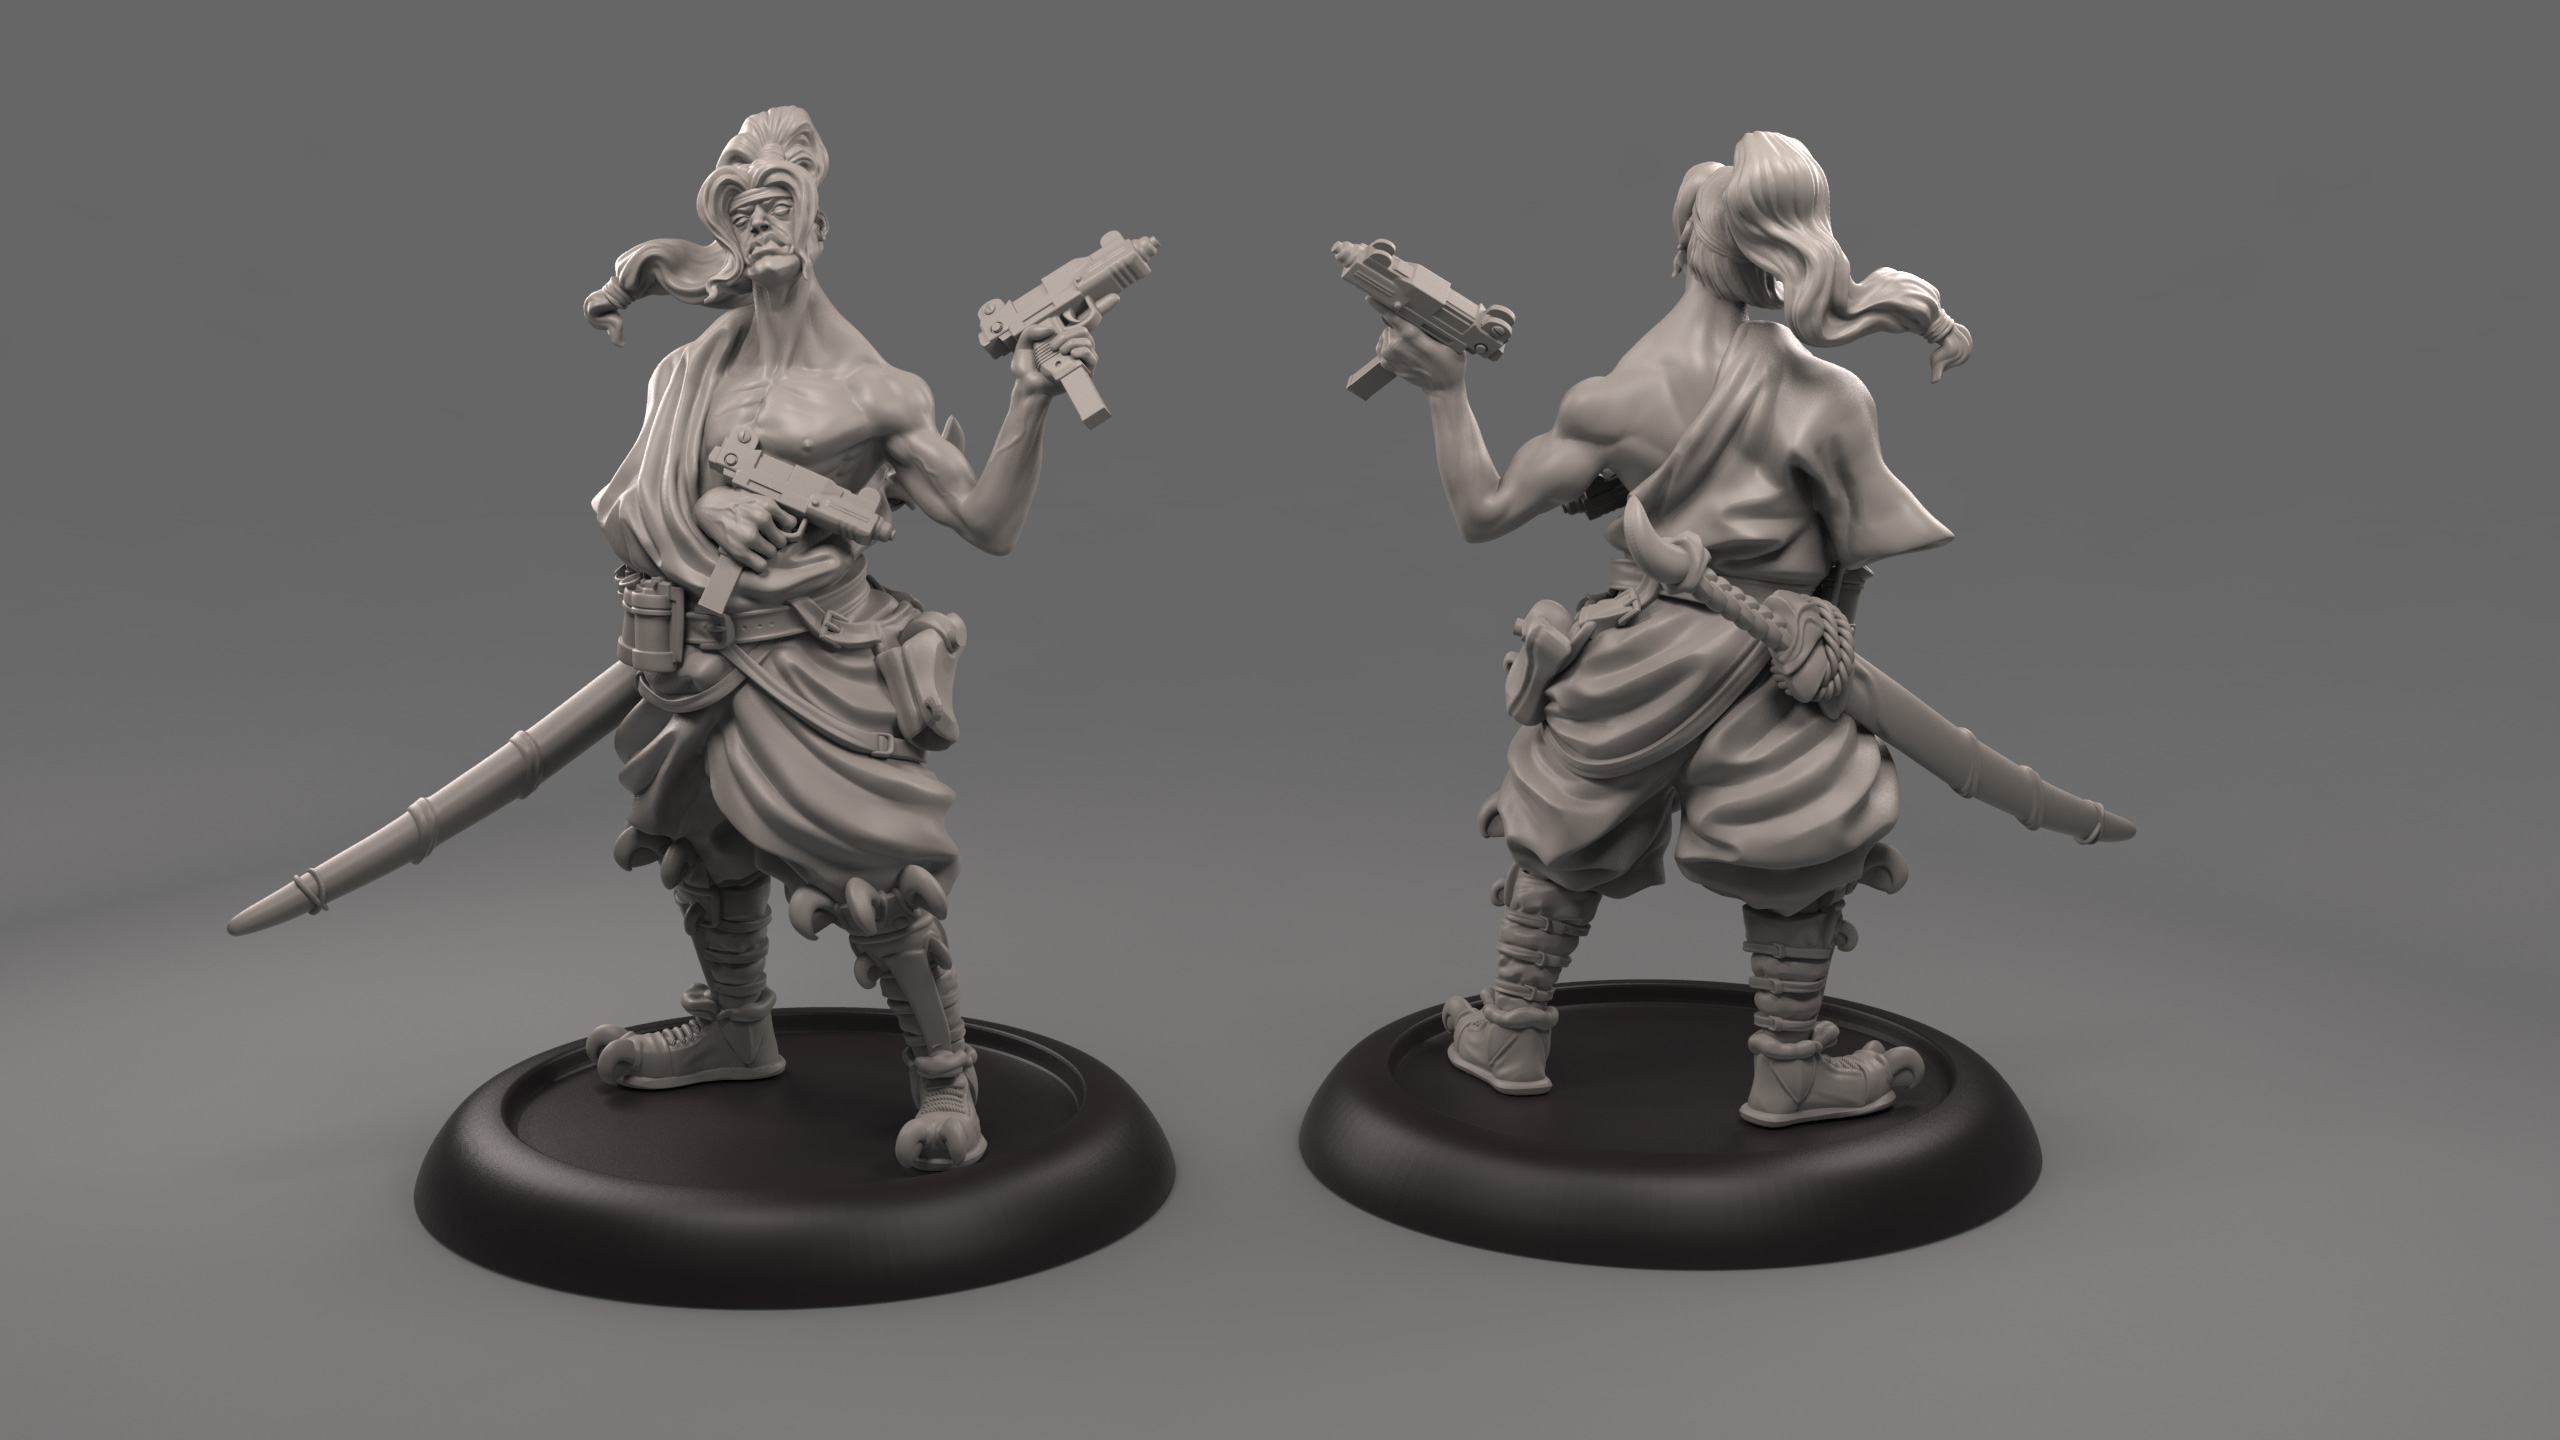
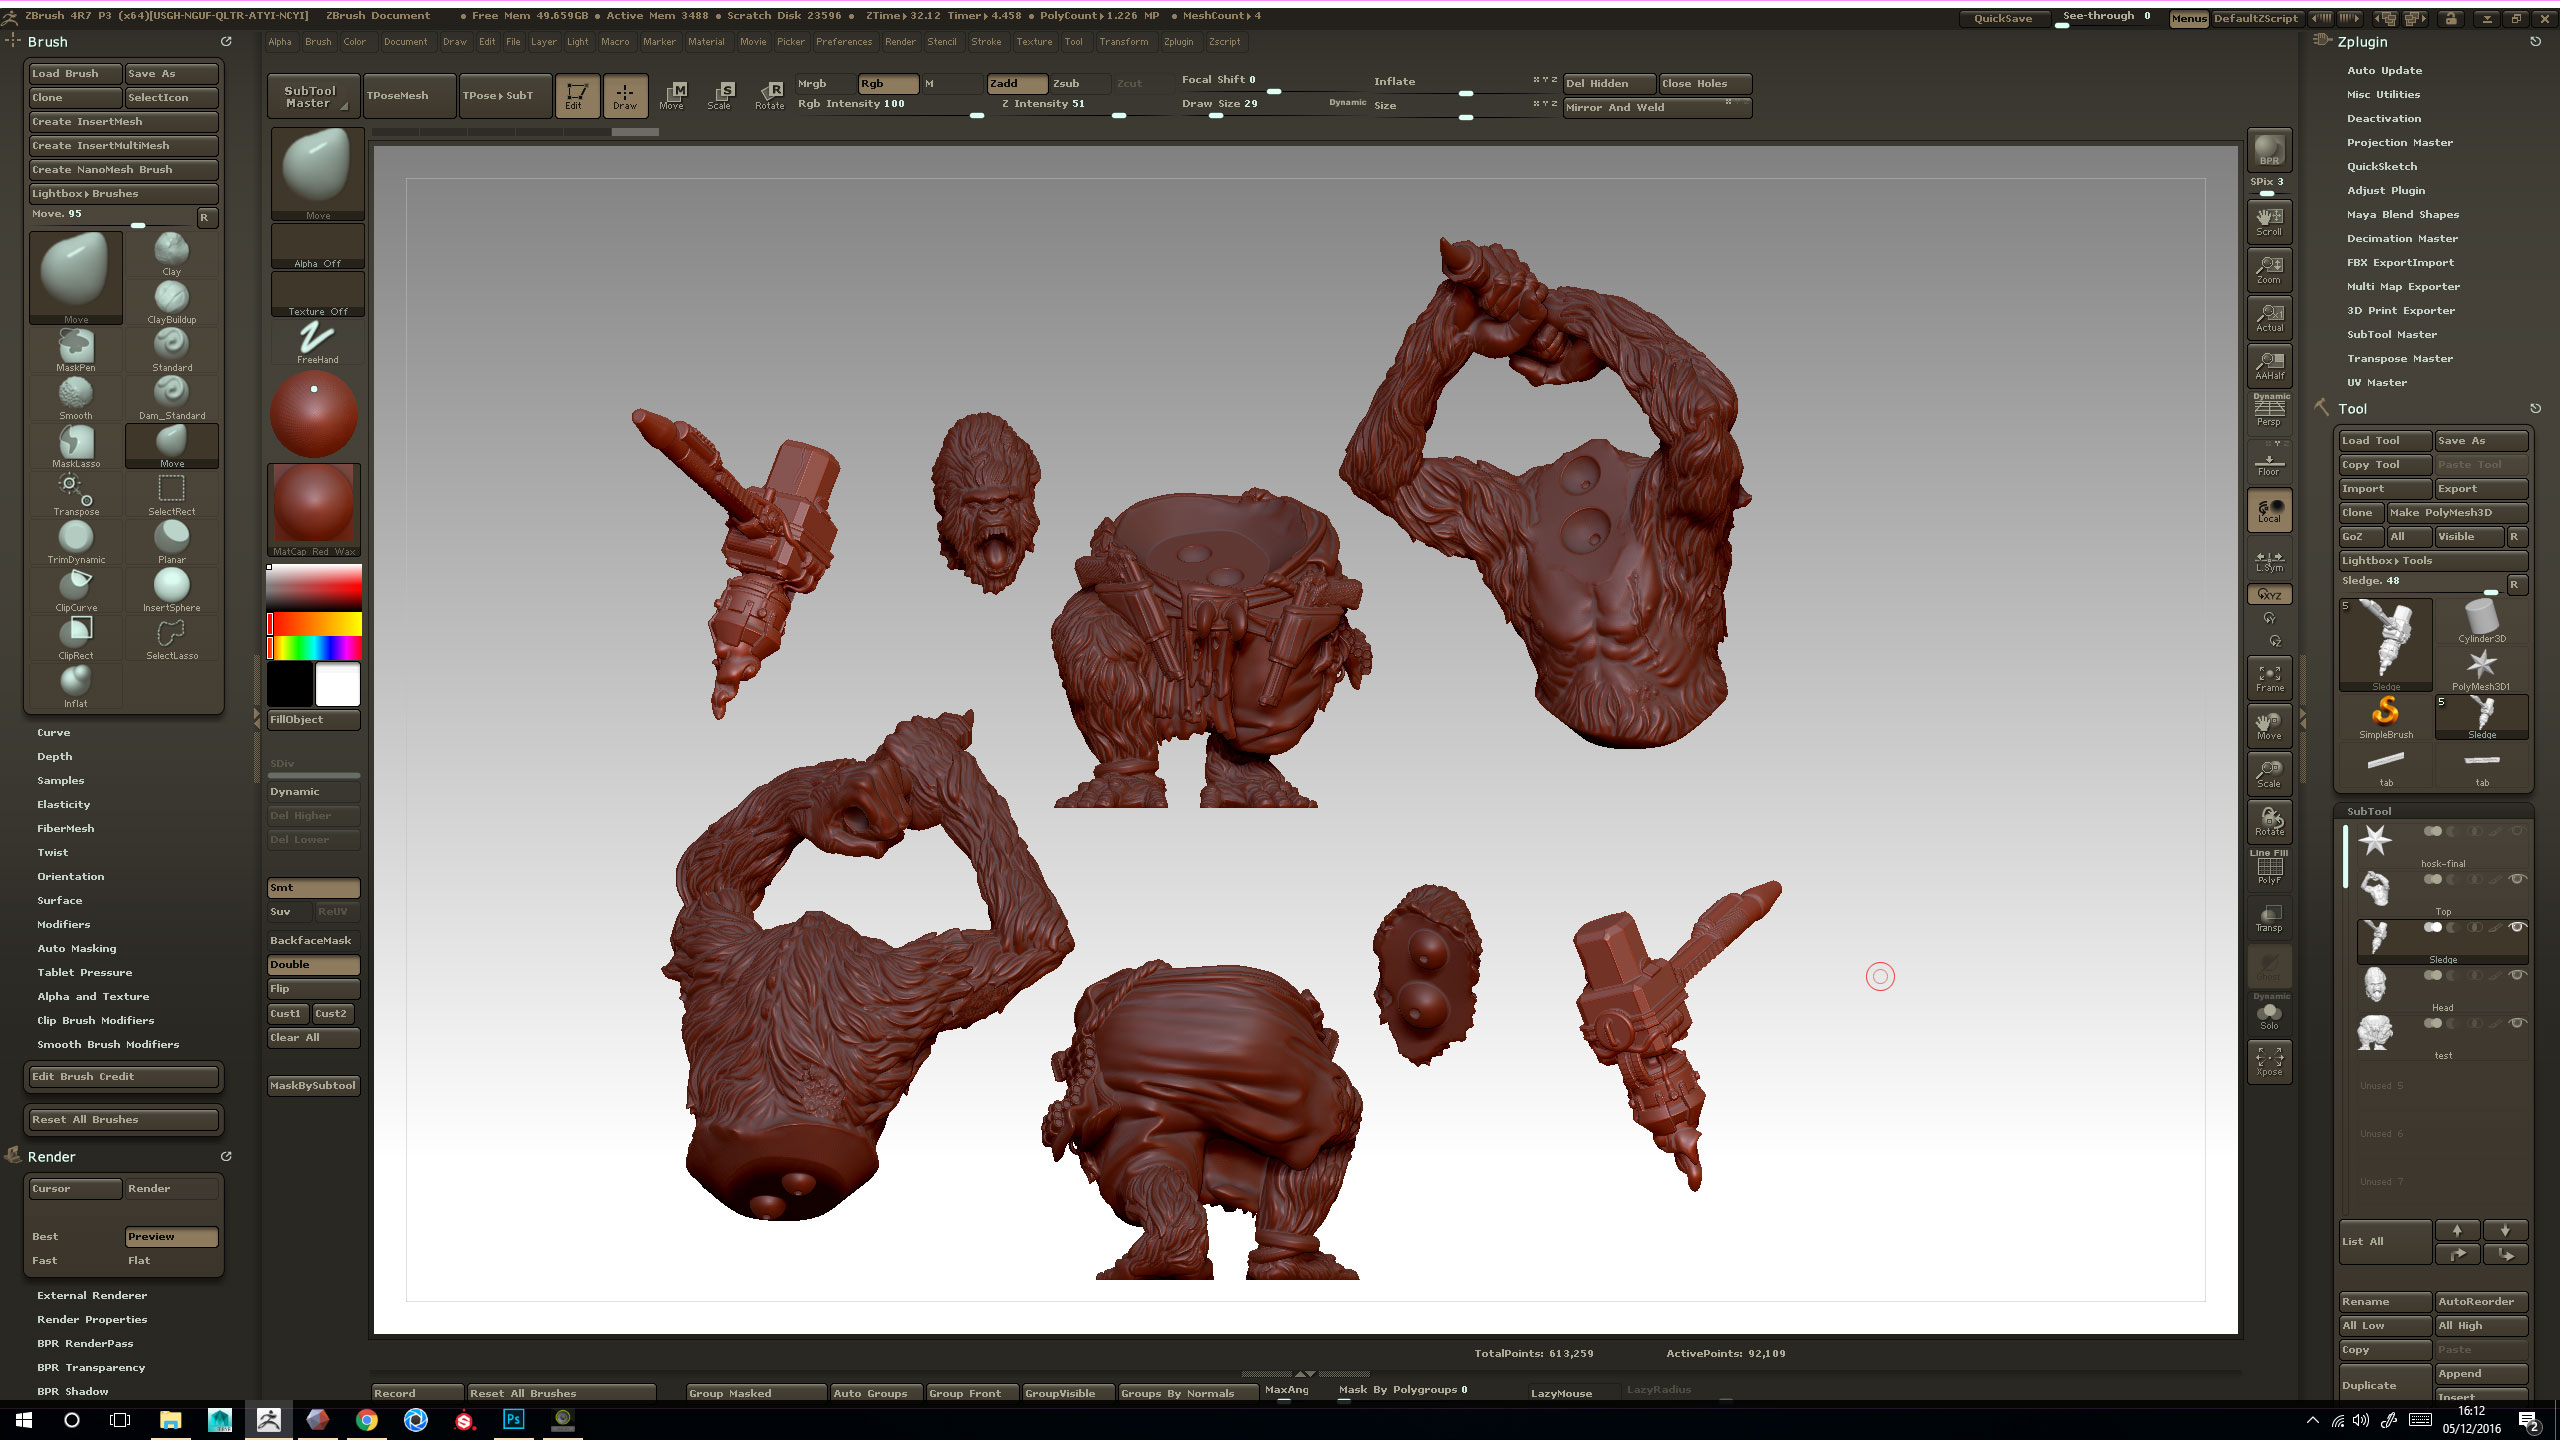
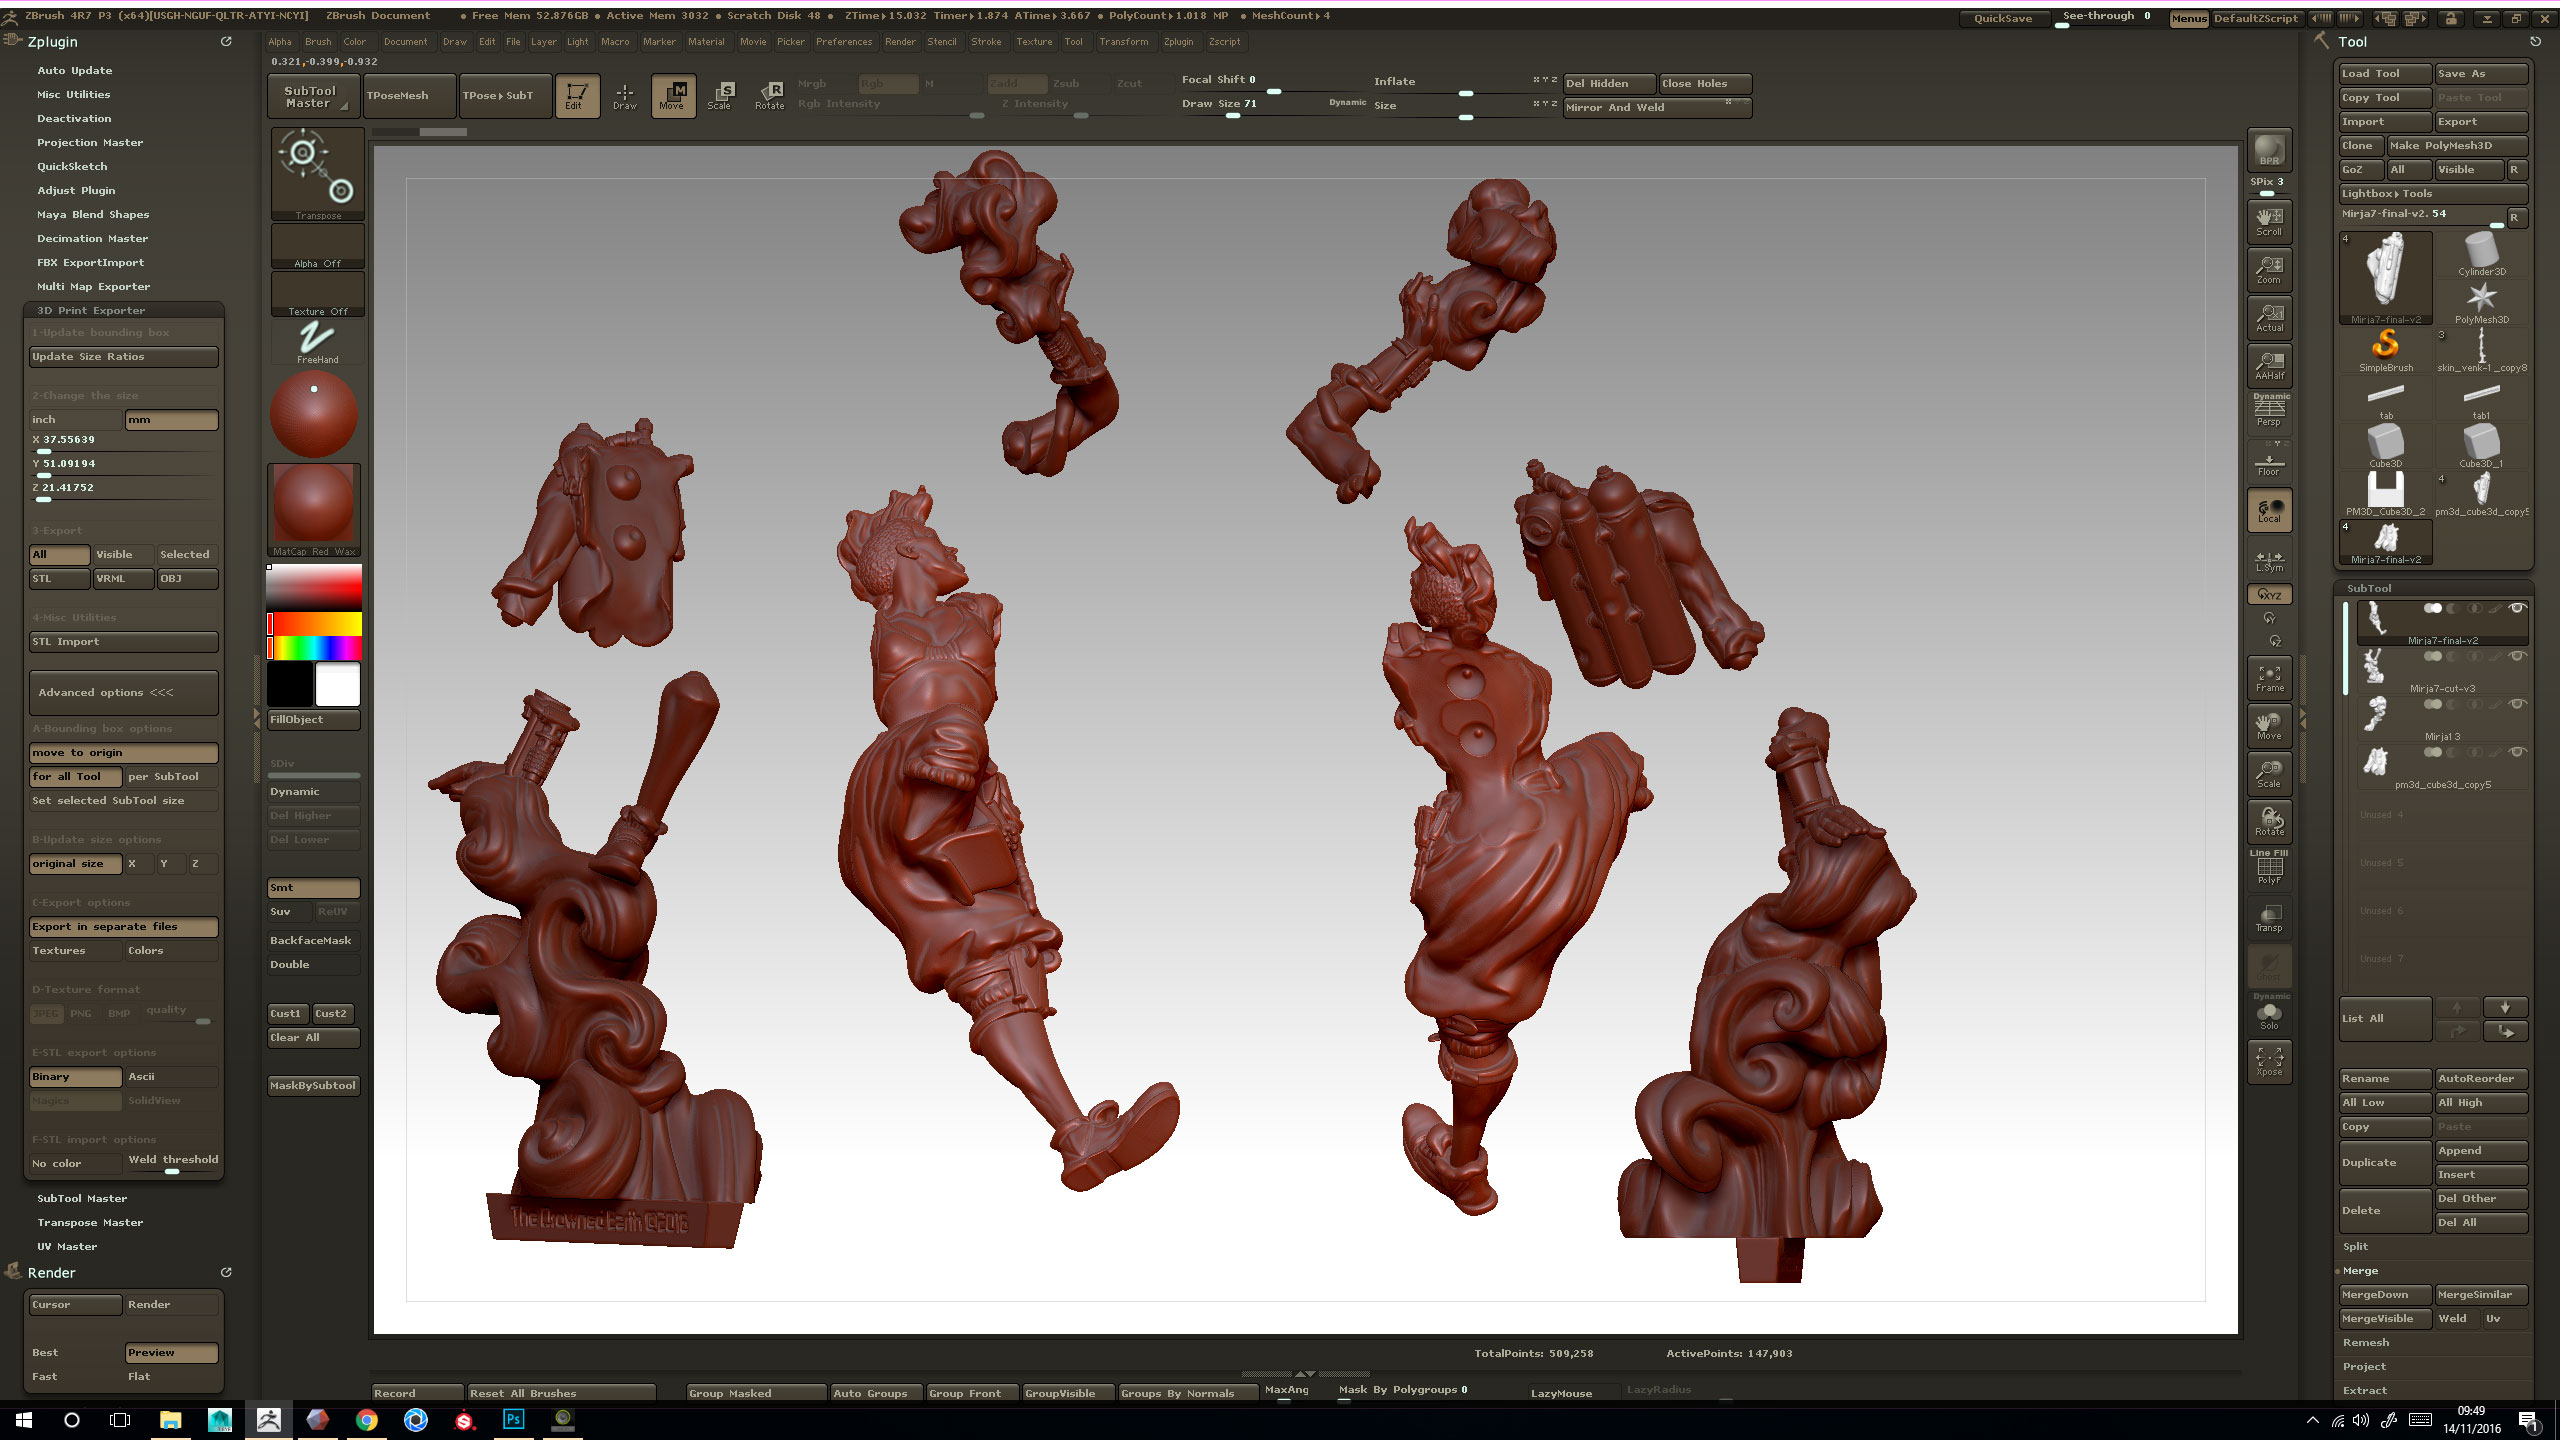
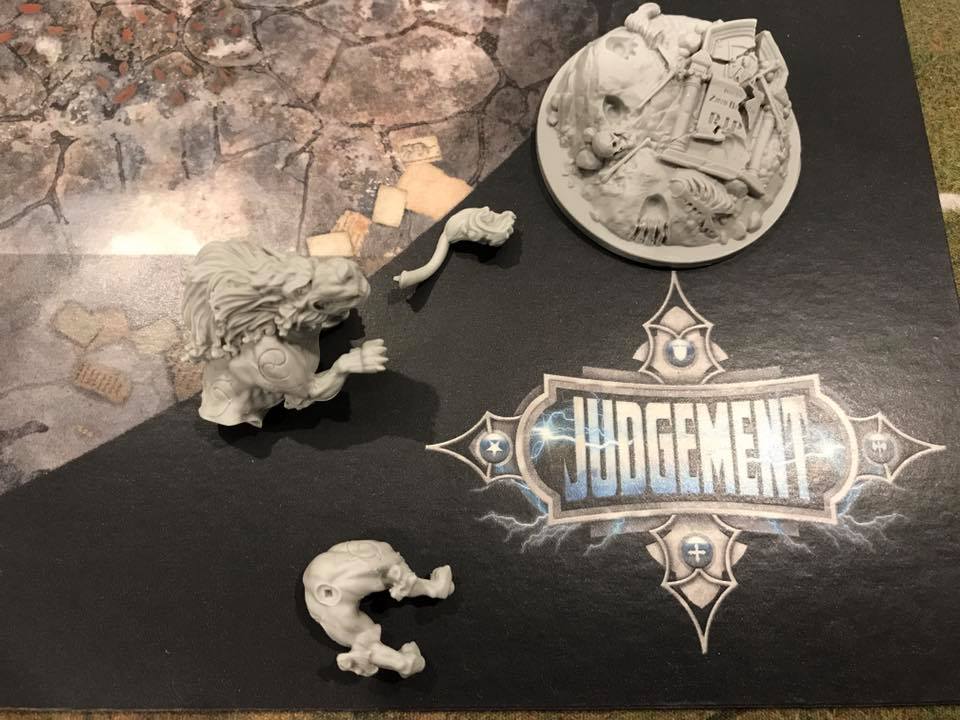
The Firm for Drowned Earth - I loved sculpting the slightly cartoony style on these! Also the Gorilla with a supersledge was a blast 
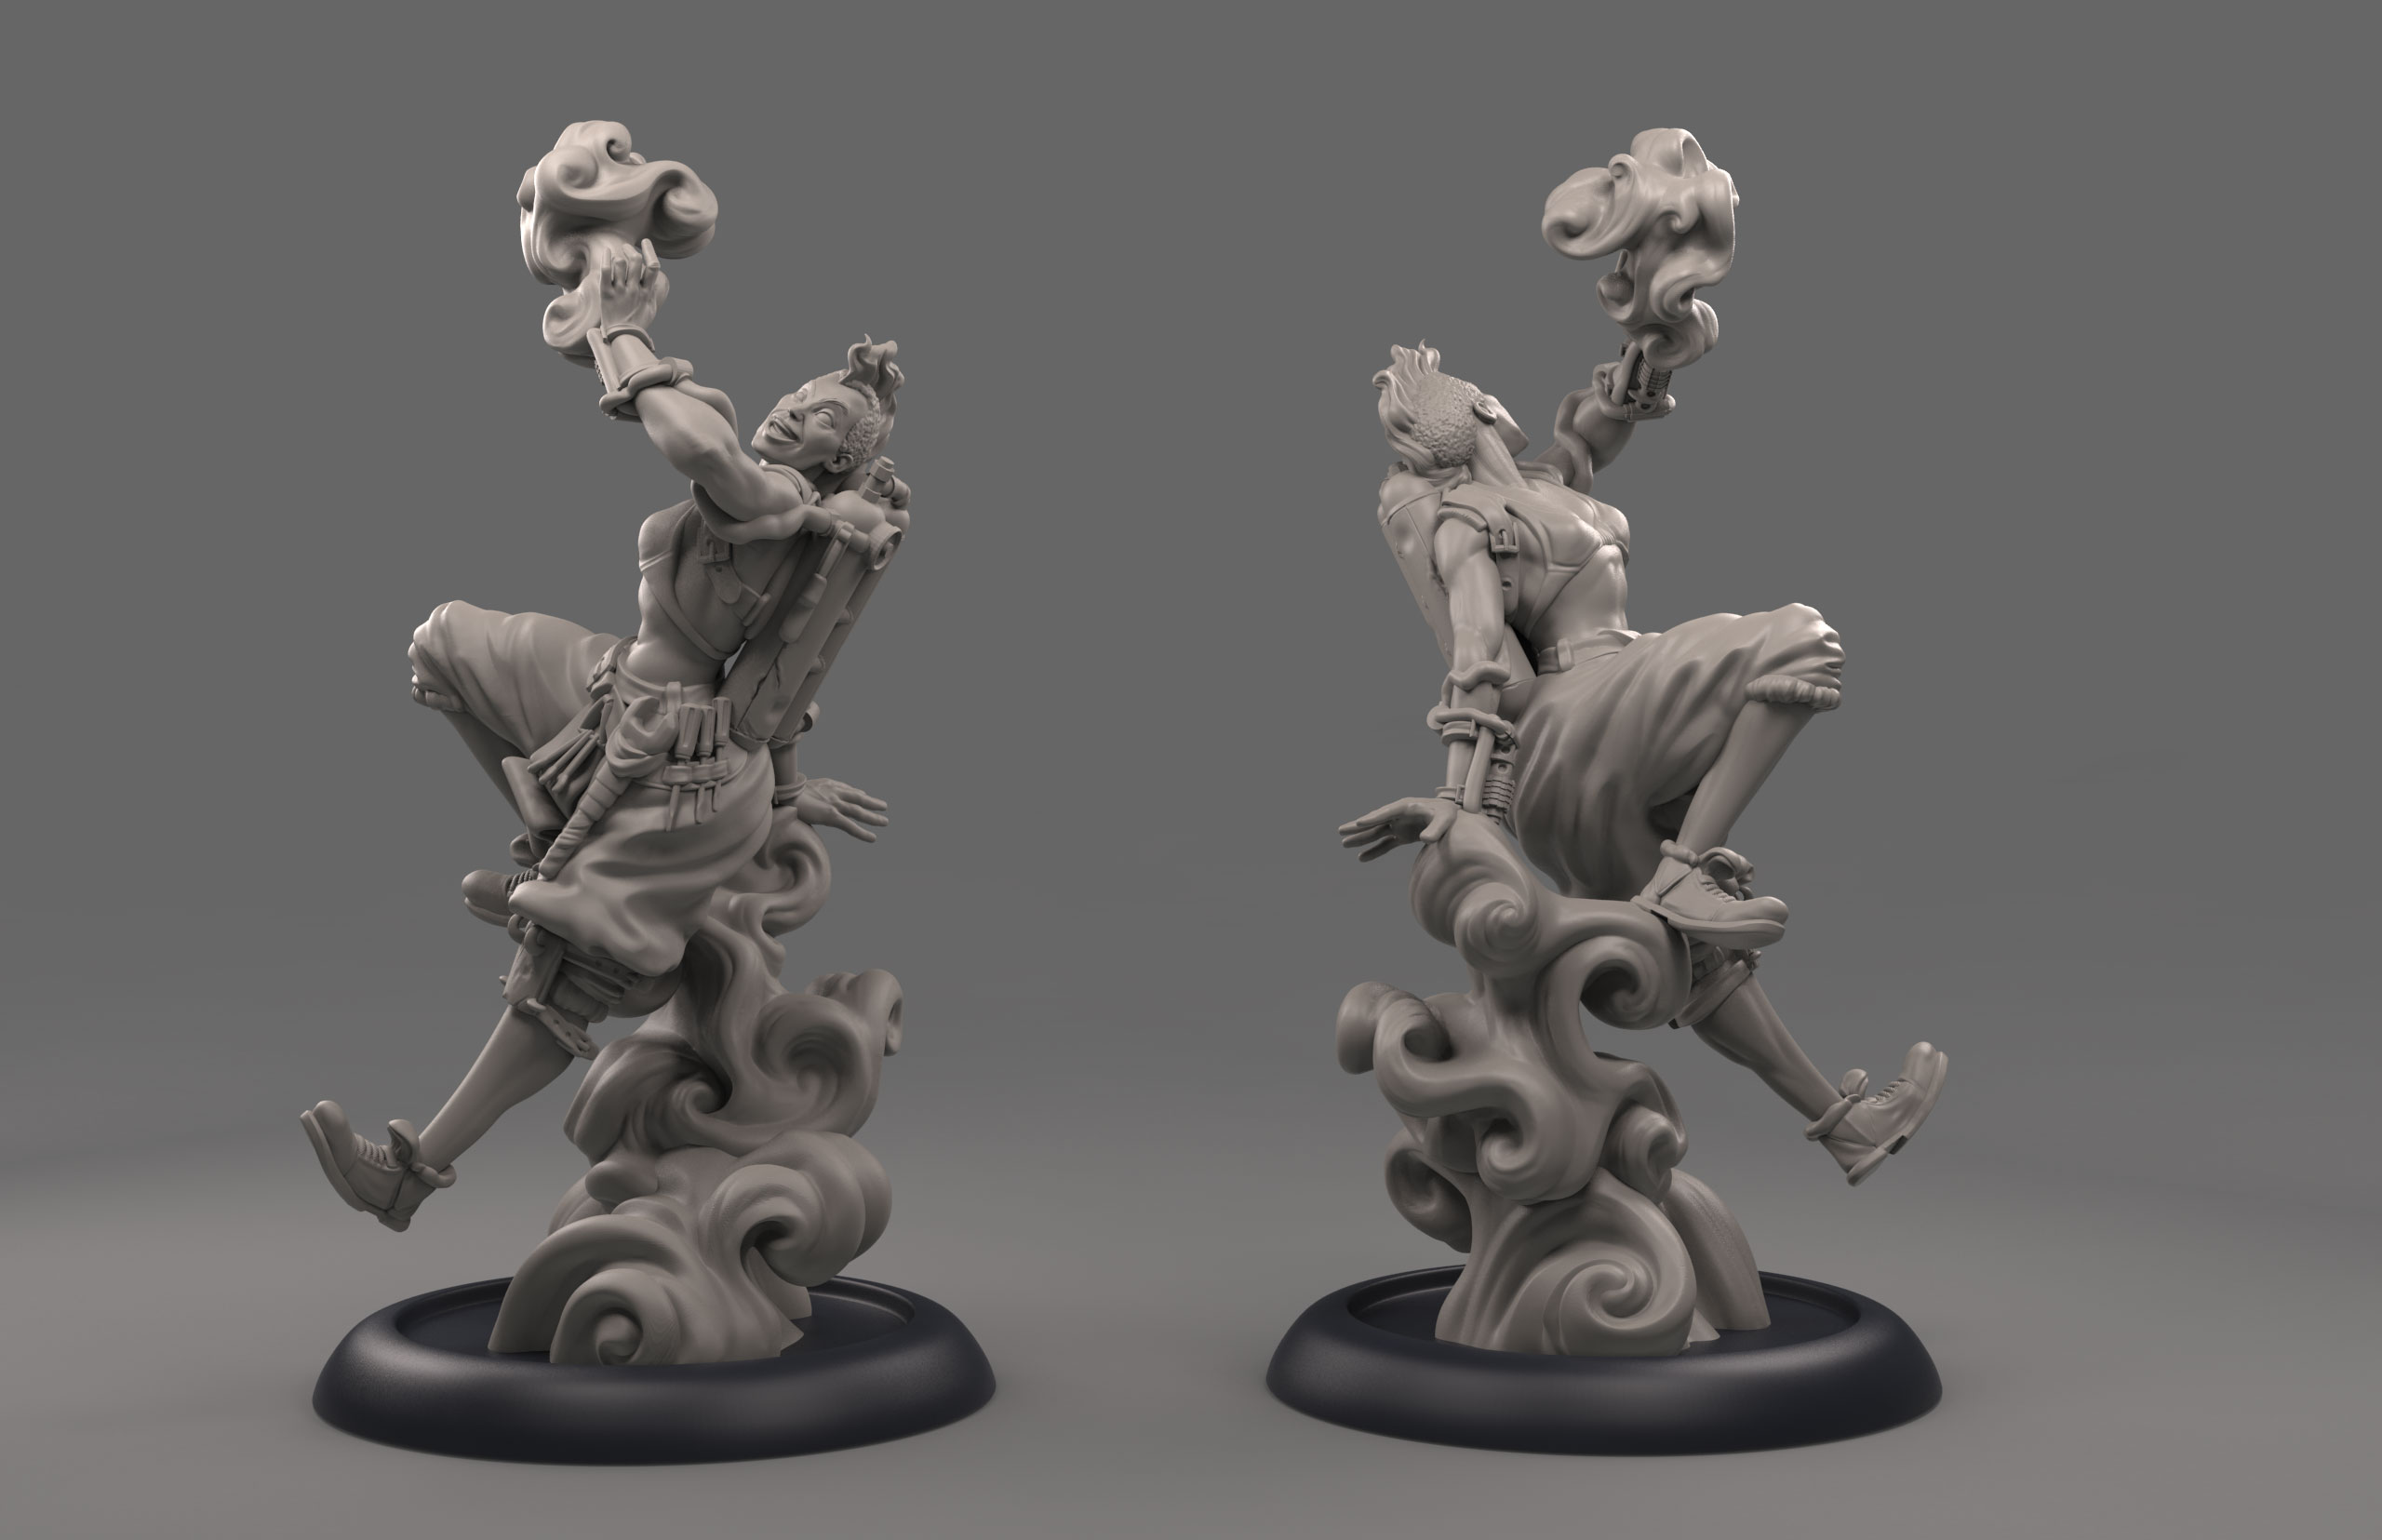

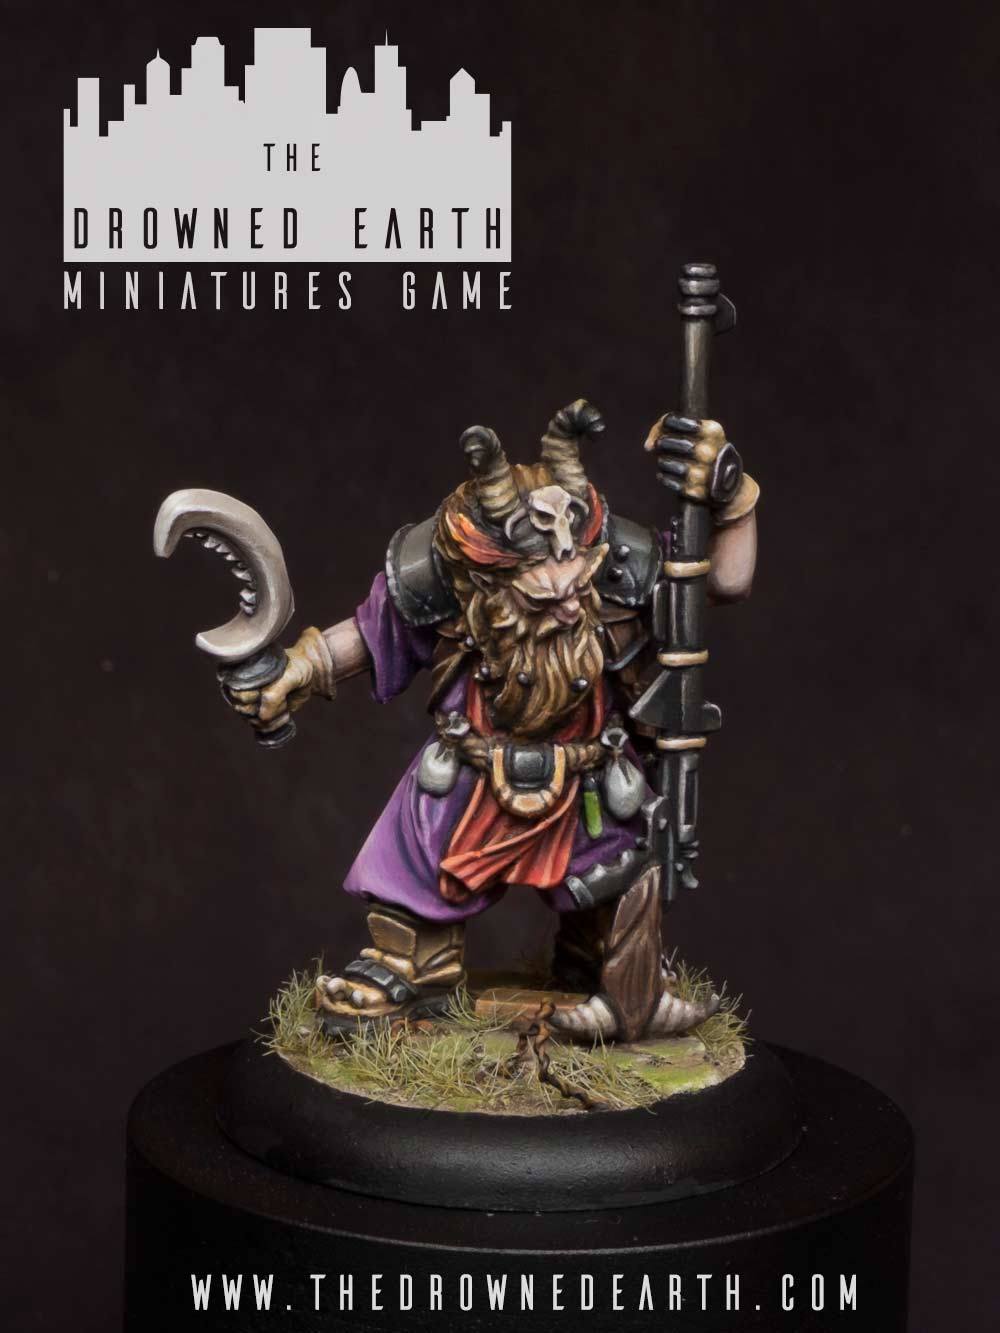
Studio Painted Mini
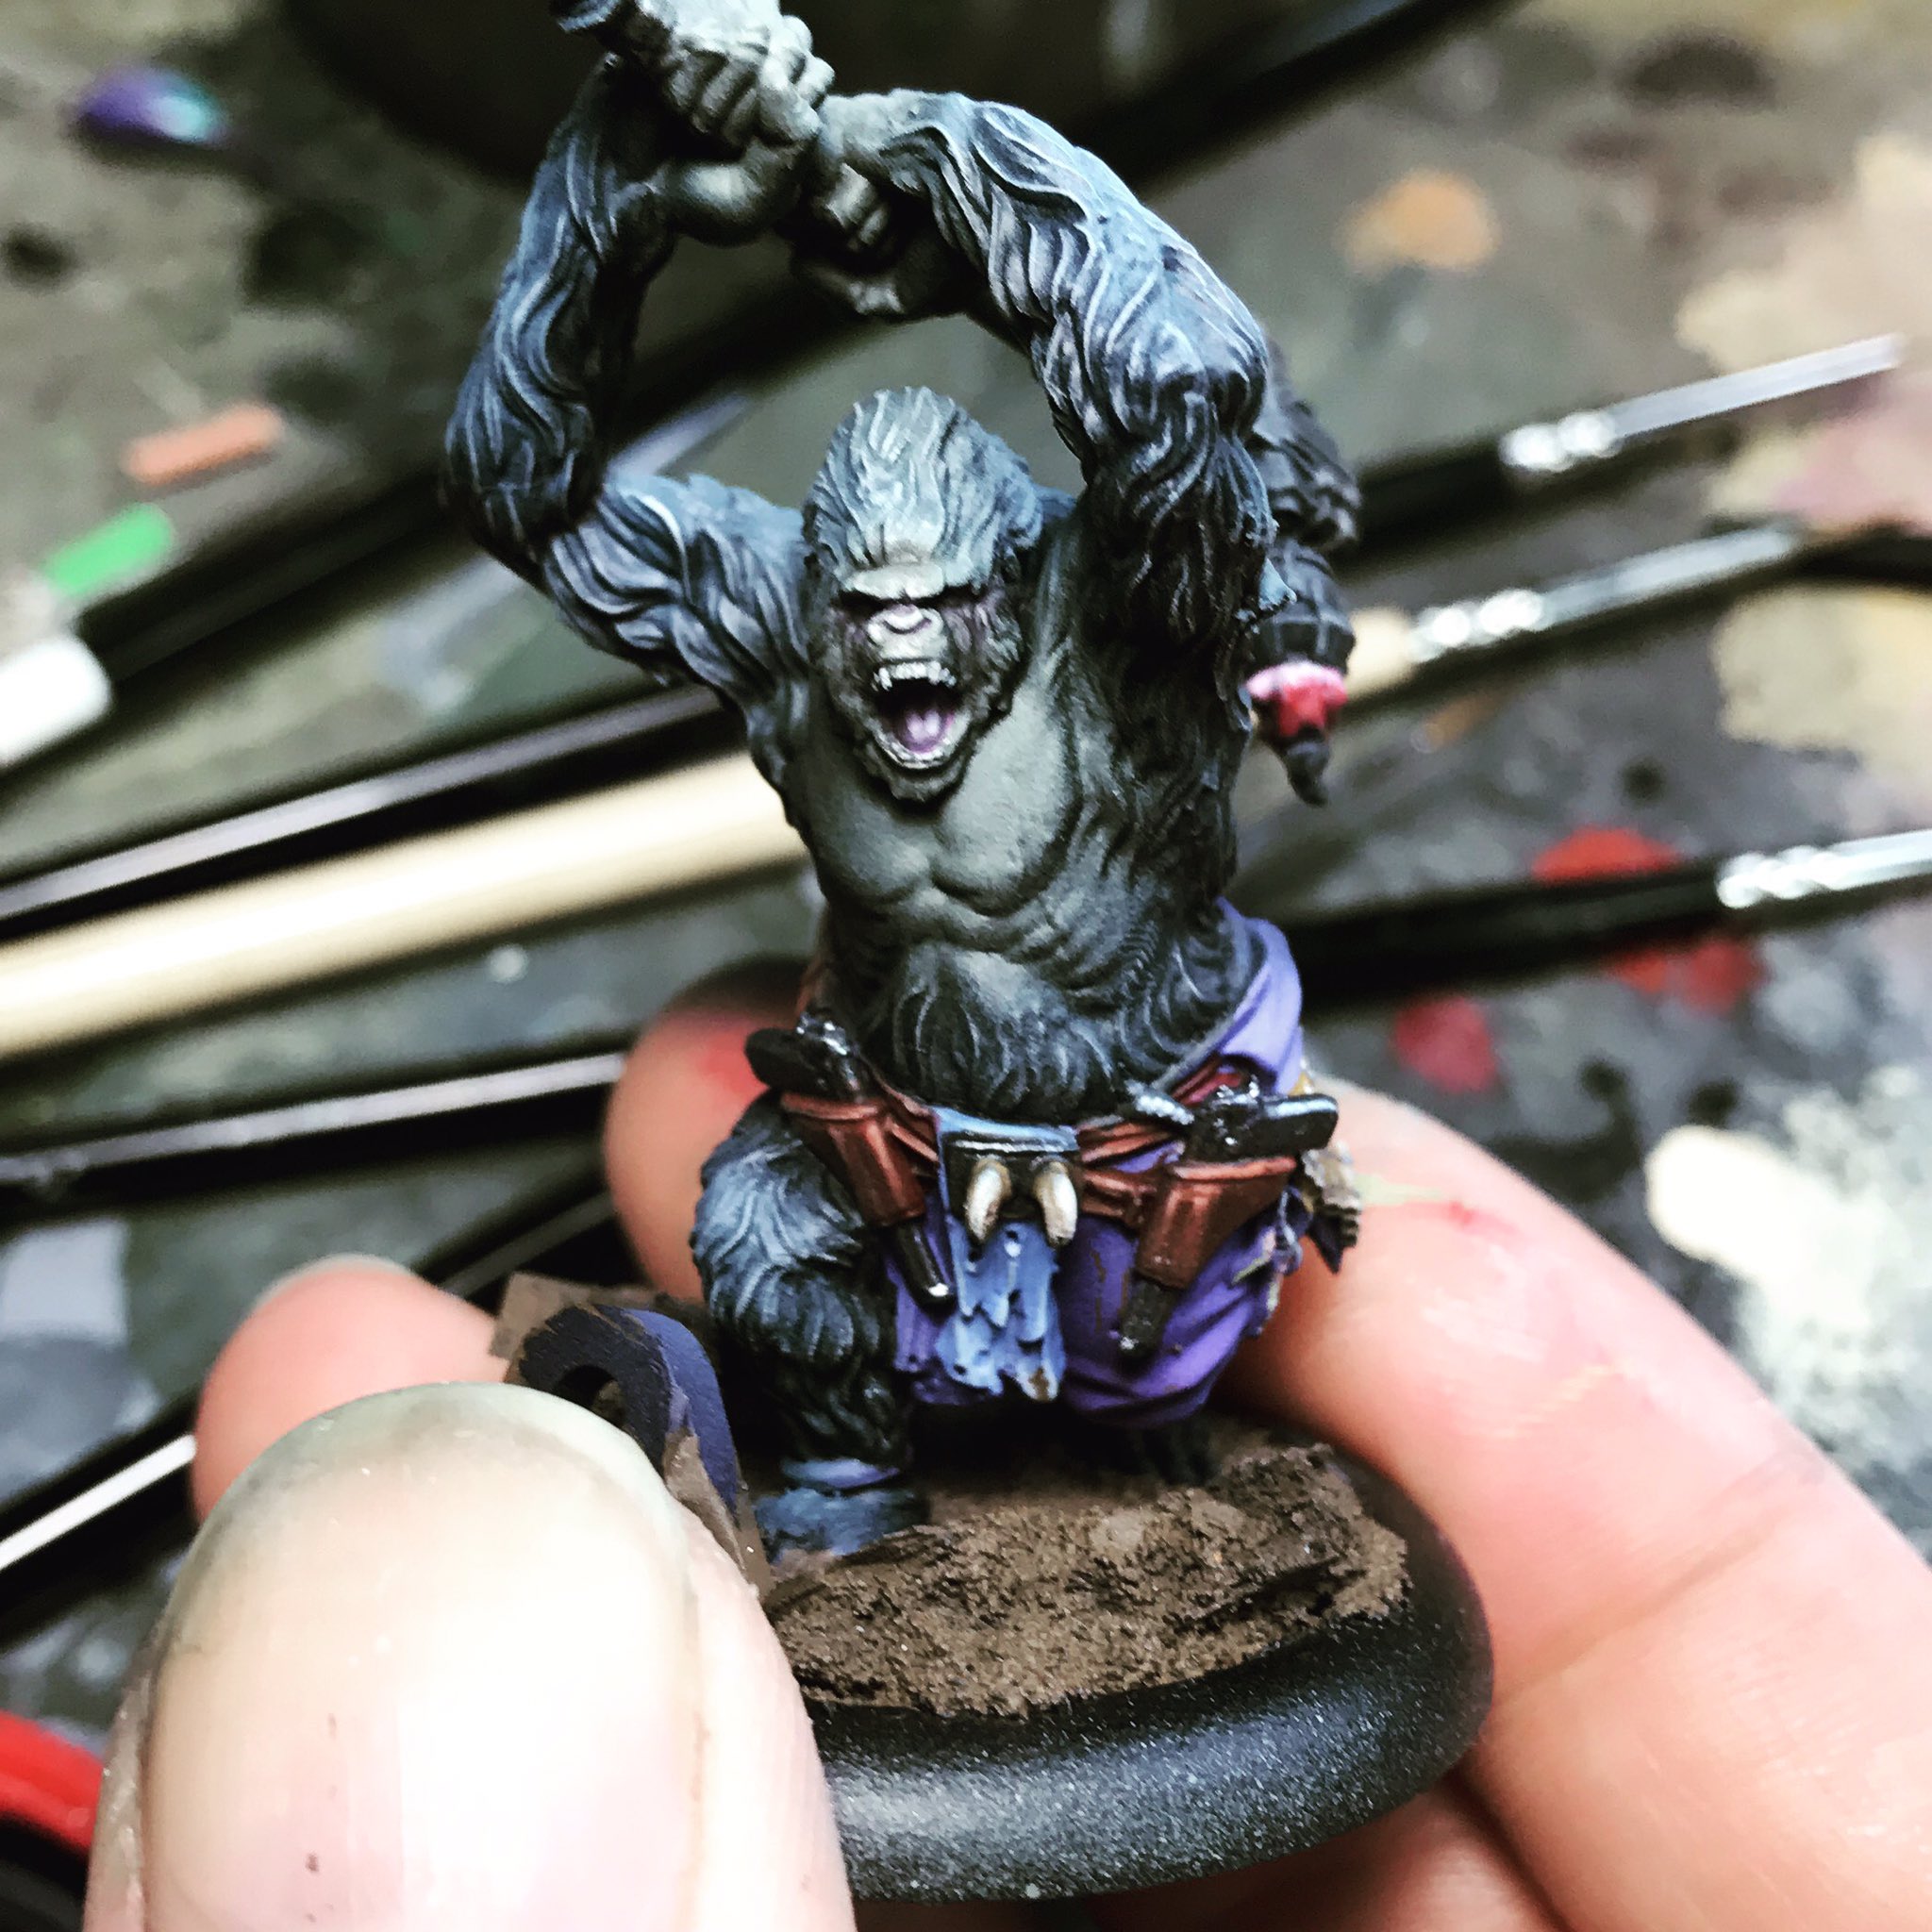
Paint in progress

First casts of the metal Miniatures
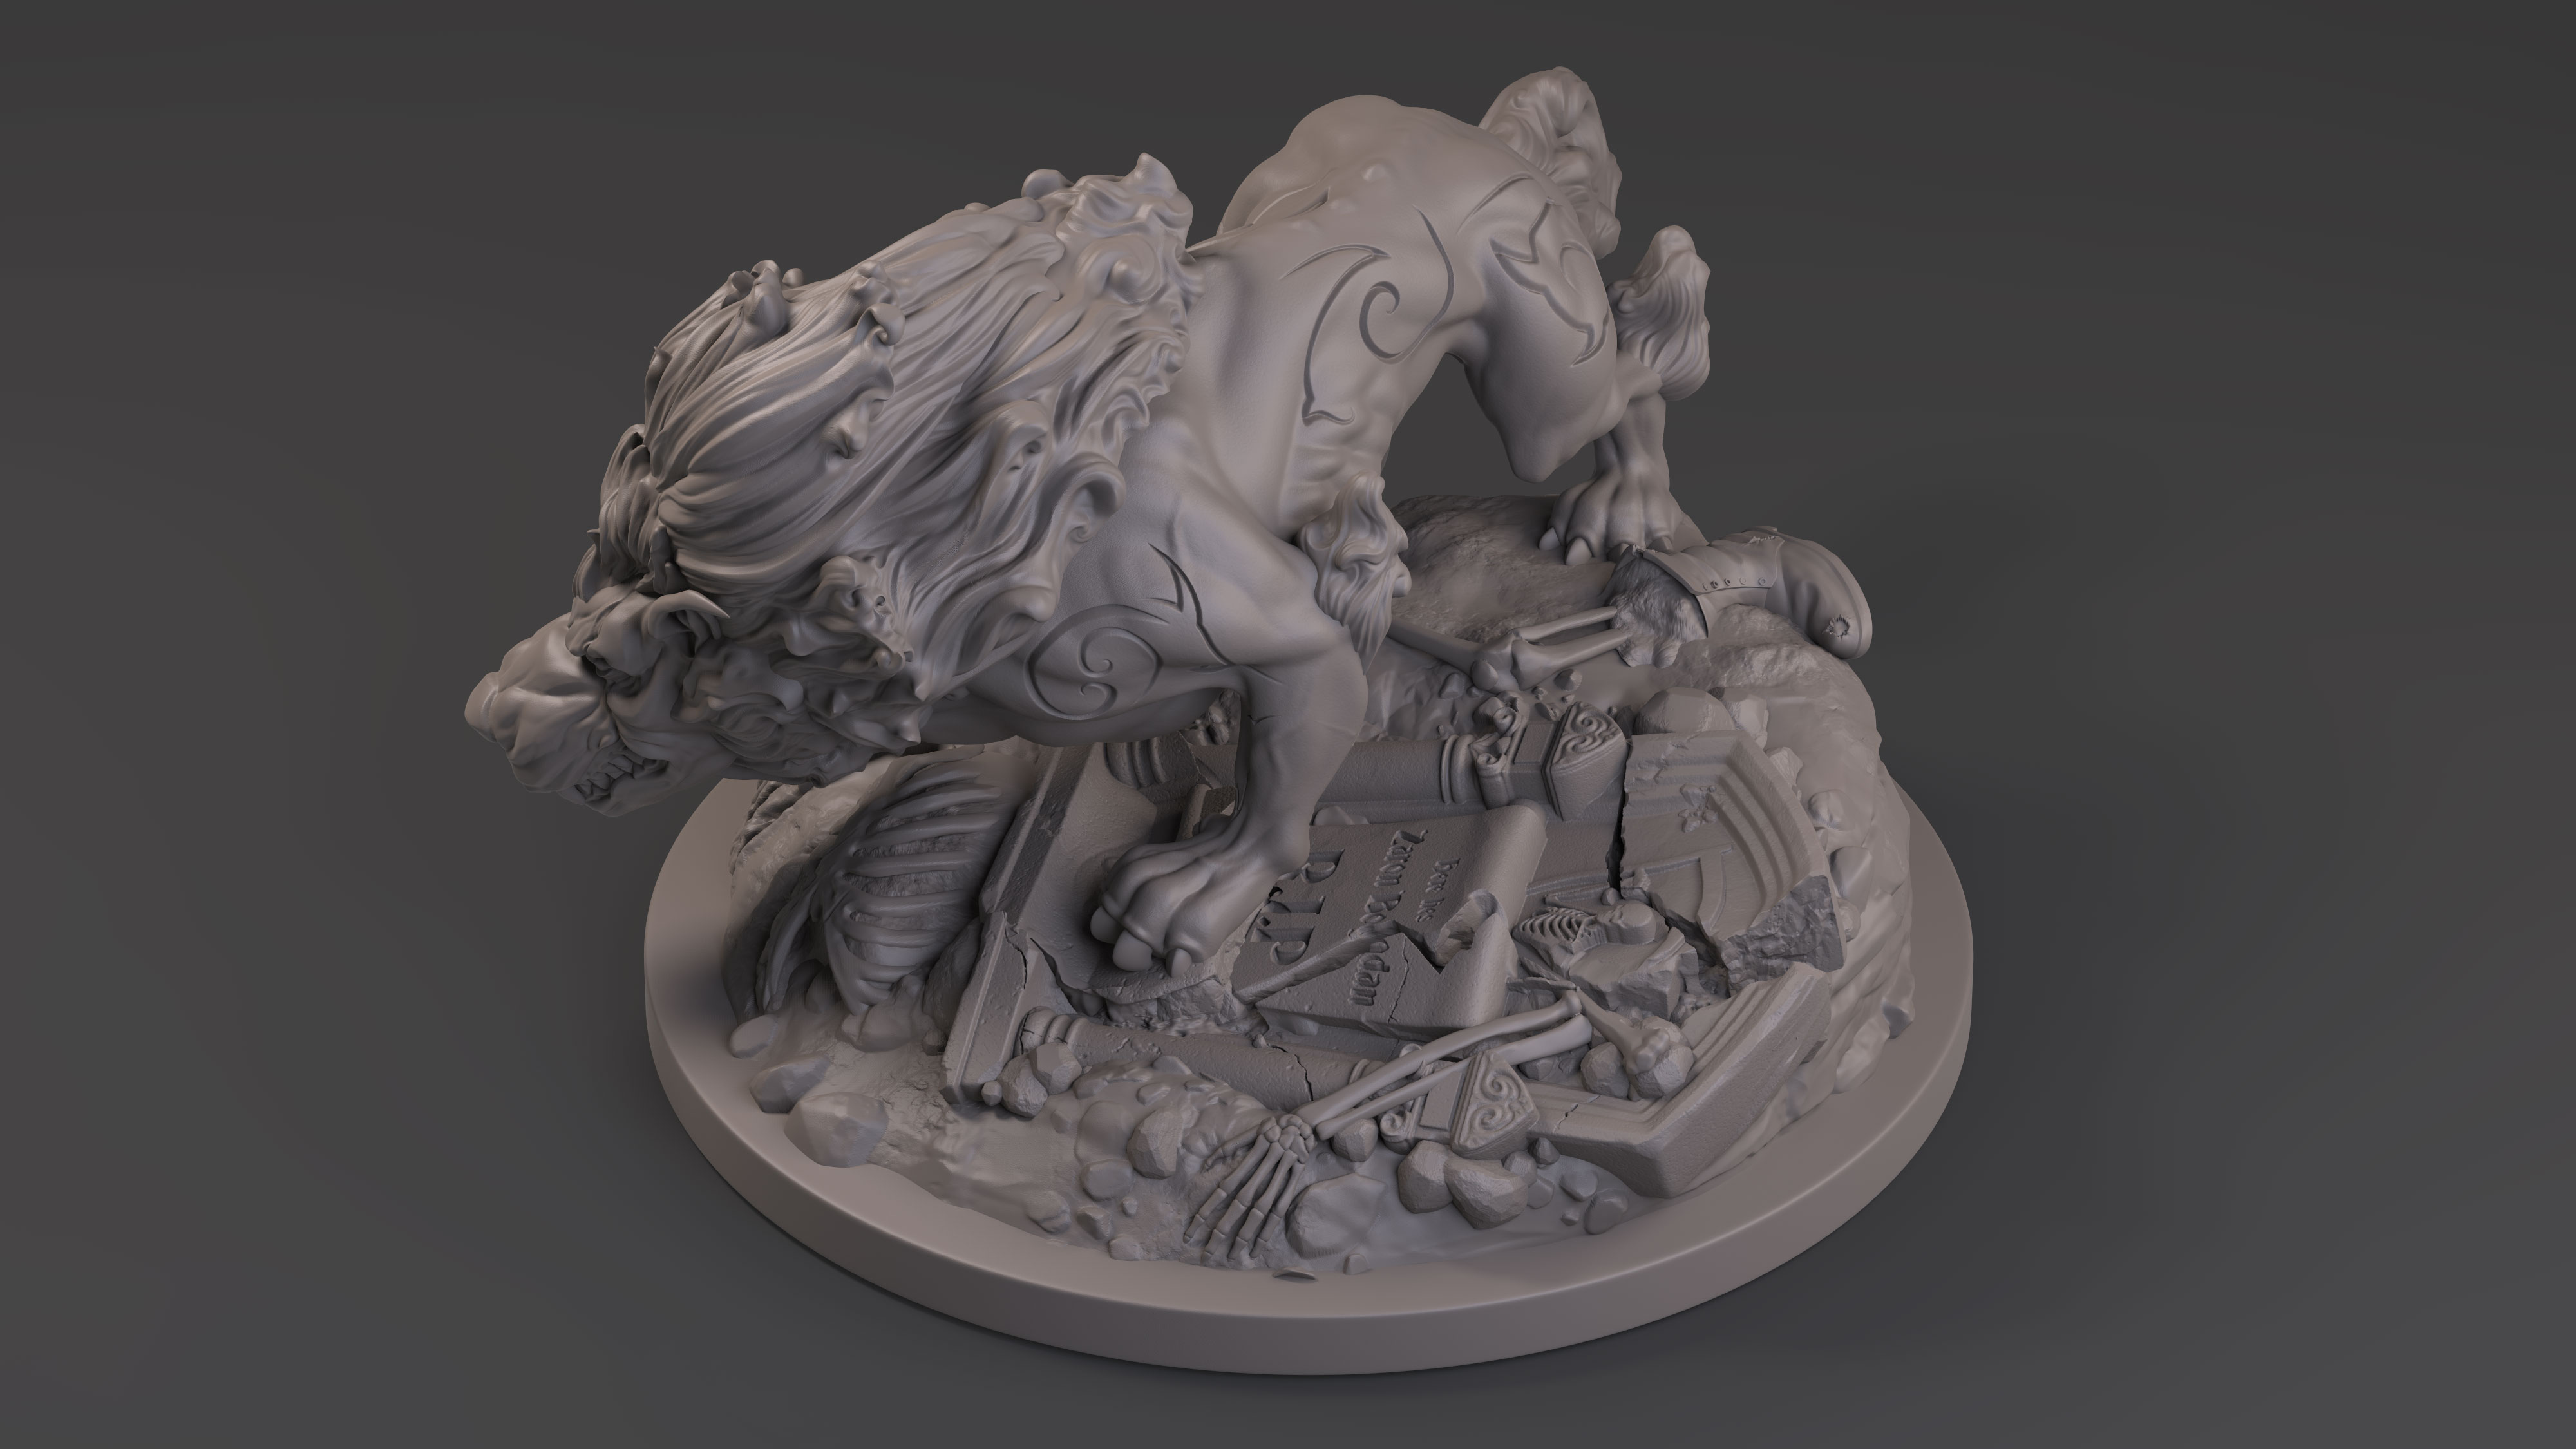
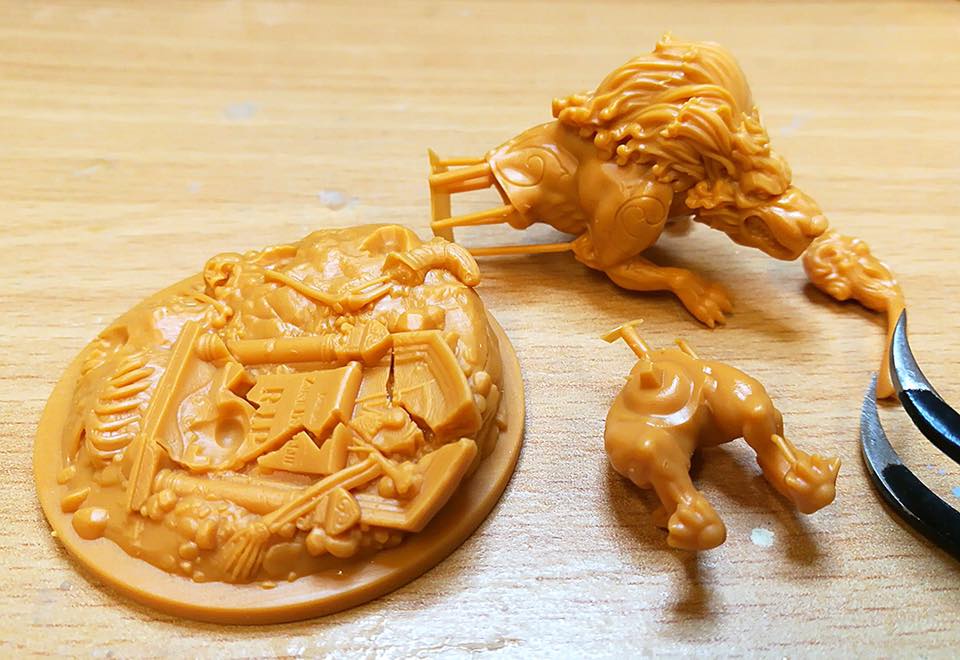
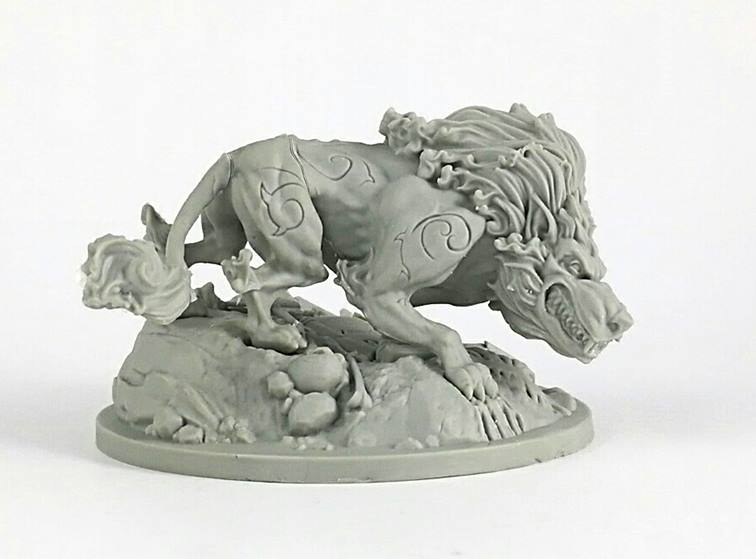
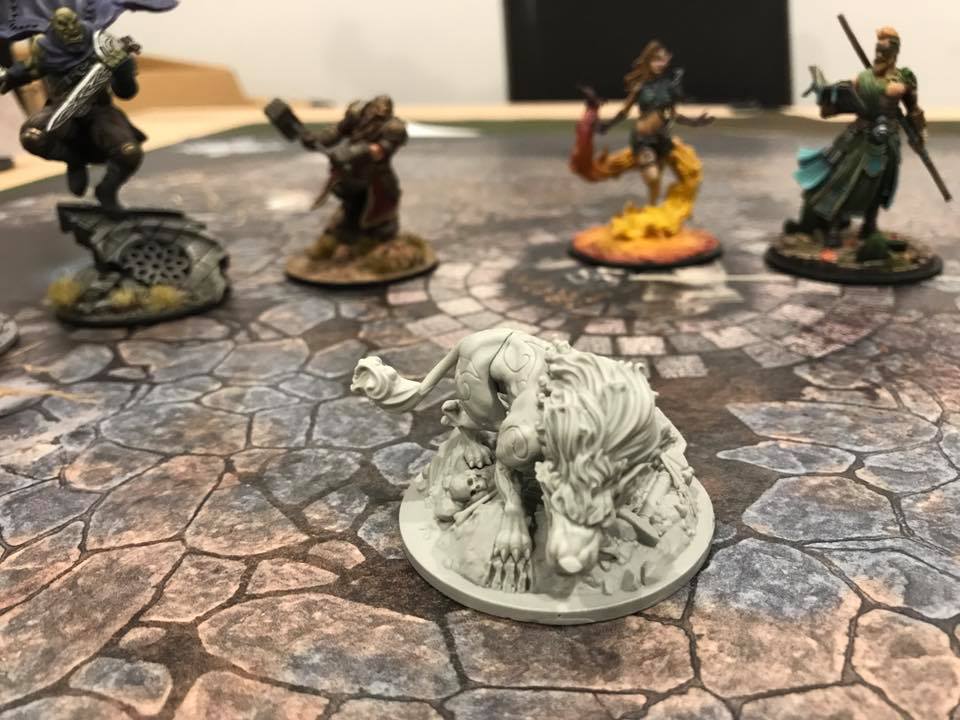
For the Judgement series by Gunmeister Games with pics of the print and cast of Gloom

Some really great work. Really like the style of sculpting
extraordinary! hyper fan!
Hi James… are you spin casting or just casting to special silicone molds… what metal are you using?
Really nice work…
@mick0978 @xada - Thank you so much
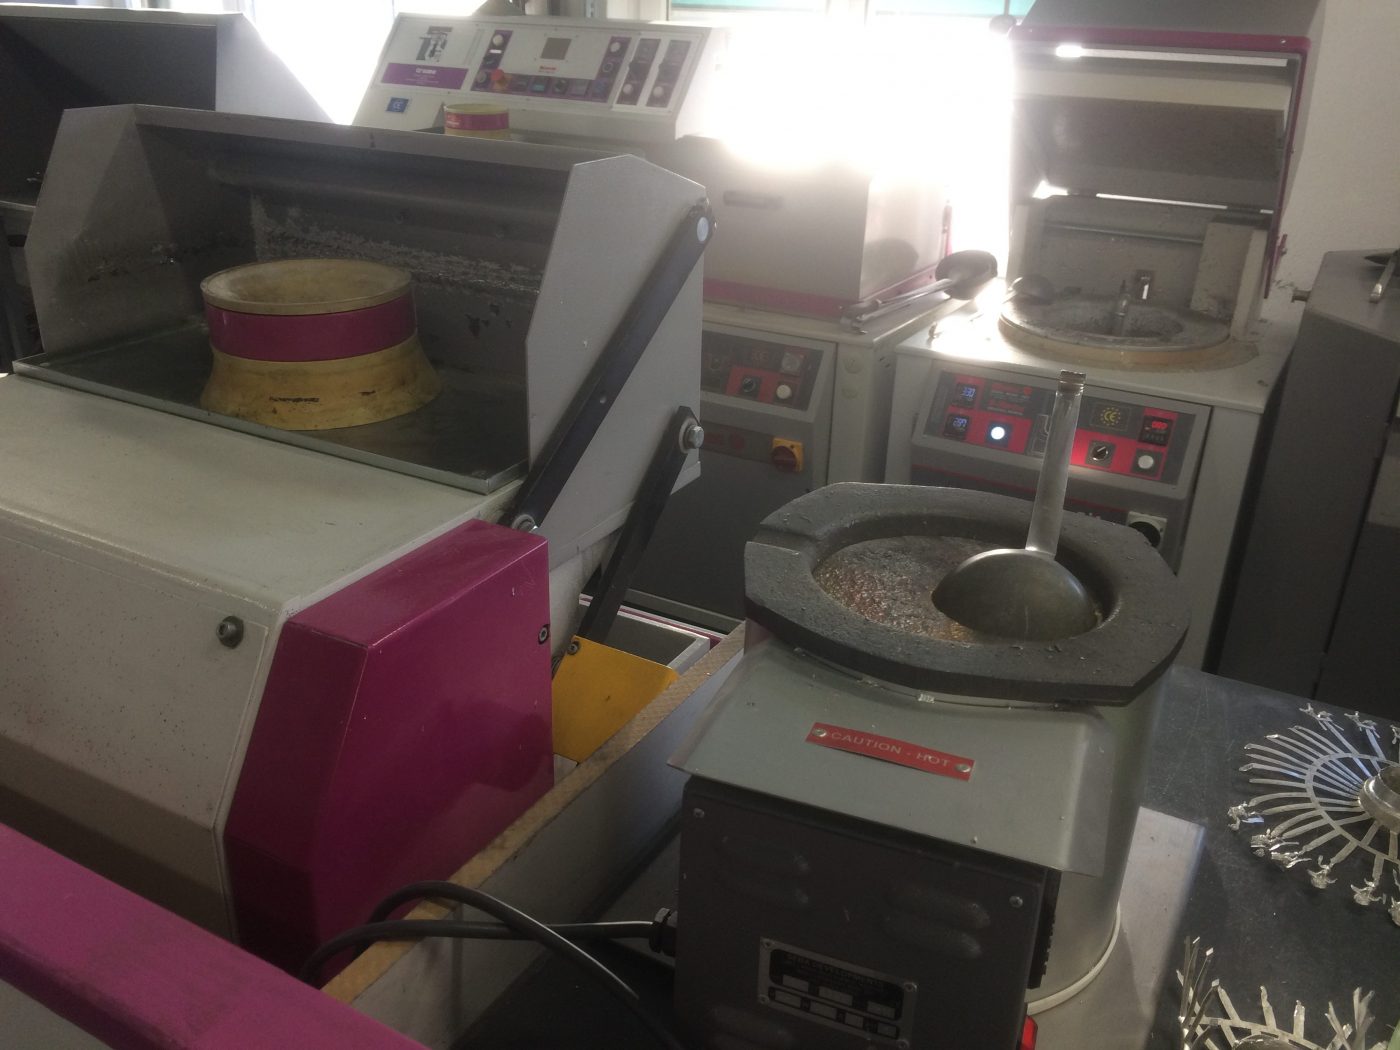
@Sigmund Hentze - I’m not really knowledgable on these things I’m afraid as they are handled by other people after my sculpt is printed. But the Drowned Earth minis were Spin Cast in high grade metal I think, here’s some pics of production:
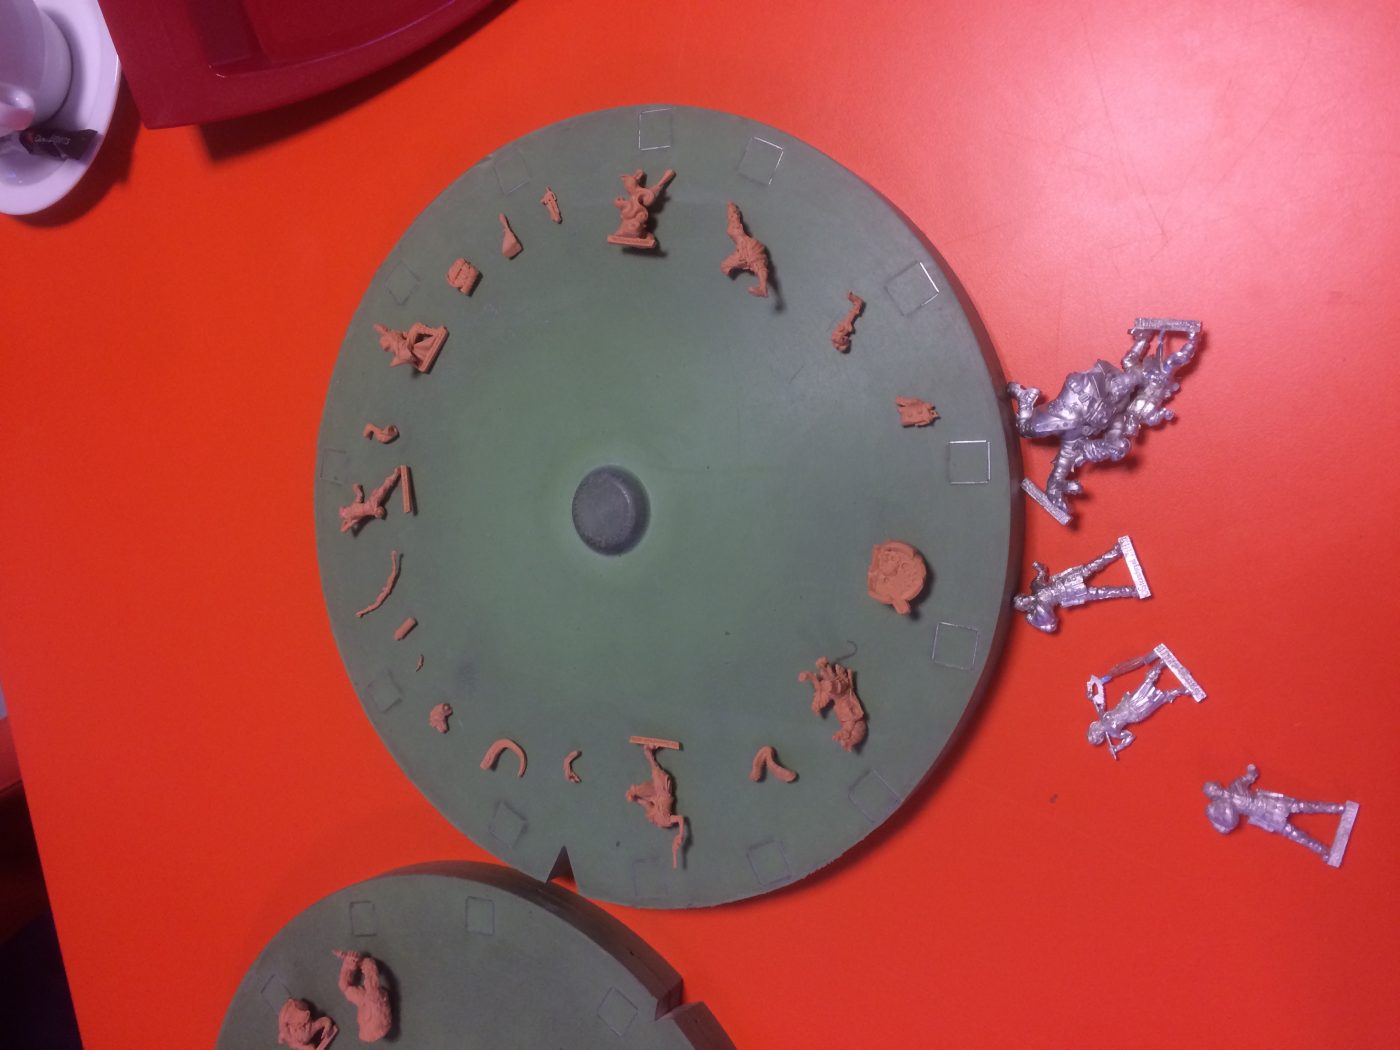
Before mastering
Metal!
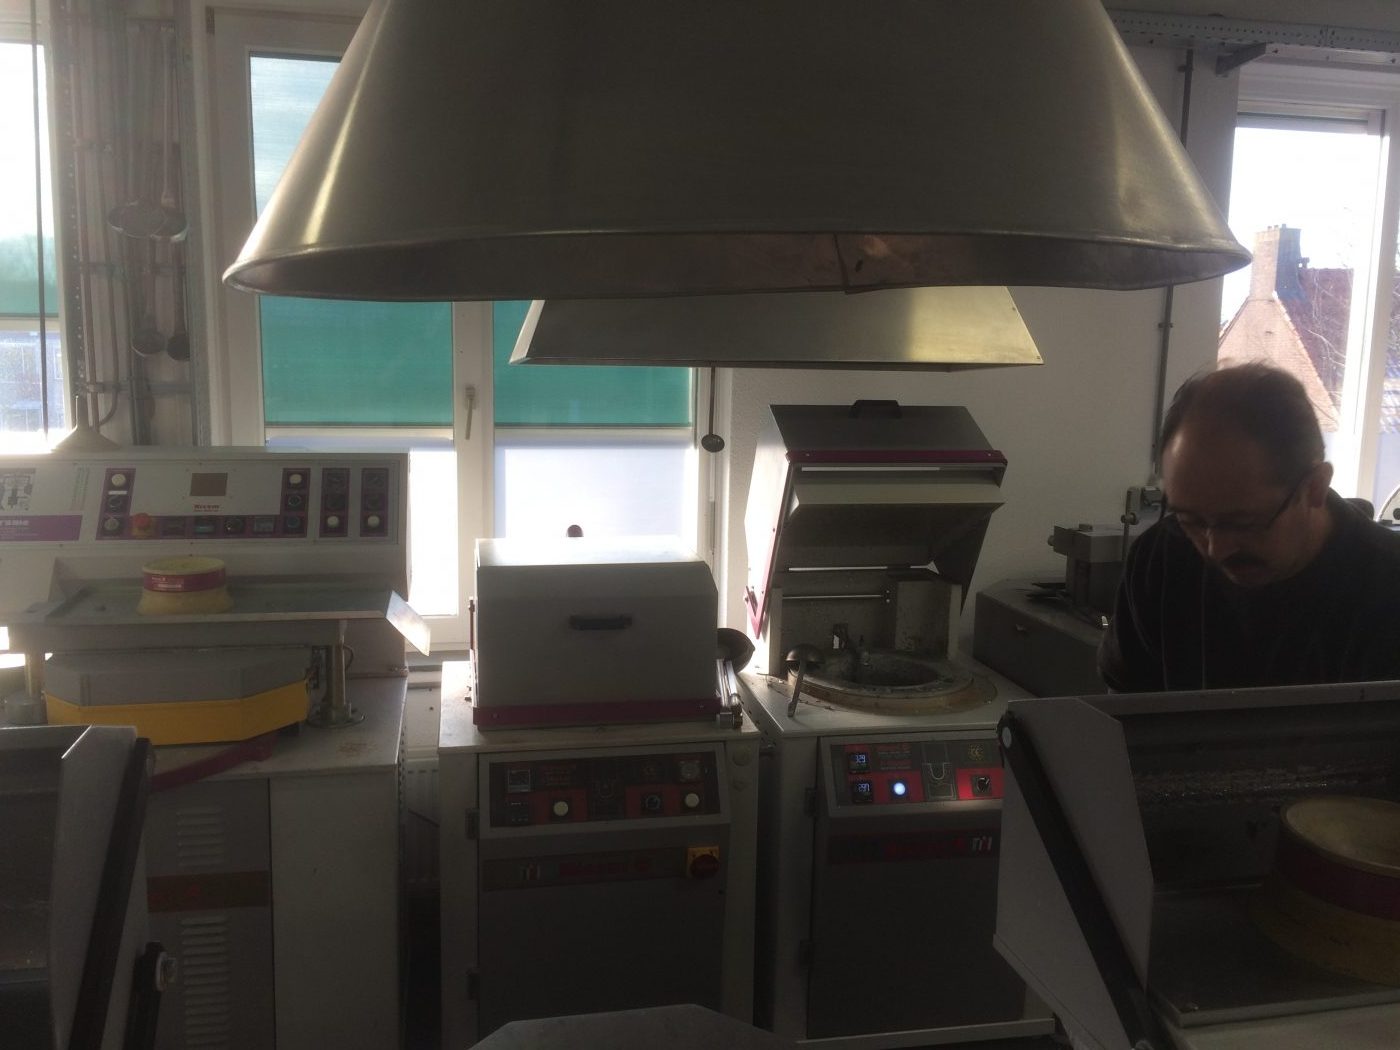
Casting Machines
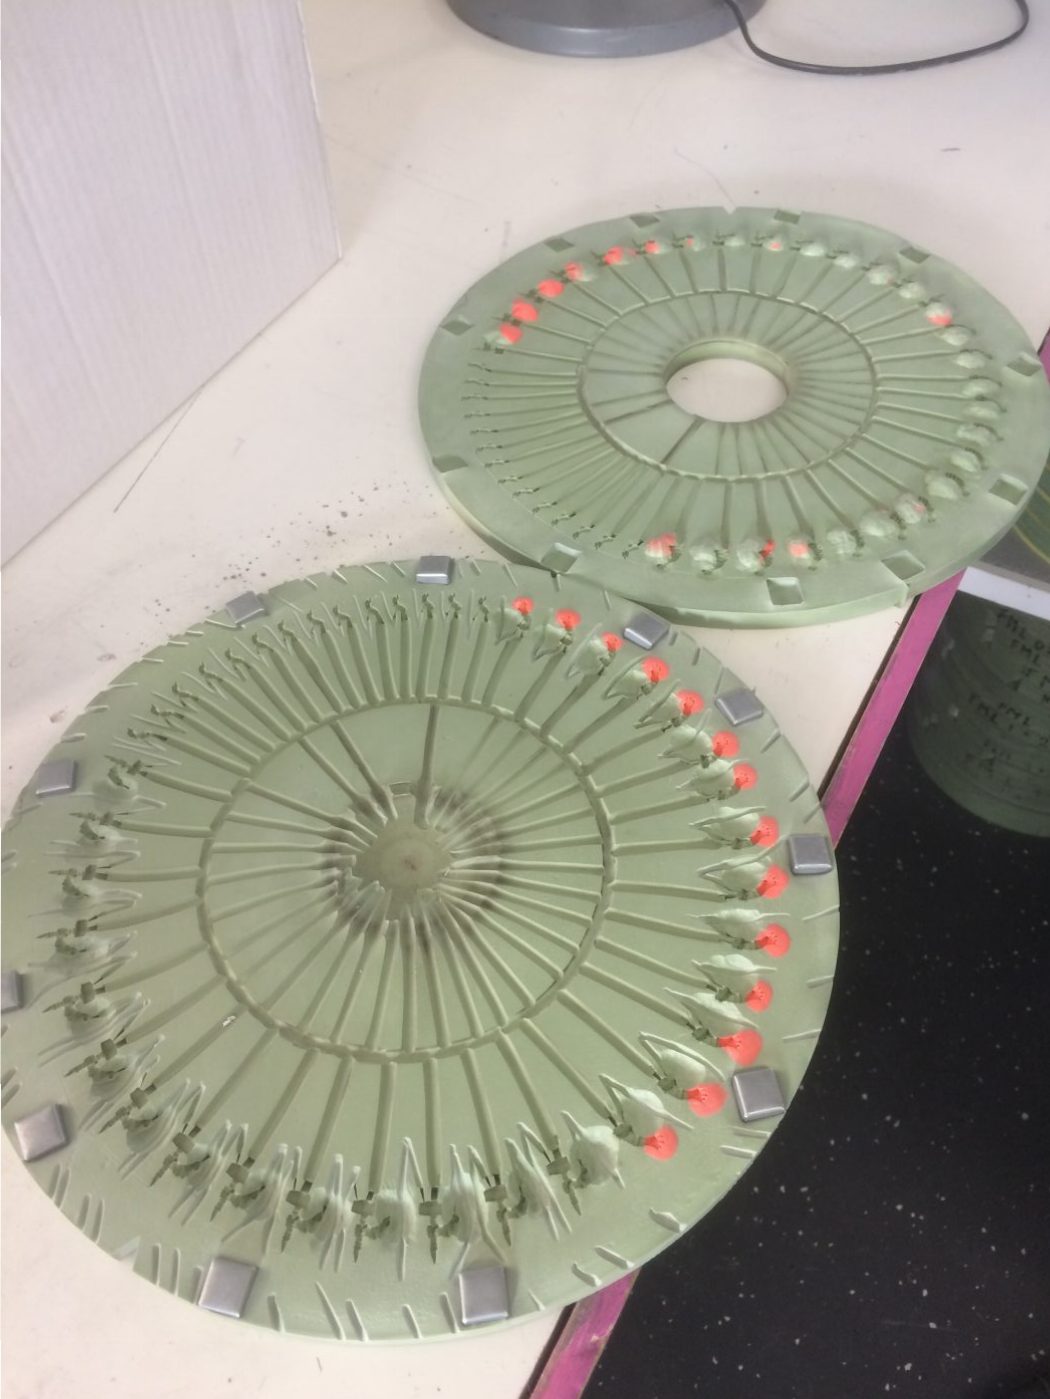
Production Moulds
James from Drowned Earth got most of this stuff done by a firm in Holland I think.
Thanks for quick response…
I have my buckles spin cast, but your work comes out in better quality… I need detail and you’re getting it…
Your work is awesome! and the cuts so clean…
Jow do you make it so Dynamesh doesnt ruin the parts when you make the cuts? Ive encountered a lot of non manifold, dettached faces, etc while making my cuts but yours seem so… effortless.
Yikes, top row, that’s made my week  Thank you!
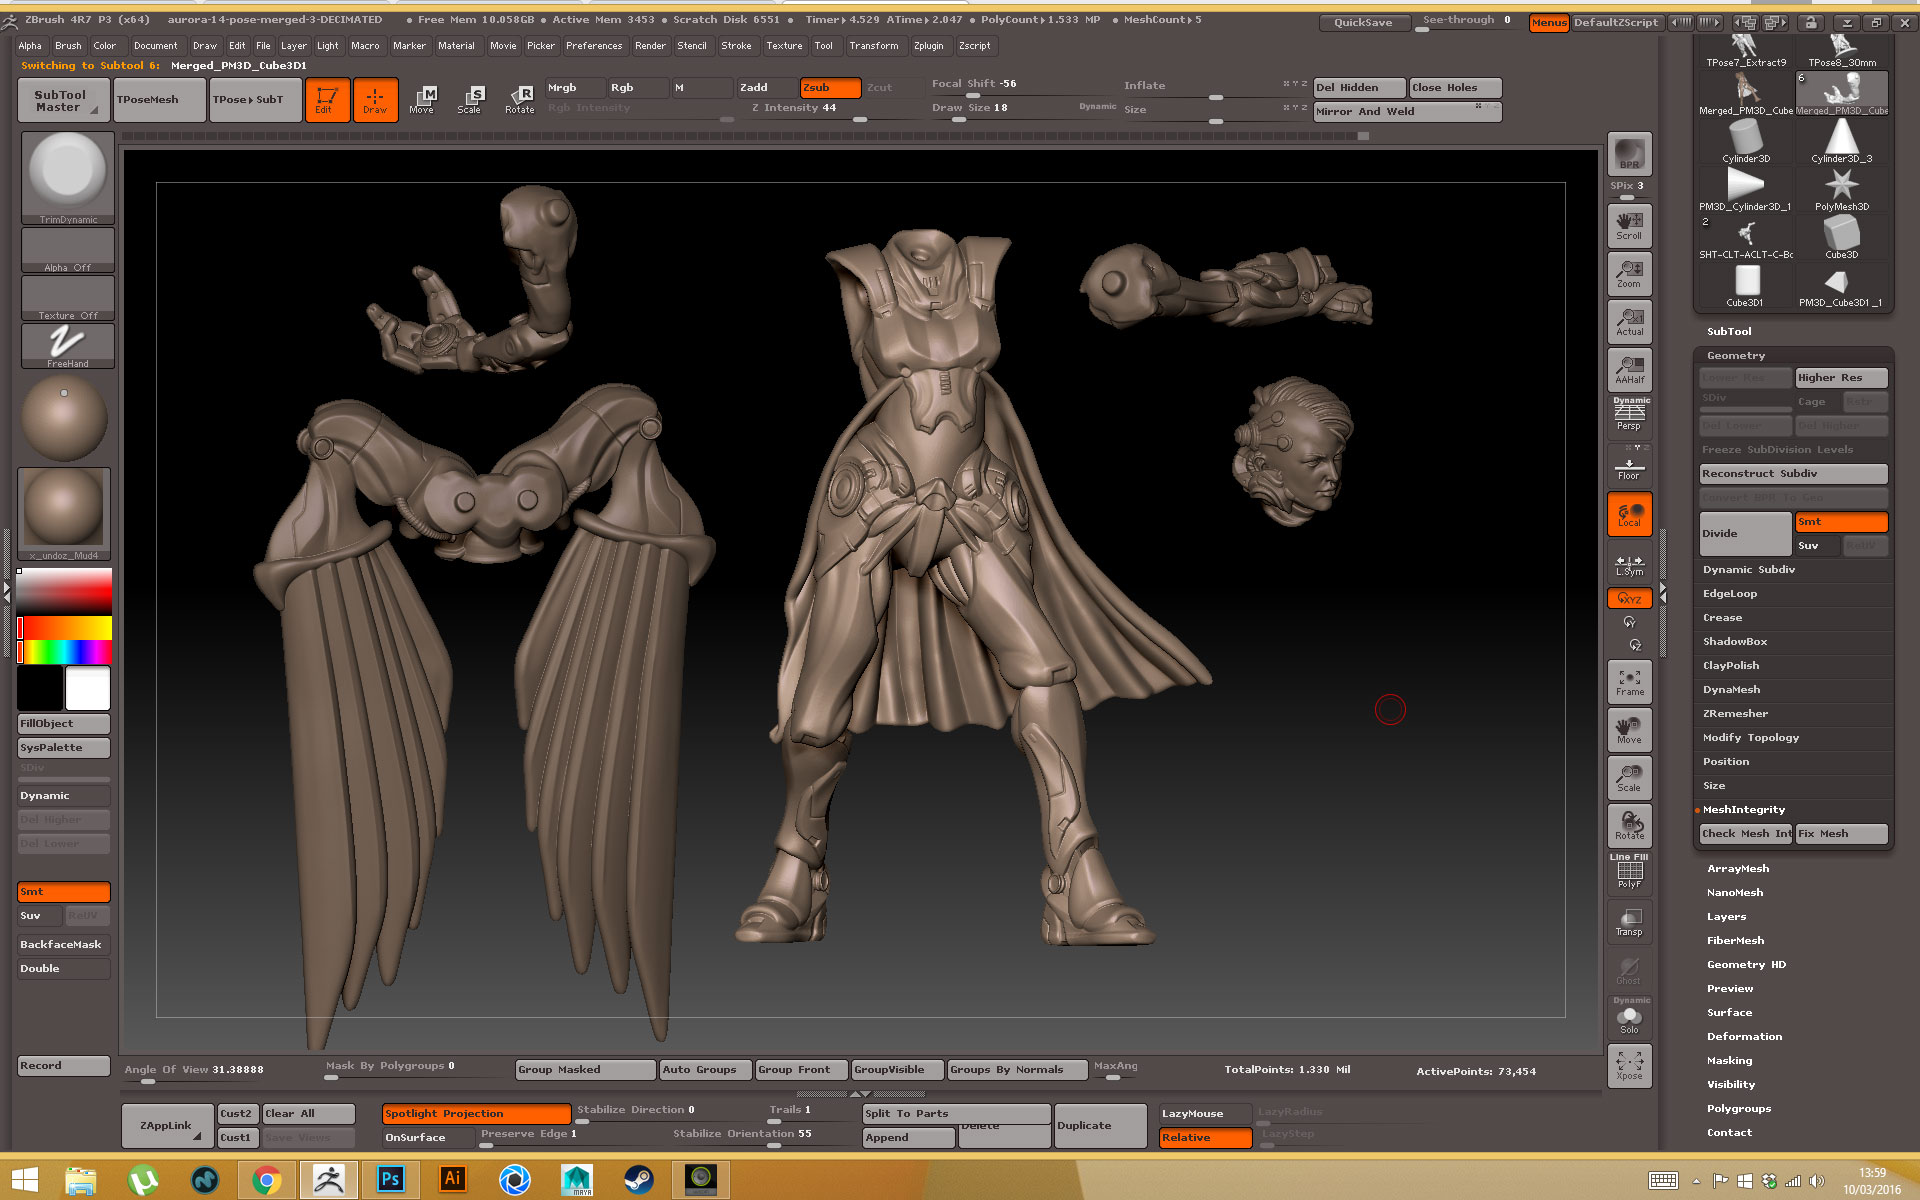
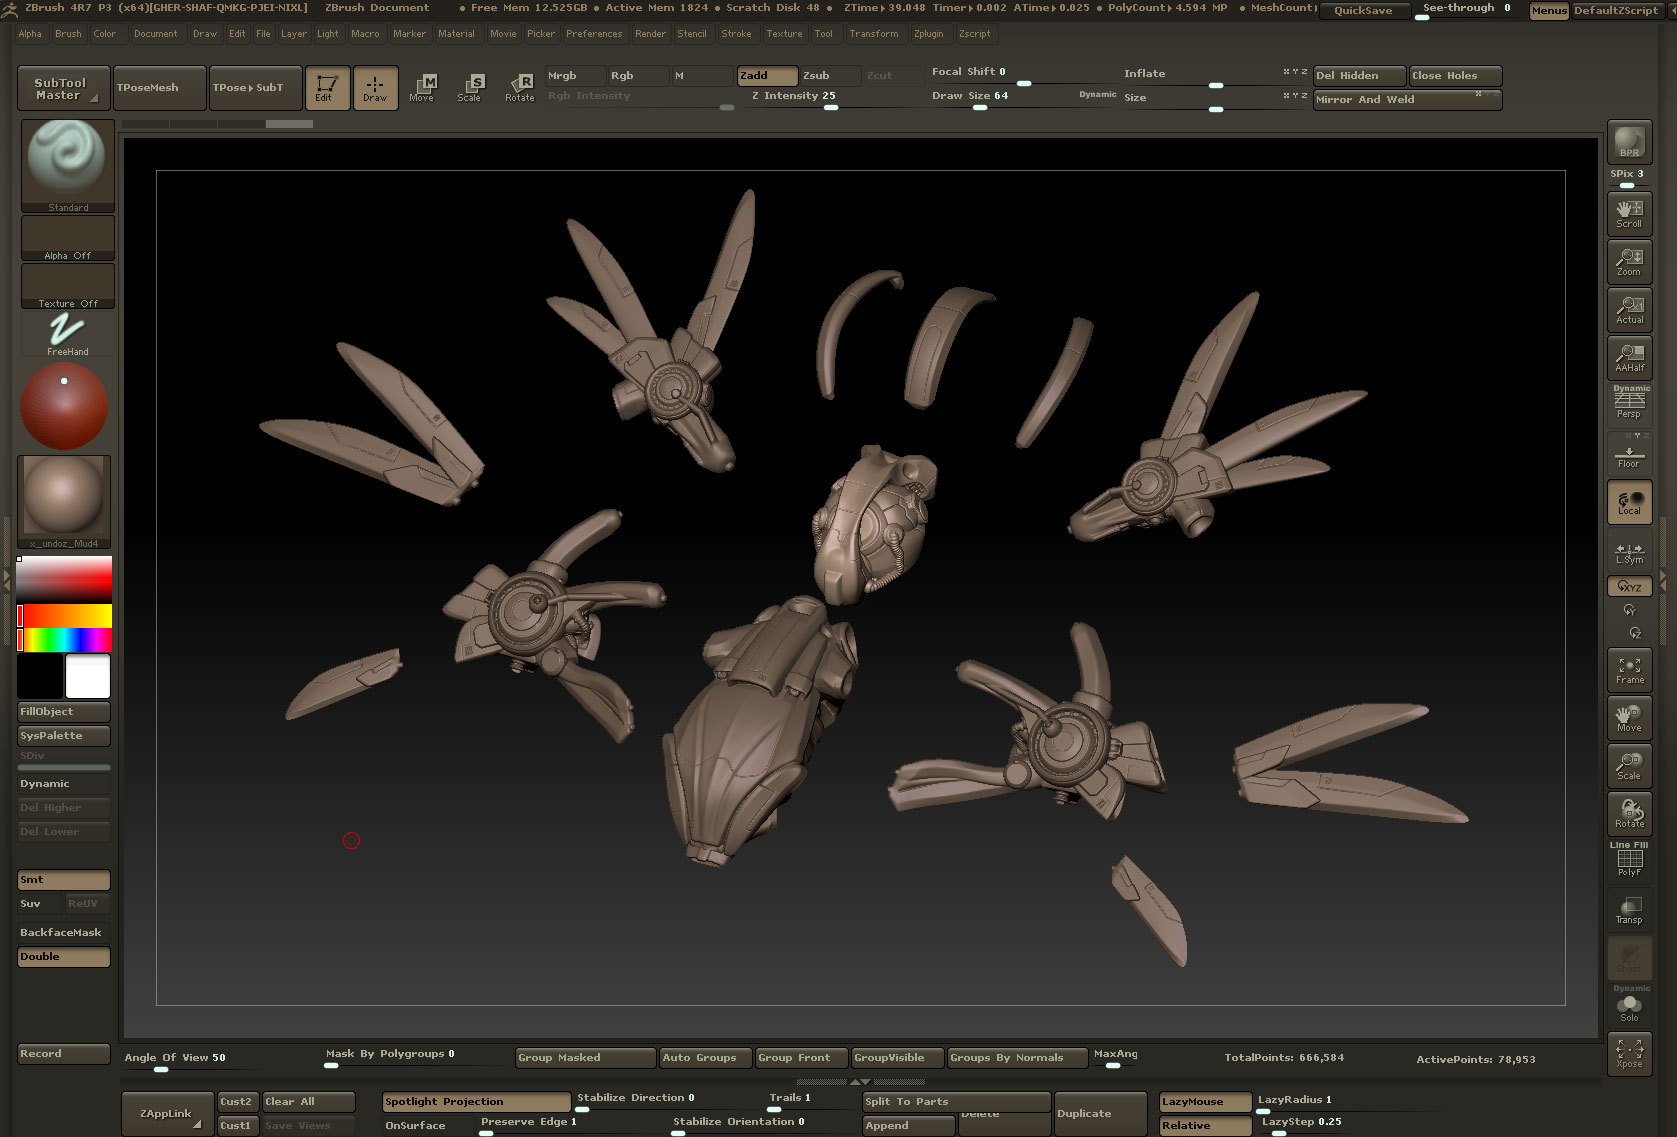
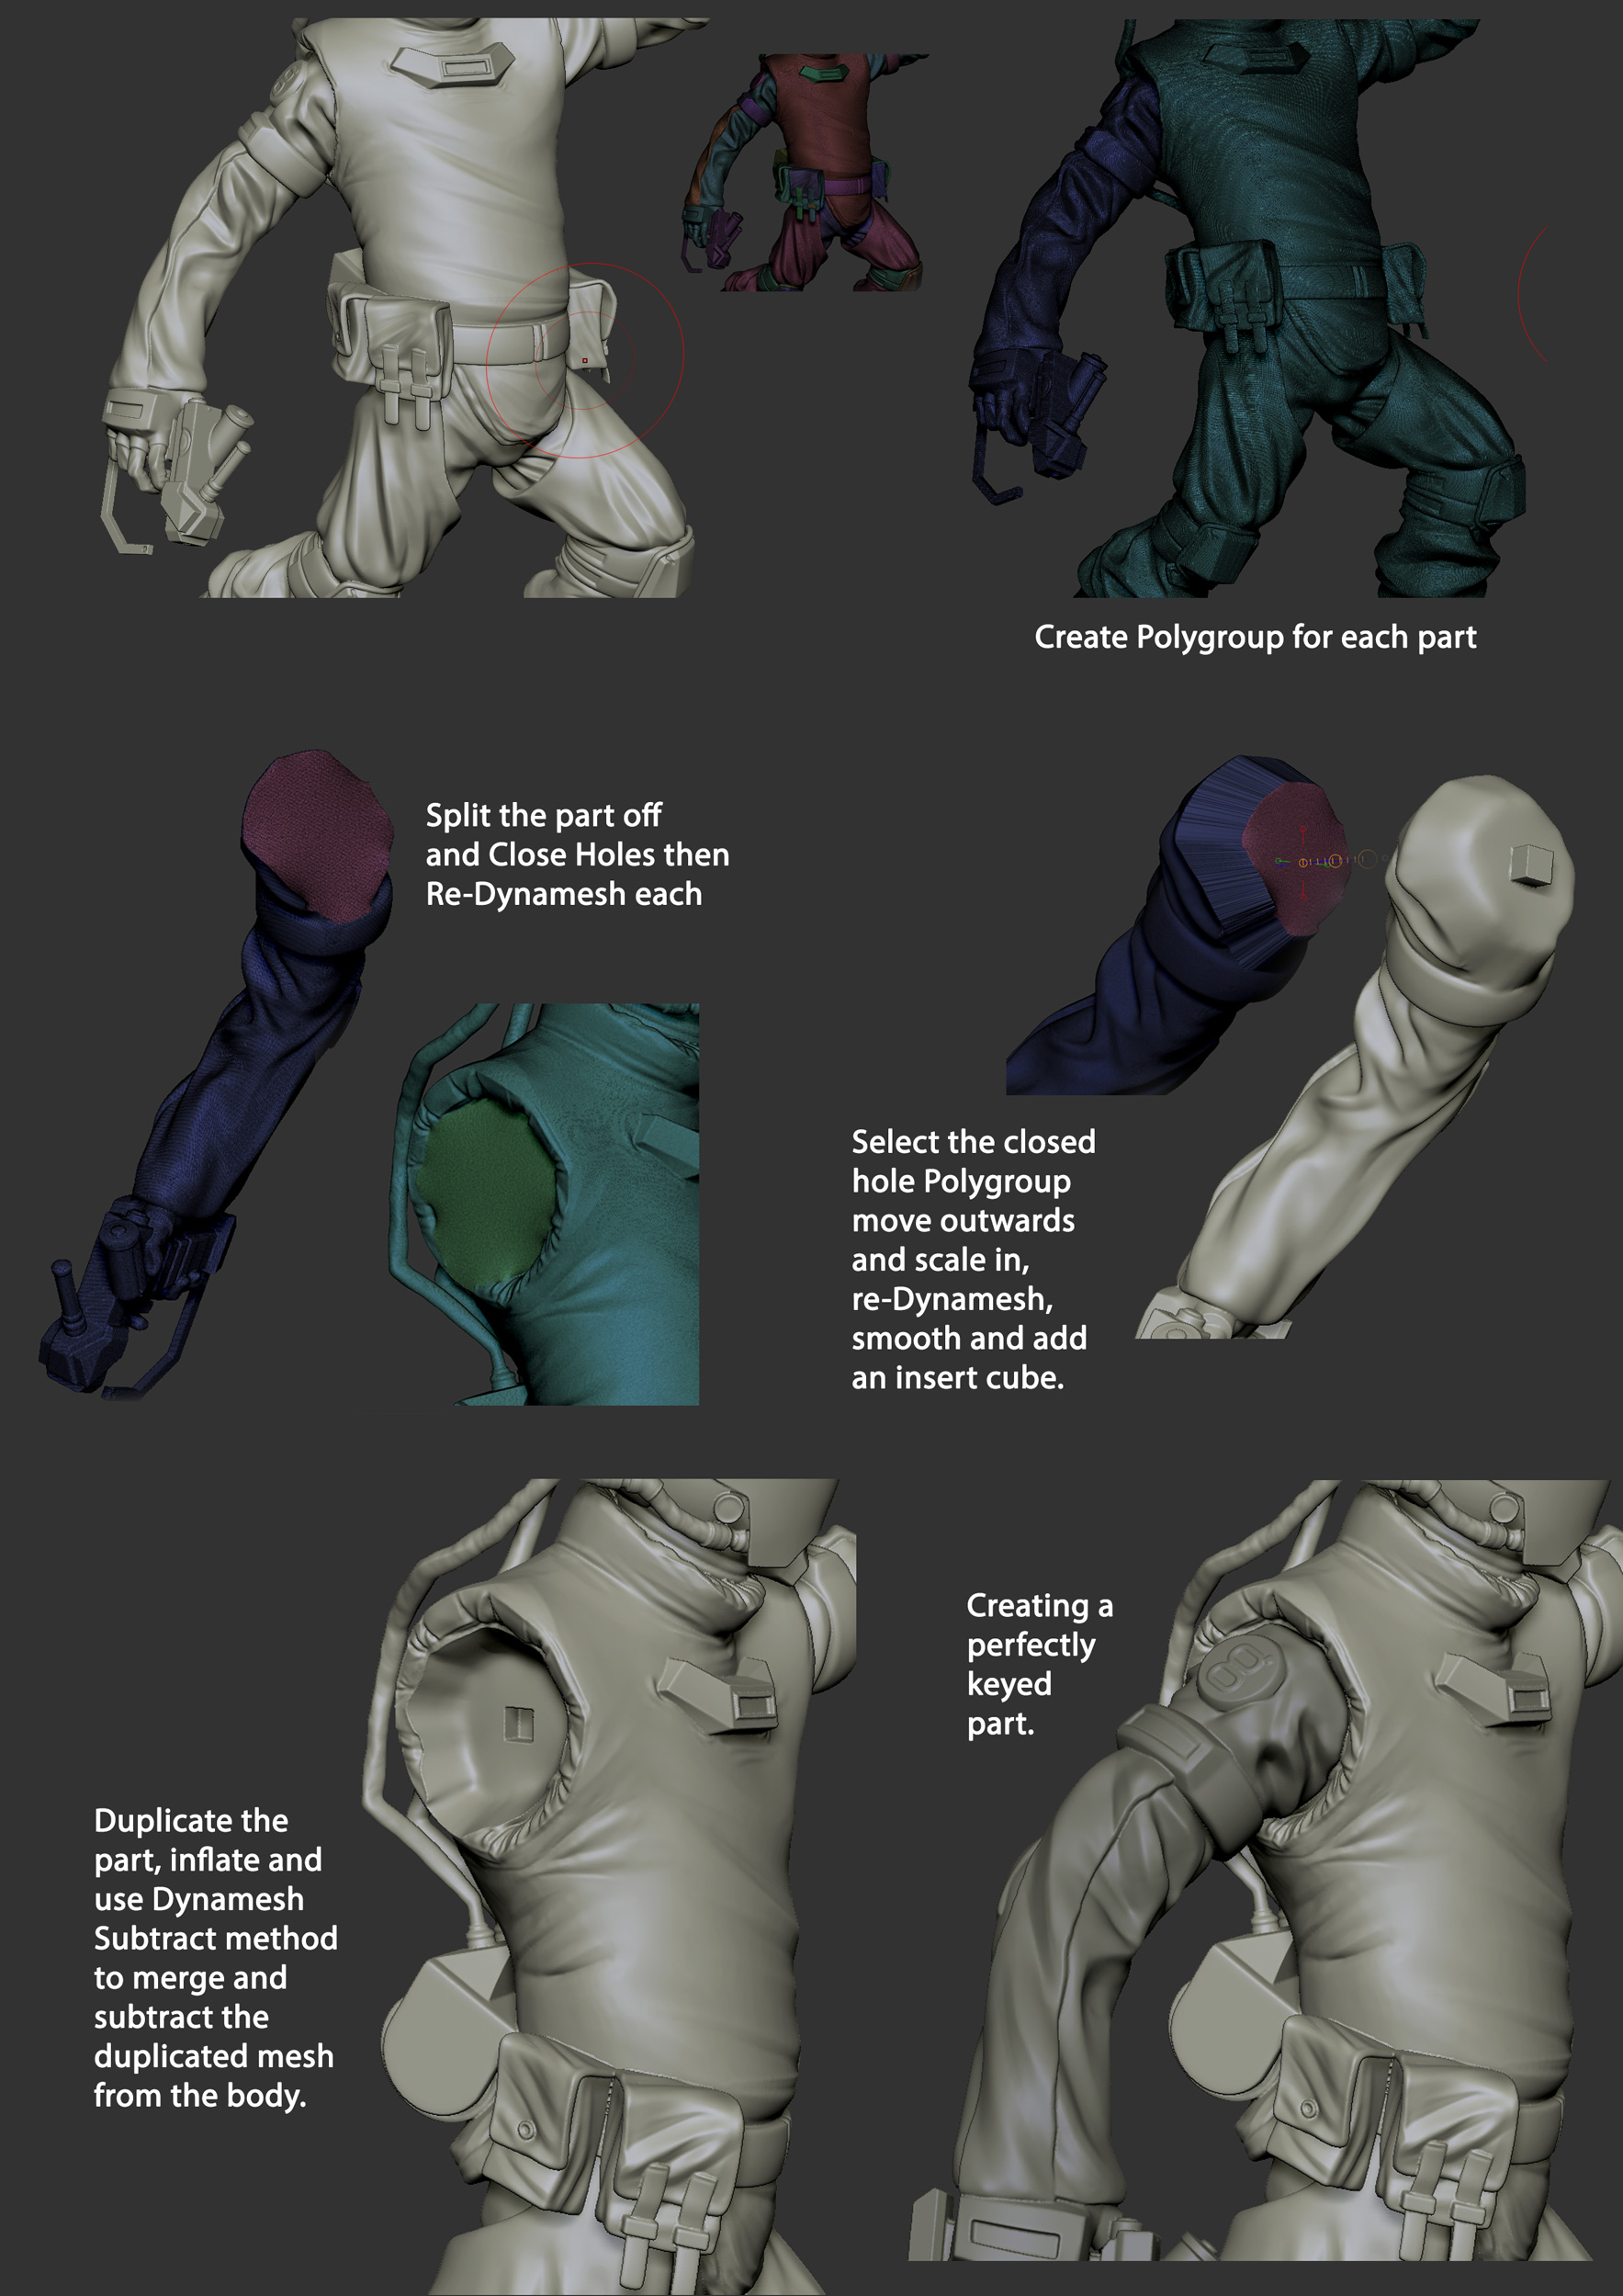
@rokkuroxxas Thanks! Yes unfortunately Dynameshing for physical production can sometimes be a reductive process in terms of quality. I don’t really have a concrete methodology when cutting up, I tend to look for areas where I can make straight cuts first as they tend to be a lot cleaner or easier to clean up at least, I use the slice tool mostly for that. Sometimes in hard to reach areas I will create a polygroup from a mask after masking out the area and do a group loops to create a clean cut. Other times I will have already planned out where I want two separate parts so I wont even merge them, just sculpt a flat surface between them and create a key using a pyramid Insert mesh, duplicating the positive part and dynamesh subtract from the female part. I do tend to get those awful jaggys when cutting up, sometimes the best thing to do is to smooth them out a little with the smooth brush on a really low setting. Also trim dynamic is great for flattening awkward sticky out bits!
Here’s something I did a while back that might help too:
Beautiful work James. No surprise it found itself in the top row. That last post is quite helpful as well. Thanks for that. Always an inspiration!
You’ve thoroughly spoiled your client - they’re fantastic 