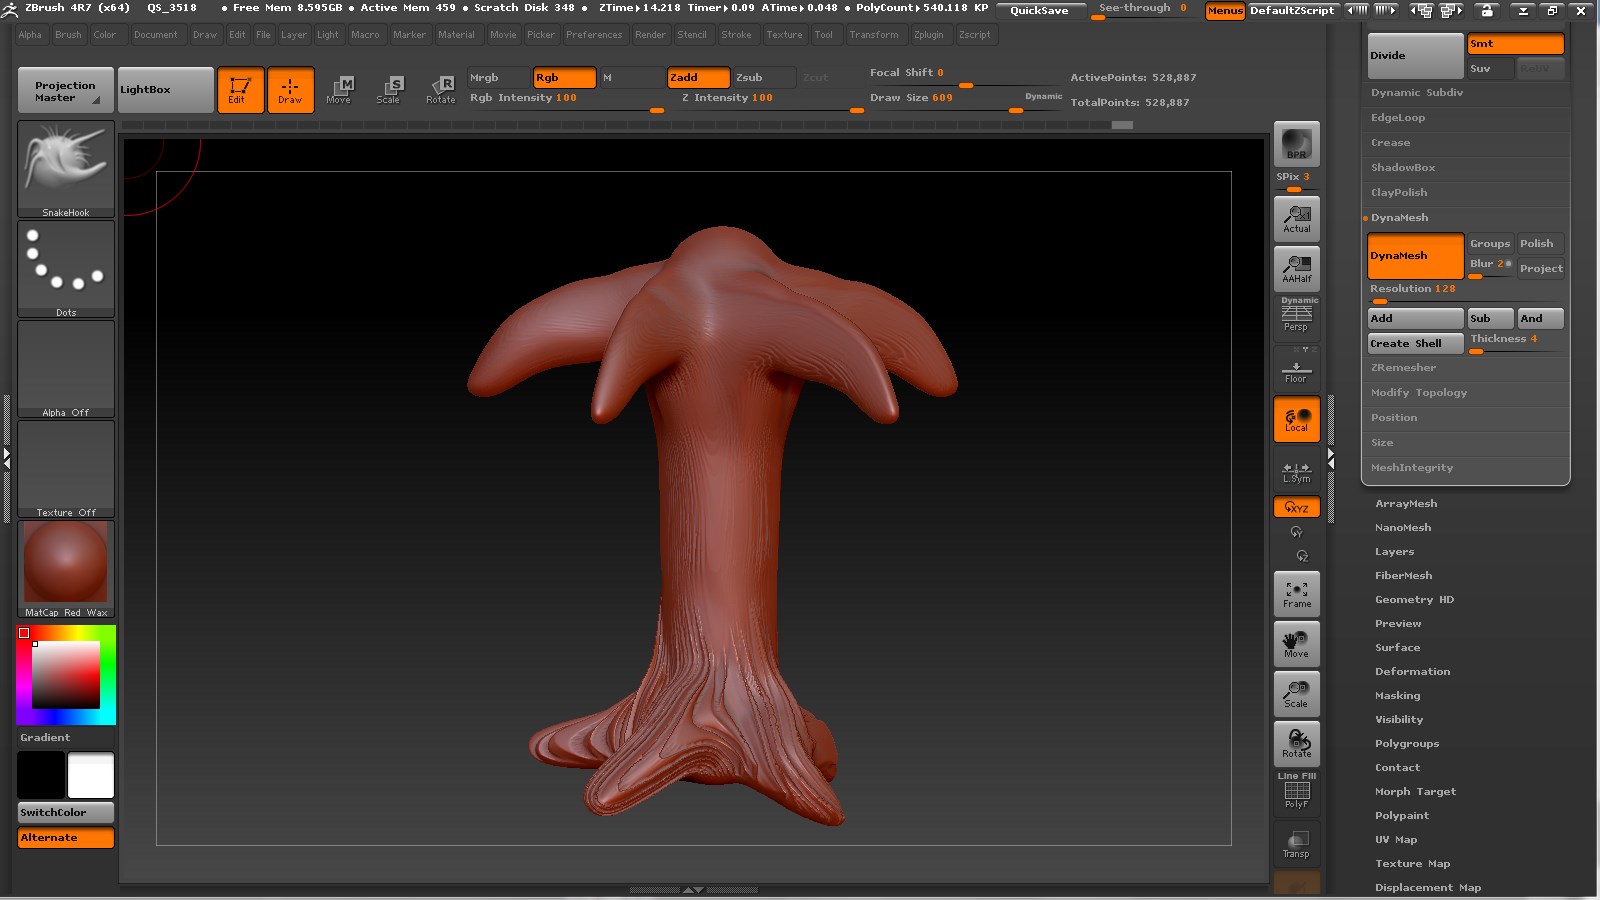
ZBrushCentral

Greeble Pack for Zbrush 4R7

michalis,

you make it look so easy…would love to see a detailed explanation,
e.g. 1. make a polymesh (or import an obj) 2. run ZRemesher, etc.

I always listen to what you say, even if I don’t always understand the
work flow. I want to learn how. :):+1:

E.g. I tried using the mid level slider but it didn’t seem to do anything.
I’m missing something simple…just don’t see it yet.

For low poly assets with normal maps (tangent) support, we may need another thread devoted to this surprisingly difficult task.

Would you like to start it? :sunglasses:

Nice models & renders…mine never look that clean, even though I use Antialiasing on the texture map.
But do you even need more than just a white texture for displacements?

I still need to get better at UVs in Blender, too. Oliver Villar’s videois a great help
(based on your map & method). Just need to practice over & over.

I’m still learning to use paleo3d’s displacement map-less displacement method.
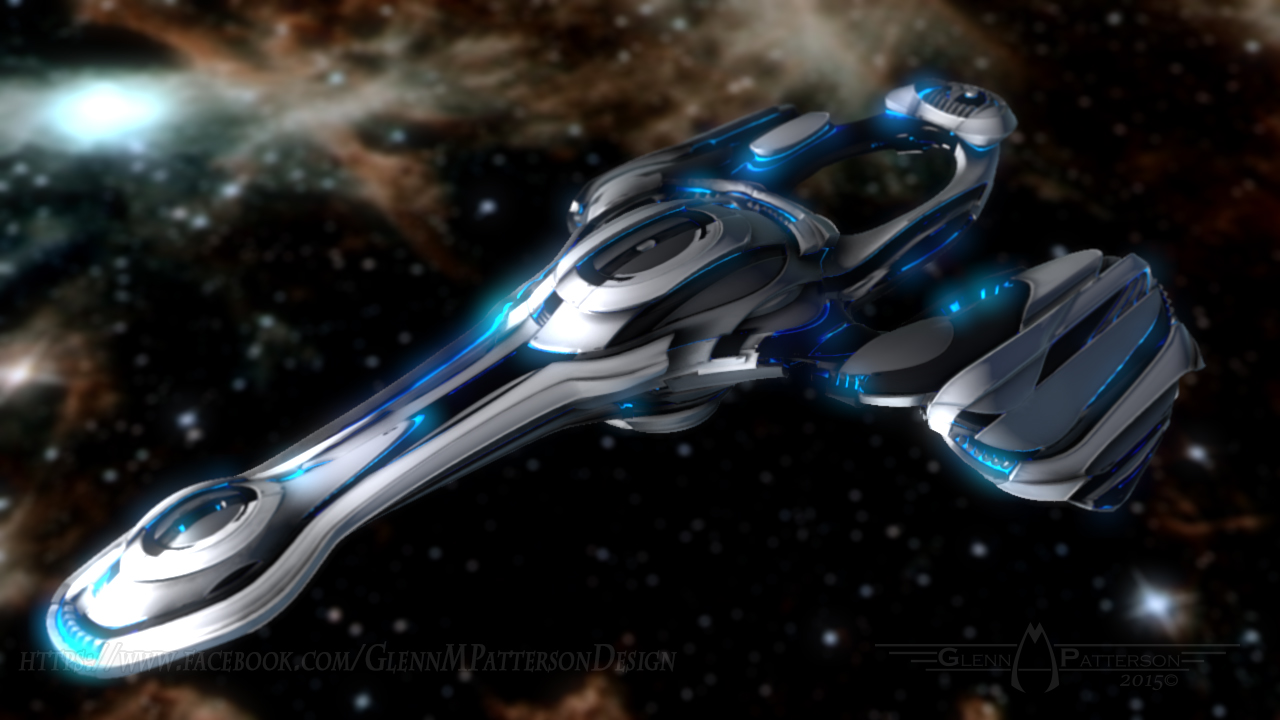
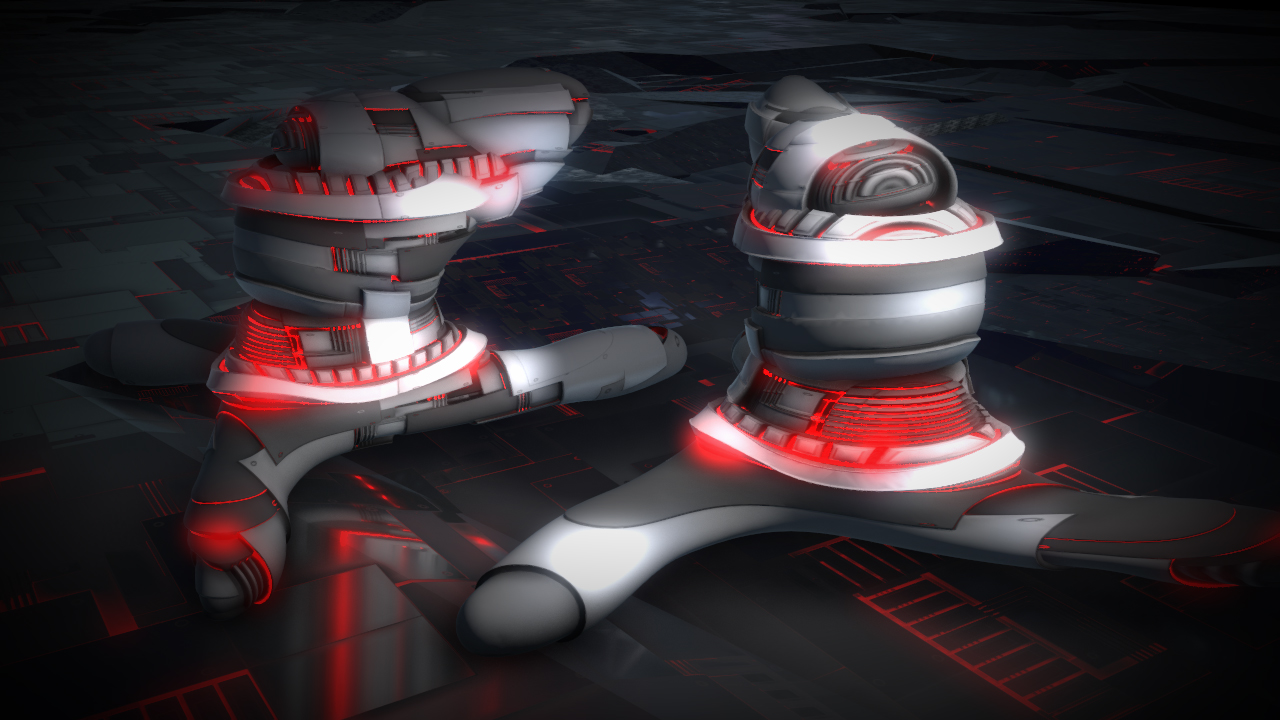
GMP1993,
how did you get such clean displacements in those cool “things” 2 pages back? What level of division & poly count?
Great to see you animating in E3D. Very cool! :wink:

BTW, michalis says jpgs are bad for displacements, and to use 16bit tiff instead, or 32bit exr (I can’t get ZB to use an exr
as a displacement map).

All of your maps are jpg, but seem to work well for you.

Is RAW any good for depth maps?

Looking forward to your E3D creations using greebled ZBrush meshes. ;):+1:

Thanks for the info, michalis. Still playing around with this myself. Can’t decide if I like the displacement editor method or the texture/mask/inflate method…

how did you get such clean displacements in those cool “things” 2 pages back? What level of division & poly count?

I Like to stay around 10 Million Poly to get a good displacement, then just Decimate it down. Usually Decimate to 200k Poly, which seems to be a good number for bringing it into another app such as Element 3D.

BTW, michalis says jpgs are bad for displacements, and to use 16bit tiff instead, or 32bit exr (I can’t get ZB to use an exr
as a displacement map).

Yes, I know. I notated it in one of my Videos the importance of using Tiff for your displacements. Usually the stuff I’m displacing is with a Tiff. JPEG seems to have difficulty with the smooth areas. Check out the Video to see http://youtu.be/sSxCQCxRNis?t=8m37s

Is RAW any good for depth maps?

When I say RAW I mean in Terms of Camera RAW Files. Im sure you can make a displacement out of it, just be a little odd, since its not capturing Depth.

Looking forward to your E3D creations using greebled ZBrush meshes. ;):+1:

Thinking of doing a Breakdown of my Methods of Displacing Objects and getting them into programs like E3D

Here’s a Link to all my Tiled Greebles in TIFF if you want to play with them.

Some more Displacement Modeling in Zbrush using one of the Greebles from the Generator, Decimated down to 200K Poly, and Exported to Element 3Dv2 to do a Quick Turntable. Enjoy :wink:

<iframe width="853" height="480" src="https://www.youtube.com/embed/ytlen6SyADg" frameborder="0" allowfullscreen

GreebleShip (0-00-00-00).jpg

Attachments

GreebleShip (0-00-00-00).jpg

WOW! I like that ZB/E3D ship! Looks ready to boldly go wherever. Way cool! :):+1:small_orange_diamond:+1:small_orange_diamond:+1:

Thanks for the tiff maps, and the tutorial…I’ll work on it. :wink:

Later…

how did you get your greebles to be symetrically oriented on the ship?

What did the basic mesh look like before you applied the displacement?
Great job! :slight_smile:

the blue lights in the ship,
is this rendered by Element 3D?

grtz p

how did you get your greebles to be symetrically oriented on the ship?

What did the basic mesh look like before you applied the displacement?
Great job! :slight_smile:

Patpotlood the blue lights in the ship,
is this rendered by Element 3D?

I’ll have a Walkthrough later today showing the Creation in Zbrush and getting the Model in E3D with a Glowing Effect in E3D.

Impressive results, using Elements 3d.
Not for very close ups, but it works. :+1:
After all we have seen similar effects in movies and they worked alright.
BTW questions about blender (or other UV editors) should be answered in blender artists forum or elsewhere. Please.
I’m afraid I spoiled this excellent thread (a little) already, not intentionally.

michalis Impressive results, using Elements 3d.
Not for very close ups, but it works. :+1:

Thanks. No, not really good for close ups, but great for Background Assets.

BTW questions about blender (or other UV editors) should be answered in blender artists forum or elsewhere. Please.
I’m afraid I spoiled this excellent thread (a little) already, not intentionally.

Not a Big Deal, topics always get a little off Tangent in Threads, especially when it comes to UV’s in Zbrush. I always appreciate your insight into better ways of doing things.

Walkthrough of my Displacement Technique in Zbrush 4R7 and Exporting into Element 3D Easily. Enjoy :wink:

<iframe width="960" height="720" src="https://www.youtube.com/embed/RVcP8WR8KNA" frameborder="0" allowfullscreen

Tutorial (0-00-00-00).jpg

Attachments

Tutorial (0-00-00-00).jpg

GMP1993,

Thanks for the tutorial!

I’m watching it now, and will use it asap. :wink:

Thanks for the tutorial!

I’m watching it now, and will use it asap. :wink:

Cool! Let me know what you come up with

GMP1993,

Awesome tutorial! Easy to follow, great learning. :):+1:small_orange_diamond:+1:small_orange_diamond:+1:

I’ve never used the snake hook brush before, but it will be one
of my favorite tools now, especially for SciFi.:wink:

I need to go through it at least once more, and hope to post
something cool.

megacal GMP1993,

Awesome tutorial! Easy to follow, great learning. :):+1:small_orange_diamond:+1:small_orange_diamond:+1:

I’ve never used the snake hook brush before, but it will be one
of my favorite tools now, especially for SciFi.:wink:

I need to go through it at least once more, and hope to post
something cool.

Snake Hook Tool is Fun, use it like the Move Tool to get some interesting distortions. Take your time on creating something, I know I go quick in my Tutorial, but I’ve been creating stuff all week. It does get quicker and easier the more you do it. Most of all Have Fun Exploring those Shapes

I really like the combination of asymetrical base mesh with the hard surface
details…very alien looking.

Also the way you cut the mesh into 3 different ones…great idea. I don’t know about
E3D, but in C4D, Blender, VUE…the exported mesh is many parts, so they can be
animated, textured, etc individually, even without the cuts.

Haven’t even got to ArrayMesh/NanoMesh yet!

Do you ever use AO or specular maps? I accidently used the texture map for a displacement…
it worked so so. I know the normal map is colored, but anything can be converted to grayscale
and used as displacement, right?

When you create the greeble ztls, do you use PS layers?

BTW, having a problem with Dynamesh…when I try to retopo with ctrl (mask), it just masks instead of
smoothing & getting rid of the stretch marks (?).

When using DynaMesh Mask outside your mesh and it should reproject your topology, if your model is masked do it twice, once to clear mask a second to retopolgize.

When you create the greeble ztls, do you use PS layers?

No, just used Zmodeler and turned them into NanoMeshes

Do you ever use AO or specular maps?

No I dont use the AO, except for the Combined Texture Render. Lot of People including Michalis uses AO for their Texture. With the way the Greeble 1024*1024 Project File is set up you get the light coming from almost in front of the Greeble Plus the AO and the Multi Shaded Panels, I feel you get a Better Texture plus the Depth Pass to Displace it.

I know the normal map is colored, but anything can be converted to grayscale
and used as displacement, right?

True as long as you remember that everything towards the white will push out and everything below the mid gray to Black will push in when your doing displacements. For Example you want to use a Photo of someones face for displacement, typically it will displace funky due to the light source being off angle. What you want to do then is take a shot of the face straight on with the light source right in front of their face and no other light but the one in front of their face, typically a flash, so you end up getting the white on the tip of there nose and the light falling off towards the edge of their face, that would make a better displacement, still wouldnt be perfect.

Quick Tutorial on getting rid of the Asymmetrical Look in your Displacements and getting a Symmetrical Look to your Symmetrical Models.

<iframe width="960" height="720" src="https://www.youtube.com/embed/PSmKVPSCFdQ" frameborder="0" allowfullscreen

untitled.58.jpg

Attachments

untitled.58.jpg

Thanks for the new tutorial! Just got home and will go through it asap. :wink:

More great models…Gog & Magog?

re: problem with Dynamesh…

.when I try to retopo with ctrl (mask), it just masks instead of
smoothing & getting rid of the stretch marks (?).

Maybe Dynamesh can’t cope with really stretched polys?
dynameshProblem.jpg

Attachments

dynameshProblem.jpg

.when I try to retopo with ctrl (mask), it just masks instead of
smoothing & getting rid of the stretch marks (?).

When your masking, are you masking any of the model. Dynamesh wont retopo untill the mask is cleared and you mask away from your mesh, dont mask any part of the mesh just empty canvas. If your unsure if its doing anything turn poly fill on and youll be able to see if it retopos. Dynamesh doesnt do a smoothing action unless you have polish on in the Dynamesh Pallet, also if you stretch it way out it’ll retopo but not smooth too well so you may have to manually smooth it.

When your masking, are you masking any of the model.
No.

Dynamesh doesnt do a smoothing action unless you have polish on in the Dynamesh Pallet, also if you stretch it way out it’ll retopo but not smooth too well so you may have to manually smooth it.

re: polish…even when I turn it on, still no retopo…not even a little (?)

I’m sure I’ll get the hang of it…practice, practice, practice. :wink:

Did you try paleo3d’s method for displacements without a displacement map? I’ll try it both ways
using the same map to see the difference.