ZBrushCentral

Greeble Pack for Zbrush 4R7

Did you try paleo3d’s method for displacements without a displacement map? I’ll try it both ways
using the same map to see the difference.

I have, but prefer Michalis method of Exporting and Re Importing the Model, seems to be Quicker and Easier. Also your getting a True Displacement with Michalis method, geometry being pushed in and out at the same time.

Just went through your last tutorial on symetrical tiling/displacements…WOW!
That’s so cool!

Thanks! :):+1:small_orange_diamond:+1:small_orange_diamond:+1:

megacal Just went through your last tutorial on symetrical tiling/displacements…WOW!
That’s so cool!

Thanks! :):+1:small_orange_diamond:+1:small_orange_diamond:+1:

Your Welcome.

Cool posts !
“Symmetrize + weld” worked because symmetry was On when Zremesh (retopology) took place.
If not, triangles may occur near the symmetry line-area. A mess.

What really happens under this workaround: Mirror and weld creates two sets of UV islands, overlapping each other on a map.

Hi, Glenn!

First, thanks so much for sharing your knowledge with those tutorials, and sharing your greeble packs! Much appreciated!

I’m still pretty much ZBrush-stupid and just learning my way around, so please forgive the stupid questions, but I’m wondering ‘what if’……

Let’s say you just want to apply greebles to one poly group on a model? And let’s say you have a spacecraft with a lot of fancy panel loops, and you just want to apply greebles to one particular set - or even various sets of loops, but not all? Could that be done without distorting the geo of the surrounding model?

I should be experimenting with these things myself, but don’t yet possess sufficient knowledge. Just wondering for future reference.

Thanks!

@Morbius
Why not splitting the mesh in multiple sudtools?
This is how to do it in zbrush.
Another alternative somehow. You can split in polygroups and ask for individual UV mapping. It works (surprise).
Anyway, it can be done using external UV editors. The basic idea is to place your selected areas/faces) where you like them (on a displ map) and the rest scaled as 1x1 pixel on a gray - neutral area of this map.
Consider it as a different way of modeling.
Some examples, impossible using zbrush only.
Second image, only the displ map created in zbrush, the rest externally.spiroides.jpgScreen Shot 2013-08-08 at 8.47.03 PM.jpg

Thanks Michalis for all your Info. Morbius I have another solution for you, so you can stay in Zbrush. It uses Morph Targets, Mask, and Polygroups. Watch the Video Below to see how to go about it. Hope it Helps.

<iframe width="960" height="720" src="https://www.youtube.com/embed/24i90Jm1XXo" frameborder="0" allowfullscreen

untitled.60.jpg

Attachments

untitled.60.jpg

Brilliant, Glenn!

Wow, I didn’t expect a video tutorial. Thank you SO much!

Morph targets would never have occurred to me, and even if it had, I probably would never have figured out the ‘how’. I had thought about just simply isolating the inset area polygroup I wanted to apply displacement to, but didn’t know how that would afffect the surrounding geo.

I model in Modo, but I’m leaning more and more towards ZBrush with the introduction of all the new modeling tools. Great stuff. Modo also has very nice UV mapping, so I can always fall back on that if needs be - but I really prefer to stay in one package as much as possible. However, I’ll be rendering stills and animating in Modo, so that should be fun as well.
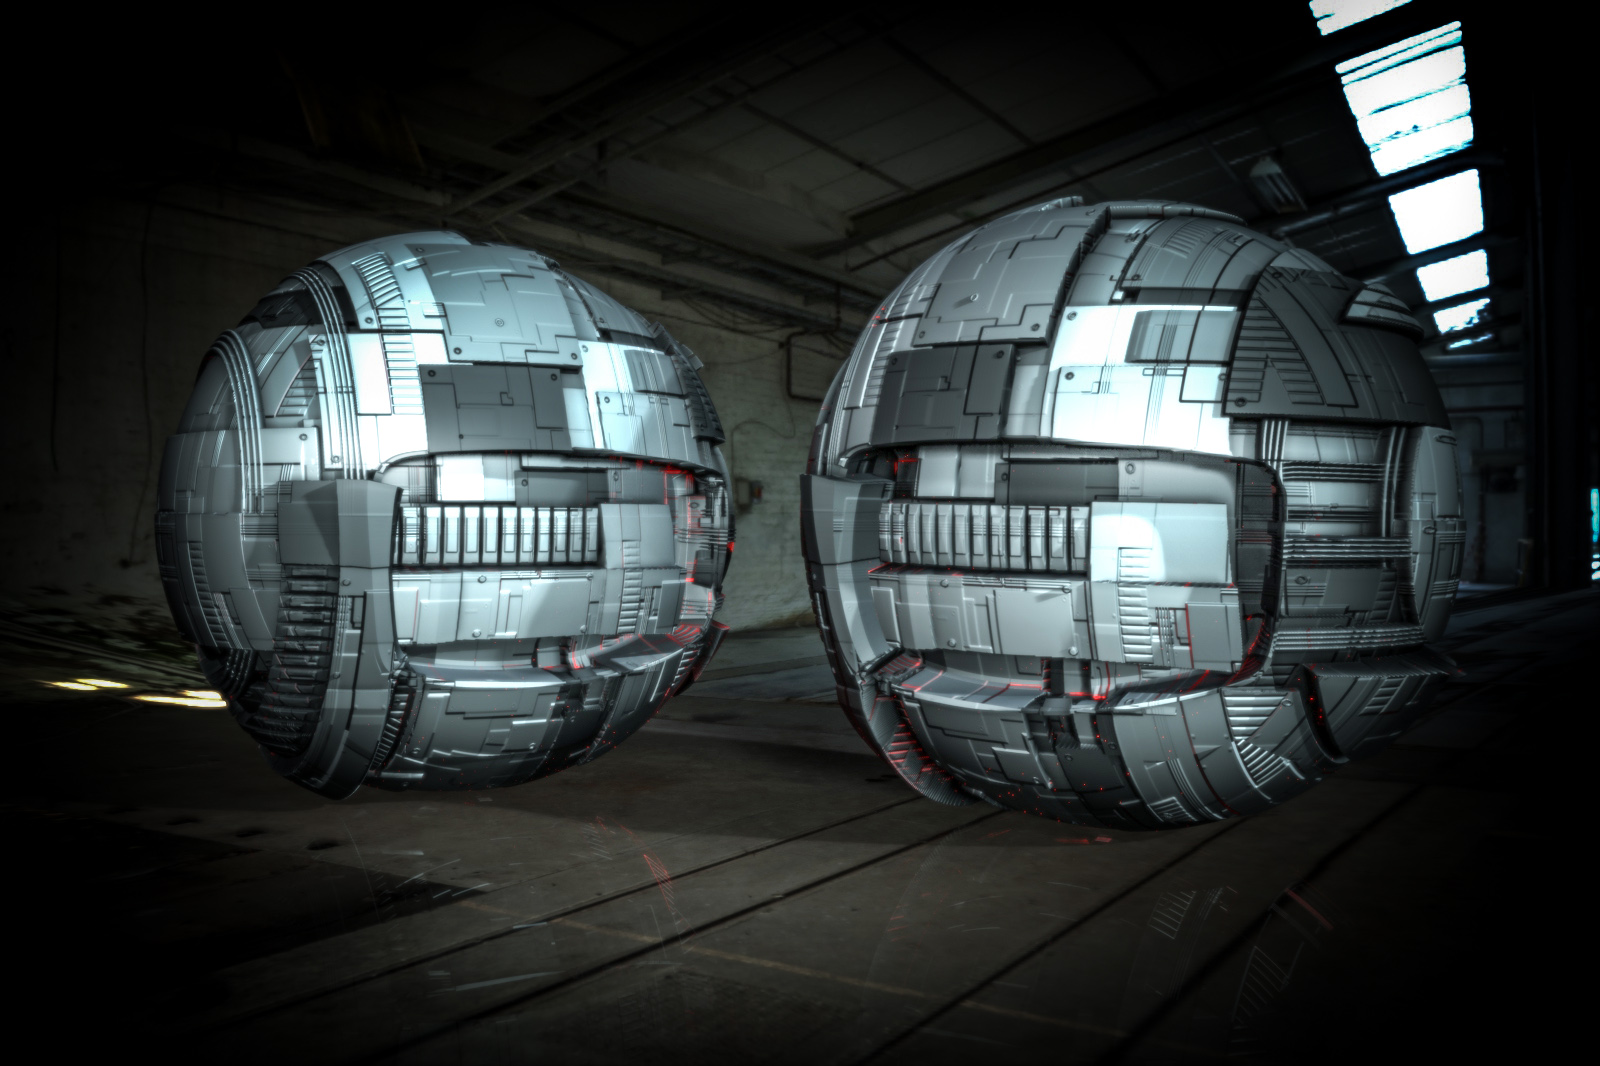
Working on a half-fast :wink: spaceship, and have inset channels running down the length of the body and around the engine areas. I was thinking it would be nice to greeble the heck out of the inset areas with pipes and tubes and junk, and since it will be medium and long shots anyway, I didn’t see the sense in physically modeling all the pipes, etc. - which I would if closeups were needed.

Great thread here, and jam-packed with excellent information! In fact, I’m going to go back through it all over again.

Thank you very, very much! I’ll make sure to post the ship so you can see what I’m doing, but I’m sure you get my drift.

Chuck

@Michalis

Thank you very much for the information! Every little bit helps!

I will try out all you’ve suggested! There are always so many ways to accomplish the same thing, and sometimes happy accidents lead to new ways of doing things!

Many thanks! :slight_smile:

Morbius Brilliant, Glenn!

Wow, I didn’t expect a video tutorial. Thank you SO much!

Your Welcome! I dont know about you but I learn better by seeing the process in action then just reading how to do it, also thought someone else could Benefit from this Technique so I did a Video. Cant wait to see the finished ship

And I sure wish the ‘Reply with Quote’ worked for me in these forums. Apparently does for some, and not for others!

Yep, Glenn, I’m with you. I’ve long since given up on trying to balance texts on my knee or desktop, and trying to read AND model along at the same time. Video tutorials are THE only way for me any more, so it is much appreciated - ESPECIALLY with the ZB UI. I get lost in pulldown-land pretty easily, and only recently learned about the magnifying glass (shift - m)! GEEZ, what a difference! These old eyes been going blind on the UI.

Another thing I noticed (or haven’t) is scaling the displacement map? Really not necessary if you’re building your displacement maps using UV’s of course. In your previous video example for instance, could you scale your displacement down roughly to the size of the inset area if you wanted to, or is there no way other than UVing?

Gads, I’m anxious to get my fingers into this, but first things first!

Morbius And I sure wish the ‘Reply with Quote’ worked for me in these forums. Apparently does for some, and not for others!

Lol, actually they are doing it manually like me. There’s a Quote Button next to add image button, just highlight the quote you want ctrl-c for copy, press the quote button and ctrl-v to paste and it’ll turn into a quote when you submit the reply. Use to be able to quote by clicking on the reply with quote button, but when they went to ZBsee on the forum it didnt work anymore.

Another thing I noticed (or haven’t) is scaling the displacement map? Really not necessary if you’re building your displacement maps using UV’s of course. In your previous video example for instance, could you scale your displacement down roughly to the size of the inset area if you wanted to, or is there no way other than UVing?

Dont think you can scale it down inside Zbrush you may have to do a external UV editor for that, usually I just adjust the Tilling and find what I like then apply.

Michalis has much better understanding of UV’s then I do, may want to hit him up on that subject, I’m sure he’ll say do it in a external UV editor

Glenn,

I learn better by seeing the process in action then just reading how to do it

Yes, videos are essential, and yours are outstanding. :):+1:small_orange_diamond:+1:small_orange_diamond:+1:

But I also recommend printing out the info as well. In fact, I plan to go through each of the
tutorials here, and print out the steps, and add it to a growing folder of printouts I started
earlier in mealea’s thread, Now I’m Having Fun. It really helps (at least me) to see the
words as well as the video.

Also, it’s easier to find the info in a printout, vs just trying to find it in videos…i.e. find the topic or method in the
printout, then go to the relevant video…they are synergistic when used together.

And of course, do it in ZBrush till it becomes familiar. :wink:

Morbius,
welcome to the party…this is a very informative & way cool thread. :):+1:small_orange_diamond:+1:small_orange_diamond:+1:
Copy/paste works well for quotes.

Dont think you can scale it down inside Zbrush you may have to do a external UV editor for that, usually I just adjust the Tilling and find what I like then apply.

Michalis has much better understanding of UV’s then I do, may want to hit him up on that subject, I’m sure he’ll say do it in a external UV editor

Thanks for the hot tip on quotes!

Yep, I’ve just been meandering through Michalis’ thread, and tons of good stuff there, too! Crazy good.

I’m heavy into UV’s and texturing, so I’m sure I’ll be GoZ’ing back and forth very shortly. :slight_smile:

Thanks!

Morbius,
welcome to the party…this is a very informative & way cool thread. :):+1:small_orange_diamond:+1:small_orange_diamond:+1:
Copy/paste works well for quotes.

Thanks, megacal!

Yep, I’ve been lurking around mealea’s thread for DAYS. Endlessly fascinating stuff.

So much to learn, so little time.

Lol, actually they are doing it manually like me. There’s a Quote Button next to add image button, just highlight the quote you want ctrl-c for copy, press the quote button and ctrl-v to paste and it’ll turn into a quote when you submit the reply. Use to be able to quote by clicking on the reply with quote button, but when they went to ZBsee on the forum it didnt work anymore.

It works well ! thx ! :slight_smile:

Thank you for your time to answer with this video.:+1:

Hey Glenn,

just a suggestion about symmetrical displacement video (which I’m watching over & over to
get the workflow)…

After creating polygroups with the slice tool,
use “polish” instead of “polish by groups” to delineate the groups,
because the the 'polish by groups" crease gets lost when displacements are applied.

E.g. in your video on page 8, #130, the groups really stood out even with
displacement, because the groups were outlined by the inset.

Very cool models, btw…like super daleks. :slight_smile:

Thanks Everyone! Glad your Enjoying the Thread. Now Take all that Info you have and Produce Some Cool Pieces to Show Off. :smiley:

Now Take all that Info you have and Produce Some Cool Pieces to Show Off.

Soon! Fiddling with GreeblePack V2 today! :slight_smile:

I will take a look at this soon, will start to ask questions. Thanks for sharing.