ZBrushCentral

Greeble Pack for Zbrush 4R7

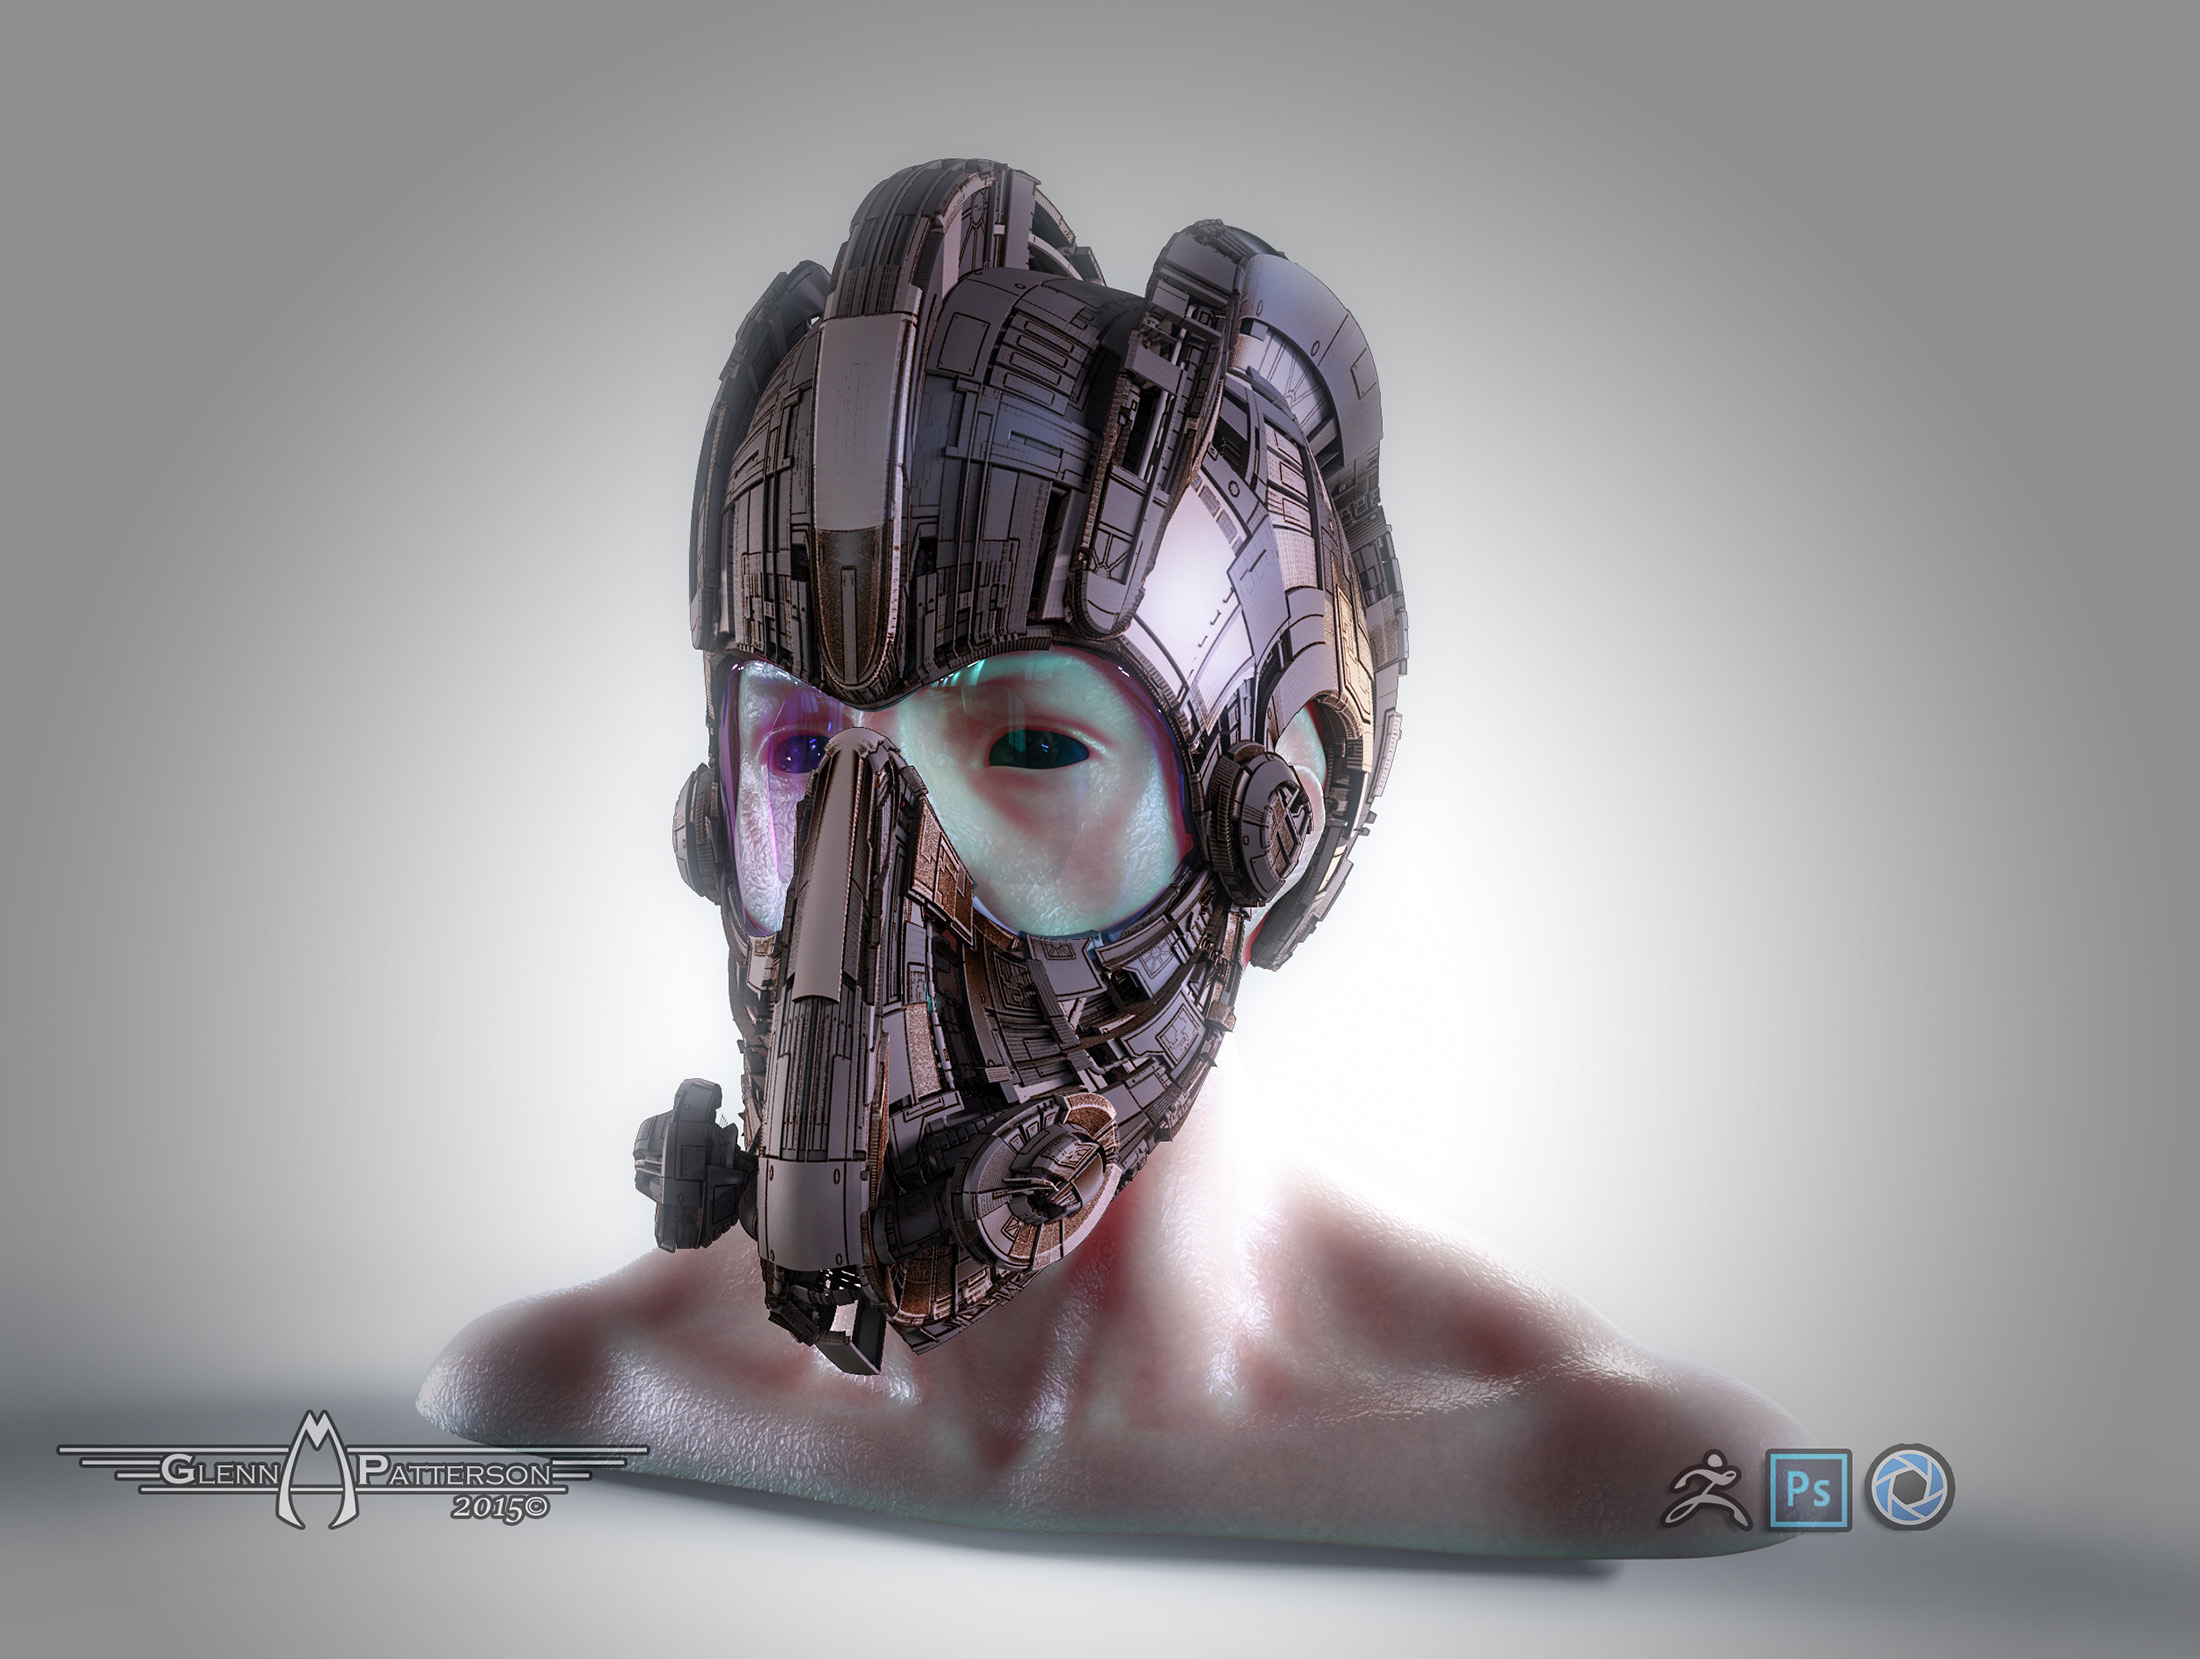
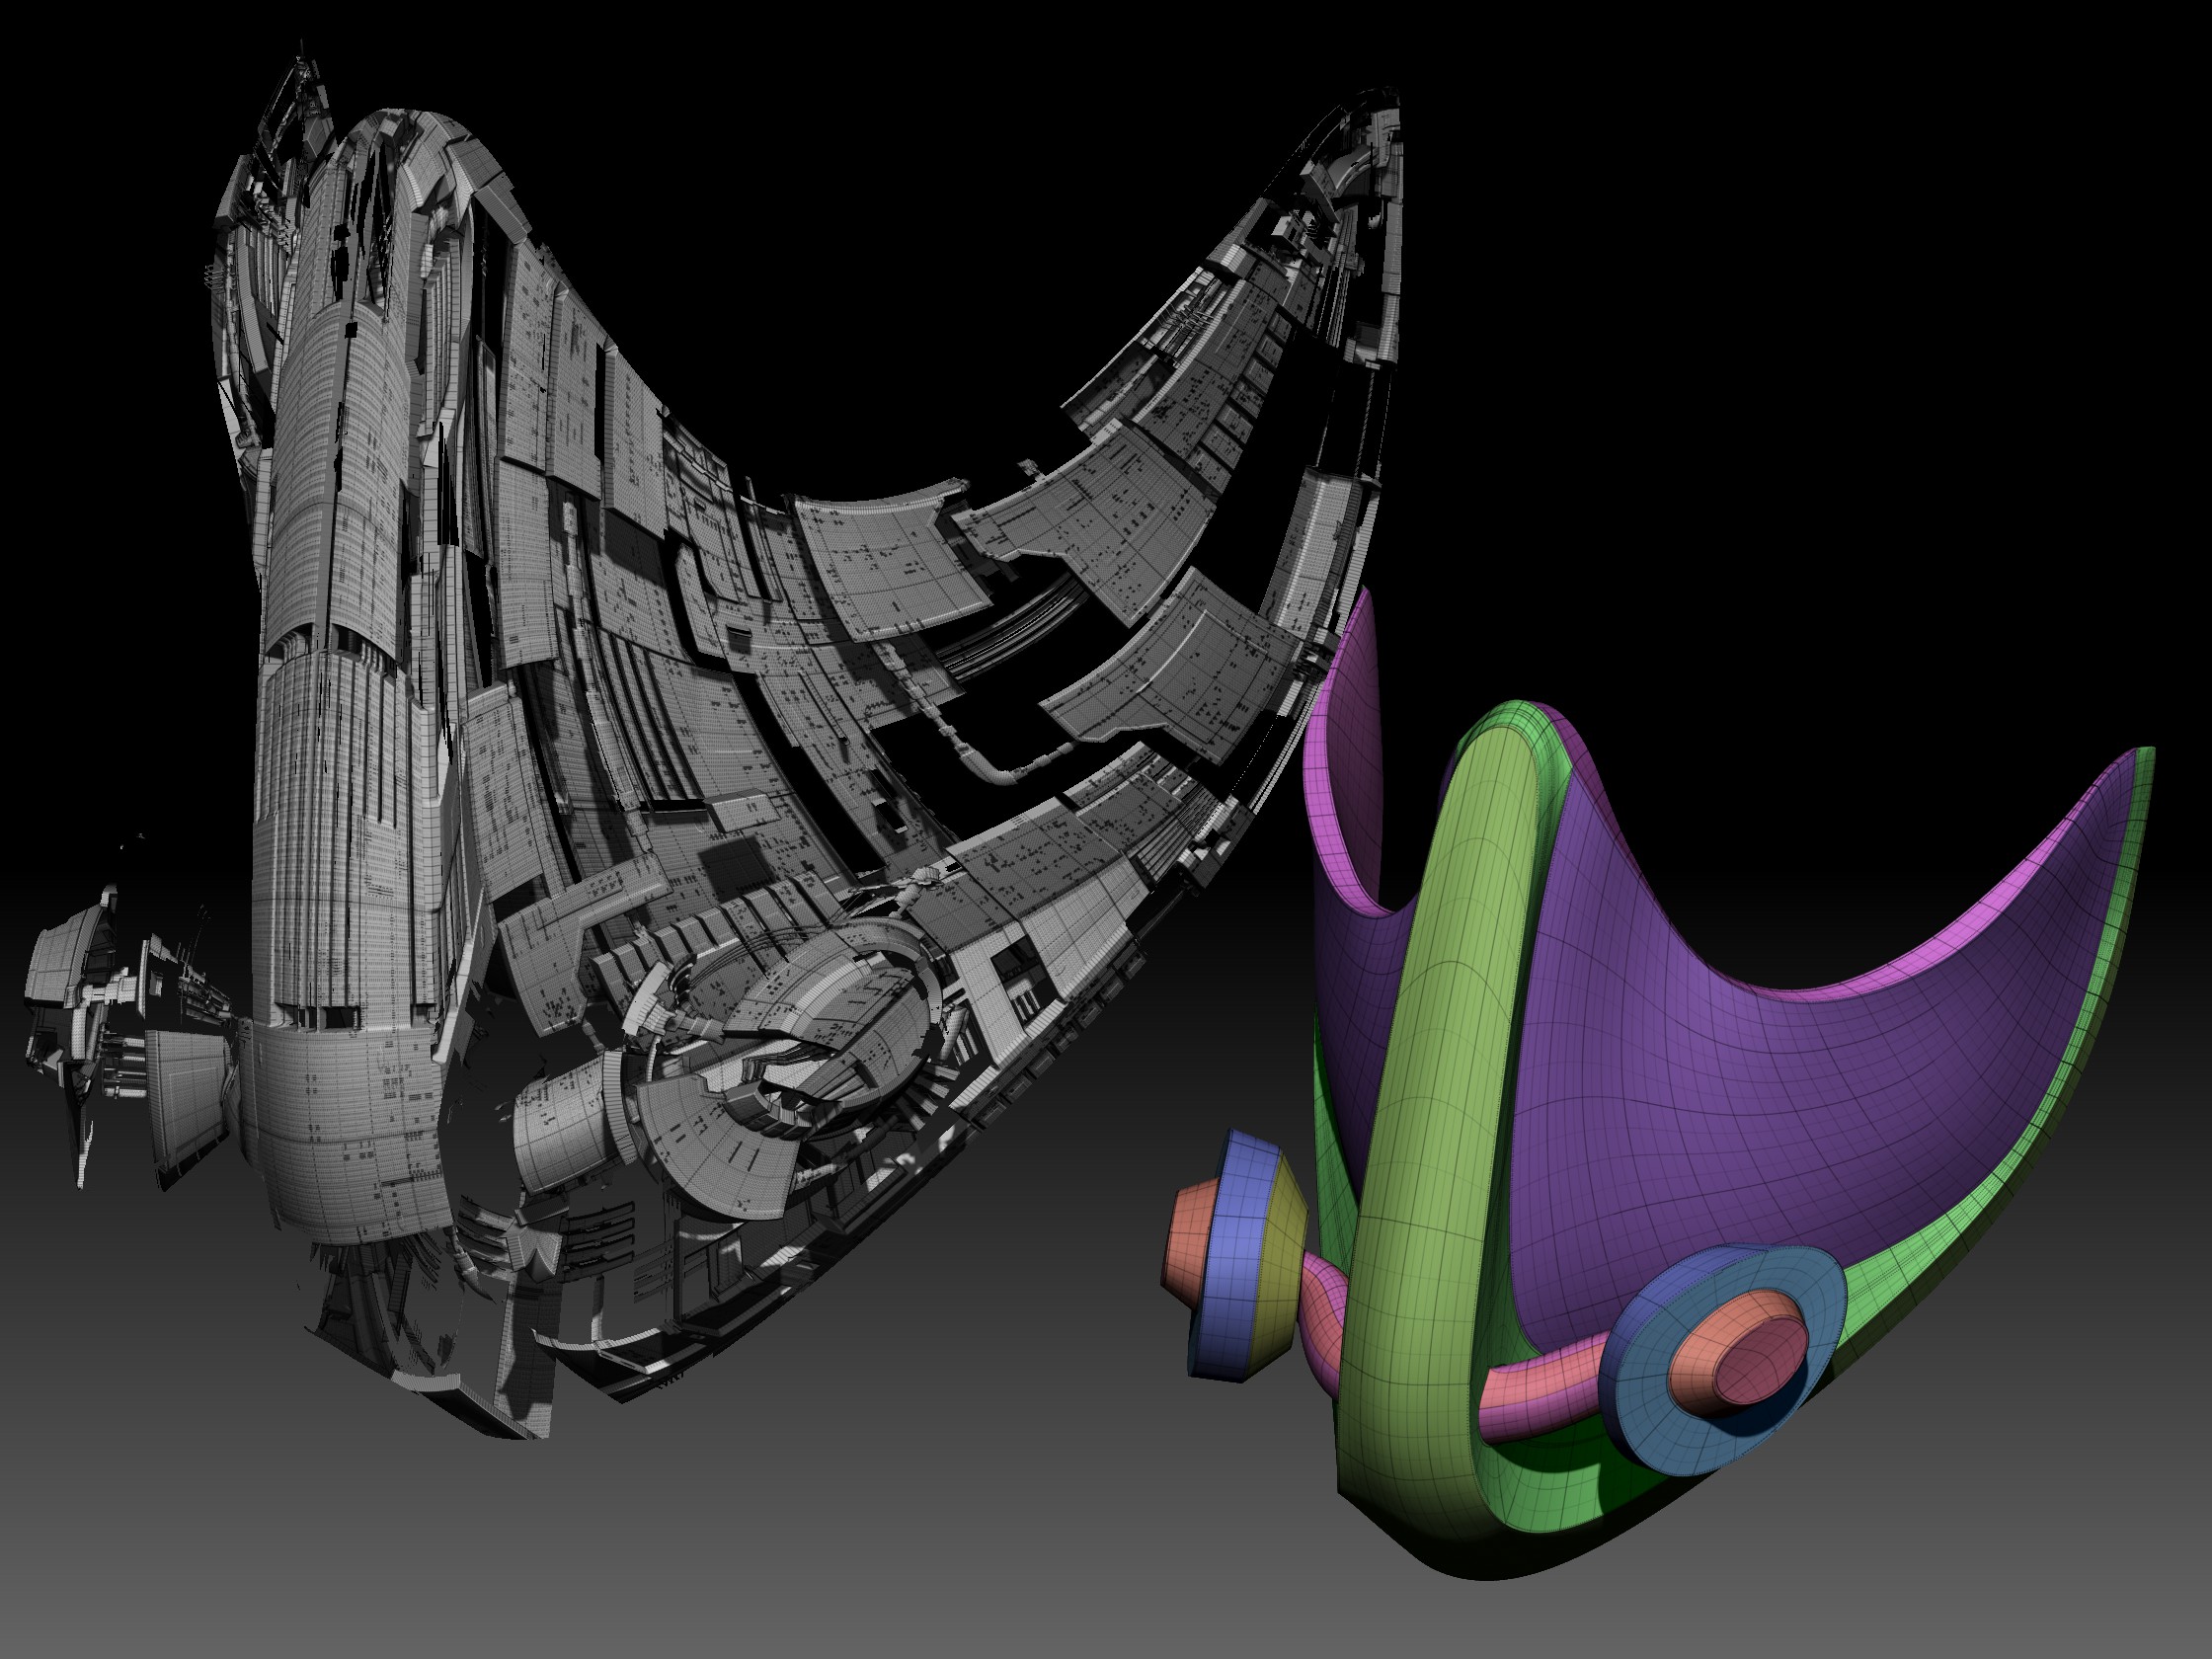
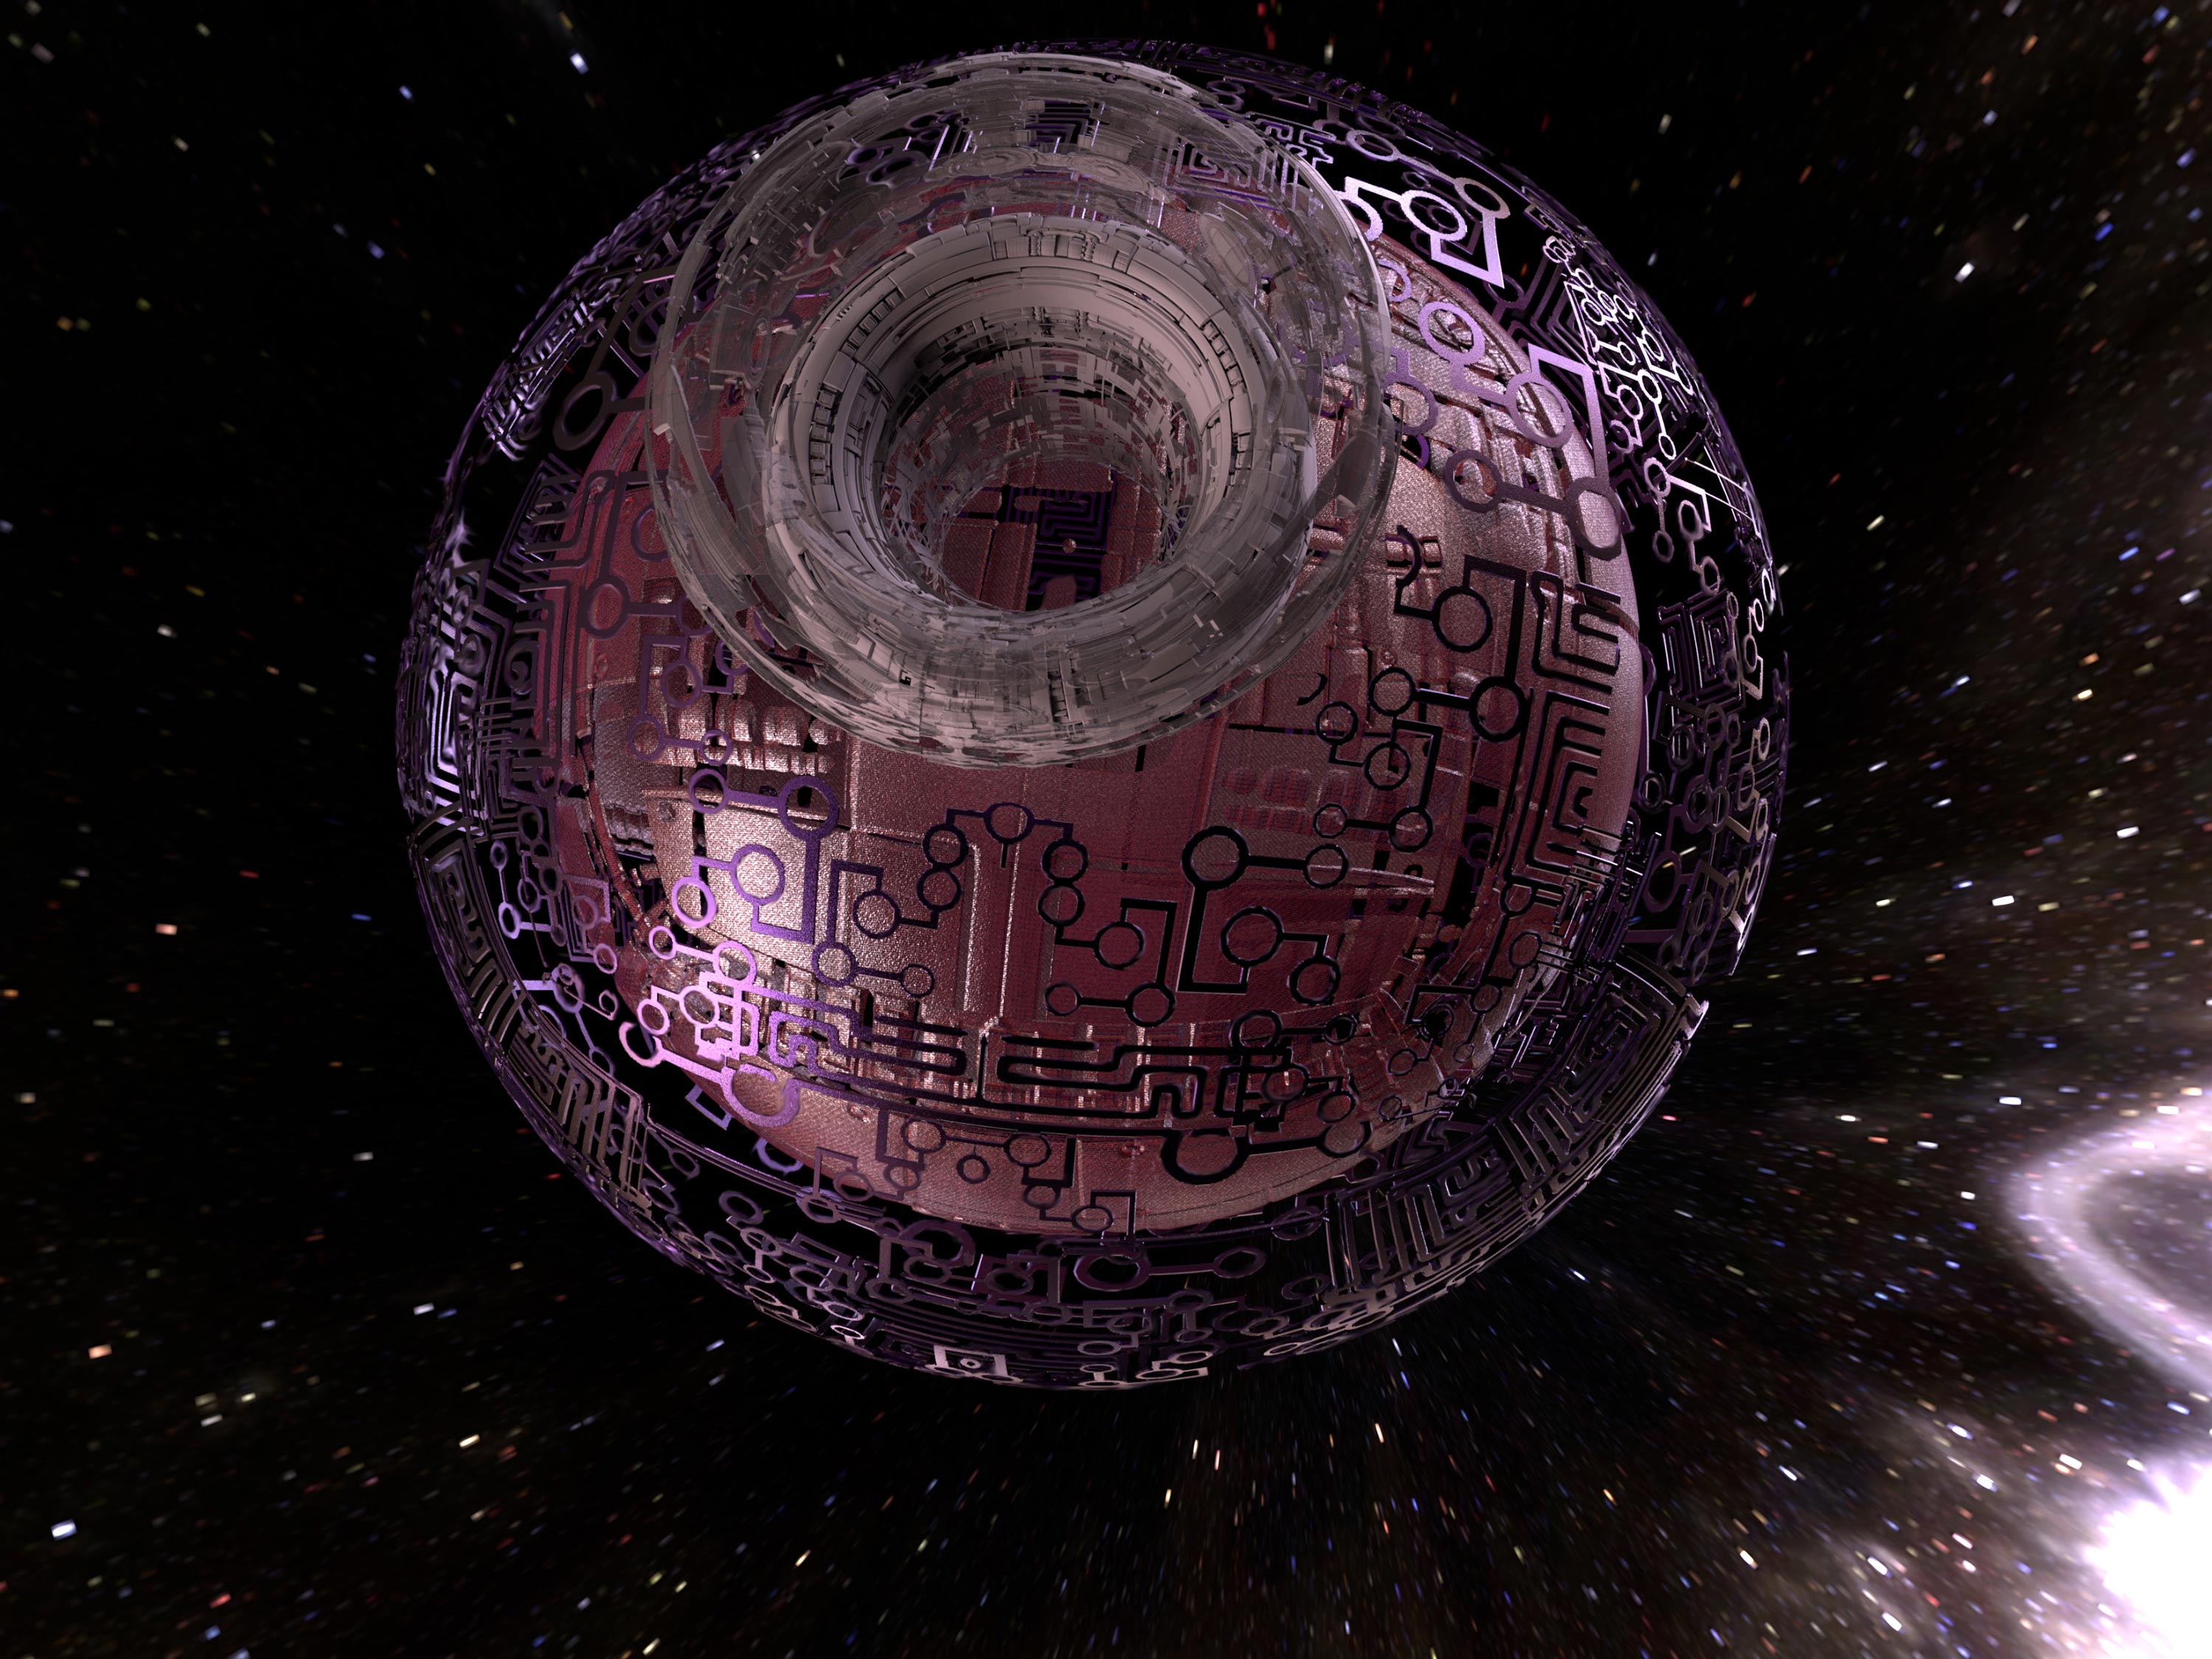
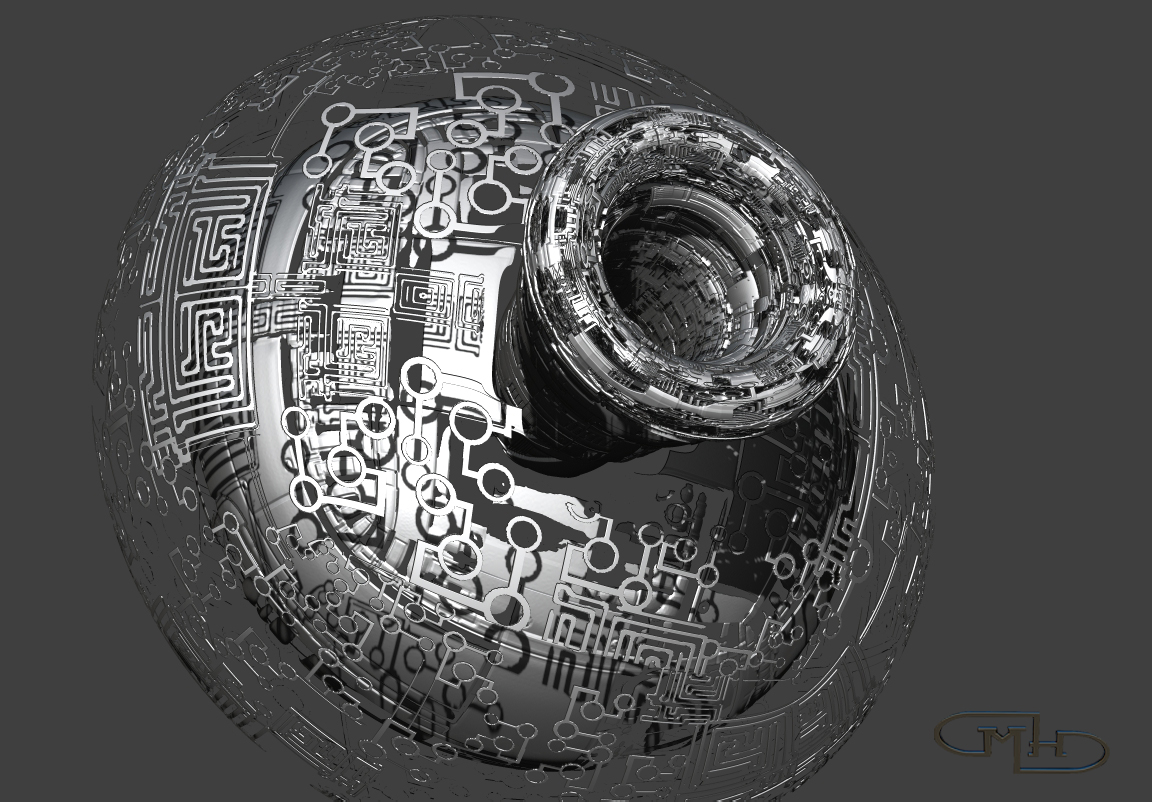
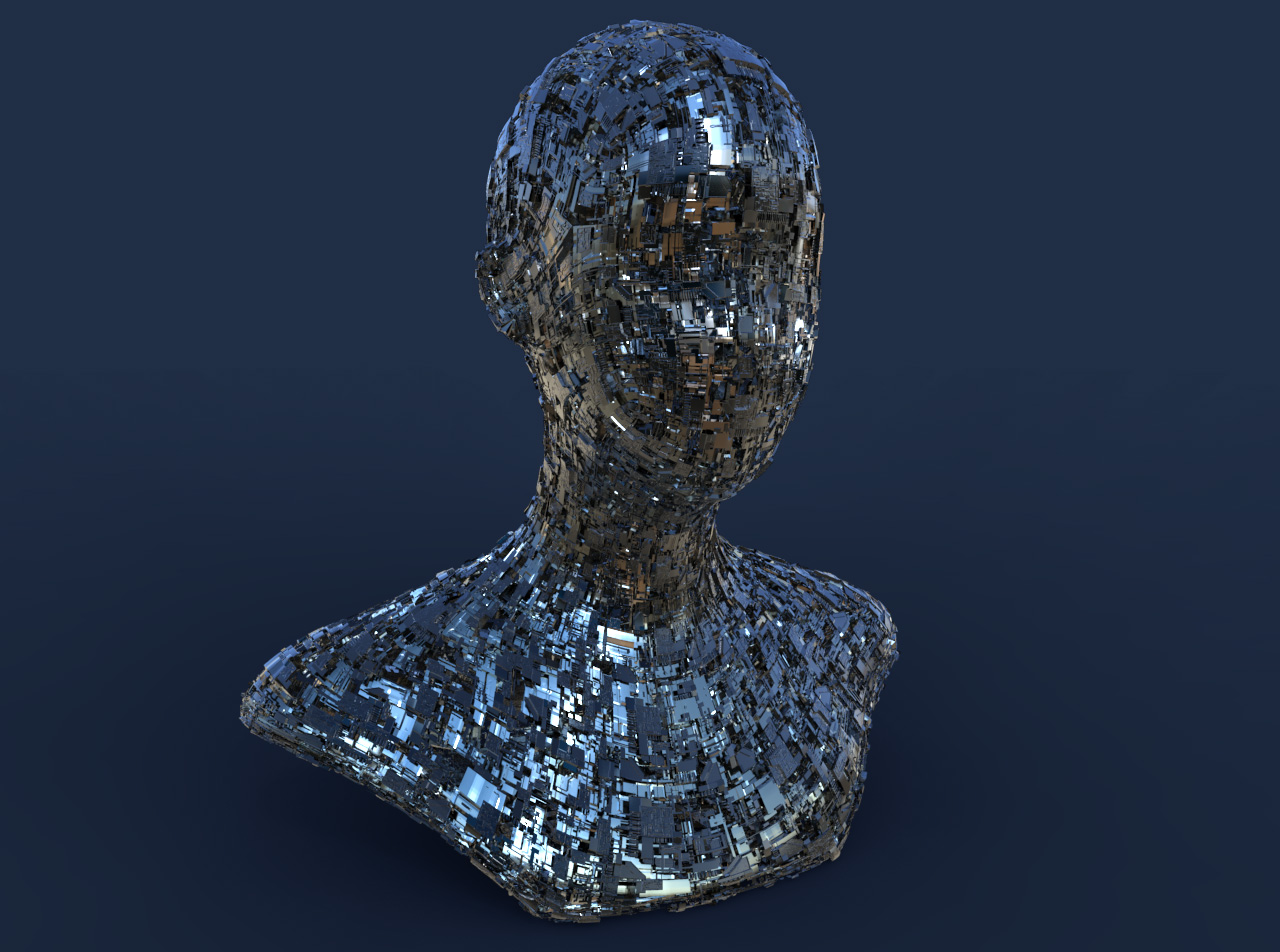
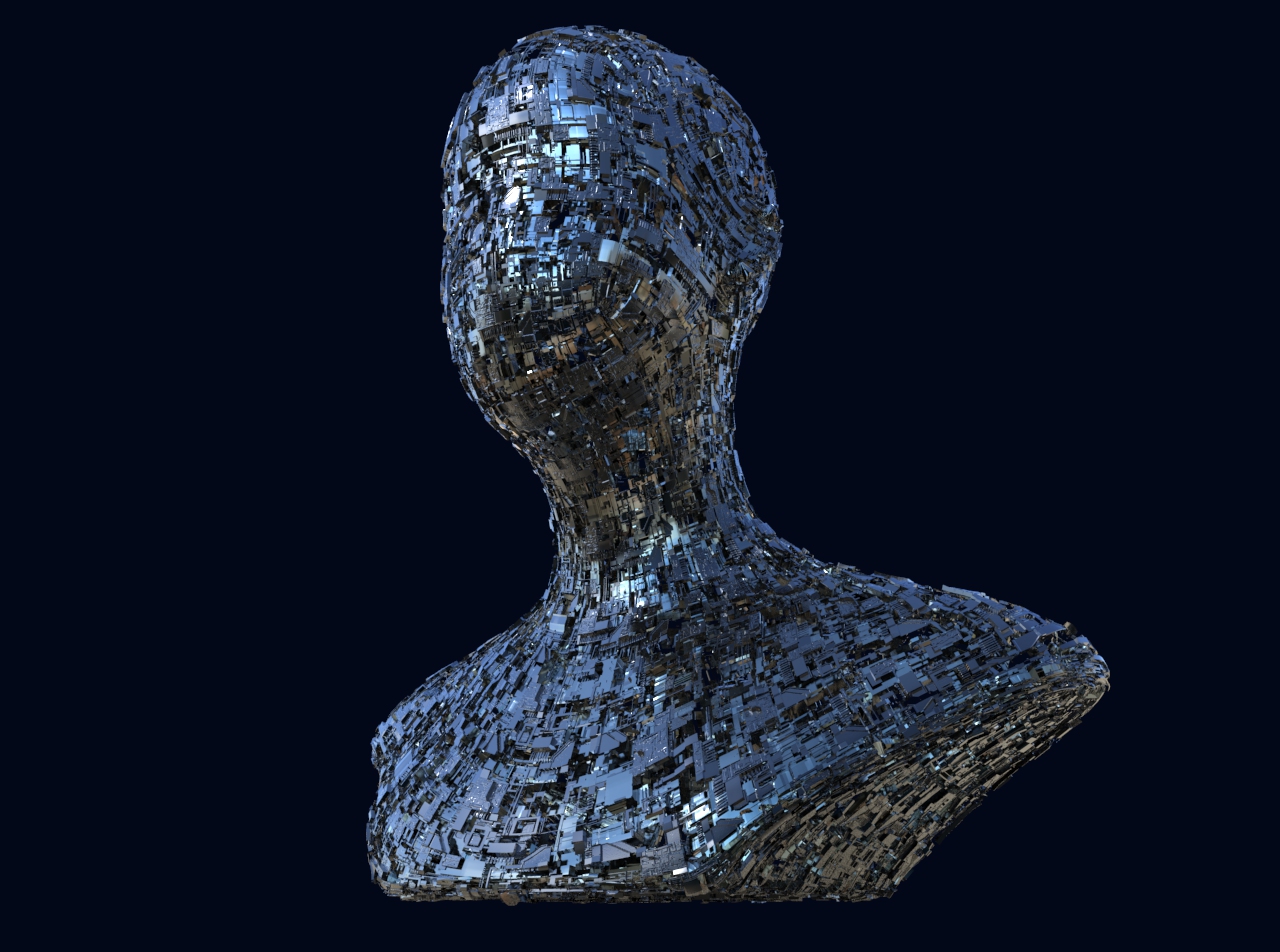
Build a Sci-Fi Spaceship in no Time in Zbrush 4R7. With Just a Handful of Subtools of LoRes Geometry created in Zmodeler and a Single Texture to Drive all the Detailed Geometry you can Create Something that looks like it took Days or Weeks to Build, really takes you less then a Hour. Excellent Way to Concept your Space Opera Designs. Have Fun with it and Please Post Your Results Here.

DOWNLOAD THE NEEDED FILES BELOW
GreebleElements.zip (237 KB)

<iframe width="960" height="720" src="https://www.youtube.com/embed/YyKPYgKsCKA" frameborder="0" allowfullscreen

GreebleElements.zip (237 KB)

Attachments

Thanks Glenn!

I’ve worked though the Elements tutorial, and done several meshes.

Lots of artifacts even using tiffs (?) & Dynamic SubD, so have to work on it more,
but have the basic workflow down, and am learning a LOT. :slight_smile:

I’ll check this one out and get back asap.

BTW, is there a way to put the stuff like Geometry, Surface, Displacement, etc in
alphabetical order? Or ANY order? But I like your GUI layout, and am using it now
all the time. :wink:

Lots of artifacts even using tiffs (?) & Dynamic SubD, so have to work on it more,
but have the basic workflow down, and am learning a LOT. :slight_smile:

Post Some Images of the Problems and I’ll see if I can Figure it Out

BTW, is there a way to put the stuff like Geometry, Surface, Displacement, etc in
alphabetical order? Or ANY order? But I like your GUI layout, and am using it now
all the time. :wink:

You’d Probably Have to Build your own Menu to Put Things in order how you like.

thnx.
great tutorial.

Here’s the 1024x1024 alpha…(used the tif in ZBrush, but jpg for here)

8.jpg

Here’s the result after >Surface>Noise:
adjusted strength enough to show the alpha, set scale = 1.29,
then set strength = 0.0
Offset = -0.01
s1.jpg

Then set strength = 0.15, and BPR’d…very ragged.
Looks the same even if I use Dynamic SubD.
s2.jpg

Unfortunately Megacal that is the Limitation of this Method. It doesnt like Curvy Greebles, its Very Topology Sensitive. If you dont go at 90 Angles with the Topology youll start having Artifacts like that, at this Time there’s no Work around to Prevent that. Only thing I can say is keep that in mind when you make your Texture. Sorry I never made that Clear. That Port Subtool will work fine as long as you Stamp it on a Squared Greeble.

Patpotlood thnx.
great tutorial.

Glad you like the Tutorial

Here’s a Pack of Tiff’s to get you Guys Started

TiledGreebles.zip (493 KB)TiledGreebles.zip (493 KB)

Playing Around a Bit Today. Wanted to see how it would look with some Armor or in this case a Helmet would look with Greeble Elements. Worked Out Better then I Thought it Would. Enjoy :wink:

GreebleHelmet.jpg

Attachments

GreebleHelmet.jpg

Hey Glenn,

cool helmet! Thanks for the tiffs…I’ll give 'em a try. ;):+1:

…doesnt like Curvy Greebles, its Very Topology Sensitive. If you dont go at 90 Angles with the Topology youll start having Artifacts like that,

How do you get such clean surfaces on your helmet, and the ships? They’re pretty curvy in places.

re: the port…yeah, it created a gradient in the tiff. You want just white & black, no grays?

What level of subdivision did you use? Or maybe because it’s KeyShot, you don’t have to actually create geometry?

I’ll keep at it till I get it right. :slight_smile:

How do you get such clean surfaces on your helmet, and the ships? They’re pretty curvy in places.

re: the port…yeah, it created a gradient in the tiff. You want just white & black, no grays?

What level of subdivision did you use? Or maybe because it’s KeyShot, you don’t have to actually create geometry?

True they are Curvy, but because I used GUV for the UV, the Texture is Following the Topology Lines, so the Curvyness of the Greeble is coming from the Flow of the Topology. Take a Look at the Image Below from one of the Mouth Pieces of the Helmet, youll notice it flows with the Topology Giving the Curves of the Helmet. Using Dynamic SubD on all the Models, when I sent it to Keyshot, Keyshot showed almost 60 Million Triangles were in the Scene

ZBrush Document.jpg

Attachments

ZBrush Document.jpg

I used GUV for the UV, the Texture is Following the Topology Lines

Aha! Cool…missed that little detail. Thanks! :slight_smile:

Awesome modeling & rendering! ;):+1:

megacal Awesome modeling & rendering! ;):+1:

Thanks. Keep Practicing with the Technique, it does have limitations, but what it can do is Pretty Impressive.

On a Side Note, let me know if you need any help with your Project, I’d be Happy to Help with any Modelling or Design.

Keep Practicing with the Technique, it does have limitations, but what it can do is Pretty Impressive.

Practice, practice, practice! And experiment!
Also need to just take time to learn more of the basics about ZBrush. You (& mealea) have given me some great techniques
to play with, but there’s still holes in my ZBrush knowledge, e.g. never used ZSpheres or extraction yet.

On a Side Note, let me know if you need any help with your Project, I’d be Happy to Help with any Modelling or Design.

Thanks! :):+1:small_orange_diamond:+1:small_orange_diamond:+1:

I love all your awesome workshops!

Apollonia I love all your awesome workshops!

Thanks! Hope You can put them to Good Use.

In-theNegativeZone_750kb.jpg

So here it finally is Glenn!
That was far too long for a render! If I’d known it would last for over 10 hours I would have stopped it and reset my settings! ;D

While sculpting this yesterday, I didn’t know I was sculpting a variation of Richard’s Negative Zone Portal but the simple circuit-like design began looking very Kirby-esque and a backstory sprang out of the Inner Space between my ears…

“Once inside the Negative Zone, Reed looked back over his shoulder, and focused his gaze through the portal which led back to his lab at the heart of the Baxter Building.
Even though he couldn’t see him, it didn’t take a stretch of his fertile imagination, to see in his mind’s eye Ben’s face set with a very grim expression.
‘Don’t worry old friend,’ he said quietly, ’ I’ll be back before you can catch a cab to Yancy Street.’
He then turned and continued his search.”

Attachments

In-theNegativeZone_750kb.jpg

Great Stuff Michael! Keep it Up.

Thanks Glenn.
I forgot to include the BPR simple render showing more of the model that I had to leave out because the size of it kept crashing Keyshot!
Inside-the-Negative-Zone02.jpg

Attachments

Inside-the-Negative-Zone02.jpg

Michael Honsinger Thanks Glenn.
I forgot to include the BPR simple render showing more of the model that I had to leave out because the size of it kept crashing Keyshot!

If your Running into File Size Issues sending it to Keyshot, you need to Optimize your Models with Surface Noise. 1st Apply you Dynamic SubD, 2nd BPR to Geo, Then Decimate that Model, Ive Decimated them to 5-10% and they still look Great. This way when you send your model to Keyshot its only 5-6 Million Triangles as appose to almost 60 Million Triangles like in my Helmet Design I did Yesterday. Thought my Computer was going to Melt with That One Lol.

ok, first try on a simple head model,
using your great maps.

keyshot renders

noise_kop1.jpg

noise_kop2.jpg

Attachments

noise_kop1.jpg

noise_kop2.jpg