I followed your suggestions ( as best I could ) and with some modifications, I got the symmetry I was looking for
and made my own version.
BTW, love your angels…
Thanx for this.
Attachments
I followed your suggestions ( as best I could ) and with some modifications, I got the symmetry I was looking for
and made my own version.
BTW, love your angels…
Thanx for this.
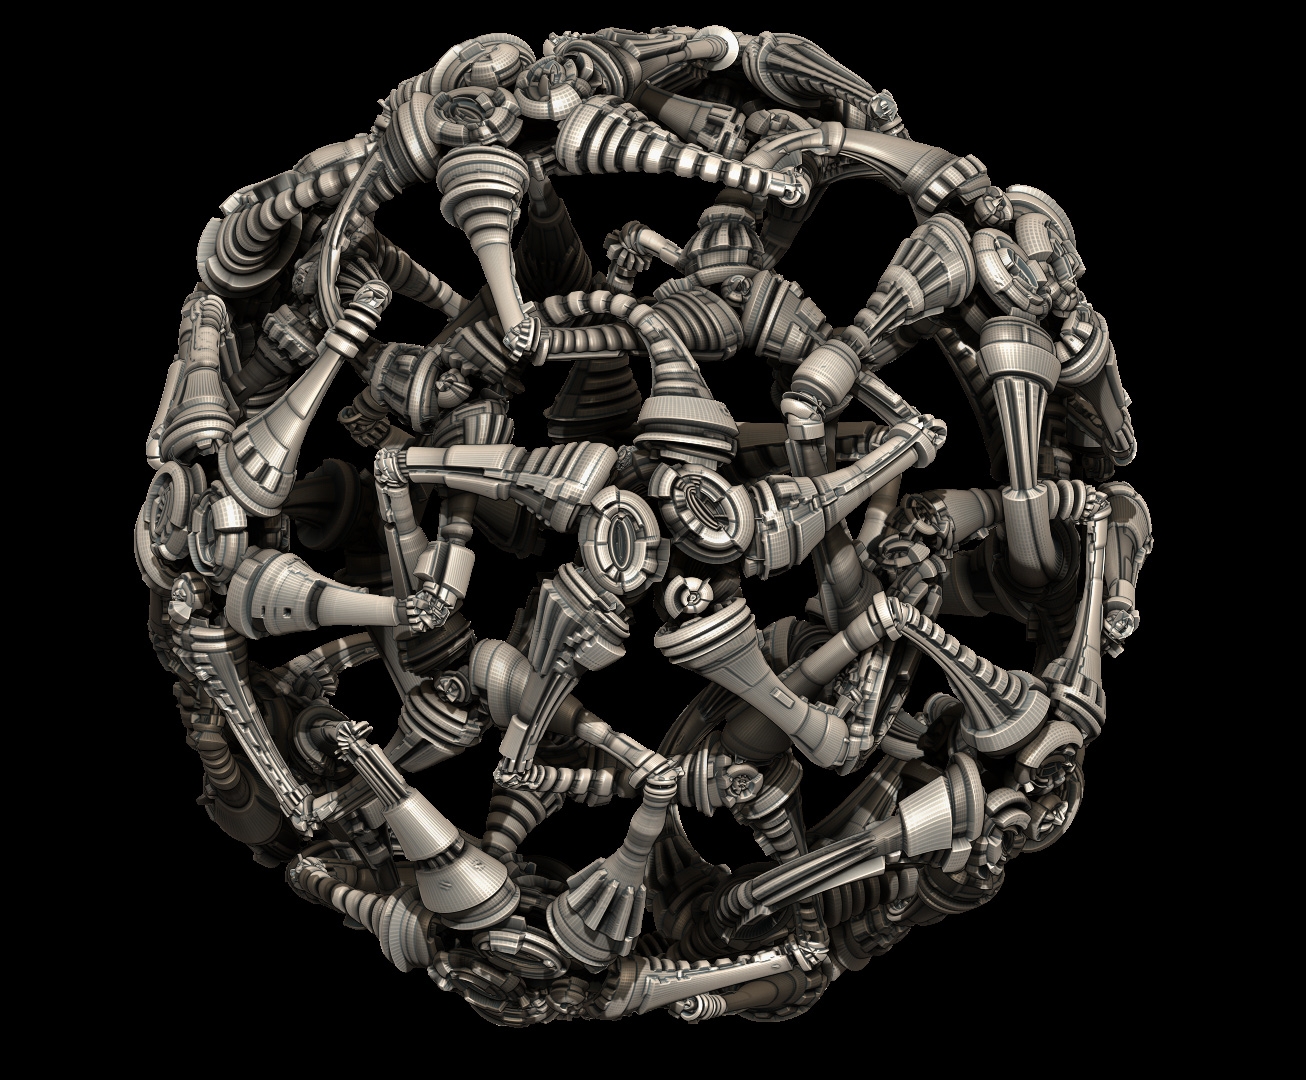
Looking Good paleo3d. Found my original File, you can see the Break down of Subtools. Made this a few years ago so I hope I get this right lol. In 1 you can see my inital polyloops, made a duplicate subtool then used GUV, Autogroup by UV, divided once, and Edgeloop extrusion. I then isolated the Extrusion and deleted the rest to give me number 4. 2 I created using a extrusion from the inside polygroup of number 1, then used the same process above to create number 3. So I never used displacement maps to achieve this model, but they do look pretty cool when I use them as a bump map on it though.
Very ingenious but…
Your #1 image is still a mystery to me!
Here, in this #1 image, you ALREADY have polyloops that are parallel to border of the arms!!!
If for starters I do GUV or PUV on the original low poly mesh I don’t get anything like it.
What kind of UVs would produce such parallel Polygroups in ZB?
The rest I understand.
Thanx for taking the time…
Here you gopaleo3d.
A quick video breakdown for you. When I did it couple years ago it took a lot longer, but with 4r7 its so much easier to do now. Now I didnt go into detail about duplicating the subtools and I also think I divided it a second time before seperating the extrusions. Your more interested in the Polyloop generation anyways. One thing to note is I only messed with one of the stars, but all you just have to do is group all the stars together before doing any Polylooping on them. Hope this Helps. Also let you play with my basemesh for Fun. Enjoy
<iframe src=“https://www.youtube.com/embed/hs7ed6NHW14” allowfullscreen="" frameborder=“0” height=“315” width=“560”></iframe>
WOW! What initiative! Thank you so much for taking the time to do this video.
Actually I was just working on this issue with ZModeler earlier on and could not get
Insert Polyloops from the Polygon Actions menu to work across the whole mesh.
With this command one could have done this in one action! But it’s stubborn and won’t
work 100% on this model ( see if you can get better results ).
I’m going to look closely at your video and should be able to replicate your moves
and get back to you on this, shortly.
On the other hand, it’s still remains a mystery to me has to how this was done
before the advent of ZModeler. Cheers!
To create the polyloops, use inset for the polygon action, target all polygroup, for modifiers set it to center border and region.
OK, Got her done and what a thrill it was going through youR Tut… no doubt 4R7 has tremendous tools and potential ( not to mention fun )
( in your last reply I did not get the " set it to center border and region " part but got the Idea anyway and insetted all Poly.)
Also tried Center Only and Border Only which are pretty cool…
Also here’s a link to some 4R7 Tuts I found interesting
https://www.youtube.com/watch?v=64anusz6fj8 and other related Videos.
Again, thanx for taking the time and hope that others will also profit from your video.
Looking Good. Keep exploring different ways to create interesting Topology, I recommend using Slice Curve on a Model a couple times and then start applying GUV/PUV to it to see what ya get.
I usually use the Slice Curve to create new polygroups on a model. So, in this case I’m not exactly sure what you are suggesting
especially in relation to “applying GUV/PUV”.
I’m relatively new at this and eager to learn. Could you give me an example or more info?.. Thanx.
Meanwhile I’m playing with ArrayMesh…
Here’s a Turntable of my Angel. Enjoy 
<iframe src=“https://www.youtube.com/embed/6tpk4rM_fxg” allowfullscreen="" frameborder=“0” height=“315” width=“560”></iframe>

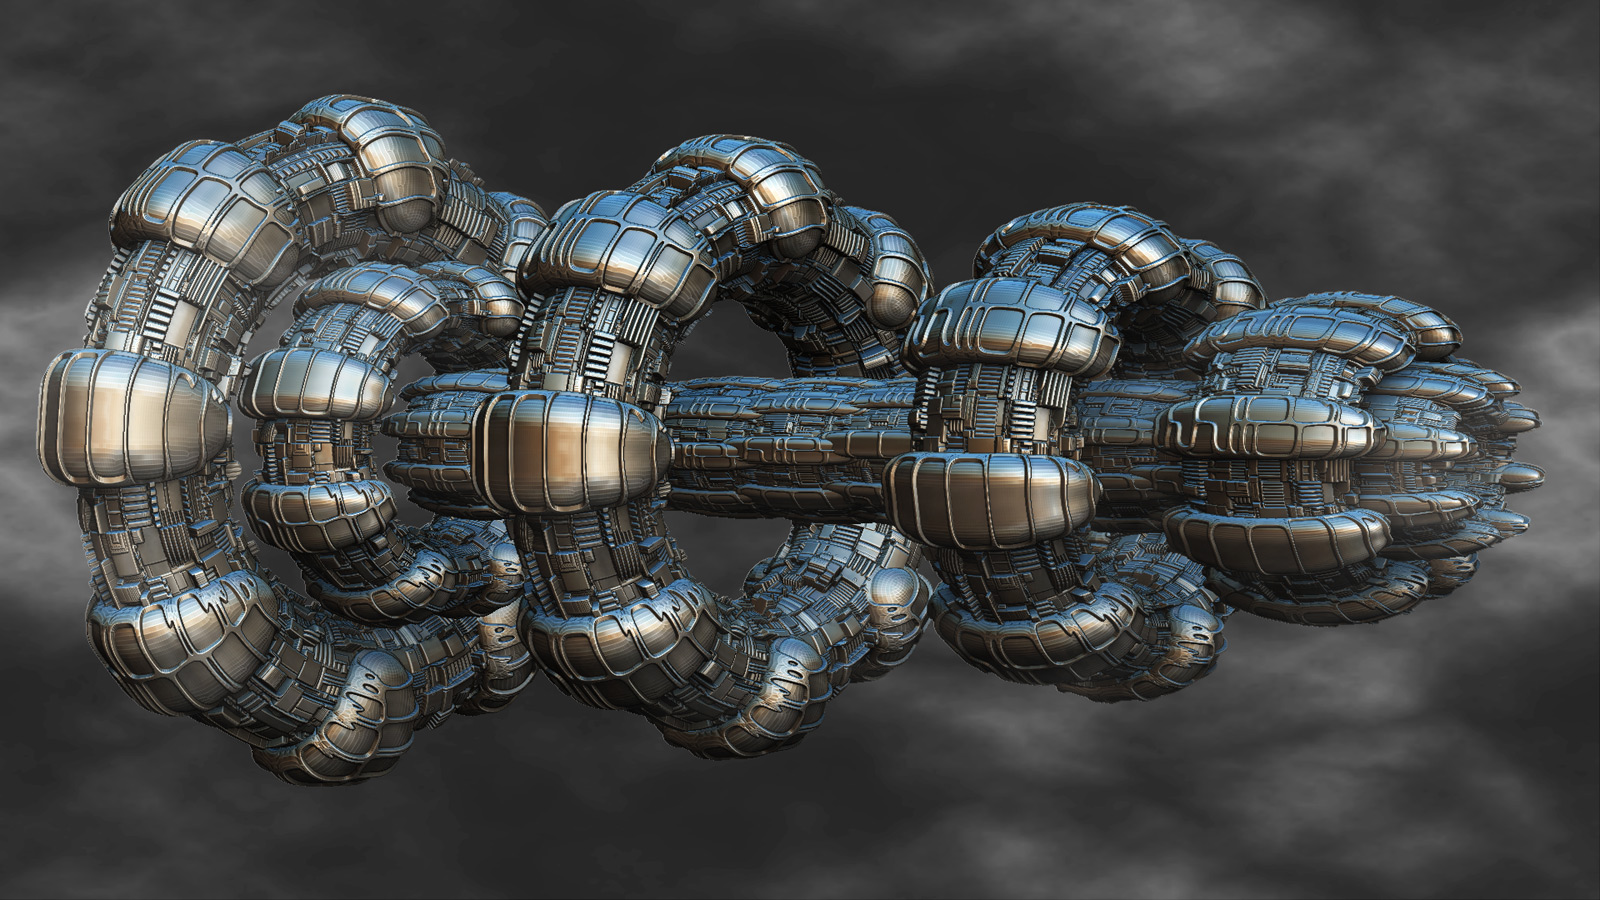
Who the Heck left these Alien Probes just lying around?! Don’t you know someone could find these and accidentally take out a small Town with these… Mmmmm there’s a thought… Just Kidding! Just messing with Zbrush and Keyshot Last Night and this was my Result. Enjoy 
Copyright: Glenn M Patterson 2015
Man that’s a real cleeeeean render.
A couple of questions…
Do you really like Keyshot, I mean its UI and render quality?
(I’m asking cause I’m thinking of getting it…(as if I wasn’t busy enough with ZBrush))
I use ZBrush and Psp to make my Disp. Maps. You?
Given my “style” of making 3D images , I’m also thinking of getting Groboto… have you a quick word on this?
Was the light emanating from the probes made in Keyshot?
Again, real cool Angel and Probes…
Thanks
Do you really like Keyshot, I mean its UI and render quality?
(I’m asking cause I’m thinking of getting it…(as if I wasn’t busy enough with ZBrush))
Yes, Im liking Keyshot, the Renders are Awesome, the Drag and Drop Functionality of Materials is Great, the UI for moving objects could be Better like a Camera Space Move would be Nice. Also no Mask or Depth Passes, but I did find a workaround for the Mask Pass.
I use ZBrush and Psp to make my Disp. Maps. You?
The Disp I’m using is Michalis’s, would like to create my own. Trying to find a quick easy method in Zbrush
I have Groboto myself, havent used it in a bit, but you can make some Cool unique Forms out of it with Clean Topology
Yes the light was created using a sphere with a Diffuse Light emitting from it in Keyshot, added a little more Glow and Slight Lens Flare in Photoshop
All in All Keyshot is worth it, it will bring your Renders to the next level. Get it while its still at the introductory price of $250, before they raise it.
Great work Glenn and thanks for the video.
I just begin to use R7 but it is too soon for me to comment.
I used Keyshot and it is realy a super and easy tool. 
Glenn, Your enthusiasm for Keyshot is quite contagious and I’m fixing to get me a copy…
As for Displacement Maps, whatever technique you use I think you’ll find is a lengthy process.
My first method consisted of the buildup of greyscale images consisting largely of stretched out
cubes using the Line and LineII brushes directly on the 2.5D canvas. A lot can be done with this
method and I suggest you try it out a few minutes to see if this method suits you. You’ll get
Displ. Maps real quick this way but a little too rectangular for my taste.
Now, I’m using a different method (that is less “rectangular”) which consists of creating
Insert brushes of various geometric shapes (other that cubes/rectangles) that I can save and use at will.
I apply these brushes to a simple plane, BPR render it and save the resulting DepthMap.
I personally, should drop everything else and get on with making these time consuming but
necessary Maps.There is however so much distraction with other areas of ZB ( and other Apps )
that I get no so much done. This is a good method and will get on with it.
Again, thanx for all your encouragements…
@RICOR : I just had a look at your ZB thread and I’m quite impress with your work…
Love your style and imagination…
Thanks ricor. I plan on making a Full Length Tutorial on Bio Mechanical in the near Future, trying to nail down the Technique to make it easy for everyone.
Thanks paleo3d for the advise on Displacement maps. I might go the Photoshop route, think I figured a way to do it, just got to sit down and do it lol.
You can move the camera in Keyshot and get mask/depth passes. Camera tab and passes tab in render, mask is called clown pass in keyshot
You can move the camera in Keyshot and get mask/depth passes. Camera tab and passes tab in render, mask is called clown pass in keyshot
When I was talking about moving I ment a object in the scene. I know how to move but that little gizmo is a little irritating I’ve got to be careful manipulating it or I accidently scale or rotate the object, guess I just have to get use to it. As for Depth/Mask passes, Keyshot for Zbrush doesnt have that function, but I did find a workaround for the clown pass, I just use flat materials and color for the background to achieve the same effect. Also when I render I can save a PNG w/transparency to get just the objects and ground shadow/reflections. Still havent found a work around for depth pass yet.
Another Alien Probe Found in the Desert. Where are they coming from? Another BioMechanical probe created in 4R7 and Rendered in Keyshot. Also got a quick timelapse of the creation of them. Enjoy
<iframe width=“560” height=“315” src=“https://www.youtube.com/embed/8ooM5PhbxbY” frameborder=“0” allowfullscreen></iframe>
Awesome.


