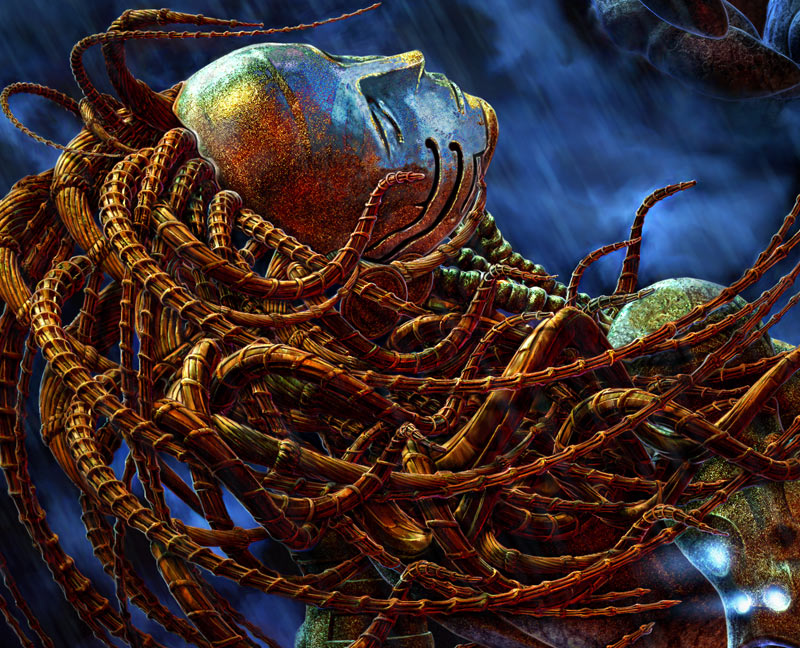
A spider with a diaper? It’s MC PeePants!

A spider with a diaper? It’s MC PeePants!
When painting there is no 2048 antialiasing limit (I think). The paint looks just fine at 4096 without having to half the image down.
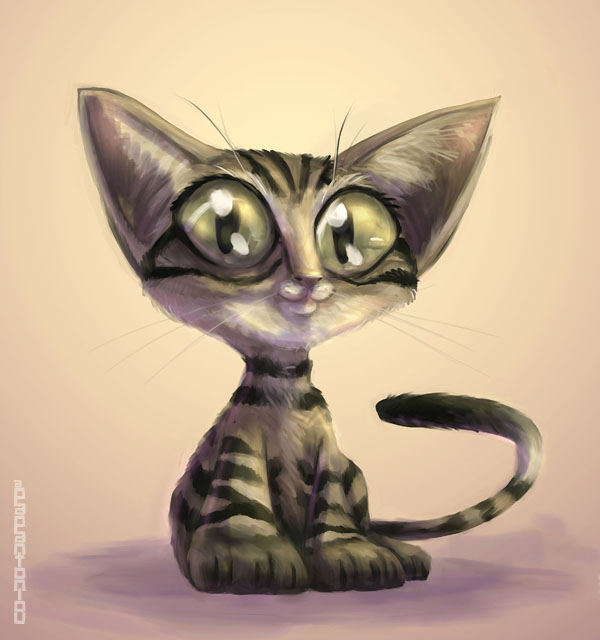
Those two characters where created in the same way like the “All come to he who waits” image with the spider, but I also created some custom brushes to get the organic paint look and feel. Total time for each of those was about an hour.
[ ](javascript:zb_insimg(‘50250’,‘policeman.jpg’,1,0))
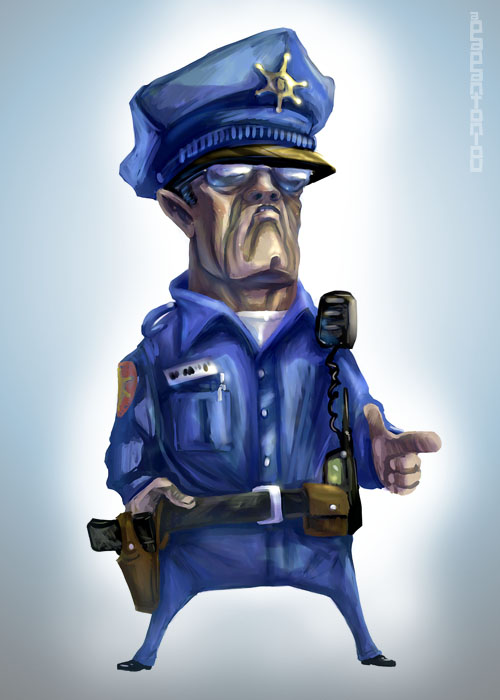
I am preparing a tutorial on creating these kind of character portraits using custom brushes in ZB like you would in Photoshop or Painter. I am not a purist (I tend to use more than one programs when creating stuff), but these techniques certainly utilize ZBrush as a total studio for 2D+3D work and they are fast. I just wish that the layers were more functional (more like photoshop, with blending modes).
That’d “monkey fun” good.
…with only the smudge brush 
Smudge brush + Ctrl = Paint with color selected!
“C” = eye dropper
So with the Alt, Zadd On Off, Size of brush , + Alpha you can make some crazzy things!
Have happy painting !

Ps Something Curious, using the Smudge brush, if you click on the icones with Ctrl around the canvas, these last disapear!!! A bug? 
Hurraaah! I checked this thread twice every day to see if there were new posts. Didn’t have time to make something myself, I guess that is a common problem.
Lovely characters Mytholon, and such a brush-paint-tutorial within Zbrush would be a feast! I’m thrilled and will check this thread trice a day now. :lol:
Always inspiring to see your use of ZBrush, Mytholon.
Thanks for this thread!
Would be an nice bonus for the new Zbrush 2.5. (Maybe not if we have to wait another year then… ;))
Frenchy, actually those were not done with the smudge. I used simple brush with a custom alpha tip, and a lot of C-picking of colors.
However I have used smudge brush in the past: people, you can check it out HERE
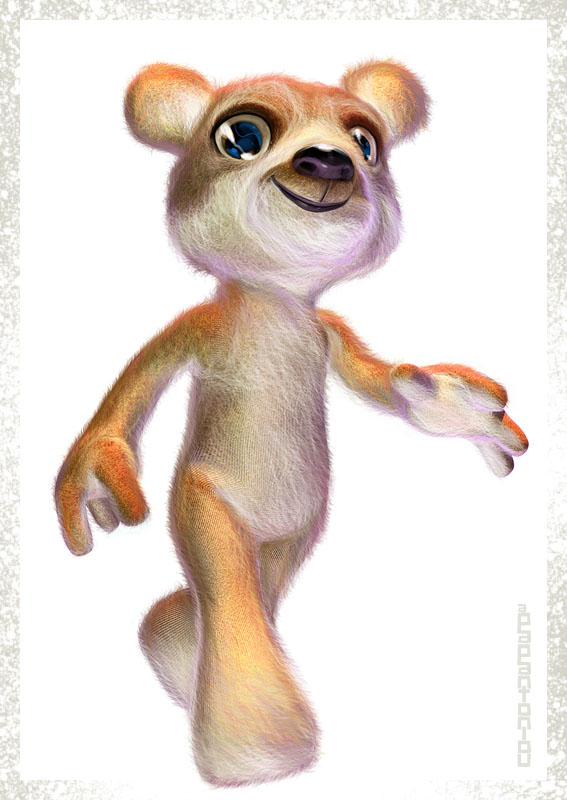
Here is a different one. Perhaps some of you will find the walkthrough interesting.
[ ]
]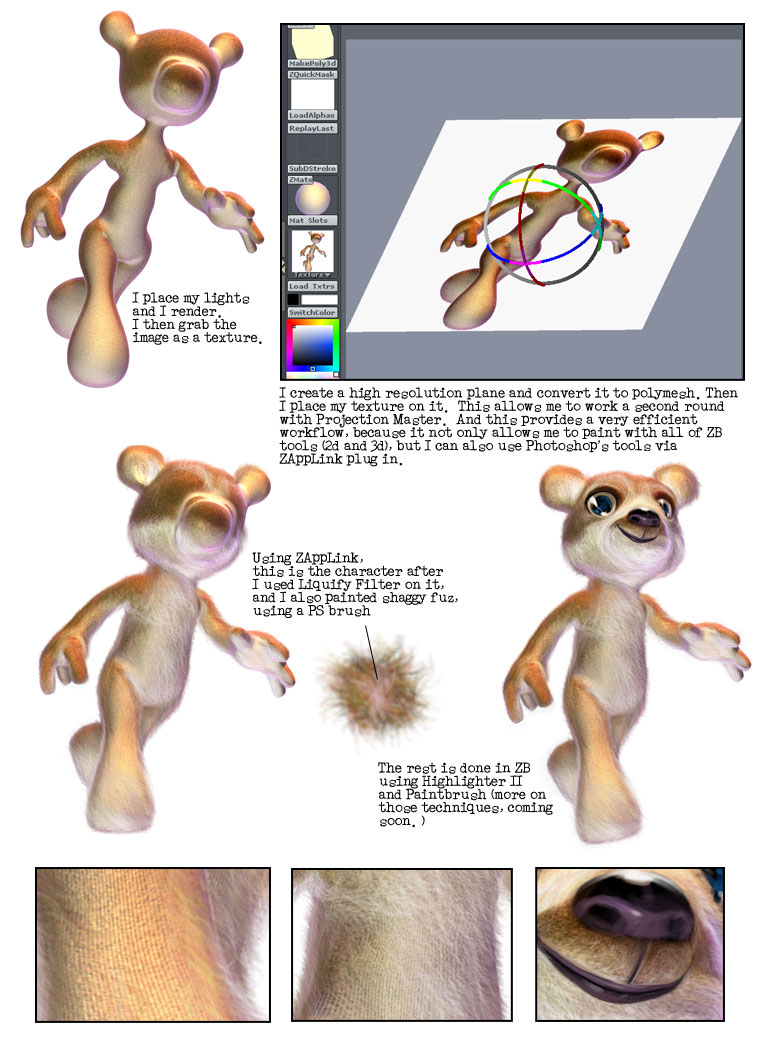
Below you can find the Teddy material, and the shaggy Photoshop brush I used for the fur (it is a modified Nagel brush).

Thank you soooo much for your lectures!
Lemo 
That is so awesome, thanks Mytholon!! I have been wanting to try something similar, I will have to get that Pixol to Pixol plug-in. I would also like to use projection master on an entire 3d seen. Maybe if I set the seen up and grab the depth, and deform a polymesh plane with the alpha? I will have try it.
Great character and walkthrough Mytholon 
Your unique and intuitive presentations here provide some real gems here for the ZB community - thanks
Chris
You, Sir, have inspired me greatly 
I had given up 3d, including Zbrush, but when I saw this thread I felt a fire within me to start with zbrush yet again. You have showed me possebilities I though were impossible to acheve inside Zbrush.
When I painted before, I used Photoshop as my main app. Now I use Zbrush along with Zbrush and I LOVE it.
Thank you again Sir
By the way, I made this painting using some of your tecniques. Its not exactly great, but its a start
This is great information. I love your illustrations and really appreciate that you share in your creation process. Thanks!
Mytholon,
Your tut presentations are extremely informative, innovated and well done. Information is clear and concise. Looking forward to seeing more of your work and presentations in the future!!
Harmonic, this sounds like a neat experiment. If you do it, please post some of your results here.
Guilemo, nice! Thank you for the contribution.
Thank you people for your comments!
WOW 
Great thread! Great Works!
Congrats, Mytholon.
I really appreciate all the process.
Thank you
Kudos Mytholon!
Great thread!!!
Mr Micro, I can’t help looking for Eloi and Morlocks in your post…it has that wonderful decaying future look. Maybe a bit more on your workflow, if the time has not passed for that?
Great teddy bear technique - and I’m glad Pixol to Pixel is useful.
Switching on Continuous Color in the Picker palette can be a great way to smudge paint.
Thanx a lot for the Teddy - he is so loveley- great
In the TeddyBear walkthrough above, I mentioned that the potential of using Projection Master for illustration is huge. Since an illustration is a static image, you can place your models first and texture them later. That way you don’t have to worry about seams, distortions or symmetry, and that gives you great creative freedom.
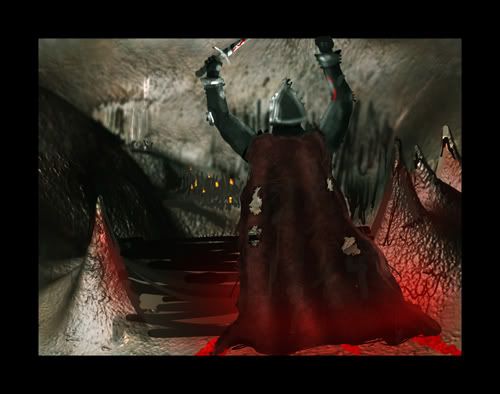
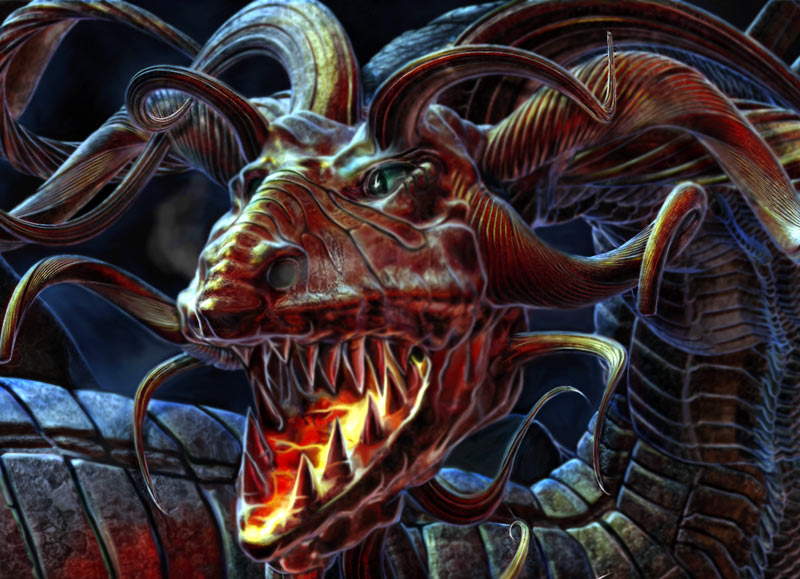
I have some close up examples of my SpellDancer image where this technique was used.
I do not claim that this was a quick job. The whole image took me 15-18 hours from sketch to finish (2 days). However it is a good example of ergonomics, because this could have taken me twice that time if it wasn’t for these techniques.
[ ]
]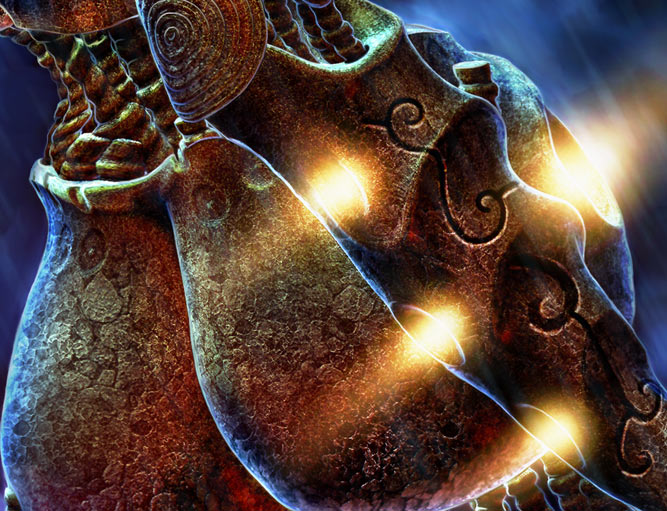
You can check out the complete SpellDancer illustration HERE.