The hair looks really good. Could you show how you managed to get the gradient? Plug the hairsampler node into the ramp? Can you show the hypershade?
I tried it myself, but couldn’t connect the sampler. Also, what workflow for hair do you use - Zbrush fibers, Shave and a haircut, patiently laying out Nurbs curves…?
Thanks!!
Hi Almo
It’s fairly easy, sorry but I can’t upload a hypershade view right now I have another project open in Maya, but it would look like:
Vrayhairsampler --plugged into–>ramp texture–plugged into -->vray hairmtl–plugged into–>hairsystem1
To do it, first create your hair using Maya, so you will have a Maya Hairsystem. Then create a Vray HairMTL shader, and plug the shader into the hair.
Then, in Hypershade, create both a ramp texture and a vray HairSampler.
Middle-mouse drag the VRAYHAIRSAMPLER onto the RAMP. When the options box comes up, click ‘OTHER’.
In this new menu, on the left side choose DISTANCEALONGSTRANG, and on the right side, choose UVCOORD, then VCOORD. This connects the color to the hair, down the hair ramp.
Now, you can start using RAMPS to control everything in the HAIRMTL shader that is attached to your hair system. For instance here, I have connected the RAMP color to the OVERALL COLOR in the HAIRMTL.


The last one looks really cool
awesome work!
Great!
oh thats sweet stuff here. Also working on an anatomy sculpt right now but don´t want to bother with sss shaders etc. Always to time consuming  Did a great job so far !
awesome work man,what you using for hair?i think you are also using vray?
Thanks guys. Yep 3MM, I am using Vray for hair with Maya HairSystems.
and a bonus GIF, just because I liked the effect.

Attachments

Great work!  Well done
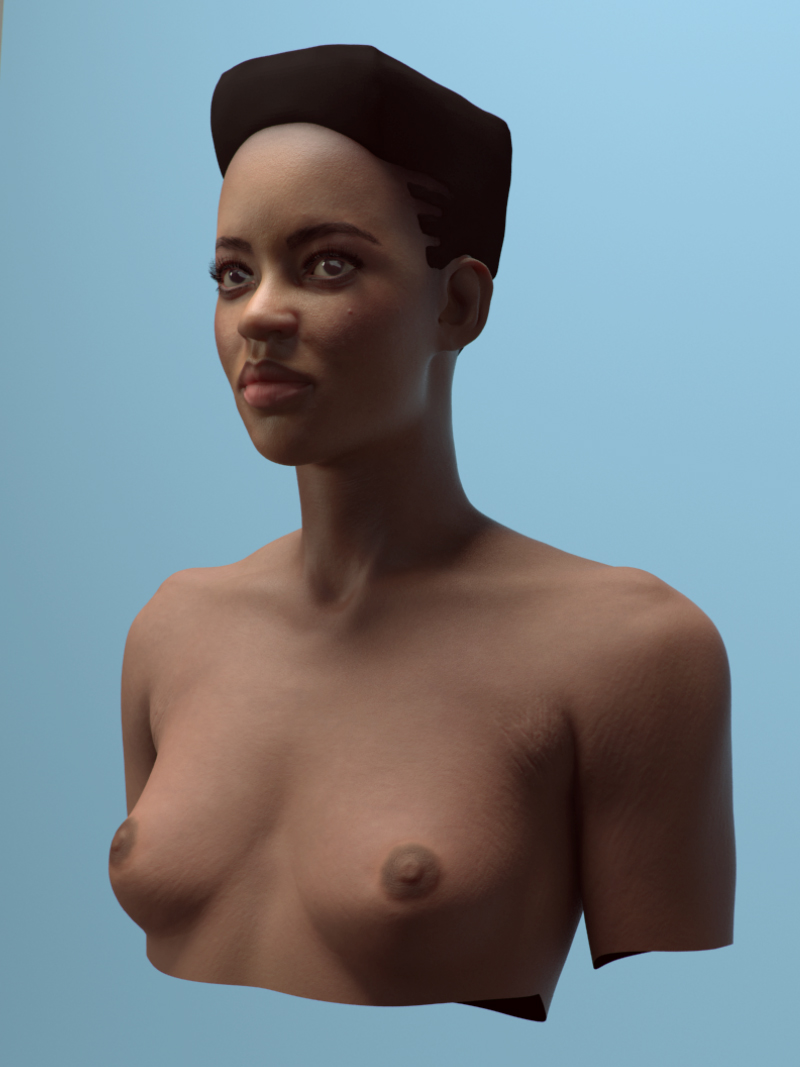
Sorry about all the nudity, haven’t decided what clothing she gets yet. Considering some sort of 80’s windbreaker.
Hair needs quite a bit of work to get it curly enough for my liking. Having a hard time doing that with Maya HairSystem.

looking awesome as usual! great work! you really nailed the skin! she kind of looks like a vampire wit those eyes i like it  give her some fangs!
Tonights update. The shirt is untextured and has no fine detail. Also, the materials are not linear, breaking my linear workflow and blowing the white and blue out. Eyes are also colorless it looks like, but now they are more realistically modeled and hopefully in the end I can get them to look more real than the older ones.

Done. Can’t go any further due to time and don’t want too for the sake of other projects, but I’m generally pleased with how it turned out and I learned a ton. Stuff I would change, but not too much at this point.

this locks awesome man. nice render and details
Thanks man. Here’s a greyscale clay render.

Opinions appreciated.
So I pulled this out last night and sunk some more time into it. Does this pose strike others as more natural than the previous one? Believable at all? I feel like if I can find a pose that works the movement I’m trying to get, that I would be a lot happier moving forward with this. I like the one with the girl free-standing, but I’m not a fan of how she’s so flat-footed and how … something, I don’t know, boring maybe, that the pose looks. The only other option are sitting, which I might try, and this - leaning on something. Only the last version of her leaning I didn’t really feel looked good or like something someone would do.
Anyways, that’s a long rambling paragraph. Opinions appreciated.

Really nice!


Neat work!