ZBrushCentral

Projection master doesn`t produces crisp lines

Hello, my fellow Zbrushers.
Im Paul, and Im currently struggeling with the problem, that I cant get crisp lines, when I paint my model. Not with polypaint or projection master. In polypaint, the lines are pixelated, whatever I do, and when I use the projection master, i get dark and clear blue dots around my lines. When Im looking around the internet, to find a solution for this problem, I often get redirected to this tutorial, where I´m told, that the problem is the pixel to pixol ratio.

I tried to copy what the guy does there, but I have problems to follow the instructions. Everybody is thanking him, so I assumed, that it cannot be so difficult and tried again and again. Then I saw that the tutorial is nearly 15 years old. 0.o
My question: Is this highly praised tutorial still up do date, or just not applyable to the actual version of ZBrush, and there is another way to solve this problem?
I´am really thankful for any tipp that helps me to crate clear, unpixelated lines.
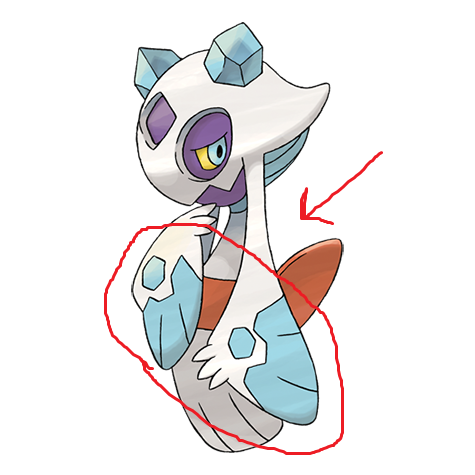
For thos who are interested. It`the Pokémon “Froslass” I am creating and I want the blue and white paterns on her arms crisp and clear.

Thank you very much, and have a nice day, everybody.

Paul

Hello, and welcome to ZBC.

I think Projection Master is currently a bit broken in the latest 2020 release, which is why you’re seeing dots and artifact appear around your lines when using it. Here is a similar recent thread showing such artifacts.

Polypaint by itself should be fine, so it would help if you could attach a screenshot of the issue you’re having. It could just be a lack of sufficient polygon density needed to create a crisp result (if this is the case you’ll either have to subdivide the model a few more times, or consider retopology).

1 Like

Hello dear CRYRID
Thank you very much for your response :slight_smile: I really appreciate it. I would really prefer to use polypaint instead of projection master; especially with this problem with the 2020 version, you showed me.

Here is a picture of the model. I did a proper retopology, and subdivided it a few times. The blue stripe on top is made with a subdivision of 5, and the stripe on the bottom was done with subdivision 6. You can see that it gets better, but i think to get a crisp line, i have to subdivide it to 8 or 9. The model is really simple, so that would be a little much just to get a clean line. But if that`s the way I will do it :), unless you know a better way.

Thanks again!

8 or 9 levels of subdivision might not be that much of a stretch, especially if the base level is pretty simple. Polypainting requires a lot of polygons, and its just as important for these polygons to be uniformly distributed across the surface you’re painting on (in other words even if you subdivide a model to 24 million points, it will be hard to paint cleanly on a hand if most of those points are concentrated around the head instead).

However, typically you’ll see more of a blurry, bleeding effect along the painted edges if there’s not enough polygons. Yours is more of a sharper anti-aliased effect, and since I only see one circle on your cursor I’m wondering if you might have your focal shift cranked to -100? If so you might want to try setting it to 0, and consider using an alpha like “Alpha 14” to create crisper strokes instead of the focal shift.

PolyPaint – no matter how you go about getting it – is nothing more or less than a form of vertex shading. Each polygon can be one color, and one color only. This means that the quality of your edges is going to be dependent upon two factors:

  1. The edge flow of your polygons.
  2. How many polygons you have.

If your line follows your edge flow it is going to be absolutely crisp and smooth because it is separate polygons on each side of the edge line. But of course that isn’t always practical to accomplish.

In a lot of cases, you simply have to run a line of color diagonally across your polygons. When that happens, the only way that PolyPaint can deal with it is to have such a dense polygon count that the jaggies aren’t going to be visible at the distance from which you will be viewing the model. This is really no different from a diagonal line in Photoshop: The more you zoom into the document, the more readily you can see that each pixel is actually square and your line is actually jagged.

The number of subdivision levels that your model has is totally irrelevant. If you have a six polygon cube and divide it to level 5, that is only going to be 1,536 polygons – and a mere 256 per face. Pretty hard to get a smooth line of PolyPaint when you have so few! If that same model had 1,536 polys to begin with, then it will be up to 393,216 polygons at level 5. But each face is still the equivalent of a 256x256 texture, which when you think about it still isn’t all that much. So whenever you’re figuring out how much to divide your model, forget about the number of levels. The only number you really need to be looking at is what you see when you mouse over the large icon at the top of the Tool palette. The number of polygons that it displays are going to be a measure of the color fidelity when you paint. If the model is below 1 million polygons, your paint is never going to be better than you’d get from a 1K texture map. 3-4 million for a 2K map, 12-16 million for a 4K map.

Hello CRYRID, excuse the late answer; I wasnt there over the weekend.
I tried to subdivise the mesh further; but unfortunately my PC wont let me do this. I am already at the max that it allows me to subdivide. The cursor was indeed on -100. But trying the alpha you suggested and setting the focal shift to 0 unfortunately didnt do the trick. The lines are clean, but blurry, and not like drawn with the ruler, how in this picture

478

Its a real pitty that ZBrush doesn`t feature a tool that allows a direct, pixel based drawing on the model, that ignores the polys.
(I really hope there is nothing like this. Well, it would be cool if Zbrush had it, but it would make the laste statement pretty awkward. English is not my mother tongue, so I have sometimes problems to find my way on the internet, because the informations are mostly english.

Hello dear Aurick,
thanks for the time you took to help me. Like I said to CRYRID:
Sorry for the late anwer, but I wasn`t there over the weekend.

I´m happy to hear that the number of subdivisons is irrelevant, because I am already at the maximum my computer lets me do.
Your guideline with the number of polys compared to the texture, is something I will save for later.
My model has stunning 32 Million polygons… if a crank down the focal shift to -97 -96 it produces a line that is neat from far away, but is (naturally) fading a little bit to the outside. It bothers me, but I will try my best do get a nice result; and post a picture later.
If you have another clue for me or an idea; I will really appreciate it :slight_smile:
Thank you for your help so far. (And please excuse my little mistakes. Englis isn`t my first language)

If the model has UVs and you assign it a texture first (such as a blank white image), then Projection Master should convert the results directly to the texture. This way the quality would be more limited to the UV layout and texture resolution rather than the vertex density.

Thank you very much :slight_smile: Using a Texture to project the color on, really did the trick. The lines are now fine enough. And just in case you know the answer: is there any possibility to mirror the texture, now that I have the pattern one one side. I looked around the forum, and found many old solutions, which don`t work anymore :confused:

(I learned ZBrush in school, but they completely concentrated on sculpting and used another program for texturing (3dcoat). Honestly, I think 3Dcoat is much better for texturing, but I dont have it at the moment. Thats why I`m kinda noob when it comes to this term :wink: 
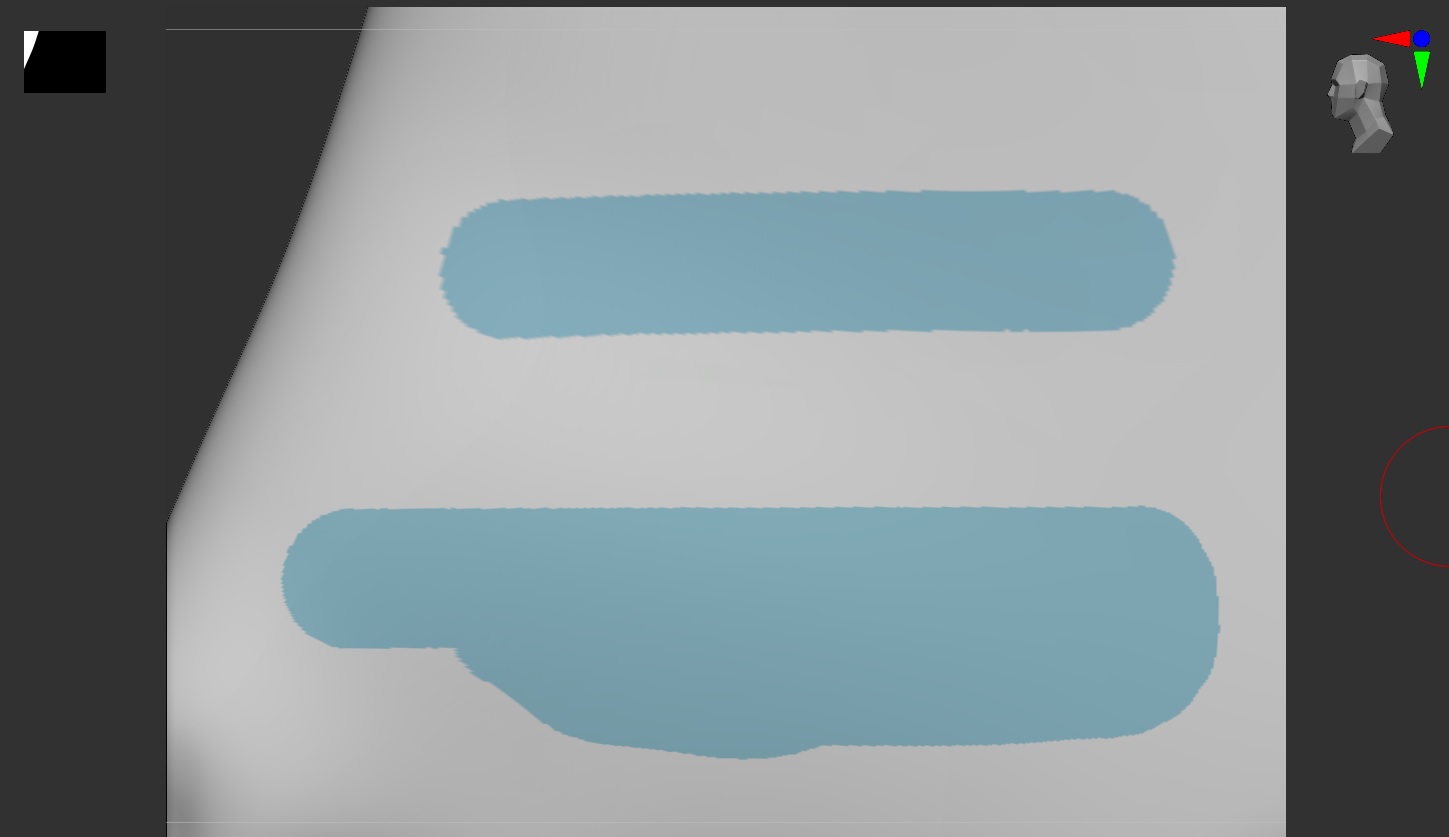
so sorry if I bother with stupid questions, mirroring textures should be something basic one should know how to do.)