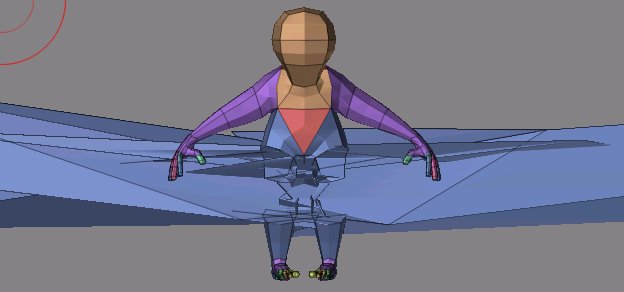
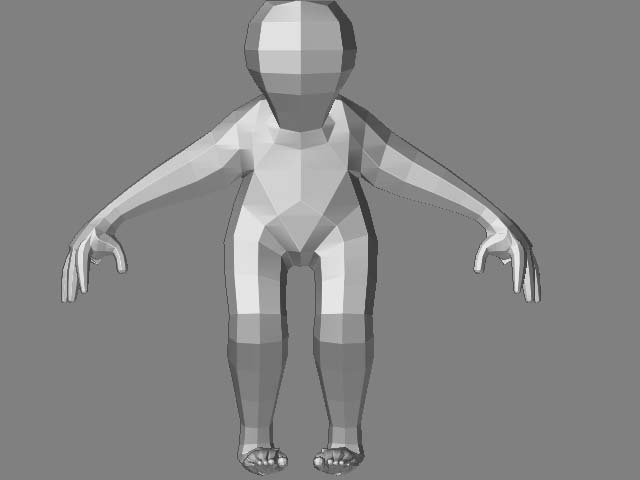
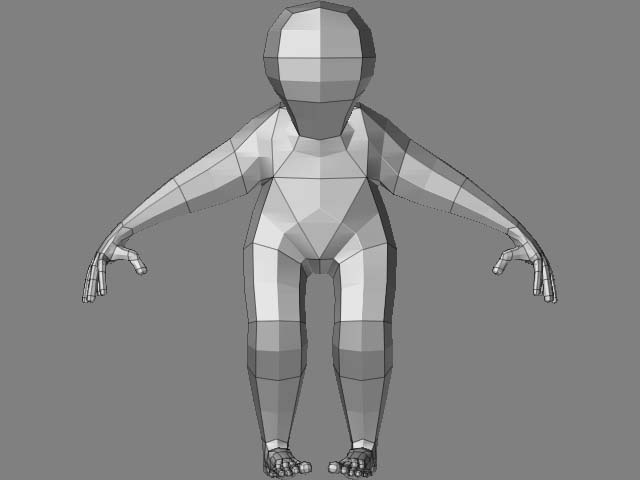
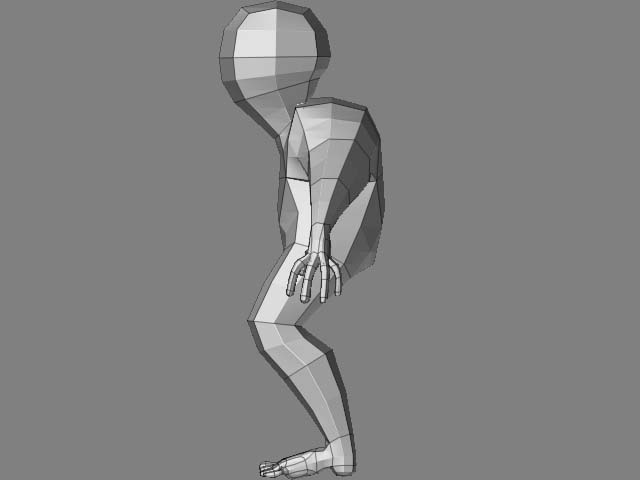
it is a fantasy game, based on another planet with different rules of evolution to make it seem a wee bit realistic.
As for zif edit and xyz coexisting im afraid you cant because he has used the file Layout.psd in both plugins and edit wont load up like the xyz, but I prefer edit anyways over xyz, same funtion but more options. (remember D becomes select)
Zif Click has its uses, the resizing spheres for example is great for getting the perfect size but make sure to count how many times you change it because you have to do it for the other half too. The move root is also very handy if you like to start from the head and work your way down like myself. The chest makes a much better root. You can also draw spheres and other things, which is why it comes with a manual. It too can adjust the xyz but it is tucked away into a sub menu. Like I said before it can be unstable and crash but once he/she perfects it it will be a powerful tool.
As for sculting, if you wish to pose it inside of zbrush by moving the spheres you have to StoreMT in sphere view, then do it again in poly preview, move a point in an easily noticable way, just as a test, and go to sphere then back to poly. If the moved points stay where they should be then it is safe to sculpt. If they look like they’ve been electrocuted and thrown about worse than a mad scientist’s hairdo then restore from a backup, repeat and cage (under geomerty) a lower poly mode. I have found that sometimes you have to cage, and other times you dont. I have no idea why it does this though.
But if your going to animate/pose it in an external application then make a polymesh 3d once you add everything you want in it, making sure there are pleny of spheres to work with, for each sphere is like one Level one subdivide poly line unless it has children. When I do this I often chose the low poly view and get the very basic lines that I want. Then I go to 2 and double check everything. Dont forget to chose how mch skin you want, min to child/parent, which works great for humanoid/animal meshes. After that make your polymesh and sculpt til your heart is content then export it when done as an obj.
Jason: I have tried and tried many ways to ensure that the mesh is editable, I have used Morph Target in just the sphere view and got the tossed shards. I have tried without and nothing at all happens, it reverts to unedited form but the root. Ive also tried it without the cage and it often tosses the shards. Only the “Double morph and cage” technique seems to work for me, maybe its because im running windows.
Anyhow I hope I havent made it sound confusing to you.
Have fun
~~Insanity

 Looking forward to hearing some thoughts… many thanks in advance!!
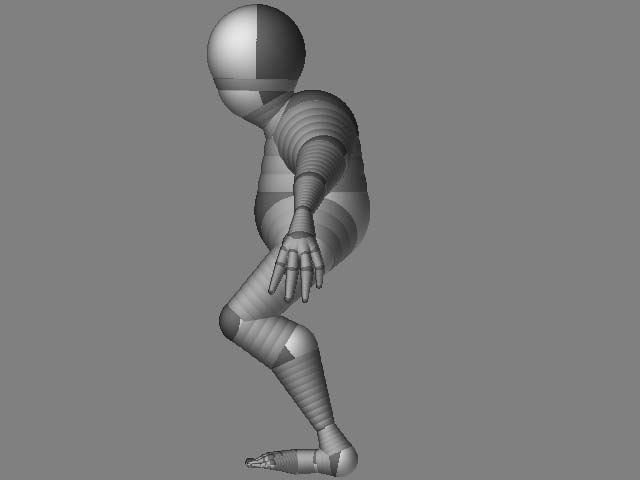


 . By the way you said the model explodes please feel free to tell more!! Do you mean as a unified skin or as a adaptive skin ?
 .
.)