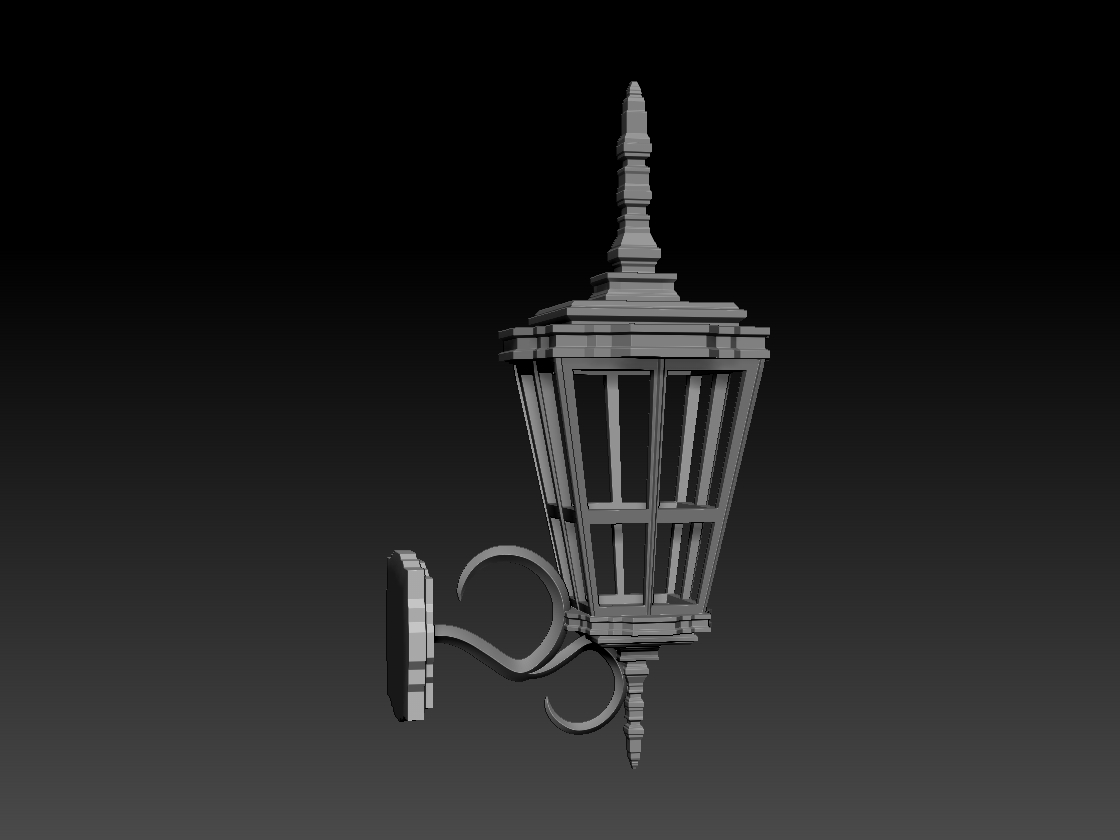
that last tutorial was awesome!!! I learned even more i didnt know alot of those features heres my new lantern using some of these new features. I brought the poly count to 17000 and i think i have it looking a bit better.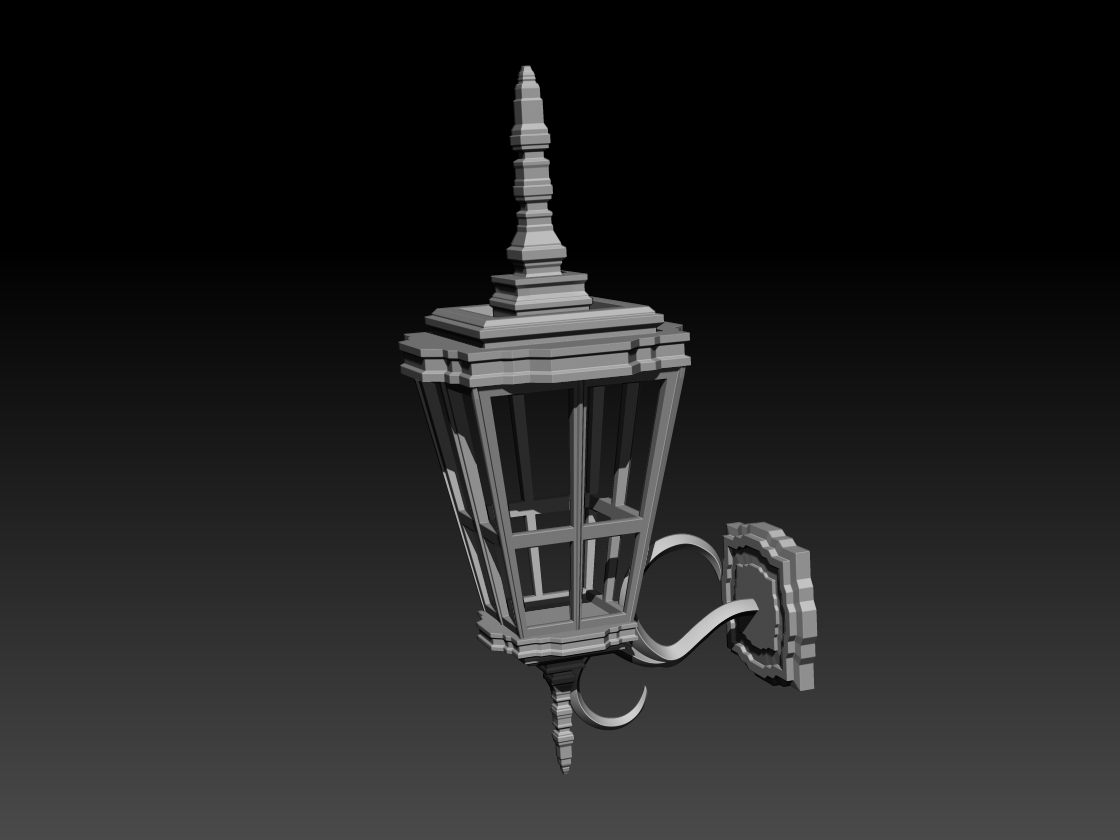
Attachments
that last tutorial was awesome!!! I learned even more i didnt know alot of those features heres my new lantern using some of these new features. I brought the poly count to 17000 and i think i have it looking a bit better.
Thanks for reposting the beautiful MatCaps (2007 was before my Z-time…)  small_orange_diamond
 small_orange_diamondsmall_orange_diamondsmall_orange_diamondsmall_orange_diamond
Those lanterns look even more amazing!!! Really like the wall plate.
And you are always welcome Geert!
Thankyou!! The tutorials help me a ton, I didnt know about some of the brush functions they have helped a ton. also im setting up a custom UI now something i hadnt done in the past this is helping a ton(im only a hobbiest but i am addicted to using zbrush the best program i have ever bought)
This is an amazing piece of software! Always has been. Glad you have found this useful. =)
Man, I have been wanting to finish working on this guy for a long time. Now, with all the new and exciting Z features, I finally get to start. I have had so many mesh issues with this model. qRemesher has helped me get to a place where I can finally start the final stages!

looks great MTB !! lets see where it goes will be watchin !! small_orange_diamond again great vids and mats thank you !!
Well I’m stuck with render settings.
Can’t find the color selector for shadows and AO in their respective sub-palettes. Did they get moved?
I am also looking for the live preview shadow adjustment. Want to change the angle.
Any help yall?
Thanks,
~MAH~
Okay…nevermind…
I think I’m getting it…well, it’s a start.
live preview shadows i found if you move the dots in the light palette on the first menu that will do the job… colour shadows sounds fun I had no idea… so much to learn.
Man, I have been at it all day/night.
Still not done with the sculpting and poly painting.
Have to say though, loving EVERY new bit of Z4r4.
qRemeshing a polygroup saved this guy from My Z
graveyard. I can’t wait to finish this guy!
So yeah, this is the render environment so far.
Cheers,
~MAH~

Phenomenal. Thank you for the tips, tricks and tutorials. There’s always so much more to learn.
There sure is. Thank you. 
cool job on the helmet ! some clean lines tho ZB is capable i too struggle with renders 
Just wanted to thank you once more. Your time is valuable and this is appreciated very much. It certainly helps me a lot. No need to reply as your generosity says it all and I’m sure your sick of saying your welcome by now. I’m going to concentrate on moving my base modeling out of Silo to ZBrush and this will truly help.
Thank you, I’m glad that it is turning out okay.
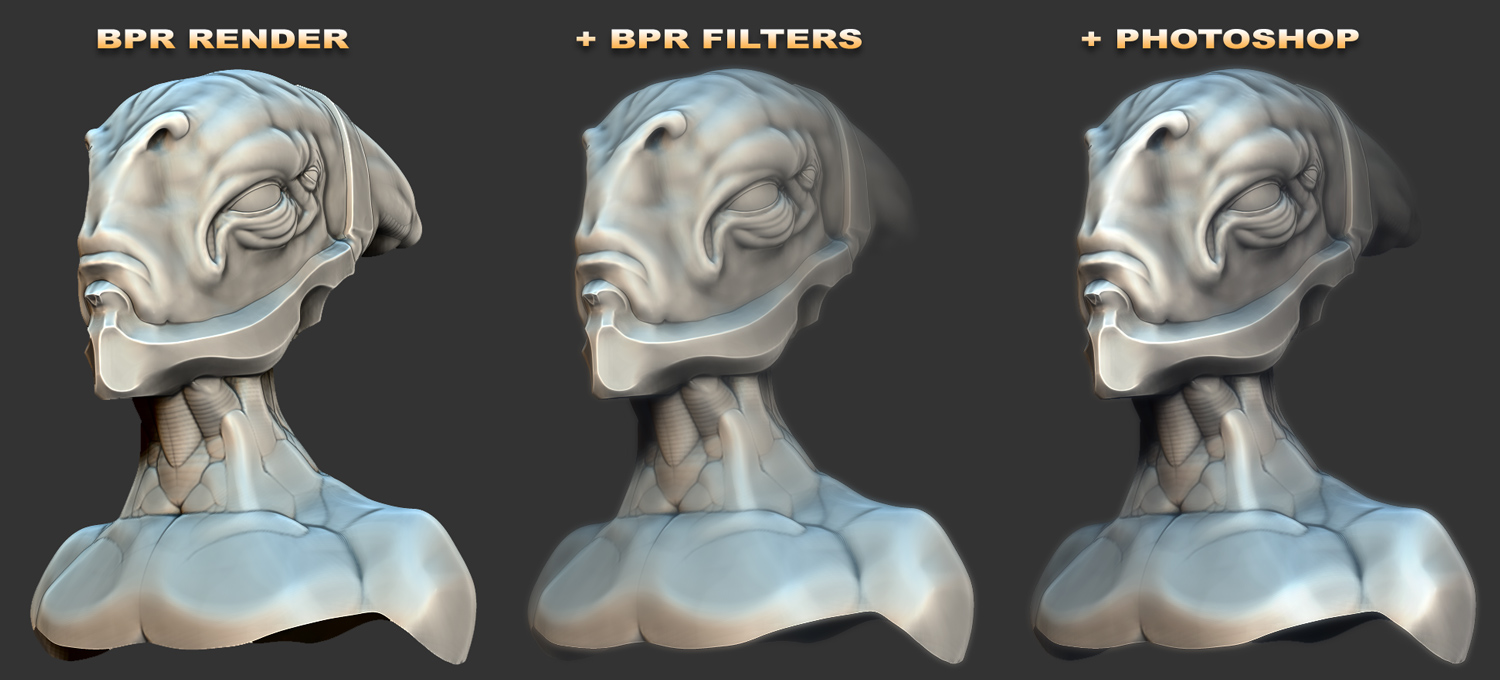
I have spent the last 48 hours trying to understand the render settings. More to the point, BPR Shadows and AO. It’s been a weird balance. I love what I have found out about the shadows. Really am proud of the result and more to the point, finally understanding BPR shadow parameters. Sad news, I hate what I have found out about AO dynamics. I can get some okay results but I have found that I will never get the AO results that I truly desire. sigh
Regardless, I am working on talking points for a few video tutorials. One which covers ZBrush BRP Shadows and AO settings. Not just showing simple setting but actually explaining (and Showing) what each sub-palette setting does and, ultimately means to the overall image. Here is a quick teaser tip. Something that, until recently, I never though about… use powers of eight!.. Kinda… 
We all can thank Mr. Kurt Papstein for what I have found. His key words for me were, “less is more.” I didn’t know it then but after 3 hours of ‘tweaks then renders’ ping pong in Z, I hit a eureka moment. Should be informative…I hope.
Do this:
My Quad core laptop renders these setting in under 7 seconds.
This is just a small taste of what I have in store…
Stay tuned for more. =)
It will always be a pleasure to say thank you and you’re welcome. So far, Silo is still tied for #1 with Wings3D. I personally feel that ZB needs more low poly functions but, considering my tenure, Z is on a wonderful track! I can never wait for what they have in store for us.
On a side note. Here is a sample image of my discovery.

I love what I am seeing in the edges of the green circle but am confused by the aliased edges I see in the red circle. The softZ and Anit-aliaed settings in the Render Palette only work with best render and not with BPR. I would like to understand this situation more if anyone can help…Thank you!
Stay tuned, enjoy, and as always, thank you!
~MAH~
PS - AAhalf ( hotkey CTL+0 ) removes this but, if I have a large image…well…time is money.
I’m so happy I spent this time playing with BPR Shadow and AO settings.

Very nice results. I´m looking forward to see your BRP Shadows and AO tutorial. There is a good one from digitaltutors for BPR shadows http://www.digitaltutors.com/11/training.php?vid=30257&autoplay=1
but I do not have no clue of AO settings.
Wow, thank you!
Never saw that before.
Good news is, after teaching High School VFX students for 3 years, I would like to hope to think that I can show you a different perspective on the BPR shadow data
that will hopefully aid in a better understanding of these parameters…I hope…lol. We’ll see soon enough.
Cheers and thank you for sharing!
~MAH~