ZBrushCentral

zSketches by DOPEPOPE

I’ve come across this problem recently too, and it was tearing my characters face in a way that was bad. One simple thing I did that improved some of the results was to simply rotate on 180º on the Y axis for UV Master and then rotate it back 180º on the Y-Axis. Be sure symmetry is on too. Otherwise, you may want to make a base mesh first with Decimation Master and then ZRemesher to get a topology that works with UV Master. Just project the details back at higher subdivisions and project the details back from the Subtool’s Project ALL feature.

Edit Update:
I just checked on a model I’m working on right now. It’s a flaw in the UV Master run under the 64 bit varient of ZBrush 4R7. Instead of running ZBrush64, just run ZBrush. That one seems to be operating the way I remembered back in 4R6.

Hmm. Interesting. I appreciate the responses. And if anyone else has any ideas, I’m here. : )

I guess I should have specified that the 32-bit version of ZBrush runs the UV Master ZPlugin just fine. It’s the one under the 64-bit version that has been giving both of us problems.

Ah, ok. That’s interesting. I’ll try it out in the 32 bit version.

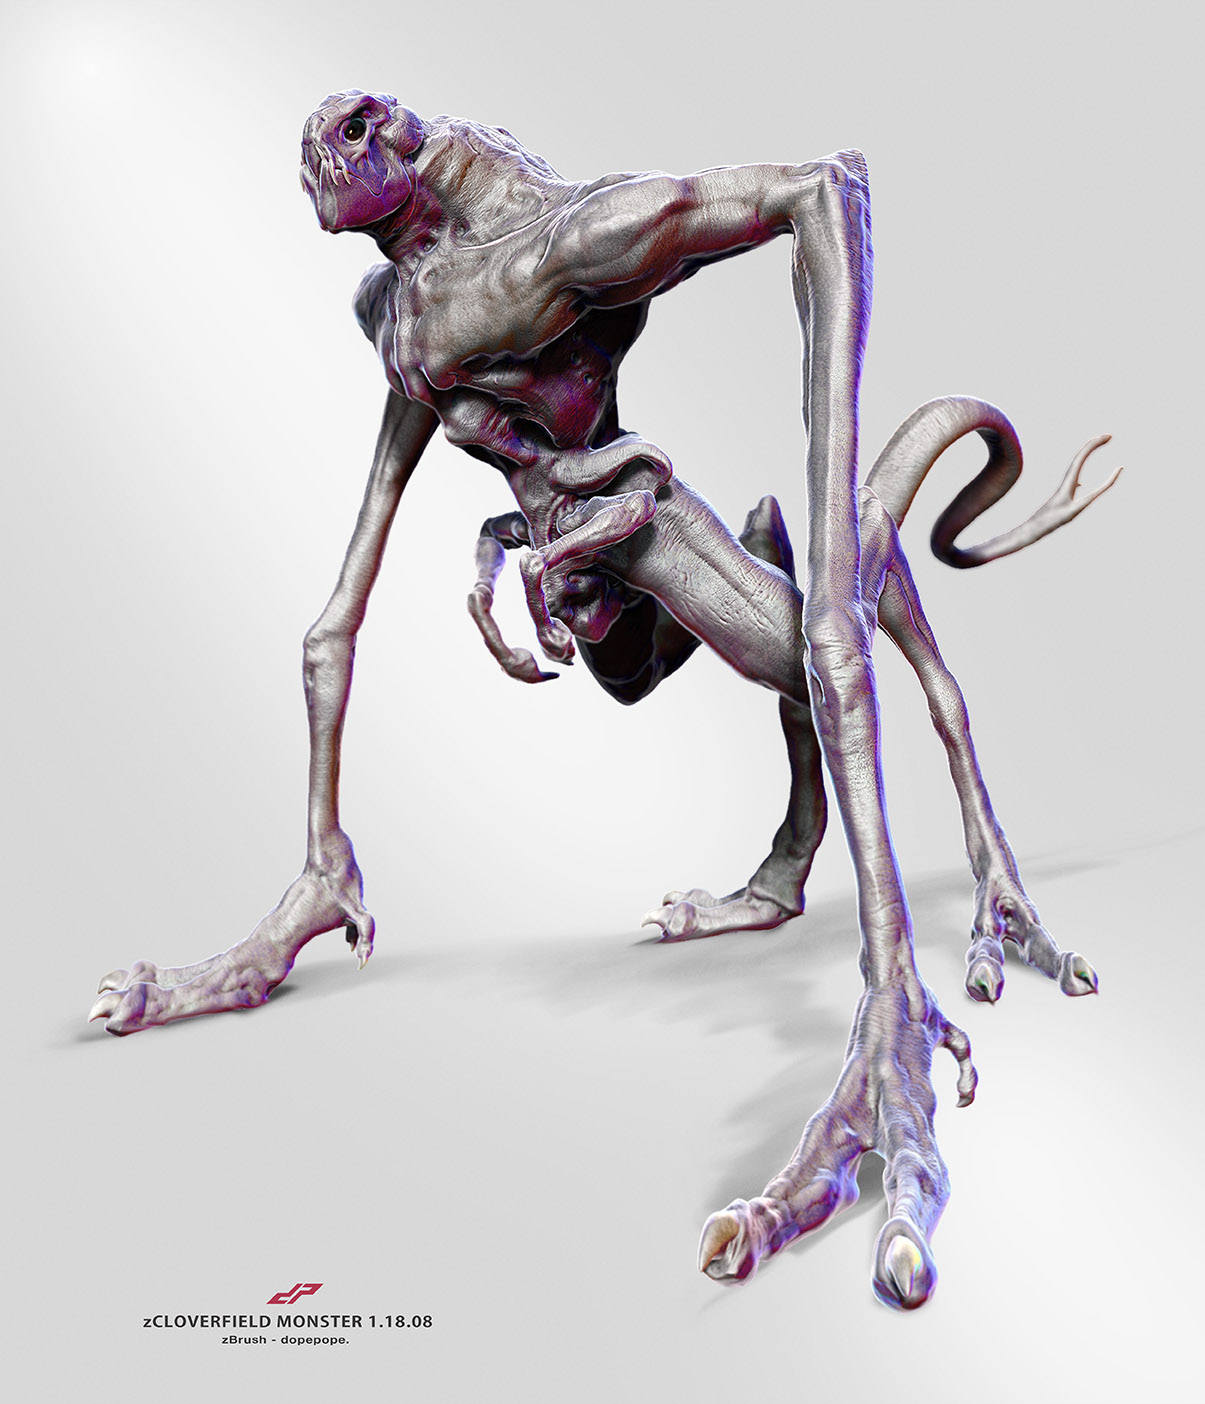
zCLOVER_by_dopepope.jpg

3D model HERE.

Attachments

zCLOVER_by_dopepope.jpg

1 Like

hi,

make sur you have deleted any unwanted uv’ s, by going to:
-tool>uvmap>DELETE uvmap

Then, if you have no layers, just go to Uv Master menu (if you have layers, just desactivate record mode).
(I suggest to) use ‘work on clone’ function. Non destructive, it creates a clone of the first subdivsion only

ps: In your second image, your flattened model, it seems that it is a dynamesh ?
I ask because uv Master, and Uv creation in general requier a low number of polygones. Otherwise you will end up with issues (memory,cpu%, etc). This is why I suggest -if it is the case of dynamesh mesh - to duplicate your mesh and retopo it before anything (use z-remesher, activate symetry if you want a symetric model retopo).

  • use ’ project all ’ function to get back all your details (only your dynamesh visible, select the new mesh retopo, project all, subdivide, project all, subdivide one more time, project all, etc until you recover all your detail (more or less the same number of polygone of the dynamesh mesh)).

You will end up with the ‘exact’ same model as your dynamesh but with a good/better topology and sudivisions -
EDIT: maybe it is better to make this projection stage after the unwrapping.

So go to Uv master menu

  • work on clone
  • check ‘symetry’, ‘polygroop’ or ‘use existing seams’ if wanted
  • Unwrapp
  • check seams
    If happy copy uv and go back to your original tool/subtool and ‘paste uv’
    If not happy of the result:
    -Use polypainting and choose protect for instance
    -unwrapp
    -check seams
    if not happy use
  • Attract and trace lines wher you want your seams
  • unwrapp
  • check seams
    etc… until happy

PS: You have another way, much efficient in some point of view.
You can create polygroops (without creating new polygones or modifiyng existing) and then check ‘polygroop’ before unwrapping.
It will unwrapp your model on its polygroop borders. But you have to choose efficiently where your polygroups have to be. Otherwise
it will create unwanted seams.
zCLOVER_alts_by_dopepope.jpgzClover_wires_by_dopepope.jpg

“Hmm. Interesting. I appreciate the responses. And if anyone else has any ideas, I’m here. : )”

So why are you ignoring one of them ?

LOL ! :wink:
ps: help the helpers with a simple free " thank you ", it
is just, I think, the minimum of education, etiquette & politeness.

If my ‘help’ did not resolve your questions,
and you still have problems with UV creation & UV Master, I finally suggest to go back to Zbrush classroom about Uv Master ! I suggest you to go to Youtube too, there a plenty of good tutorial,
one of them have been made by the creator of Uv Master.

good luck anyway

I wasn’t ignoring you. Just busy today. After I installed the new patch, I was going to try out everything you listed. Other work got in the way however. I’ll be trying it out soon tho. And I’ll let you know what happens. I do appreciate the detailed response tho. And looked at your work, loved it, and followed you too. So, definitely not ignoring you.

Edit: I actually did try out zRemeshing the tool, then working on a clone of it, and my CHECK SEAMS looked like the one in the tutorial. So, THAT worked nicely. What I can’t seem to understand is, when I use a texture, it’s HUGE on the model. The pattern is way too big. And it doesn’t seem to make sense because I even made the texture file really small pattern in photoshop. It just wraps the mesh as if it’s a really huge print at a low resolution. How do I fix that?

The problem is that the texture you are using is so small. In other programs you can force it to repeat the pattern easily. I think a solution for you would be to use Noise. The Tool --> Surface and click noise. Load the texture as an alpha so you can select it as a pattern. Since you probably don’t want to change your sculpt, go into Edit and change the strength to zero so it won’t alter your sculpt. You can scale the pattern with the Alpha Scale. Change the colors and you’ll be ready to go.

Hope it helps.

Ah ok. I’m definitely going to try that out.

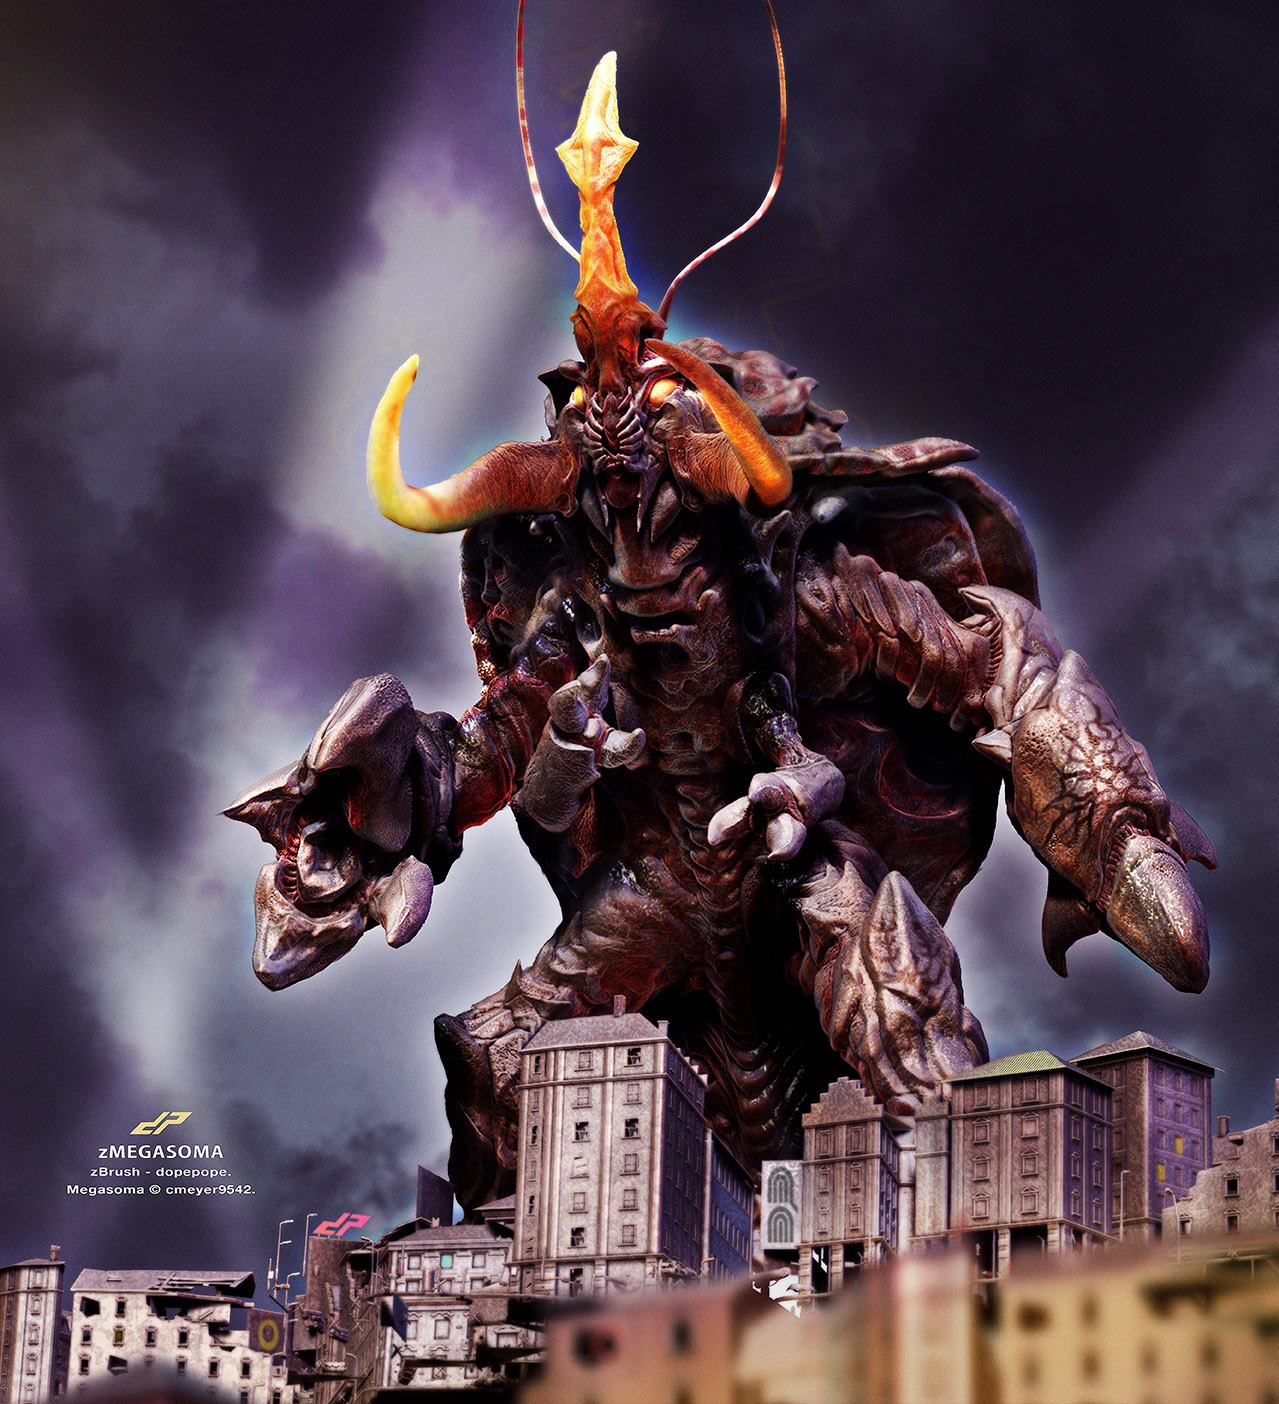
zMEGASOMA_by_dopepope.jpg

3D MODEL HERE.

Attachments

zMEGASOMA_by_dopepope.jpg

Nice, if you’re running out of film characters you could always do statues from film. :wink:

Also, sketchfab looks pretty good. May have to try them out.

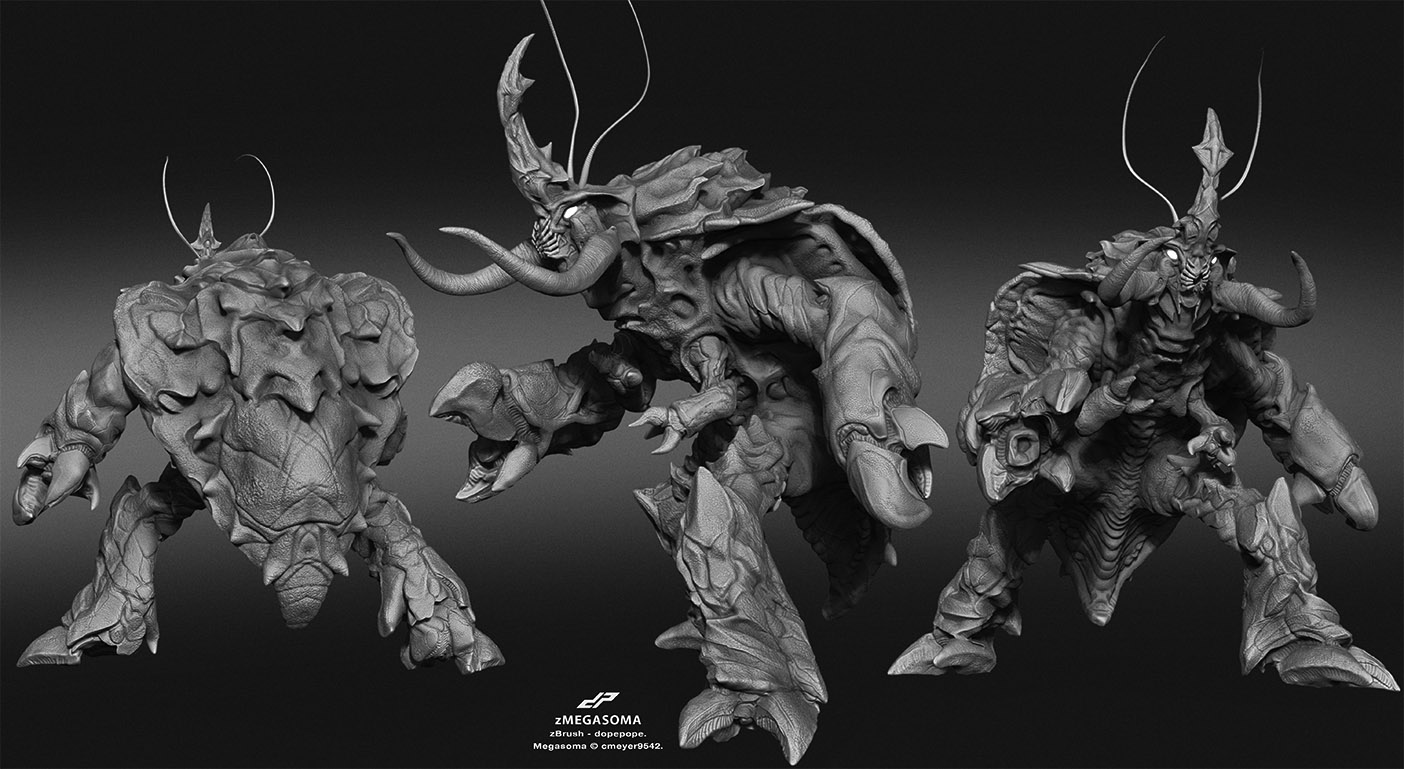
zMEGASOMA_alts_by_dopepope.jpg

3D MODEL HERE.

Attachments

zMEGASOMA_alts_by_dopepope.jpg

zSlowBro_head_by_dopepope.jpg

3D MODEL HERE.

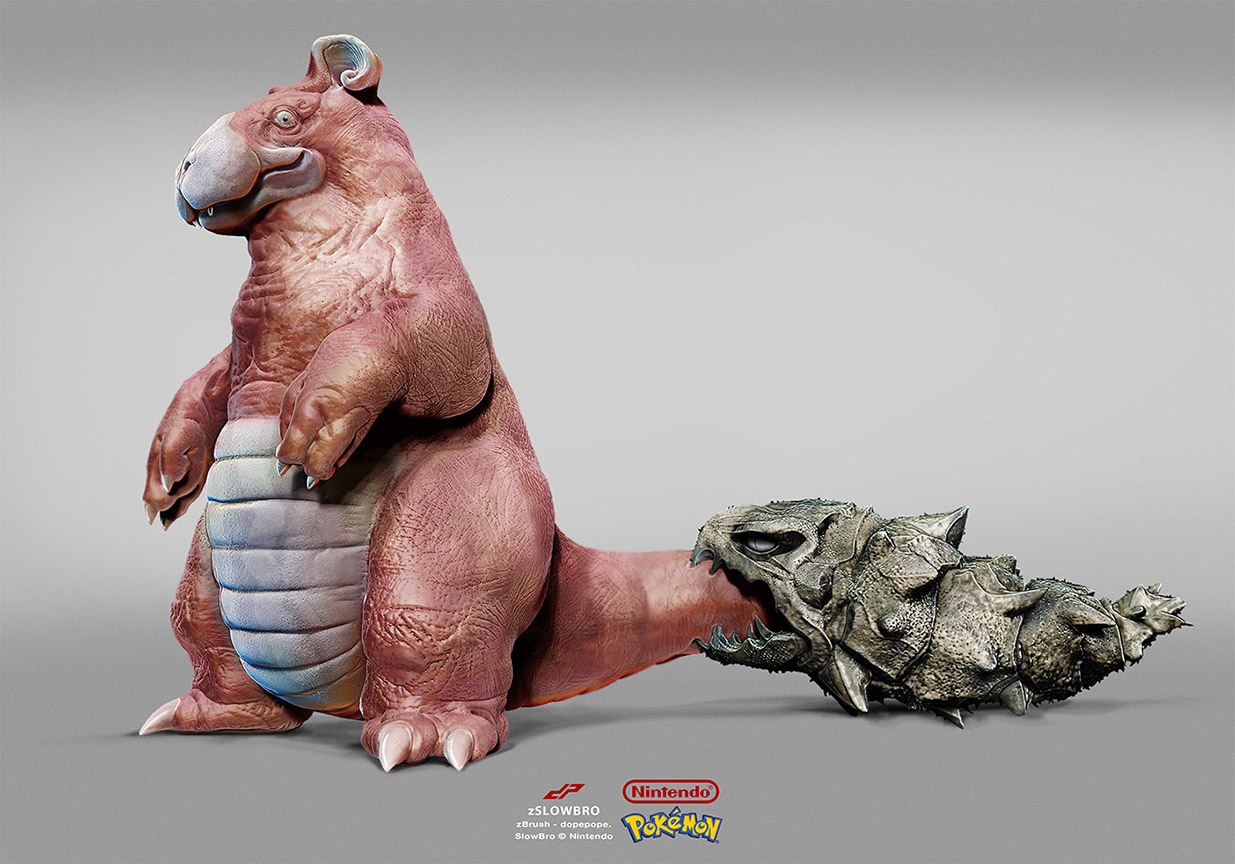
zSlowBro_by_dopepope.jpg

3D MODEL HERE.

Attachments

zSlowBro_by_dopepope.jpg

Lol at Slowbro. He’s so fleshy.

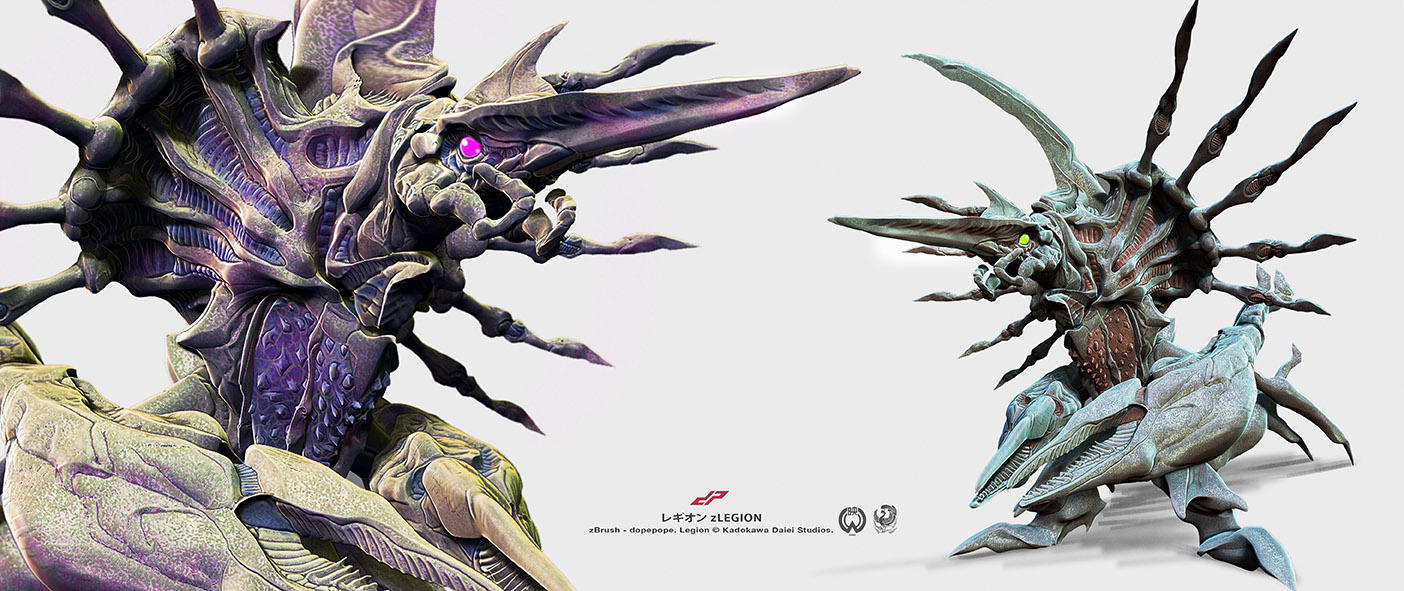
zLEGION_by_dopepope.jpg

3D MODEL HERE.

Attachments

zLEGION_by_dopepope.jpg

…just ate some crayfish yesterday, perfect timing!
The sculpt is epic, and I like the color choice.

I thank you, Sadicus.