ZBrushCentral

Zapplink Re-Enter Problem

Hey guys and gals,

Has anyone run into this problem before:

Using the zapplink function

1st problem-
My texture is set to color to texture, with the texture loaded in the texture box. Hit Zapplink and do my business in photoshop. I save, tab back into zbrush and the option box states re-enter(unchanged). I cant figure a way around this. And yes I have tried making a new layer and merging down while preserving the mask.

2nd problem-
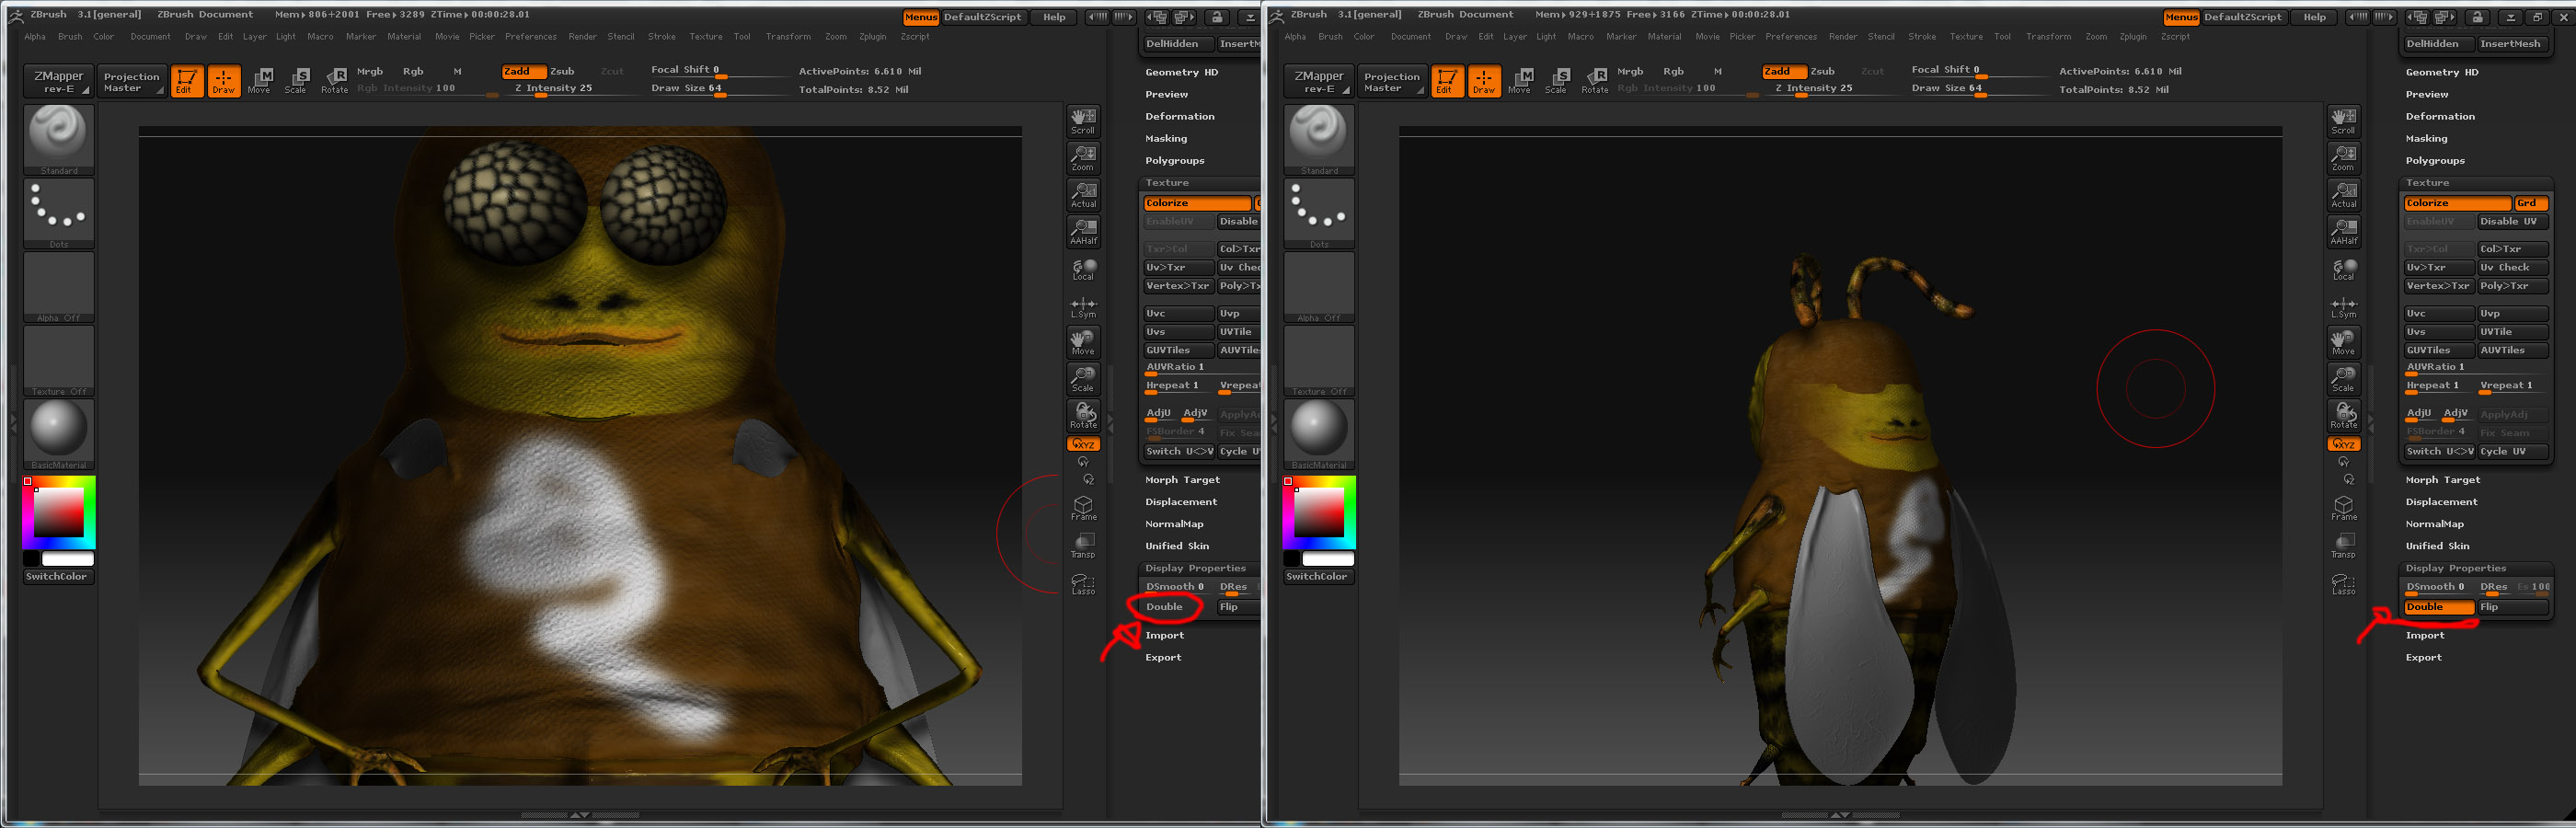
My texture is set to texture to color (poly painting mode). Hit Zapplink and do my business in photoshop. I save, tab back into zbrush and the option box states re-enter(changed). So ok, I think to my self ok well this works right? Lets just stick to this method then. I hit re-enter. Zbrush does its business. After it thinks awhile, it produces my mesh’s display properties (double sided) unchecked. It was checked before. So basically my mesh is inside out. Hit the dble sided box and its back to normal. Heres the problem, the texturing I did in PS is all displayed on his back side. Refer to the img.

3rd problem-

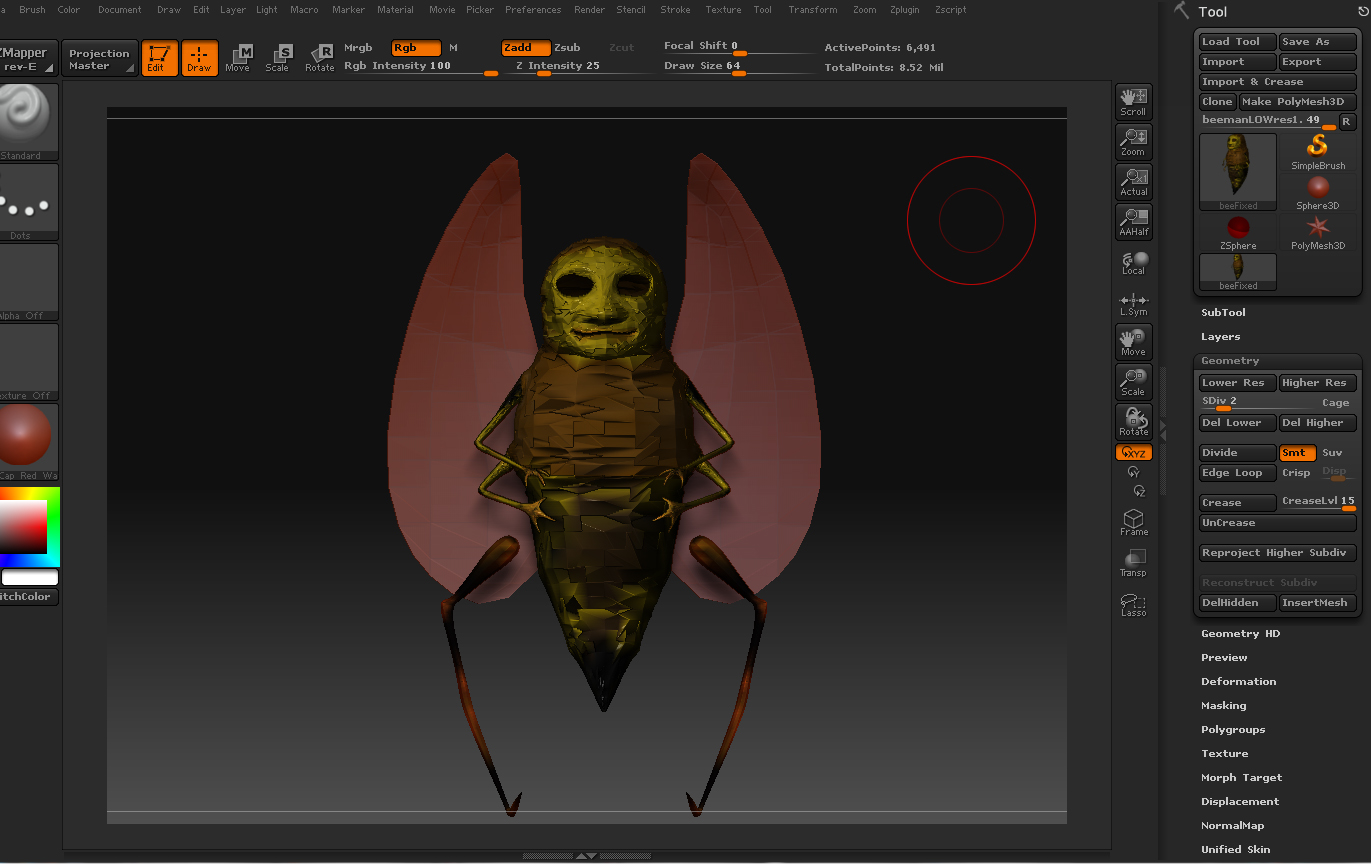
Still having the issue of import/export exploding mesh. Tried all the various methods I have read up on. Nothing seems to work for me, neither does it even remotely want to go my way. For now I hope and pray for a some kind of fix in zbrush 4.

Thanks for reading and hopefully helping?

Attachments

zapplinkproblem.jpg

your mesh seems to be flipped regardless.

you need to flip the actual normals, or Zapplink is always going to paint “through”

tool>display properties>flip.

If zbrush thinks nothing changed then just alt tab back to photoshop and save again then go back into zbrush. It just didn’t see the update…usually happens on when first entering zapplink and PS wasn’t already open.

As to the 3rd, try and try again. It is something in your workflow that is messing it up. I thought max users had it bad, but I think maya has it worse. Try it on something simple, a box with 9 polygons per side. See if you can’t get UV’s back and forth with that.

Holy **** i cant flip the normals either without the geo explosion. :frowning:

Hmm alright i did a test with cube in zbrush from the 3d tool palette. Initialized it and exported the low res mesh with the ‘right’ settings. Imported it into maya with the right settings as well. Fixed the UV’s and re-imported it back in zbrush and it worked.

So this is what I think. Theres something wrong with my geo. :frowning:

the zapplink issue can happen regardless of the state of your geo, although you do need uvs.

A work around is, once you’ve done your work in PS and save don’t close the file or PS, just minimise and return to zbrush.
If zb says “re-enter unchanged” accept but don’t move your model, instead open/load your texture (the one you had just been working on in PS, should be a PSD) into the texture palette in zb.

Hit g to drop into projection master and fill your screen with the new texture, remember to choose the flat shader when you fill the screen.

It works the same as zapplink, just not as streamlined, and if you are potentially going to loose work then its handy/reassuring to know not all is lost.

P.S this method can also be used to bake mat cap material to textures

cheers

Thanks a bunch the for tips.

Zapplink isnt an issue anymore as far as I know now. Its my geo. Every time I try to use zapplink it works fine until i re-enter and my normals flip on me. I cant even flip them in zbrush, with out the explosion. This bee is giving me a headache. I think im better off just dropping this project and starting something fresh.

I have no idea what could be wrong with my mesh. I made the bee out of zspheres and retopologized him. Made the mistake of detailing first, then polypainting, and then trying to fix the uv’s. Its best we all learn the hard way imo. That way it will stick for good :wink:

thanks again.
I will up load the file if anyone wants to see if they can help.

export your base lvl to maya, give it the works.

Then import as a new obj, append to orig model, subdivide up then project all, detail and colour, fix all problem areas with the zproject brush, turn persp off.

Zbrush is ‘‘organic’’, more so than most users realise.
There are no hard and fast rules, if something goes wrong you just got to side step and counter.

I even utilize the bugs in zb to do my work, these so many ways to avert complete disaster that it pays to experiment.

cheers

hmm im not too sure how to go about what you said at the end. First off I just noticed something. After importing from maya and appending the fixed base mesh. The bees’ scaling is about 4x smaller than the original(if that makes sense). Could this problem all be with the scaling? IF so I wouldnt have a clue as to where to begin.

hit unify under deformation tab, before you export to maya. this should make the scale consistent. Also probly best to int zbrush just incase there is a scale happening when you export

Ok I hit the unify button and it shrinks my bee to the scale it was coming in imported. But when I do the unify button for the rest of my subtools they dont shrink but they move to the middle of my page… all of them. Any clue whats happening?

And all this help your giving me is great!

yeah, zbrush is centering the pivot of each piece as oppose to in relation to the whole model.

To work around it you will need to create polygroups for all the geo then delete subd lvls and merge them all into one model, then unify, then seperate, then export.

Maybe theres a script to do this, but could just be faster at the moment to do it manually.

EDIT: save out a low rez and a high rez version as you are deleting subd lvls

Ok I will give that a try, but do you know why the body is scaling down and the other subtools arent? They are all made from zspheres.

all i know about the technical side of zspheres is that they recalculate.
Meaning , i assume, that their position scale and rotation are relative and not fixed.

Anyways, you should convert them to polymesh asap, although one of those usefull bugs with zshperes is that when in preview mode you gain access to a few of the polymesh tools, in this case storing a morph target will maintain a zshperes attributes, but don’t quote me on that.

better to work with polymesh if you are doing heavy editing.

So morph after you merge them all into one through subtool master… because Im not to sure how to any other way. It deletes the subd’s any ways. So if Im on the highest, all the lower ones are gone. And vice versa for the lower res. (All of the geo shrinks to the size of the body as a whole this time)

Continuing on… I unfiy them and then seperate. All the seperated subtools have no subd’s. I assume this is suppose to be correct. At this point im not to sure where to go from here?

export all the low rez to maya, fix then import to zb as new obj and append all.

Then move through the different subtools and project all the details from the orig hirez (this will also need to be appended into your new ztl.

you learn quick dude

Well im not having much luck here with projecting the high res detail onto the low res. I think maya is, pardon my french, ****ing up the size of my mesh when importing/exporting. Its getting late and I have to work tomorrow. Hopefully after work I can sum up some energy and get this problem hammered out. Thanks for all the help today, maybe you will be around to answer any questions I have tomorrow. :slight_smile: :+1:

And as for learning quick… to be persistent you need to learn quick. :wink:

Thanks again, Morph.

no worries

Ok morph,

Trying several ways with no luck. Im at the peak of throwing this **** in the garbage. There might be a way out of this problem. Refer to pic.

Im uploading my ztl file to rapidshare, I will post the download link when its done. If you want to take a look that would be much appreciated.

Look forward to hearing from you.
Thanks.

Attachments

needhelp.jpg

ok heres the download link for my ztl file … i know its 140mb sorry :wink:

http://rapidshare.com/files/247957356/beemanFixedcolores.zip.html

I’ll take a look at it