here’s just a quick facial update
[attach=175511]composing_facework.jpg[/attach]
Attachments
here’s just a quick facial update
[attach=175511]composing_facework.jpg[/attach]
Environment Test
[[attach=175519]set_lowrez.jpg[/attach]]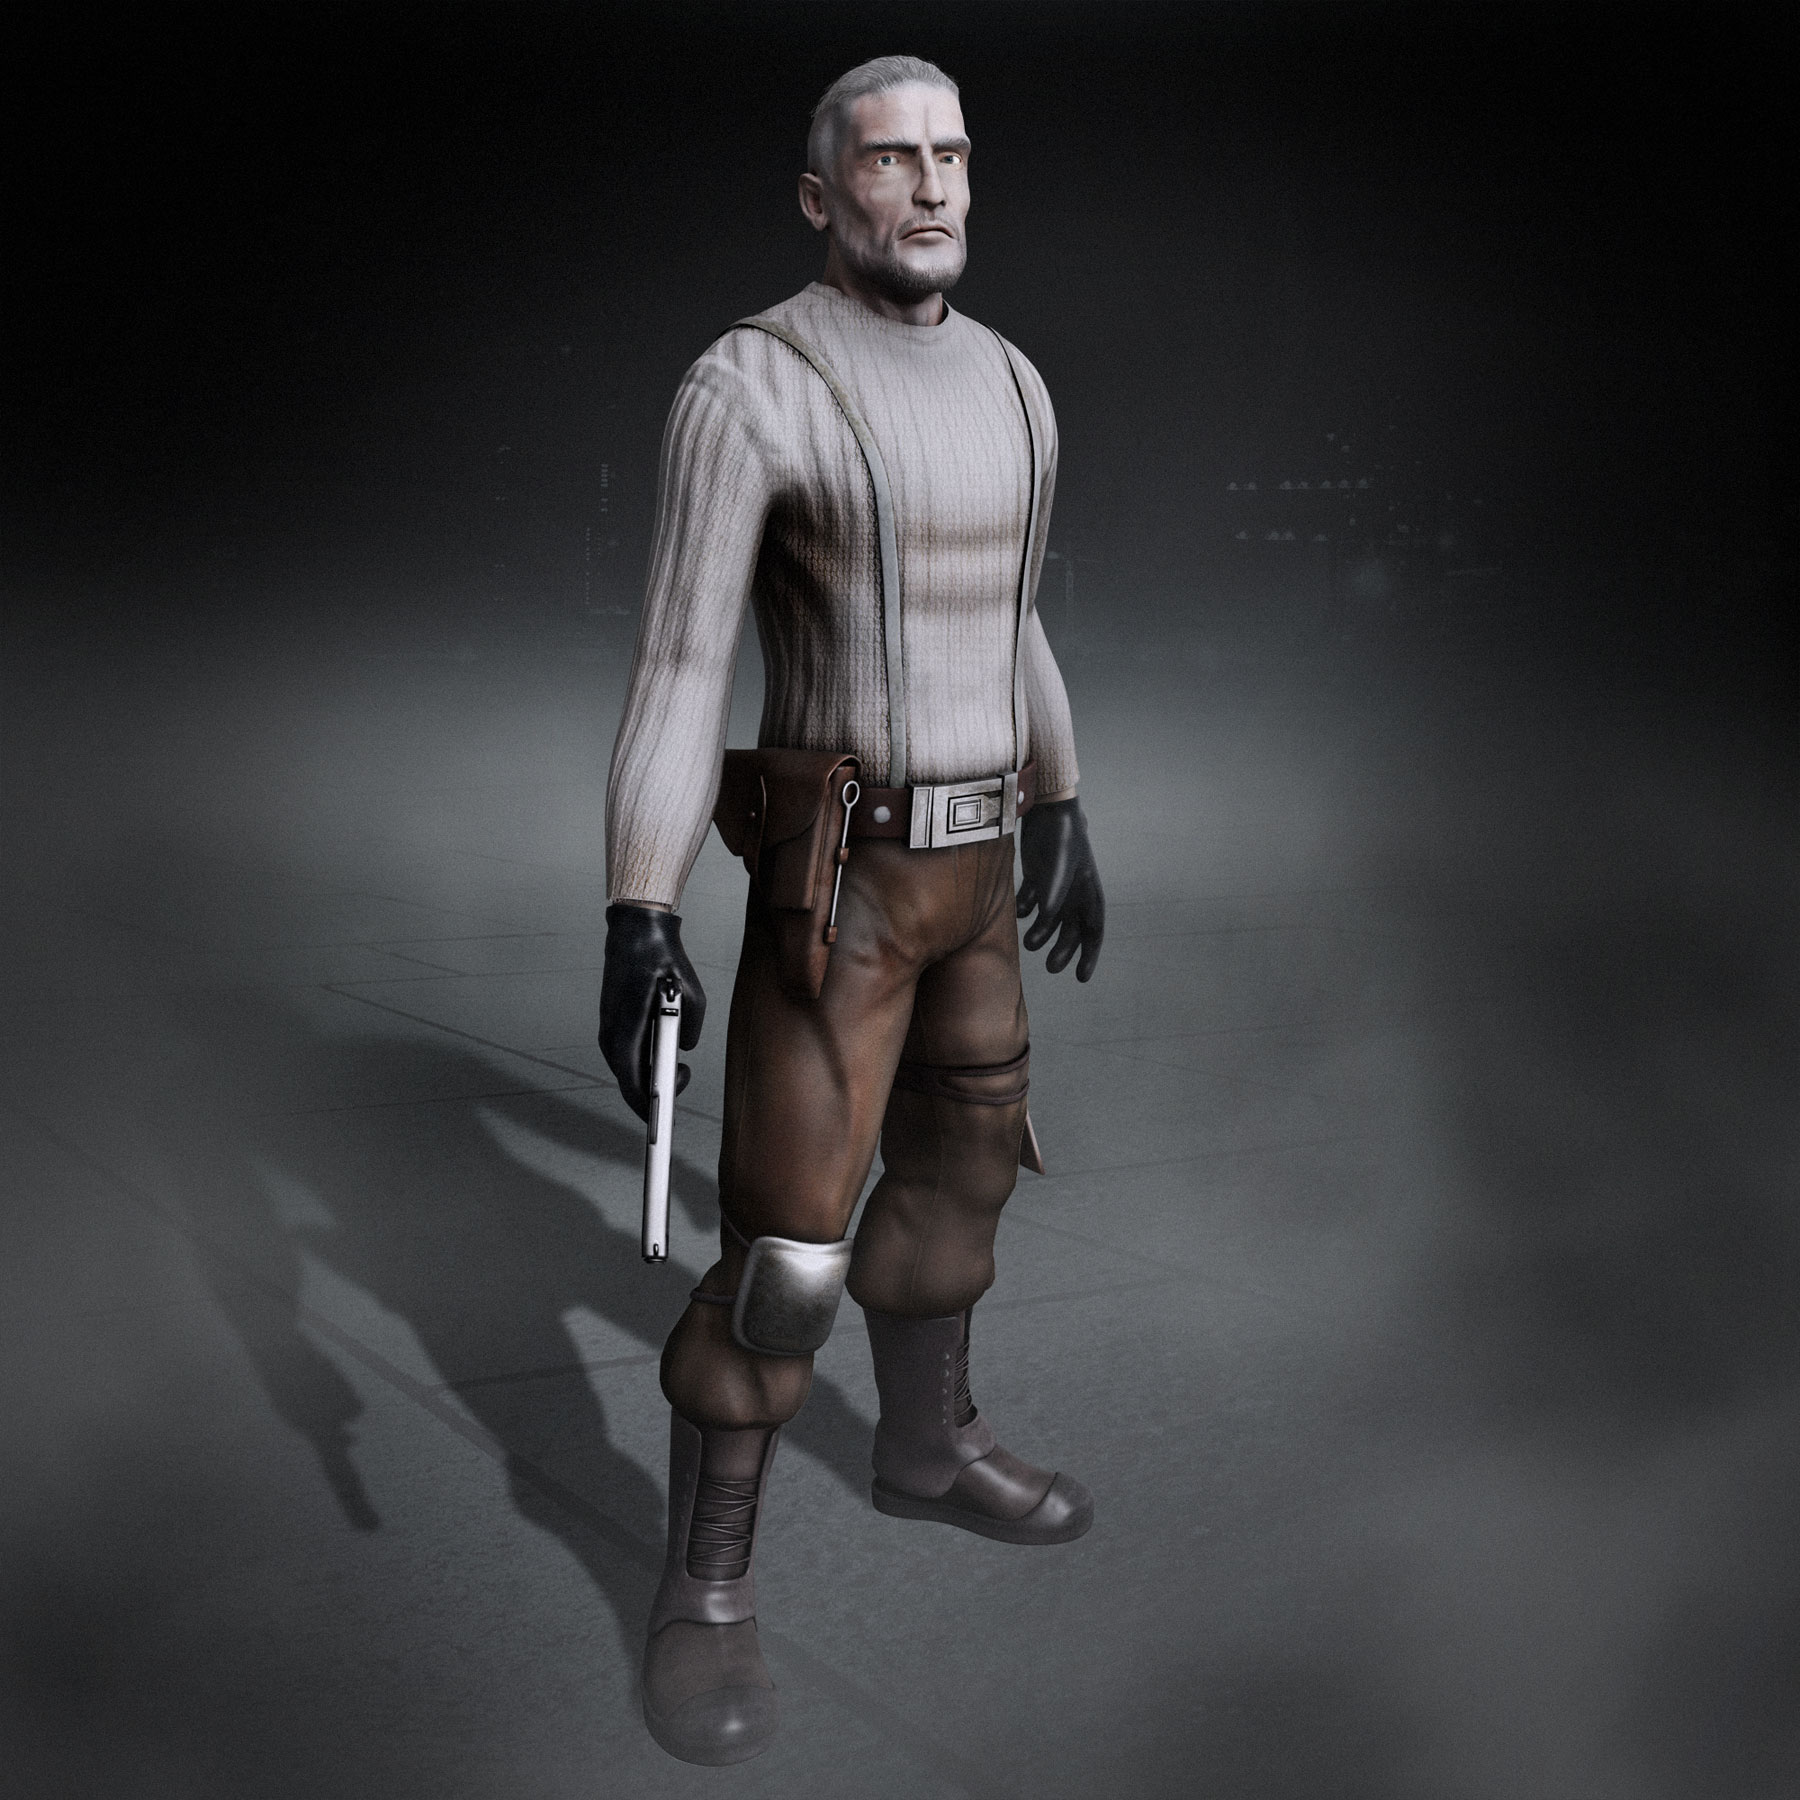
It’s coming along. Good job.
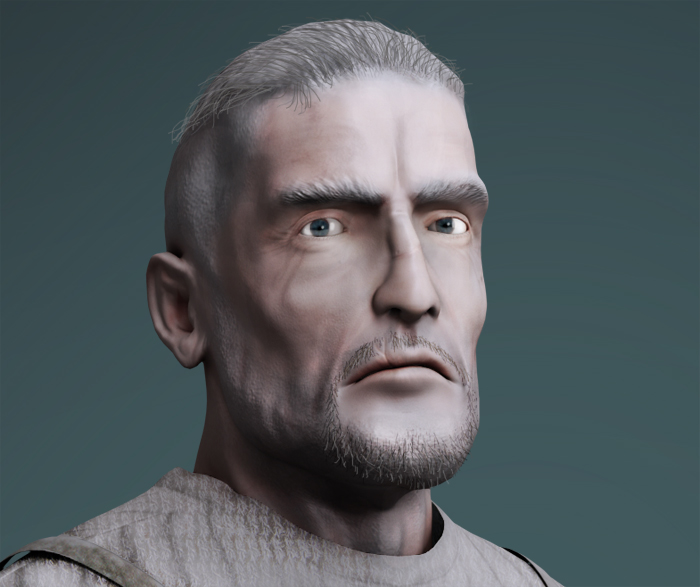
cheers, here’s a small update on his face
[attach=175531]face_update.jpg[/attach]
here’s another update
[attach=175556]env2.jpg[/attach]
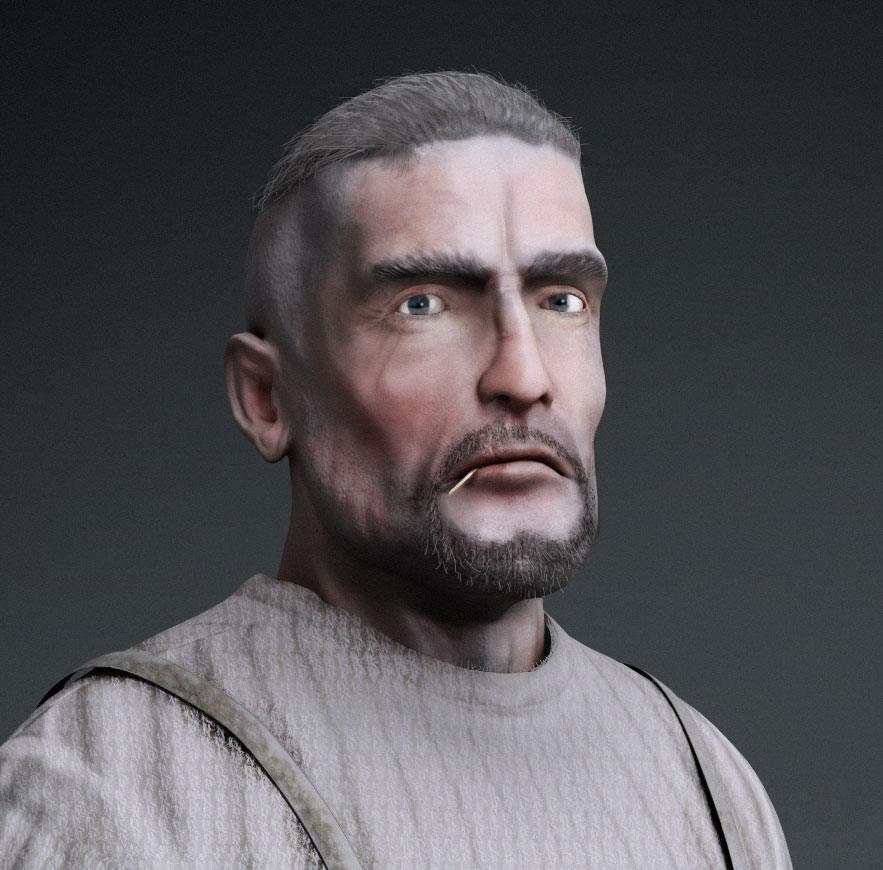
here’s another facial update, I have decided that he needs to look more c_ocky, so i gave him a toothpick to play with )))))))))

Nice! The texturing is looking very good. The tooth pick is a nice touch!
Thanks, still feels a bit unfinished though ((

He looks a little pale… Going back to your first post of him; he has a little more color to his face- which separates things a little.
It looks a little to washed out and uniform - break it out a little more red in his face… wait I just said that…
Anyway, I think it;s coming along good! Are you using a reference image?
One more suggestion; when using photogrammetry (Sweater), take your color map turn it grayscale lay it on as a texture, mask by intensity, take the texture off, than inflat… and as you know the higher the map size the better the detail. I believe that will bring the sweater out a little more… given it some detail… I love using photogrammetry… letting the photo work for you.
Maybe add some stitching to the gloves…
Just a couple of ideas… hope you don’t mind - in all; you got yourself a good model.
Good one! the tooth pick really give him some “life” in his face expression.
PS: adding eyelashes will help make your model looks “finish” 
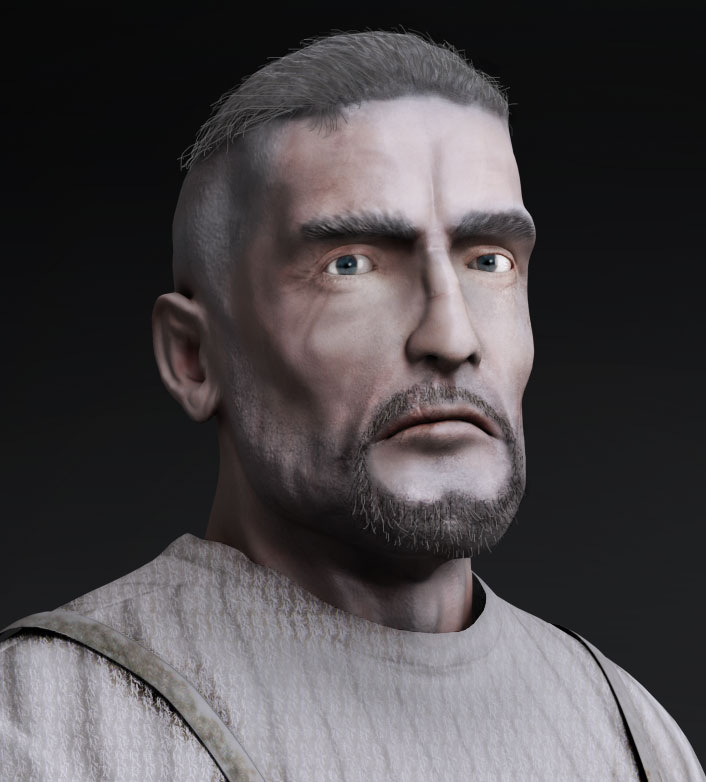
thanks a lot guys, your help was very valuable to me, so here’s the update of what i’ve done - i’ve done some stitching (finally bought myself a wacom tablet  ) and gave him some eyelashes, even though i had a lot of problem with it because he looked to feminent with a dark eyelashes and fixed up his pale face.
You did this with a Mouse? That is impressive in itself!
That looks better! I don’t know if you can still work on this or not but; look at the size of his chin… from the bottom lip to the bottom of the chin… I would narrow that down a little more - meaning bring the chin up more closer to the bottom lip - there is too big of a space here… a void,
The Wacom tablet was made for ZBrush, they go hand and hand! You’ll be able to see a huge difference in your work in a coupe of weeks now that you have a tablet…
Anyway - your model is looking awesome!
Hey SixxPixels, I read somewhere in this ZBC forum before that someone actually model using laptop touchpad! really salute his optimism in doing something that he like…
@skarpunin
Your model definitely looking better now. Cheers :lol:
Owh just another idea on what SixxPixels suggest about the chin area, grow a little bit of soul patch around there…hehe
_Revel
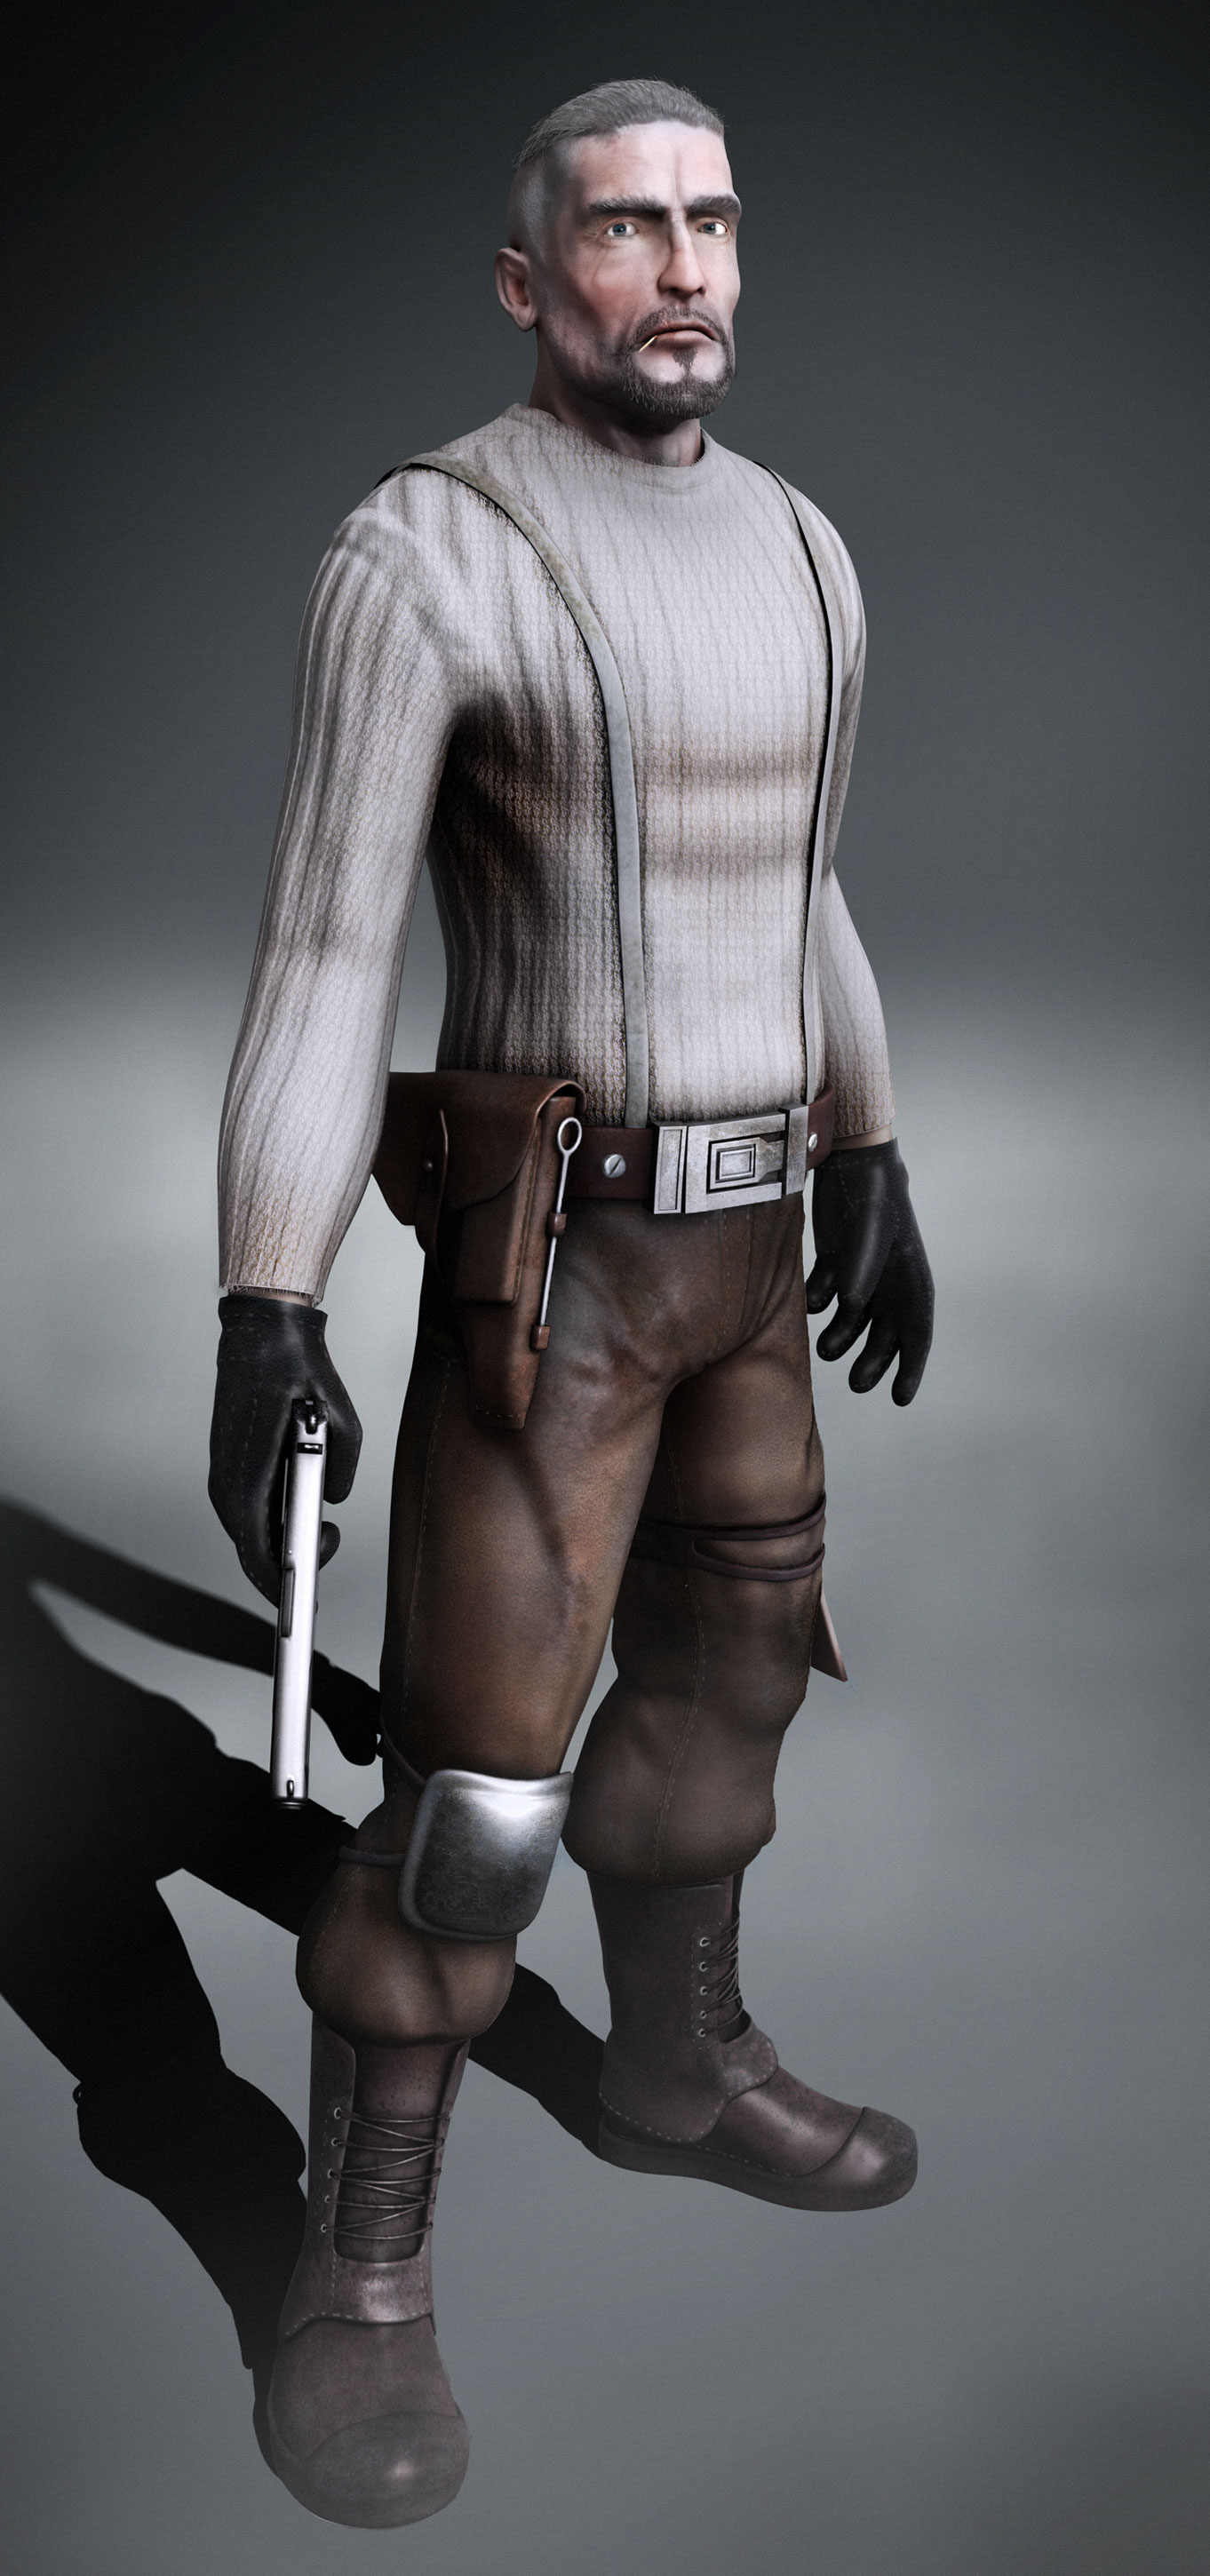
thanks guys, it is a bit hard to switch to the modelling atm, as i have already done so much work in photoshop, but thanks to Revel, i did grow him a soul patch, hope it fixes the void problem )))))))
Also, i’ve done some painting on his shoe laces so they would go through those tiny holes on the sides of his boots
Yes i did draw it all with a mouse, i’ve had a crappy Geniuos tablet before, but it was crap to work with, but now with my new a3 wacom tablet everything is going to change ))))))), even though i still feel more comfortable ruffing in the shapes and using a move tool with a mouse
[ ]
]
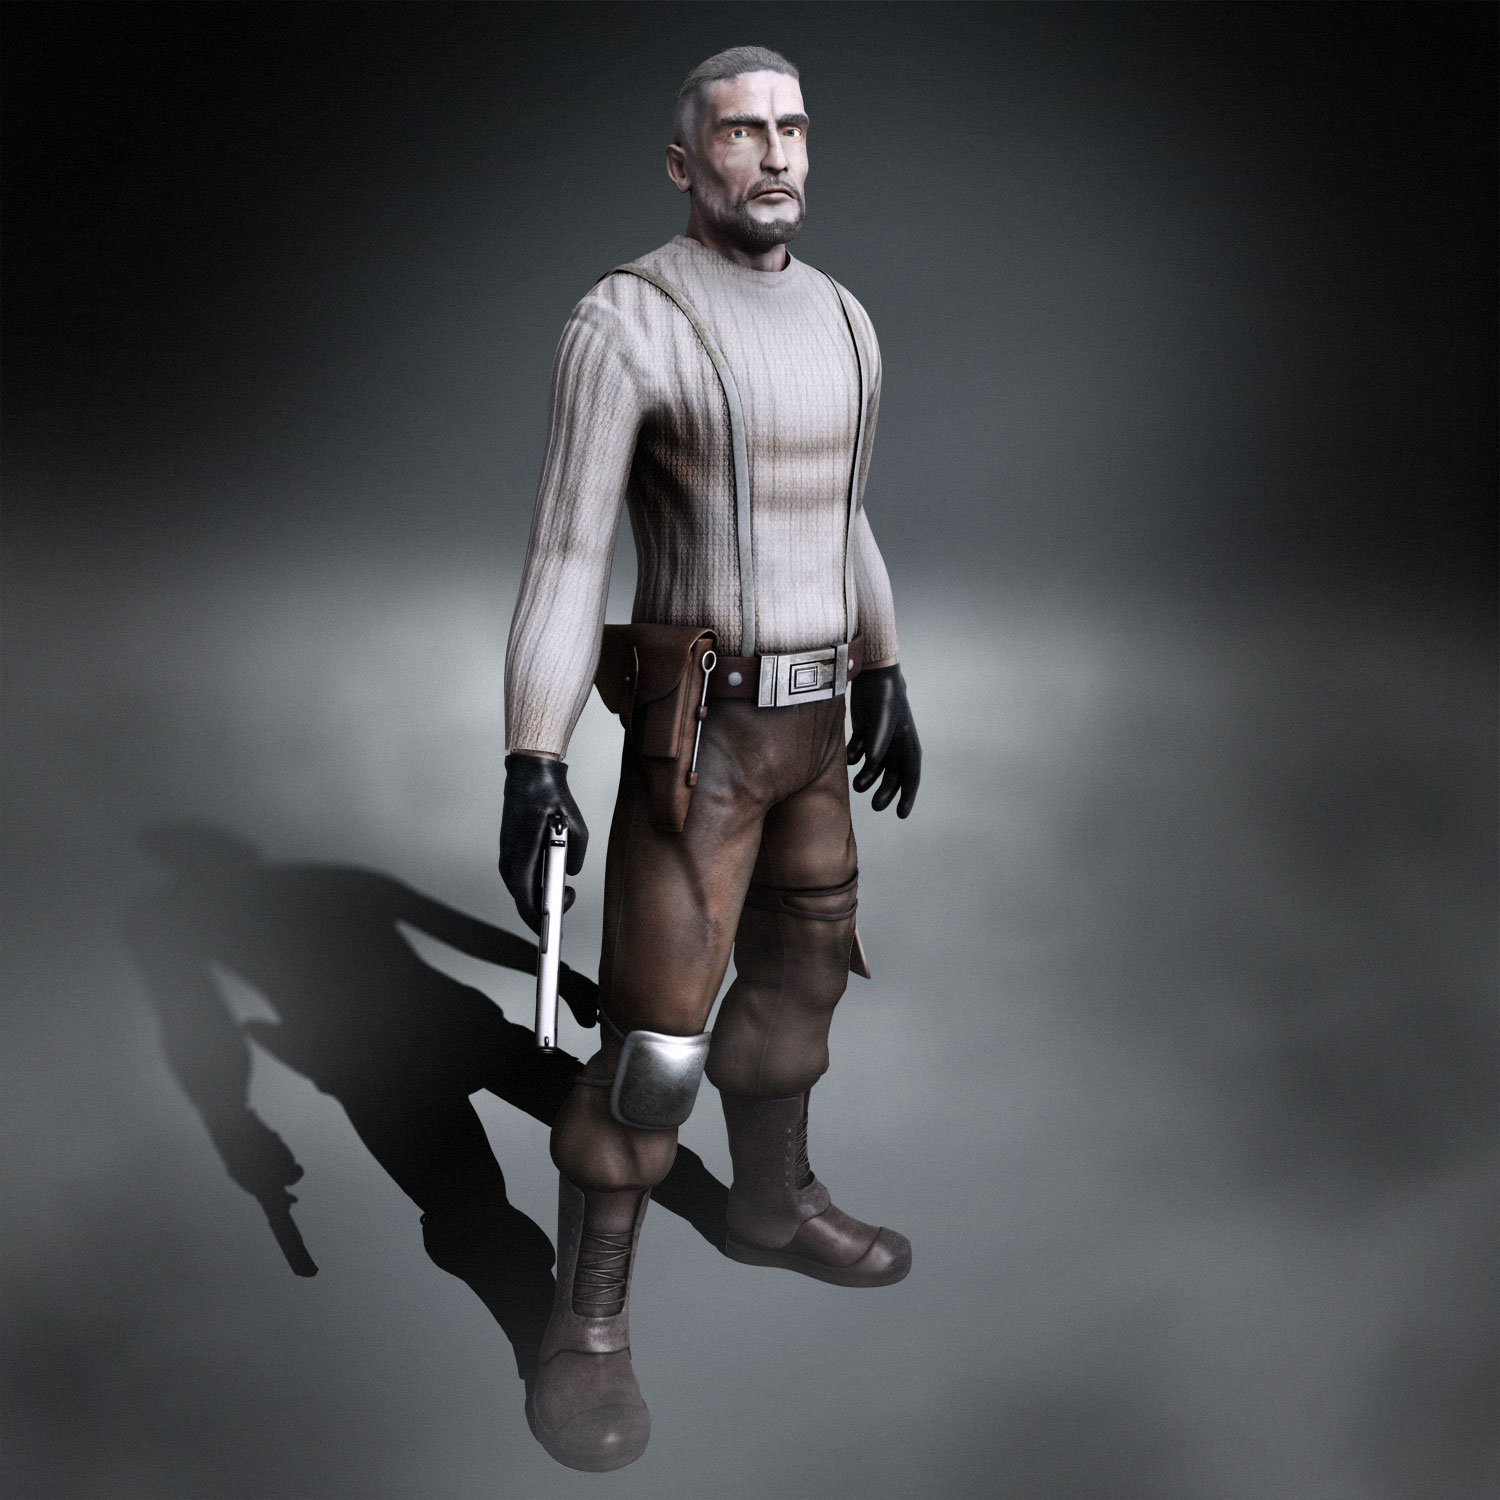
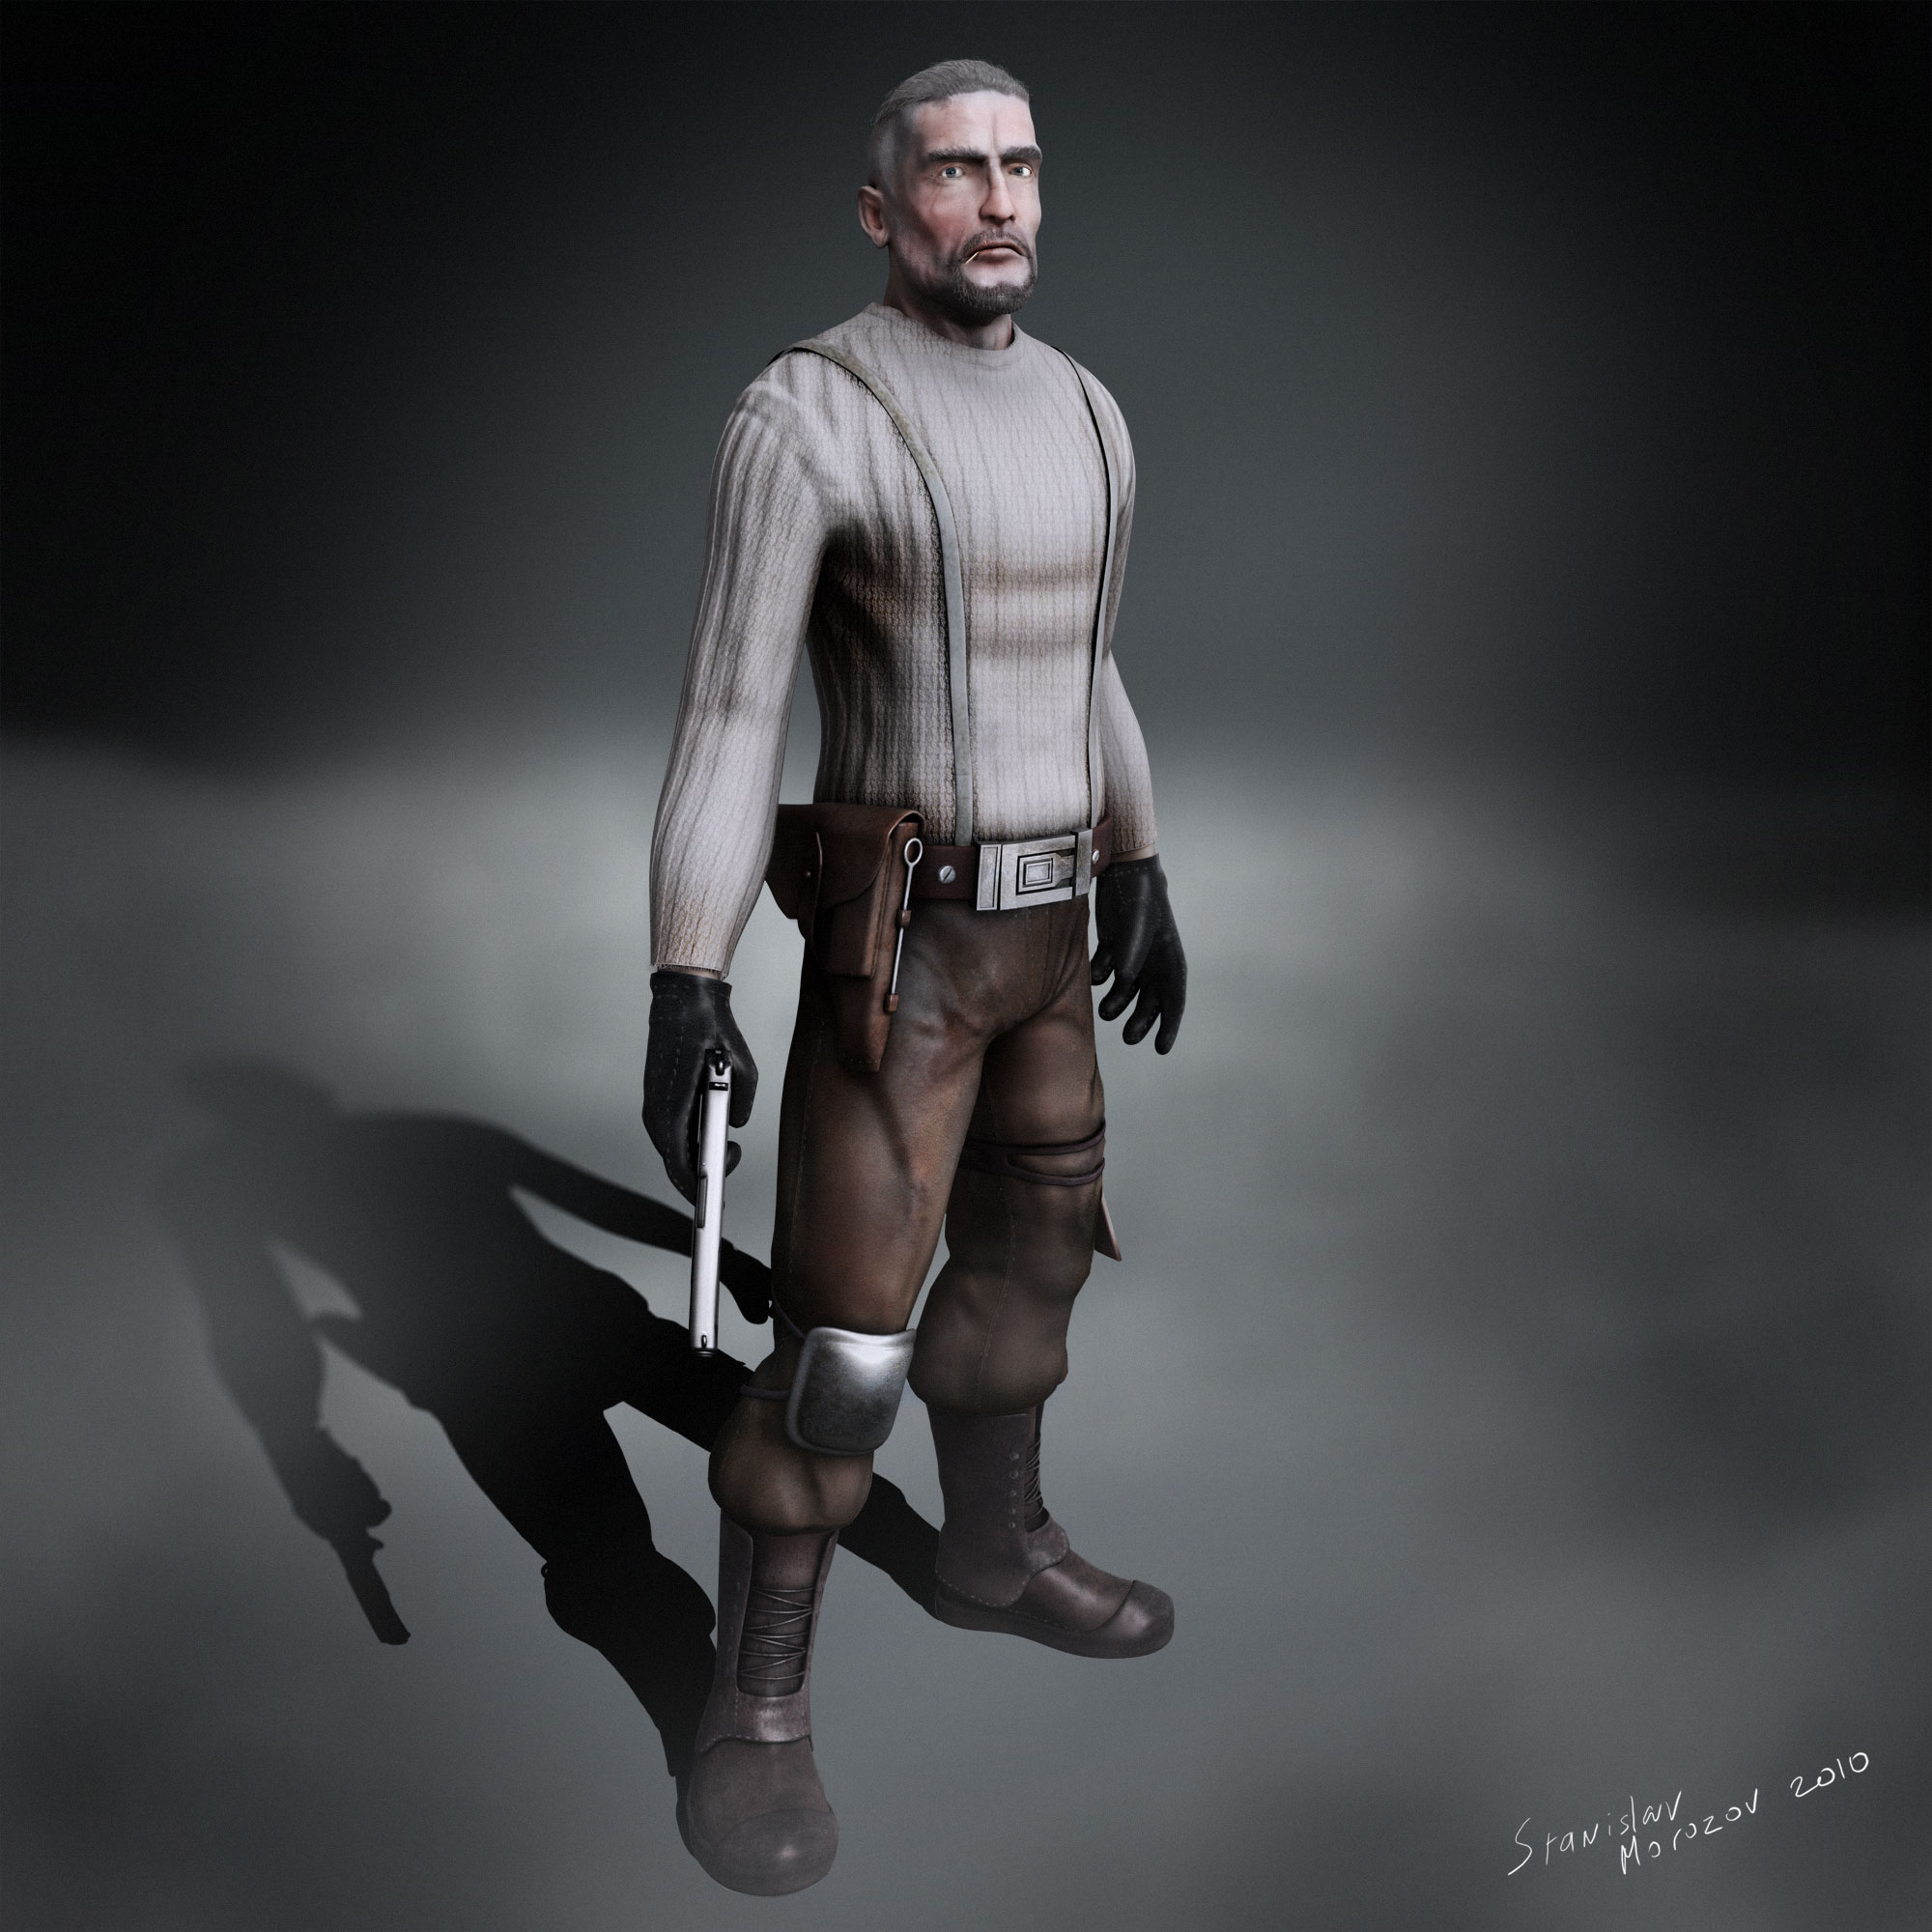
any comments or suggestions? or does it look finished?
He looks good. He will be a great addition to your portfolio. My ony crit is that his gloves, pants, and boots look like they have a bit too much specular value to them, giving those parts a “plastic” look rather then leather. You may have intended it that way though?
Great work, the male character reminds me a little of Dennis Hopper.
omg you are right, he does look a bit alike )))))))
[ ](javascript:zb_insimg(‘176049’,‘350full-dennis-hopper.jpg’,1,0))
thank you for your comments guys, i really appreciate it
by the way, pants, gloves and boots are specular and not glossy to simulate the look of an aged leather, because with age leather loses it’s glossines because of all of the micro scratches and dust in it’s structure and becomes specular
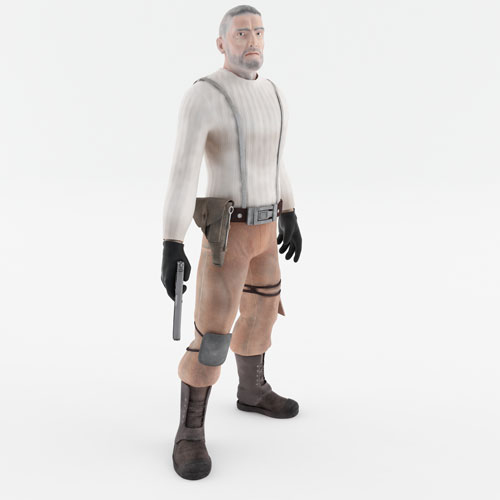
Just wanted to show you guys some passes that i’ve used to combine the final image in photoshop, the original image is 4000x4000 but i reckon 500x500 ones would do for the presentation purpose, so here it goes
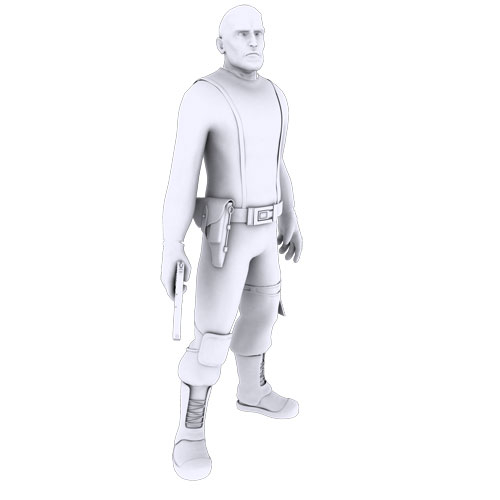
[[attach=176050]global_illumination.jpg[/attach]](javascript:zb_insimg(‘176050’,‘global_illumination.jpg’,1,0))
this is the first one - global illumination, that i’ve rendered out with vray with a studio light setup, just to have almost flat colors, but with a hint of a global illumination in it
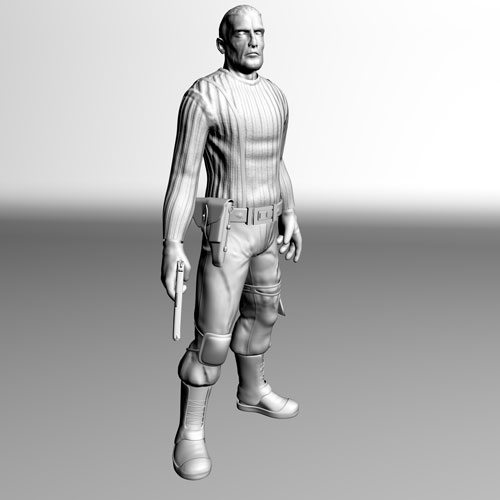
[[attach=176051]shadows_contrast.jpg[/attach]](javascript:zb_insimg(‘176051’,‘shadows_contrast.jpg’,1,0))
this one was also rendered out in vray with default material applied and set up with a single vray light, this is a first dirt pass - a soft one
[attach=176052]dirt.jpg[/attach]
here’s a dirt pass, that was rendered out with default scanline and skylight applied, took me about 30 seconds to render out 4000x4000 which is why for this pass i’ve used scanline renderer
[attach=176053]light.jpg[/attach]
here’s a light pass that i’ve rendered out with default scanline and normal maps applied, i always use it to pump out normal maps, that get flattened and almost invisible with vray global illumination and it takes only 20 seconds to render
[[attach=176055]specular.jpg[/attach]](javascript:zb_insimg(‘176055’,‘specular.jpg’,1,0))
here’s a specular pass, that i’ve also rendered out with default scanline, which combined with other passes in photoshop simulates falloff vray reflections very well and instead of spending 20 mins in vray to render those reflections out, it took me only around 40 seconds
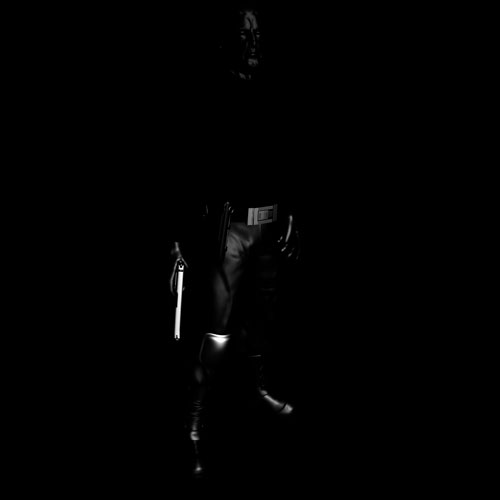
[[attach=176056]shadow.jpg[/attach]](javascript:zb_insimg(‘176056’,‘shadow.jpg’,1,0))
and here’s a basic shadow pass with alpha, just to make sure that i don’t waste my time in photoshop, trying to draw those shadows by hand ))
hope it was helpfull, there a many ways and techniquest for pass merging in photoshop and this is the one that i’ve discovered for myself through some experimenting, it might work for you and might not

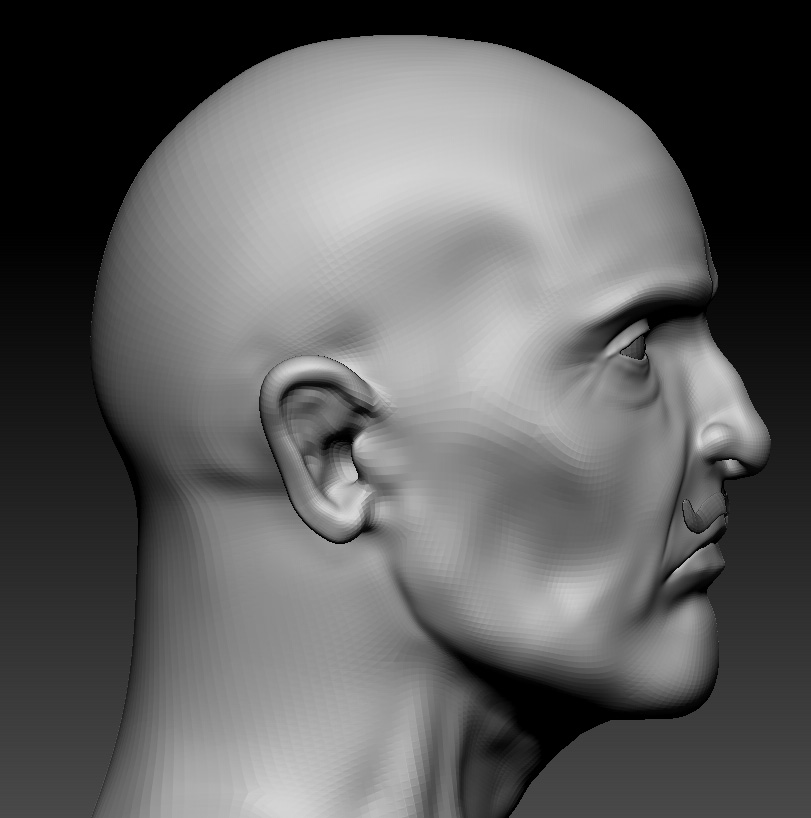
I’ve had a few spare minutes of my time today, so i have started working on my villain character, spent around 20 minutes ruffing out his head, a.t.m. it is only 50k polys
[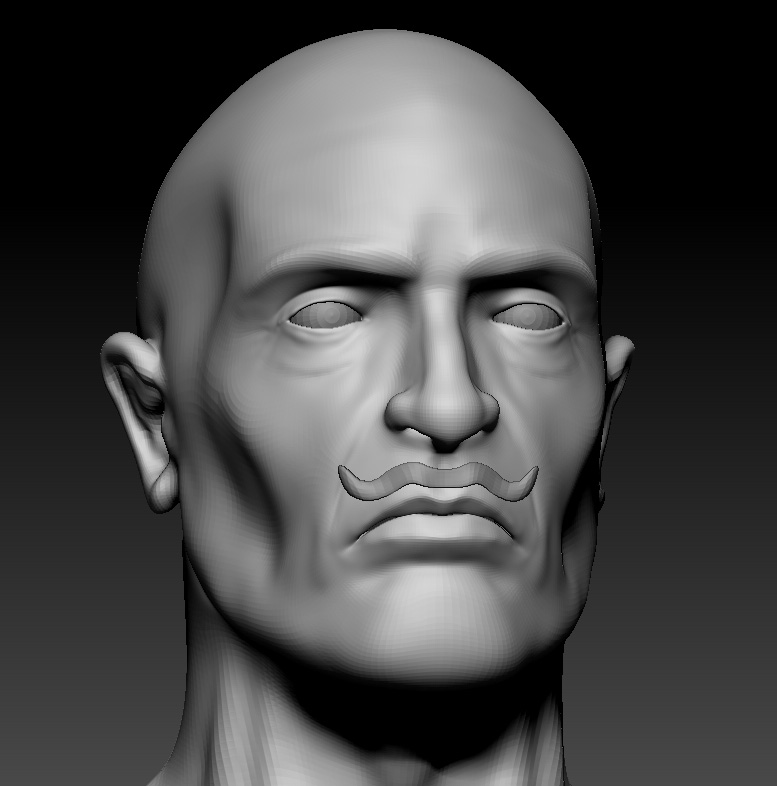 ](javascript:zb_insimg(‘177006’,‘2.jpg’,1,0))
[attach=177007]1.jpg[/attach]