Holy cow! I actually read this before when I first got into 3D. It was too advanced for me then, but is good for me now.
Thanks for the link.
Canned, what I would be interested in seeing is a work flow vid getting a high res model and getting it rendered in Blender using Displacement maps. along the same lines as this. Yes blender does manage these too honestly. I may have sussed this all out by the time you get the vid done, but I think it would be helpful to other people learning ZB and Blender like me.
Question regarding topology, when i topologize for instance a shirt like on your video, but i want my lines to go outside of the characters body for example the collar were its not near the neck. I do this and then i hit A and i get a crazy mesh. It works fine without turning projection on but i want the body to be projected on the shirt but no tthe collar. I want the collar to be just as i modeled it. Any suggestions?
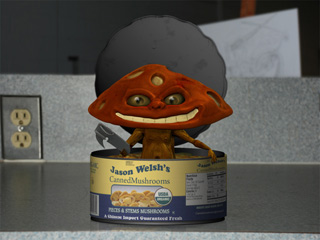
While playing with the almighty Zapplink
I can across this workflow for placing textures on models
Procedural texture 1
[veoh]v6909598pyMEC7RR[/veoh]
Procedural texture 2
[veoh]v6909599w3BbBgxK[/veoh]
Procedural Bump
[veoh]v6909600qQaZ4ad5[/veoh]
I’m puzzled by your tut showing Sebcesoir’s baking method
How is it that you can use AUV tiles and not me :qu:
I always get the tiling in the texture!
For this method I’m forced to use clean Uvs and it’s
very frustrating to see you using AUV and not having any problems…
I tried it on the demohead with the same displacement settings
as you and it’s not like the Alpha Depth slider is very complicated either…
heh
on the record I really hate AUV tiles. I would never use them on a professional model as an end mapping system.
That being said they are very good at transfering the burned texture back to the mesh.
Heres the secret burn it back to the mesh first, never output the first texture that is baked using the crop and fill.
By burning a 2048 map back to a 1 million poly object it will blur the map taking out all the AUV lines.
Why? because for a 2048 map to stay at 2048 res,
the polys would have to equal 4million or so in Poly paint world (could be more)
Then when you get done with all the burning it back to the model I would sudjest making some UVW mapping for the head. for maya or max
Video 2 is a product of that blur and thats why the AUV did not do anything weird. But I bet you anything that the normal map would have looked like crap using those same AUV tiles unless I burned it to the model.
Didn’t work at all!
The shading is inverted on each tiles from the one beside it.It’s very weird.
It seems something is happening at the crop n’ fill step because when I load
the displacement map as a texture there is no seams at all.
I even use AUV for normal maps in max all the time without any problems.
I think I’ll give up on this…
Thanx anyway:)
on texture baking 2 you don’t have to worry about AUVs at all because there is no crop and fill, its staying in poly paint mode to burn the material into the texture.
But your right the crop and fill is doing some odd stuff with AUV tiles.
UVW wont do that.
Did not have time in the vid to go through a UVW map for the head;) (see doing UVS in blender video with the demo soldier post #98)
I’m just writing this info out incase another peep comes across this issue also. Christian
Anyway here better illustrates AUV vs UVW and how much more crisp things look.
Both models were made using texture baking 1 video just with different UVS (there is no bump map on these models!)
Some of the metal mat caps will look weird in the spectral shading areas. using this method.
To get around that use texture baking 2 video
Jason, I only just started going through your vids…
I just noticed in Vid 3 you used my ShinyOldSkull matcap. cool. I almost didn’t realize it because you call it ‘JIM-shinyOldSkull’. It’s actually ‘JLM’ which are my initials. I was sitting here thinking ‘that looks like a material I made once… didn’t I call it shinyOldSkull?’ I thought it was a bit funny.
Just a note about the light that I supplied with that matcap. It’s too bright as is. It was set that way because the skull I used it on had the reference images Pixologic supplied applied to it as a polypaint texture. Therefore it was darkened by these textures. The light worked really well in that case. For an untextured skull, it would probably need to be toned down. See: http://www.zbrushcentral.com/zbc/showthread.php?t=46403&page=1&pp=15
:qu:
I’ve seen that some users have used Zapplink for advanced masking. Do you have a video on that?
I dont have one
but if you crank your polys up and use pure black in projection master you can then pick up the model and use mask by intensity in the texture pallet.
Anything painted black is then masked;)
Ya that is a very old vid that needs to be updated pretty bad.
It was when I first got 3.1
Matcaps + lights = bad
Great material though I really use it allot on my stuff. I like the way it cavity shades
Well since Maya 2008 came out there has been alot of debate on displacements and the rendering there of.
So these videos will bring you up to speed on the workflow.
They are not as detailed, and cover what was changed in the flow only as far as displacements.
Also Xnormal is used to take a 32 bit displacement map and produce a couple maps (I freeken love this program).
Anywho enjoy the update
Zbrush to Maya 2008 Displacements and Normal Maps 1
[veoh]v6966069mJBnAPFd[/veoh]
Zbrush to Maya 2008 Displacements and Normal Maps 2
[veoh]v6966067XzHb5Pkm[/veoh]
Zbrush to Maya 2008 Displacements and Normal Maps 3
[veoh]v6966068R7S8RzTy[/veoh]
Zbrush to Maya 2008 Displacements and Normal Maps 4
[veoh]v6966070y3z9a2Zd[/veoh]
Cavity maps can get a little deeper into the cracks. But I like the OCC a little better.
I did notice that the OCC from a 16 bit disp is more cavity like, Where the one coming off the 32 bitdisplacement is almost 2 white.
Usually OCC is a final composite from a render pass to strenghten detail in post production.
Anything to keep my maps clean is all I care about.
I’m sorta sick of having some weird thing show up do to some Zmapper quirk.
And now better yet I can start using Multi UVS again.
Because Displacement exporter 3 doesent fold in on itself anytime you use multi UVS.
Jason i’ve been experimenting with the same issue for a portrait i’m doing, but i’m trying to use only zbrush. here are some tests, when i finish the piece i’ll explain them better.
ONe last thing, in your pixol to pixel video you choose AUV tiles, first, i vagely recall aurick saying that its best to have your texture chosen first before you hit AUV’s because then the UV’s are more suited to that texture size.
okay i’m just going to post again because you bring up a topic i’ve been curios about, In your last video the polypainting looks worse than the texture, i don’t completely understand why this is, is it because the texture has better resolution, just over 4mil, but the model had under 4mil, so wouldnt it look the same if you were able to get a model that had the same number of polys as pixels in the texture?
Even if the model had the same amount of polygons as the texture has pixels, 4mil and 4mil, the model’s polygons are not all of equal size, not evenly distributed. I think I noticed the hair had larger polygons than the forehead.
That’s one thing to keep track of when you model and plan to polypaint. If you make an area with more polygons on part of a head and you keep dividing, you might find your model still to low despite the total number of polygons due to wasted polygons in those denser, tightly packed areas. So you may have to divide a few more times compensate for othe areas, but that might be impossible to to do.
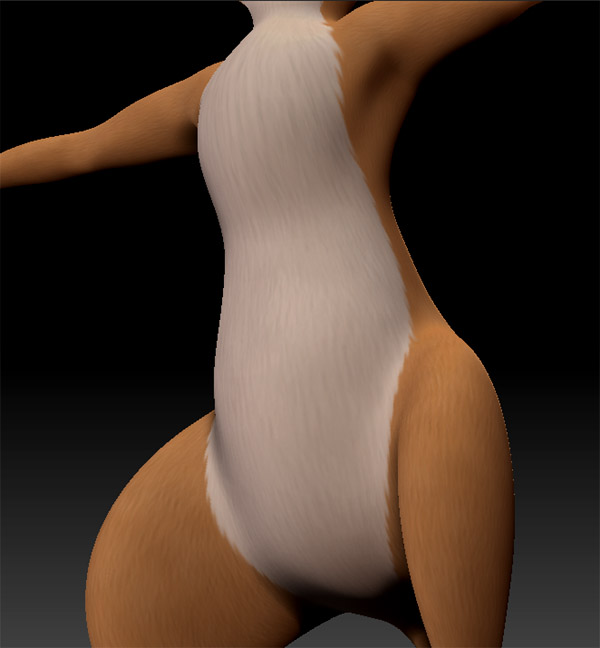
This was a problem when I wanted to polypaint an entire figure with fur. The head was decent poly count/even poly size, but I left the body pretty low, with huge polygons in comparison. Thus, when I divided the entire mesh to paint, and got the head with enough polys, the body was still too low to have the same detail. I couldn’t divide anymore since the head was already so dense, I’d run out of memory on a 2 gig system.
My solution was to split the figure into subtools and divide each to be sort of even. The head, body, arms, legs, hands, feet, all split to subtools using polygroups. (I made sure the figure had it’s uvs before doing this) Then going to each subtool, I turned creasing on and divided them all until they were all about the same polygon size. So I probably left the head and hands/feet alone, and divided the arms, leggs and body to match. Then I used make-1-mesh and it was one tool again. Still split up, but I could now divide it all at once evenly, and while pushing my memory to the limit, the detail going from the face to the body was even. And the UVs were still working when I did color to texture. And painting across the split parts worked fine. If you use the smooth brush on the left, to blur colors, there could be some issues at were the mesh is split. Using projection master blur brush is still fine.
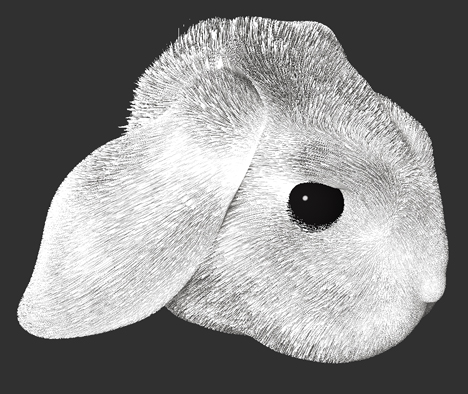
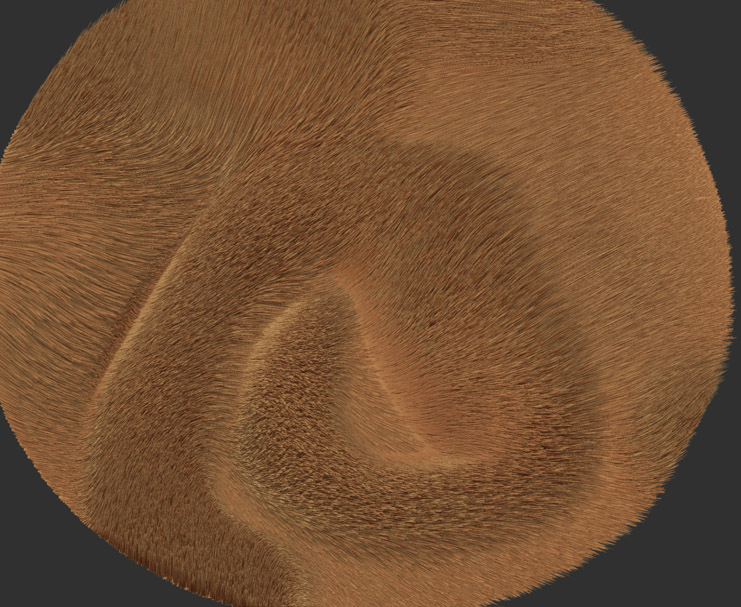
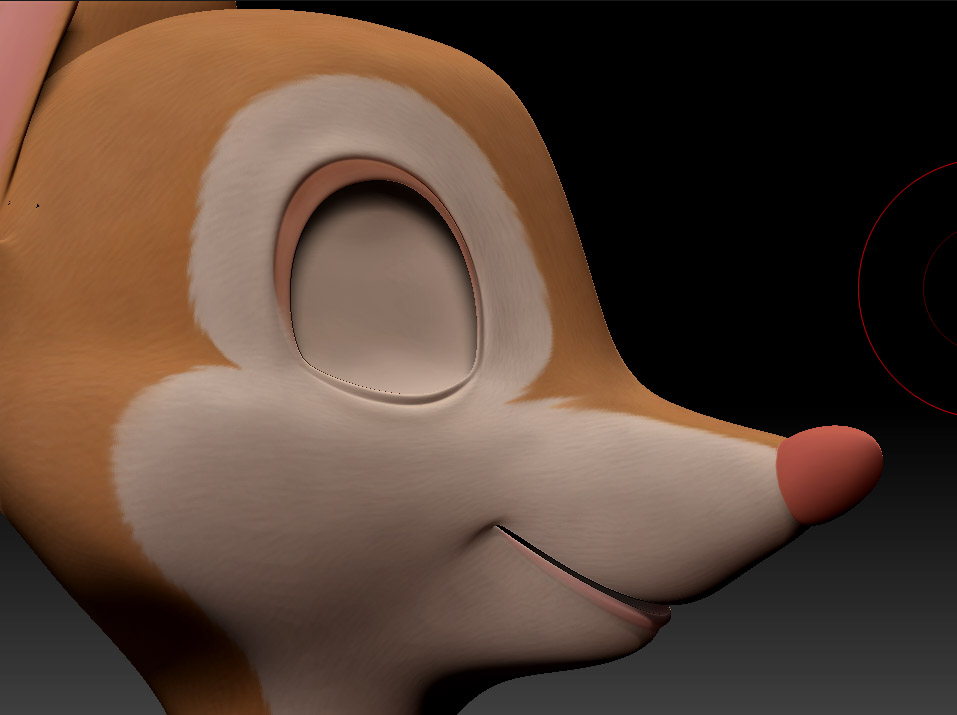
I didn’t think about creating an alpha with as many fibers as here to use with the drag-rect brush. I did something similar, but then used spray and variation to get the color and depth all at once while painting how the fur curved and flowed (which was hard to do). I wasn’t going for anything ultra realistic, more suddle:
[attach=90969]brisby_wip_030a.jpg[/attach]
[attach=90970]brisby_wip_031a.jpg[/attach]
[attach=90971]brisby_wip_032a.jpg[/attach]
Sometimes I felt going to a texture sometimes loses detail, which might have been caused by real unwrapped uvs that don’t use every pixel of a texture area compared to tiles.
I believe the opposite is true. If the texture has a larger pixel count than the model has polys, the pixels would be compressed into individual pixels to match the polys and you would loose resolution. An exact or near match should be the goal and the more polys the better it will look.
And get your topology as organised as possible to start with.
Same as you should have more poly’s where you want more sculpting detail, you also want to ensure you have enough polys in the areas where you are going to paint detailed work.


 ]
]
