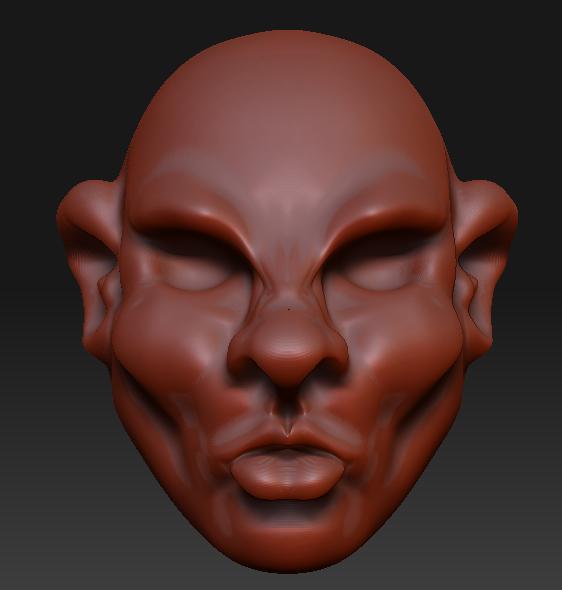
The subdivision is usually to deal with certain trouble areas more than anything. With faces for example, I can usually work with a subdivision of 4 or so, but parts like the mouth don’t even begin to look good without a subdivision level of 6.
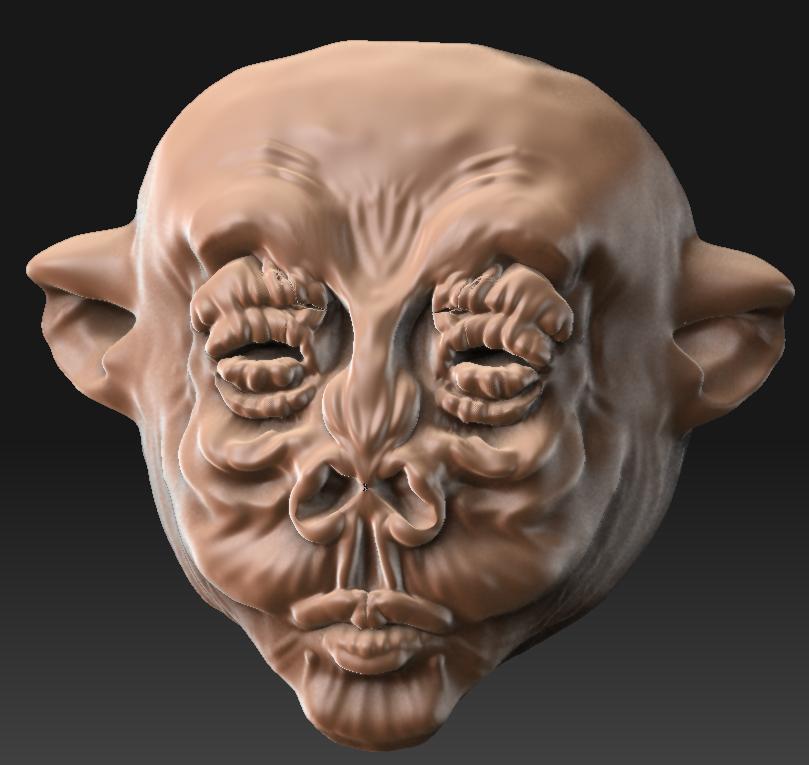
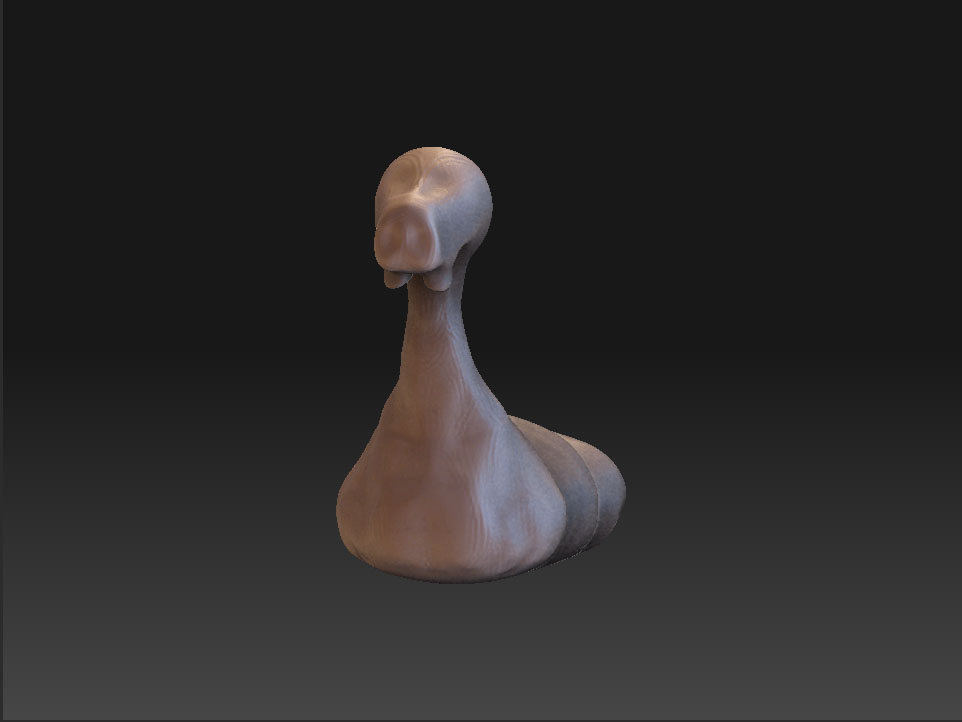
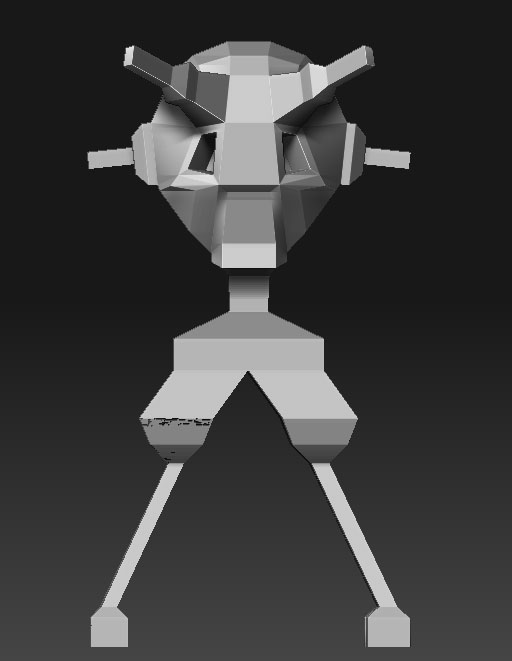
I’m not sure what that last model was supposed to be. I initially meant it to be a robot of sorts, but I have yet to figure out how to make inorganic models in Zbrush.
I didn’t make a model yesterday unfortunately. I had a base mesh set up in 3ds Max but because I positioned it improperly the symmetry in Zbrush didn’t function right, and I just absolutely need symmetry in the early stages of modeling. I’ll either reposition it or start on something new before the day is over though.
I just got a new monocle, so I’m considering trying to model that in Zbrush.
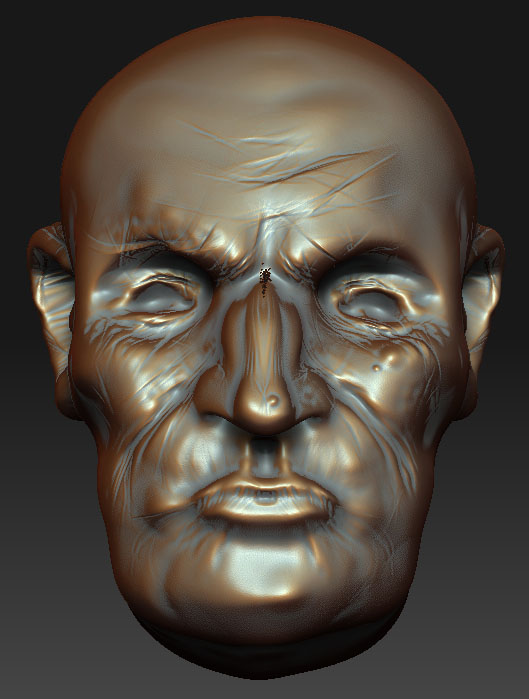 ](javascript:zb_insimg(‘85425’,‘Highpolyoldman2.jpg’,1,0))
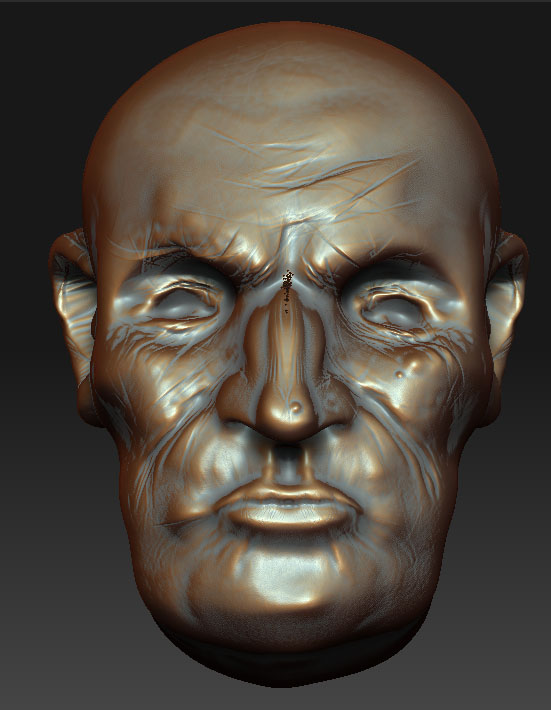
 ](javascript:zb_insimg(‘85435’,‘Oldmansculptfinal.jpg’,1,0))
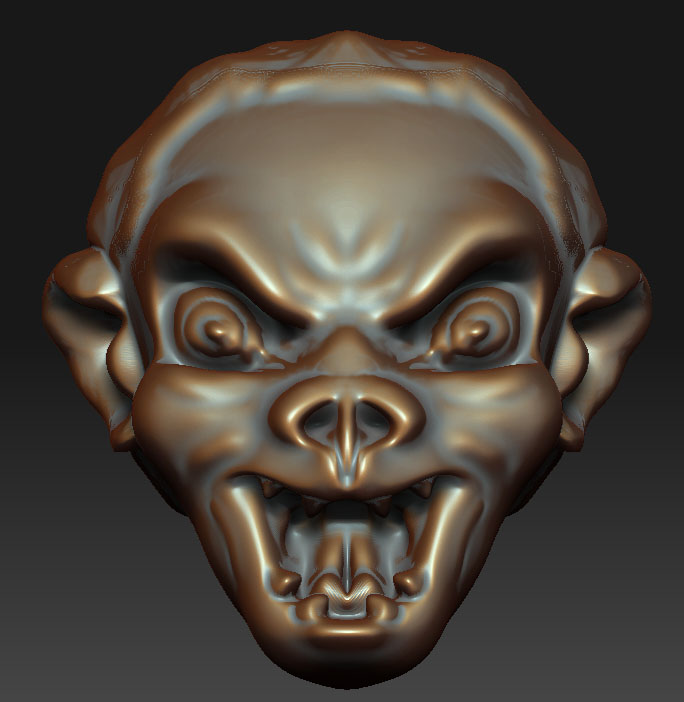
 It will take alot of practice, Ive been doing this for a while now and I’m still a long way away from alot of the poeple on this forum.
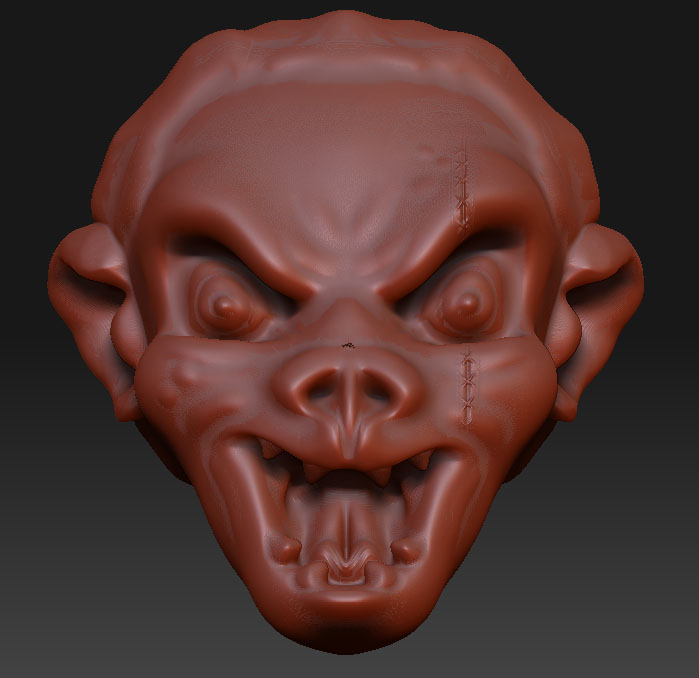
