YA MAN! just what I needed, thanks! ya
Hi,
Thanks for the work. I notice that there are a lot of six-point spurs in the geometry, at the intersections of the digits. How do these multi-point spurs perform during an animation?
~S.~
Thanks for share this great tutorial =D
thank you very much…
 Learning…fun…you…teach…good.
Seriously, thank you so much! I had no idea…this is going to make my life
soooo much easier.
Thnx again!
Keep it up!
I have searched high and low for exactly this type of thread. Thank-you so much for sharing.
Brian
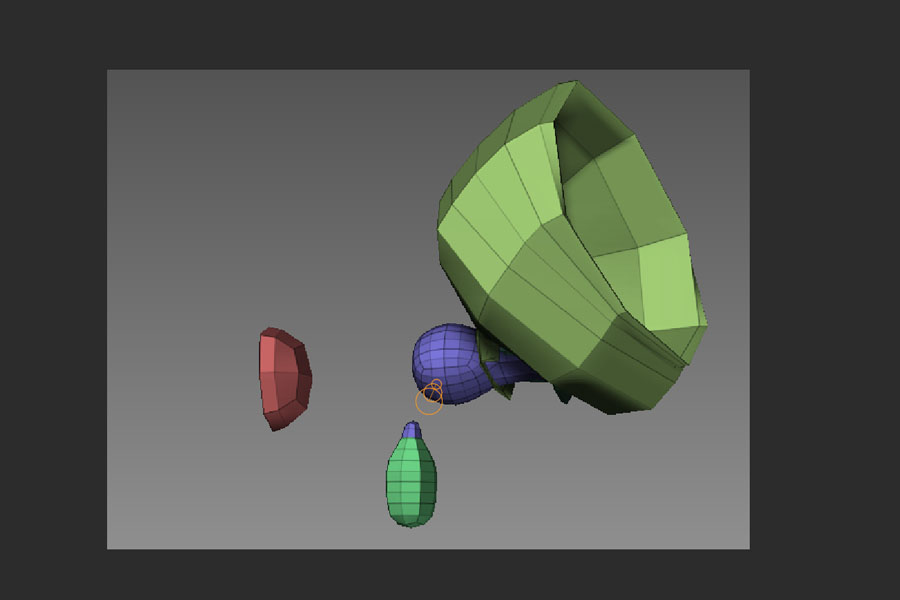
So when I downloaded and played the zscript it made some pretty weird things. I really like the zsphere hand setup and want to be able to use it.
This picture is a screenshot of the once the script was finished…
???
thats a ZB2 script.
Yes. This script was created with Zbrush 2.0. I guess it doesn’t work with ZB3. The tutorial should be easy enough to follow and should work with ZB3 - just not the script.
I’m happy to see that this tutorial is still being used. Now if I could ever get back into working with ZB again. I’ve been working on other Game projects that haven’t needed ZB – CuttleCandy and When Orcs Attack!
Good News is that I’ve got a project lined up for some ZBrush work! 
Thanks to everyone who commented
Cheers,
-TomLong74
Haha, yea I suppose that makes sense if the script was made in ZB2. Ill go and spend some time messing around with the zspheres, Im sure Im overlooking something.
The instructions seem pretty confusing, at point C it says move the sphere back into the parent (Which I presume is B) so that it looks inverted, but in the image it doesn’t look like you’ve done that at all? Could you explain where I’m going wrong here…
This is because the picture is not a step-by-step picture, but rather shows the end result.
As soon as a child is added to that ZSphere that was created and moved in step C, the ZSphere changes to no longer appear concave. Only the final ZSphere in a chain can have this property.
That instruction in the tutorial helps you ensure correct positioning of the ZSphere. But as soon as you move to the next step, things will change back to looking like the picture.
LongTom74 .… thank you for the instructions.
Your effort and contribution is [color=yellow]invaluable to novice Zbrushers.

Thanks a lot for this, I was in the middle of creating a new base Zsphere mesh when I stumbled upon this. It helps tremendously compared to the old way I was doing hands.
OK, your tutorial was exactly what I was looking for. I’m not fully implementing it right but it is working to a certain degree so I’m sure I’ll eventually get it right
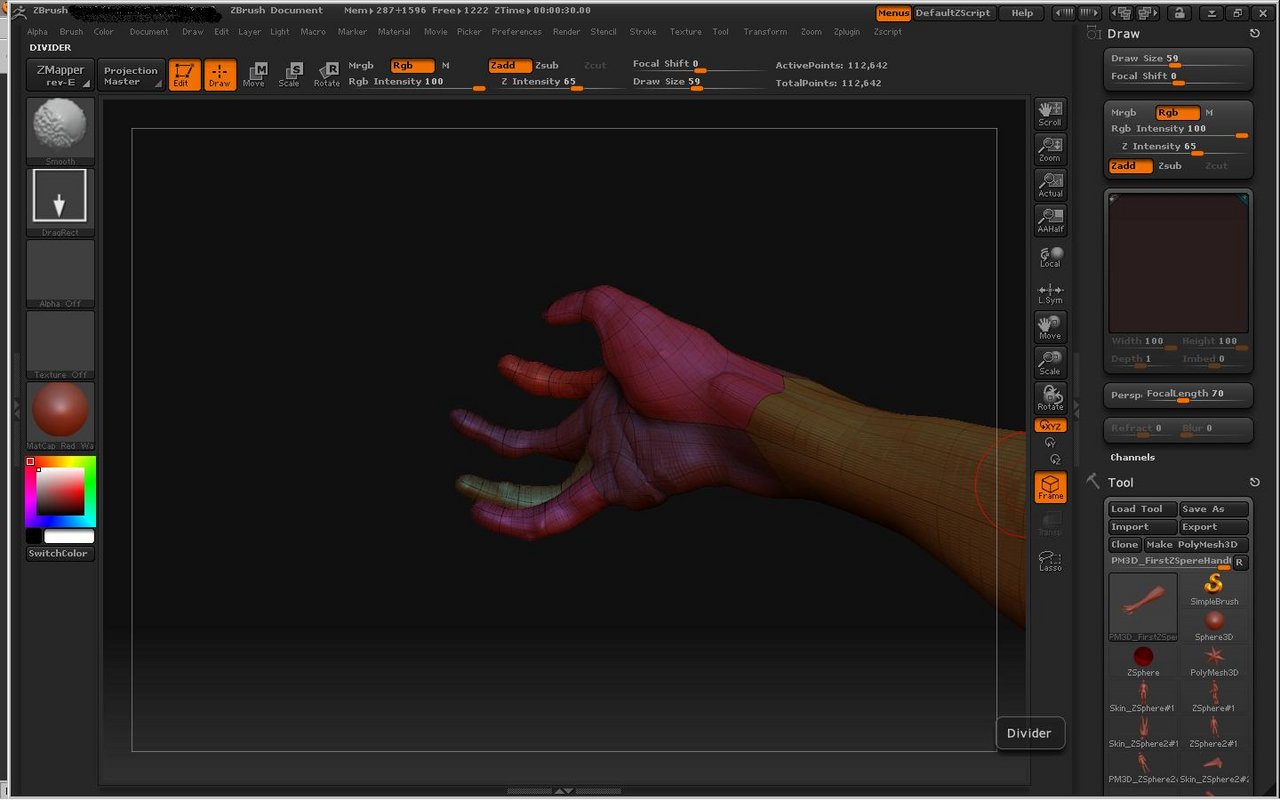
This is my first attempt at a ZBrush3 hand using a cross bar approach. It’s unsatisfactory because of the creases that form on the outside edge of the palm of the hand;
[attach=108274]BadHandTopography.jpg[/attach]
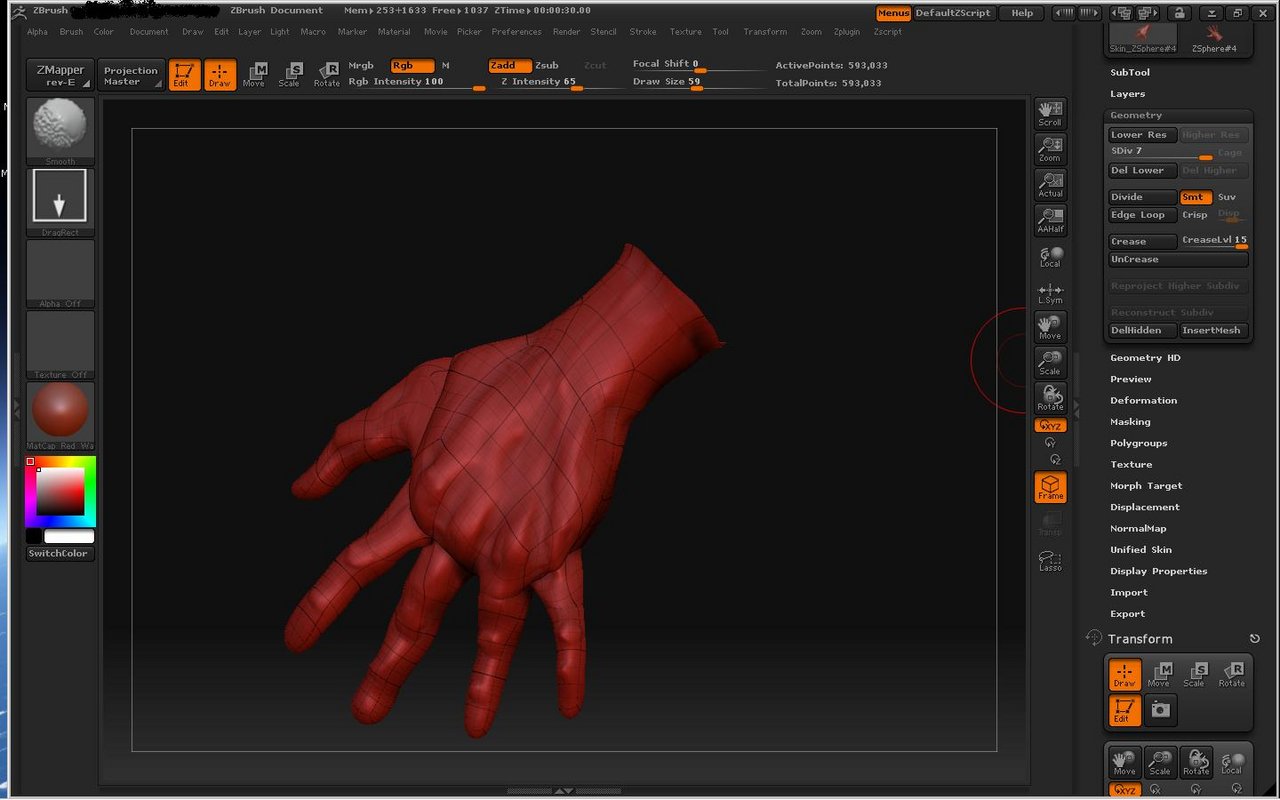
This is my second attempt at a hand, this time with your technique. Just a rough quick sketch of my own hand but still it’s an improvement thanks to your technique. There’s still some seam problems where the metacarpals meet the fingers, but the problems around the thumb and the outside edge of the palm are remedied.
Thanks.
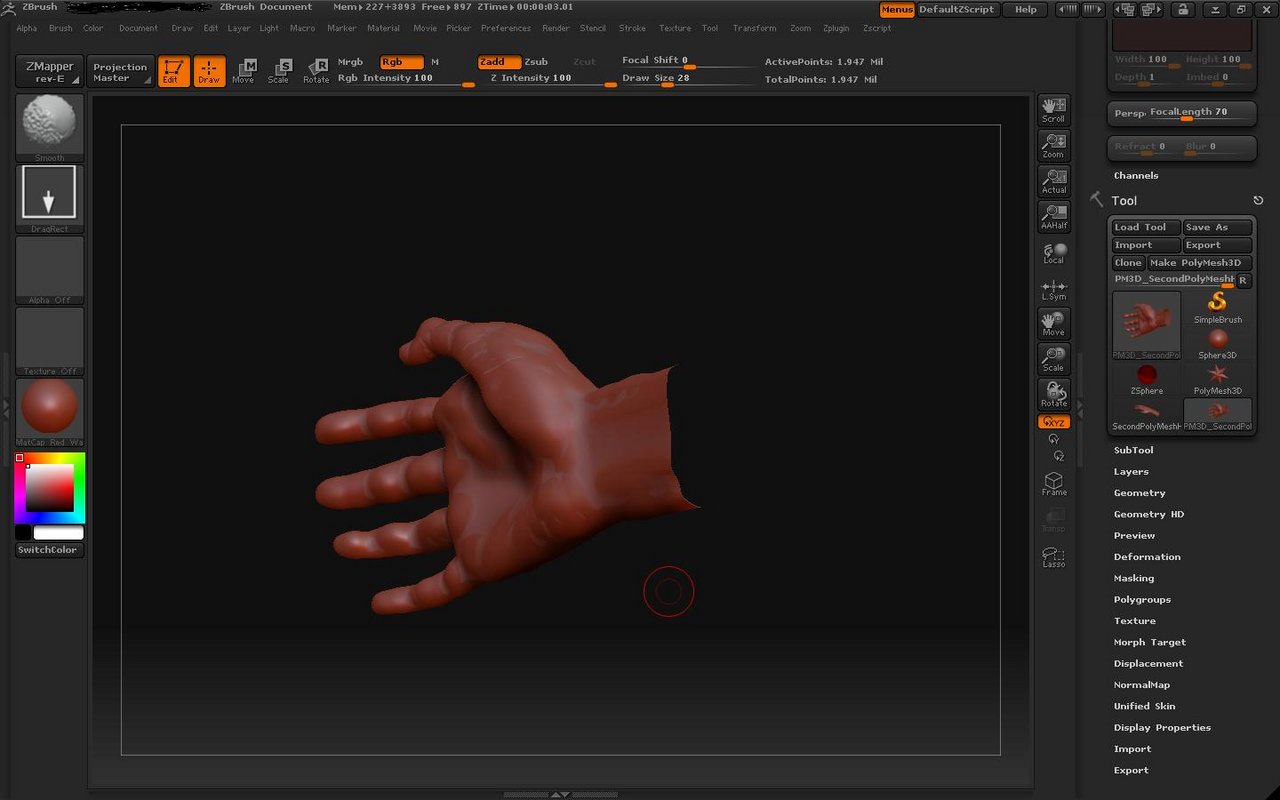
And just one last note; after eating I thought; "Zbrush is so dorky…surely if I make a mesh in Maya with polygonal extrusions, turn it to subDs then turn it back to polygons and export it as an .obj to ZBrush that will be better than this ZSphere business…
And what I found was that it sort of came out OK but the ZSphere technique, as tricky as it may seem is also more dynamic and exciting to work with.
[attach=108275]EZSphereHand.jpg[/attach]
Attachments
So here’s the polygon/SubD/polygon hand ported from Maya into ZBrush…
Maybe if I stick a ZBrush skeleton in it, it’ll be as mucy fun as the ZSphere technique.
Still lots of work to do, especially on the fingers. And I think I’ll go back to the original mesh of the hand and wrist and just extrude the polygon skin all the way up the arm to the shoulder and maybe the head and everything…
[attach=108276]handhand.jpg[/attach]
Attachments
Cadmium77: Your hands are turning out nicely and very detailed.
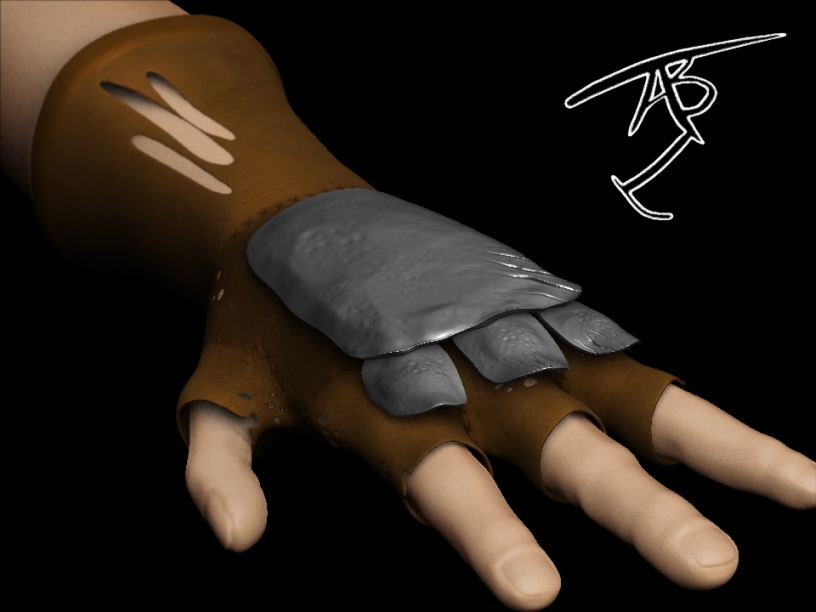
I made this hand a while ago. I couldnt get the 5th finger to look right so I went with 4 fingers, which I like how it turned out. 
Attachments

That glove looks ILL. In a good way i mean.
Haha, thank you. I want a real one…only with all 5 finger holes haha.
That’s some fine work and I like the glove. Too bad about the fourth finger;
Jamming four fingers onto one ZSphere is definitely a difficult task…sigh