ZBrushCentral

Stumped on exporting displacement map.. help?

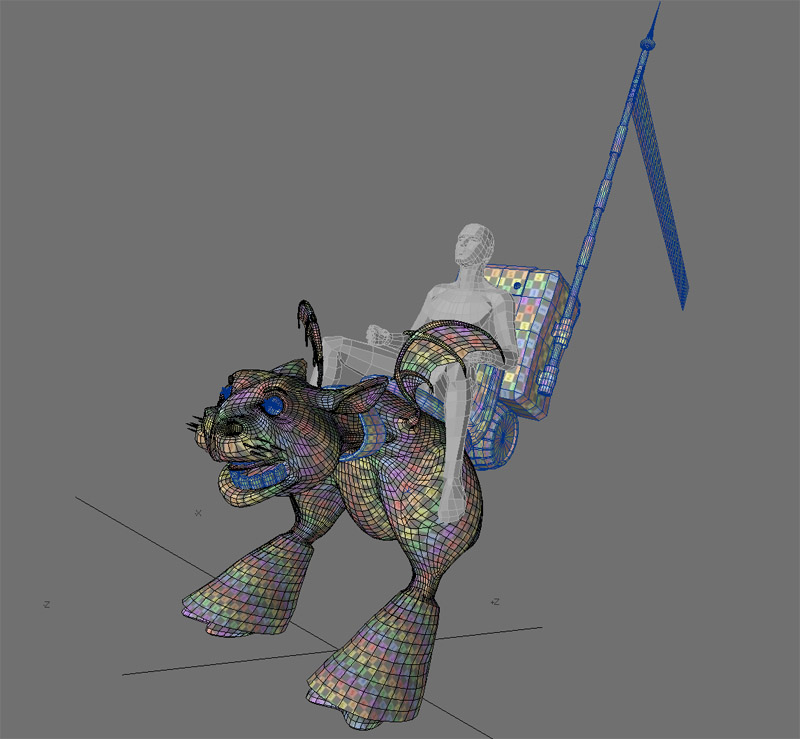
I’m trying to get the workflow down. I loaded my obj which is uv mapped and created in lightwave.

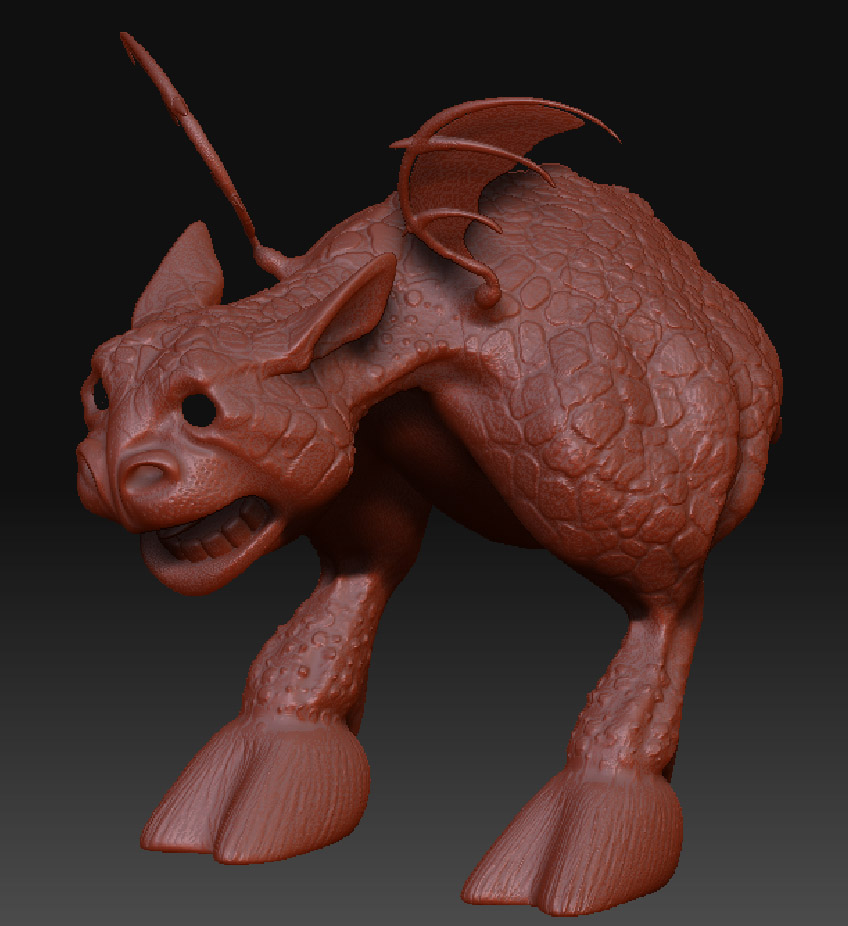
Sculpted the displacement.

And… um… now I’m stumped on how to get that out as a displacement map.

I’ve rooted around the forums, and found a poser export list, but when I select the displacement exporter, I only see a black and white side by side image, not the displacement one.

If someone could just detail the proper sequence in order to export it, that’d be a big help… or maybe someone can point to one previously posted, or a video tutorial? I saved the project, but am afraid to close zbrush for fear of loosing the work.drac war-cow displ.jpg


  1. Skin the model if necessary. You can’t remap a ZSphere preview.
  2. Go to subdivision level 1. You can only remap a model at this level.
  3. Apply a blank texture to the model that’s the same size that you intend to paint. A good rule of thumb is that it should have about the same number of pixels as your model has points. So if your model is 1 million polys, use a map that’s 1024 in size. From 1-4 million, use a 2048 map. From 4 million + use a 4096 map.
  4. Press Tool>Texture>GUVTiles. Your model is now mapped and ready for texturing. You will need to export the model together with the texture, since it’s the OBJ that contains the UV mapping info.

My model is already uv mapped.

What’s the procedure to create the displacement map for a model that’s already uv mapped?
draconian-war-cow-wip2.jpg

Oh sorry, those instructions were from Aurick the Super Moderator.

Well if you already have that go into ZBrush and select ZMapper and start mapping all the maps out. Then export them as documents from the texture menu.

That’s what i keep finding in the forums… projects that need uv mapping. I tried to log onto zclassroom to see if there’s something there, but I get a flash error on the page, and can’t see any access to the video tutorials.

Never used zmapper before, so that’s why I’m kinda stumped… I’ve been going through the tutorials one by one, and have gotten to this stage of things.

I opened zmapper, and can see the mesh, so I’ll root around for a zmapper tutorial now. I do have photoshop cs3, and zmapper can export a map to that, right?

Next step after this will be painting a color map, and doing the same thing, but exporting the color map instead of the displacement map.

Digital Tutors has a good tutorial on maps. Texturing with ZBrush 3.1 is what i think it is called. it goes through the entire process very well.

When you get into ZMapper just click Disp Map, Depth Map and Color Map. It shouldnt take that long to get a hold of it. After you have mapped everything it should show up in your Texture Window right under the Alpha and Brush Window. Click that texture and then select export and you are done. Very simple.

I don’t see displacement map, depth map and color map buttons… are they under a tab? I DO see the object shifting into it’s uv coordinate flat mapping.

Least that’s a start, and I REALLY appreciate this assistance!

Oh ok, hmmm lets see, i dont have it infront of me right now but from my memory you have a CREATE DISPLACEMENT tab at the bottom. Also a CREATE DEPTH MAP as well. They should be the largest gray buttons on the menu at the bottom when you enter into ZMapper. Then you have a few tabs above that and it says Color Map as well. You will just click CREATE COLOR MAP and it should get it done for you.

No worries on the help. I used to be in your position a couple months back and i know how frustrating it can be.

Ok, they have a create normal map, and create cavity map… same thing?

I’m trying to watch the tutorial on the digital tutors site, but there’s no sound. Might need to install the latest quicktime here. (fairly new vista 64 install).

Does zb3 see “normal maps” and “displacement maps” as the same thing, or doe sit generate a normal map as a step before it creates the displacement map?

looks like there’s a texture button, but not a color map button… could be a change in the interface for zb3? I managed through fiddling around to get it displaying what looked like the displacement map on the mesh… do you just save configuration then, and then export it?

The colour map is on another tab. Should be the tab next to the normal map tab. Thats tab not button.

Again i am doing all this from memory so sorry if i am directing you off the path a bit.

After it has calculated everything then it should show up in your texture window under your Brush Window on your interface.

Click that and then select export at the bottom, title it whatever the map is and save. BAM you are done.

Ok, I can see it in alphas, and but if I select export in the alpha palette, the preview looks totally white.

I also see the texture applied on the preview model as well.

Are you creating a texture BEFORE creating the maps?

beats me… there’s no color tab at all… unless I have a wrong version of zmapper installed?

the one I’m using is zb3.1, with zmapper rev e

Hmmm ill have to hit you back up when i get to the office then. Cause i cant remember what to do next. also, if you can, post some images of what you are experiencing.

Will do… I finally managed to crash zbrush, but the tool is saved, so I can complete this later. I can’t run the digital tutor’s videos, because there’s no 64 bit dll file yet from apple for the explorer 7 64 bit vista operating system!

It’s only been around what, 14 MONTHS and you still can’t run quicktime properly? You can’t see the tools below the image, and you can’t hear any sound at all.

Do you have the Digital Tutor er…tutorials saved or are you streaming the video?

If you have it saved open the folder for the tutorial and click ctrl+f for FIND and then ask it to search for .mov and it will list all the lessons as .mov files and you should be able to play it with whatever player you wish.

There’s no link to download them locally, so the only way i could view it was streaming.