ZBrushCentral

Simon's Wip

Good Day everyone ! I’m quite new at 3D Modelling, I am an epoxy sculptor but the industry is going digital.

I am going to post a step by step of my work, please feel free to critique !

Oh and could some one tell me how I can export a base tool with all it’s subtool to an obj. Then I import it in rhino to save it in .stl files.
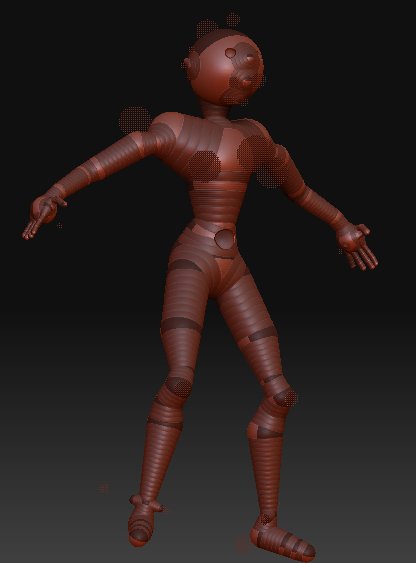
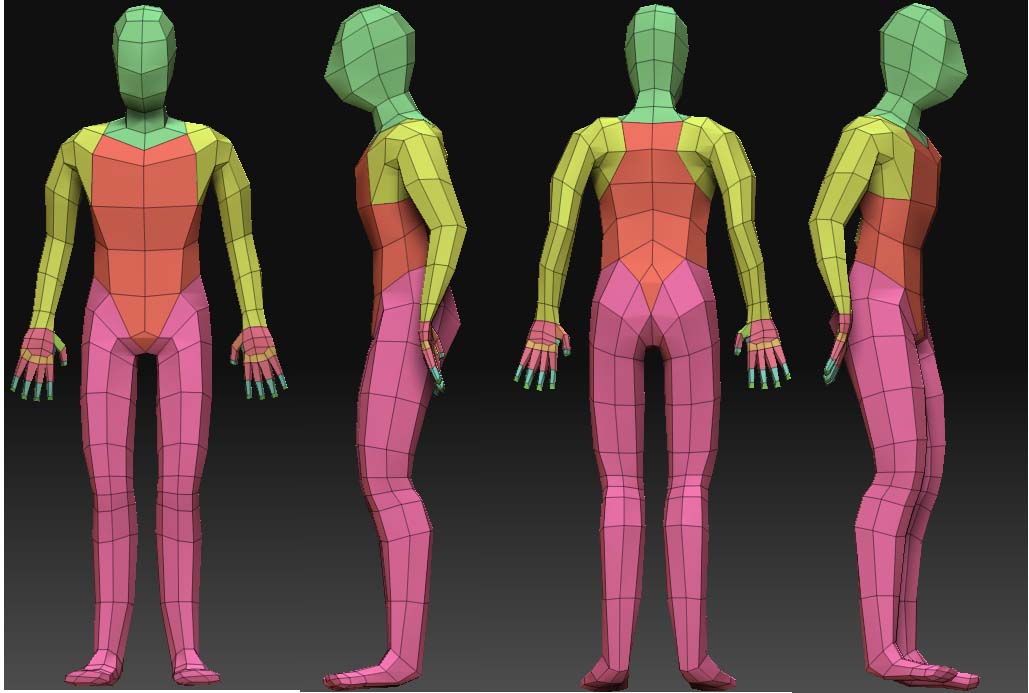
Here is the zsphere :wink:

[attach=74800]final_zphere_iso.jpg[/attach]

Attachments

final_zphere_iso.jpg

[l2_iso.jpg
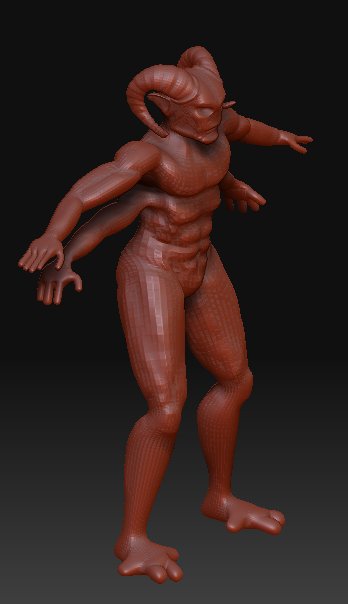
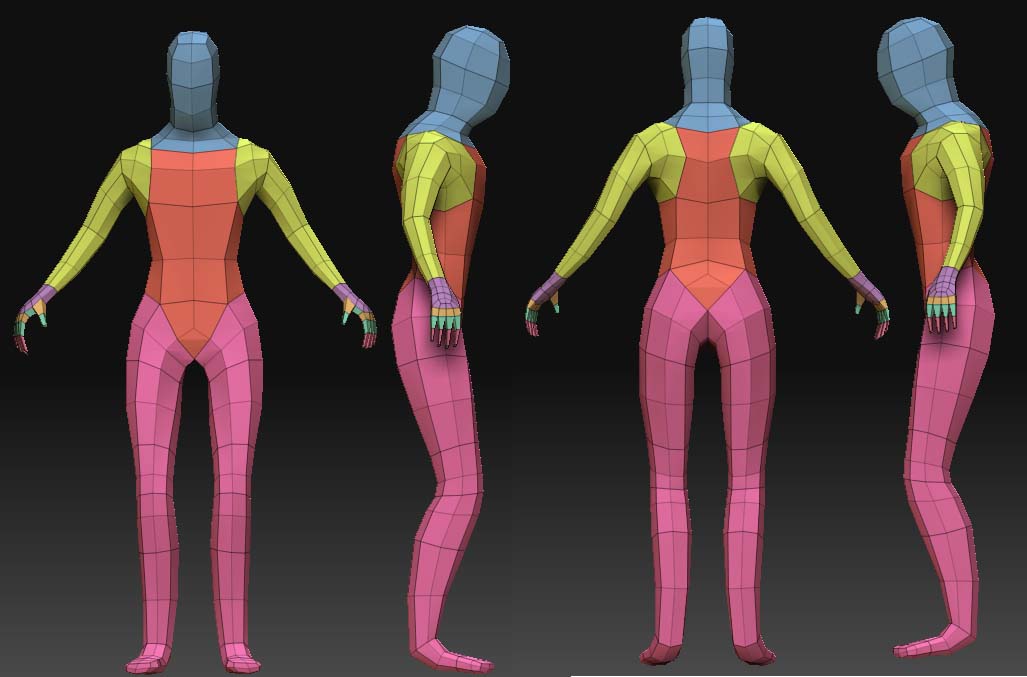
](javascript:zb_insimg(‘74960’,‘l2_iso.jpg’,1,0))

Here is the skin at lv 2 detailing. Hope you’ll like it !

answer to your previous question.

http://www.zbrushcentral.com/zbc/showthread.php?t=47677&highlight=insertmesh

as for the modeling…i think your doing okay…keep up the good work :wink:
and keep us posted

Thanks ! Oh I got a simetry issue in that sculpt so I have to restart from the beginning. I’m going to do stuff differently and take my anatomy book out to make it more anatomically fit !

I got to try that tool Thanks man !

I’m going to post some in the comming week, It’s my bday dinner tonight at my mom ! :wink:

I changed the zphere model added a toe (going to fake the others for now) and rebuilded the hand (they look a lot better) Remade the base mesh for the face which I’ll tweak in subdi1 (all squares)

Hope you enjoy !

Adaptive skin problem … NO SYMMETRY ! What the h!!l !

I have to redo it all and took the zsphere symmetry script don’t work on the adaptive skin !

I have to find a way to get through that stuff !

— Edit —

GOT IT !

I started that one in a real miniature of 30mm and thought well I can do it better on zbrush anyway ! I’m starting that one tonight on my Birthday !

I rearanged the symmetry in 3 click ! I was not using the power of resym and smart resym !

Here is some pictures : LVL 1 - No mod done, symmetry only.

[Iso_symskin_back.jpg
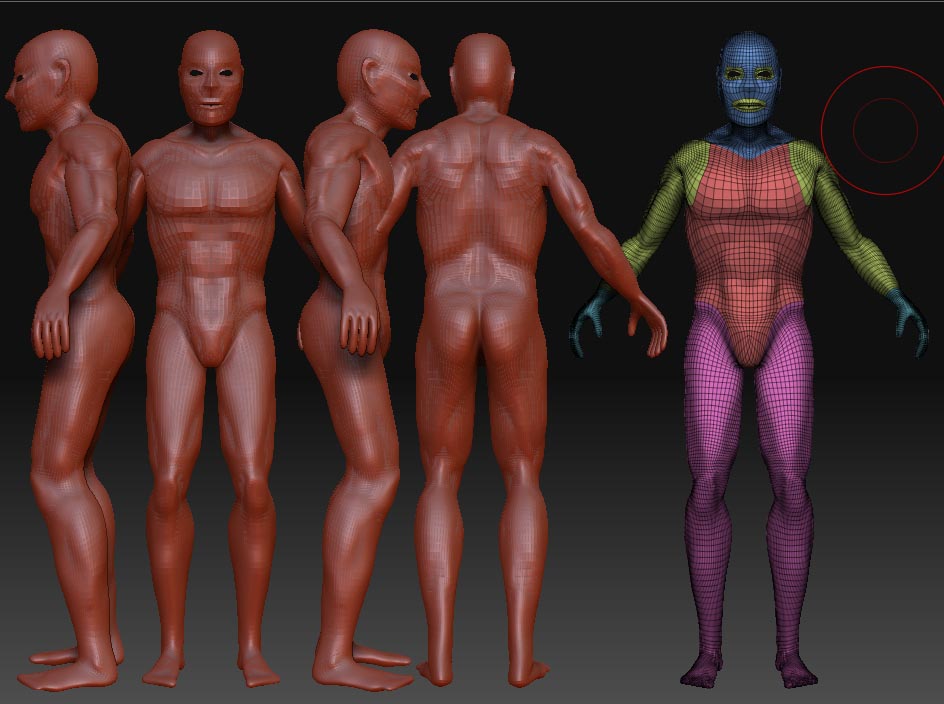
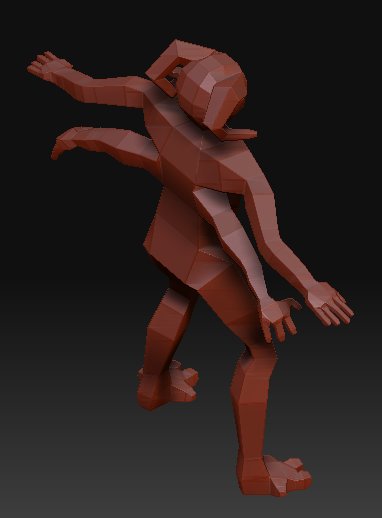
](javascript:zb_insimg(‘75304’,‘Iso_symskin_front.jpg’,1,0))
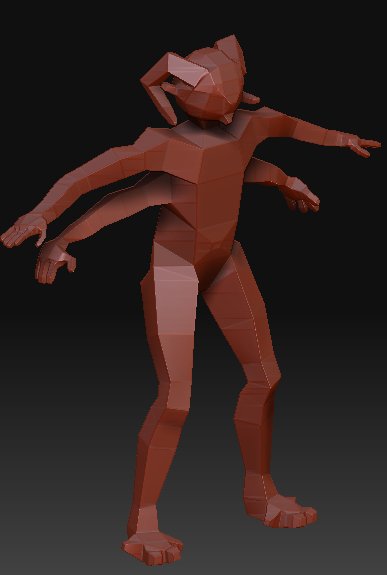
Attachments

Iso_symskin_front.jpg

the fingers seem to be chopped off halfways, another sphere would help

Here is at 1% of the lv4 done I worked all night on it

I got to redo the 6 pack and the 2 pair of chest muscles. Didn’t touch to the back and just did the horns .
[Iso_lv4_front.jpg]Iso_lv4_back.jpg

One of my friend gave me a challenge today : Repose him to have a more relax pose (which I didn’t get too much yet) and resise the shoulder they are too far apart. Which I did !

Iso_lv4_5_repose_front.jpg

Enjoy !

honestly, the fingers have to longer!

Thanks Stu I’ll try to do something about that.

It’s been a long time since I posted here, and I’m looking at my old stuff and I am really disapointed of me. That wasn’t the best of my skill. Now I am getting more into zsphere and edge loop. I made a dummy for my digi-sculpt I’m showing you a picture of it. Enjoy !

[
]allroundview.jpg

tell me do you see a difference ?

I have made a big mistake in the previous post. This one is a lot better, tell me if you see it !

Attachments

allroundview2.jpg

devellopement : I am at subdi 3 and made the edge loop and creased the loop and deleted the center topo to make the hole for eyes and the mouth.

[[attach=94172]allroundview3.jpg[/attach]]![allroundview3.jpg|786x664](upload://iI9acg0sh26BM7ZlJ18wJDyd0CE.jpeg)

Enjoy !
[allaroundview4.jpg]

Once again an all around view of my mesh … I need to make it less crooked but all that effort will pay !

Please comment !

a Little more work done :wink: Enjoy !
[allaroundview5.jpg]

[allaroundview6.jpg]

Hey guys it’s me again, yup not much changed in that one but still working on subdi 4. Not ready to go on 5 yet.

Hope you like it ! Please comment.

any one of you knows good tutorial on how to add cloathing using zsphere ?
Same for eyes ?

Teeths I downloaded the jaw from gnomon. Just need help to adjust things after everything is placed.

Keep going and keep looking at refferences. Just a few helpfull pointers.

I would go back to a lower sub D level and look at the masses rather than muscle definition. Try to develop the figure equaly. This is somthing iv had to work on, not to neglet feet, ears and hands.

Add more mass onto the inner knee. The Sartorius helps form this with the Vastus medialis (inner quad) Keep in mind the Gluteus maximus goes across the hamstrings to the outer leg (vastus lateralis).

I included the names as it will be easyer to find pictures on google.

Keep it up, look forward to see its progress. :+1:

thanks those will help ! I started the model with no rference I started looking at my anatomy book on lvl 4 subdi… but I made the mistake to delete the lower one :frowning: But I saved the steps of my sculpt in different files.

Anyway this is for a test print I’ll have to clode the holes with something.
I’ll also have to make cloathing :slight_smile:

Thanks again.