ZBrushCentral

Shaolin Monk wip

Hello!

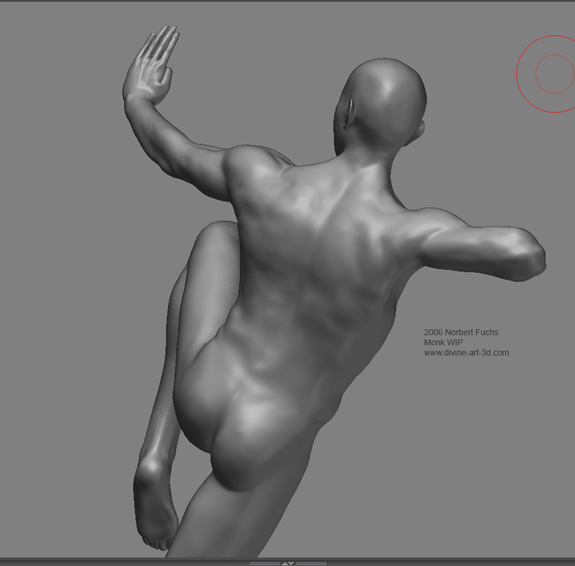
I’m working on this character…for my portfolio. :slight_smile:
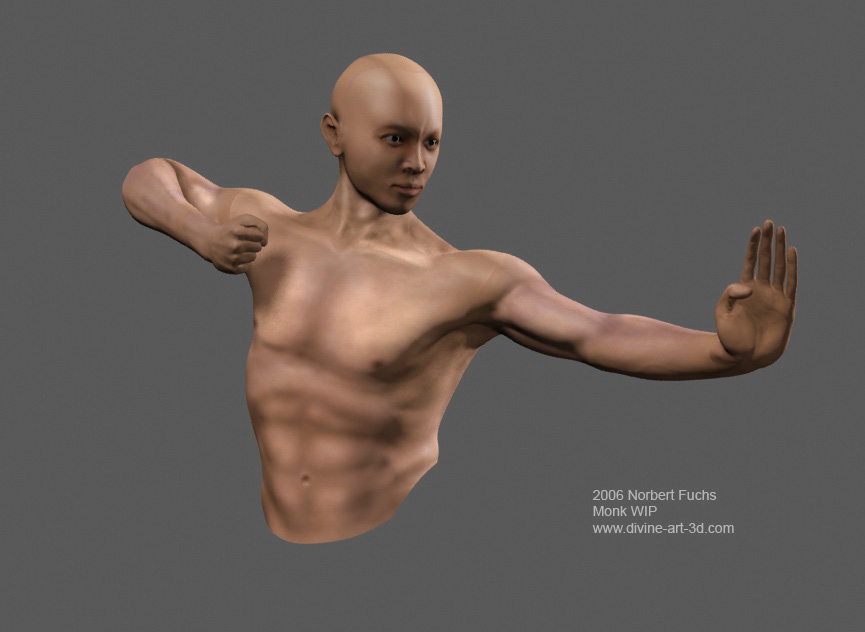
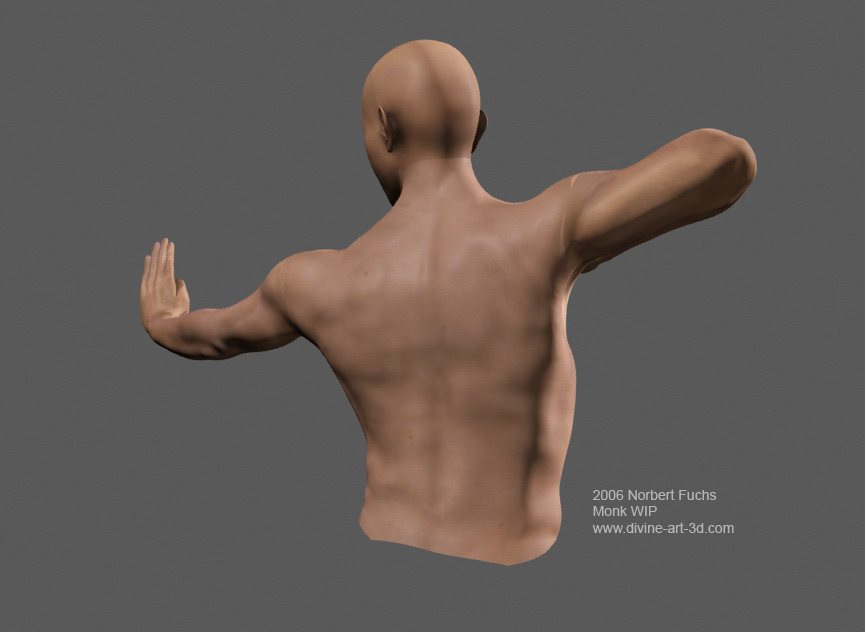
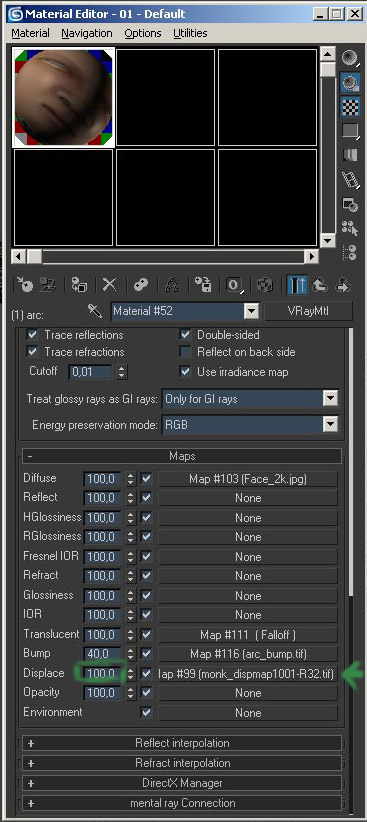
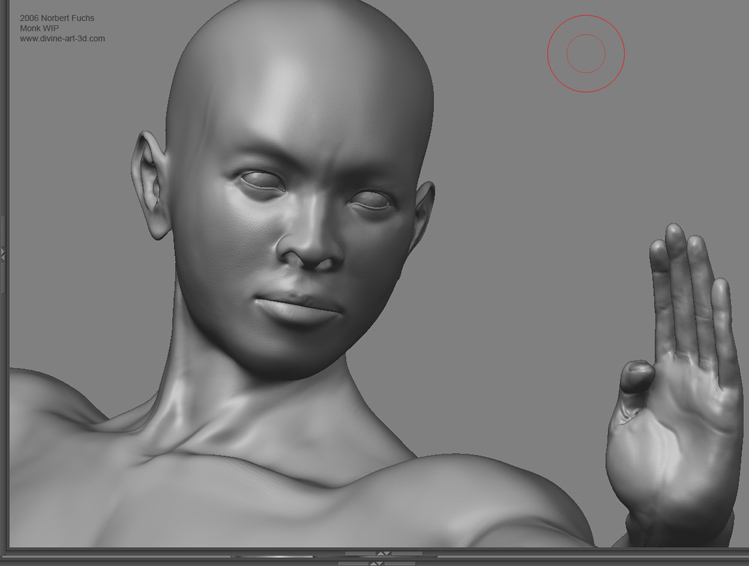
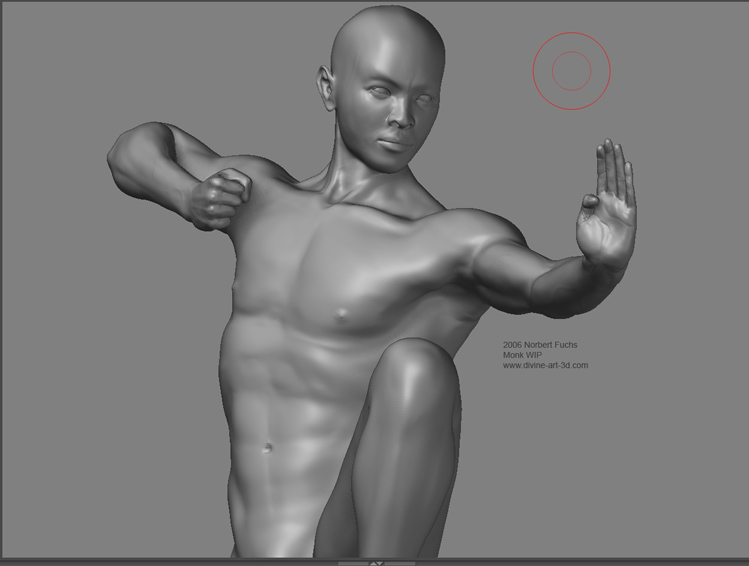
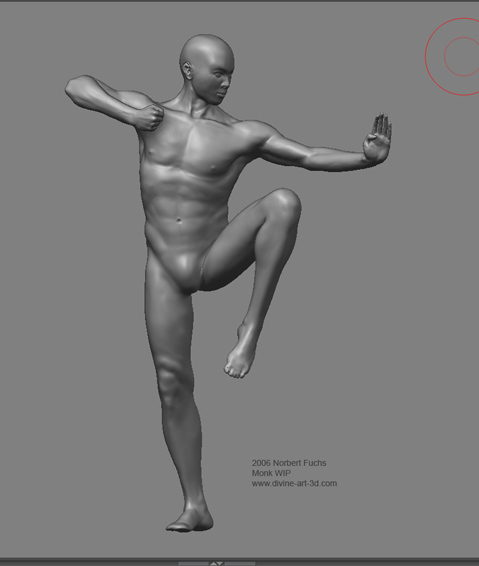
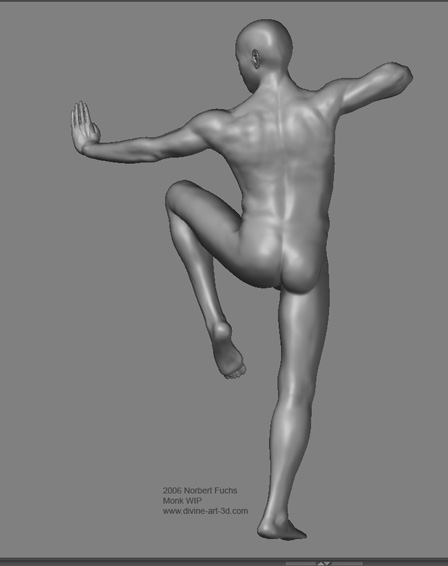
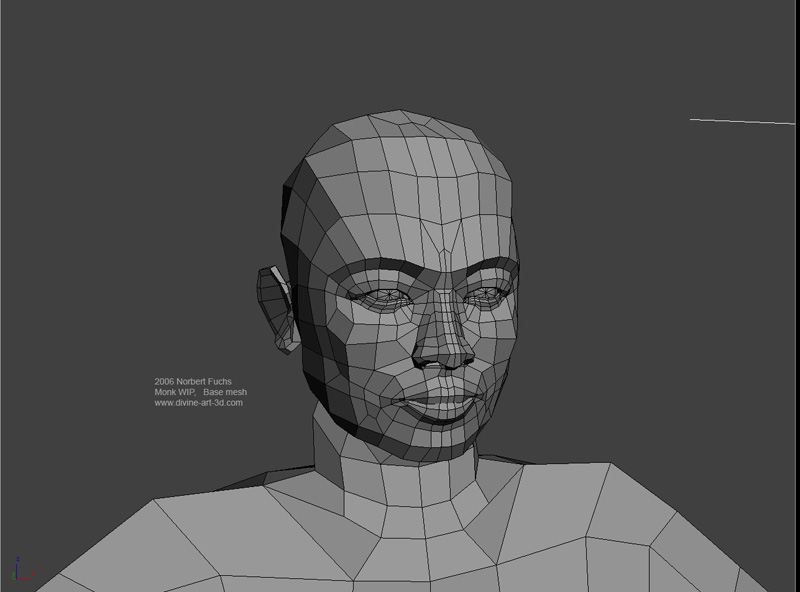
I want to detail now the head and the hands. And texture the whole model in photoshop. He will be dressed as a Shaolin warrior monk…most of the body will be invisible but it was fun to sculpt.
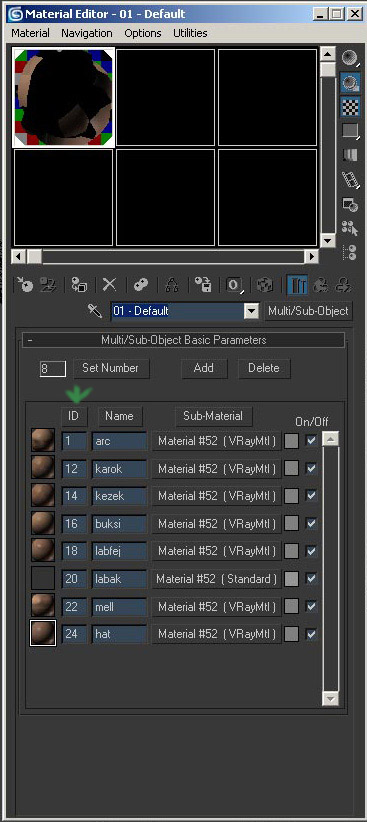
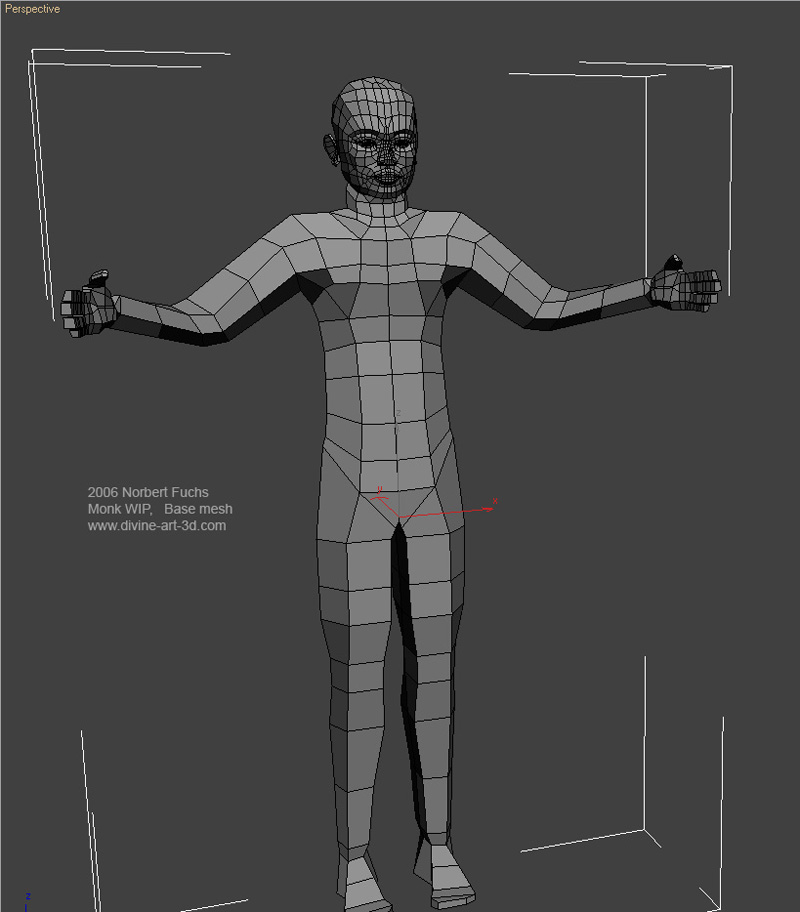
I did this with multi UV to be able to detail the parts but when I mask out the face and press “make polymesh” it takes the whole model not just the masked area…any ideas? :rolleyes:

The wip images:

[attach=28901]body_stance_013_e.jpg[/attach]
[attach=28902]body_stance_013_a.jpg[/attach]
[attach=28903]body_stance_013_b.jpg[/attach]
[attach=28904]body_stance_013_c.jpg[/attach]
[attach=28905]body_stance_013_d.jpg[/attach]

Attachments

body_stance_013_e.jpg

body_stance_013_a.jpg

body_stance_013_b.jpg

body_stance_013_c.jpg

body_stance_013_d.jpg

gr8 posture and anatomy man. waiting to c updates.
gud goin.

If you need any help, the current issue of 3D World magazine has a zbrush model with a pose very similar to yours with a really nice guide to modeling (not that you need it.)

awesome start man, wanna see the updates

ctr+shift+drag, the place :] then tool/geometry/delete hiden, and then make poly mesh :]

Thanks guys!:slight_smile:

I just began to texture him.

slocik:
Thanks, I figured it out how to do it. But another problem: after I have a separate polymesh (the hands for example, with some “buffer area”) it says “unable to reconstruct lower subdiv levels, operation canceled”. :cry:
It seems I will have to paint those details into the texture.

Here is two shot of the base mesh I imported into Zbrush and sculpted. I used the head of my year 2004 Warrior monk model.

[attach=28962]base-mesh.jpg[/attach]
[attach=28963]base-mesh01.jpg[/attach]

Attachments

base-mesh.jpg

base-mesh01.jpg

were you chosing the polys on the lowest sub level ? If not, maybe tat the poblem :]

Character looks great…face and gesture are really good. Wating for updates:)

Slocik:
I did it as Tony wrote in his tutorial here:
Making of Lord of Darkness

I masked the face at level 6 (highest), hid the unmasked parts, made a polymesh of that face.
Exit the tool, made a new documnet, draw the face polymesh and tried to reconstruct the lower levels. Failed. :cry:

Now I have other problem: I did the model using Multi UV to be able to paint the different parts in different resoulition. The problem is that Zbrush can use only 1 texture at once. So dealing with the seams between the parts is a great task because I can’t just paint the different parts at the same time (when I have only 1 UV region, not 8).

you must do the masking at 1 level :]

I don’t think so. If I mask at level 1 I still have to go to level 6 and mask some buffer area. And make the polymesh at level 6.

Anyway…I began to texture. As you can see the parts are not yet matched (color)…and there is that seam issue I have to solve too.
The model is a lower res one with normal maps added (there are seams too).:confused: And turbosmooth with 1 iteration.

And why doesn’t uploads the forum the images properly (not just thumbs), after I click the ‘place this image in your post’ button?

[attach=28979]body_texturing002.jpg[/attach]

[attach=28980]body_texturing002_back.jpg[/attach]

Attachments

body_texturing002.jpg

body_texturing002_back.jpg

I had several issues to solve…normal map seams, multi displacement and so on. So I changed render engine. The current render shows a multi displaced model, rendered in Vray. (no normal maps)
There are still texture seams but the maps aren’t the final ones (color tweaking, plus details needed).

body_texturing003.jpg

Hi all,

I am having some of the same issues…check this thread:

http://www.zbrushcentral.com/zbc/showthread.php?p=265686#post265686

But can I ask nfuchs, what was your exact procedure for getting multi diaplcement maps to work in vray on your shaolin mesh?

Thanks

Sonder!!

Hi!

I exported the level 3 model from Zbrush. Imported it into max.

The UV coordinates remain the same as I applied them to the low res base mesh.
I assigned different IDs to the parts. For example: face has ID 1, arms have ID 2 etc…
Then I made a Multi/Sub-object material.
There the ID 1 is the face material (vray material, displacement slot has the face displacement map generated by Zbrush)
The other IDs are like that (the materials have the corresponding ID as the mesh parts have)
When the Multi/sub-object materials are done I added a turbosmooth mod with iteration 1 and the Vray displacement modifier to the imported mesh with 3d mapping. Played a bit with the amount and shift (mine is 1.8 and -0.9). And ‘use object mtl’ is on.
So it renders the mesh displaced by all the maps Zbrush generated for the parts.

A bigger one. This is a raw render. The only post is the copyright info.:lol:
body_texturing004.jpg

Hi,

Thanks for the reply, whenever I seem to do it I always get seams, but I’ve never tried putting the multi-sub object material into the vray disp mod.
I’ll give it a go, and let u know how it goes…also is there any chance of posting up some screenshots of your progress, cos I just got this feeling that it’s not gonna work again…and I’ve been tryin so hard to get multi disp’s onto one mesh, with no luck at the moment, and I know that I’m very close.

Thx in advance

Sonder!!

Do not put multi/sub-object material into the vray disp mod! Just add the multi material to the mesh. And apply the vray mod. Then turn on ‘use object mtl’ in the vray disp mod.:slight_smile:

OK kool cheers, I’ll give it a try,

Any chance of some screenshots, just in case.

Sonder!!

Sure, here are 3 screenshots.

[attach=29048]scrn_mated1.jpg[/attach]

[attach=29049]scrn_mated2.jpg[/attach]

[attach=29050]scrn_vraydisp.jpg[/attach]

Attachments

scrn_mated1.jpg

scrn_mated2.jpg

scrn_vraydisp.jpg