Thanks for the screenshots, I’ll give it a go and let u know how it goes, and any troubles I encounter…if any…hopefully.
Sonder!!!
Thanks for the screenshots, I’ll give it a go and let u know how it goes, and any troubles I encounter…if any…hopefully.
Sonder!!!
Hi all,
I really don’t know where I’m going off track, but I think i can narrow it down to 2 areas.
The images below show I’m kinda getting closer.
The major things I’m getting stuck on (probably cos theres too many cooks now) is when to split the mesh in zbrush, and then whether to delete hidden, or makepolymesh, and then once I’ve sculpted to around 2+ million poly’s, do i export the mesh that I’m working on?, or do I export the disp map now (at subd lvl1 of course) or do I use the multidisp2 plugin?
And then in max, I’ve tried using multi sub objects and also vray disp mod’s, one of these methods works, for most people, I just need to know which one it is.
Help anyone?
Sonder!!
[attach=29158]overlap+seams.jpg[/attach]
[attach=29159]oooh so close, yet so far.jpg[/attach]

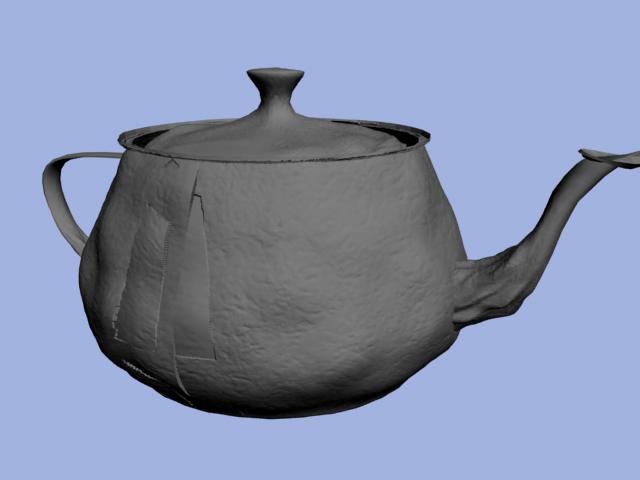
Ok. Let’s say you want to detail a teapot in Zbrush.
You create a low poly teapot in Max. You Unwrap the Uv coordinates for it (prepared for multi displacement)
Then export the model as an .obj.
Import that into Zbrush. You divide and sculpt. (Let’s say you have 4 levels)
Then you go to level 1. Export that. You will use it in Max as the low-res mesh.
And then use multi displacement 2 to generate the displacement maps.
I already told you about the Vray multi disp render…so use it. 
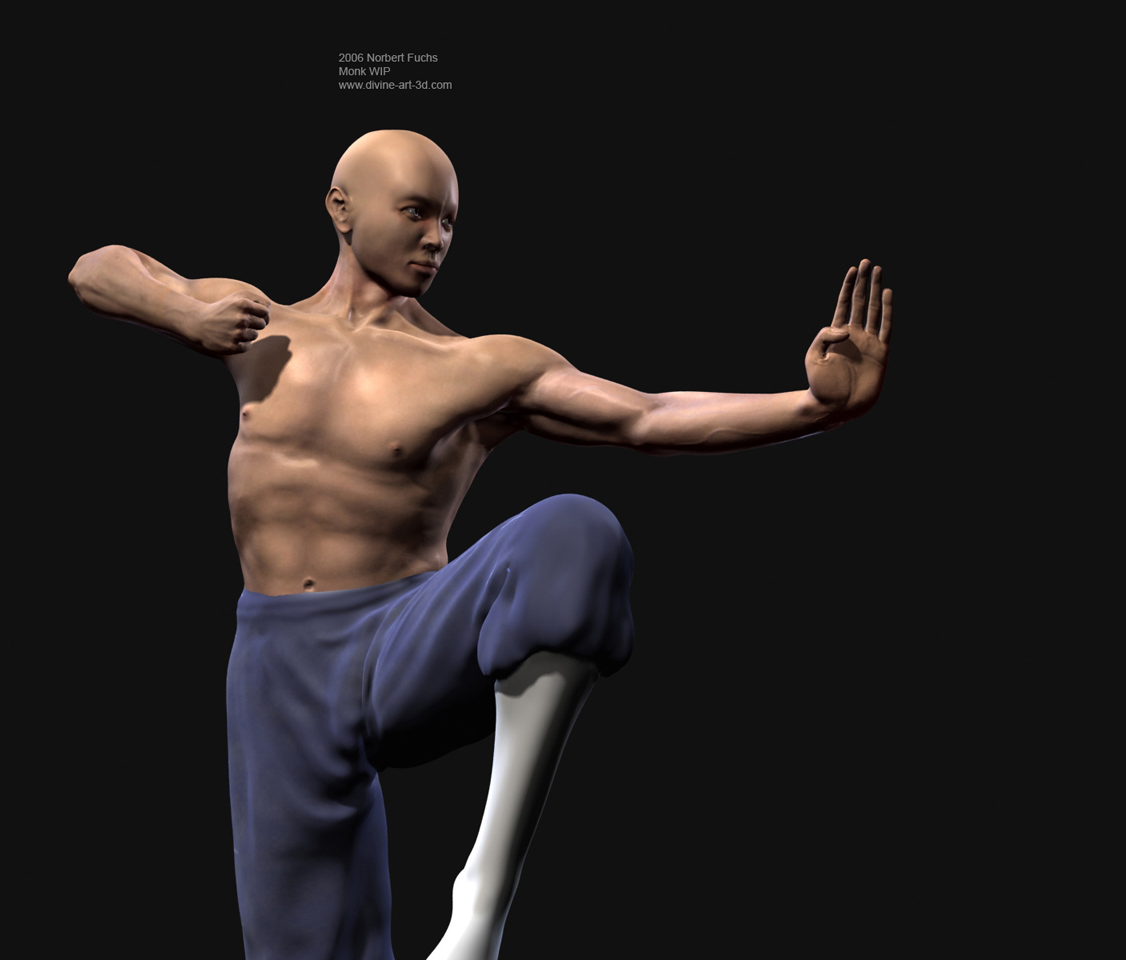
And a little update. Some of the texture seams are fixed, began to model the clothes. Raw render.
[ ]
]
I’ve already solved the problem now.
Sonder!!
Looking better and better. 
Hi!
Thanks!
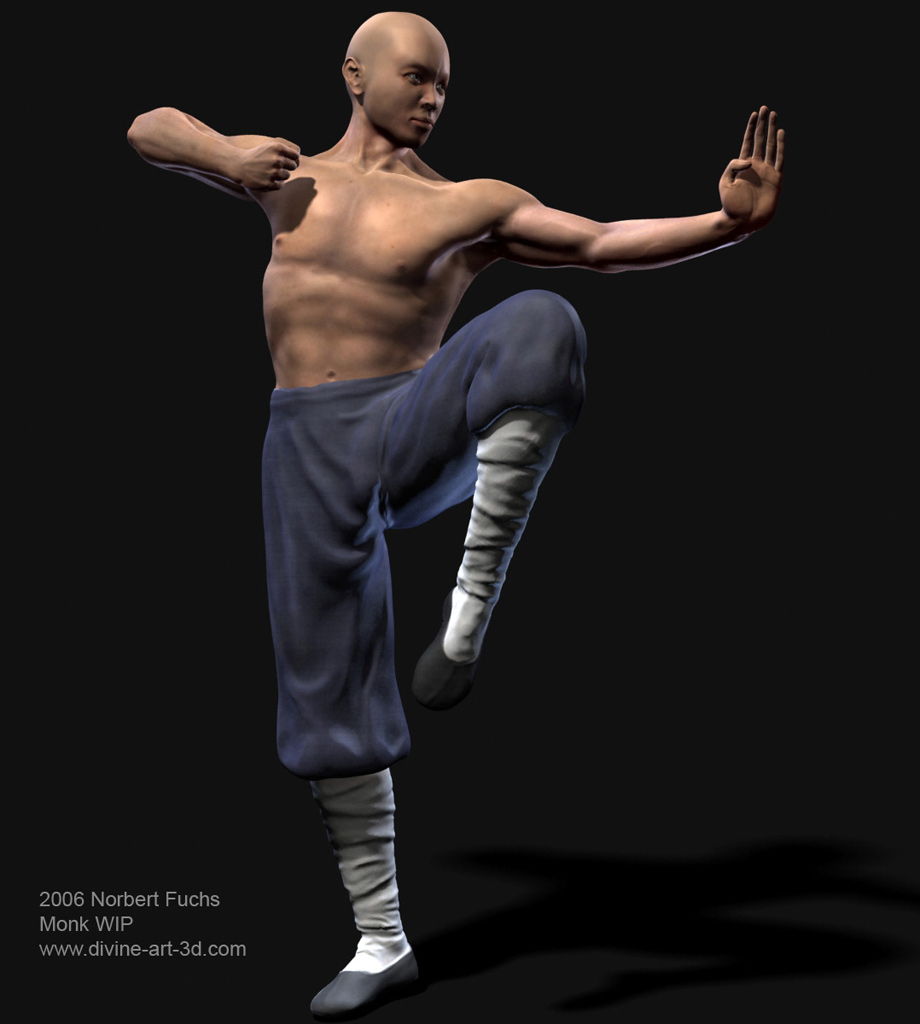
Update. No big changes…next week I continue to fine tune his textures and clothes. And begin to model the environment.
Any Vray gurus around here? I need precise results with standard lights (in Raw light, Raw GI layer). Is it possible?
[ ]
]
it dosent seem that you used zbrush, you cant see any datails :((((
The whole model is 98% Zbrush. :lol:
Well, the textures are not finished…no bump maps…the shader is temporary.
Antialiasing washes out details on the texture. It’s a human full body shot…not a “full wrinkle monster” 
i like this character and his position is well done.i think that with the final texturing he’ll be perfect.
maybe his chest is a bit large compared to his neck, and head. tho, he’s a martial art trained young man so it should work. maybe adding some slight imperfection, and remove simmetry in some areas will increase even more his beliavability. keep up with the great work so far!
I played a bit with the shader. Added a bump map which was painted in Zbrush and a specular map (not all body parts have them). I’ll add more veins and other details to the hands soon and give him a belt but I think it’s time now to move on and begin to model the environment too.
[ ]
]
Hi
I have some good news and some bad news.
The good news is that, over the last week, since I last spoke to you, I’ve been working on the first of about 8 low-poly models with the new multi-displacement method, and the amount of detail I’m getting in zbrush is absolutely amazing.
The bad news is that I can’t get it to render properly.
I’m certain that I’ve got the max UV coordinates and ID’s sorted, I export into zbrush and model away creating polymeshes and also allowing for buffer zones.
I think the problem lies in creating the displacement maps and my render settings.
The images below show what happening, and I’ve been using the same process as I did with the sphere and it worked perfectly then.
Also I sometimes get an error message in max when trying to access a 32bit image thats created in zbrush using the multi-disp plugin, and also the maps created in zbrush I can hardly make out the detail?
Please could you help once more, if you want me to send you the max file I will…I don’t want you to fix the actual max file but just give me the help you’ve been giving me so far, cos it’s a great learning curve for me…I’ve learnt more in the last 6 months working on this showreel, than in the last 4 years…he he
Sonder!!!
[attach=30033]beast rendered.jpg[/attach]
[attach=30034]displacement map_left arm.jpg[/attach]
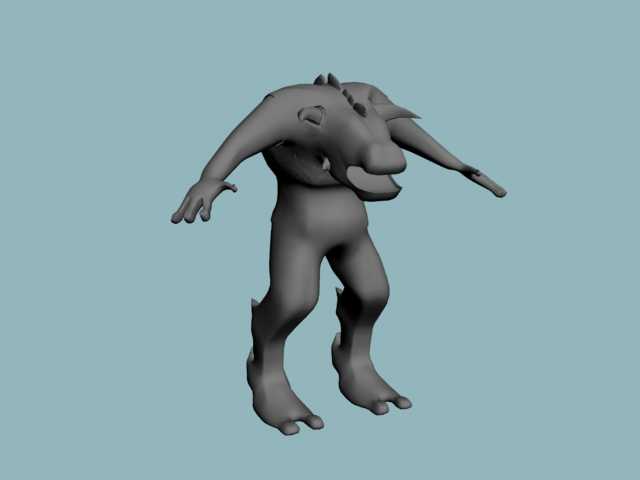

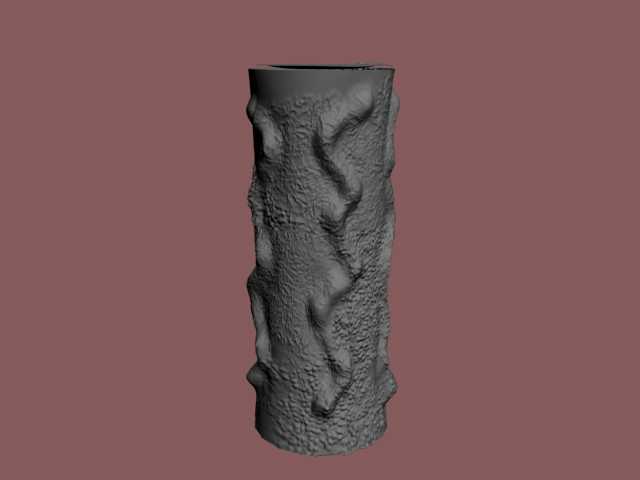
Just to let you know, I redid the exact same procedure on a cylinder and it worked (see below image), so it shows both of us that I know what I’m doing, but i just can’t figure out the abovw problem, in the mean time I will get on with another model.
Thx again
Sonder!
[attach=30036]test cylinder_all good.jpg[/attach]
good work
Sonder: The details are there even if you can’t see them. Play with the displacement amount. Sometimes I get an error message too…reset, reload.
Ok kool, I’ll give it a whirl
Sonder!!
Great work is being made here
And apparently you are the warrior monk guy !(portfolio) nice
The Vray trick is handy aswell i might give it a try myself
tnx for explaining it
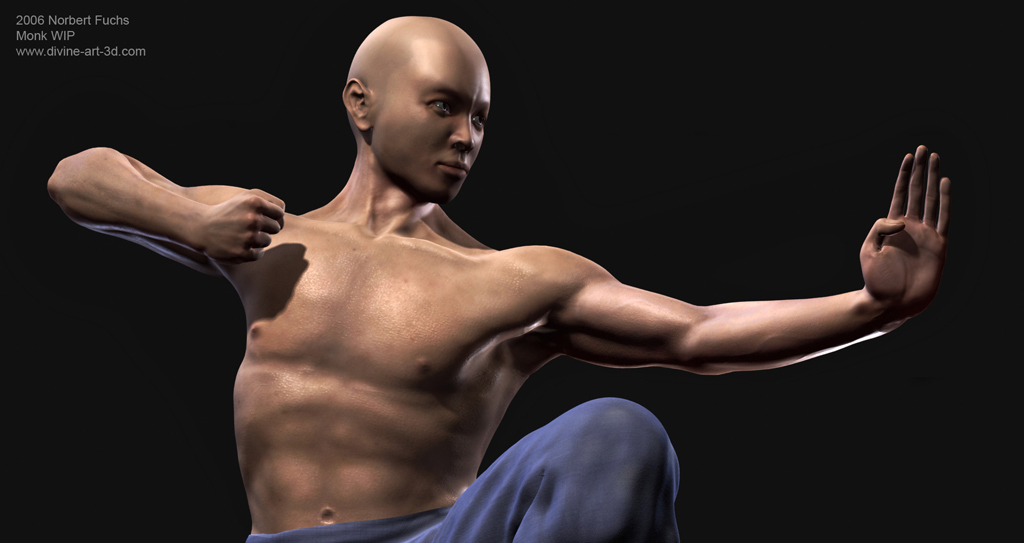
Hey, this is looking very, very, very good. I love the modelling and the pose. I have to say that I’m very disapointed with the render though. If you want to email me at [email protected], maybe I can render this for you in Maxwell. V1.0 is coming out on the 26th and SSS will be enabled again. If you might be interested, I can show you some of my work. Very good job, five stars from me.
Hey guys!
Thanks
glockm26: Thank you but I want to develop my skills in rendering too. On my website you can see an actual WIP render of the monk and the environment…still under development.
good!