ZBrushCentral

Richard Zryd - Sketchbook

Hello everyone, this is my first post on Zbrushcentral and I wanted to show off my latest work. He’s a dark elf that lives inside a maze of misty caverns. Not someone you want to run into for sure! I used Zbrush, Maya, and Photoshop for the final image. Rendered in Mental Ray at 4800 x 7200 pixel. So it’s a very large and detailed image. Just had a 2ft x 3ft poster of it made and looks absolutely awesome. Enjoy!

Villian_for_zbc1.jpg

Attachments

Villian_for_zbc2.jpg

Villian_for_zbc3.jpg

Nice job on the textures!
My only suggestion would be to work on his face, the anatomy dosnt look right, and it’s the main subject of your image.

Here’s my render set up. The lighting is done mainly using 2 directional lights and 1 spotlight. An hdri was used, but just for reflections. I did do a second lighting pass with a separate rim light that I put in later to make the image more dramatic.

set_up1.jpg

Attachments

set_up2.jpg

Hi again everyone. I’ve been spending my free time working on some low poly models. I design them res them up and then export them at their lowest level. This one is of a fantasy/sci-fi rifle. It consists of one object with a 2048 color and 2048 normal map.

gun_for_zbc.jpg

Attachments

gun_maps_for_zbc.jpg

Nice work zerd_sword, keep it up!! :smiley:

Hi again everyone. Still working on low poly stuff. This time I model/textured a war hammer, making it as low poly as I could while still retaining my design. Please hang in there with me while I’m exploring the world of low poly because I’m working on a detailed character which should be very cool. Stay tuned for more about that later. Also, I’m also hoping to have my new website up soon so everyone can check out all all my work. Busy busy. Later all!

warhammer_color_zbc.jpg

Attachments

warhammer_wireframe_zbc.jpg

As promised, here’s my new character work, The Warrior. The final image was rendered at 4091 x 6000, so of course this is a low res version, but I have included some close up shots to show the details better. Also, I’ll be posting a postmortem soon about the images creation. Lastly, I would like to invite everyone on over to my personal portfolio web site that just went online (very exciting for me). You can find the link in my digital signature or just go to www.richardzryd.com. Be sure to check out the galleries! Later.

warrior_large.jpg

Attachments

warrior_detail1.jpg

warrior_detail2.jpg

warrior_detail3.jpg

Good stuff, I like the lighting choice :+1:

Just as an aside, the soldier’s face reminds me of Jack Kirby’s Demon character. Anyway, very nice sculpt.

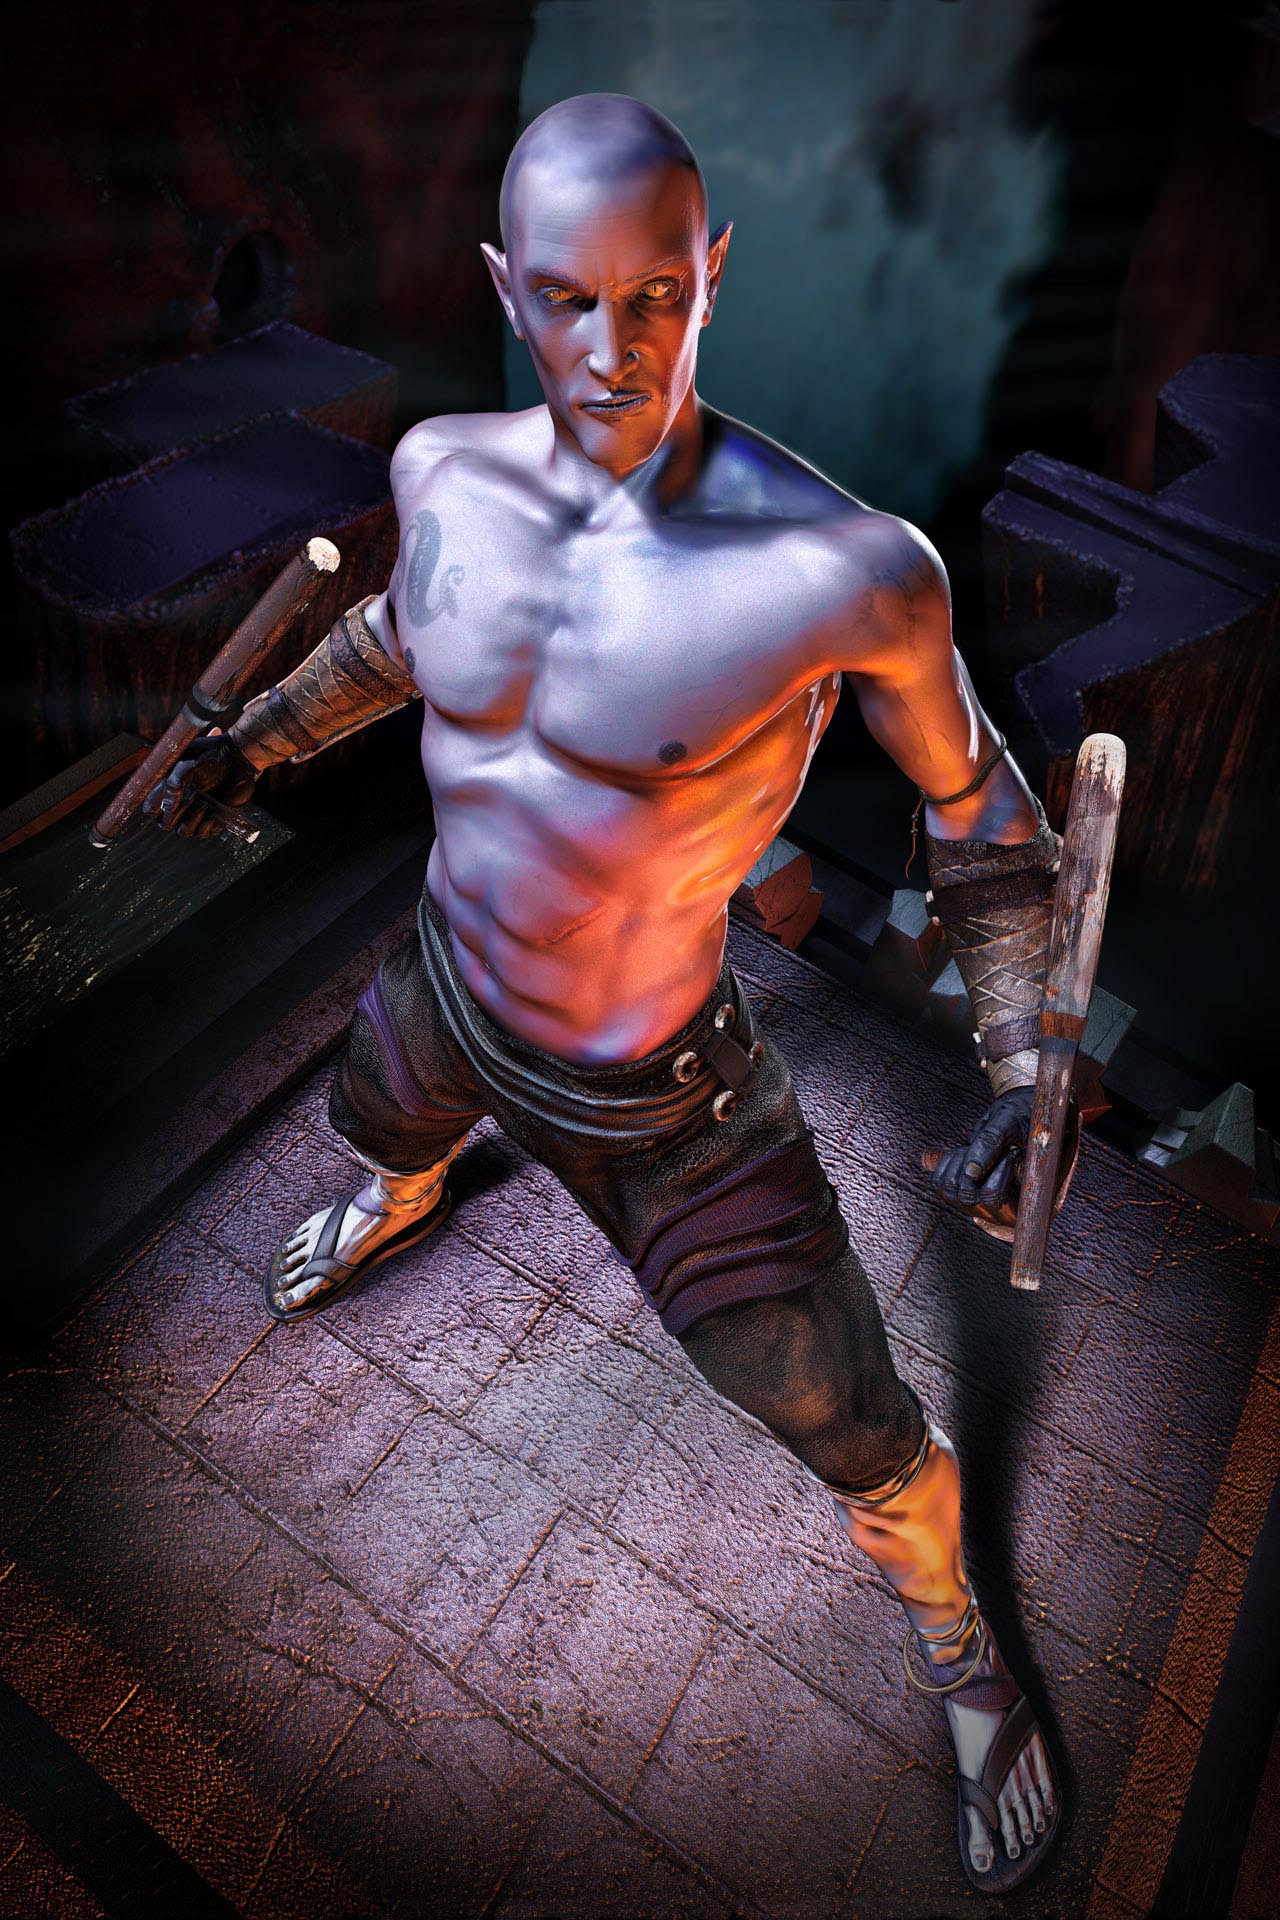
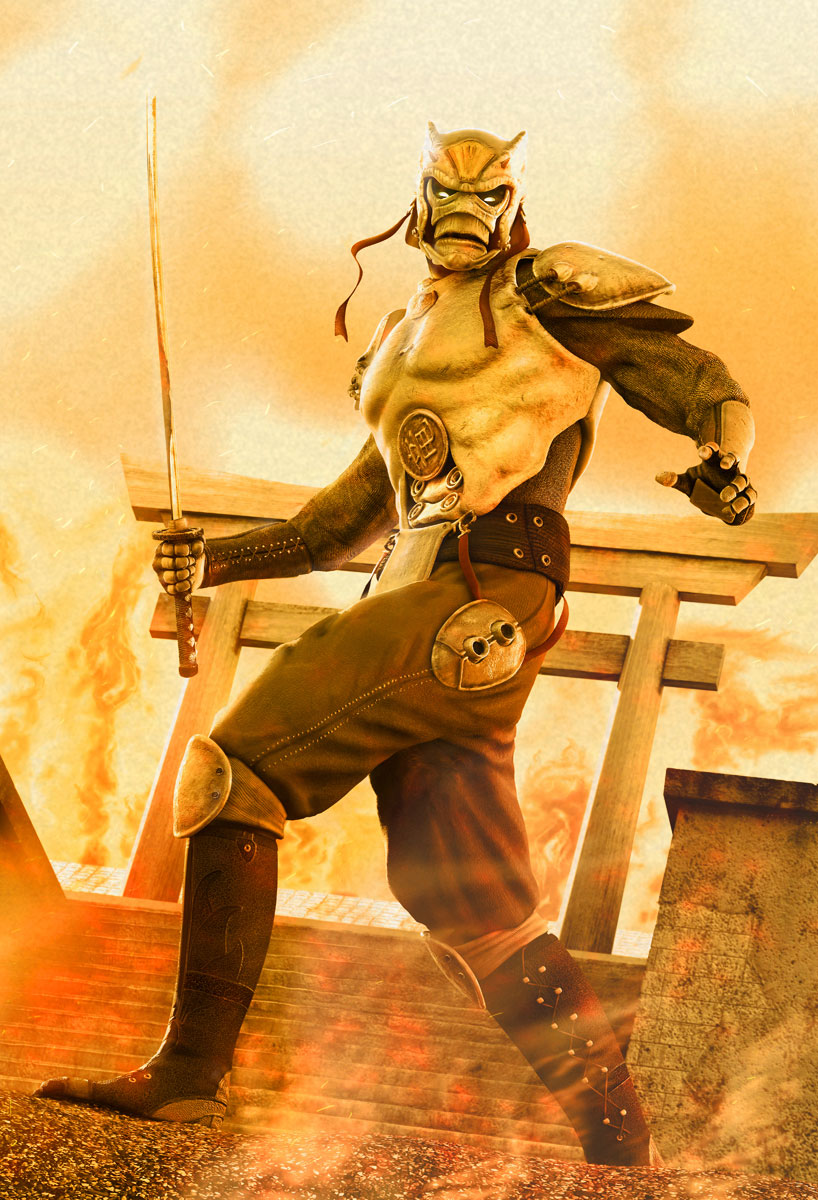
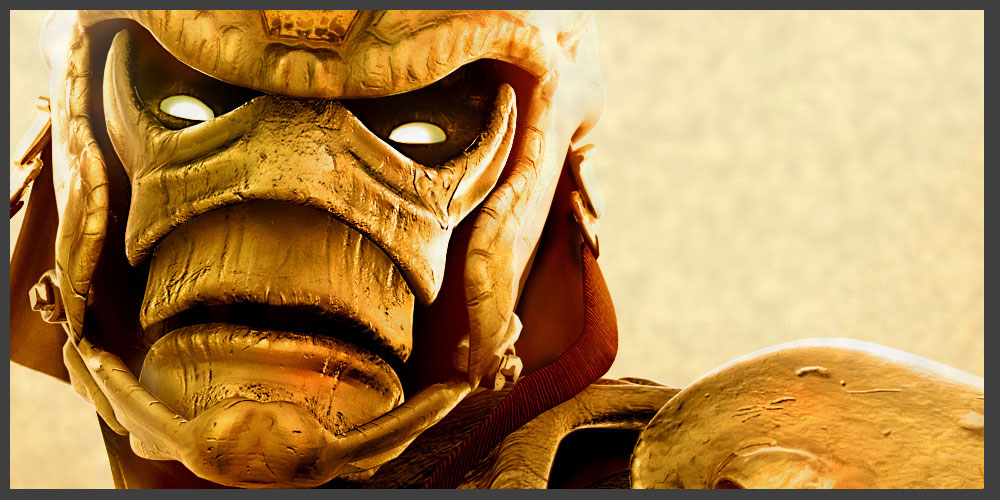
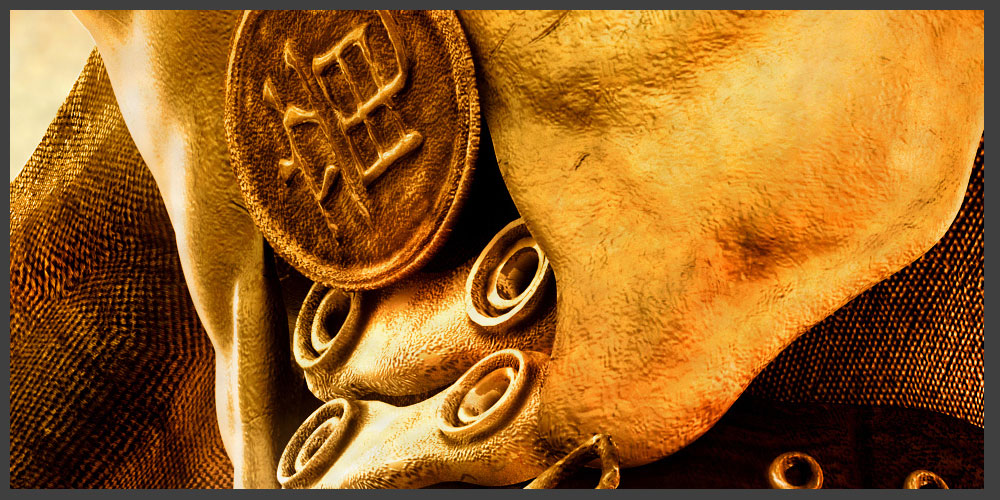
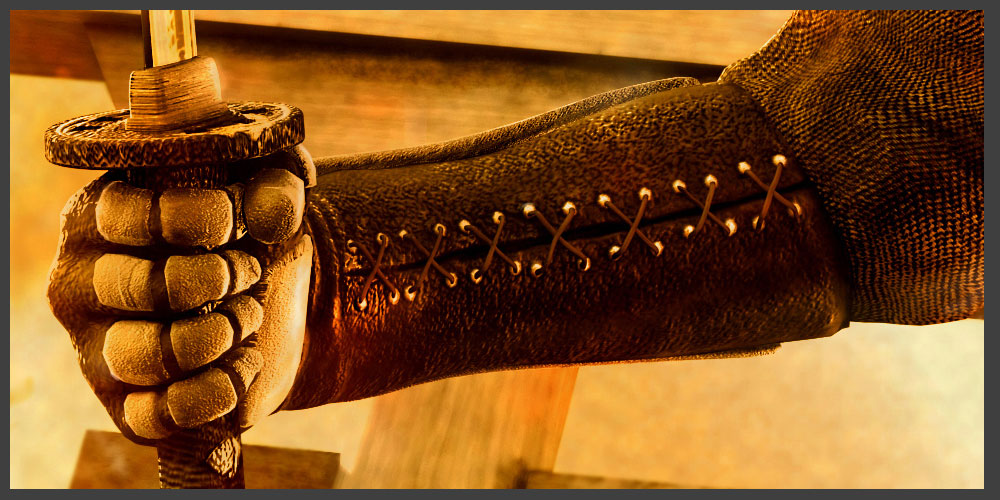
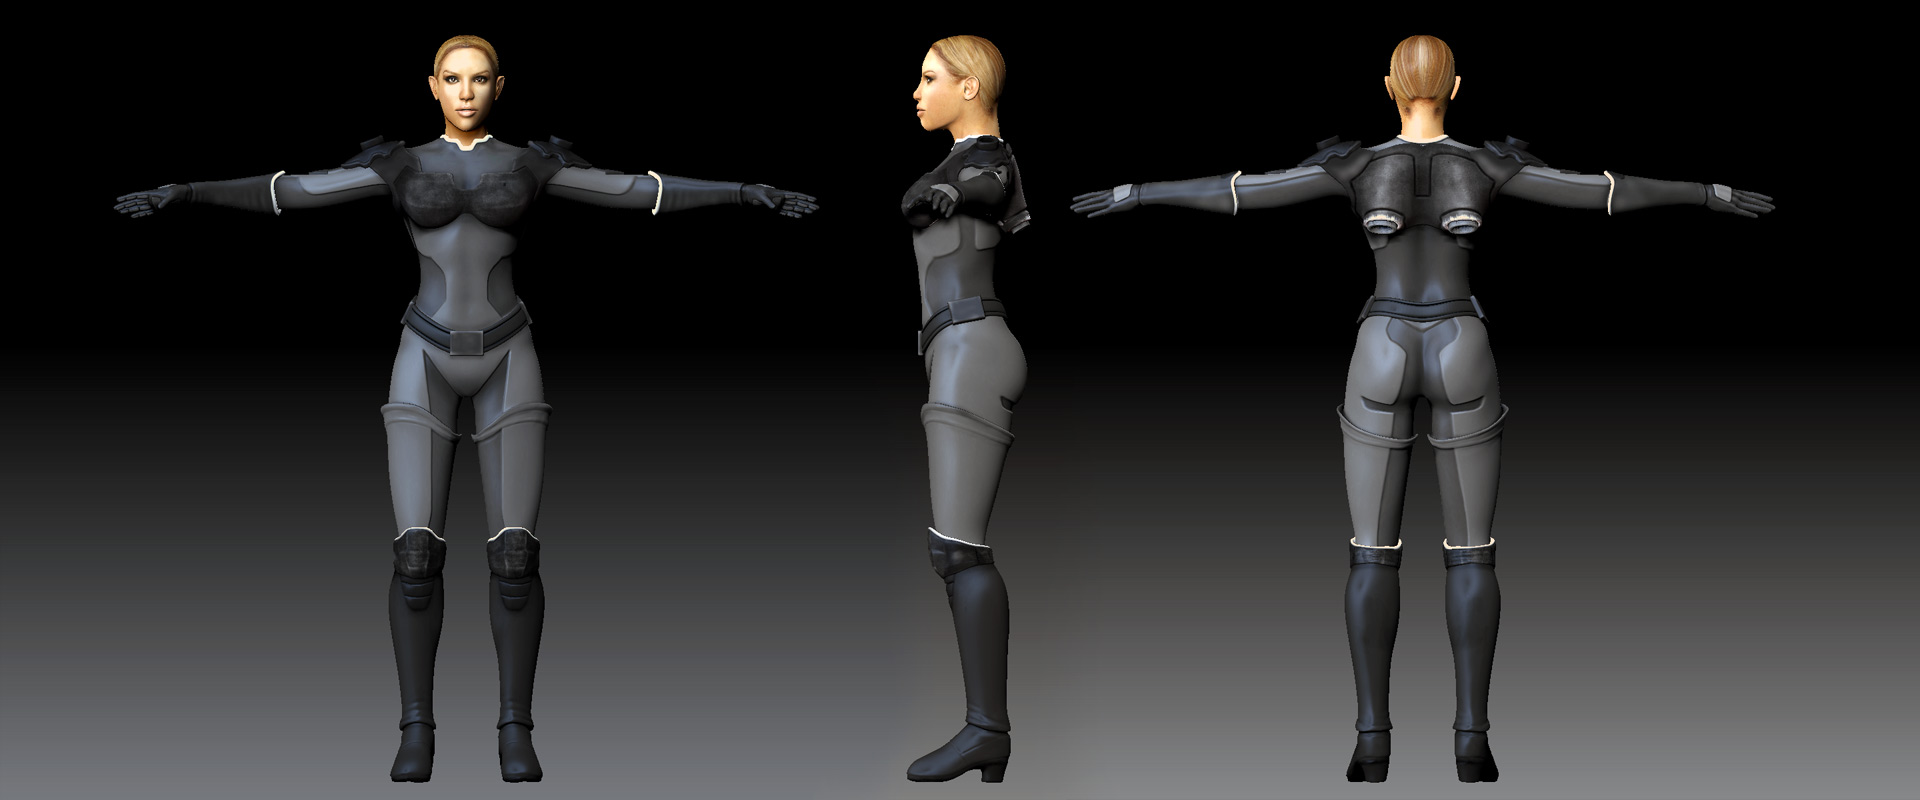
Finally got around to the breakdown of my latest image, The Warrior. Sorry for the delay. Anyway, I see a lot of modeling workflow breakdowns here on ZBrush Central, but not too many finished illustration breakdowns. Mine will be of the latter sort. How I go from concept to finished illustration.

To begin, the first thing I do is sketches on regular sheets of paper. Unfortunately, I may have inadvertently thrown out my sketches, but trust me, it can save you lots of modeling time to sit down for an hour or so and just draw. I usually do a front and side view, some detail drawings and maybe a few three quarter poses. I use the front and side view drawings as image planes inside of Maya to help with the modeling.

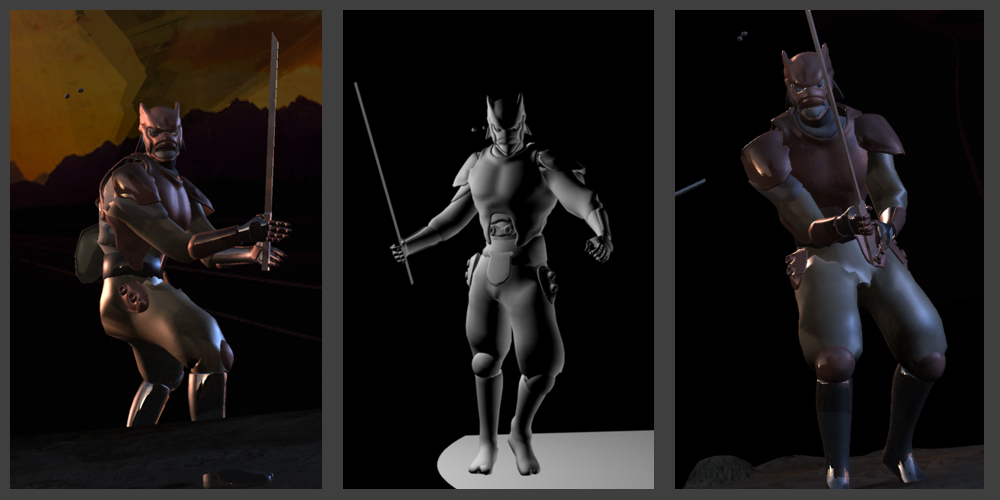
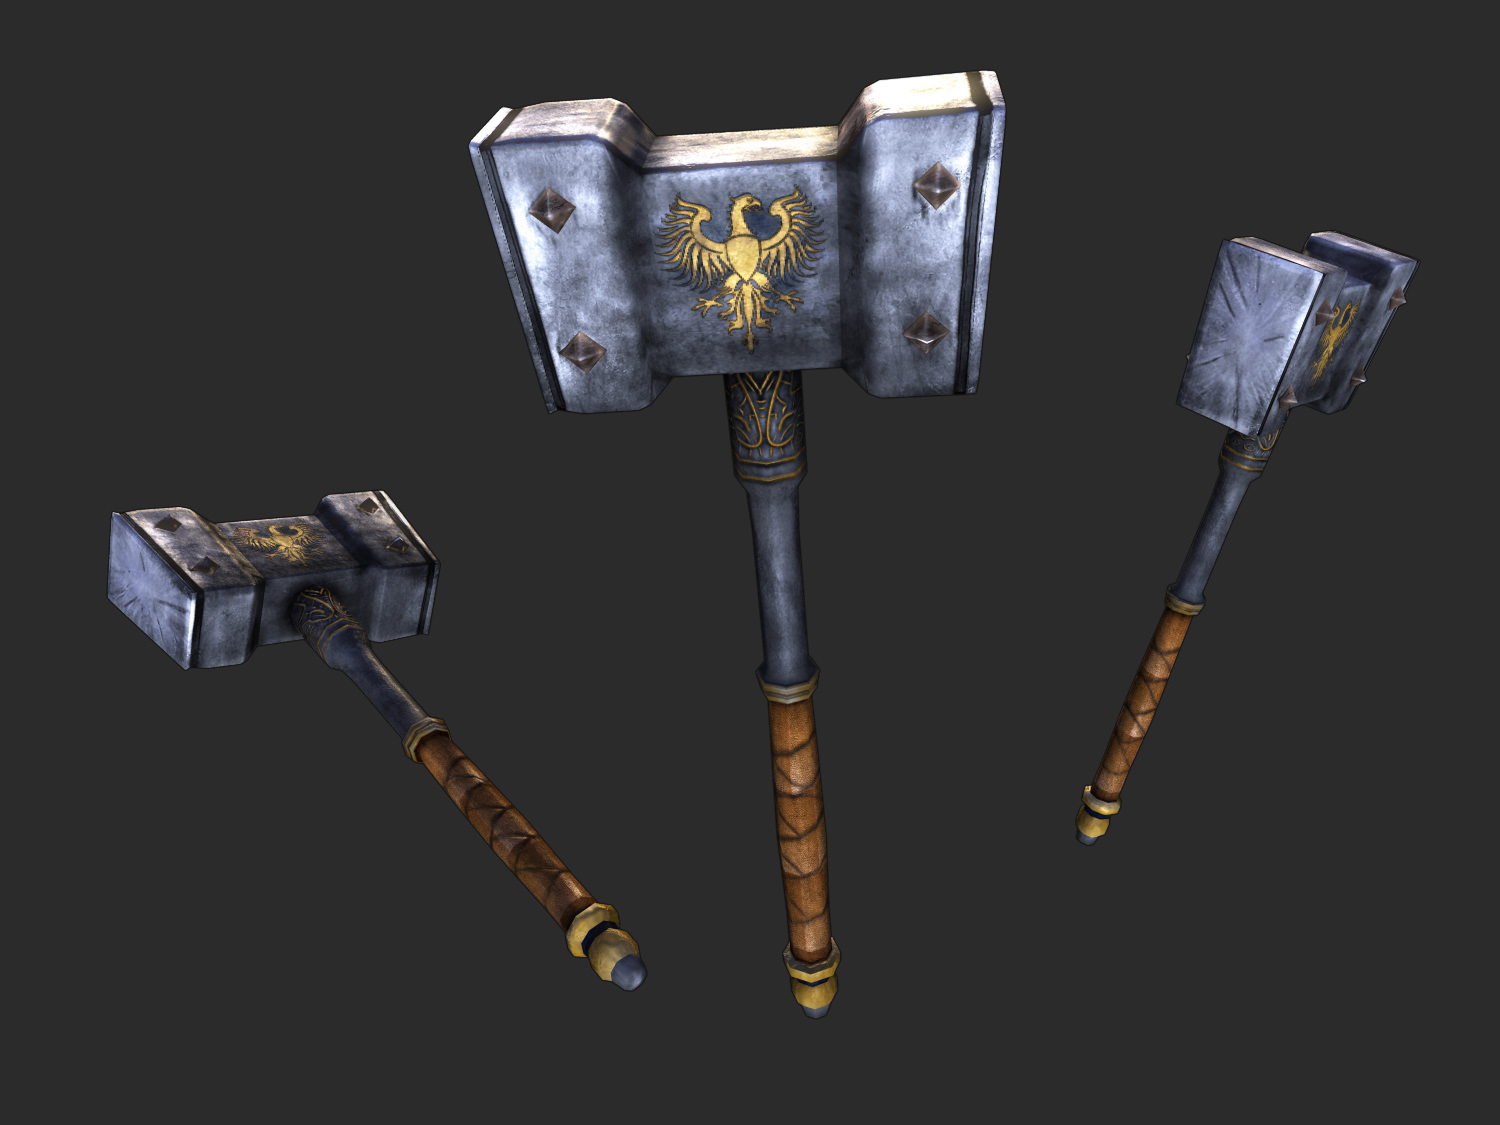
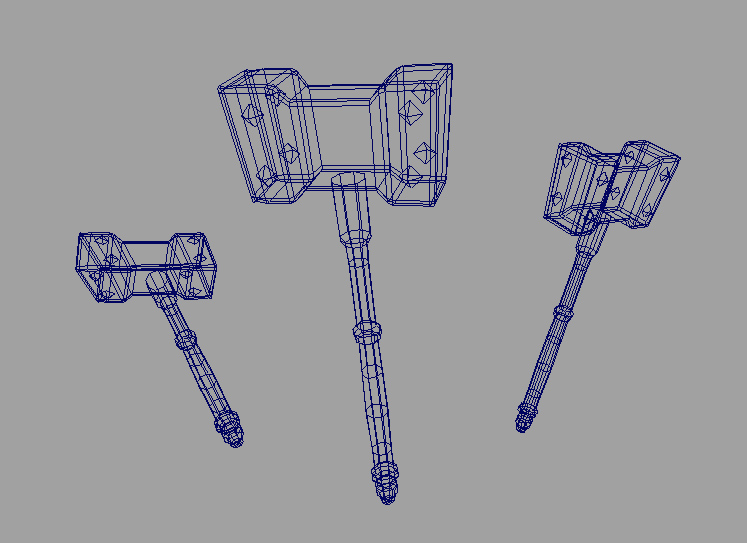
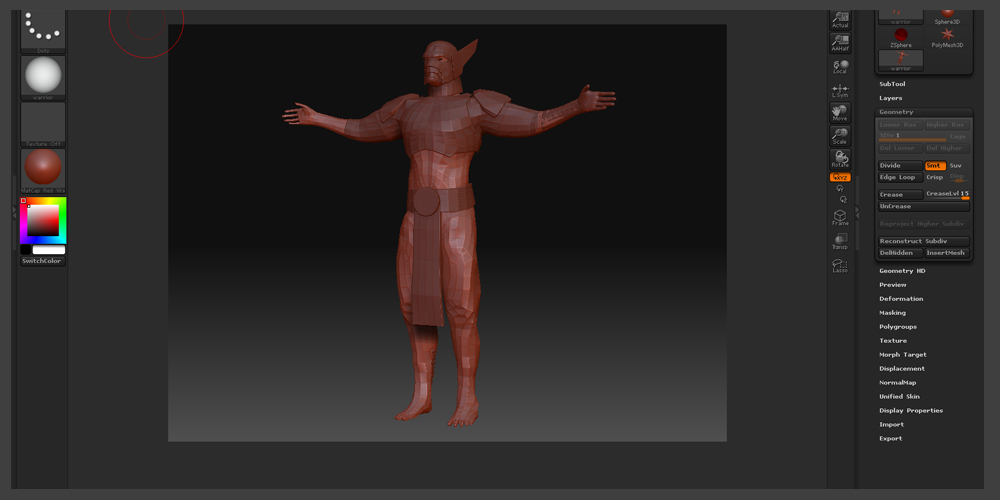
Once I have a base model I bring it into Zbrush and start pushing around the base topology to get the exact form I want. I find that it’s easier to make the base topology in Maya, but finesse the form with the Move brush in Zbrush. And now with GoZ its even easier to get back and forth between programs.

8.jpg
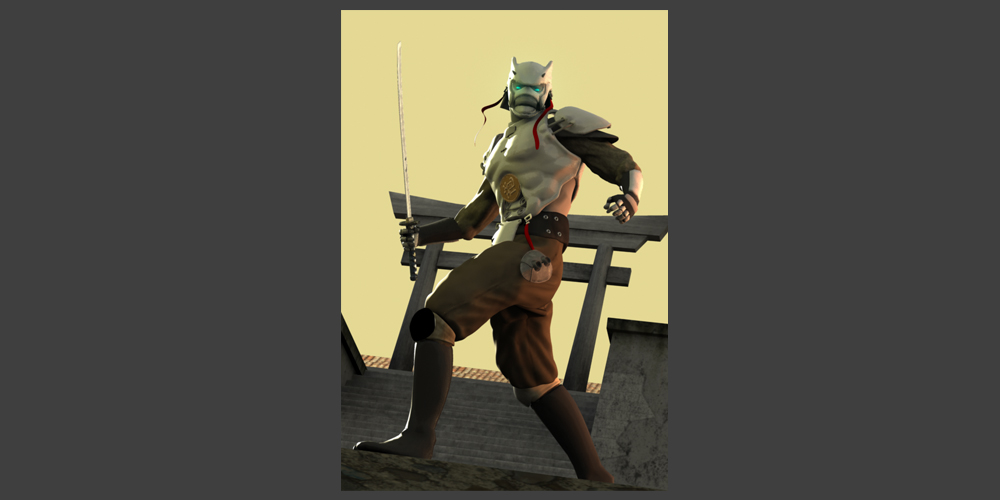
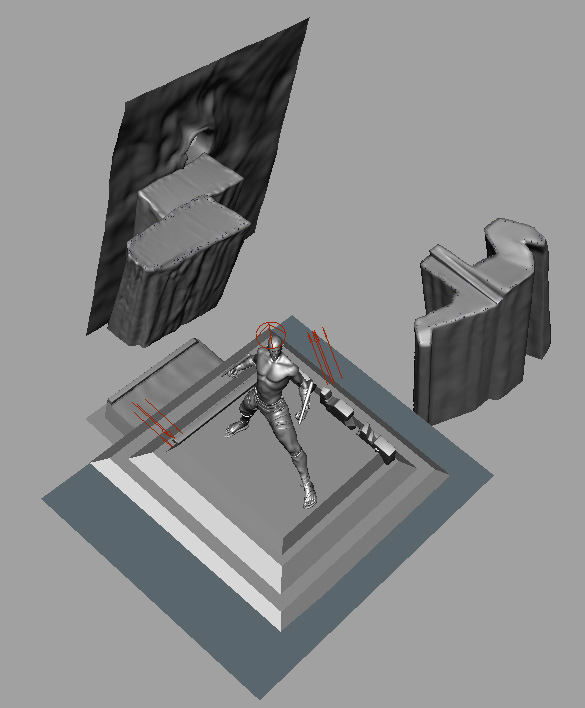
I used a directional light as the rim, an hdri as the fill, and a polycube with a high incandescence as the key light (final gather was used)

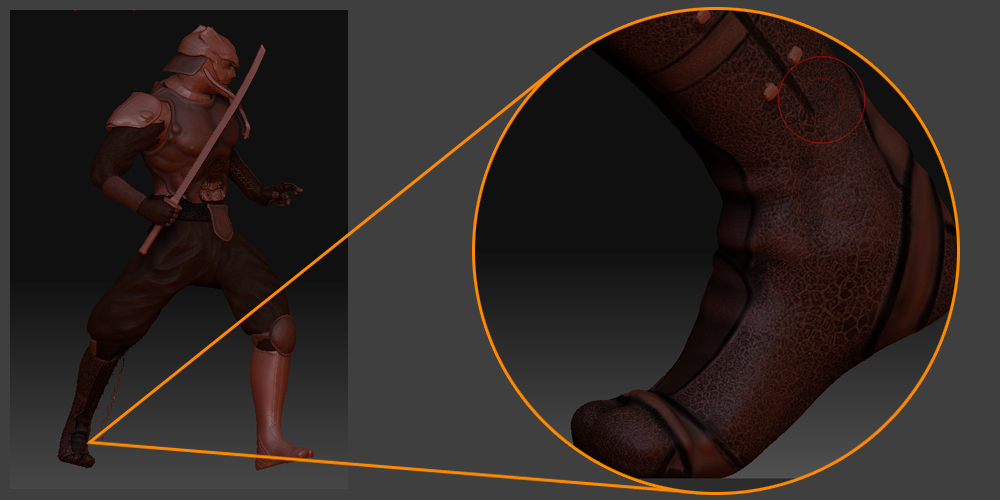
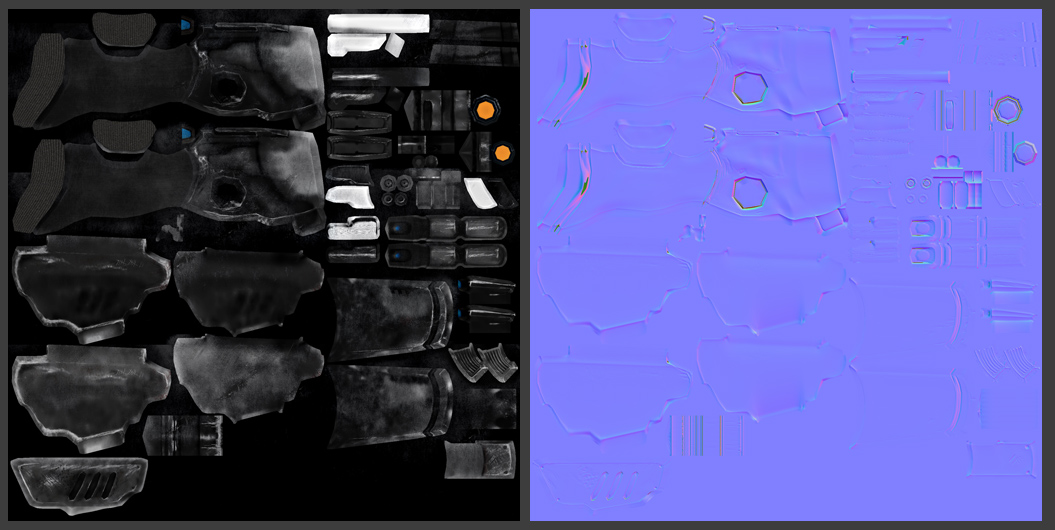
Now it’s a lot of back and forth from Maya to Photoshop to fix any texture issues and make adjustments to my shaders in Maya. 90% of the time a regular old blinn will do just fine as the material. I work at 25% of the final image size and do my tweaks there, and work my way up. 50%, then 100%. I don’t start tweaking at 100%, the render times work be wasteful. Start shader and textures adjustments low res, just like modeling in Zbrush.

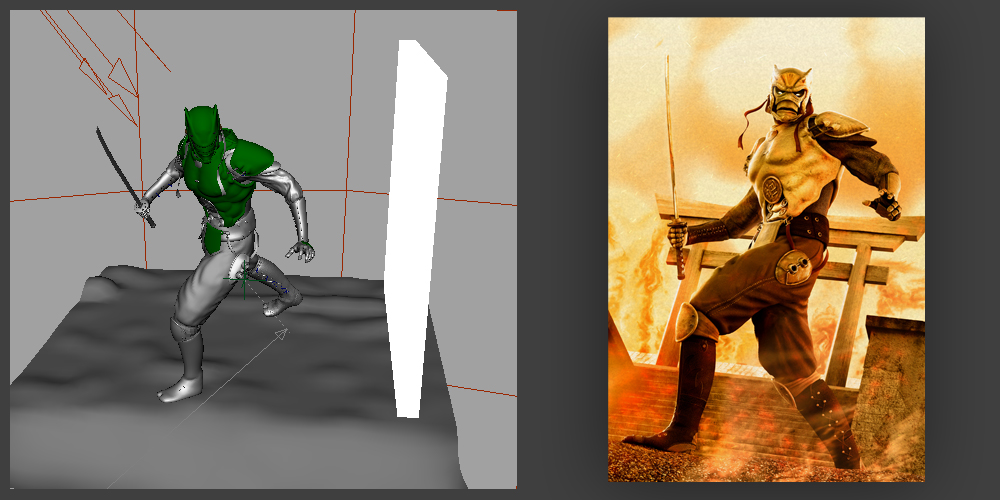
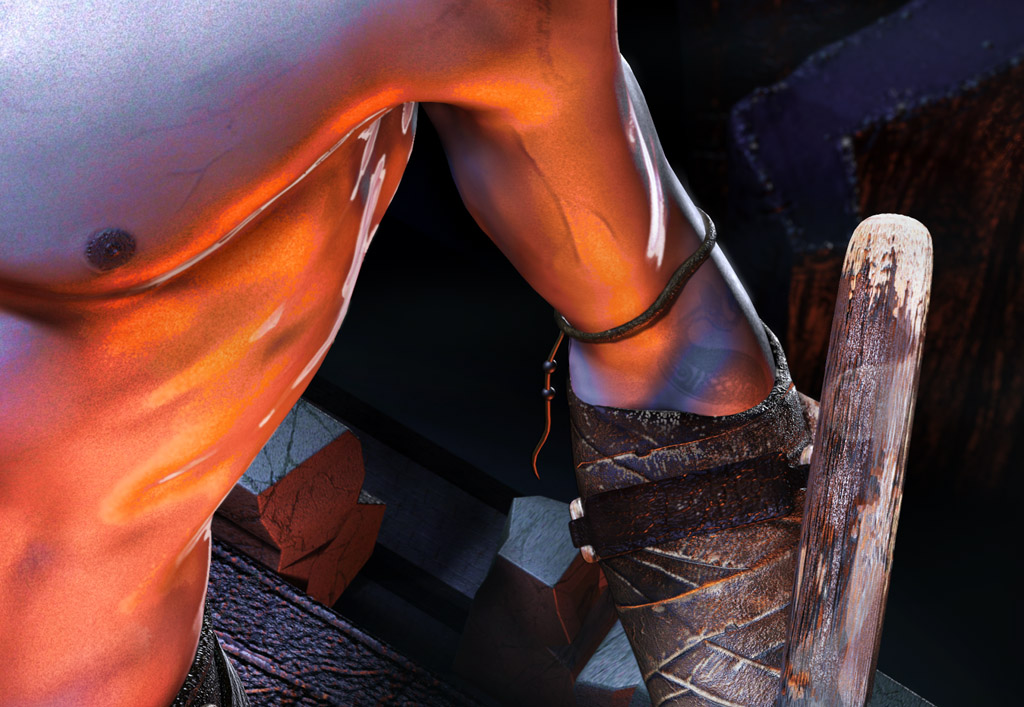
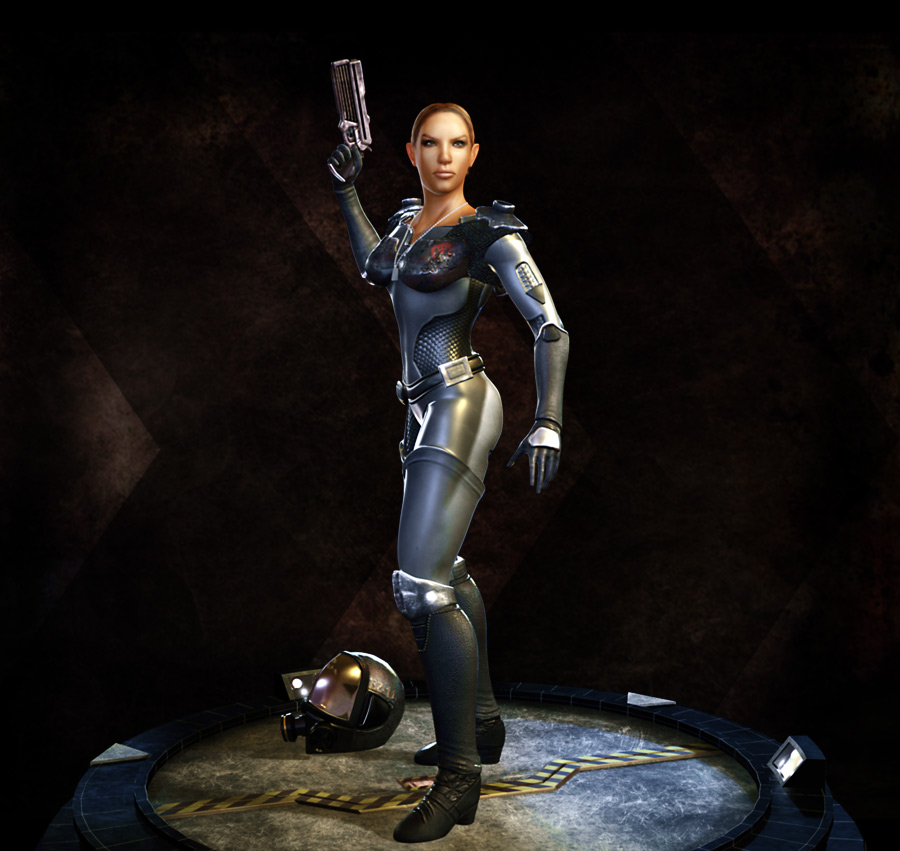
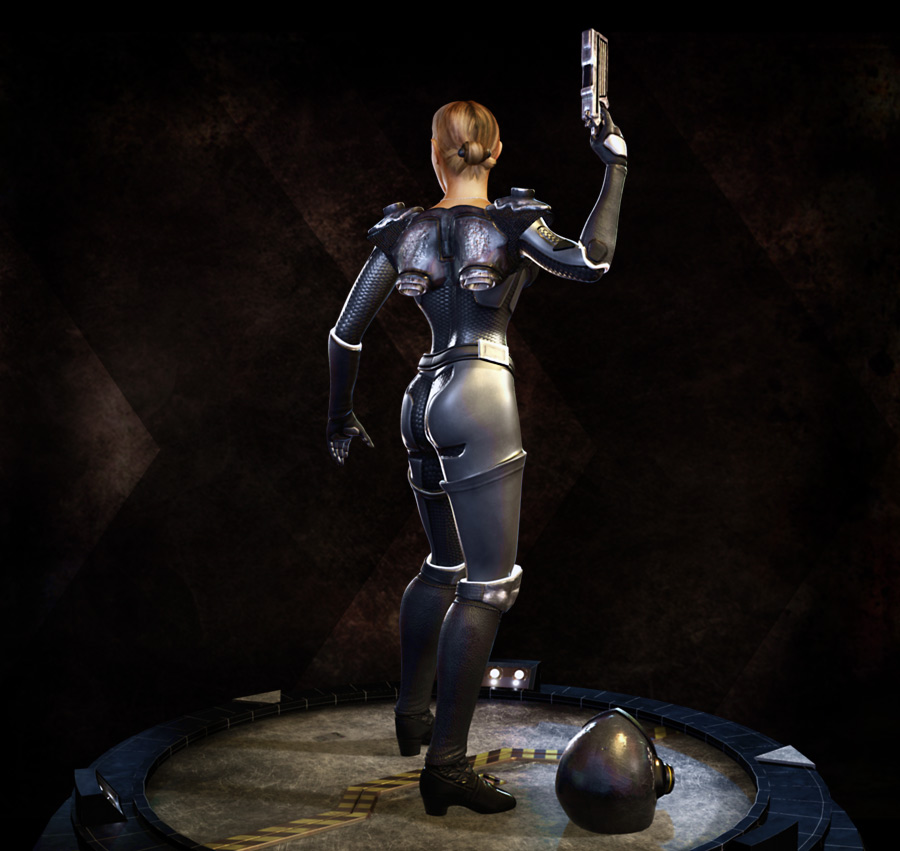
Next, I’m ready to make the final renders. I ALWAYS render out in passes. Usually a full beauty pass, reflection, specular, diffuse, occlusion, and a couple different shadow passes. I render out the character separate from the background as well just to make any adjustments easier in Photoshop. I will also do a surface shader pass where each object gets its own unique color which I use to make quick selection inside of Photoshop with the wand tool. Once in Photoshop it’s just adjustments and tweaking until I am satisfied with the results.

Ok I know that’s a lot of information in a short space, so if you have any questions let me know. Bye!

Attachments

13.jpg

13_5.jpg

9.jpg

14.jpg

Here’s my new personal project, a model of Kit Fisto, Jedi Knight. I did deviate a little from the original design in case anyone is counting tentacles. Hope everyone likes it. Comments and crits are welcome.

For this week’s post I dug up some inspiration from the past, one of my all-time favorite games, Final Fantasy IV (Final Fantasy 2 for those of us here in the U.S.) I have been playing the game lately and thought it would be cool to take one of the 16 bit baddies and use Zbrush to breath some new life into them. For my sculpt I choose the dreaded HorseMan! Here’s a pic of the original game art…

HorseMan.gif

Attachments

centaur_side.jpg

centaur_front.jpg

centaur_back.jpg

Very inspiring. Great job man!

Thanks Eiad, encouragement is always appreciated.

Hey all! Inbetween all of the holiday season madness I’ve still been working on a new character. She’s still in progress, but I like to keep a weekly update so I’m sharing some progress shots now and some better stuff is to come later… These are straight out of Zbrush, no rendering, just screen captures. Comments and criticisms are always welcome. Merry Christmas!

captain_for_zbc1.jpg

Attachments

captain_for_zbc.jpg

I can’t believe it’s been two weeks since my last post, but I’ve been making good progress on my Space Marine model. The model is basically complete ( maybe needs some texture touch ups) but in the end I’ll have a nice turn table animation that I will post for everyone to watch. Here’s some stills from one of the test animations that I’ve been running. Pretty much straight renders from Maya with just a little color correction. Hope you like it. Also, I’m still looking for a full time job in the video game industry, so if you like what you see check out my web site… www.richardzryd.com

barbarella_1.jpgwww.richardzryd.com

Attachments

barbarella_2.jpg

barbarella_3.jpg

well… I’m jealous haha. Awesome work man, loving the Jedi Knight and the warrior, they looks so clean and well done.

Just out of curiosity, how did you do the rings on the Jedi Knight’s light sabre hilt? I’ve been trying to work out a way to do clean, smooth and ‘straight’ circles around my models for ages but keeping failing. A few people I know say to use masks, but drawing a mask on still makes it ‘wobbly’ and far from clean.

Any tips would be appreciated,

love your work, keep it up man!

Cheers,
KnightUK.

KnightUK, thanks for the kind words. I agree that Zbrush isn’t the best hard surface modelling program just yet, but is getting better. As for getting nice edges I guess that there’s a couple of way’s to do it. First have you tried the crisp function? Also, if you’re not concerned about being stingy on the polygons, you can just put an extra edgeloop by the edges that you want to stay sharp. If you save an original or use the project all feature you can probably get back the the original poly structure (without extra edgeloops) after you’re done modeling the high res version. You could also create a displacement map or normal map in Maya the takes the detail from the extra-edgelooped/high res model and maps it to the original. Lastly, I find that the better your base topology is when you start subdividing, the better the end product. So plan out the topology at the start and get familiar with how things look when they subdivide.

Hi all! Here’s a turntable animation of the Space Marine, Capt Katerina Steel, showing her textures, wireframe, as well as some nice rendering if I say so myself. It can be viewed in HD (recommended) on Youtube or Vimeo or as a low resolution version (flash required) on my website. There’s a nice bass line to the music so turn it up! Enjoy!

To watch on Youtube click here.

To watch on Vimeo click here.

To visit my website and view the animation (under the movies category) click here .

end_screen_for_zbc.jpg
Image taken from the animation.

Btw, still looking for full time work in the game or movie industry. Contact [email protected]

hmm? no one likes a show off…ha