ZBrushCentral

Richard Zryd - Sketchbook

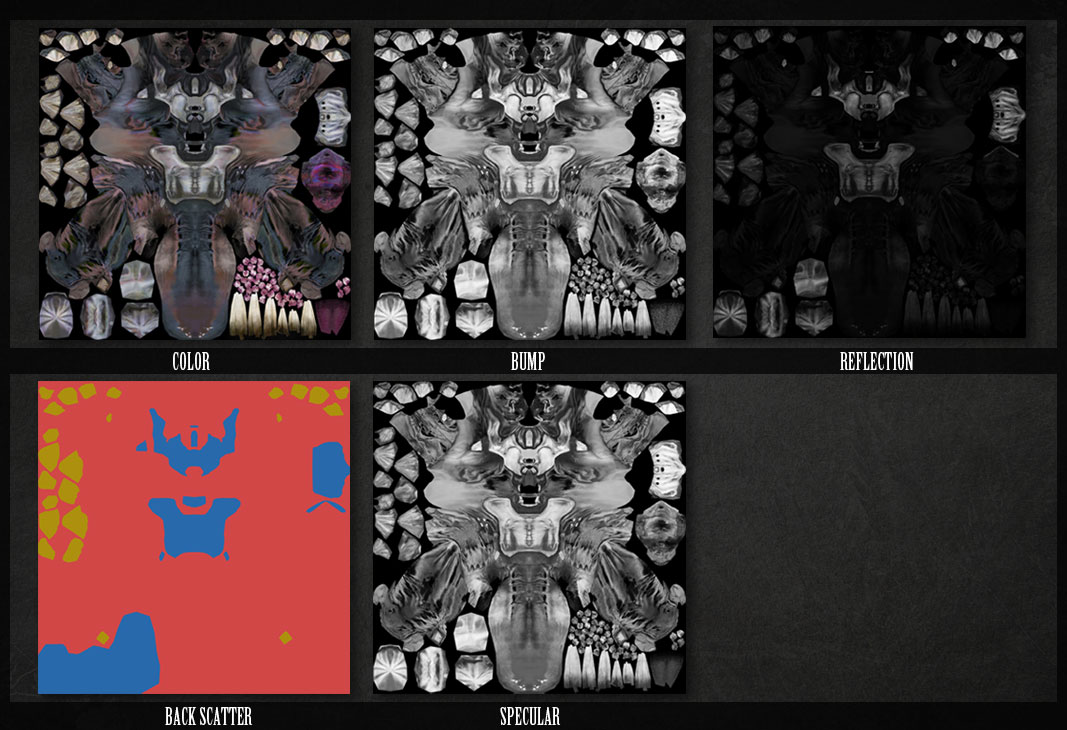
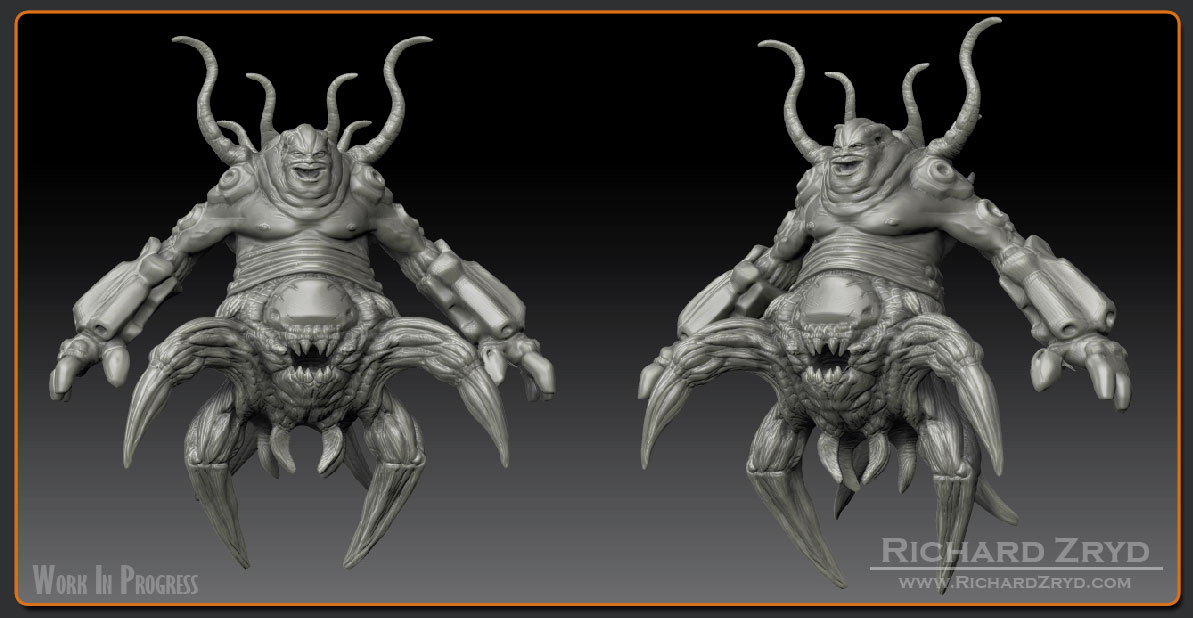
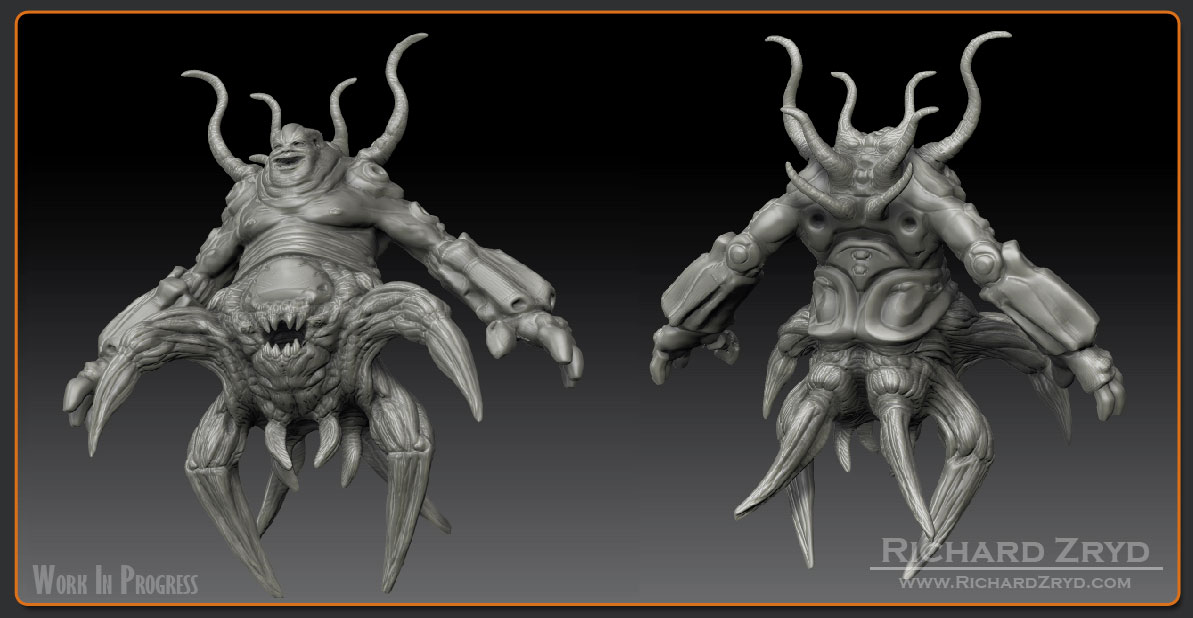
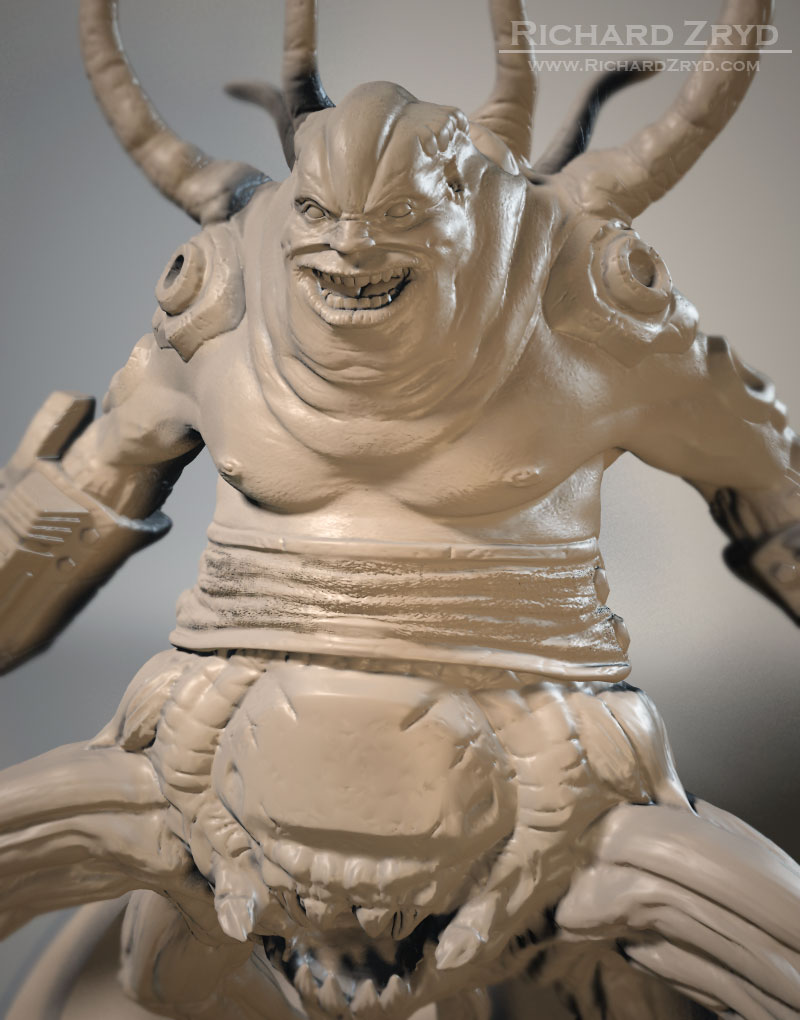
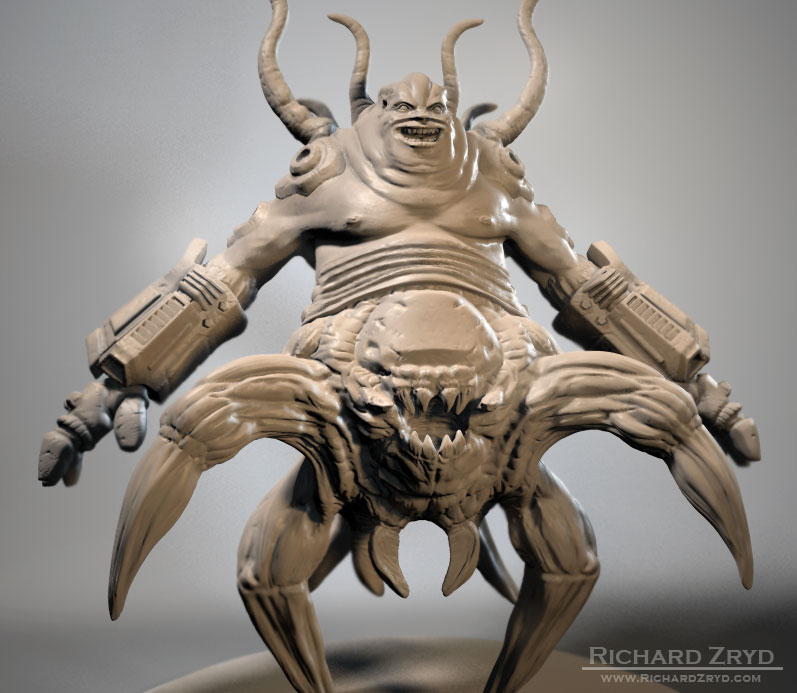
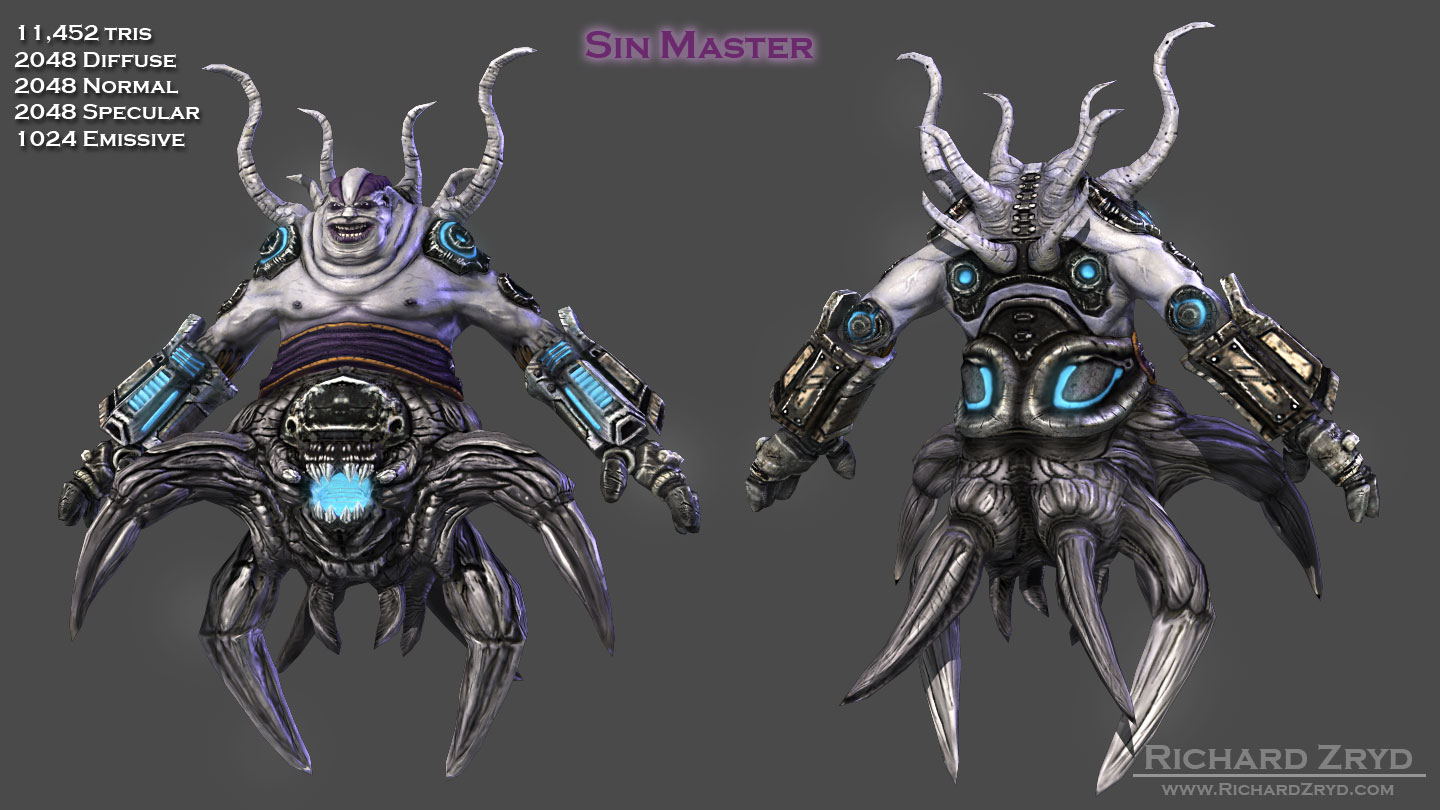
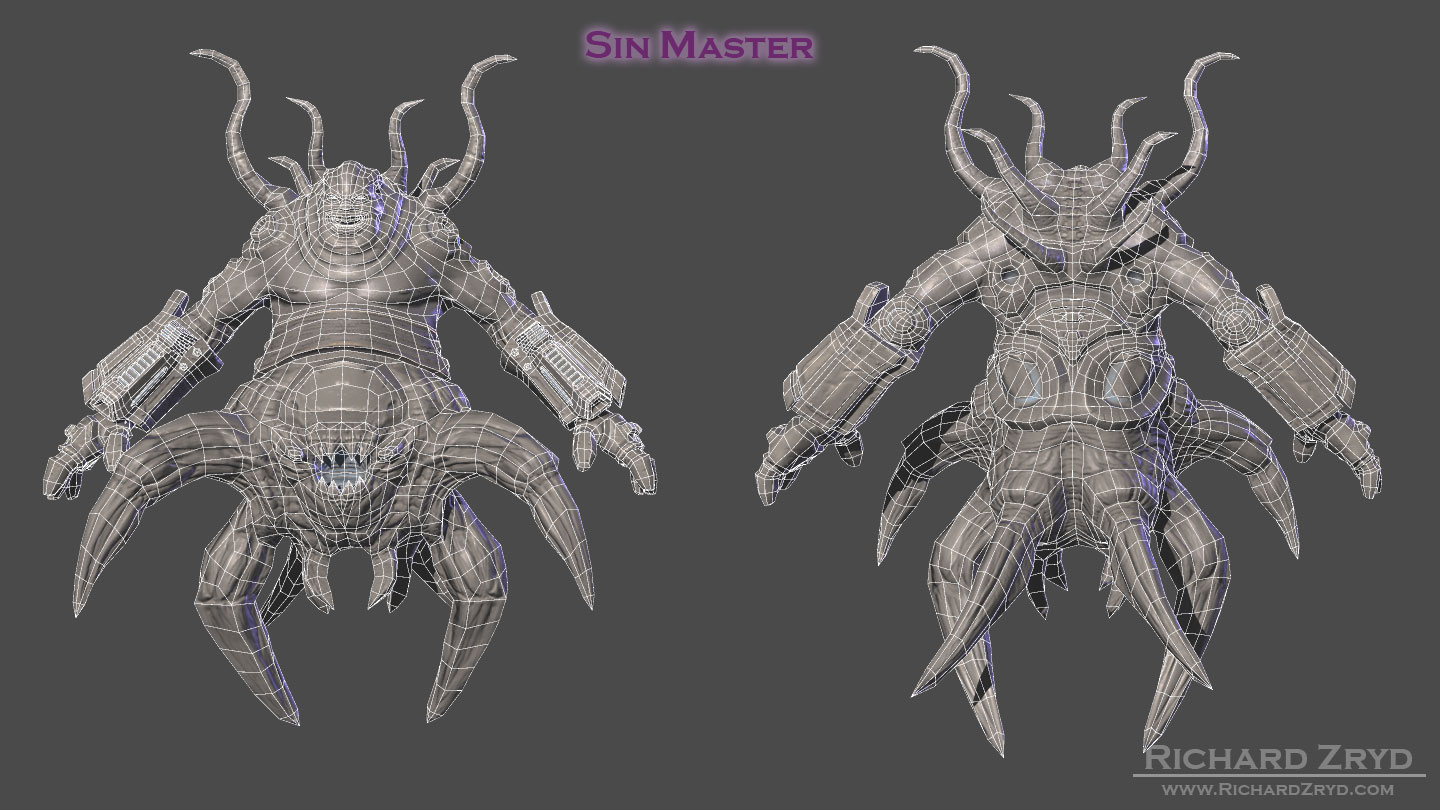
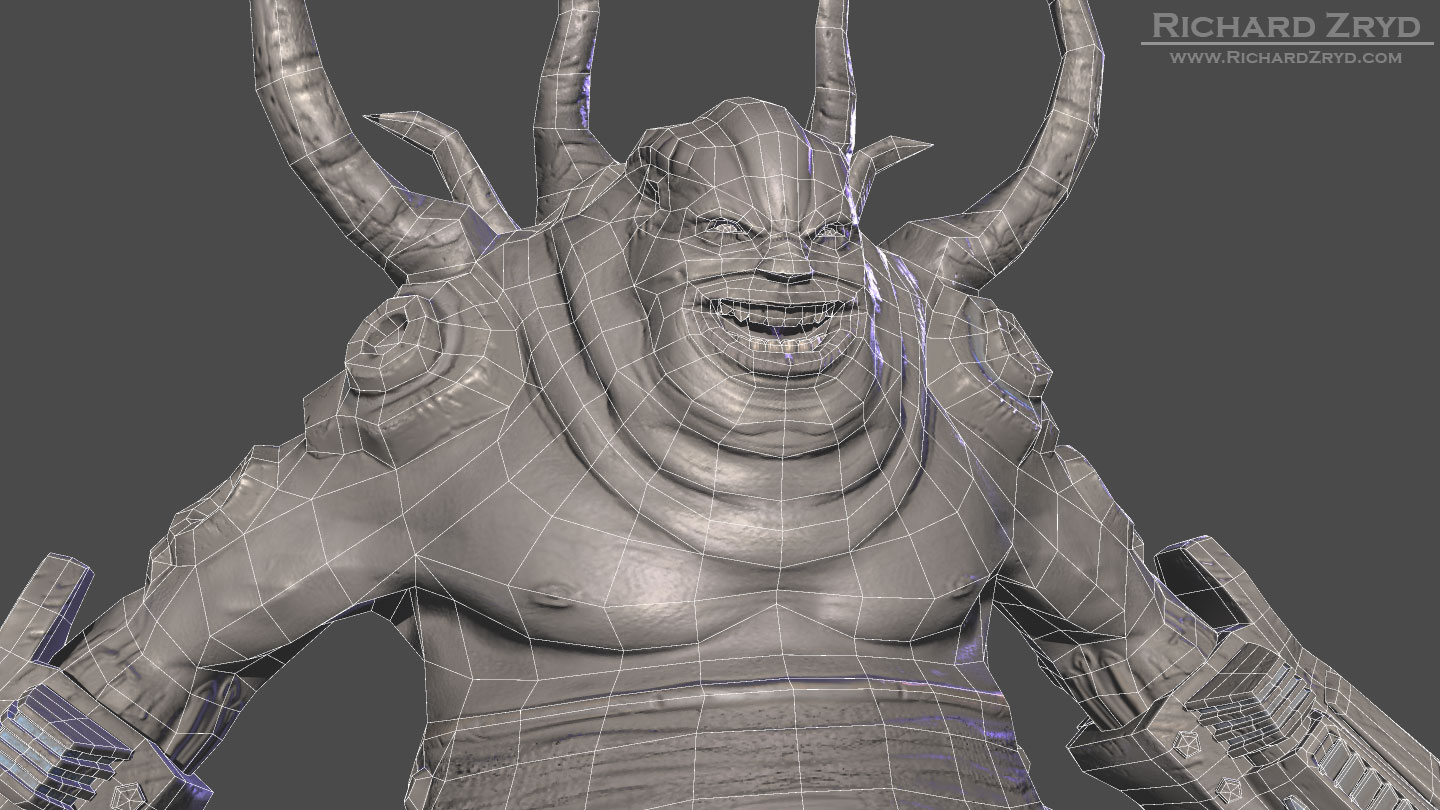
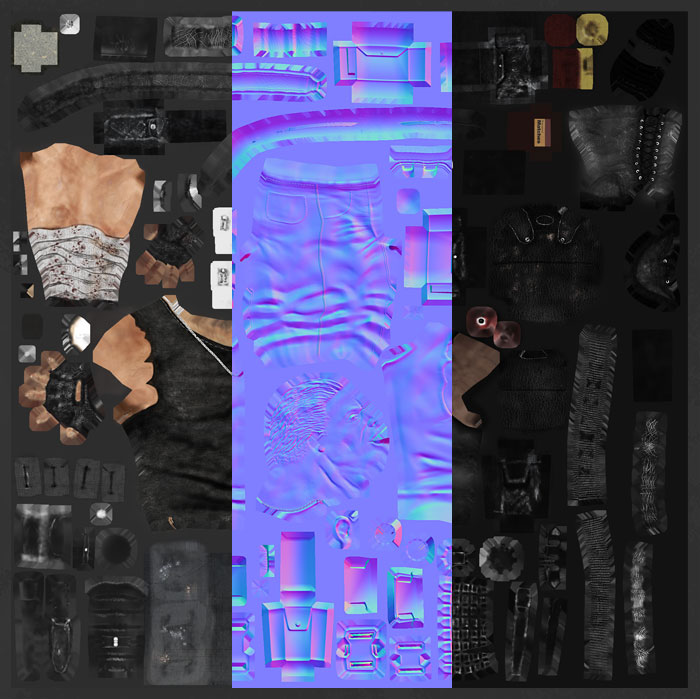
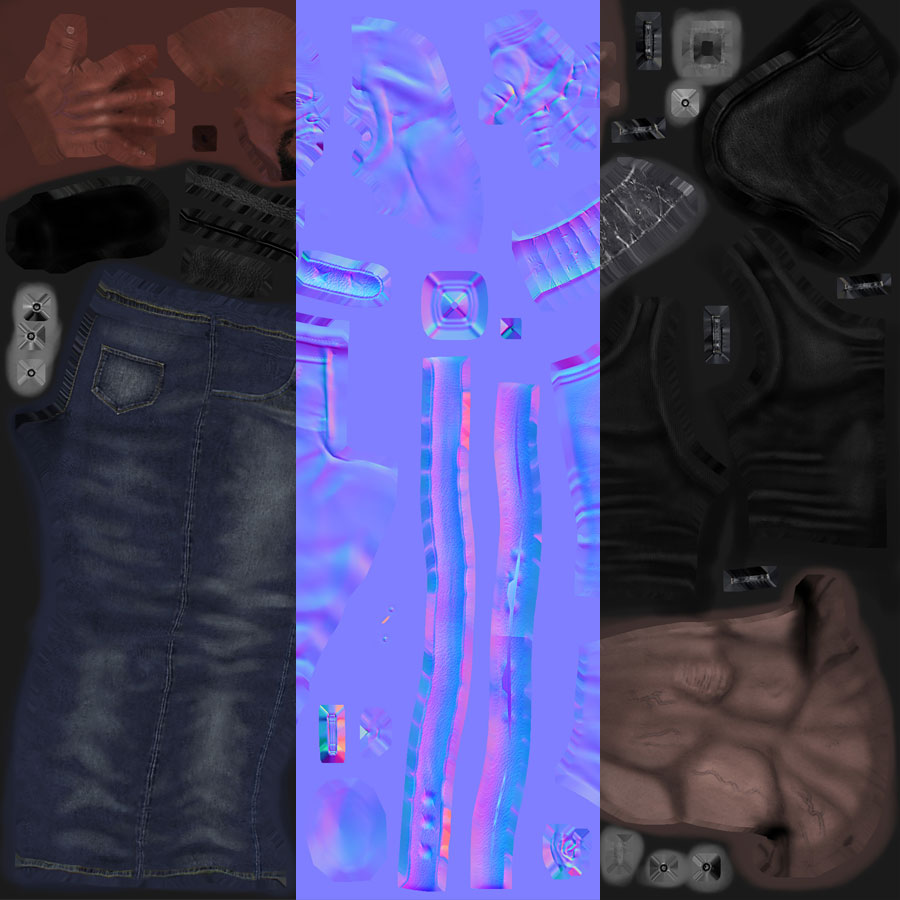
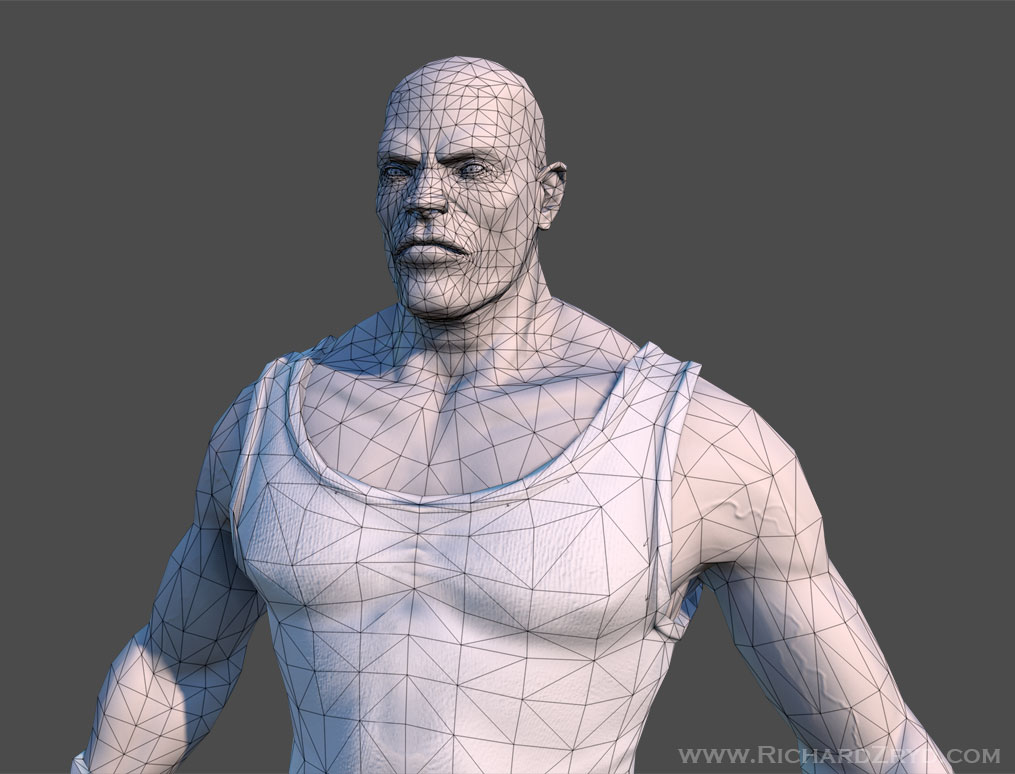
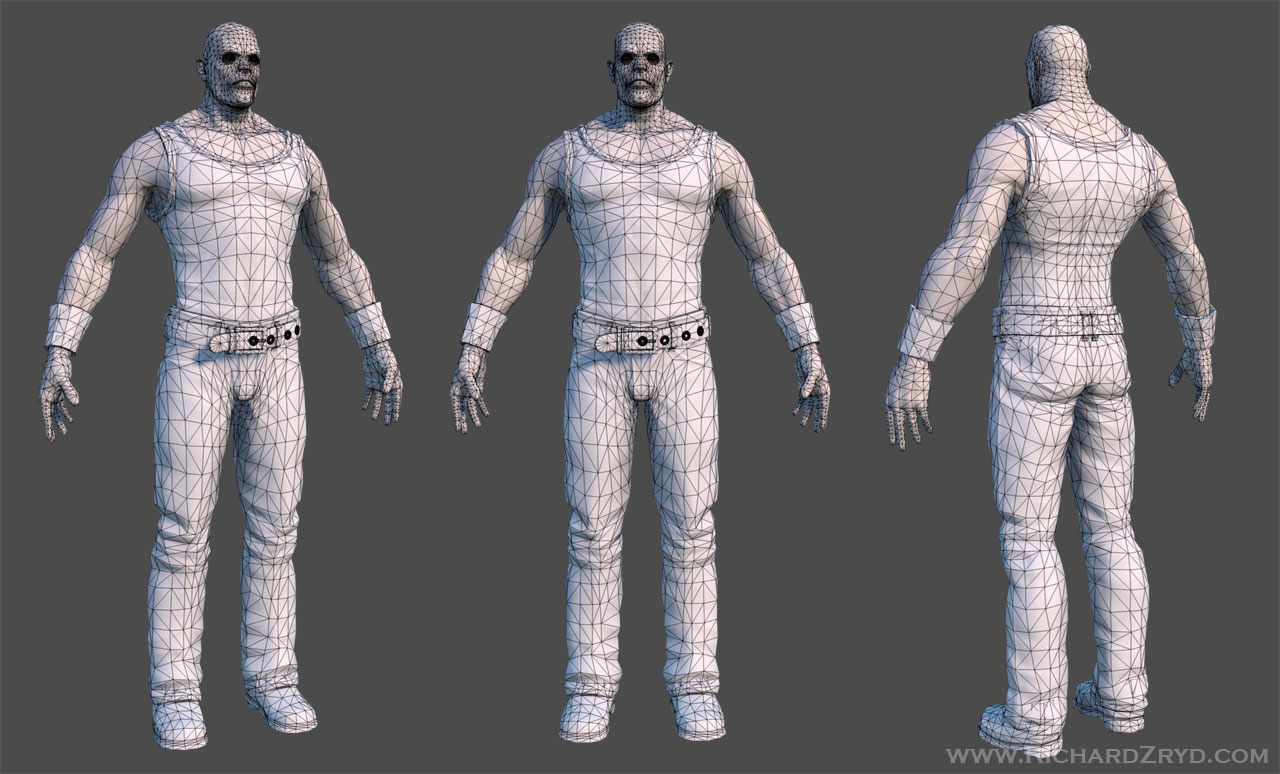
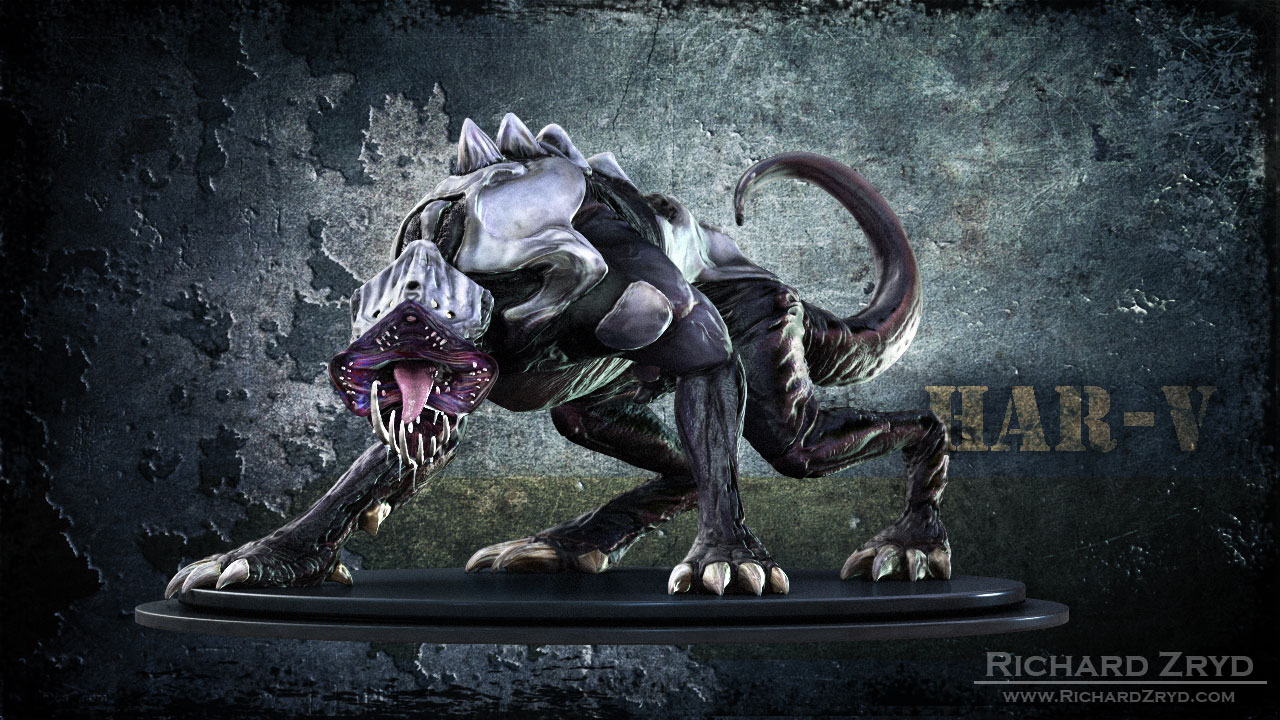
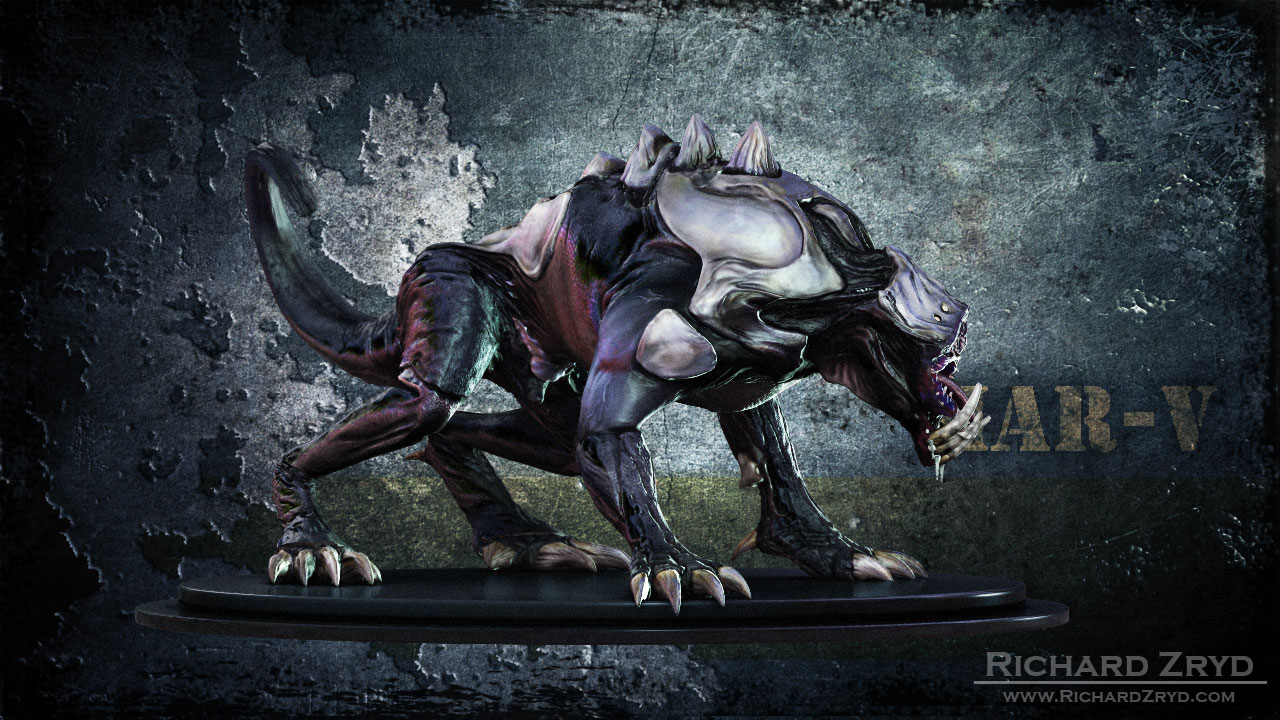
Well, it’s been quite a while since I’ve posted anything, but I’m back with some new work to show. I started this project months ago, but things got busy and I’ve only now been able to get back to it and finish. My latest creation is called Har-V. A nightmarish creature created by science and a twisted imagination. Har-V stands at 8367 quads with displacement, color, specular, bump, reflection, and back scatter map. Please enjoy the renderings of Har-V and I should also have an some wireframes and breakdowns of him posted soon as well as a short animation. Later!

har_v_front.jpg

Attachments

har_v_side.jpg

You have very unique stuff here. I like all of your characters so far. Can’t wait to see more. :slight_smile: Congratulations.

Ok, here’s a animated breakdown of Har-V done in AfterEffects to show how I put him all together. I just figured out how to embed videos so I’m also reposting my animation of the Space Marine that I did a while back. Both video are available in HD so I highly suggest HD fullscreen. Also here’s a still frame of Har-V’s wireframe. I will probably be posting more soon. Lastly, I just got off of a freelance job, so I’m interested in any opportunities, especially character work!

[vv]19854428[/vv]

[vv]19444807[/vv]

har_v_wireframe_for_zbc.jpg

Here’s some more breakdown shot’s. The first one show’s the rendered passes before composting. The second shows the maps used. Enjoy!

breakdown_chart.jpg

Attachments

maps_chart.jpg

As good as the model and the render passes are…

The final render shot dissapoints. The background is just far too distracting and its hard to make out the model. It does the model no justice. If anything, the individual render passes look better.

Its worth revising this one and present it better.

I usually don’t show my works in progess, but this time around I going to try it out and see what happens. I’ll be taking suggestions for the next day or so as I finish it up. C&C are welcome (and actually the reason why I am posting). Note that this is still unfinished. Thinking about naming him Greepo. BTW, he floats in the air, this isn’t very apparent right now due to the lack of a ground shadow.

Wip_01.jpg

Attachments

Wip_02.jpg

Here’s some renders of the final sculpt for this guy. I decimated him and brought him into Maya. Rendered with Mental Ray and some touch up and color adjustment in PS.

Destroyer_clay_02.jpg

Attachments

Destroyer_clay_01.jpg

I needed more next-gen game characters in my portfolio, since that’s the work I’m looking for, so I made a game res version of my latest sculpt! The final game model stands at 11,452 tris with 1x 2048 diffuse, specular, and normal map. 1x 1024 emissive map. For now I’m calling him the Sin Master a mixture a evil and technology, in the same vein as my Har-V model. Here’s some shots of him with the normal map and other maps applied along with the wireframe. From sculpting the high res version to finishing the game res version it took about 7 days to complete. Hope you like it!

for_web_01.jpg

Attachments

for_web_wireframemodel.jpg

for_web_greymodel2.jpg

for_web_greymodel.jpg

I didn’t get much response last time after showing my work in progress, but I’m going to try it again I suppose. Here’s my new WIP, I’m calling the Ghost Soldier. When I’m done he’ll be next-gen game res, but today I’m going to try to finish up the high res sculpt. Btw. I know he looks a little like Duke, but in the end, when I paint the skull makeup/camo onto his face that shouldn’t be an issue. There’s also my concept sketch below. It was just a quick paint over a male zbrush figure. Still on the job search btw, so feel free to hit me up if you like what you see!

ghost_soldier_wip_web.jpg

Attachments

ghost_soldier_sketch_web.jpg

Very nice work bro…kEEP it UP!!

:+1: :+1: :+1:

So here is the next-gen game res version of this guy who I’ve named Ghost. He’s a non specific soldier/mercenary character. I made a M1014 combat shotgun for him that I might post later. Anyway, all of his specs are in the images below so he should be self explanatory. Onto the next project!

ghost_soldier_color1.jpg

Attachments

ghost_soldier_greyscale.jpg

ghost_soldier_textures.jpg

nice end result with the ghost guy

So I’ve been meaning to post this guy for a while now. I’ve been deep into UDK for a bit and it consumed me. I modeled him after Luke Cage, the Marvel superhero. Base mesh created in Maya, detailed in Zbrush, then retopo’d him in Topogun, maps made in Xnormal with a little help from Crazybump. Photoshop was in the mix the whole time too. Marmoset for the final renders. This, I have found to be the best workflow for creating high res game characters for next-gen games. Each tool is specifically picked out for it’s contribution to the recipe. Still looking for my break into the game industry btw.

luke_cage_color1.jpg

Attachments

luke_cage_color2.jpg

luke_cage_color3.jpg

luke_cage_color4.jpg

luke_cage_maps.jpg

luke_cage_wireframe2.jpg

luke_cage_wireframe1.jpg

Nice works guy.

Do you use only a half texture of your model?
What software do you use to preview you low-res model?
Why does the model show normal map texture without seam? How can you erase the seam?

Arabas: Yes, I do like to use overlapping UVs. This can give you a lot more resolution for texture detail in you map (virtually double). The head is one area that I might shy away from using overlapping UVs because there might be a very slight seam and you can break symmetry a little which can help with realism. I’m not sure as to what you mean by “preview the low res mesh”. Finally there’s no seam due to the application you are viewing it in. In Maya you have to select “use Maya derivative” in the preferences or else you’ll see a seam. In Marmoset it just does this for you. I do not make my maps in Zbrush btw, all final maps are done in XNormal. For static meshes in UDK you can have overlapping UVs, but have an extra UV channel for the light map without overlapping uvs.

@zerd_sword : Thanks to you for your kind answer.:smiley:

Hi everyone, it’s been a few since I’ve posted anything here. I’ve been pretty busy though and have a stockpile of new stuff made with Zbrush to show. Most of this stuff is next-gen character stuff, with the primary tool of creation being Zbrush. I don’t see much video game stuff on ZBC (I know this place isn’t centered around it), but I hope some people will appreciate my work. I’ve been really geeked lately by the Gear 3 stuff I’ve seen here on ZBC that showed their game models.

Anyway, most of the characters are between 11,000 and 15,000 tris with 2048 diffuse and normal maps. Specular maps are kinda a toss up on size because I can get away with smaller sizes usually. First off is my version of Rocksteady from TMNT. I always thought in the cartoon he was just a little to dumbed-down and I wanted to redo him as a hardcore mercenary type. He’s 12,536 tris with 2048 maps for Diffuse, Spec, and Normal Map and one 512 map for emissive. I’ll try to post wireframes soon.

Whoo … I love this character! Can’t wait to see more! :smiley:

CoooL Character ! :slight_smile: Only critic is the nerves on hand looks not right to me. Overall nice job !

Thanks for the responses everyone. It seems that overall, most people don’t care for the veins I use. I kinda like them, but maybe I’ll rethink my approach. Anyway, here here’s the wireframes for the Rocksteady model and some greyscale shots as well as the maps I used. More stuff still to come!

Rocksteady_materials.jpg