Thanks, Scott!
~S.~
Thanks, Scott!
~S.~
Hi , i have a problem i follow the tutorial step by step with the same model and try it but it doesnt work , i also try to change the lenght and the minimun subdv and still the same ,tried to changing the model size and the apha gain i follow the zbrush to maya pipeline and dont work too , im using maya 7 does anyone knows why ?

I’m still wondering if anyone knows how to convert the .tif files to .map files using a Mac. The conversion script doesn’t work. Any ideas?
Do you have ‘imgcvt’ on the Mac?
Try(example}:
imgcvt a.tif b.map
Sorry Atwooki, I’m a bit of a newbie when it comes to things like this. Is imgcvt a command line command (something I would use in the terminal?) or is it a program?
Thanks
This is very frustratin. I am quite familiar with all types of 3D software, but I cannot solve this one on my own. I have done the tutorial multiple times and have a complete understanding of how this all works. However, I cannont get this to work with my own models. I have repeated every step and my final renders in maya look nothing like my zbrush models. They are still boxy like my low polygon mesh and show “almost” no displacment at all. I have tried scaling my model, adjusting my values, and a few other things, with no success. I get an error when I render like this, “polygon mesh can’t be exported as a subdivision surface.” Any input would be greatlly appretiated.
To the question about converting to .map on a mac you can still use imf_copy just make sure that the maya/bin directory is in your system path. You can see your path by (I believe) the command echo $PATH$
JoeBlack: Sounds like you are set to render with the Maya renderer and maybe you didnt assign a subdivision approximation to the mesh. I reccomend not using the displacement approximation at all… Also use the Parametric style with just one value instead of the spatial style I reccomend in my video.
I hope that helps!
S
Please excuse my ignorance again Scott but do I type echo $PATH$ in the script editor or in the Terminal from MacOS X.
So confused. Keep hitting snags at every turn with Maya to Zbrush and its beginning to do my head in 
First of all I would like to thank you for the promt reply. I never really figured out what the problem was, but when all else fails, start from scratch. Well, not actually “from scratch”, but pretty close. I kept the original Maya base mesh and regenerated a displacment map in Zbrush. I really don’t know what happened because I understand each step, so I’m guessing it must have been a zbrush exporting error on my part or something of the sort. Anyways, there are a few things to tweak, but nothing that hasn’t been covered by this thread, so I would like to thank you again for your help, and give a Zbrush “Big Up.”
no Joe! : )
Brain:
I dont use OSX I am just going from some linux experience on this one. If you search the threads here this question cam eup before and a kind OSX user posted the command line.
In the terminal window you will want to check your $PSTH environment variableto make sure the path to the /maya/bin directory is there. This allows you to run programs in that directory from any other location on the machine.
http://www.peachpit.com/articles/article.asp?p=31442&seqNum=4&rl=1
talks about editing your Path… if I am notmistaken the default shell in OSX is bash so scroll down to that one.
best,
Scott
Many thanks Scott. You’re a champion!
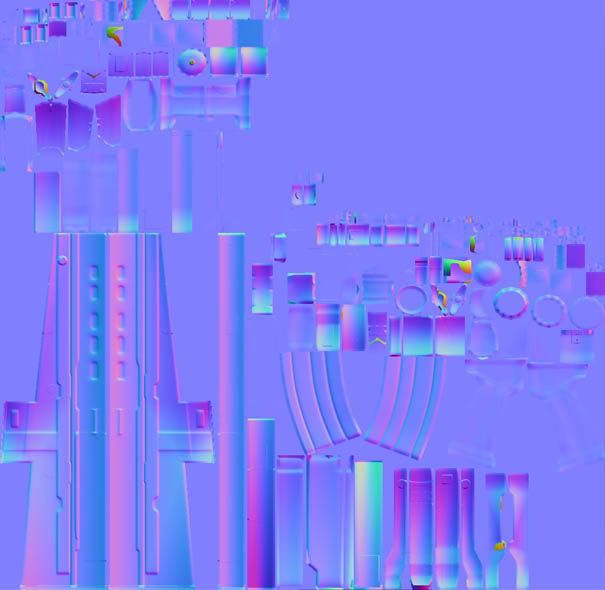
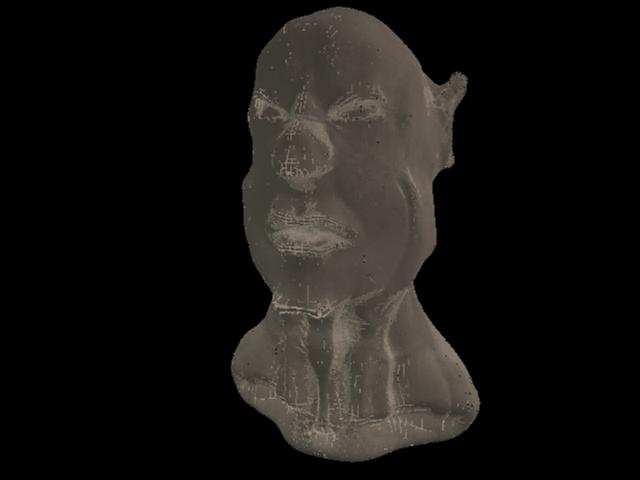
Hi I’ve been reading almost everywhere on how to render Normal Maps in Maya7 and I seem to be stuck. I’ve used all the suggestions for using JS normalmapper for maya software but it just doesnt work right. I’ve tried it with the Zbrush normal map export and now am using surface sampler in Maya just for generating normal maps. So it seems to look great in harware and everything but as soon as i change the connections to work for software rendering, all hell brakes loose. I connected the normal map texture to the JS normalmapper via outColor - NormalMap and then the JSNormalMapper to the phong via OutNormal - normalCamera. Also played with the RGB to XYZ and flip colours to no avail. And as seen in the render the result aint too pretty. So please if anyone can clear any of this up for me I would be forever thankful.
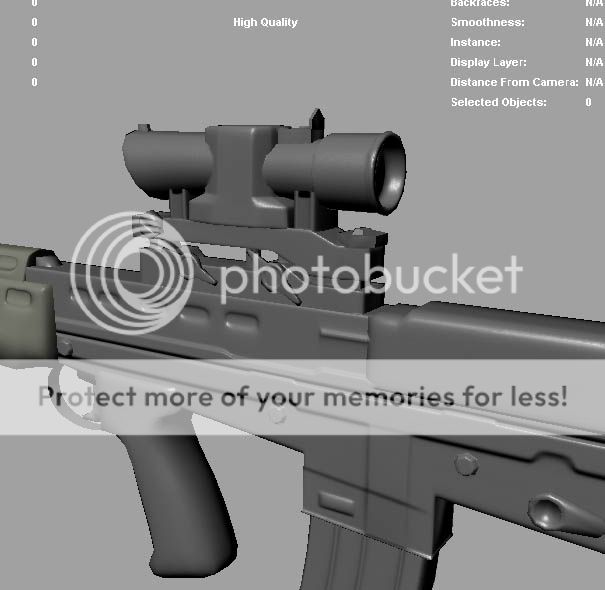
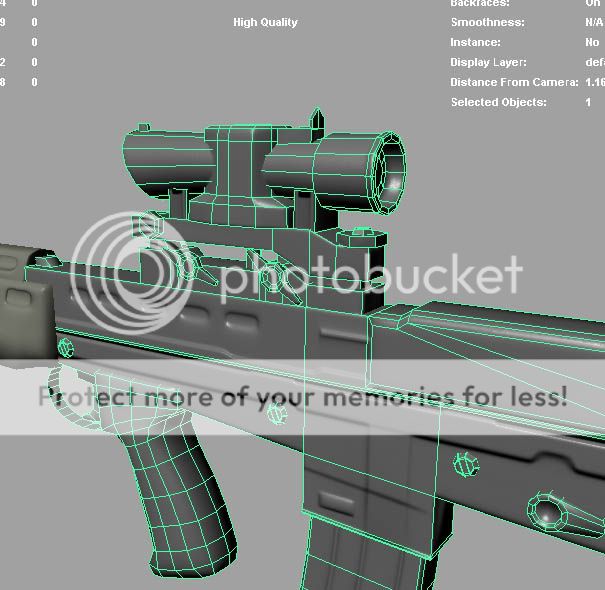
So here is just a test of normal maps on a low poly mesh. My pc is a P4 2.8Ghz, 1gig ram, ati 9600

…perhaps it’s a filter setting that needs to be turned off /on for the normal map?
Hi, i was modeled a low poly in xsi,and exported to z brush, i dont extrude the uvs, and after im detailled in zbrush, but now seem that i have a problem.
I wanna know if i can go to level 1 and make a displacement map well, or if i have an error and need make again all the process to can export the model to maya with a good displacement. thanks for your help
thought this thread needed a revival…
below is a pic of sum work ive been doin’ with displacement maps in maya.

I remember Scott talkin about how he was workin on a possible shader network for animating displacement maps. I’ve tried with no success to do the same so im here in the hopes that someone can help me. I tried using the blend colors node and layered shader but neither came out very ell. I even tried to reverse-engineer the shader network showcased in the hyper-real facial rigging dvd but no luck there either. Im wndering if maybe its because i need my alpha offset to be set to zero because multiply divide nodes dont recognise it.
Please if anyone can help me with this, I would love to develop the idea further in my short film.
thanks so much Ryan and Scott
Thanks for a great tutorial!
However I got… ehm, a few problems… Is it the UV-coordinate or something, that´s causing this problem?
that is an interesting render…
can you post a screenshot of your mental ray shading network or post some details on it?
S
Sorry, i´m not sure what you mean with mental ray shading network(i´m new to Maya so i´m a bit confused  ).
).
However I looked at the hypershader graph again, and it looks pretty… ehm, strange.
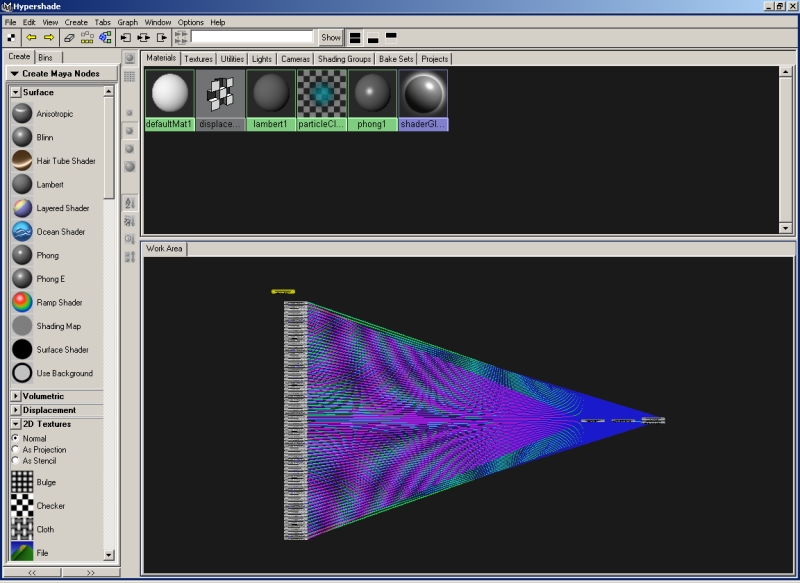
Hmm I would reccomend trying the 32bit workflow in the Zpipeline guide that is linked in my signature. This makes a much more accurate map and the process is a little easier than 16 bit.
S
Thanks Scott!
I think I understand how to export the displacement map from ZBrush now, using the MD2 plugin. Not sure if it works though, I get a D32.tif and a R32.tif file - where the D32 looks all grey and R32 looks all red. When using the R32.tif as the displacement map in Maya I get pretty much the same result as before(well, after forcefully persuading mental ray to not crash).
A couple of other things i´m confused upon are UV-mapping and morph targets. Do I need to edit the UV-map to make it work in Maya(the model is made in ZBrush)? And well, I don´t understand how the morph targets relates to the process…
What I have done is export the ZBrush-model at the lowest subdivision level and import it to Maya, and also exporting the displacement map. Instead of the subdiv. 1 model maybe I should have a morph target? I think that´s how I understood it…
Sorry if i´m bothering you with stupid questions, my head is just overworked after trying to understand this and simultaneously trying to get mental ray to work properly.