That was weird it only allowed me to do a partial post?!
w Hyper Threading 3.4Ghz 2gig ram XP media Edition and ATI Radeon x600 512MB. Note: I first created a sphere with 100x100 =10000 faces but that would not convert to subD. Not that it makes a huge difference, but you are running maya.exe in windows 2000 mode yes?
Hi guyz, (This is my first post)
First of all thank you everyone for such a informative discussion which is beyond any help file or tutorial and special thank to Scott Spencer(Maya), Michael McCarthy(max) and Upham(max).
The problem :
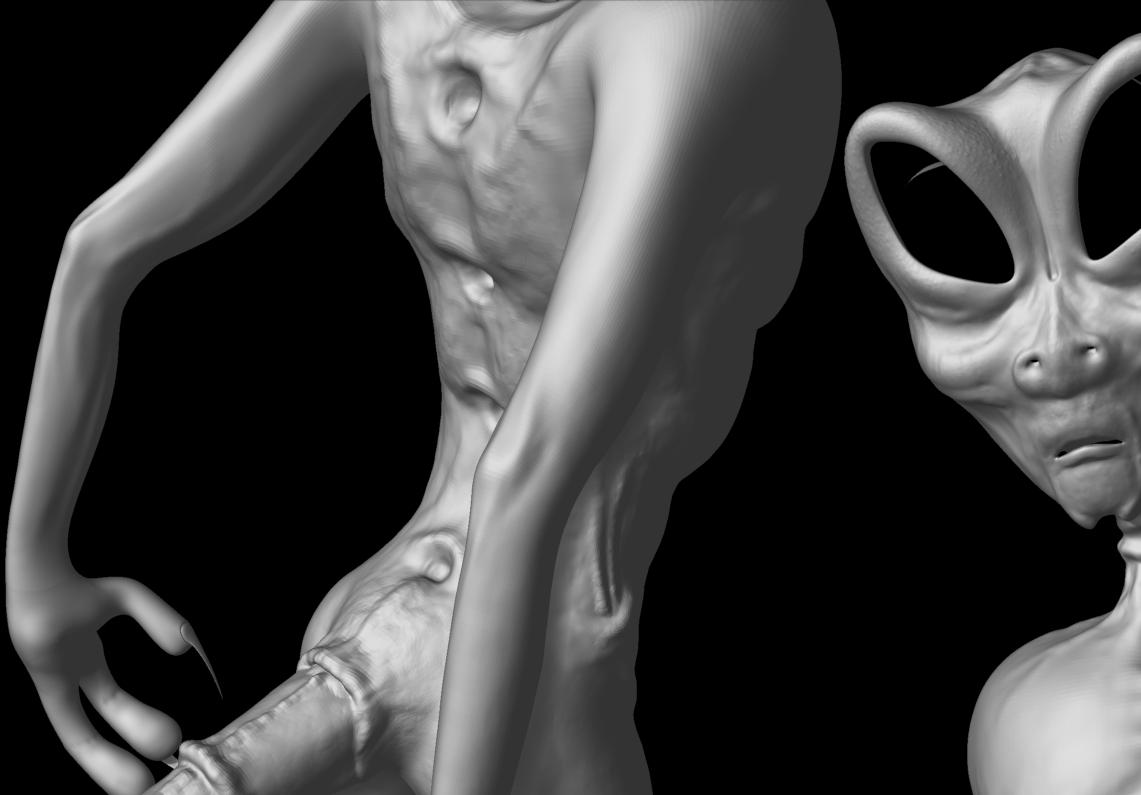
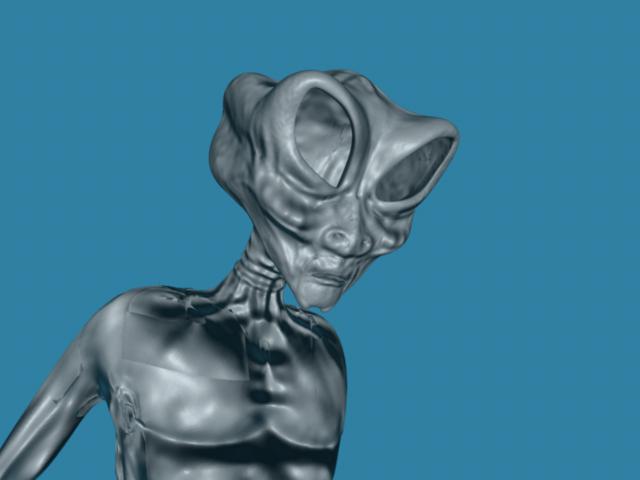
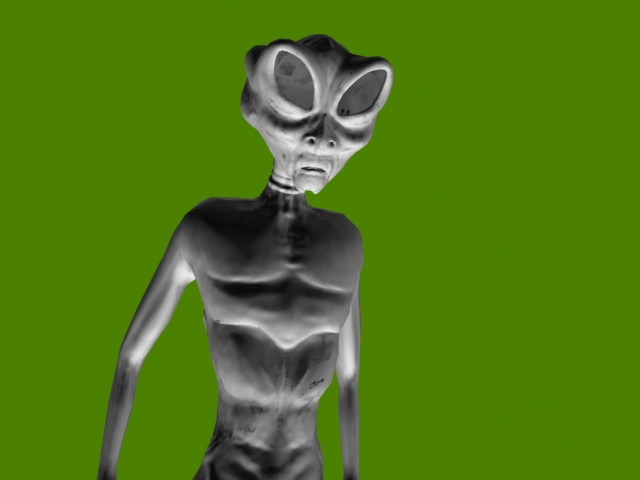
Few weeks ago i started modeling a alien in 3dsmax 8.I had planned to detail in zbrush and animate it in maya.I didn’t know the workflow of Max —> Zbrush -> Maya except the basics (from digital tutor Z-brush Basics Title).So i exported my low-poly to z-brush and started detailing.Only after detailing the head i got to know about Z-pipline guide from Zbrush site.I faced the first problem in the shape of UV Mapping.
i. I did not unwrap the model in max(even i don’t know properly, atleast for characters.).Another problem is with triangles.
ii. I ignored some triangle faces as it was not affecting much in z-brush after increasing the subDiv level.:mad:
iii. The best problem of me was i got into Zbrush Central late.
After exploring the forums only i got to know about the problems i made.I was quite happy as i found the alternate solution of unwrapping as GUV tiling in z-brush(is it?).But triangles i don’t know.The following is Zbrush Render:
If the problem is because of triangles, then is there any solution to it.
I don’t know in which case we use normal map and in which case we use displacement map.If someone can explain me…
My System Config :(just in case)
AMD Athlon XP 2400+
512 MB RAM
128 MB ATI Radeon 9200 SE
Software:
Maya 7.0.1 with Mray (prman 1.2 eval)
3dsmax 8.0 with SP2 (vray eval)
Zbrush 2.0
Thank you again.
Attachments
If you are getting problems with triangle puka’s in your mesh, export out at sub d level 2, as this automaticly makes your entire mesh quads.
as far as your offset asnd gain, offset must be -*2 the gain, so if your gain is 2.2, then your offset must be -1.1,
and with the normal not giving you the right amount of detail, just up the bump depth?.
Hope this helps.
Hi Seb_Barker,
thanx for the reply.i will try it out.About the alpha gain, i did the same as u said.
thanx
Hi Seb_Barker,
thanx for the reply.i will try it out.About the alpha gain, i did the same as u said.
thanx
what about difference between normal map and displacement map.anyone?
displacment will displace geomitry, normal wont, so if your using a lower polly mesh any outlines will look just the same as the base low poll mesh.
im having a problem with my render using MR. i brought my mesh into maya as an OBJ and set up all the settings the way they should be, in the app. editor and the alpha gain and what not. i saw that i had some artifacts in the render so i smoothed the mesh to straighten that problem out, when i did this MR would not render. in the output window i get an “error: invalid topology” message. after this i tried importing a sub level higher from z brush, sub level 2. and it will not render either, with the same message. why will it render with the sub division level 1 obj but nothing else?? very strange, ive never ran into this problem before…
I have a problem with the command promt imf_copy command. I’m getting this error everytime I’m trying to convert my tif files to .map… this is the error I am get " imf_copy’ is not recognized as an internal or external command,operable program or batch file." does anyone have any clue why? or how I can fix this?
zerorhythm: you should be in the same directory where the imf_copy.exe file is there.It is generally in maya installed folder/bin.What i do is copy the imf_copy from that directory and put in c: root and place the 32 bit tif file there and in command promt from c drive root i run the command
command:
imf_copy -p tif_file.tif anyfile.map
hi Seb_Barker
I rigged the character now, still i didn’t get the idea of 32 bit or 16 bit displacement.Please someone put some sun light on me.:rolleyes:
duuuuuuuuuuuuuuuuuuuuuuudes sorry for being out so long. my internet was messed up but for some reason it isnt a virus, and i couldnt log into to any site including email.
anyways, no worrries. Animax2oo5 i read about your problem, why not use ZMapper (if u said it and i didnt read it sorry ). i use maya and somehow i got over the problem (mostly emotional frustration). If u read the previous page maya didnt render my high capacity subDs just because i dont have enough memory in my pc (1 mb). ok here’s wat u can do . i have to ways when i solved my problem for my renders to look in maya as they looked in zbrush.
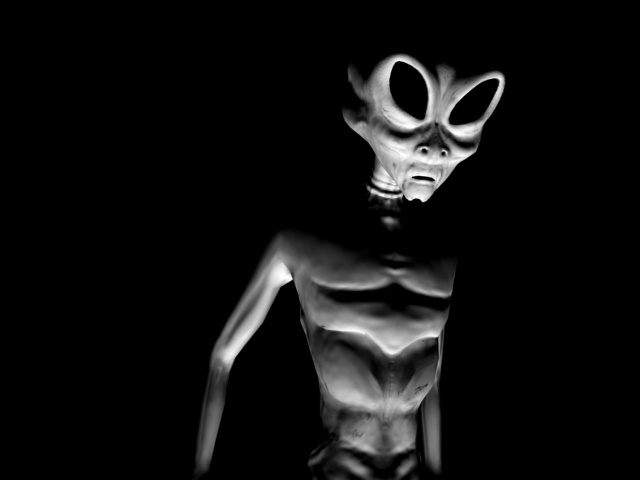
First: forget about deisplacement maps, i generated a normal map with zmapper, then i transferred the model in high poly (about 300,000 ish polys) then i used the JSMapper (which i am looking for the link and will give it to you in a next post). What you do in there is use a solid shaded grey pic as the disp map (or use the one u have), and apply the normal map. This will give you INCREDIBLE results (i wanna hug the dude that made that program). then render and you will be staisfied.
Second solution: just use your high resolution mesh.
the first solution render is extremely identical to the second solution.
anyways u can check out my results on the website i am TRYING to develop
www.trapbox.tk in the 3D section.
rasamaya MAN i need to get a BOXX render station…
lol
TS
ok here are the links for the JSMapper.
-
http://www.headus.com/au/samples/disp-norm/ >>>test that are conducted with the JSMapper
-
www.pixero.com >>> dowload the JSNormal Mapper from the author’s website
-
http://forums.cgsociety.org/showpost.php?p=2151013&postcount=198 >>>> settings for the JSMapper.
good luck man
Thanx TotalScore, that was a lot of help.
But i just read it now.I have try it.BTW the second option is not gonna work as i am going to do the animation.
Recently i downloaded the MAYA to ZBRUSH workflow video, where it showed we can create normal map using Surface Smpler in maya, by importing both the highpoly and lowpoly.
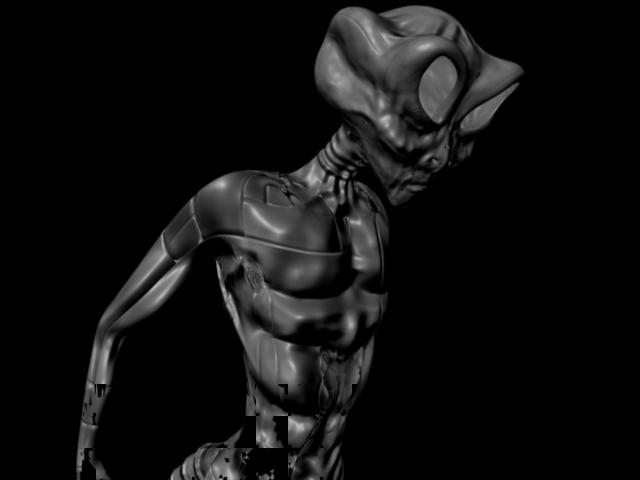
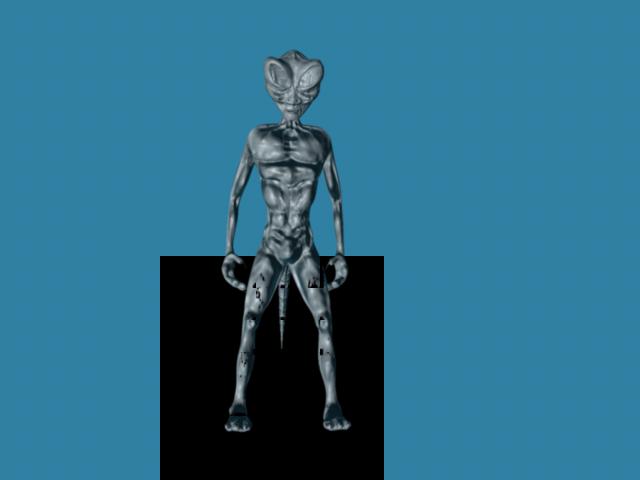
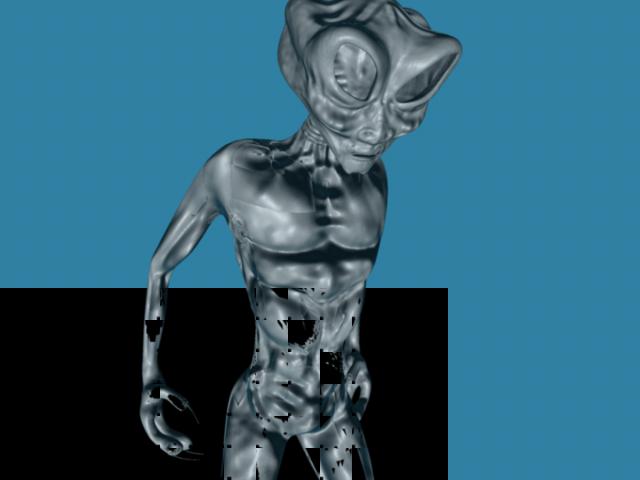
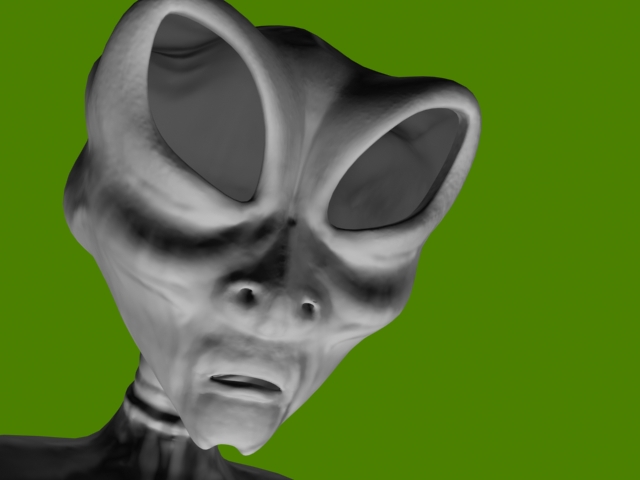
I tried normal mapping, it works but i was not getting the detail and yes I am Zmapper for normal mapping, and how to use cavity maps?It is giving black spots.You can see this again:

I am hearing JSNormal mapper for the first time.I will try that.
Saw your portfolio.Good work.I guess it is a WIP.Rhe face is cool.I don’t know how you got those wrinkles.I am trying to get something like that.
thanx again, i will be replaying in a day or two.
yeah thanks alot for the help, i havent messed with normal maps before, i guess its time i try it out huh? haha
welcome y’all
does anyone know how to drop a .tif file onto the pre-made convert.bat file (32bit to .Map) in a Mac? The PC it works great but Im not too experienced with Mac’s. thanks!
Hi all the zbrushes.
Sorry for this late reply, really busy with some other projects.
TotalScore:D : I tried the JS Normal Mapper 1.2.It is quite complicated and i just realised that i don’t know much about hypershade:o .I have have never worked before with utilities in materials section and all those complicacy.It just rotates my mind in 360 degree.Anyways, can you or any other friend please guide me through the use of JS Normal Mapper.
Please.
Thanx
Easy as pie:
http://forums.cgsociety.org/showthread.php?p=3513386#post3513386
Connect ‘Out value’ of normalMapper to Normal Camera of shader with the connection editor
(this is the third time today I’ve outlined this  )
)
Jan (Re: Pixero, basically compiled the well-known ‘headus network’ into a single node (to the great delight of the maya community at large!) thereby negating the ‘complications’ of adding some 10 other connected nodes
C.
Atwooki truly amazing work, but 1 question, how did you make the “feather” pattern of the head, i need to know because i am making a bird and want to put some feather on it through zB.