ZBrushCentral

Rendering successful displacement in Maya 2008

Hi there!!!

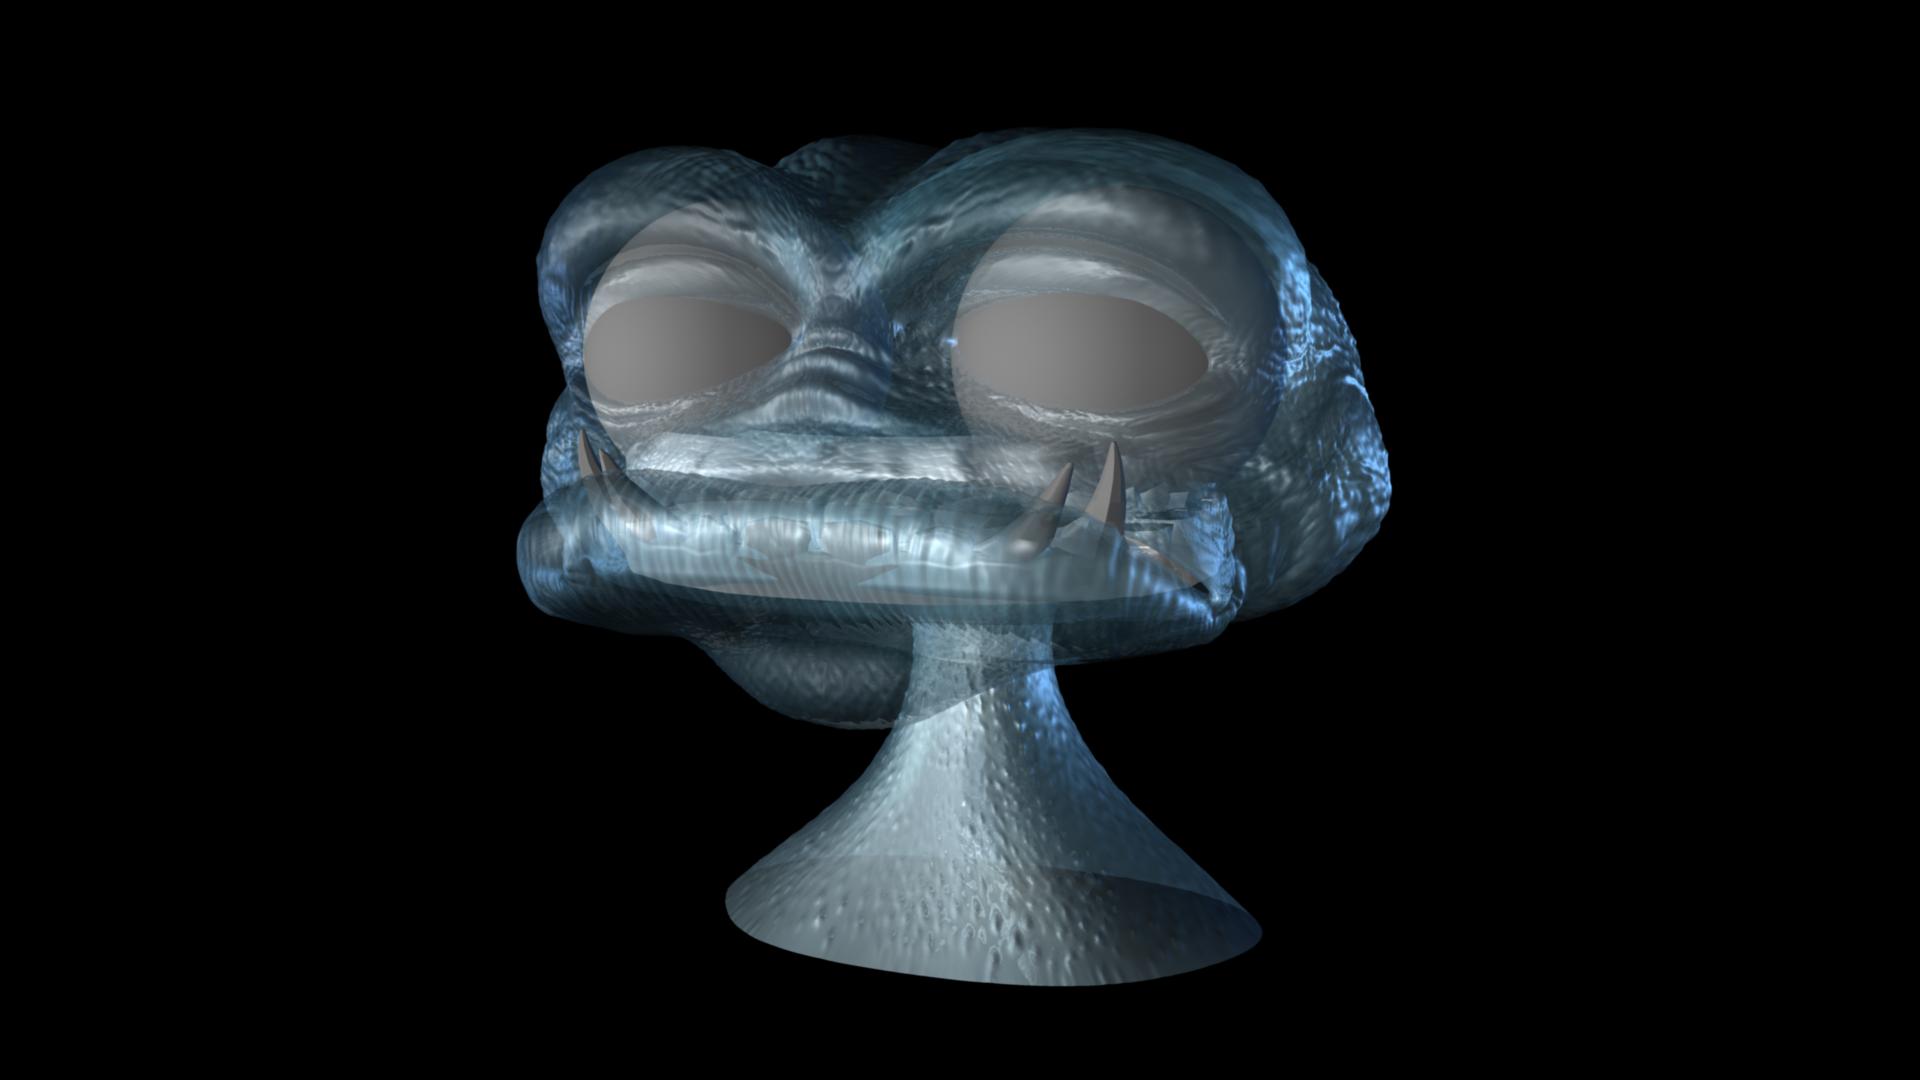
This question is for Scott. Dude have you experience a render where your displacement looks perfect, but the material turn out to be transparent.
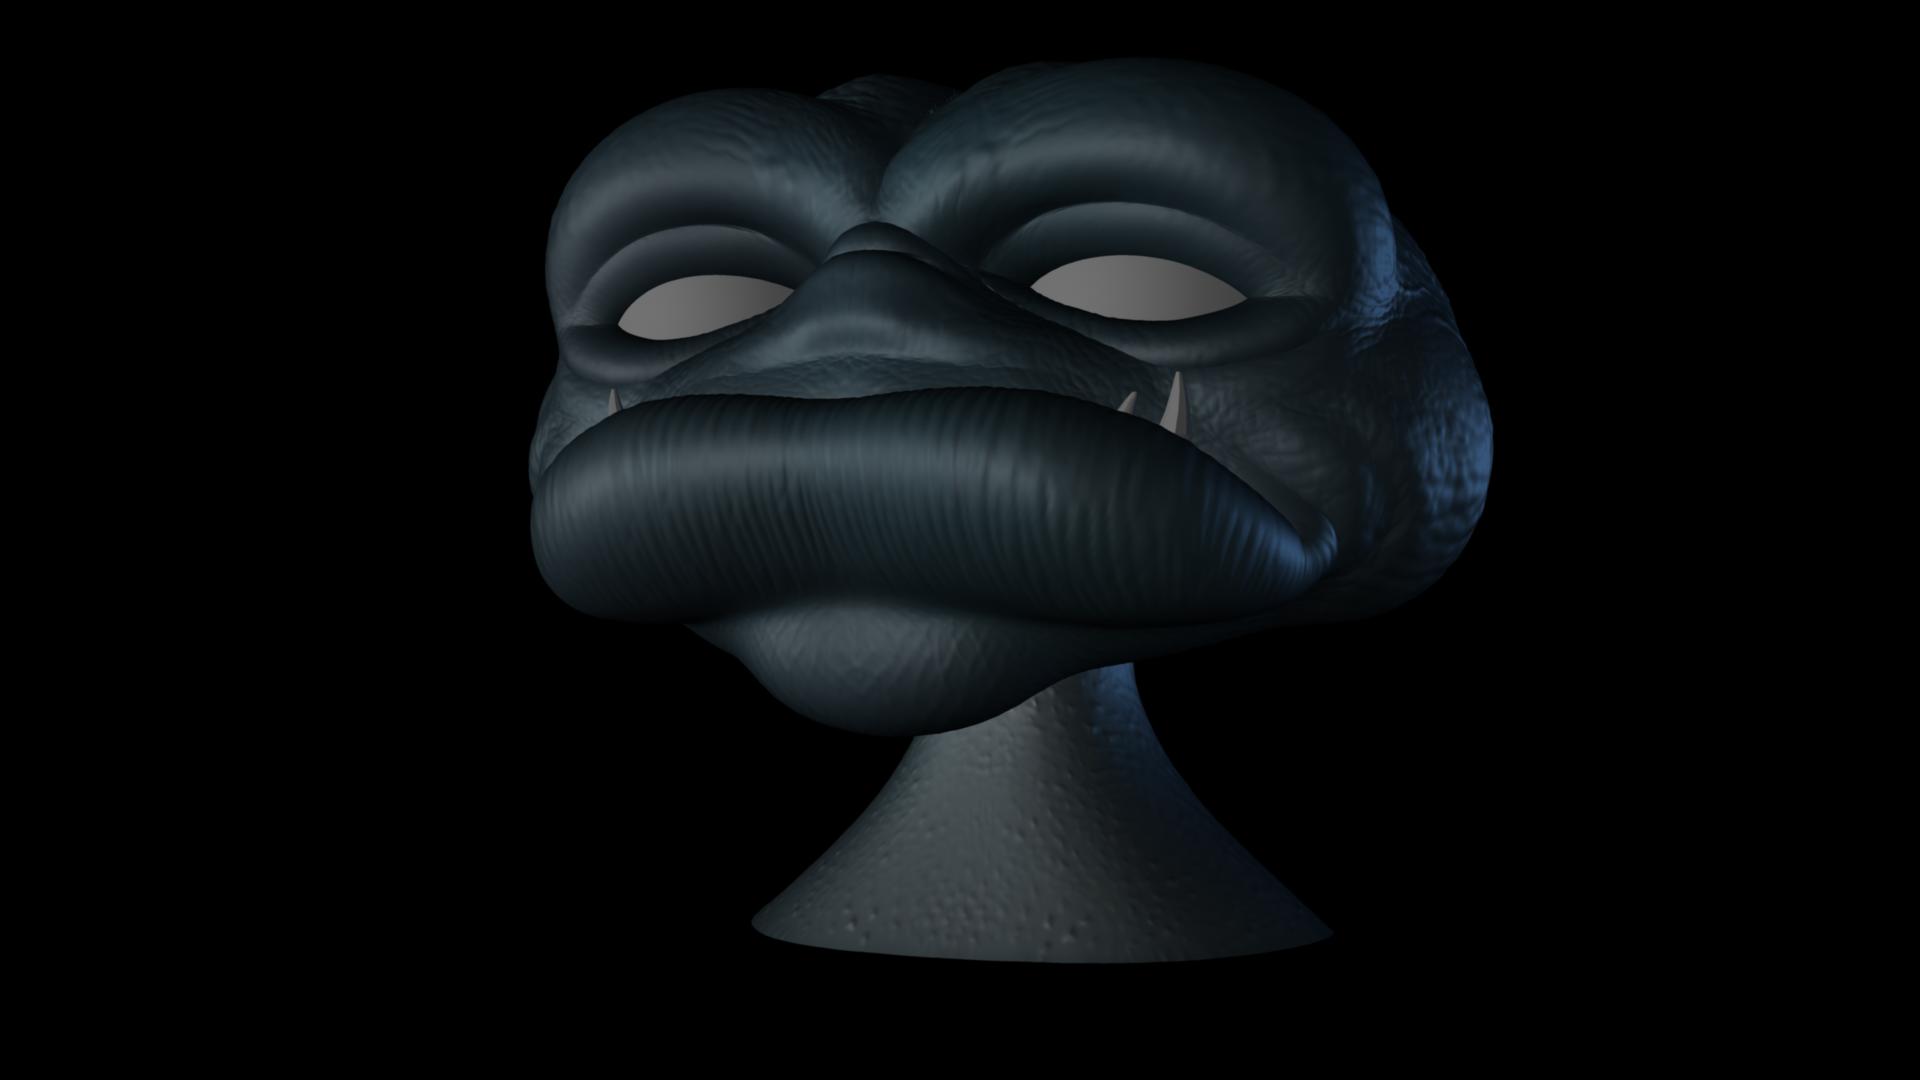
It looks like the Disp.Map force the shader to go transparent up to a 50% and when I manipulate the color gais and decrease the color to be less white, the shader gets back to normal, however if I touch the viewport again, the shader goes transparent again.
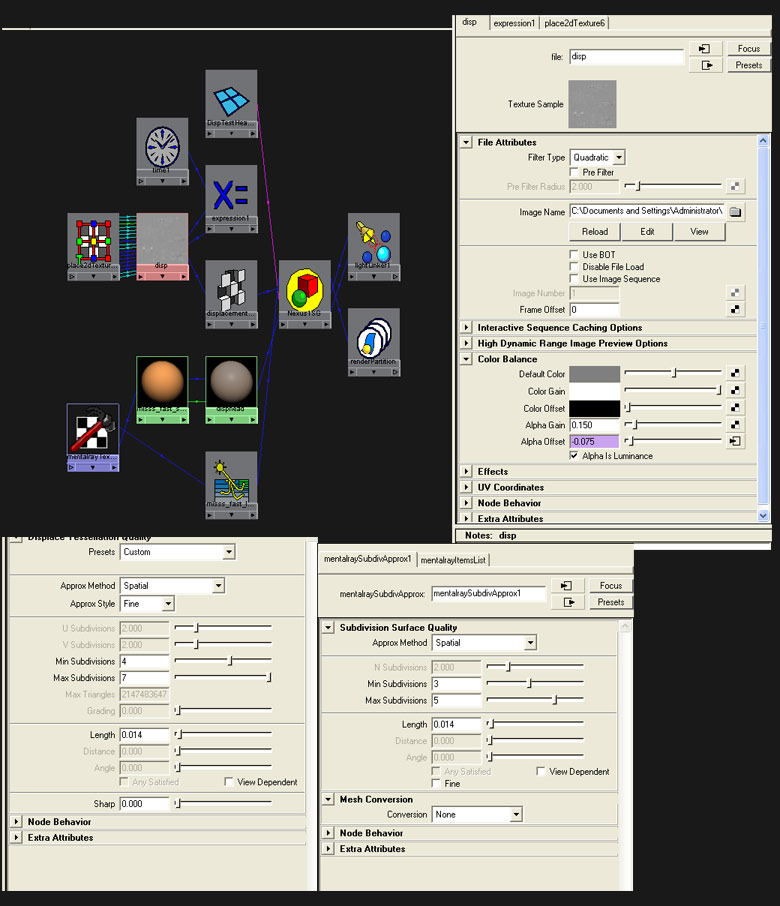
The Disp.Map file is the bad guy.
And also when I run the script again, the error message reads as:

// Warning: Name ‘miExportCCMesh’ of new attribute clashes with an existing attribute of node ‘mentalraySubdivApprox1’. //
// Error: Found no valid items to add the attribute to. //

And also ther’s a warning message that reads:

Warning: (Mayatomr.Scene) : polySurfaceShape1: empty UV set map1 detected, ignored

All the models has been layout whit correct Uv’s before beign worked in ZBrush, so this message it’s weird.

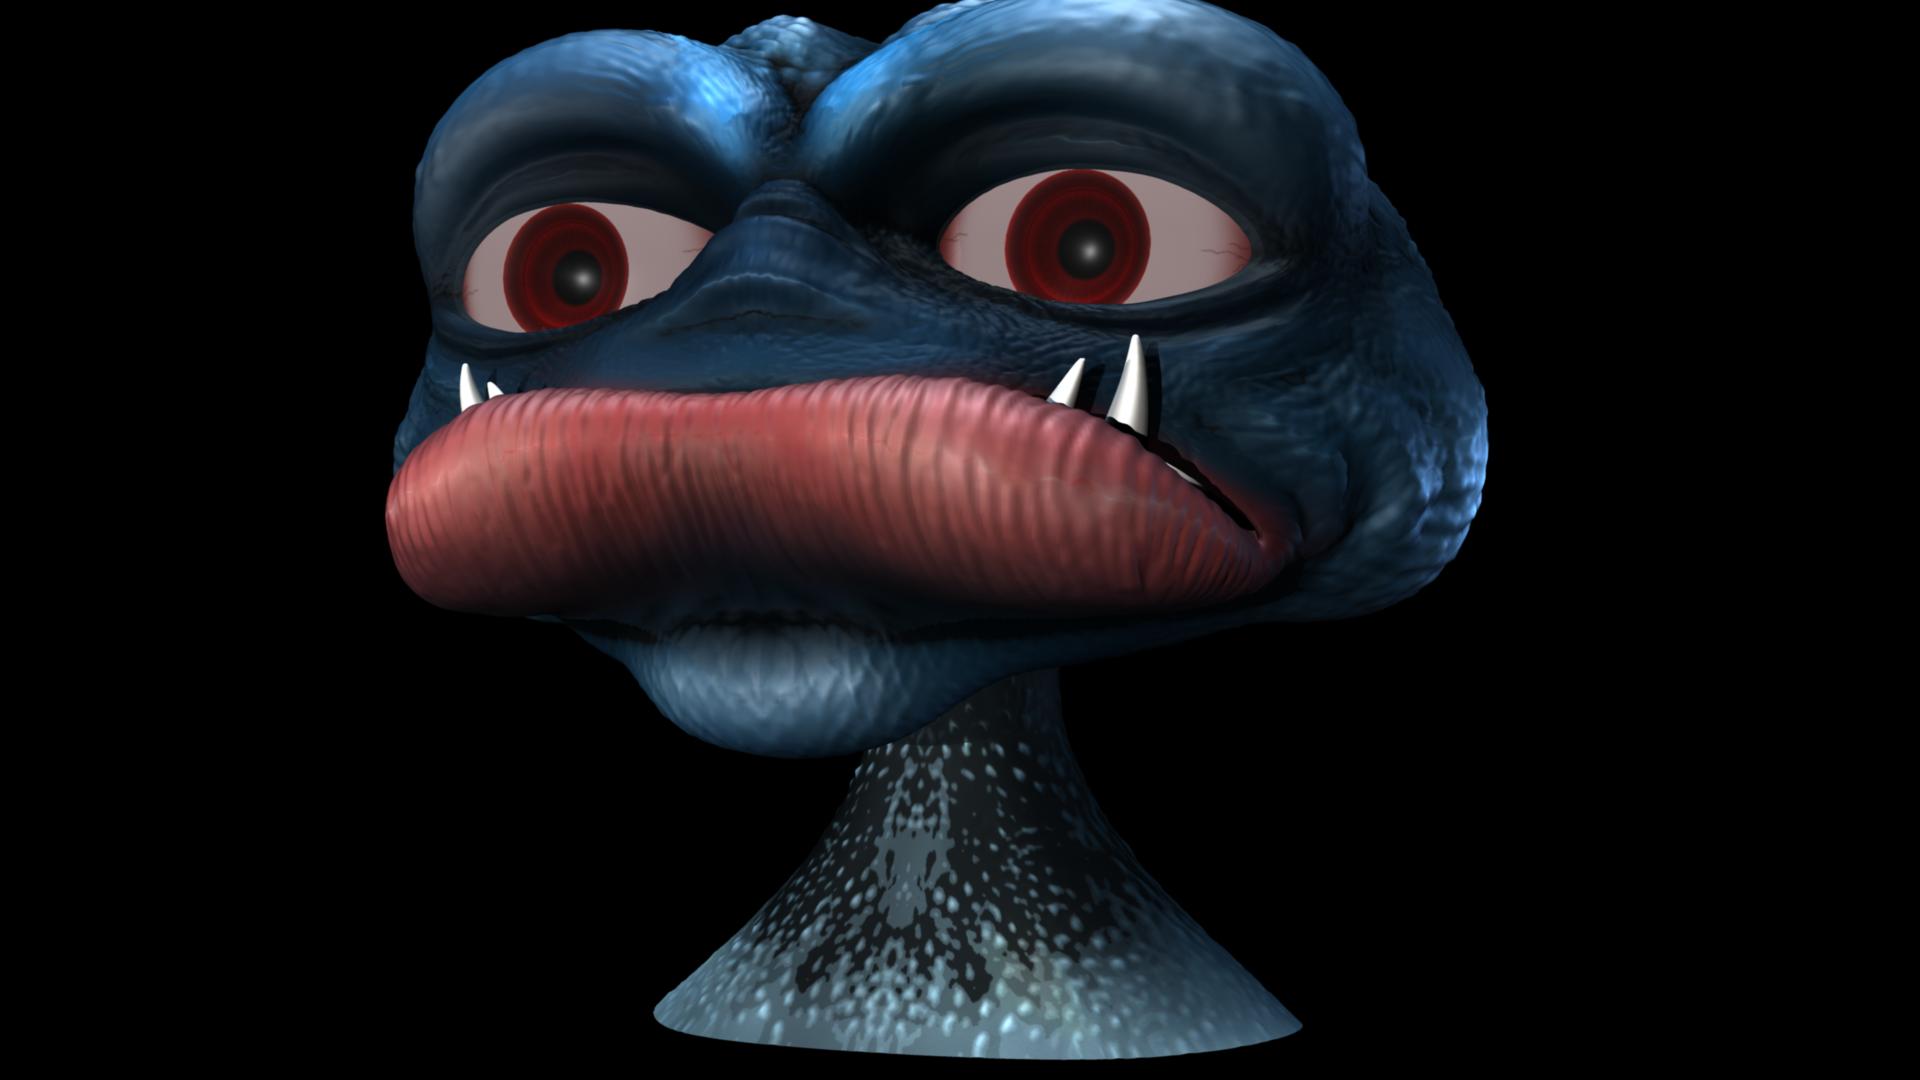
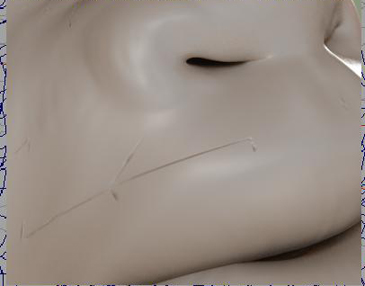
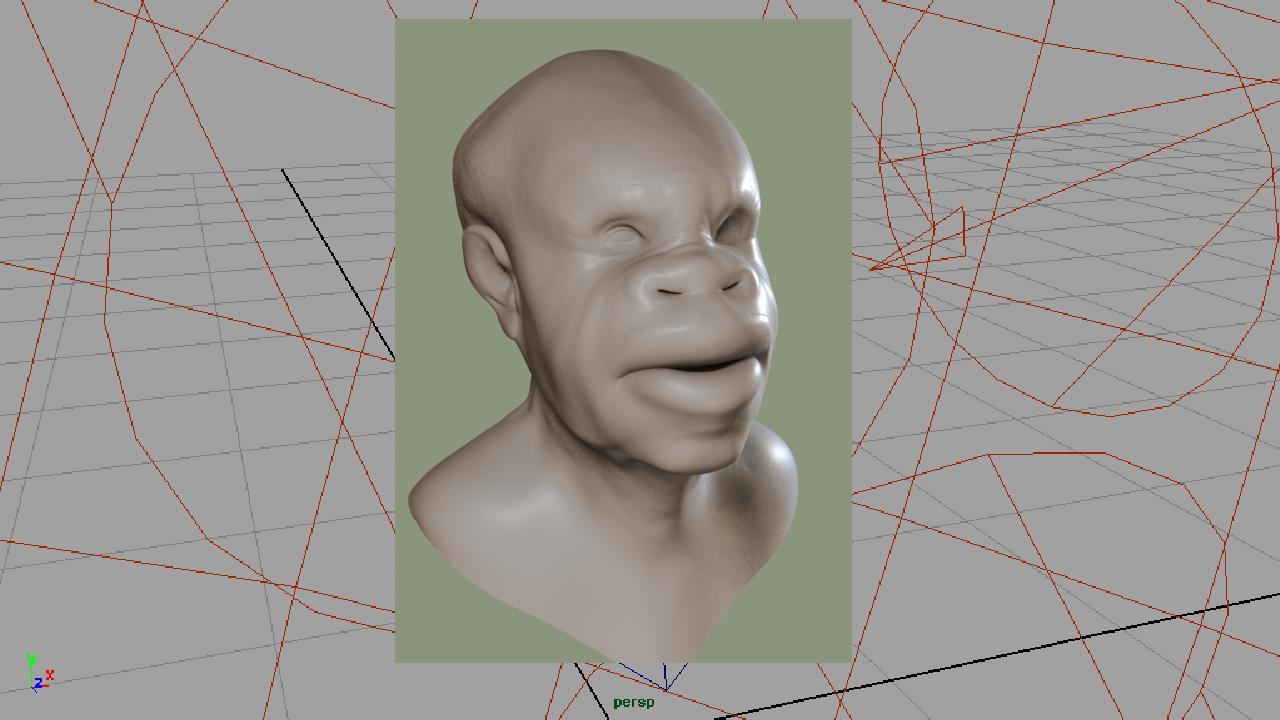
After try and error I have done getting a some way a normal render, but I’m still anoyed by the viewport issue. And The model look some what exploted as you may see.

I wonder if ther’s the posibility to make this script more stable or even a shader that has the property to bake the disp.maps(32bit) and works normaly.

I’m not a ssavy on this I doesn’t even like texturing, but I need to finish my characters the best way possible and this issue in Maya 2008 is making my life miserable.

If any dude from Autodesk reads this message, please be shame because Maya is mean to be better everytime. Don’t change what works fine for crap.

Thanks Scott have a cool one.

Ayhorya. :confused:

Attachments

TransparentErrorStill.jpg

Still01.jpg

Ok Scott. Ayhorya here.
I have repeat the process again, but this time I create the nodes one by one
the order:
Shader: blinn
DisplacementNode.
FileNode: The displacement.map from ZBrush and converted to a map.
then I conect the DispNode to the shader as Displacement.

Then I conected the Disp_FileNode to the default atribute to the DisplacementNode.

Runned the script. some crazy error showed up, but I ignored it.
And the rendered image looks very close to what I want.
At the end the process works, It’s that the stupid bug is really staburn and the guys from Autodesk should fixed fast, and give to the clients a fixed extension or something.
Any ways, here is the render:


Thanks again and have a cool one.

Ayhorya.

Attachments

Still02.jpg

Still03.jpg

How exactly would u go about making the displacements work for the new maya. Just by pressing 3 it renders out smoothly so im guessing u dont need to use aproximation editor? I can get a displacement to work, but it doesnt seem to ever want to render out the very fine details in maya 2009. Anyone tried using maya 2009 yet?

can someone just copy and paste what exactly i have to put in the MEL script… i get syntax errors when copying scott’s scipt i don’t know exactly where it starts or what i have to copy… plz thnx

I think I should add this link here. Maybe it will help in everyone’s displacement troubles.

The forum posts ate it awhile ago but it shows how to use scotts script correctly.

Dont forget you should update your maya also, there are some service packs for 2008 that help take care of this issue.

In the long run the script still must be used however.

http://www.zbrushcentral.com/zbc/showpost.php?p=446550&postcount=151

**Oh really? So I’ll take that as confirmation that its still needed in maya 2009(only was able to do one test with it). Drat.

Great videos btw. Very informative.

Better links cause Veoh sucks

http://www.mediafire.com/?am2zy2zvlzy
http://www.mediafire.com/?ot40vymnjdj
http://www.mediafire.com/?4nzmykzdzze
http://www.mediafire.com/?2j20hymmzmt

i’m copying and pasting the script to a textEdit (mac program) putting all fonts to arial, copying and pasting it in the MEL section, hit enter and then i look at the script editor but it’s blank besides the paste enter part that i put… so i paste the script again in the lower part, execute and get this

Error: (‘invalid syntax’, (’<maya console>’, 2, 39, 'optionVar -iv “miUseMayaAlphaDetection” 1 -sv 1 1; //sets maya style alpha detection - mthe same as

'))

File “<maya console>”, line 1

optionVar -iv “miUseMayaAlphaDetection” 1 -sv 1 1; //sets maya style alpha detection - mthe same as

^

SyntaxError: invalid syntax

… any clue guys… anyone…

LOL finaly i know my mistake and the syntax si cuz i wrote it in python… duu…

but now, after the script and render i don’t have seams but i have this… untitled.jpg

sigh…sigh sigh…

Hi,
Many many thanks for your tutorial. It gives me technical support a lot.
I generally create displacement map from zbrush and use it to maya. It does not have any problem. But When I follow same steps in Maya 2009 it warn me as follows:
"subdivision surface does not support separate displace approximation, ignored. Tune primary tessellation / approximation for displacement. "

Could please help me.
Thank you.
Santanu

I’m getting lines on my mesh and i’m using the 16bit displacement(converted to rgb) provided with the Pixologic model. I can’t seem to get 32bit displacement to work at all.
Aswell as the lines in the mesh i’m not getting much detail, is there anything I am overlooking? I’ve looked through all the tutorials…

I’m using Maya2008, mental ray, windowsxp64,
using the nexus shader.

thanks alot!

Attachments

artifact.jpg

PatRendertest1.jpg

Details.jpg

I have the same problem. I also have black screen when i render scene.
When i turn off approximation editor in render objects appears but is no tesselation. /sorry 4 my bad english :confused:

The black screen happens alot when Maya can’t convert a file or write a file to the hard drive.
It is probably the file format you choose for the Displacement.
In some cases it helps to convert it to a MAP format
It is a memory friendly format for maya.

here is a thread that will help you :wink:

http://zbrushcentral.com/zbc/showthread.php?t=38022&highlight=.map

Bad tesselation.that was it! thanks!

Dear Scott, your rendering displacement map lesson on gnomon rocks! I appreciate you big time for that!!! :+1: And this tip and script works great. Still watching the lesson - nearly at the end.

Only thing here is Autodesk keep changing things on Maya like those kind of rendering options and placement of the commands on menus and this is just making things harder… :-1:

Ok, so through several versions of Maya and over probably close to 2 years of attempting on and off and giving up, I was finally able to render a displacement map in Maya 2009 (x64 version)! :smiley: :+1: I find it surprising that I was able to do it in 2009, considering Autodesk keeps changing things with each release to make things harder on everyone.

Here’s my issue, that perhaps someone can shed some light on. I’ve followed every guide Ive ever come across to a T, and have had no luck. As you can see by all my settings below. I kept making small changes here and there until I started seeing results. The areas that finally made a difference is the alpha gain and alpha offset. What I dont get is why everyone says “set these at 2.2 & -1.1” The only way that I am able to see detailed results is if I crank these settings way up. For these renders, 30 & -15.

Correct me if Im wrong or Im not getting one of my settings right, but I thought I recall reading something, that with the use of a 32-bit displacement map, you didnt need to play around with these settings as much anymore. If Im wrong, is there another way to accurately determine what the alpha gain & offset will be?

Ive attached some images of my settings for reference.

Im also using the quick code of DE-LBEK-EAEAEA-R32 to generate my map.
I use the converter posted on this site to change it to .map format.
If it’s relevent, my system specs are in my sig.

HeadRender.jpg

Attachments

Renders.jpg

Settings.jpg

I have yet to experiment with 2009 displacement mapping, but thanks for posting this issue. I think its a formula to the Alpha Gain/ Offset process due to Displacement Exporter settings.

i have an 11 million poly mountain peak, sculpted in zbrush.
i’m excited because it has rich detail that looks realistic,
but i cannot get the displacement in maya anywhere near
the way it looks in zbrush.

i’m on windows vista 32-bit, maya 8.5, zbrush 3.
i saved a morph target on the highest subdiv in zbrush,
then moved to the level 1 subdiv and exported a displacement map,
subpix 2, 2048 res.

my displacement .tif file (non-color managed, rgb, flipped vertical, 16-bit) and phong shader were setup as per scott spencer’s
tutorial on the subject. i get very choppy, pixelated results from a 2k, production quality mental ray render, and a LOT of the fine details are missing. it’s frustrating! i would love to do some full 3d landscapes instead of 2.5d cam projection solutions.

my alpha and alpha offset were set at 30 and -15 because the base mesh was fairly large in my viewport gui. even when i do tests on a 1x1 poly plane, exported from maya, to zbrush for sculpting, then back to maya it doesn’t render the detail properly.

can someone outline possible pitfalls?? i keep catching glimpses of normal map, and uv map, and i don’t know how or if they are affecting my results. i particularly don’t know what normal maps are and how much of an impact it could have on the results.

please help

@ gfilmman… As for a normal map, it is basically a more advanced bump map that can better give the illusion of high res details on a low poly model. Its most commonly used in current gen video games. Normal maps dont displace the geometry the way displacement maps do, obviously, plus they render much faster.

Post your settings within Maya & make sure you are using the correct exporter settings in the ZBrush displacement exporter.

@gfilmman - 2048 is not nearly big enough. A 2k map contains just over 4 million pixels, which means that all small details above 4 million polys will be lost and that is in a best case scenario assuming the uvs are perfectly laid out to use 100% of the uv space. Try a 4k map and you should see a difference.