Here is another example, I think this one looks a little better.

This is so cool, also thanks for all the tutes man, Learning a lot.
cheers
…repetitions & variations 
You have one, you haven ten, you have hundred! 
ps Cool fish 
Wow, the result looks great! I’ve wanted to try something like this for a while! What sort of map did you get use for this? I’d be very interested in seeing the process you used.
Hey Nick!
GREAT results. I’d love to see the map you used for your last test. Did you just ‘Mask by Intensity’ and then use the deformations in the Geo Palette to get those results?
Thanks for the kind words guys.
I used these maps to displace the geo. (turned them into alpha maps and then masked by alpha in the masking section.) I used the blurry map first to pull out a rough shape, then move on to the sharper maps and use the inflate deformer to pull out the shapes in 3d More. I then used the last maps to pull out finer details, then when done put the color map on and then converted the tex>col in the texture area. This converted the map into polypaint.
When I get more time I will try to explain this process better.

Peace -NickZ.
This is freakin cool man! What a great way to do something like this so fast.
great great great,u r a great explorer man,keep it up
hey nick… that looks really good.
I have to model a facade for a movie… Plan on doing most of the work with zbrush and this looks really promising.
Here’s a picture of the facade

so if you have any more pointers or things to look out for… I’m all ears.
In the end we get to blow up the facade 
I’m going to give this method a try.
Peter
What a good idea, I’v even used some Zalpha extruded stuff to carve with a 3d router…quick. Amazing what we re-discover.
http://www.zbrushcentral.com/zbc/showthread.php?p=391732#post391732
Looking really forward to seeing how you pulled it off. Thanks for sharing with us!
Hey NickZ
Just wanted to say thanks for your generousity…your tutorials and works have been very helpful and educational, and the anatomy refs on your website are very much appreciated.
BrettSinclair - I was rather impressed how fas this was myself! Hope all is well bud!
romilkchprazb - Thanks, you’re too kind!
Peter Pankras - This looks like it will be a cool job. I will try to make a video on the process some day…I’m working on too many things these days. Good luck on this, I’m sure it will turn out great! (the thing I am doing wouldn’t hold up in a close up shot, but I am thinking it could work on something that is in the distance and has a slow camera pan.)
Pride - Your examples looked great! I’m surprised more people are not exploring the possibilities with this.
rubent100- Soon…I hope! Thanks!
Fattkid - Thank you, your kind words are much appreciated and they help carry me forward! Thanks for that!
I’m trying out some new base head topology that I created. He is the result from my first test. Hope everyone enjoys!

hey nick!
great start on the skull, but darn, that mural tutorial is really cool. thanks a mill.
-r
Here is another head that I created with my new head topology. This was created in about 45 min. in my last ZBrush Intro Class. Hope you enjoy!

Peace - NickZ.
Hey hey hey. His looking cool. I feel a ghost rider character comin on here… 
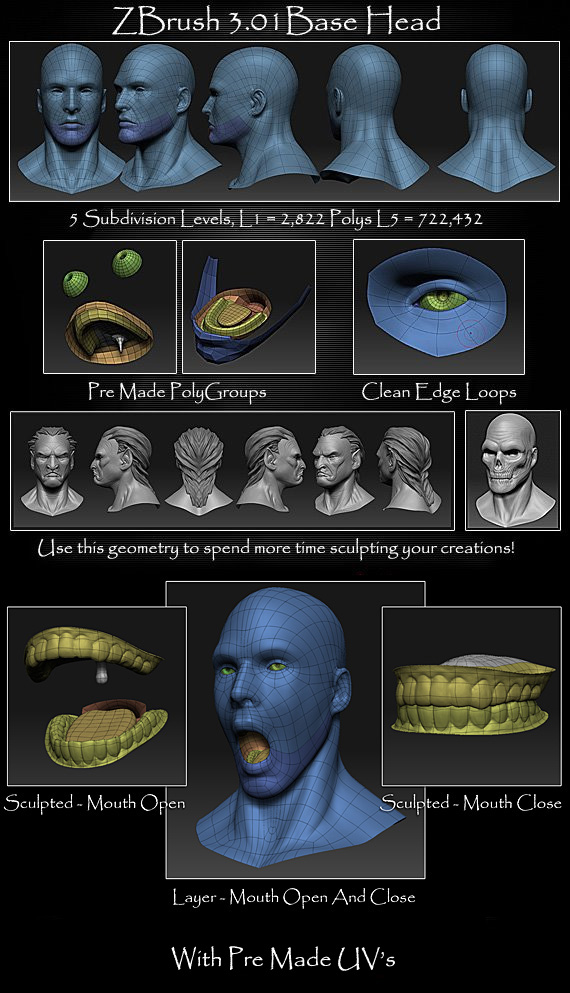
Here is a base head that I created to help speed up the sculpting process. I wanted to build very clean geometry for sculpting in ZBrush. Using this model as a starting point will speed up your workflow.
I have created a video tutorial that explains how you can use this geometry with ZBrush, and in the process I show how to use many of the tools inside of ZBrush.
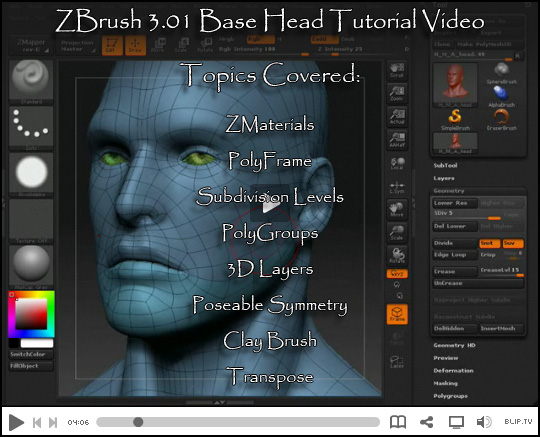
Hope you enjoy!
Peace - NickZ.
Attachments
amazing nick! gonna buy that asap! thank you
Funkdelic- Yea!!! My first virtual customer. I’ll have to print out the paypal transaction and hang it on my wall!
Please post a pic of what you sculpt with it! Let me know if you have any questions!
really well done as always. nice work.