ZBrushCentral

(Need adv)Ironlady My first Zbrush project(WIP)

Hello I have just started my first project and I have just roughly go over the tutorials for a few days so you can tell I need much practice and advice to complete this.
I have absolutely no background in 3D modelling so it’s even more confusing for me understanding concepts like layer, mesh and edges.
After all I hv spent tonight and tried to move along with whatever i can do, I hv tried to re-sculpt Julie into a very different woman:confused: but i found some difficulties and need your help.
First I have no idea how to flip her ears. I understand her ears are actually patterns that developed from her head(skull) and I can’t just inflat it and make it stand out, what should i do? Insert another mesh and sculpt the ear again to make it stands out? Is there any better and easier way?
Second is that I found it hard to make her lips closed. I’ve tried the “move” brush but it always messed the structure of the nose and even i masked it it seems I still can’t get what i want cause sometimes the structure of the lips are affected as well, any suggestion?

Anyway I want to attached my work here but i dunno how to put a file with 188 mb here and I hope I can update it from time to time yo share my work to you all when I know how.

Attachments

ironlady 1.jpg

ironlady 2.jpg

For the ears: Mask an area, move out, dynamesh, move it roughly to get an ear shape, maybe dynamesh, start with rough form sculpting.
For the Mouth: if you want her mouth to be closed but with the inner mouth area still existing just mask again and move or just use topological move.
Hope that helps. Also use Dynamesh if you’re not doing so yet.

hi, there are various ways to do the same thing.

I usually do the ears by masking like sphere/ear shape (position of the ears of course), inverse the mask (ctrl+clic)and hit R (transpose-rotation).
I choose where to click and drag transpose line (it will determine axe of the futur rotation), for this case one side of the ear, depend on what side you have lock your view - you have to be in side view -
then, clic & drag the midle circle of the transpose line, it will rotate the non masked part, giving you basic form of ears.

Ctrl+clic & drag an empty part of the canvas if you are in dynamesh/or activate it.
After you have to digg and sculpt your ear progressivly to obtain what you want.

About the closed mouth:
mask all the head except the bottom lip, chin, and jaw until bottom of the ears, make it smooth
hit R; clic & drag from bottom of the ears to the bottom of the chin (extend it to the canvas, not touching the chin itself,it can avoid some problems),
clic & drag on the third circle of the transpose line, near the chin.
It will rotate your jaw & your bottom lip, very close as you want.
Clean cheeks after that & if needed.

This is why I suggest personaly to focus on practicing transpose line, mask, how to have a smooth mask, etc, also polygroop because it can help especially about mouth opening/closing, etc…and dynamesh.
Because I think 188mb is too much for the stage you are (can’t see on the screens what is your actual polycount). I suggest to begin with low polycount, and progressivly to increase it.

I hope I was clear & it will help you

Thank you all Sawarane & markantonik , it’s been a great help
Your tips are very useful and easy to follow and i found I’ve done much better than before with “transpose line”, honestly, I don’t think I’m 100% get the control of those 3 circles but it doesn’t matter I still get what I want for a few tries.
I hv tried using “Dynamesh”, I’m not sure if i get this right but is that the purpose of it is “redistributing the polygons” so I can get more polygons to control of the ear(a particular area)
My situation is after I hit “Dynamesh” two things happened, looks like the details at the point of the nose are gone as well I cannot edit the mesh again (shown something like I have to “Freeze the subdivision level” but then I can’t “Unfreeze it”)
Is there anyway I just add polygons on particular area(like only on ears) and not affecting other part of the body?

I’ve tried close the lips and shorten the neck in the same manner,i t works well but the thing is there are cracks between where the polygon meets. There are other places that a small slope/valley are formed after transpose but they can be solved easily with “Smooth” brush. What should I do to merge this polygons without distortion? I’ve looked for some video teaching how to merge two meshes but don’t find anything that seems suitable for my situation(one mesh), Thx in advice

Uhm no offense but you should consider not working with subdivisions at all unless you do detail work and finishing work. Just go with dynamesh get the rough to more polished state. It will improve your workflow. Alot of beginners start concentrating on the details too early and immediately want a “finished” look. That’s really the hard way of doing it. For the details you can increase the resolution in dynamesh and they won’t vanish as much as b4 but yea saying it again, use subdivision for detail work, like skin pattern etc. Like hyperrealistic stuff or just to give it a smoother look. For joining 2 meshes go into the subtoolpallette and merge down ctrl+e. then hit dynamesh, or just hold ctrl and drag click on the canvas to redynamesh. For the mouth area you really just have to try around with masking transpose tools, move brush etc. There’s really no “right” way or and immidiate way to get the wished result. For the ears well you need a higher resolution in dynamesh probably like 256-512 is most of the time really fine for rough details like an ear if not it is already more than enough. Just redynamesh if you get these visibile squares ^^. Hope that helps you.

your welcome Kenny.

Yes Transpose line is a unique tool that is maybe ‘strange’ at begining when you discover it, but with some tutorials & practice, you will note that it is essential & really helpful for a lot of situations. So it is a ‘must to learn’ ! (ps: R:rotation, W:move, E:scale)

Dynamesh:

Yes it redistribute the polygone flow, then you are able to re deform your model until polygones are stretched,then you redistribute, continue to sculpt/ deforme it again, then redistribute, re deform, etc…

But yeah, it can ‘smooth’ your details when you clic&drag. You can try to fix it within dynamesh setting==>Tool>>Geometry>>uncheck polish, set blur to 0, and activate projection for keeping more details (as I’ ve understood; otherwise you can experiment by check/uncheck it).

But it is quite normal that small details are not maintained with dynamesh. I think this is not for what Dynamesh is done. I think it is for creative part because of its capabilitie of redistribution;

use Dynamesh for instance,
when you begin your model roughly first, low dynamesh resolution (mean low polycount), sculpt then increase dynamesh resolution & redistribute, continue to sculpt, redistribute with more resolution, etc…
until a certain point when you are close to your model ref. Then you can ‘exit’ dynamesh mod and " convert " your model into subdivisions (duplicate your model, retopo one of them-zremesher-, clic on project all on the zremeshed new model selected (your ‘original’ dynamesh model should be in visible state, eye icon visible), subdivide, project all, subdivide, project all, etc until you reach the same ‘quality’ as your original Dynamesh model (can mean more or less same amount of polygones). At this moment you have the same model but with subdivisions (good or better topology wich is the polygone flow of your model) & you can add more subdivisions if needed, and add your fine details, etc…)

In general & like said Sawaram, we add details more later than the begining/dynamesh ‘mod’. But you can, no problem (can be projected onto a new retopo/subdivided model version, with ’ project all ’ button/function).

And about freeze,
this is because you are in subdivisions ‘mod’, and subdivision ‘mod’ has some ‘restrictions’, some ‘operations’ that you cannot do with subdivisions active. This is why it ask you if you want to freez your model. You can try & say yes (ctrl+z if you not happy or make backup before). It will keep the lowest subdivision and temporarily ‘delete’ other subdivisions.
This permit you to make operations that subdivisions did not allow you to do.
Then, when you are done, you clic on ‘freeze sudivisions’ to desactivate it. It can take some time because it is a ’ projection ’ operation that goes on. And you will get back your subdivisions.(sometimes you can have suprising results if you tweak a lot your model when it is in freez mod, or in specific contexts)

If you are more or less confused in some points, it is just normal . You will be familiar by using, trying & asking like you are doing. & like you said, tutorials/videos are really helpful.
I invite you to watch, for instance,these ones on classroom (you are sur 200% all what is saying is right, & personaly I know they are essential & must to watch)

zbrush TRANSPOSE tutorial classroom

Dynamesh tutorial zbrush Classroom

zBrush Classroom

ps: I think for your first project and for the begining of your sculpture, it is a good start.
ps2: about the ear: I think you have made it well ! One remarq: just before the rotation, maybe clean and make smooth area. maybe it can help have a nicer form to start to sculpt with.
&
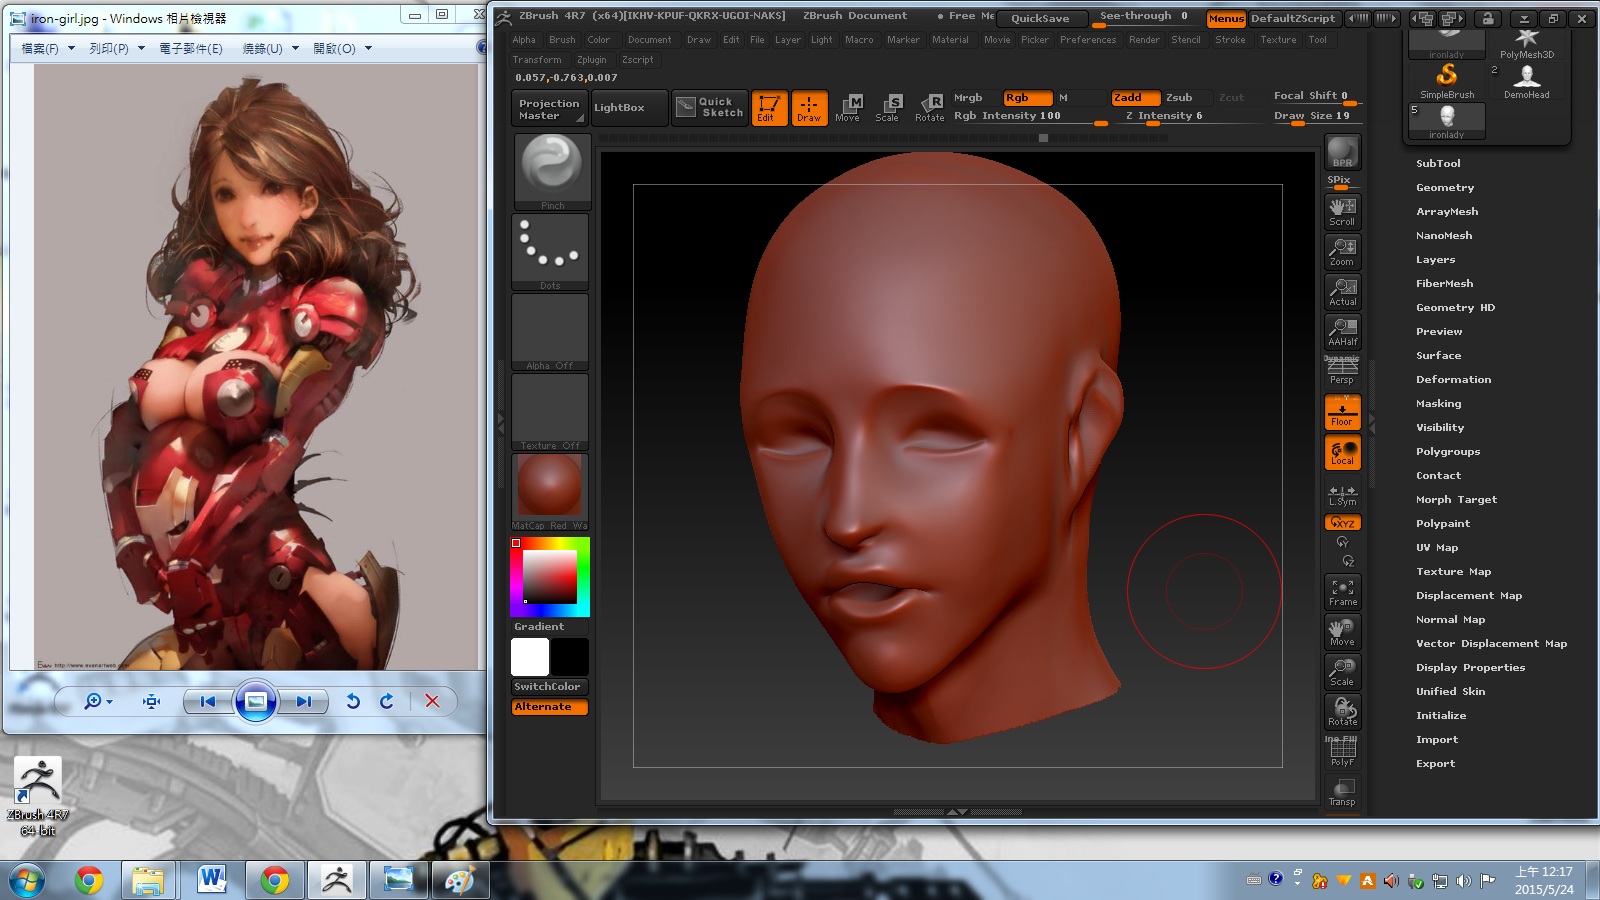
About the jaw line it is quite normal & like you said you can clean it with smooth. If you have difficulties to smooth/repair the area, then just go lower subdivision and it will be easier.

To make a mask’s border smoother, you just have to ctrl+left click on your model after having created the mask :slight_smile: 
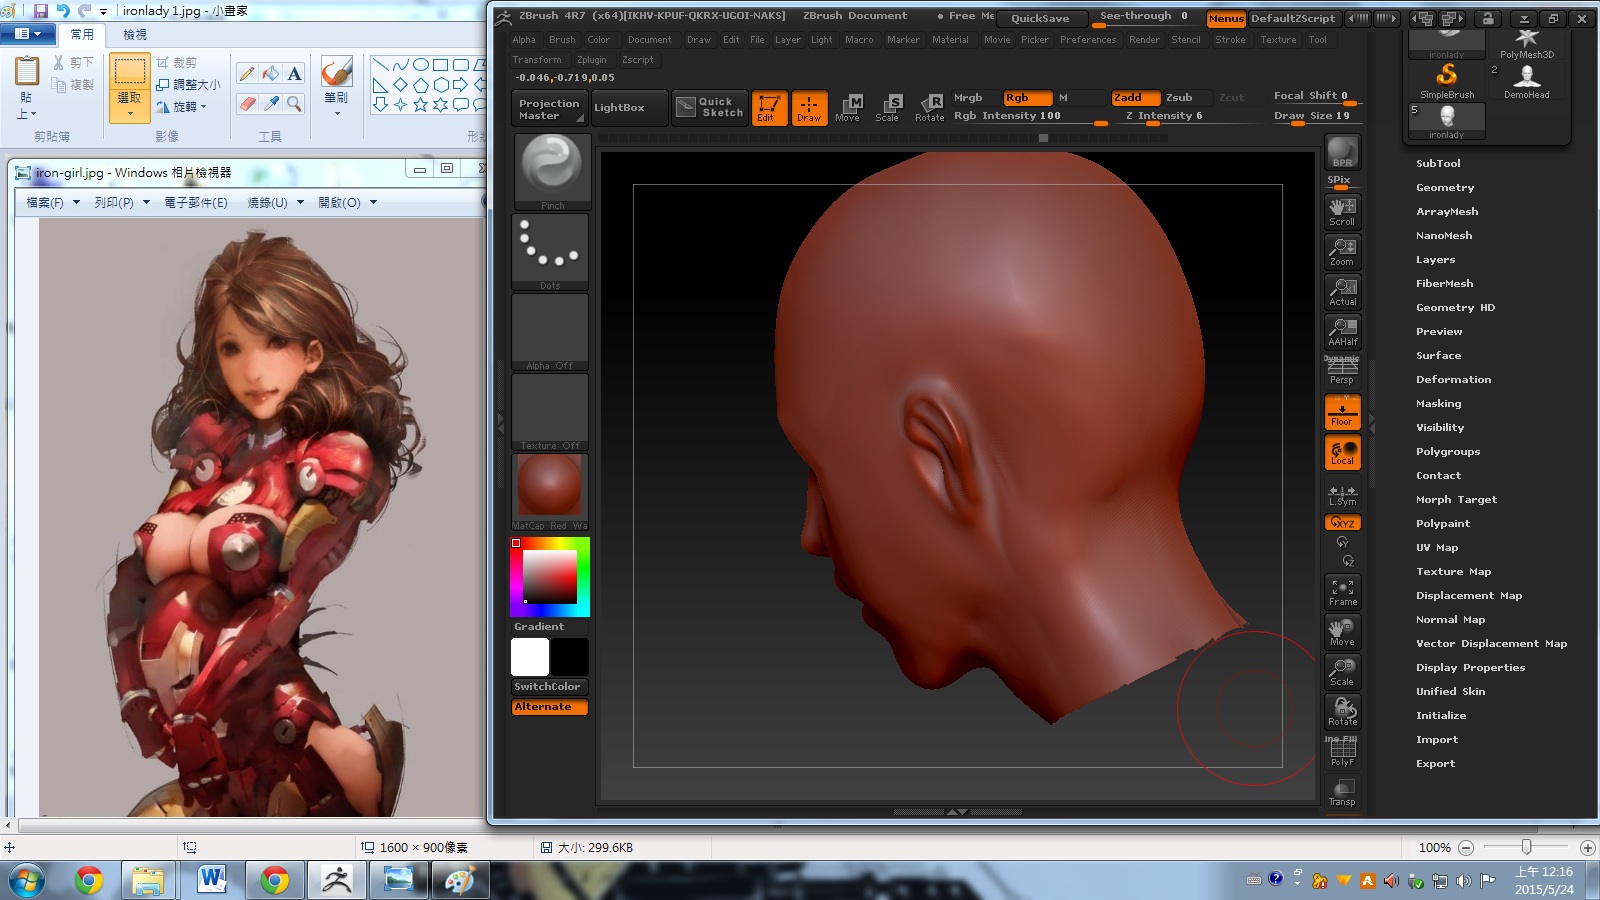
Or you can go to the “masking” option and click “BlurMask”.
Having a smoother mask should help prevent you from getting pinching geometry during transposing at higher polycounts. :+1:

Hey man welcome to the Zbrush community. The software is on one level the best thing ever happening to CG with almost infinite possibilities but the interface could not be made more confusing if they had tried.

For that reason I always advise everyone who is new to zbrush to ignore 95 percent of the software. Don’t worry about a lowpoly or the flow of the geometry (unless you want to animate it)
I would say just use the clay buildup brush, move and smooth brush and get sculpting. Stay at a very low resolution and mass in the rough shapes. use dynamesh without smoothing (as someone mentioned before just drag the slider to 0). Loosing detail shouldn’t matter at this point because you shouldn’t have much yet. Once you have the body roughed in and you and you are fairly sure that you won’t change the big shapes too much zremesh the whole thing and THEN add detail.

If you want to I can help you out a little bit. Send me your mesh and I will record an hour or so and upload it to youtube so you can watch it later. I can go through closing the lips, creating ears and anything else you may want to know.
Cheers,
Nils

Thx everyone, this is certainly a good community that all of you provide feedbacks almosts instantly.
Once again thx Sawarane & markantonik for all detailed explaination. Honestly I guess I only get 70% of your suggestion because I’m too dump and being new to the terms you’ve mentioned, but I guess at least I get one message that is building up the big picture first and then remesh until I’m certain of most likely what I want before I go to details. :+1: And thx for the Z classroom for Transpose again, I hv watched it before but aftermarkantonik’s detailed explanation, this time i think i can get 70% out of it.:sunglasses: As well, I have fix the eyes a little bit with your detailed assistance.

Thx, Feffi, exactly what I want. I finally manage to close the mouth with “Soft mask” and "Move Topology " Brush I’m going to 3D print out this later but I don’t sure if i really need to make “No holes” within the output files

Thx much enemtor , even I had made little improvement here I think learning from pro is always good for me. I had modify the body again with better curve lines (as below). I would love to share my STL file here but its over 180mb(I don’t know what did i do or forget to do but that’s the file size i get). I’ll see if there is any webpage that i can store the file.(Pls let me know if there’s any place I can put them up easily without complicated register process and advertisement) I have put my file below, pls let me know if you can get it and open it

I have put my file here, pls let me know if you can get it and open it

http://www.filedropper.com/ironladyerg

file storage online

Here’s my to do list:

Hair: I’m visiting pages and not yet decide how am I going to do because her hair is a bit complicated (like a curly spiral extend from her head to her shoulder) I 'm struggling if i want to make it simplier since I gonna 3d print out that

Pose:
I guess I will cut off her arms and re do it with zsphere so no worry over that
I guess I will use Transpose Master over her neck but it looks like I found difficulties in turning her head to the left (nodding is ok)
AS well Transpose master for :
Her back (curl backward and slightly to the left)
Legs

Armor:
Looks like i’ll use “Extract” function and then modify the “clothes” subtools instead of directly touching her body but can’t get very hard edges, learning from youtube and hope i can get something from zclassroom about how to make a helmet

Once again thank you all

Pls let me know if there are easy way of doing the above steps

One final question: Can I choose different materials over various subtools (like chrome for armor, sculppy for body part, gray white for eyeballs) although I know I could print them with RGB laterward, but the material would make the colour different even there’s an layer of paint over it

Hey Kenny,
I was able to download the file. It is about 7 in the morning here in Canada now. I will do this after work tonight which means I won’t be able to send you a recorded vid before tomorrow most likely I hope that is ok.

Thx enemtor, no rush

I just moved a little bit more, made a better belly button and curves on the back and hip and started the armor combining skills with extract, deformation>polish, and grouping
turns out my expectation over the shape of the breast seems legit, it looks more natural when something supporting it from the bottom and both side
i just updated the new file here:

http://www.filedropper.com/ironladyarmouron2

<a href=http://www.filedropper.com/ironladyarmouron2><img src=http://www.filedropper.com/download_button.png width=127 height=145 border=0/></a><br /><div style=font-size:9px;font-family:Arial, Helvetica, sans-serif;width:127px;font-color:#44a854;> <a href=http://www.filedropper.com >upload files free</a></div>

I guess my greatest problem coming is once i have repose the mesh, the details will be lost significantly.

Hey man,
I worked on your sculpt for one and a half hours and recorded everything with comments and tips and tricks… and than my PC crashed. I have a zbrush autosave but the recording is lost, sorry.
I will write down some comments tomorrow or the day after so you get at least a little bit of additional feedback. I can also upload the ztool if you want to have it. It looks nothing like the conept though. I can never get anime style things to look like the way they should.

Anyway, this is what I got.

IronLady.jpg

Thank you, that looks amazing

nice


Today i’ve encounter an extremely stupid question: When I hit “Delete by symmetry” under Edit Topology, Geometry, How can I choose the other side?
I wanna keep the part I circled with red but I just keep deleting it:o

you cannot choose the side… to get what you want: first mirror on x-axis (in deformations panel), then delete by symmetry and then mirror back on x-axis… this should leave you with the half you want have.

Thx kokoro,this is really a good community that i get timely and dettailed feedback in notime. Hope i can contribute more later

Hi Kenny
I very clearly remember the frustration I first felt when I started using Zbrush. There have been some great suggestions from other members especially regarding dynamesh and working in low res first. I can add to this by saying do as many tutorials as you can. There are many helpful tips & tricks out there both on this forum and other sites like youtube. Also studying anatomy will help you a lot. Practice, practice, practice…that’s what it takes

Hey Kenny,
I meant to still give you some advice from my “paint over session”.

You should stay in sketch mode far longer as far as I am concerned. Yo shouldn’t have to worry about losing detail at this point yet. You shouldn’t even sculpt any detail yet becuase you aren’t done with the number 1 step which is figuring out all main shapes.

Posing the model will become a lot harder when you have all these different subtools. You not having the pose figured out yet most likely means that you will have to redo some of the armor pieces. I noticed that it is really difficult to get the helmet line up with her hands and so on. Instead I would sketch all the armor into the main mesh and just make the hair a different subtool.
Feel free to change the topology as many times as you need. By that I mean sculpt the armor and into the main mesh and dynamesh it. You can always quickly use zremesher if you are unhappy with the dynamesh topology.

Also don’t focus on little detail like the belly button. Most likely you won’t be able to see it later anyway because it will be covered by the helmet.

By the way if you are interested I can try to stream some modeling stuff for yo on twitch if we find a time slot that works for both of us. I learned a lot from the community when I started and I believe in giving back. Let me know if you want to give that a try.
Cheers,
Nils

I believe +X is always deleted…or kept, I never remember.

Anyway, just mirror the mesh if the wrong side is getting deleted. tool>deformations>mirror

edit: just noticed this was answered like a million times before I got in here…