you made it to top row!! great job mate!
THE HEAD is BIG
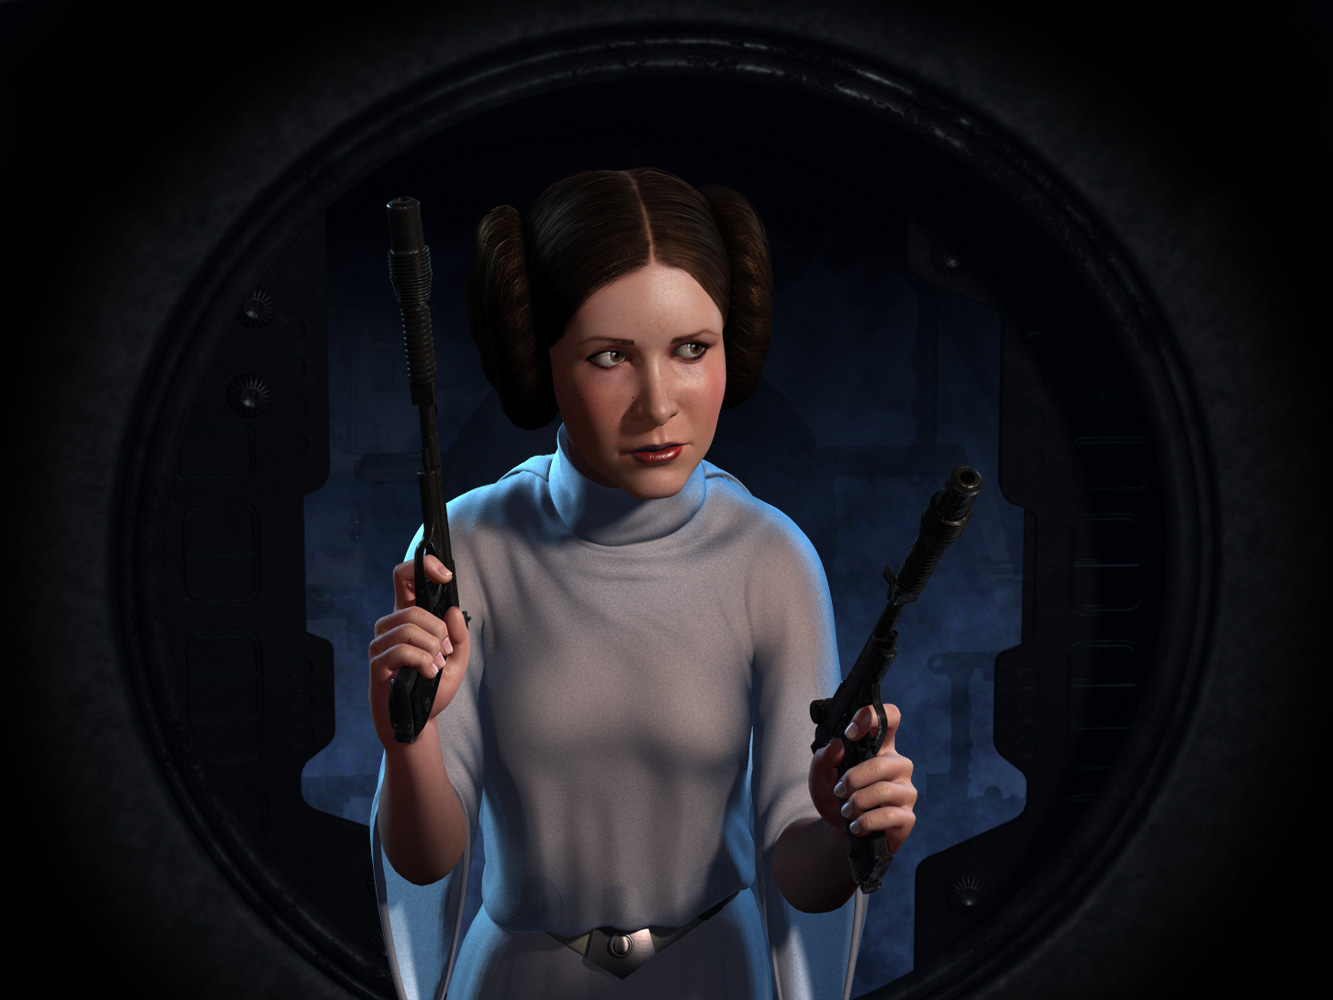
Okay- just another small edit. I’m getting to a place where I feel good about this work. Please let me know if you have a critique.
thank you piz, kikoni, DECLOAK, pap87, calum5ZB, tez, nerveink
Dimka_D- CRAP! now you tell me! :). Actually- I’ll take another look at the proportion. Please keep in mind- Carrie’s body to head ratio is something I considered when making this model… and while her head isn’t meant to be huge, she leans towards the larger head to body.
Okay- so a couple of things- a high rez image with some minor updates, and my wireframe as it appears before displacement in Maya:
Attachments
Very Nice Craig! And… very clear wireframe and very good polys distribution. 

Dimka needs a cyber z brush slap across the face. Enough of the lazy ill informed one line crits. This is a stunning example of work and I have enjoyed watching its development.
Not to be disrespectfull or anything, but she kinda looks like Vin Diesel.
omg she looks like vin diesel ??? ar u serious with that comment. i guess everyone who has completed a scene or good character wouldnt write down such a dumb comment. As for me i must say everythings perfect exept for the guns which to me still seem too slim. congrats to ur top row and happy happy zbrushing
Disco Stu- Are you talking about the handle, or the barrell, or both? My reference on the gun was limited… and I kind of thought the handle was thin too. As for Vin Diesel- no disrespect taken:D . Thank you for the critiques- they are always helpful.
Craig
I thickened the butt of the gun- after double checking it, I think DiscoStu was right. I did double check the head proportion to the body- and I’m still sticking with what I had. All I can say is that she is a woman who is proportioned more like a smaller person (larger head to body) and not like an amazon (smaller head to body).
Thank you for all of your crits and putting up with these tiny edits. 
Dude that is awsome, i would love to see how you made that eye texture.
a good work
give me a little while and I’ll post something later. Most everything I did is simple- but if there are other parts that need explanation let me know and i’ll give it a shot if there is time.
Craig
Enjoys your work very much !
keep your great work!
So here is how I did the eyes. I’m going to write as if I know what I’m doing (which isn’t always the case:) ) so please forgive me if I write something that is too obvious. Also- the model and texture were created in Zbrush- but the final render was done with Maya and Mental Ray. Hopefully some of what I write can be interpreted for any 3D application.
fig01
fig02
The Geo: In the the fig01 wire frame I’ve included my lowrez mesh, nurbs for lashes/hair, and eyes models. The eye is two parts- an outer and inner eye (see fig 02). The outer eye is just a sphere- this model will be the transparent membrane that surrounds the eye. The inner eye is a second sphere with a bit of detail for the pupil- a concave surface for the Iris and a hole for the pupil. The pupil hole isn’t necessary- it just helps me understand which way the eye points. Making the eye in two parts allows the reflections/highlights of the eye to float above the color of the eye.
fig03
The Outer Eye Material: In fig03 I have the Material Tree shown as it appears in Maya. The purpose of this material is to create the specular quality of the eye (High Lights/Reflections)
- The Bump channel is given a pattern to create random bumpiness- these are just minor imperfections to break up the HL, and can be painted in photoshop or use a procedural like a 2D Fractal. I passed this pattern into Ramp using a radial black texture- this was to soften the bump as it neared the eye center.
- The Specular setup is what gives the eye its high lights and impacts the intensity of the reflection. When making an eye- you want to show the reflection and lighting of the surrounding environment in the eye. Unless dealing with game characters, you also want these specular qualities to remain locked to the position of the lighting, not moving with the painted color image of the eye. Painted high lights will not work well with an animated character- they look fake because, unlike real eyes, as the character’s eye moves the high light moves. I created a texture map that represented the lighting environment for the eye. To keep the texture from moving with the eye, I used a 3D environment node in Maya. I also mixed in a Ramp texture to create a 2D image that decreases the specular intensity near the top to the lid. A contrast and multiplier node were added to allow for some fine tuning. It is possible to create the same look of lighting in the eye using Area lights and possibly some models- but I like the simplicity of this method and its guarantee of good eye high lights.
- For Reflections, I used an intensity adjusted version of the Ramp from the specular channel. I probably could have added in a Fresnel effect here- but since we don’t see the outer edge of the eye its not needed.
fig04
The Inner Eye Material. This is pretty simple material wise- its just a Lambert (non-shiny material) with bump/diffuse/color maps.
4) I think what works best in the color map is the faint blue halo where the Iris and the white of the eye meet. Getting the right values of bluish and pinkish white for the eye was a goal of mine.
5) The Bump was created to accent the details shown in the eye. Not much to say, except a normal map might have worked better.
6) I used to think it looked good to have a recessive hole for the pupil of the eye. After studying the eye more closely- I realized that the hole really looked better to me if it was just pure black at all times with an organic edge. To insure this- I added a diffuse map that blocked out all color info around the pupil of the eye.
That about covers how I did the eye. This work isn’t anything new (I’ve seen other eyes- better ones too  ) but hopefully something I’ve written helps. Thank for the question. Please let me know if there are other things I can help explain.
Craig


 i wish i knew how to render. this looks great. nice work
Have followed this since it’s inception, may I say that no
one ever deserved the top row more!!!
Heartfelt congratulations and many thanks for the Maya
workflow!!!
First, let me say the model looks great!
The only other thing I’d like to ask you is… how ultra-realistic are you going for?
Because this looks excellent and gets the point across very well.
But, she’s a bit cartoony in the face. And it reads. If you want to get more realistic, you’ll need to adjust some of the proportions a bit to get it perfect.
For example:
The eyes look great, but they’re a little too wide on the face proportionally.
The cheek bones are set a little bit too high.
Again it looks amazing. If you’re aiming for ultra-realistic there’s some SLIGHT proportions you need to adjust.
Can’t tell you how much i appriciate you showing us how you worked out the eyes =)
Craig, this is a superlative piece of work. Thank you for sharing the process and providing inspiration for those who see it.
I like very much!
Only I think there is something is different in the eye line.
So, becouse my english is terrible, if you give a look at this ani-gif and maybe you can understand me:

I hope you understand: I really like your work
I only want to give a hand.
PS: sorry for my english
![]()