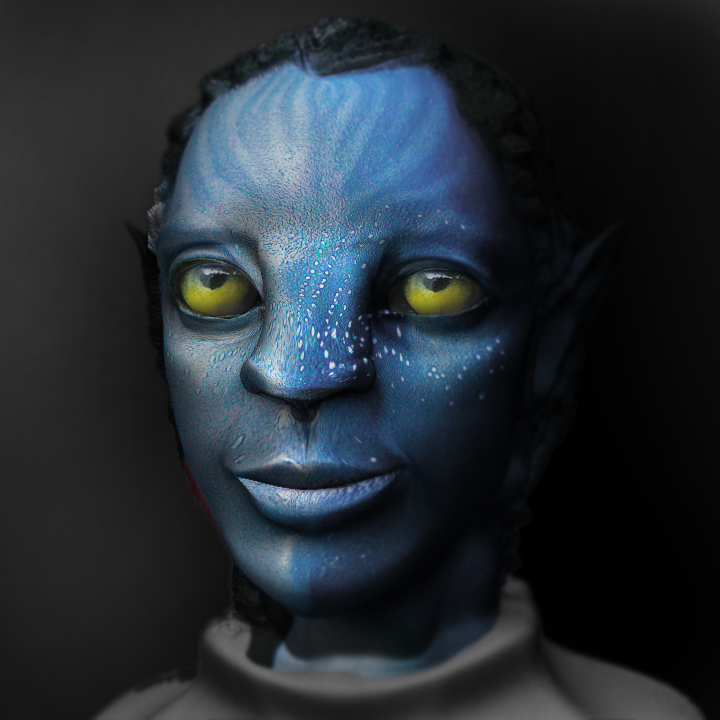
Coming along nicely I see! 
The great thing about ZBrush is that the horribly boring thing called UV-mapping can be done as a late step and almost automatically.
Hm, one thing I should have asked…what version of ZBrush are you using?
ZBrush3.5R3 and Zb4 have what I’m about suggest…don’t remember if earlier versions have it.
The free UVmaster plugin on Pixologics download page is amazing!
That type of UV unwrapping previously had to be done in external softwares.
I found the downloadable PDF to be the only thing I needed to understand how it works.
Tool-UVmap , set the size you want for your UV map. 4096x4096 is usually enough, some external rendersoftwares might have limits on mapsizes, you’ll have to test what they accept.
( AUVtiles is also good, BUT you can’t edit such a texturemap in a paintprogram, tex texture will just look like a mosaic of tiny colored squares)
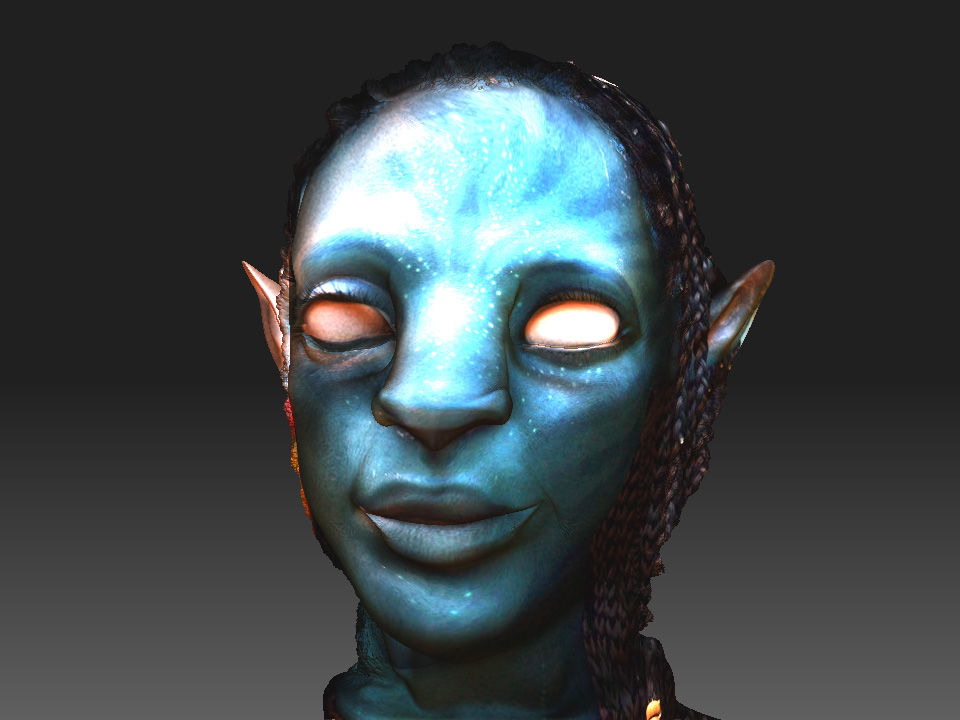
To paint the model, the simplest thing is to go to Tool-PolyPaint, turn on Colorize and start painting on the highest subdivision level.
(since you basically paint the tiny square polygons)
In the top toolbar, turn off Zadd/Zsub, you only want RGB on so you can paint without deforming your model.
You should also change the basematerial in the left toolbar from the redwax to for example Skinshader (white with some glossiness)
In the left toolbar, experiment with the Brushstroke “Color Spray” that gives a slight color variation, and also test different alphas.
NOTE: You don’t need UV mapping to be able to polypaint, but you must have UVmapping before making a texturemap out of the polypaint.
When you have created the UVmapping and Polypaint, you generate the texture map.
Tool-UVmap , check what size is set to, because when you create the texturemap it will get this size.
Tool-Texture: “New from Polypaint” (note: if all icons here are “dimmed” except the NewTexure, you’ve forgotten to create UV, either use UVmaster or Tool-UVmap-AUTiles or similar)
Now comes the tricky part. To be able to save texture. Press “Clone Texture”, now you can find it in the top Texture meny, ready to be exported.
NOTE: For some reason ZBrush handles texures different than most other softwares. I’m 90% sure that you will need to Flip the texture vertically to be able to use it outside of ZBrush. It can be done in Texture menu before export or in whatever paint program you use…Photoshop, PaintShopPro, Gimp etc.
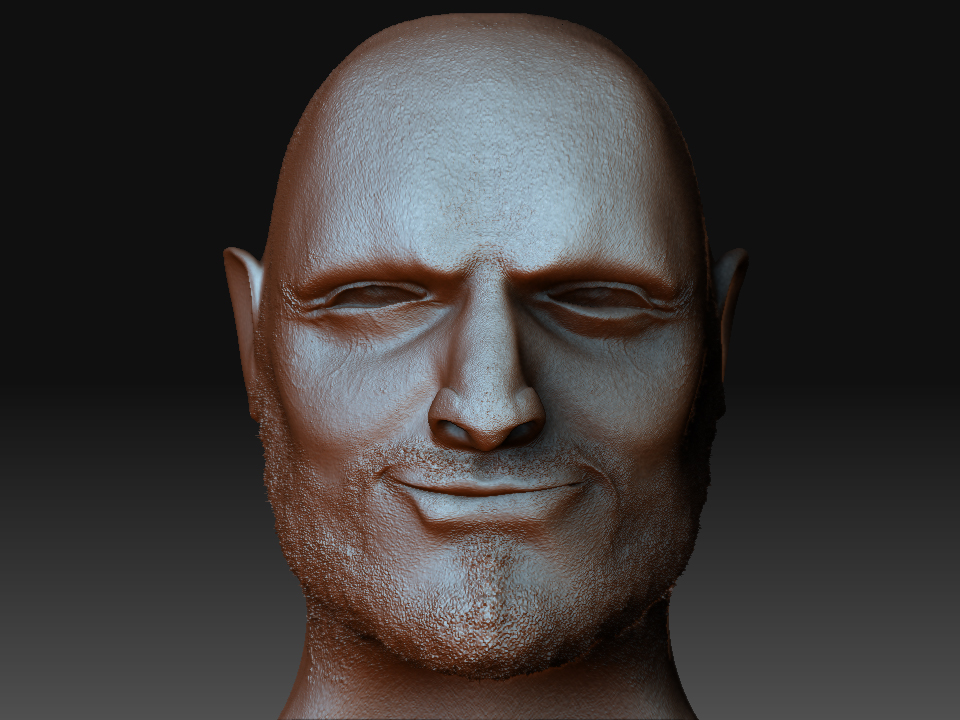
 how can i get wrinkles or some detail?
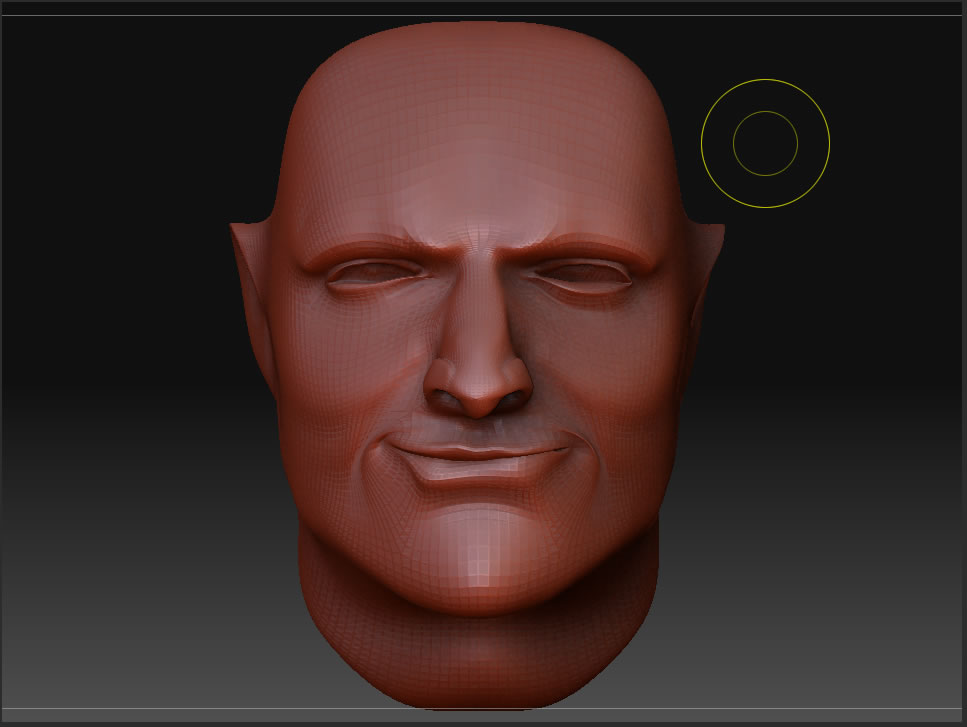
 )
)

 ](javascript:zb_insimg(‘209663’,‘Head%20Mode3l.jpg’,1,0))
 ]
]
 ]
]![[ATT=]Zbrush_test.jpg[/ATT]](http://javascript%3Cb%3E%3C/b%3E:zb_insimg%28%27%27,%27Zbrush_test.jpg%27,1,0%29)