ZBrushCentral

MrNunez Sketchbook

JACKET PROCESS: From Marvelous Designer to Zbrush

In the next posts I will cover the main points from my pipeline to create the jacket. I won’t cover Marvelous Designer as it would need more explanation, specially to accomplish the leather look like folds. But not worries, next week I will make a streaming where I will explain it. Make sure you check it out, still need to confirm the time. and streaming link.

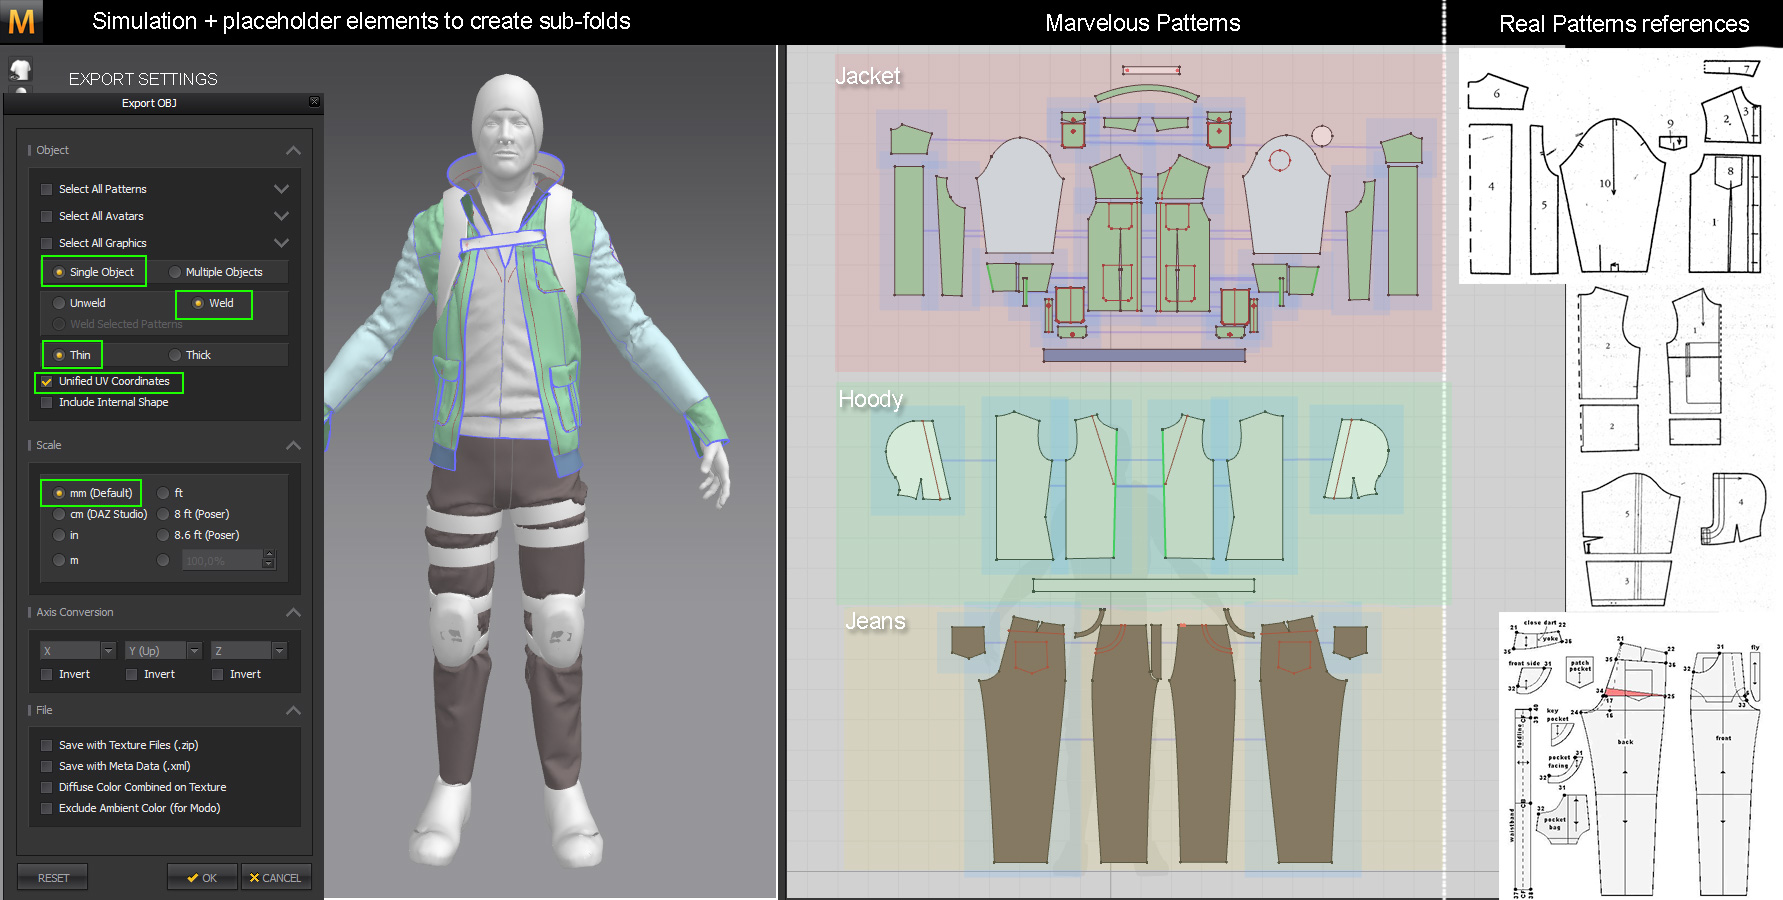
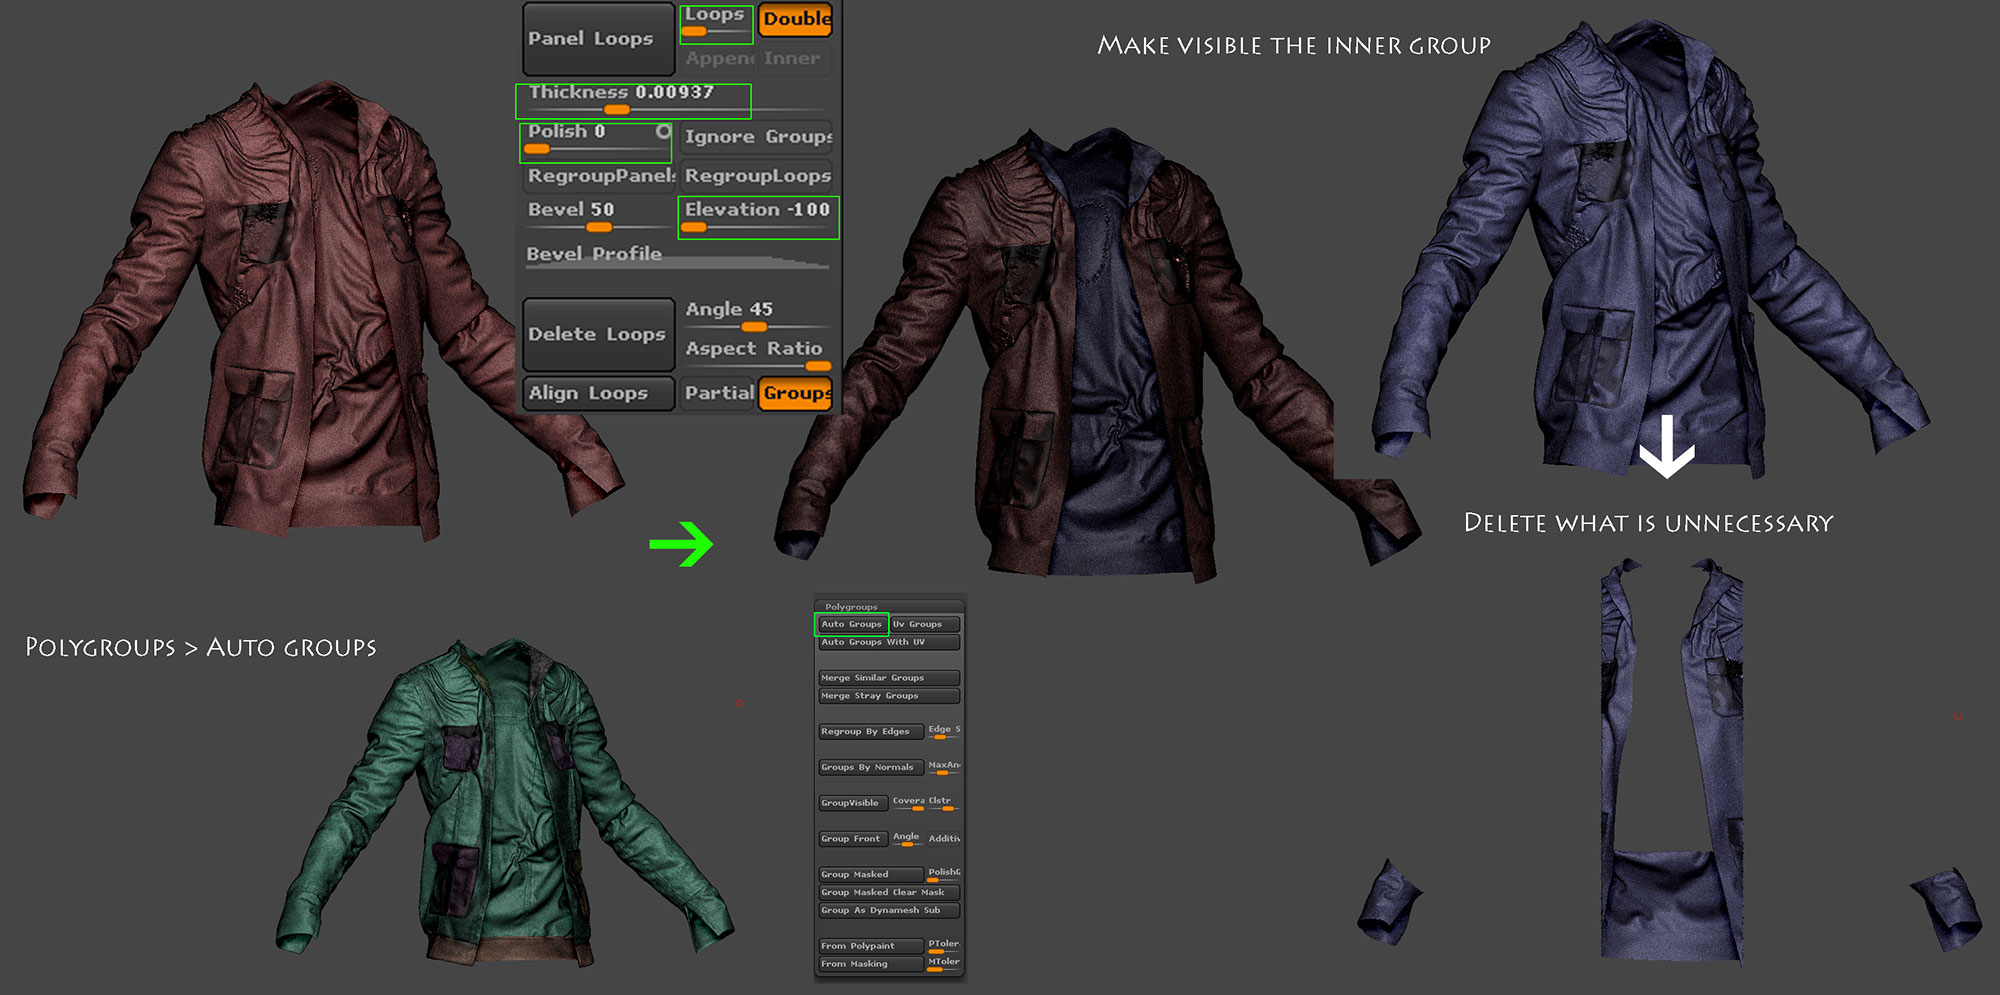
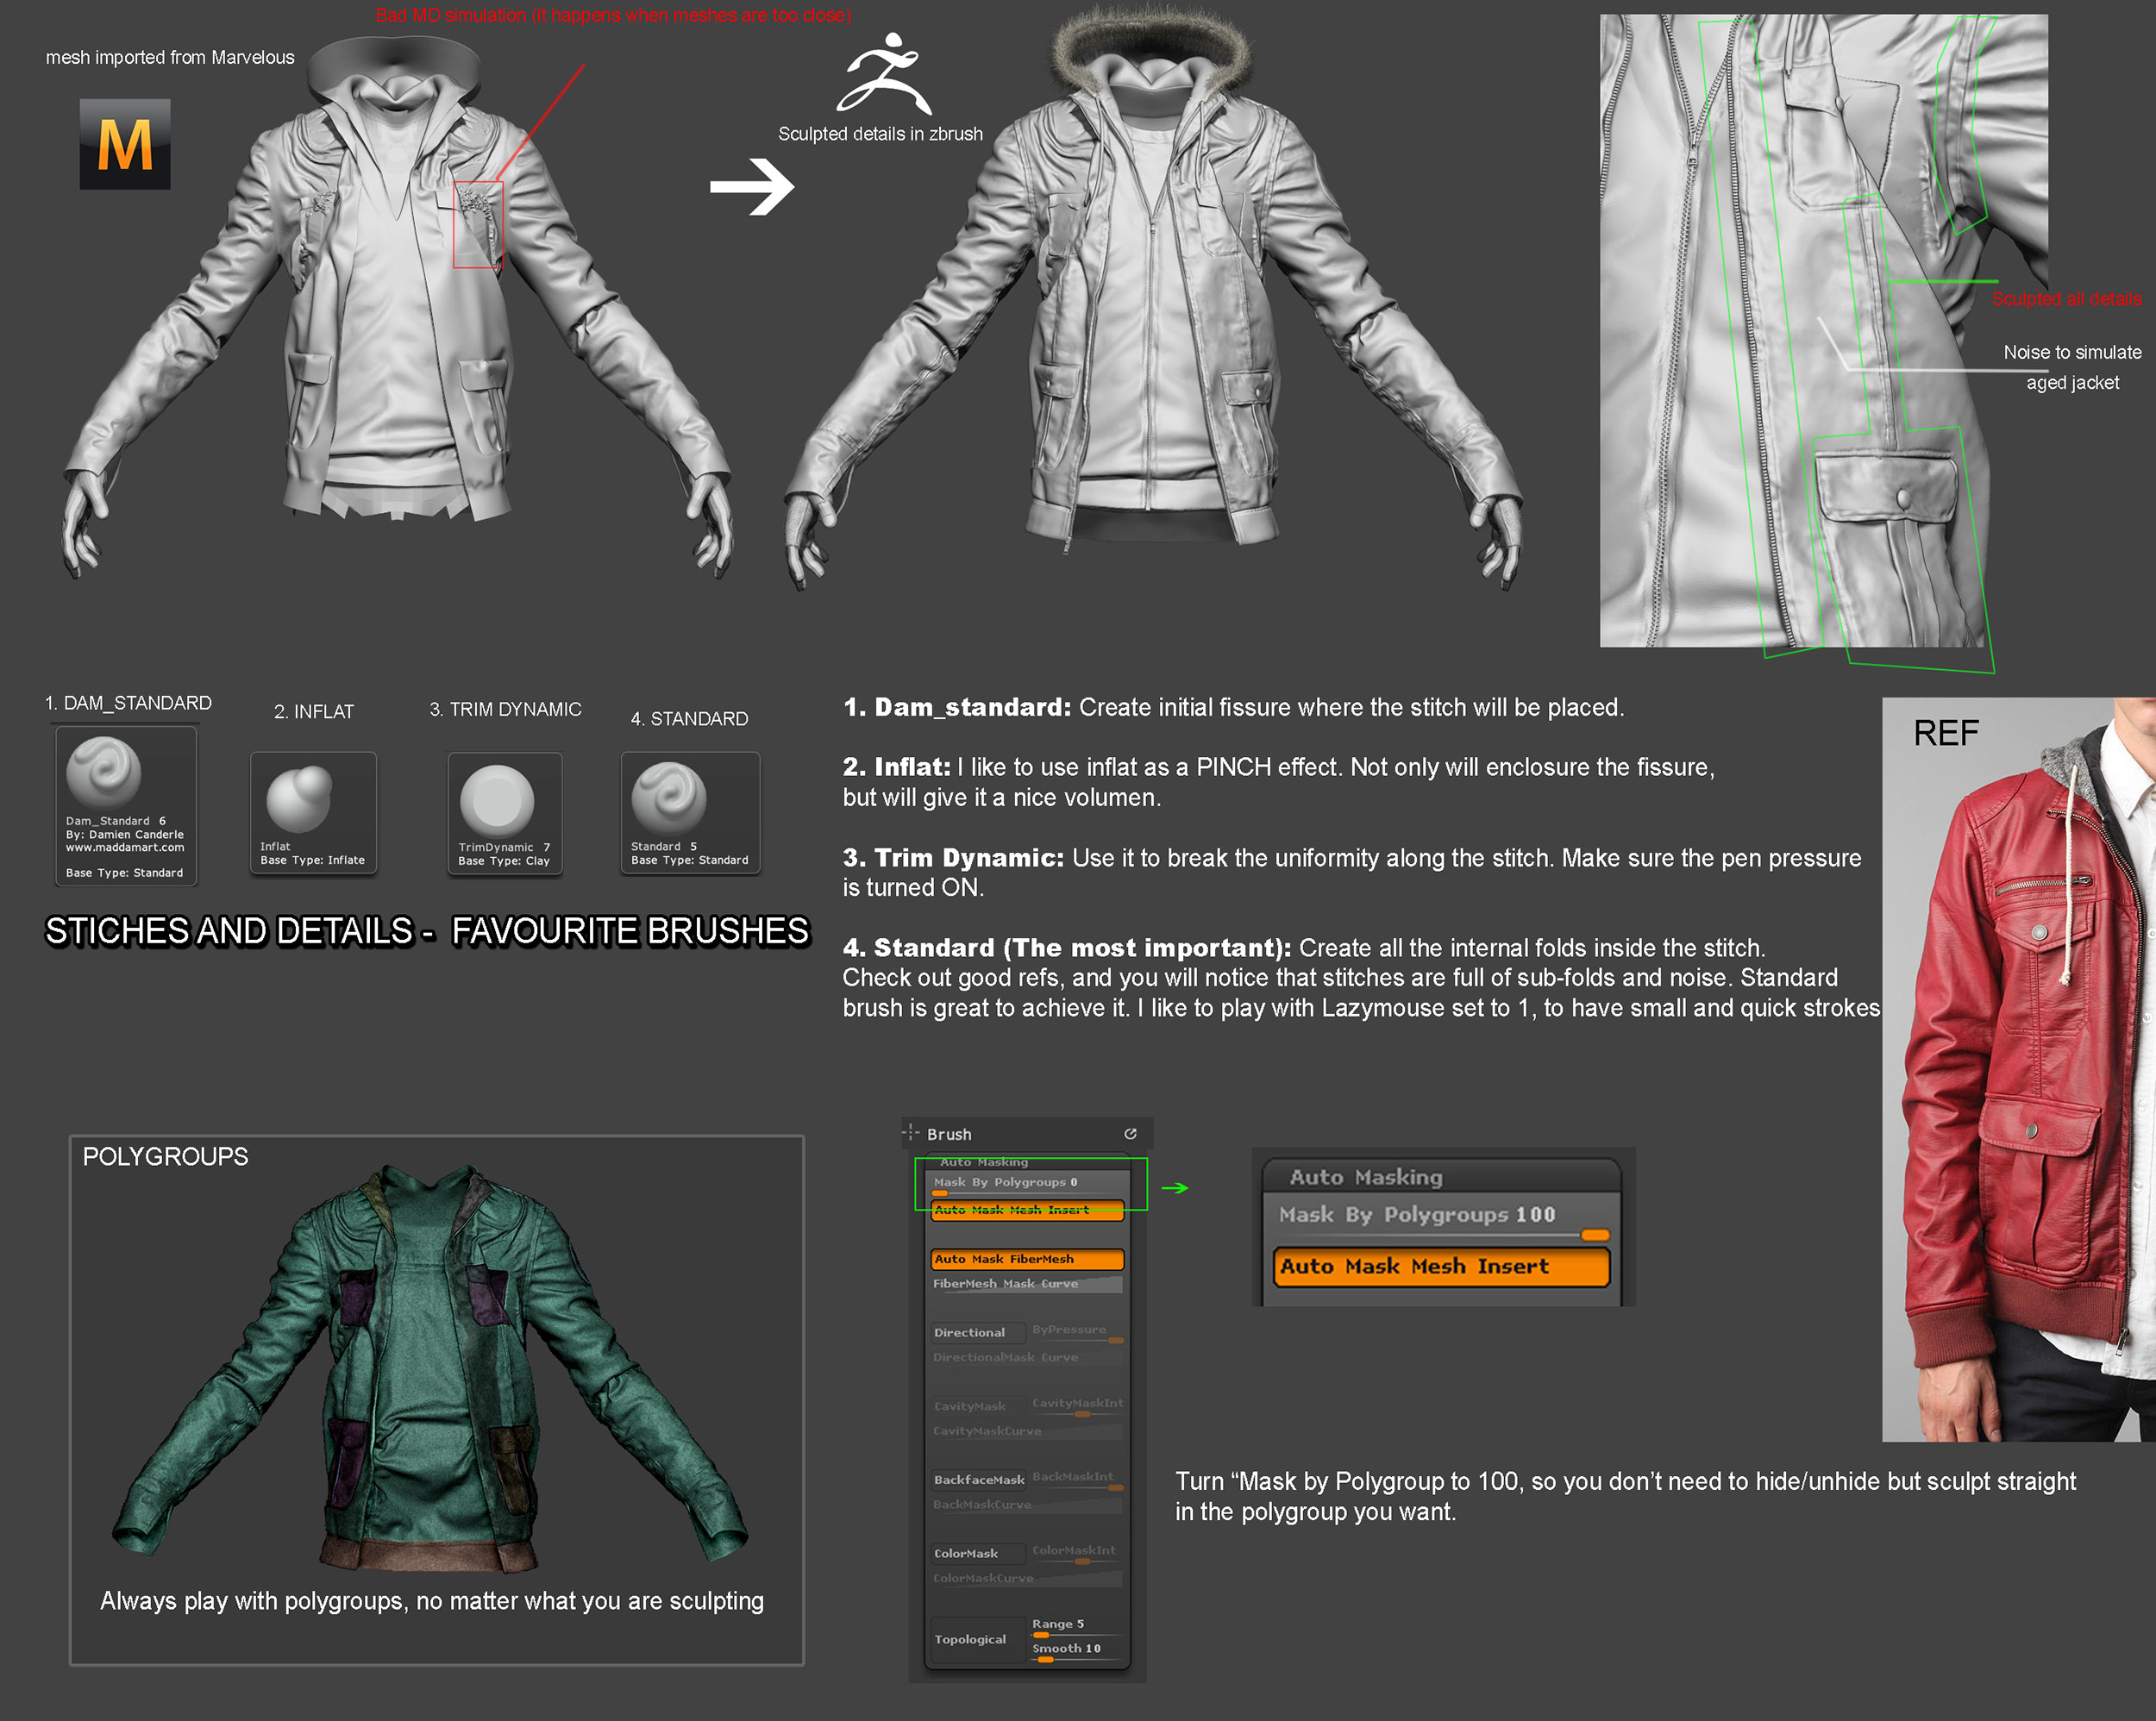
So here I want to explain the patterns I used in MD and export settings. From there we will get to zbrush, make some initial adjustments to the imported mesh. Must say what you get from MD is nothing but just an approximation, with main folds. I had to give a lot of love to the sculpt and analyze the reference to finally get the leather look like.

1. MARVELOUS DESIGNER

The most important thing you should know about Marvelous. It is a real design software!!! The first time I took it, I was making the patterns as I thought the stiches should come, but must admit I HAVE NO IDEA ABOUT BEING A TAILOR! So here is where google saves you.

Try to find real patterns for the clothes you want to make. I am sorry to don’t give links for it, but is very difficult to find real patterns and all the time are different websites. I still want to find a good website with all clothes patterns,. If anyone knows give a shot.
So my wife found a cool Russian website with 2 patterns so I could start with.

On the image below you can see how I try to approximate the maximum to the real pattern. I don’t pretend to do it perfect, but once you hit simulation you can tell that the stitches/patterns come out very nice.

Once you finish with MARVELOUS on export settings make sure you have next:

  • Export single object
  • Weld (always!)
  • Thin ( I like to give the thickness in Zbrush, is cover in the next step of my tutorial)
  • Unified UV coordinates (is up to you, in case you want to apply any surface noise or alphas in Zbrush)
  • I like working on milliliters. Make sure you unify your unit system in all software you use.
  • ![MD.jpg|1100x900](upload://r9cHHbDEGU4tcJoc7XTe180mscY.jpeg)

Attachments

MD.jpg

Zbrush import and initial set-up

Import the resulting OBJ file and you will notice that not all the mesh is weld, in fact, pockets will be a separated object. We will use this in our advantage!

Let’s add some thickness

Geomtry > Panel Loops : Set Loops to 1, as we will be subdividing later the mesh, we don’t want useless polys there. Also make sure you set polish to 0 and bevel to a low value (in fact most of the time I set it to 0). Before apply the panel loops, set Elevation to -100, so the extrusion goes inwards.

So now what!?

Lets get rid of useless areas! Personally in the past I had several issues during the bake process because the double mesh. You can avoid this by have Display >Double turned ON. But I hate doing that.

I think is more simple to get rid of the double mesh from the beginning. So make visible the inner Polygroup and delete all the areas that won’t be visible at all, either during sculpt or baking process. In this case, arms and a great area of the front and back inner jacket.

POLYGROUPS

Can not stop to repeat this. Always work with polygroups, no matter what you are sculpting. The AUTO GROUPS feature works great on the Marvelous clothes, as it will separate the pockets in a different polygroup, so we will be able to sculpt those separately and make the whole process nicely.
Zbrush_initial.jpg

Attachments

Zbrush_initial.jpg

3. ZBRUSH FUN

Now let’s start the real thing, sculpt! As I said, what you get from Marvelous is merely and approximation and it will need a lot of love and patience to get the final design.

First, if you are working with too close meshes, like in my case, you will get a noise you will need to remove with the SMOOTH BRUSH. Nevertheless, those areas won’t be visible in any moment as will be cover by the bag and other elements. Do whatever you feel like, I like to have things clean so I spend some minutes just smoothing out those “noisy areas”

Get a nice reference and analyze how the sub-folds behave + pastiches patterns. In this step I want to emphasize my process to create the stitches and sub- folds, as is what it will give the jacket the real look! These are my brush set and order I use:

  1. Dam_standard: Create the initial fissure where the stitch will be placed.
  2. Inflat: I like to use inflat as a PINCH effect. Not only will enclosure the fissure, but will give it a nice volume to it
  3. Trim Dynamic: Use it to break the uniformity along the stick. Make sure the pen pressure is turned ON.

4. Standard (The most important): Create all the internal folds inside the stitch. Check out good refs, and you will notice that stitches are full of sub-folds and noise. Standard brush is great to achieve it. I like to play with Lazymouse set to 1, to have small and quick strokes.
Also standard brush is great to create noise around the jacket, using a small Z Intensity for it.

SO YOU KEEP WORKING WITH POLYGROUPS?

Well done! Use the AutoMasking option to be able to sculpt in the polygroup you want. I personally recommend you to create a Macro where you set this one ON/OFF so you have it accessible in the UI. I use it almost all the time.

Zbrush.jpg

Attachments

Zbrush.jpg

1 Like

Beautiful artwork mate! really outstanding work! :+1:small_orange_diamond:)
Great design and just really great produced. Thank you also for the detailed breakdown to show us your workflow.
Definatnly Top Row Material and worth every long night you spent on it mate! Congrats and happy sculpting buddy!
Keep it rockin’ and comin’ ^^ :slight_smile:

Cheers,
Kenny:)

Thanks for the nice words Kenny!

I am very glad to hear all of this is helpful to anyone as I have been learning from other Artist on the same basis. Knowledge is meant to be shared :smiley:

Best regards,

Marlon

Hey guys!

I will be streaming tomorrow Oct 12th, 21:00 GTM+2 my process on Marvelous Designer I used on my last character “Winter Operative”. We will talk about some basic parameters in MD, import avatars and blend shapes, simulations and Jacket Pattern. I hope to cover everything and have time to export it to Zbrush.

Join me tomorrow and shout any questions you might have!
grin emoticon

Day: Monday 12th, October
Time: 21:00 GMT+2
Language: English

https://sywork.tv/channel/name/marlon-r-nunez

Awesome!

I’m getting into Marvelous Designer myself. Trying to make a sort of leather outfit. Looking for good tutorials but are still quite hard to find. I’m having a hard time actually getting folds in my clothes.
Most tutorials or time lapses I have seen it seems to work automatically. Not in my scene though. Also where do have a nice source for free sewing patterns because I can’t really find anything.

Great character.

really loving this!!! looks amazing! just got me exponentially more excited for division. also big ups to even sharing the original designer’s artstation. great show of showmanship

Good stuff. I liked these so much.

Enishi, awesome work here.

Would you care to elaborate a bit on the whole skin shading pipeline from ZBrush to KeyShot?

(Sculpting skin details in ZBrush, texture painting, transferring to KeyShot, shader setup in KeyShot etc)

Thanks in advance
-Fred

Very very look alike, subscribed.

Looks really great! Well done! (y)

Suberb work and thanks for the break down. One thing though; do you just sculpt on the mesh that came from MD, or did you zremesh or retopo it in any way at all?

Hey guys just checking out last replies, glad you can find it useful :smiley:

nikol: I don’t retopo the mesh from MD as is already quite dense (I usually export with a really low density value), as anyway I need to keep subdividing to be able to sculpt all the little details. I just retopo on the final Low-poly mesh. I will post about it as some people already asked me same question, so stay tune! :wink:

CamilleKleinman: Thanks Camile, great stuff you have on you course! :smiley:

Freewaldo, TonimaAkter, ebelesaurus: Thanks guys!

Frederic: I have play a lot with skin shader within Keyshot, will try work out a stream or tutorial when I have some time.

Btw, to all of you who missed my webinar, I uploaded to youtube so you can check it out ;). Cheers

Winter Operative - Real time character

Just finished my last character and want to share with all the zbrush community. I feel very happy with the final result to be honest. Model is created in Zbrush and clothes in Marvelous Designer

Final textures are done in Substance Painter and MARI for all the skin textures.

You can check all the HD images on my Artstation: https://www.artstation.com/artist/mrnunez

Also I have uploaded a Marmoset Viewer file, so you can check out the topology and maps: https://www.artstation.com/artwork/O36E6

Hope you like it!

Best

Pose_03.jpg
Pose_01.jpg
Pose_02.jpg
Pose_04.jpg
Pose_05.jpg

Attachments

Pose_03.jpg

Pose_01.jpg

Pose_02.jpg

Pose_04.jpg

Pose_05.jpg

Wooooooooow!!! That’s just awesome!!! I was searching for this king of tutorial for a lot of time now and it was reaaaally helpful :slight_smile: That would be really nice if you could make a mini demo or tutorial about setting different material setup inside marvelous designer to get different result… Thank you very much again and I hope to see more tutorial from you in the futur! :slight_smile:

Thanks WilliamP,

regarding MD material setup, to be fair as all works in real-time during the simulation is more of testing and see what you get. Simulation differs time to time and parameters are straight forward. Just make sure you play with a high density number.

I mostly think about doing a video of a likeness studies in Zbrush, I would like to show my Zbrush workflow one day…just need to find time for it and improve my anatomy knowledge :smiley:

Best,

Marlon

More renders from Marmoset. Movie style :smiley:

Movie_01.jpg
Movie_04.jpg
Movie_03.jpg
Movie_02.jpg

Attachments

Movie_01.jpg

Movie_04.jpg

Movie_03.jpg

Movie_02.jpg

Marmoset Viewer

<iframe src="https://www.artstation.com/embed/1507637" allowfullscreen="" mozallowfullscreen="true" webkitallowfullscreen="true" onmousewheel="" scrolling="no" frameborder="0" height="480px" width="640px"> </iframe>

Today my son Marcos is 2 months old. I decided to give him a tribute and sculpt him. Pretty much I think I will 3Dprint him :stuck_out_tongue: 
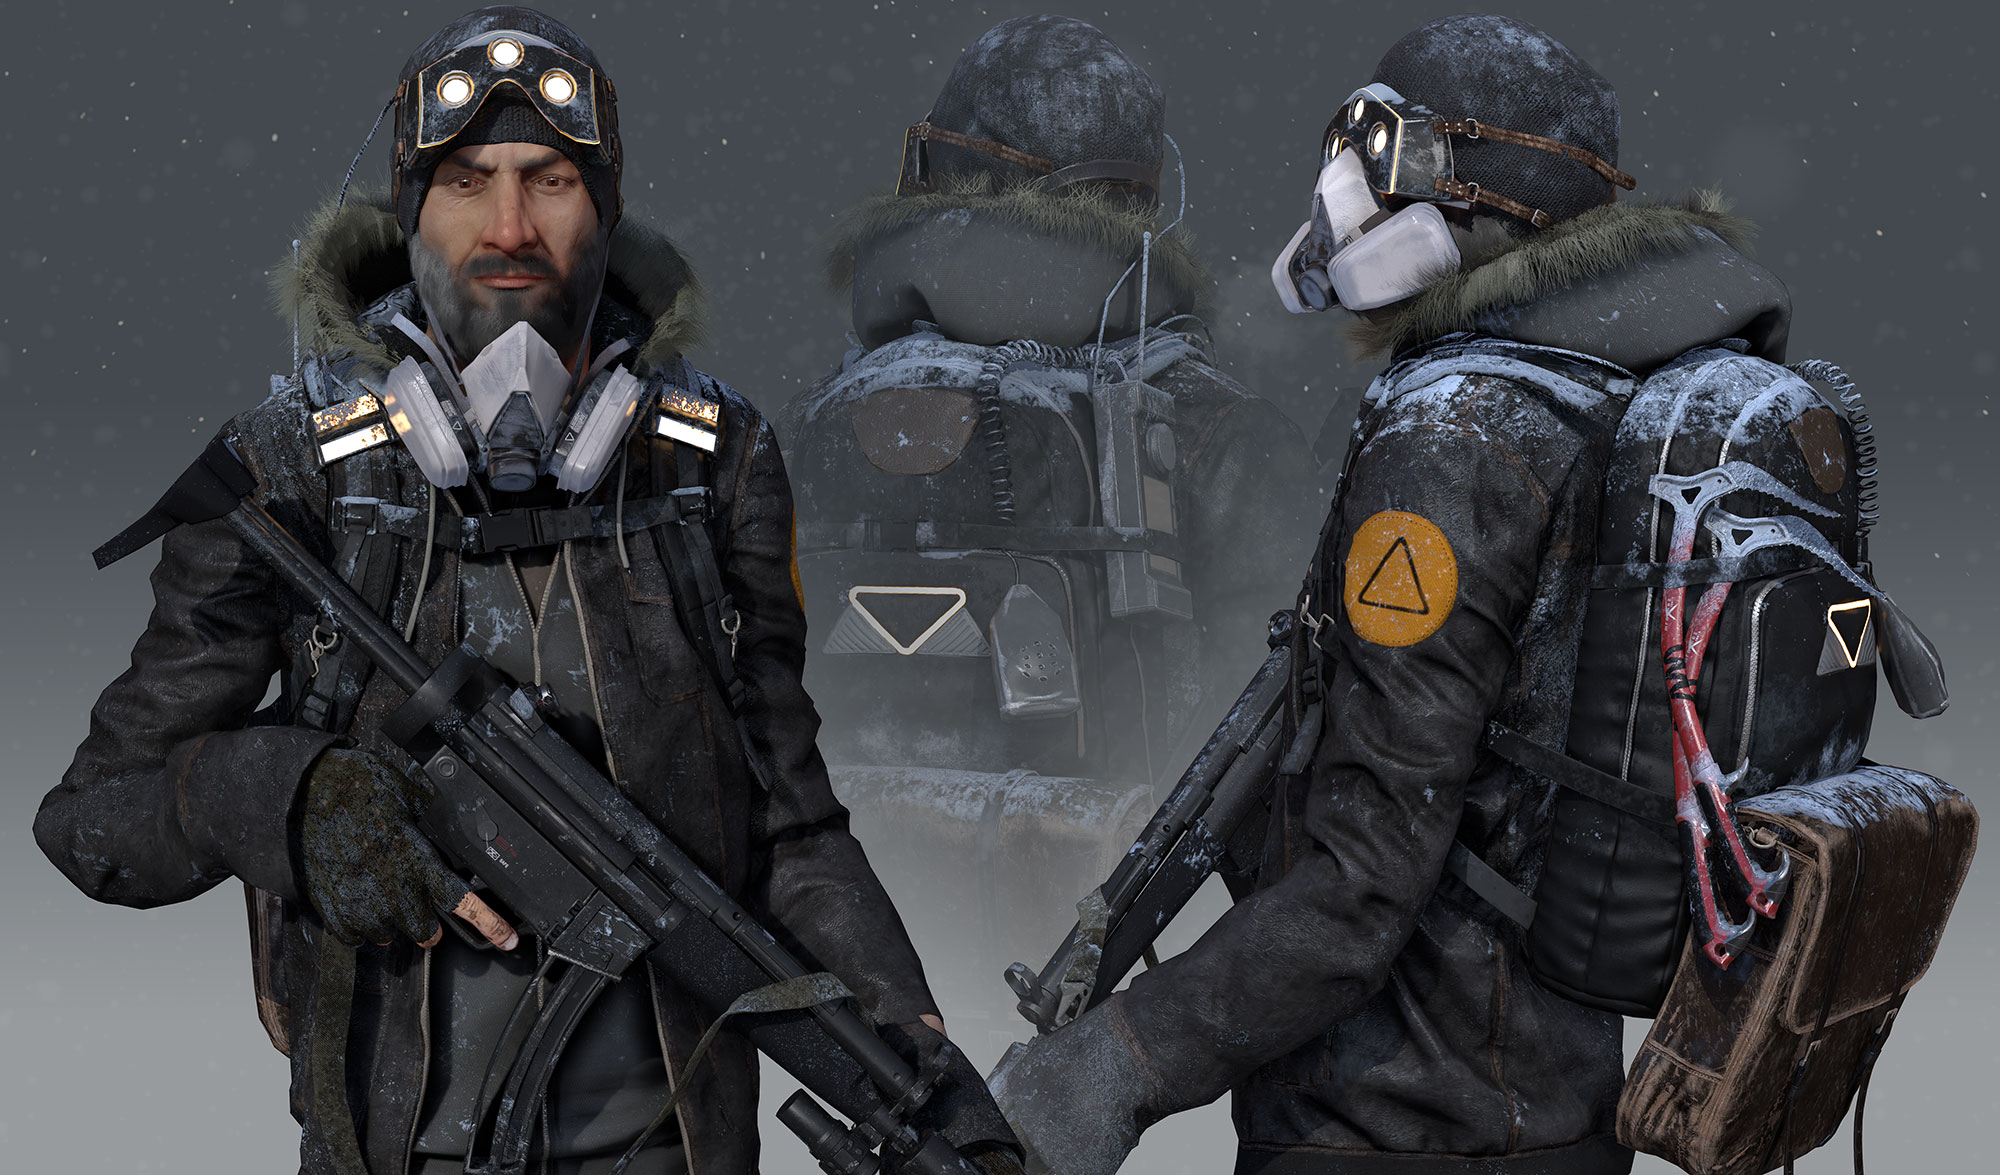
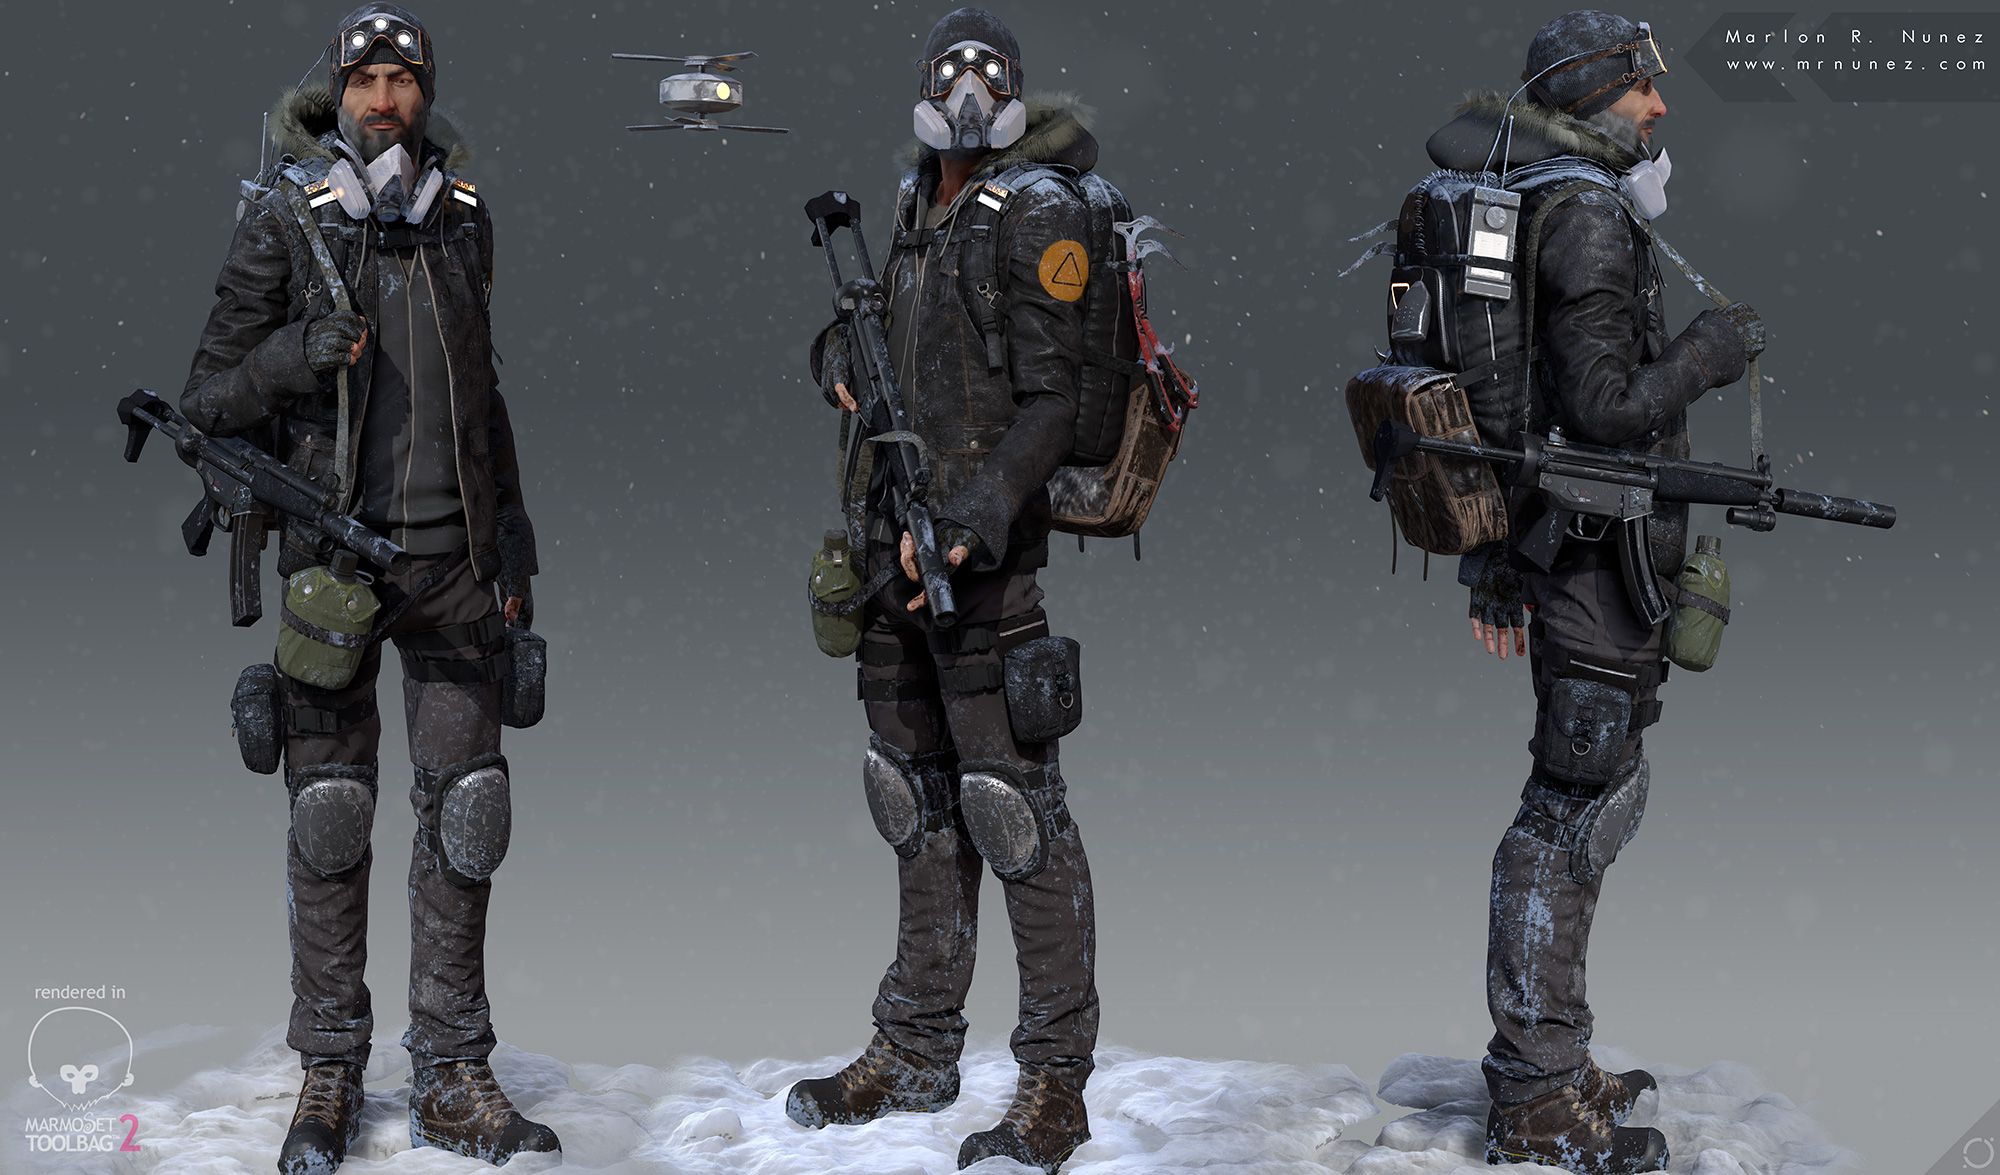
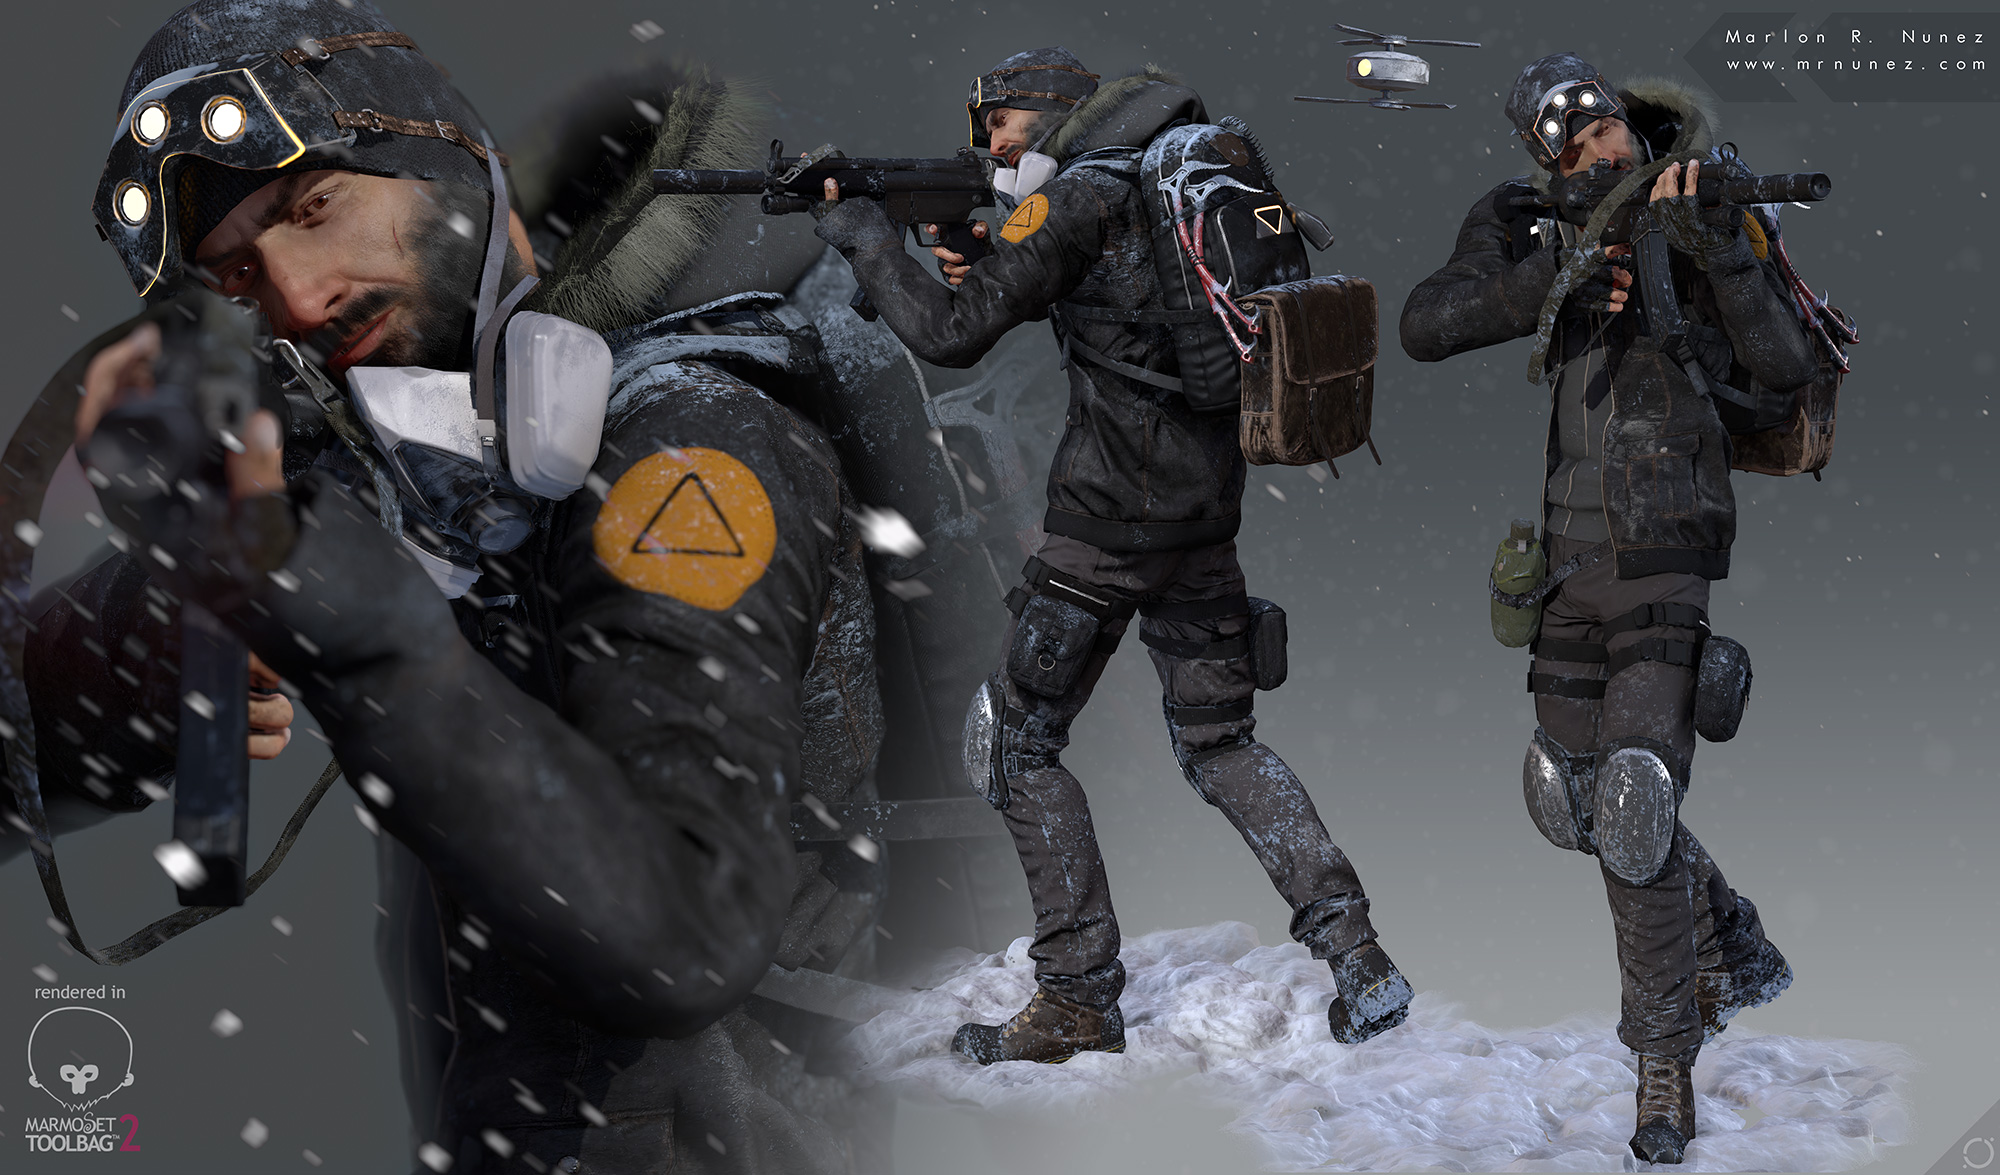
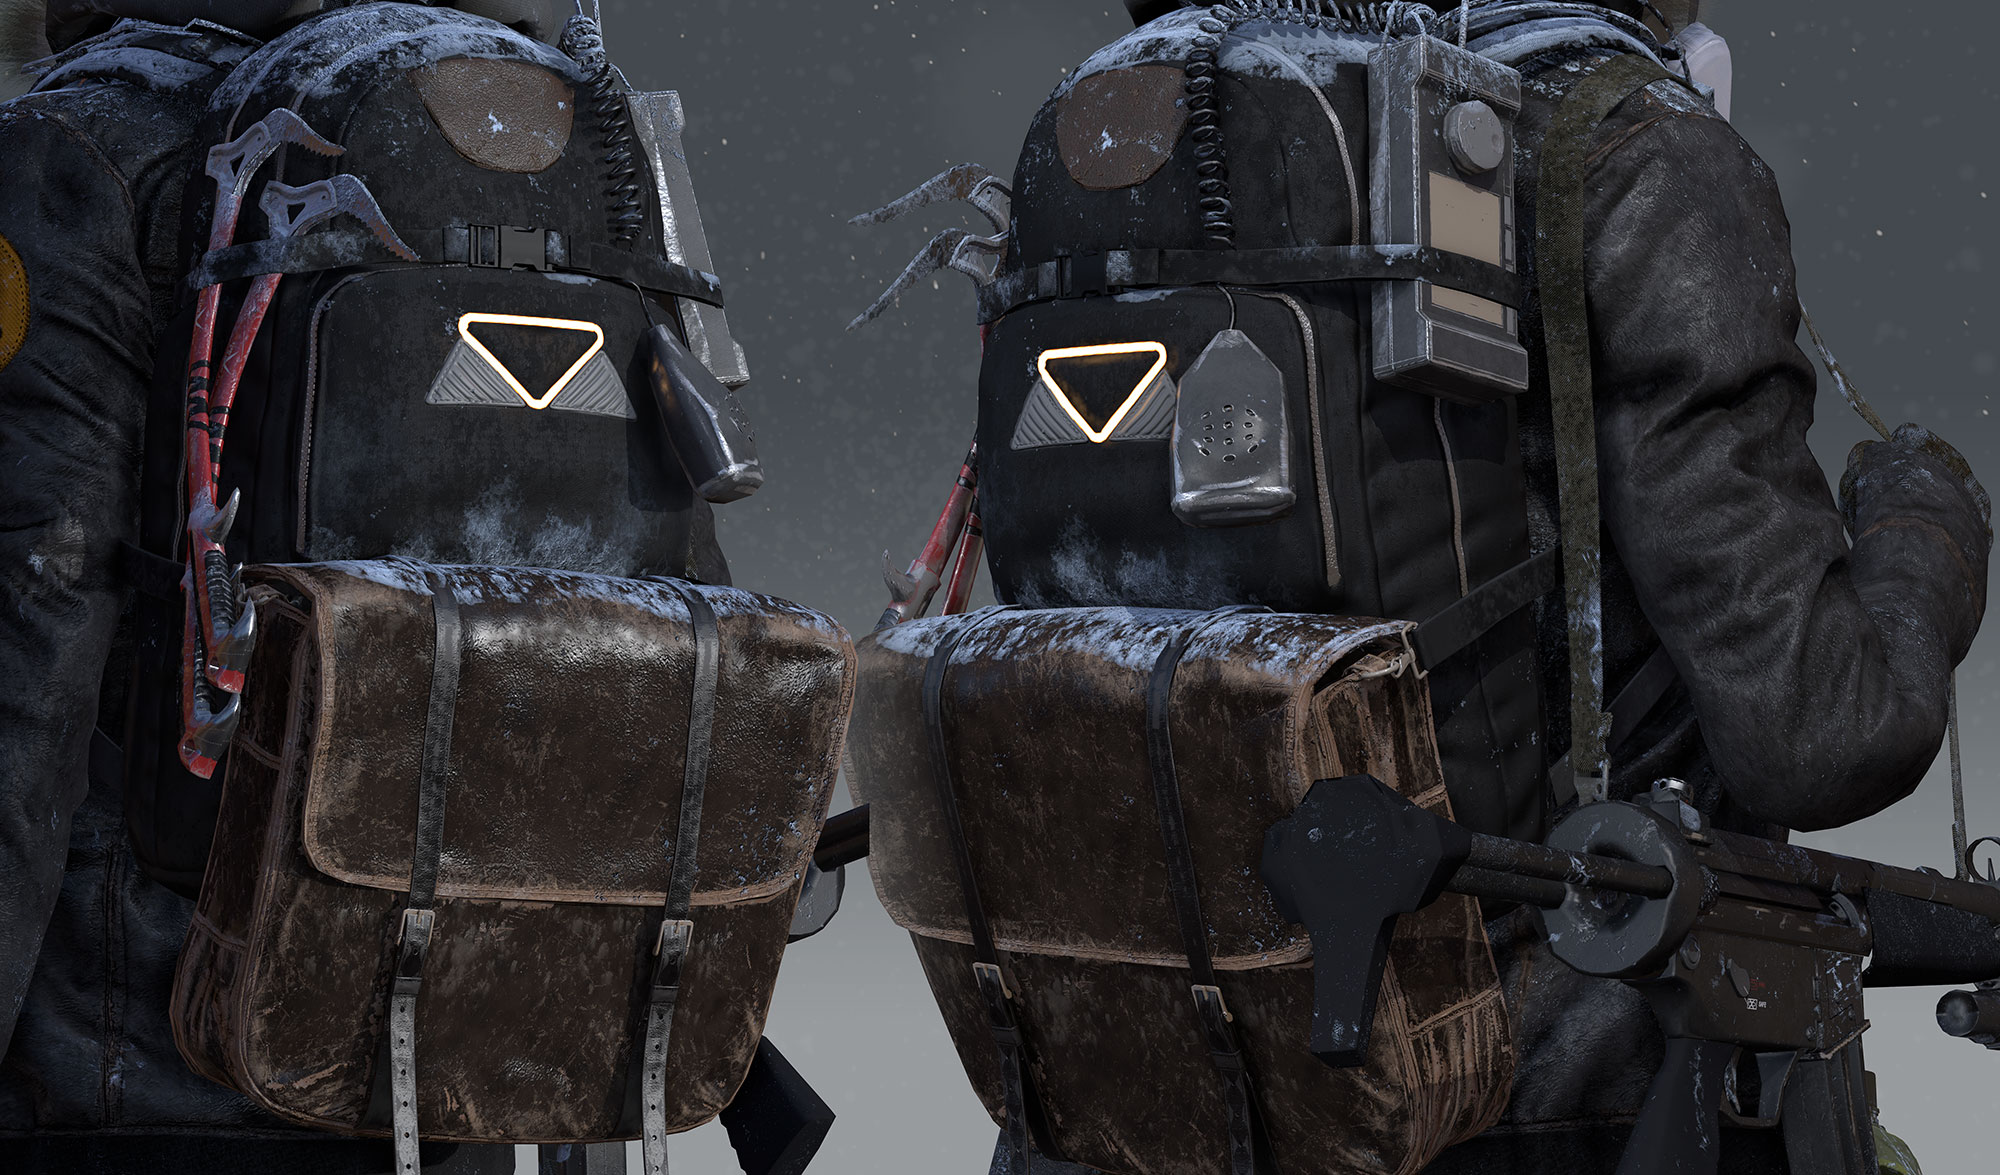
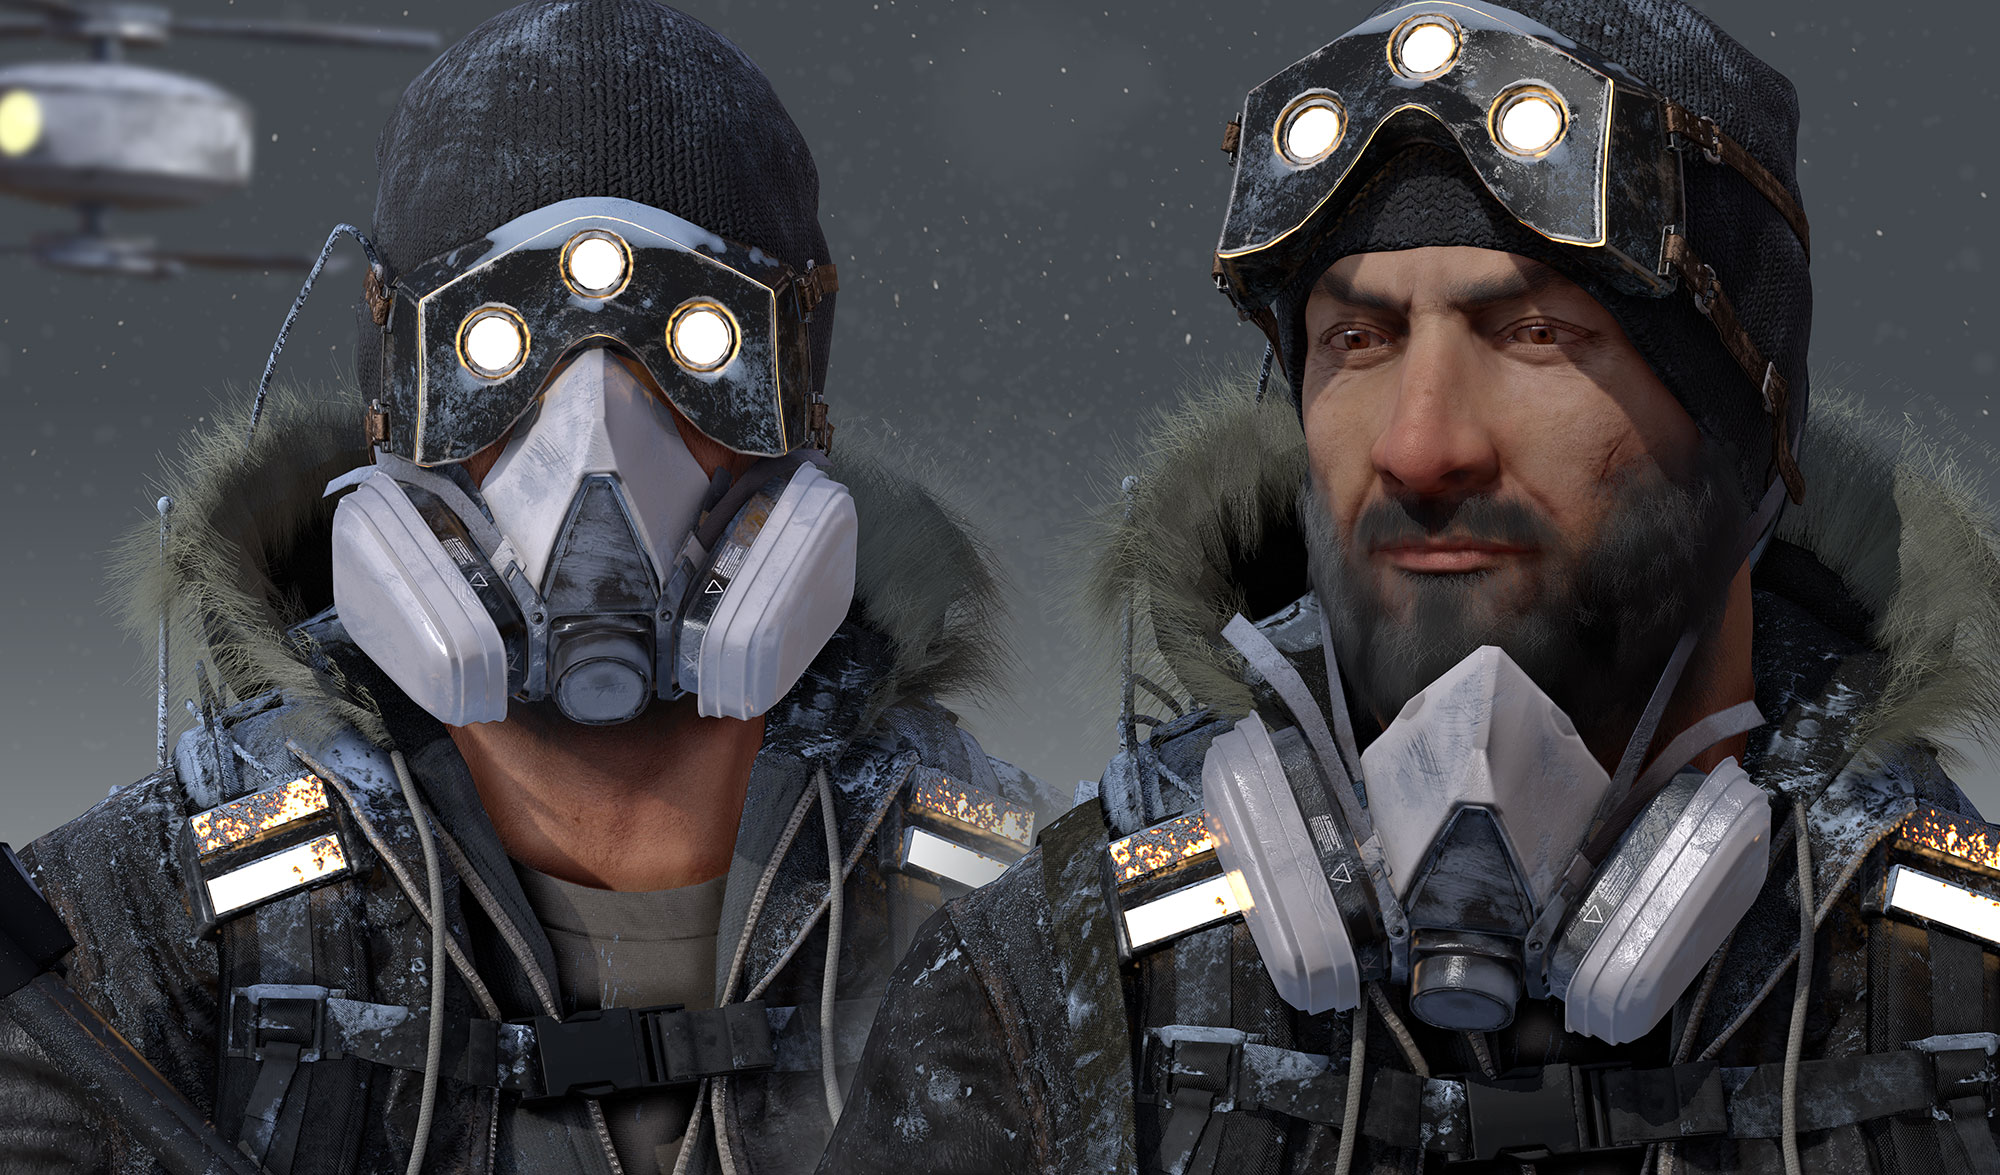
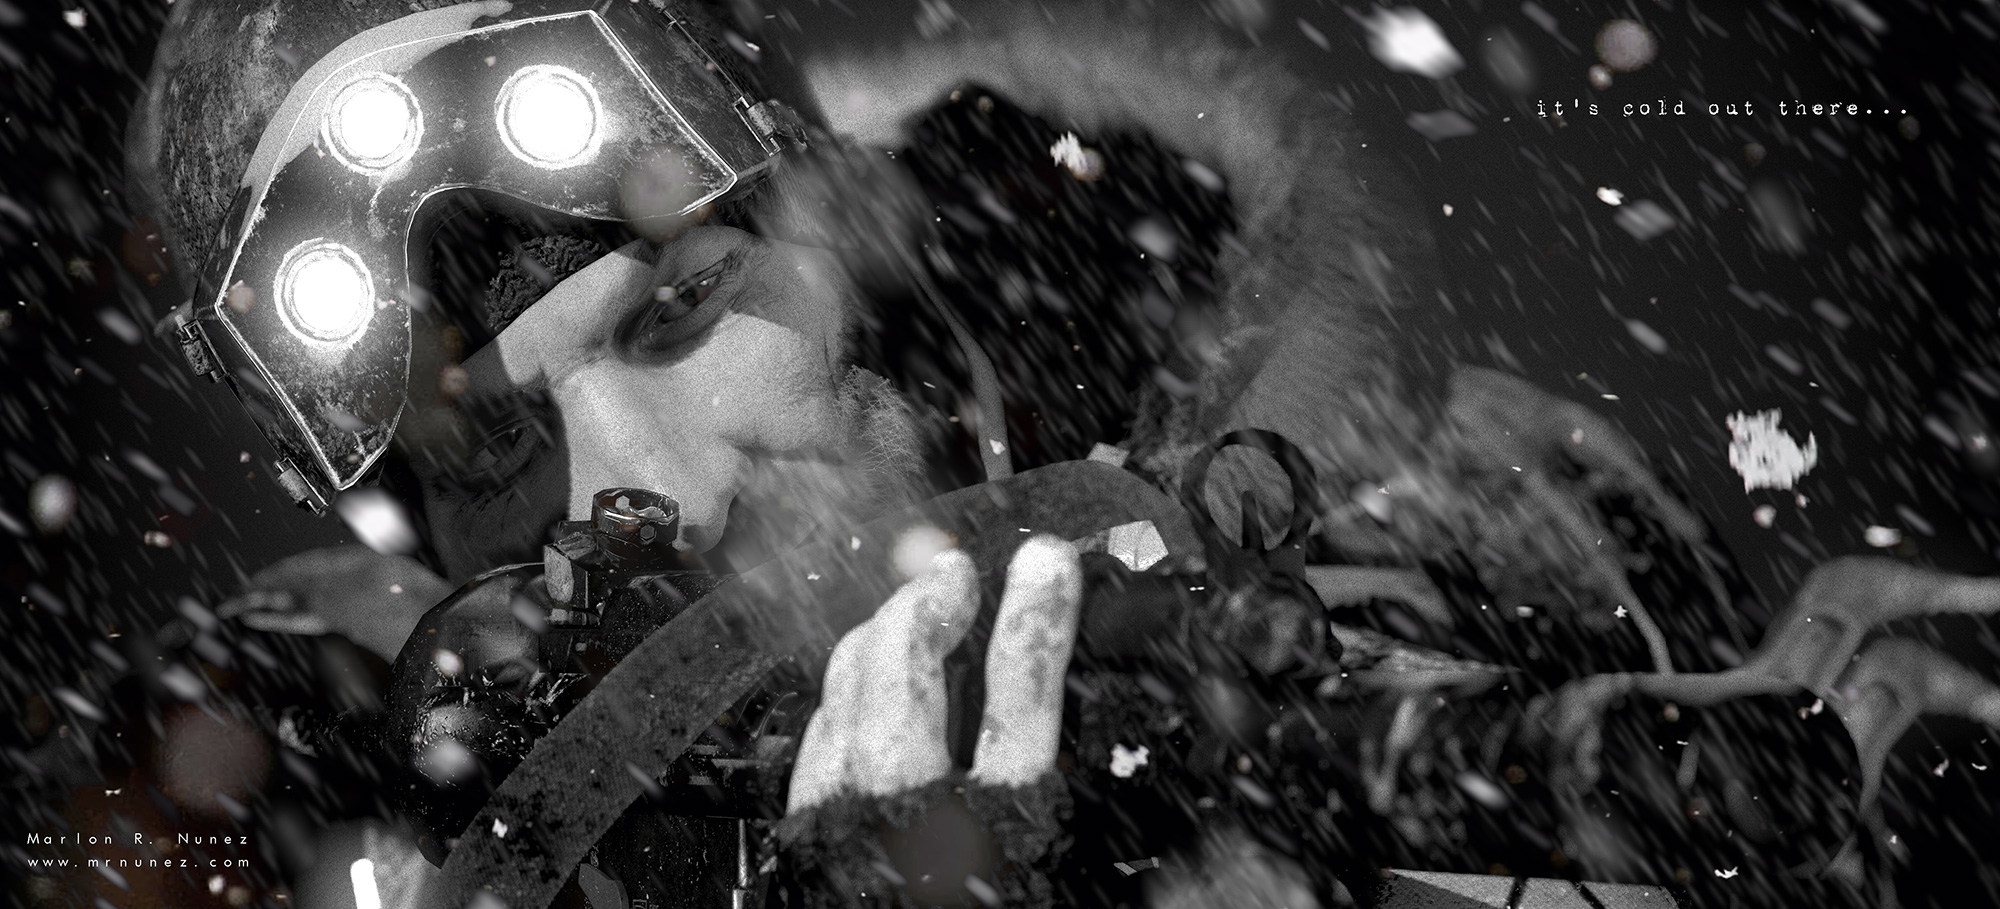
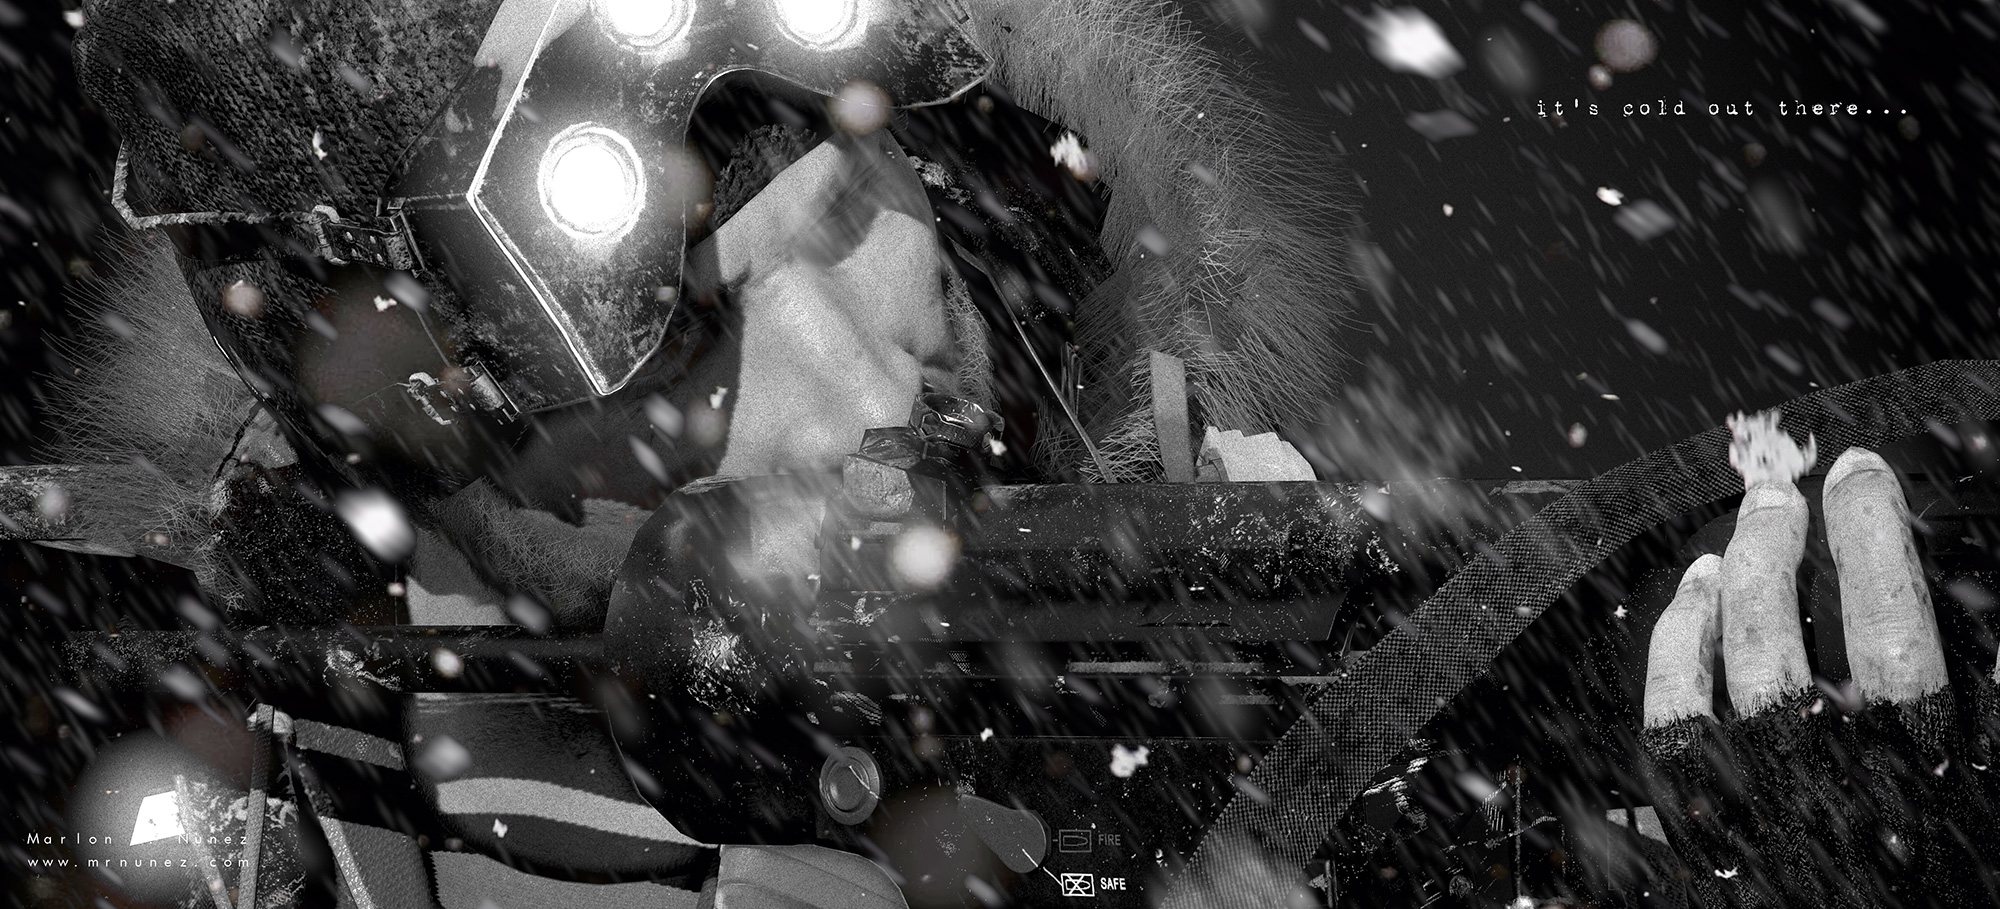
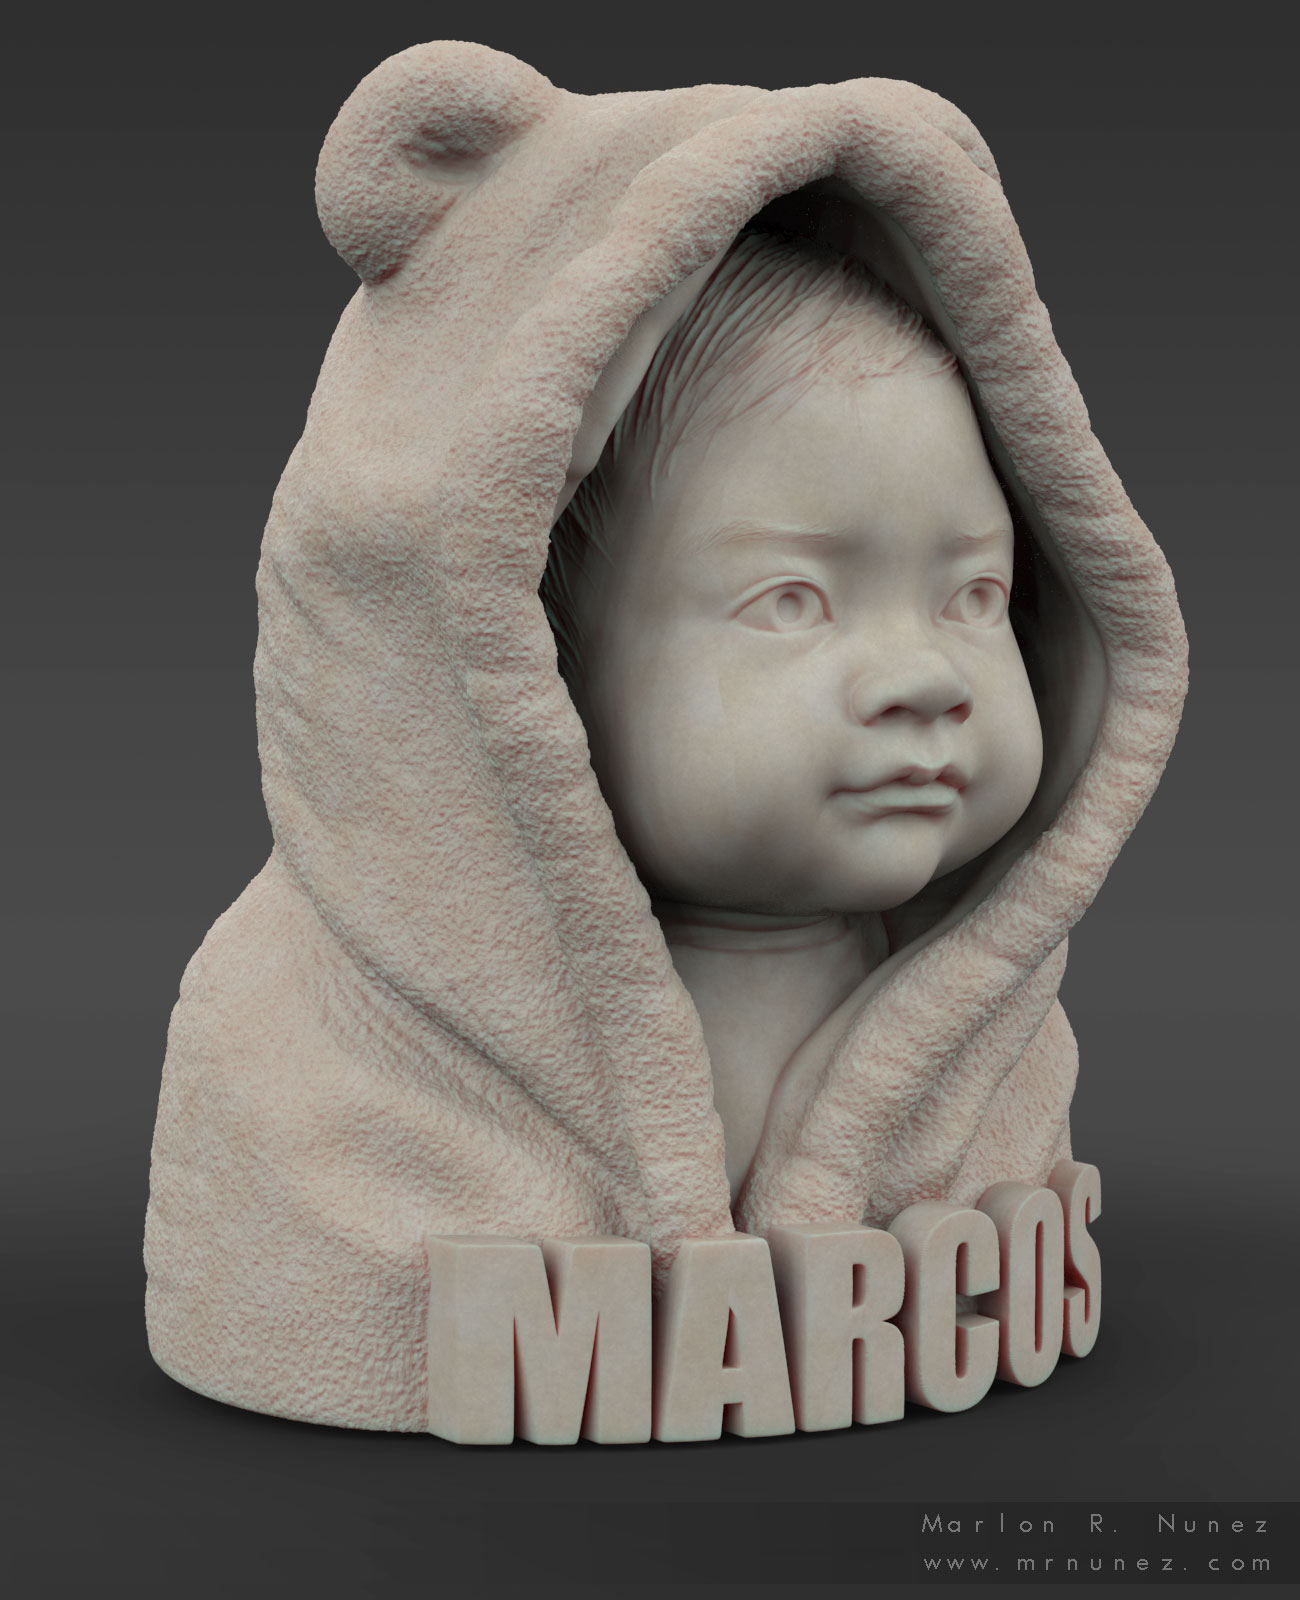
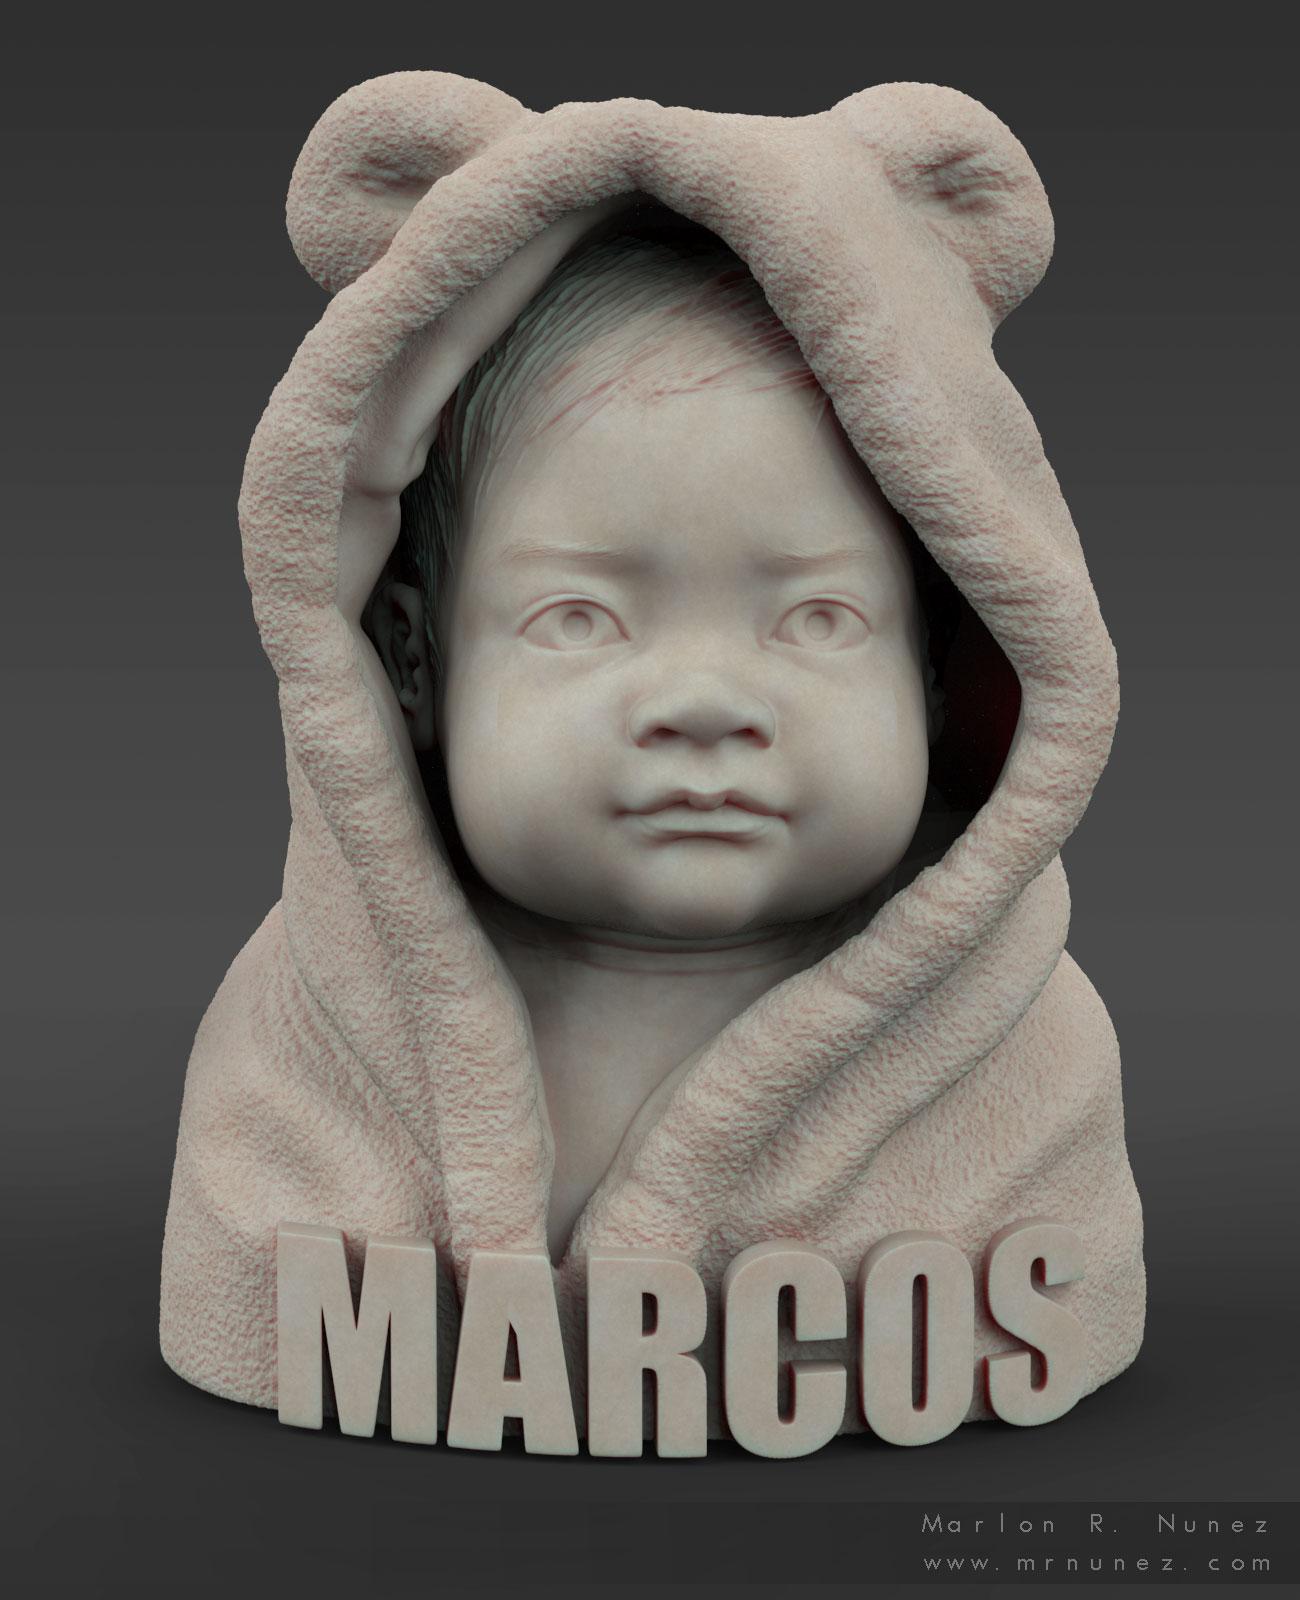
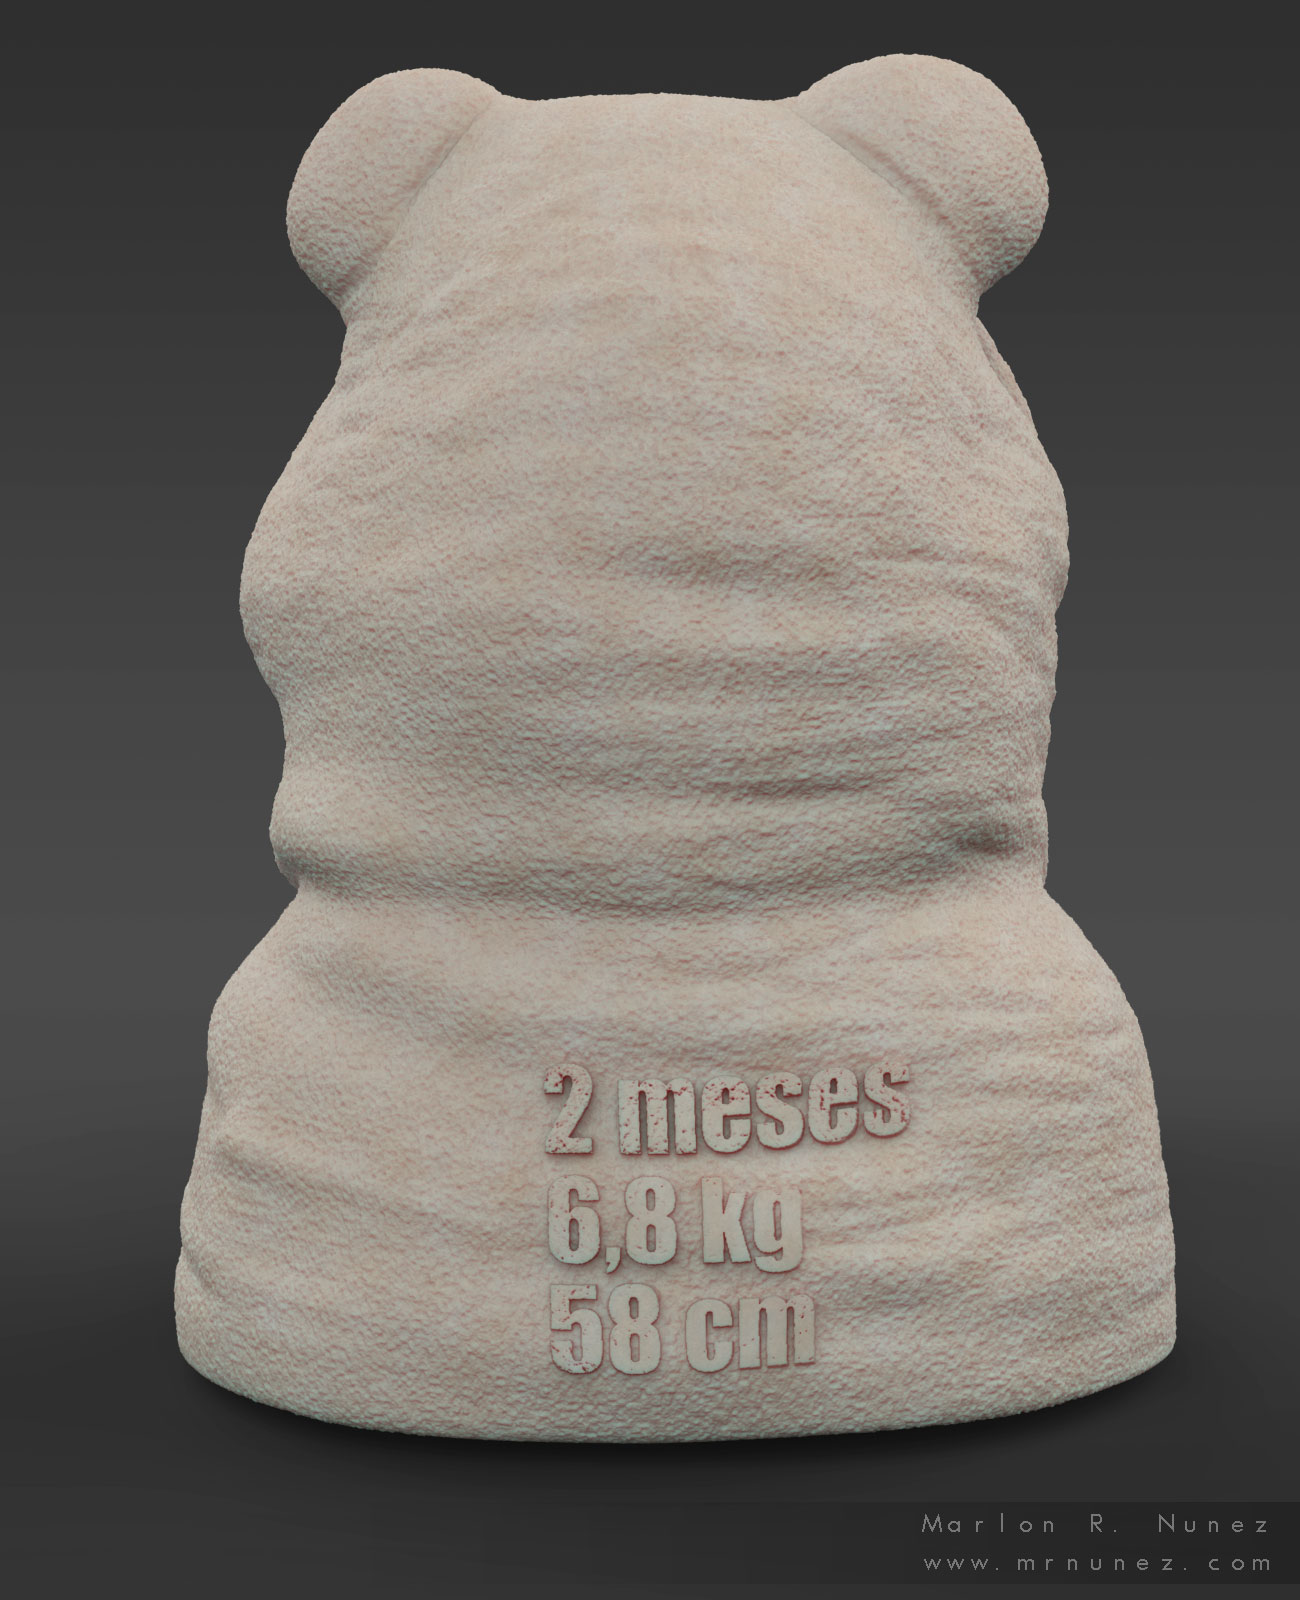
Sculpted in Zbrush, rendered in Keyshot.
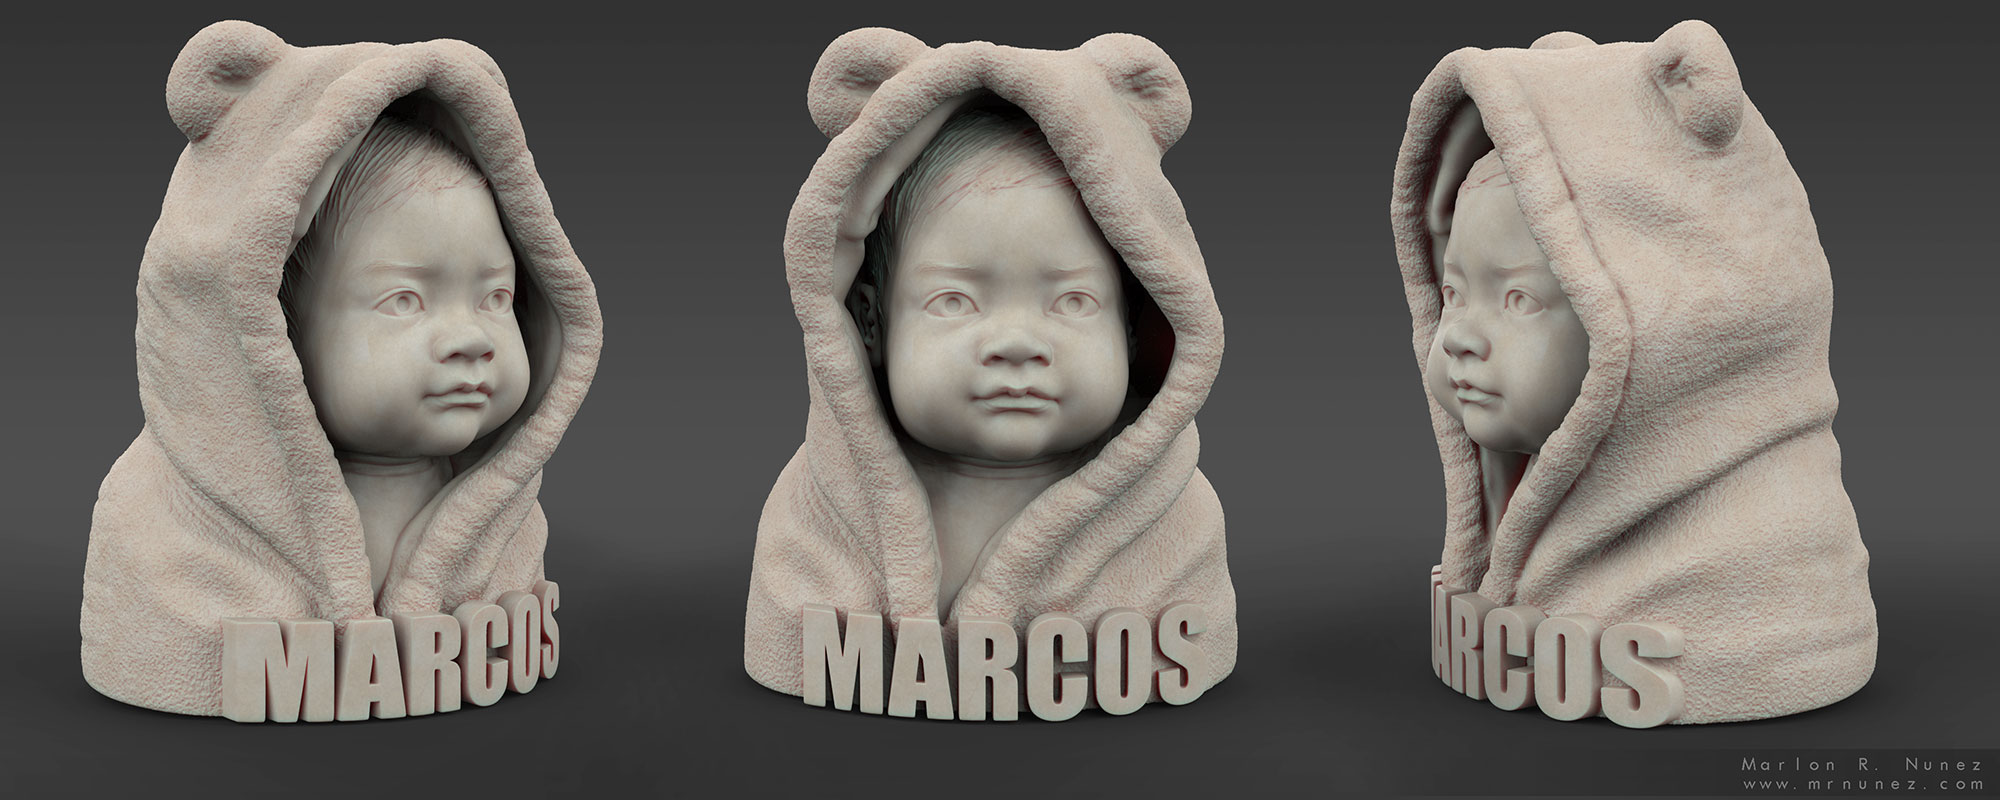
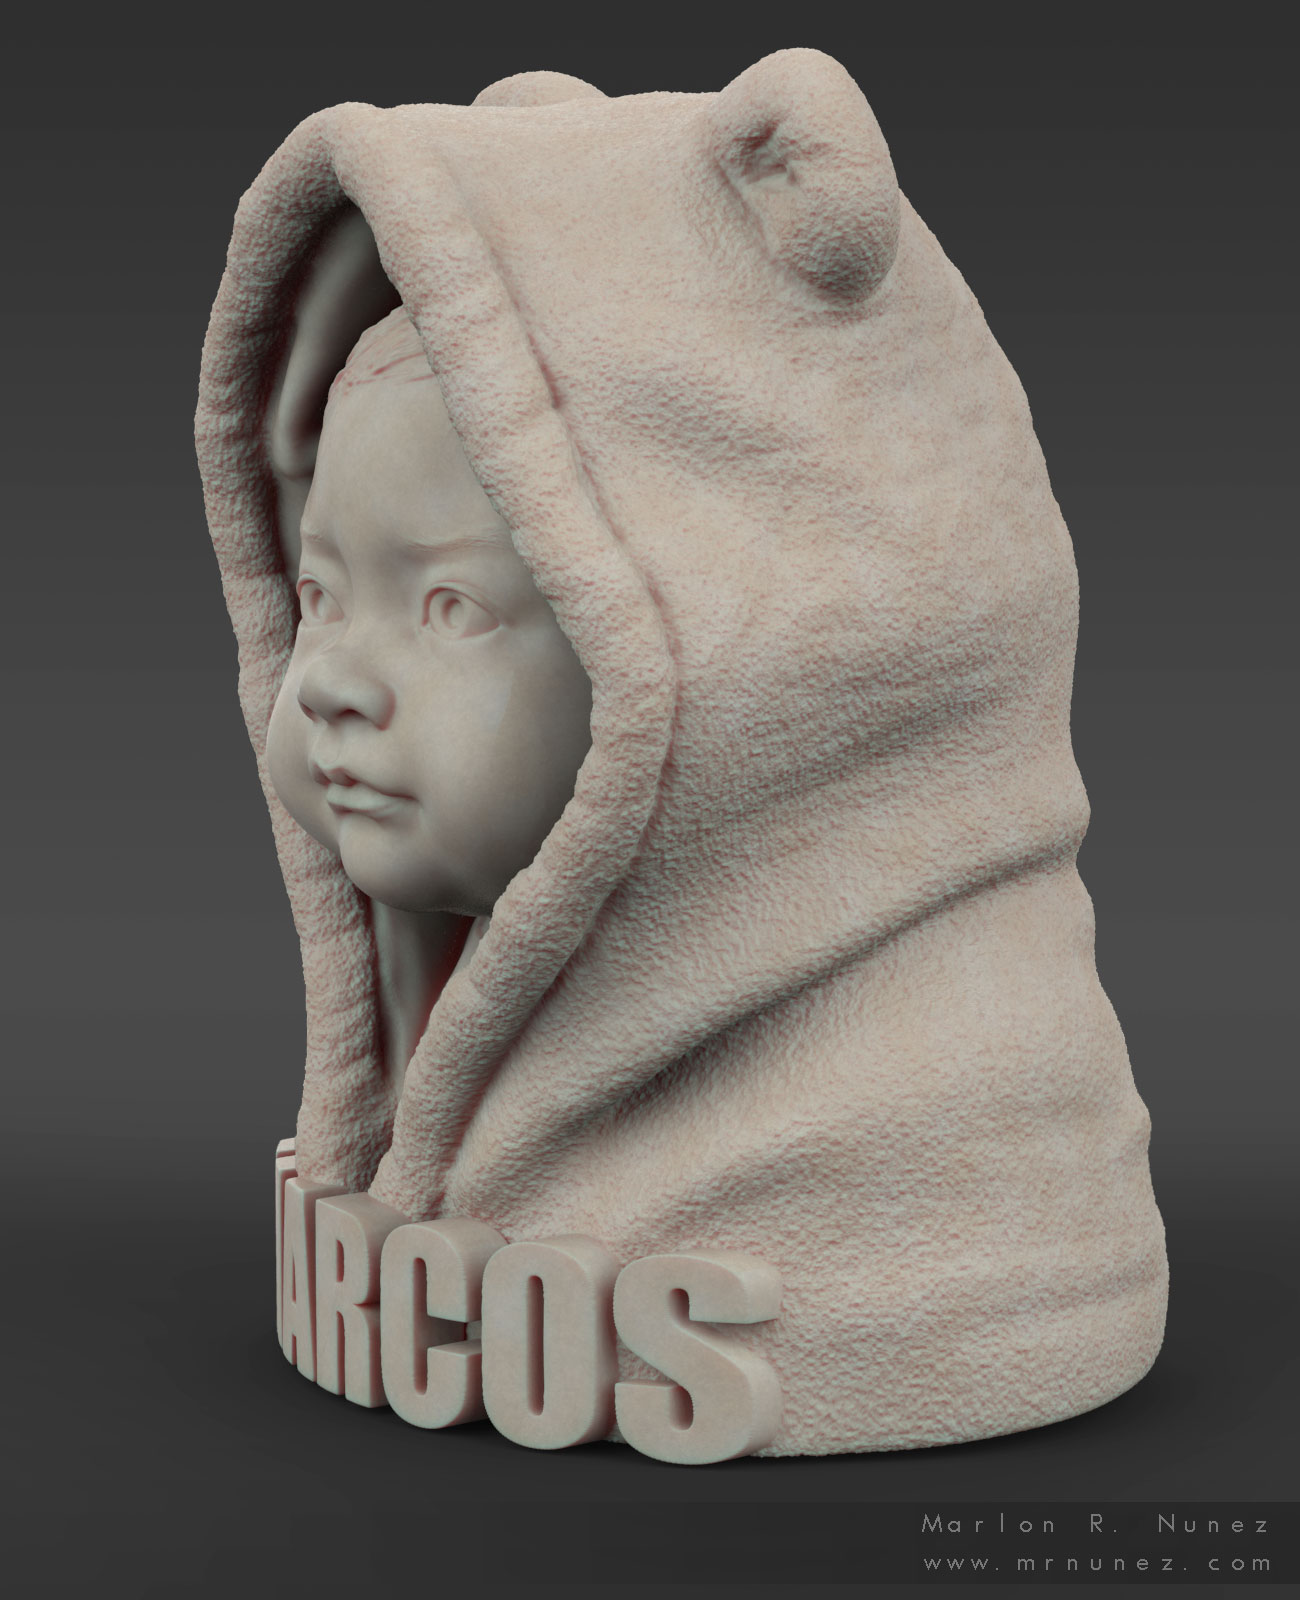
Views_01.jpg
Presentation.jpg

Views_05.jpg
Views_04.jpg
Views_03.jpg

Attachments

Views_01.jpg

Views_05.jpg

Presentation.jpg

Views_04.jpg

Views_03.jpg