Nice work/test on the gem: is that all reflection or is refraction ‘back’ (after being broken for several versions of Z)?
there will be videos soon. going to work on them over the weekend 
@MhueD - i tryed using the reflect refract with no luck, the trick i will show in the video 
I thank you sincerely for helping us with the videos on making the stones, this will be a great help for us old guys especially who are not so computer savoy. I look forward to seeing how its done. Thank you again.
hi folks heres a new one from the mouse jewellers work bench. its still a prorotype and is designed to be a necklace/pendant. this i will probably put into production just to see how well it would work.
comments please

hi guys been a while since I posted anything useful here so here’s a short video I’m sure a lot of you will be interested to see - How to Measure in Zbrush https://youtu.be/s1ICuHZfPgo next video will be how I render gemstones in Zbrush.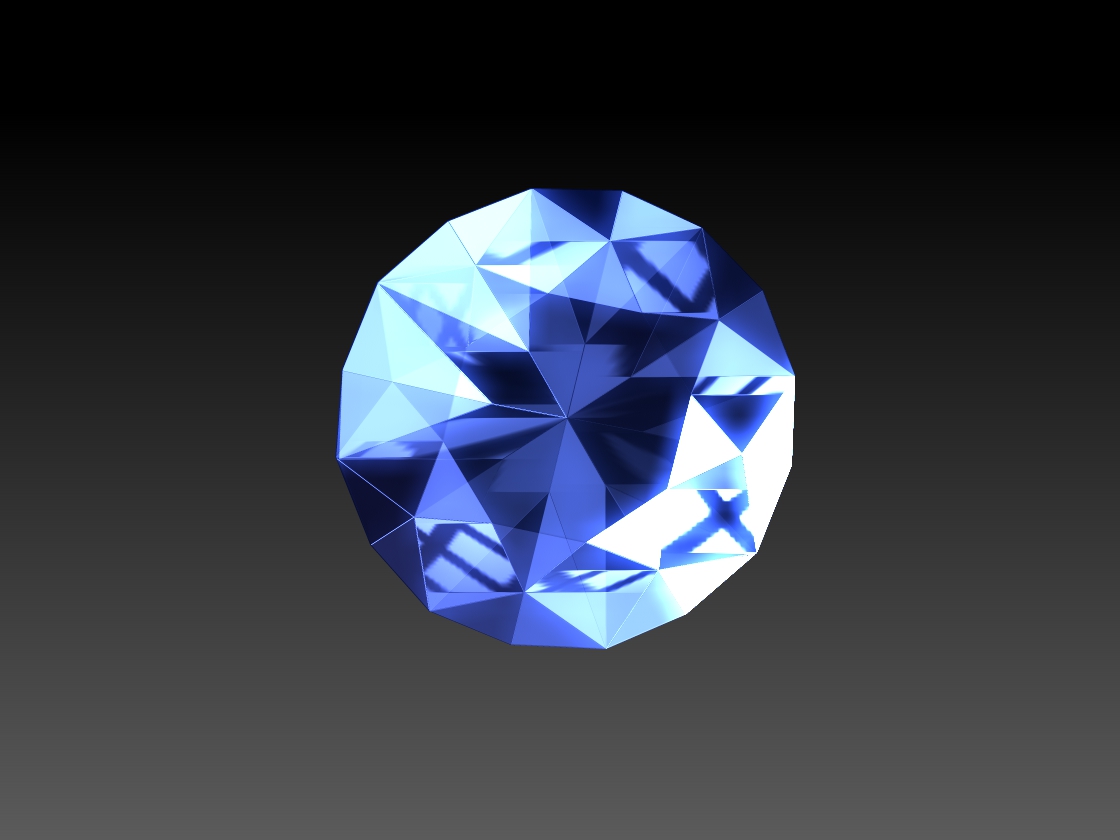
Attachments
Thanks. Would have never thought of bringing in something with known measurements in and setting it that way… That will help me a lot.
Excellente lessons. Simple and concise. Thanks
Great thread!
I look forward to seeing your new works.
well this years goldsmiths awards came and went and i didnt do so well this year.  however here is the piece that netted me 2 commendations any way. as for what it fell down on was the basic proportions of the rider and the corn which are both wrong for the scale of the piece. >_> a case of looking at it for too long me thinks.
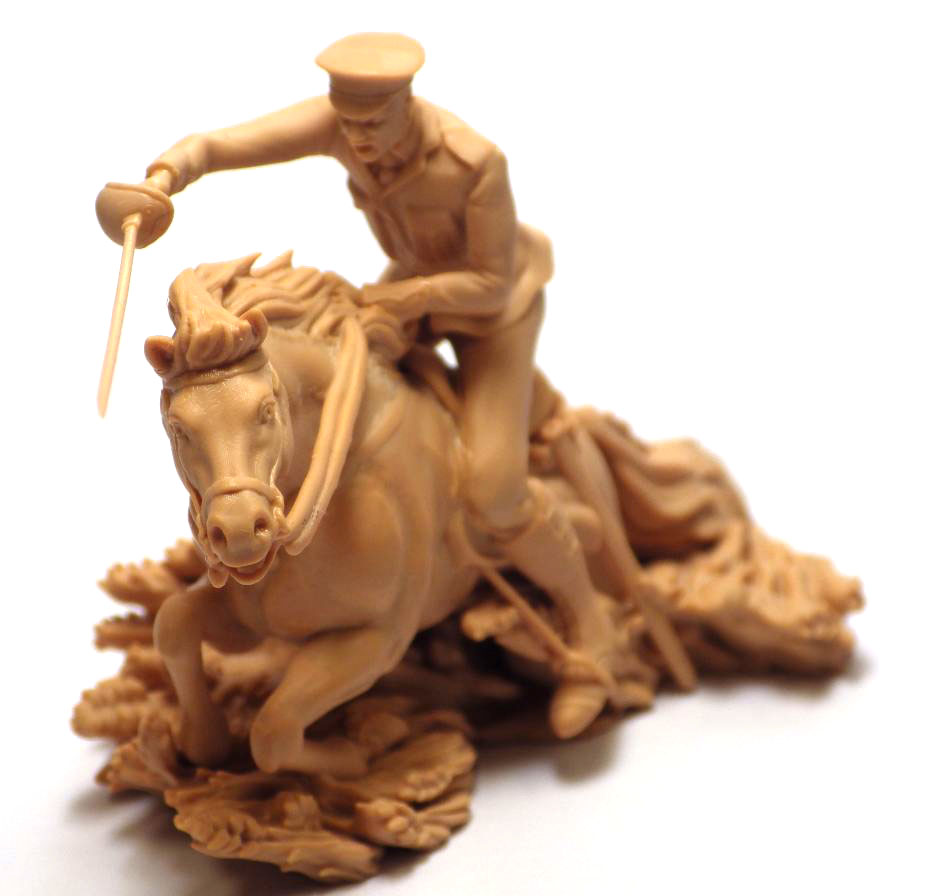

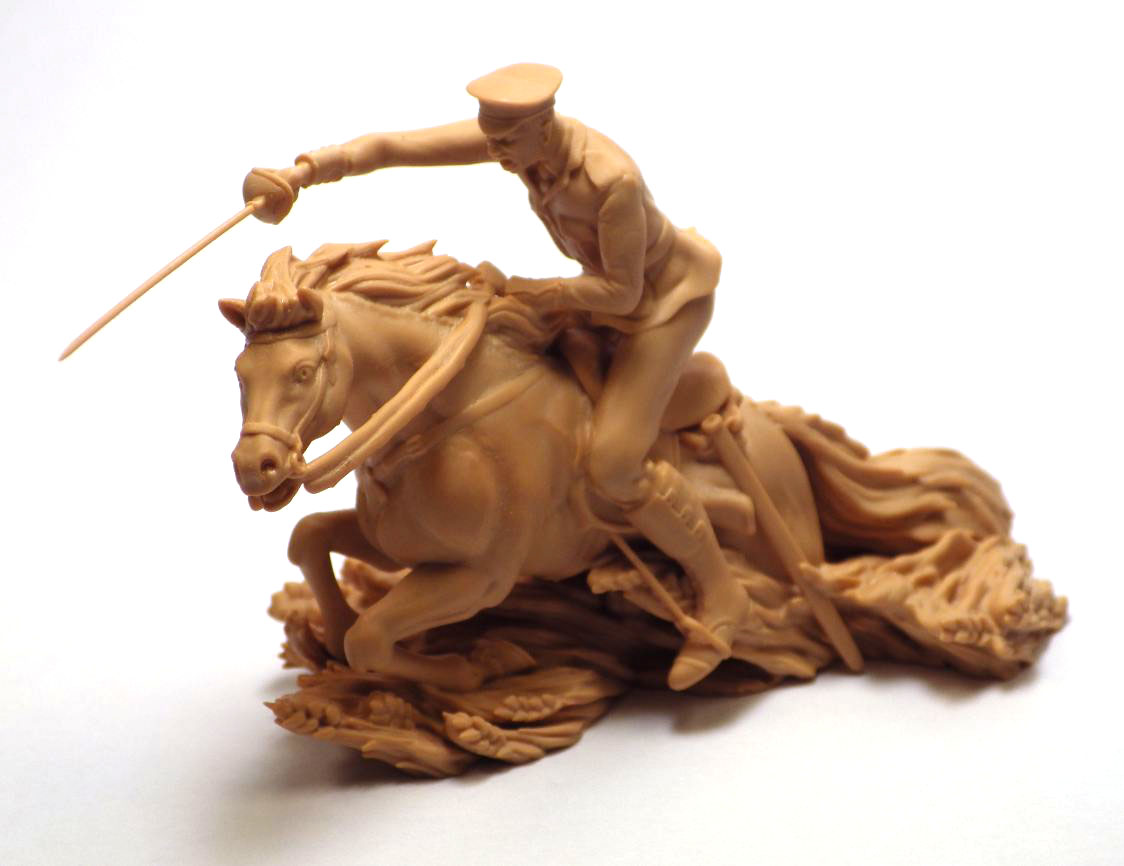
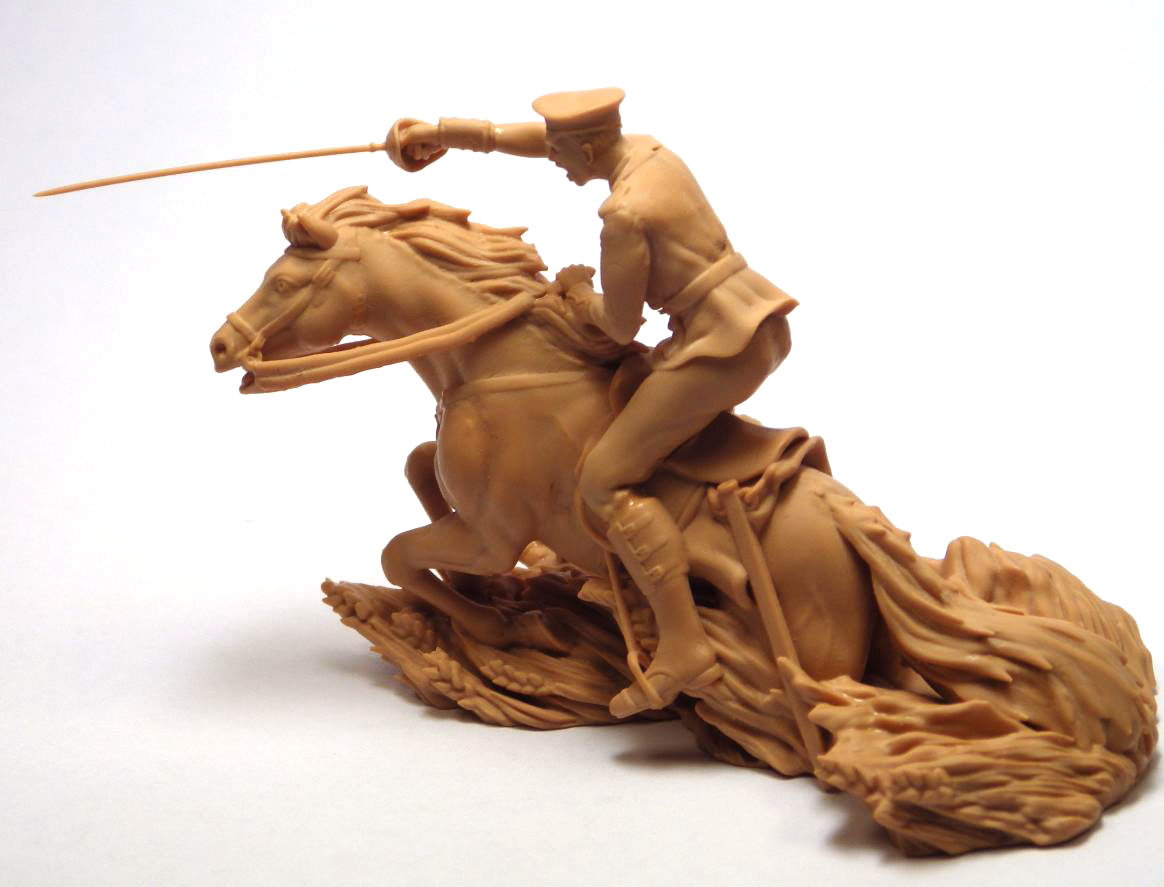
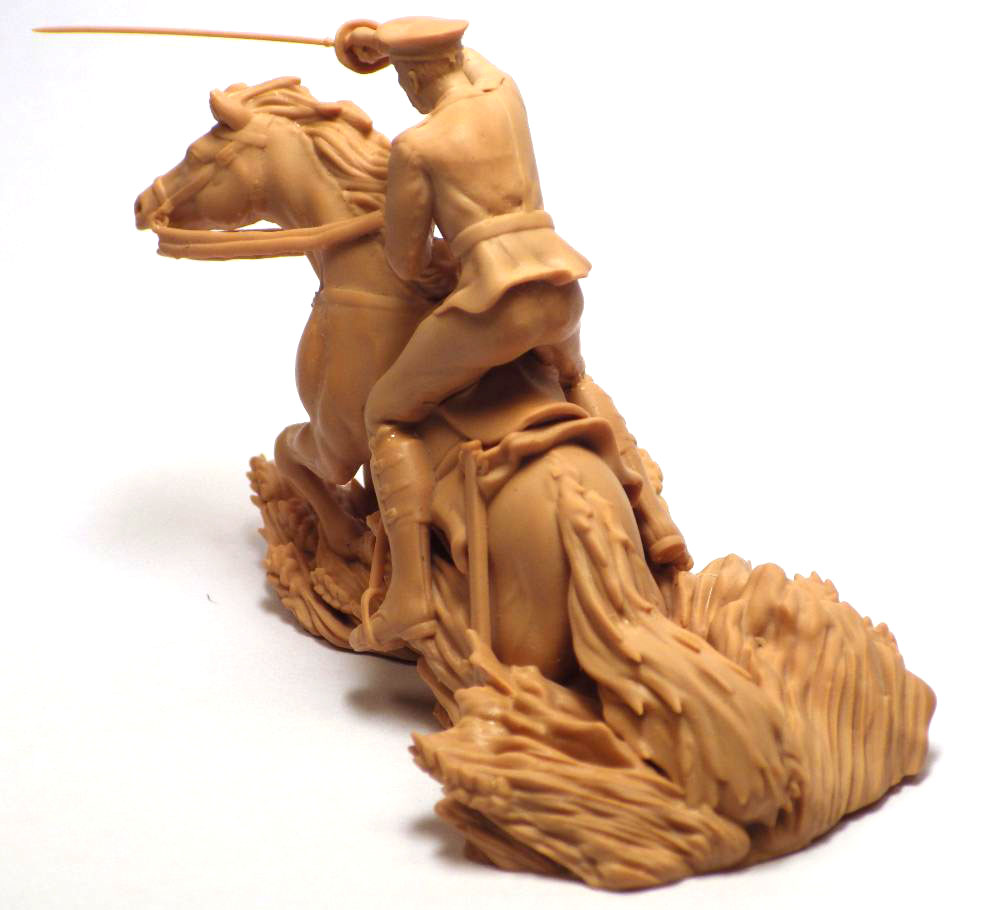
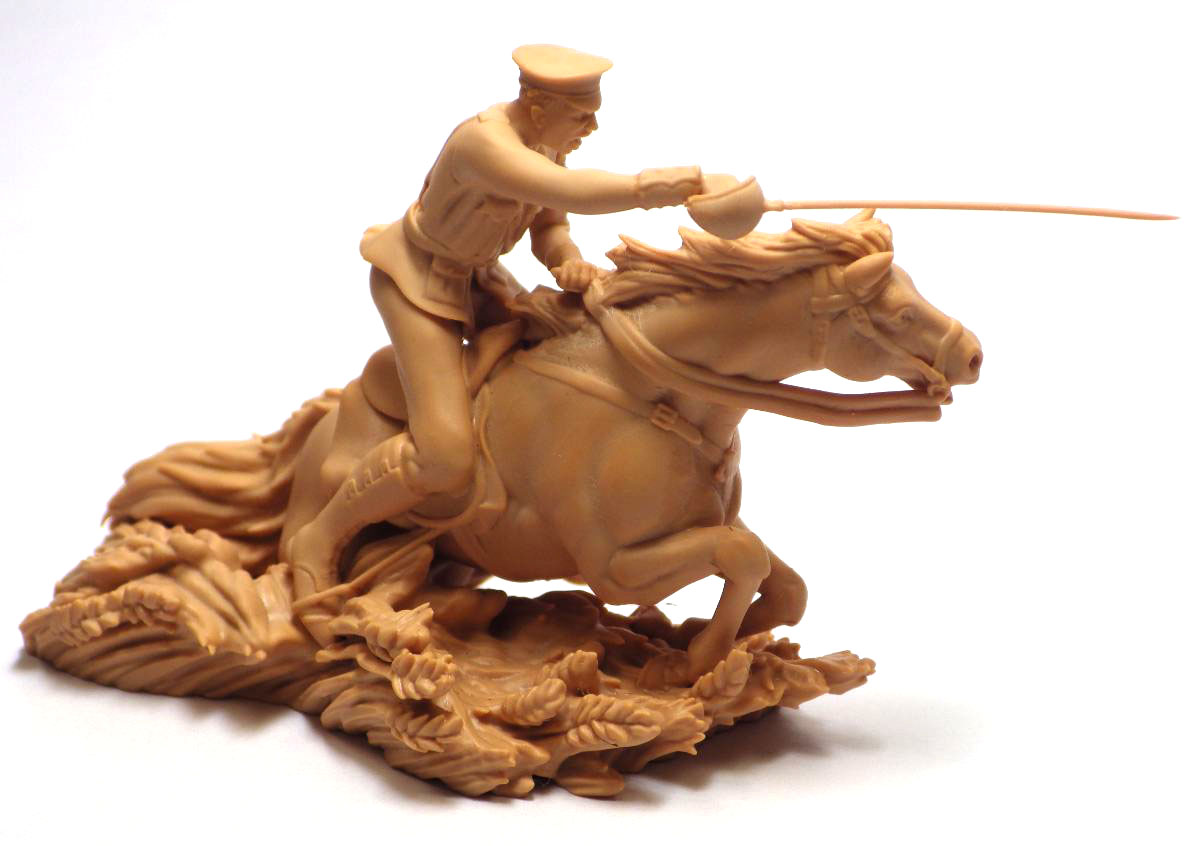 the technical data is as follows: 9cm from nose to tail end, printed on envision tech in the orange direct to mould media (I forget the actual name)
Crits and Comments welcome.
Attachments
for those intrested heres a few images of the actual Zbrush Sculpt. 
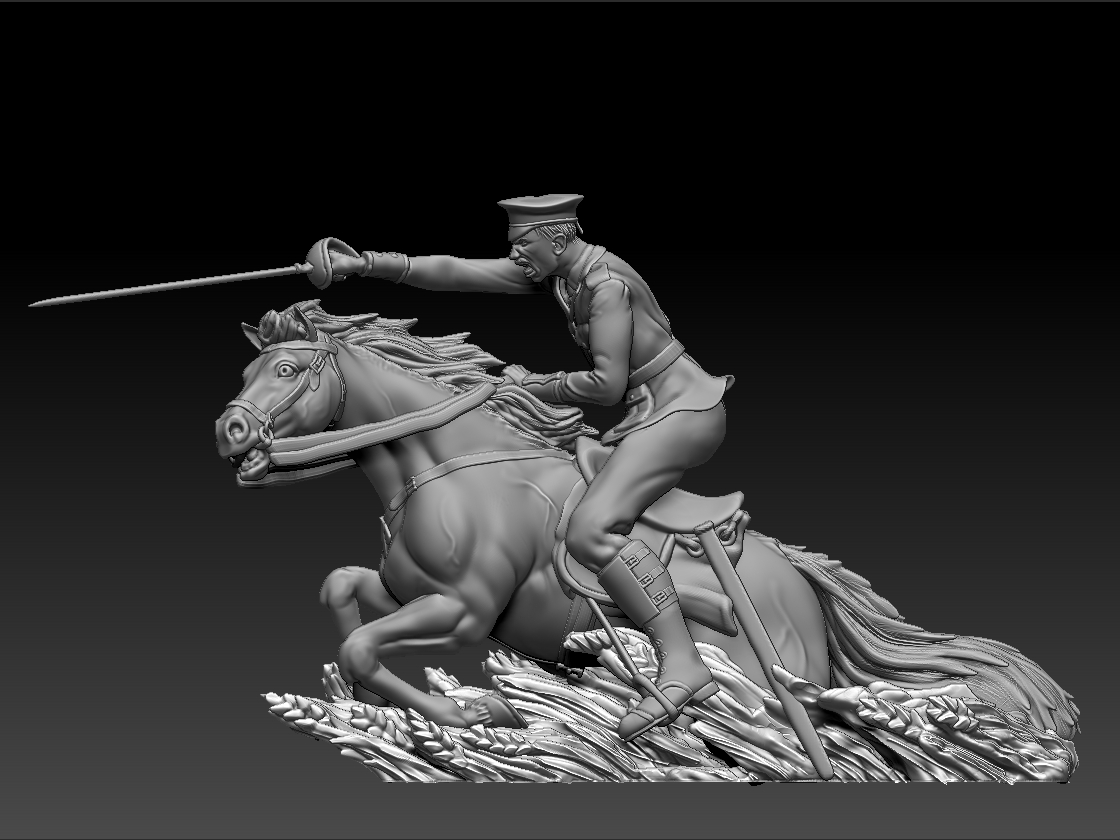

Attachments
Nice work again c4th!
I must ask you how the sword’s blade (on the physical model) was created ? it looks very delicate.
Lovely work!
all the best, David
Thank you for the comments guys 
@ pixelmitherer
I broke the model down into the following pieces so it was easier to print. ovbously i used dynamesh boolen techniques to split and key the models. everything else was down to the fantastic print team at weston beamore.

Thanks for the break down, very interesting.
I’ve been into 3D graphics for a few years now, but it’s only recently I’ve discovered that 3D/Zbrush works etc can be brought into the real world like this. Exciting times!
Keep your works coming! 
hi guys
heres a little work in progress shot. she is based on a lalique piece, this design will end up as a broach or a pendant … im still considering what to put in the border of the dress… probably some kind of scroll work. crists and commenst welcome

Wonderful piece … perfection as always!
Cheers, David
Great figurative work c4th.
How did you start this piece?
Totally in Zbrush, or did you import a lowpoly mesh to begin with?
Great works from you… lots of new idea…awesome…I am just into this field …May I know how do I pave set in z brush???
Accuratly… I do it via matrix. But you can do it with incert brush that is set up with a normal stone drill/mise a sure cutter. And thennuse dynamesh to boolen … ill write a tutorail some when.