I get what you mean when i was reading your post and you mentions extruding with z-remesher for thickness i had a feeling your were think of z modeller. yeah i know how to use z-modeller for thickness thanks again
I am currently trying to get the 3d plane into a good shape whats the best way for moving and shaping the plane and what would be the best polycount for doing that?
this is my current attempt at getting the 3D plane into the shape of the mouth piece any suggestions for how to sculpt it into the overall shape such as what brush or method to use?

Attachments
never mind using the bend deformer seems to be working for me
I’m starting to get a good shape with the mouth piece. I still want to get the front of it mouth sharp and pointy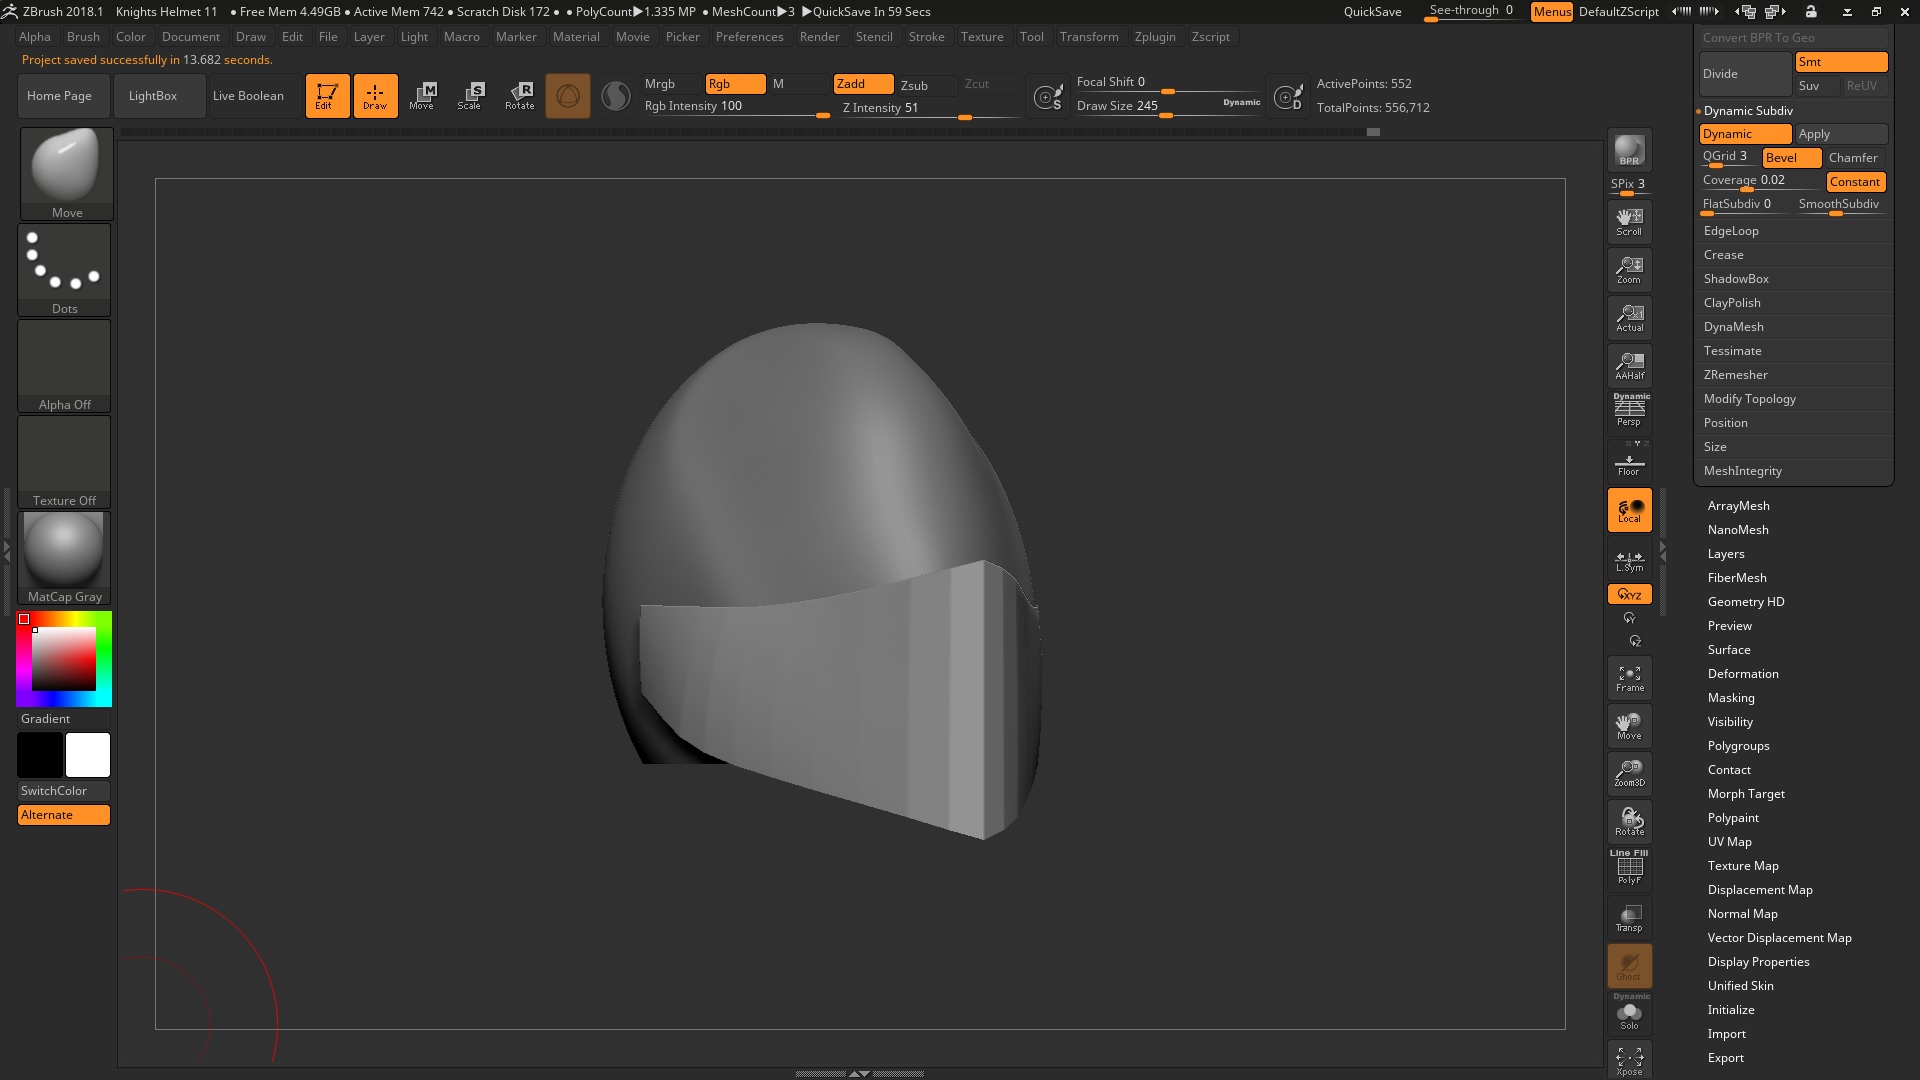
Attachments
I’d go even lower. As low as possible so that subdivision handles the bulk of the work for you.
I started with a cube and subdivided it once to give it some instant roundness. I deleted half of it (the top, bottom, and back), keeping only the front and sides. I inserted another edgeloop or two into the sides so that I could define the borders a bit better, but otherwise stuck with this basic 20 polygon shape which made it very easy to work with.
From there there’s hundreds of ways you can approach it. Inset, creases, bevels, etc. Standard Subdivision techniques.
Here I’ve extruded some thickness into the visor, creased the polygroup that made up this thickness, and then added control edges closer to the middle so that it will maintain its sharpness while subdividing.
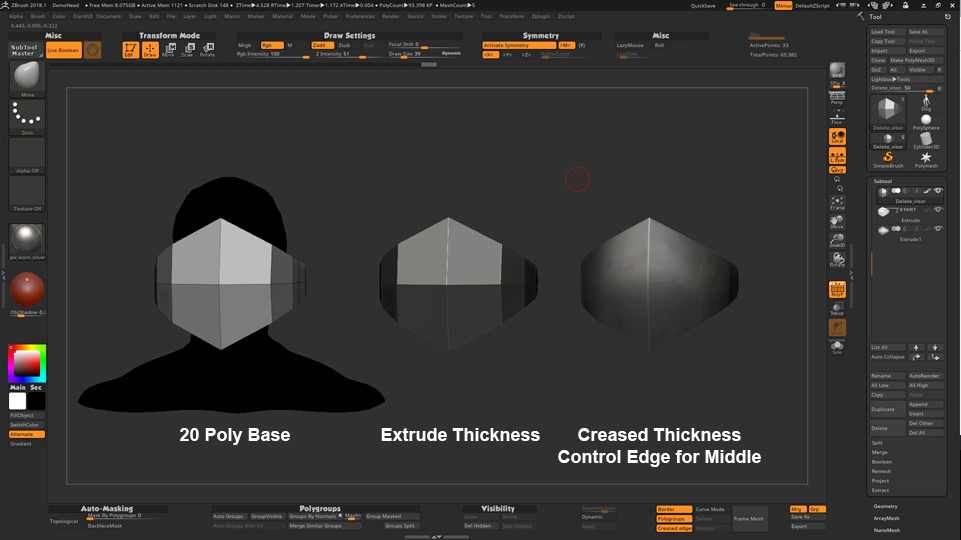
A bevel can later replace the creased thickness, but for now I’d stick with crease tags as they will let you work with fewer polygons in case you still need to make changes to the shape of the visor.
wow did you make these screenshots yourself? your are being very helpful thanks you so much 
Here is my model i made following your advice. it starting to look good the only problem i have at times is moving a whole edge-loop and that z modeller and symmetry don’t want to work together some time and it would say operation cancelled non symmetrical .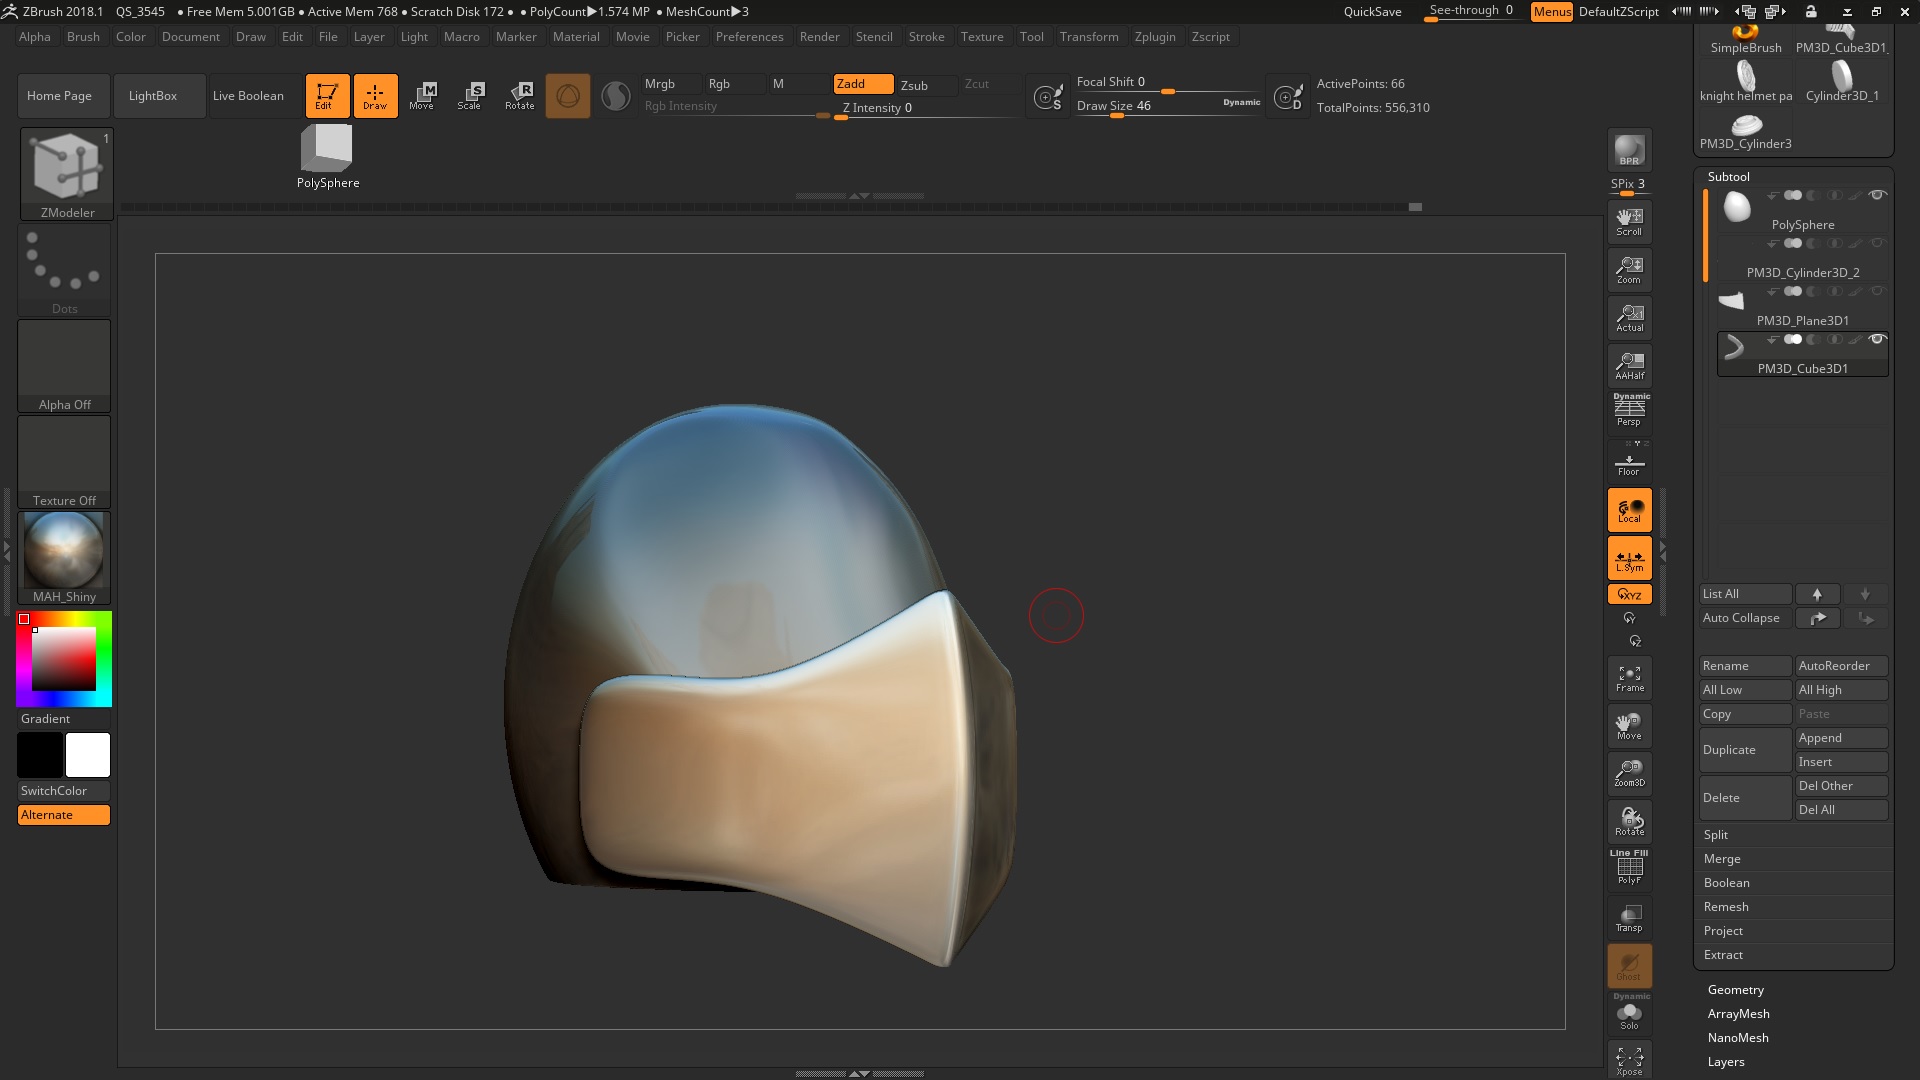
Attachments
Hi i am having trouble making square holes using z remesher any advice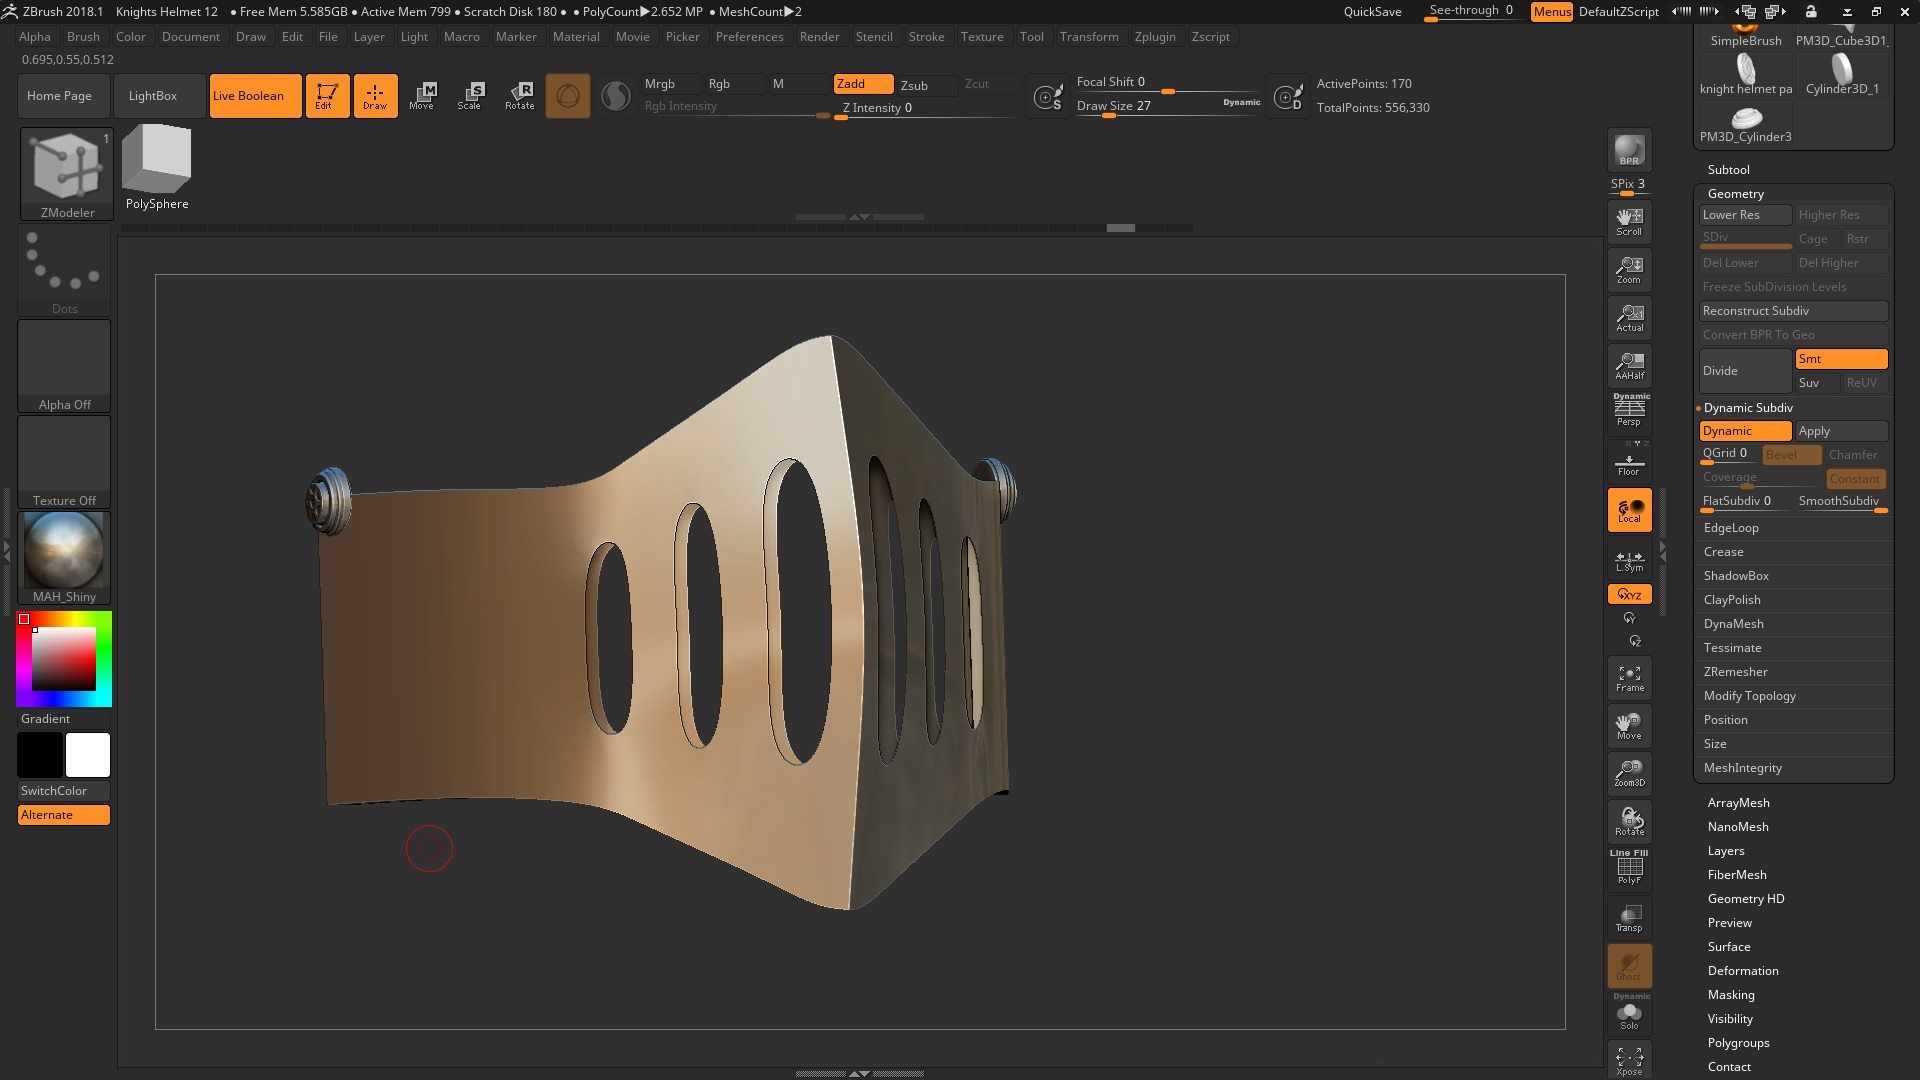
Attachments
update: i used bridge to fill in the gaps i made when i created the holes i just to make the holes more square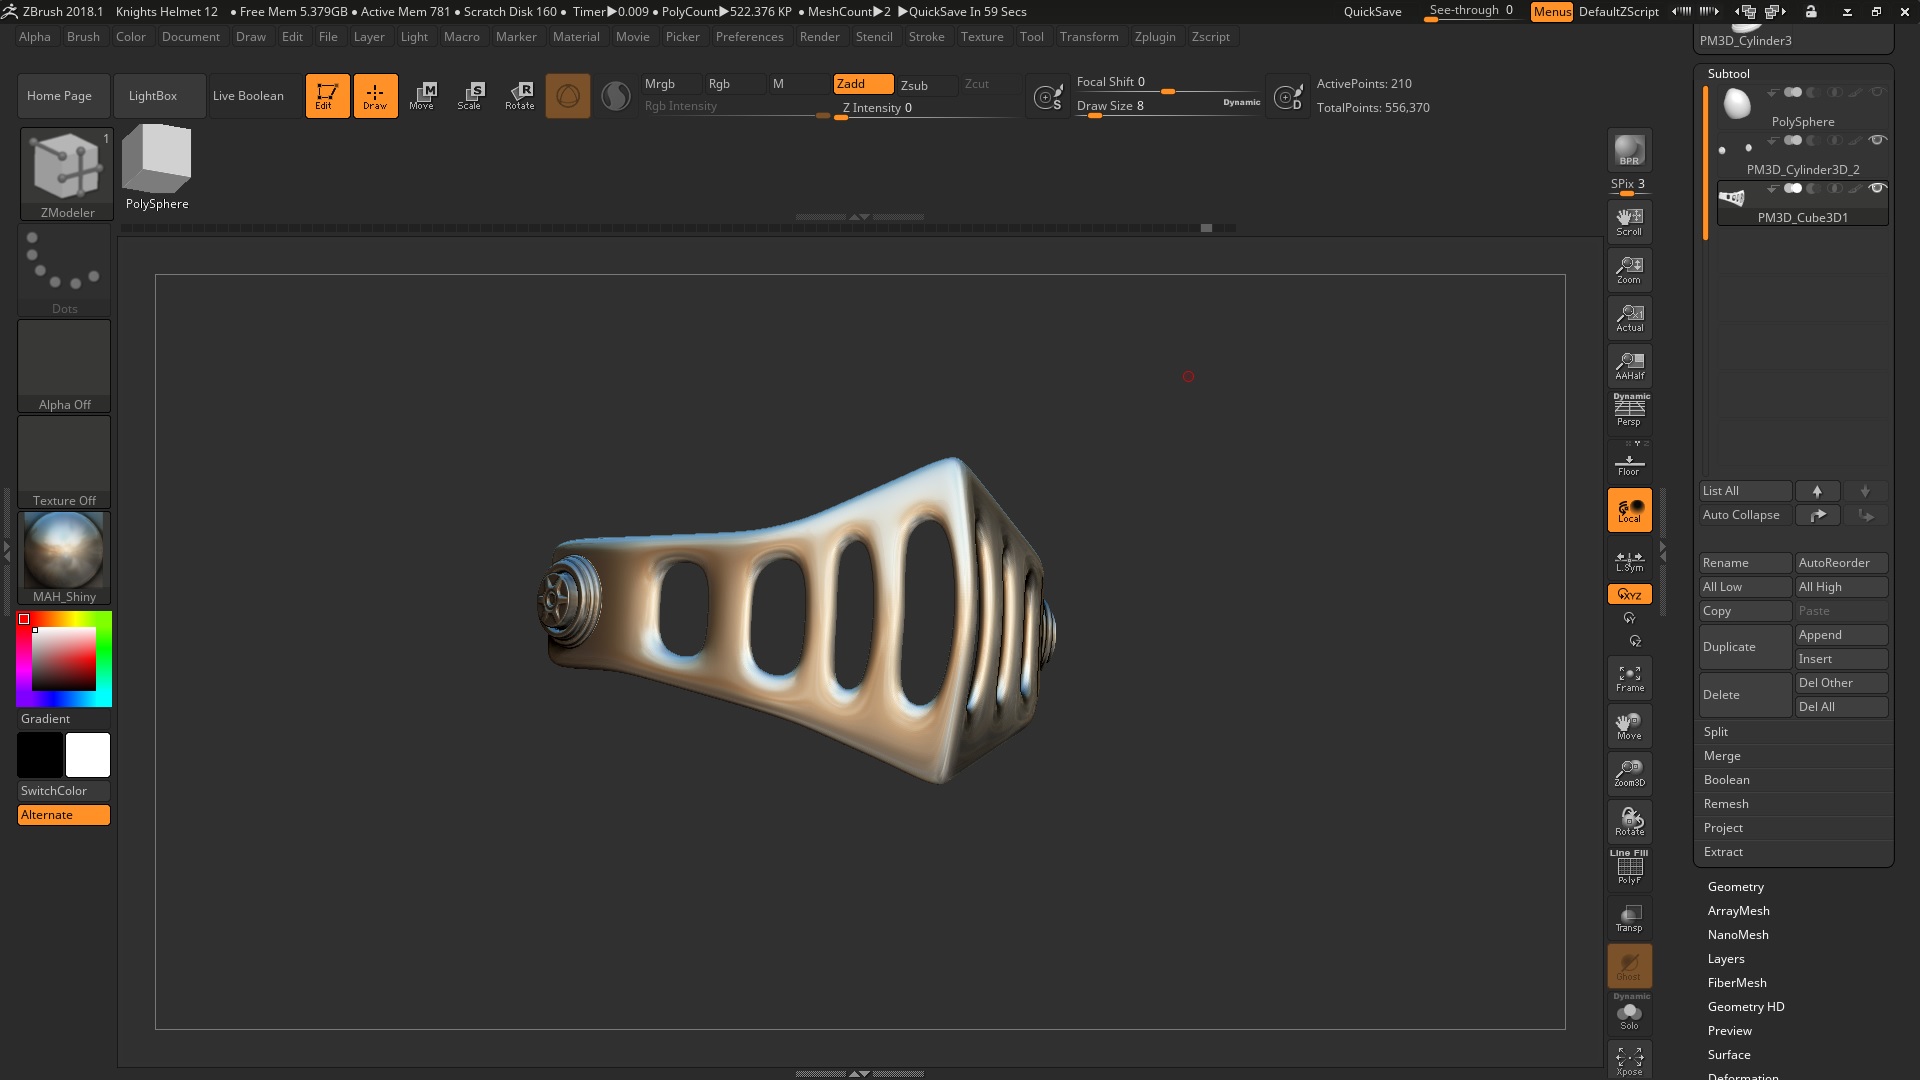
Attachments
the problem with creasing is that i creates this weird look its a bit hard for me to describe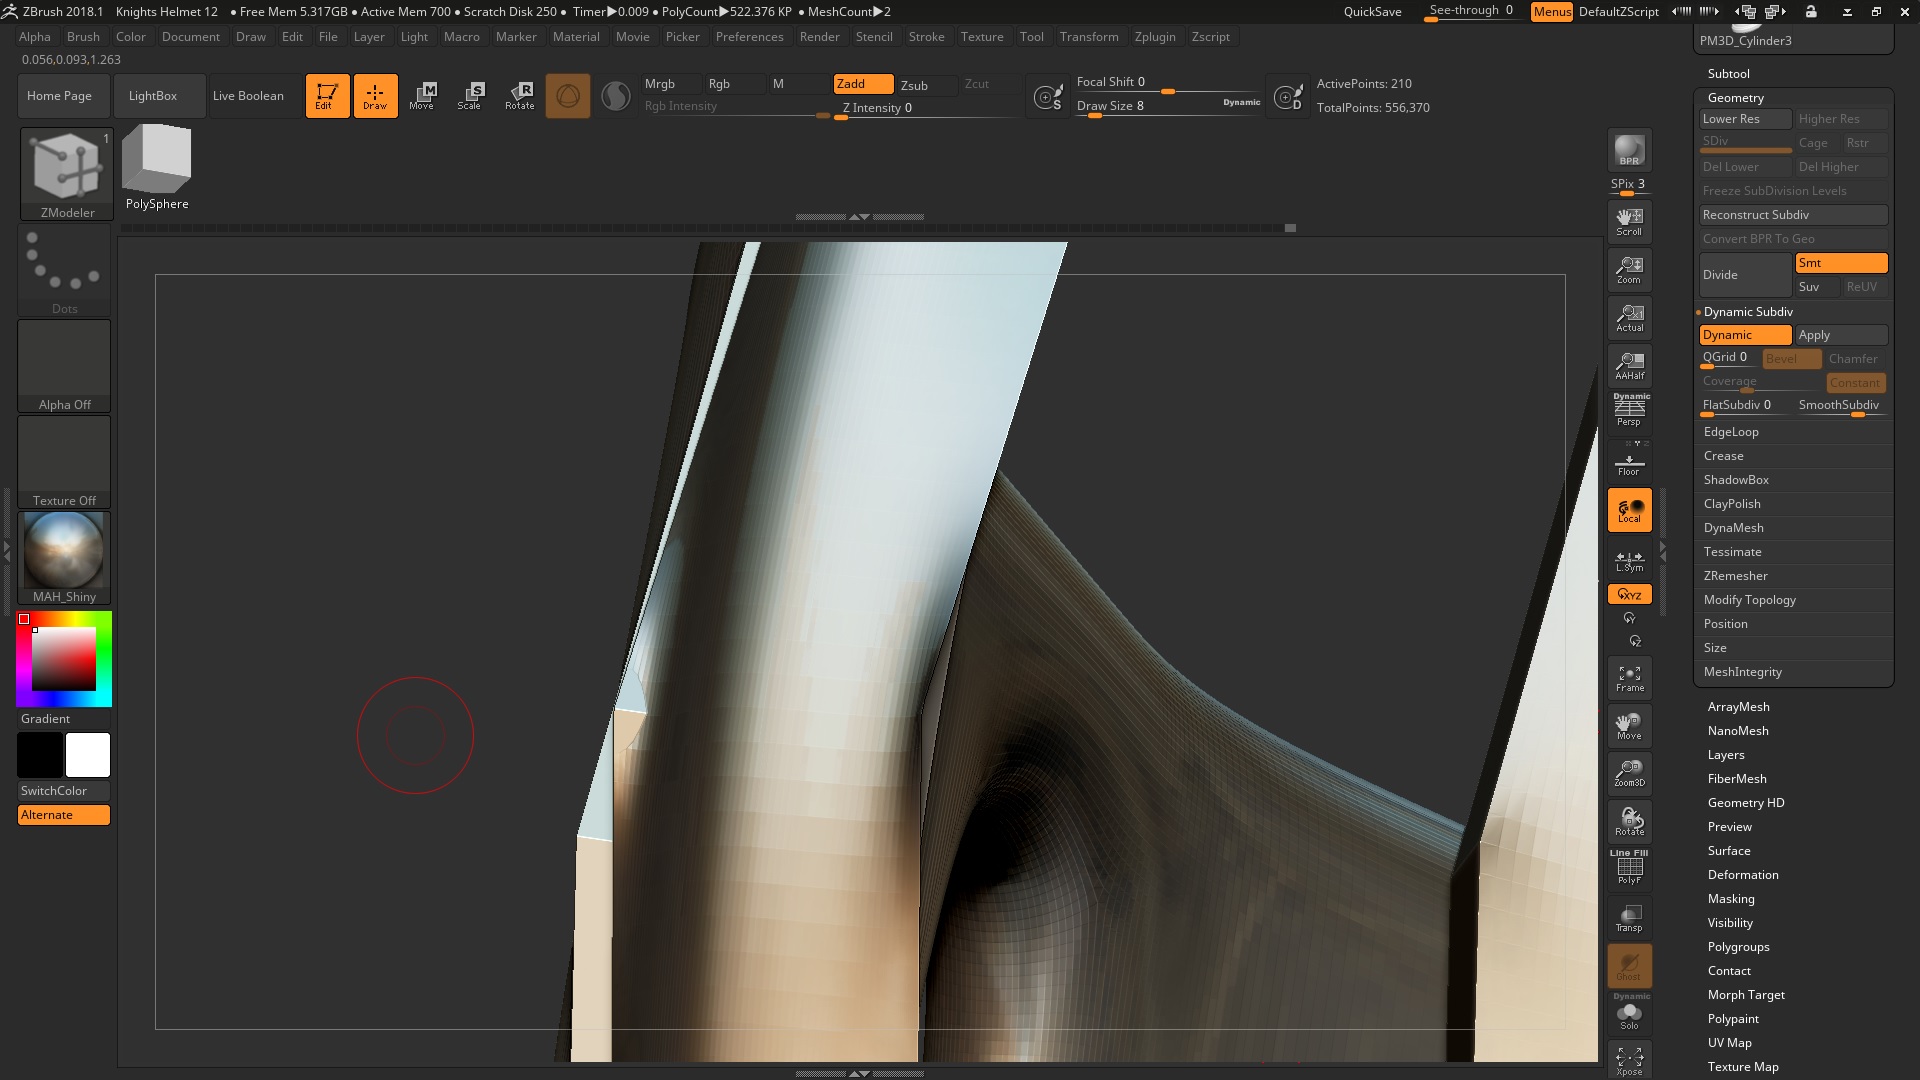
Attachments
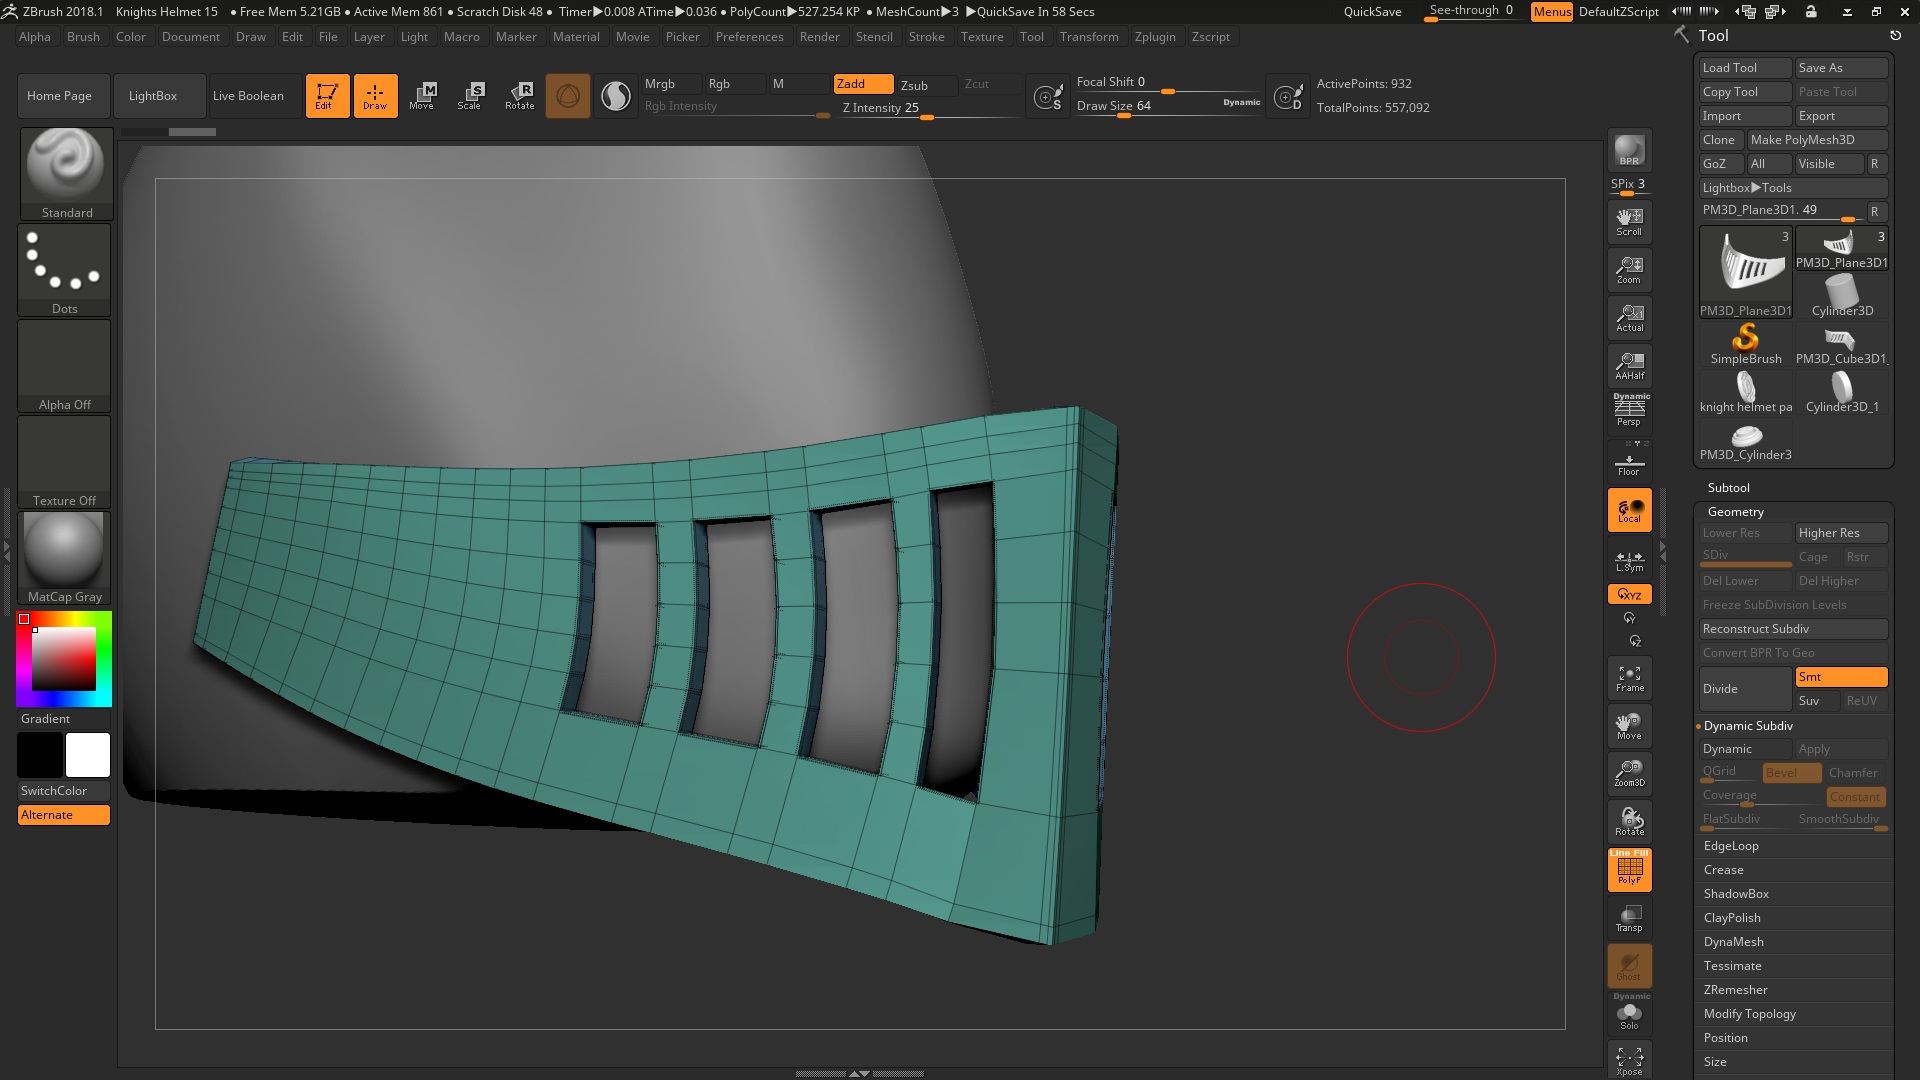
last update i promise i fixed the problems all i need to do now is making some of the edges look smoother.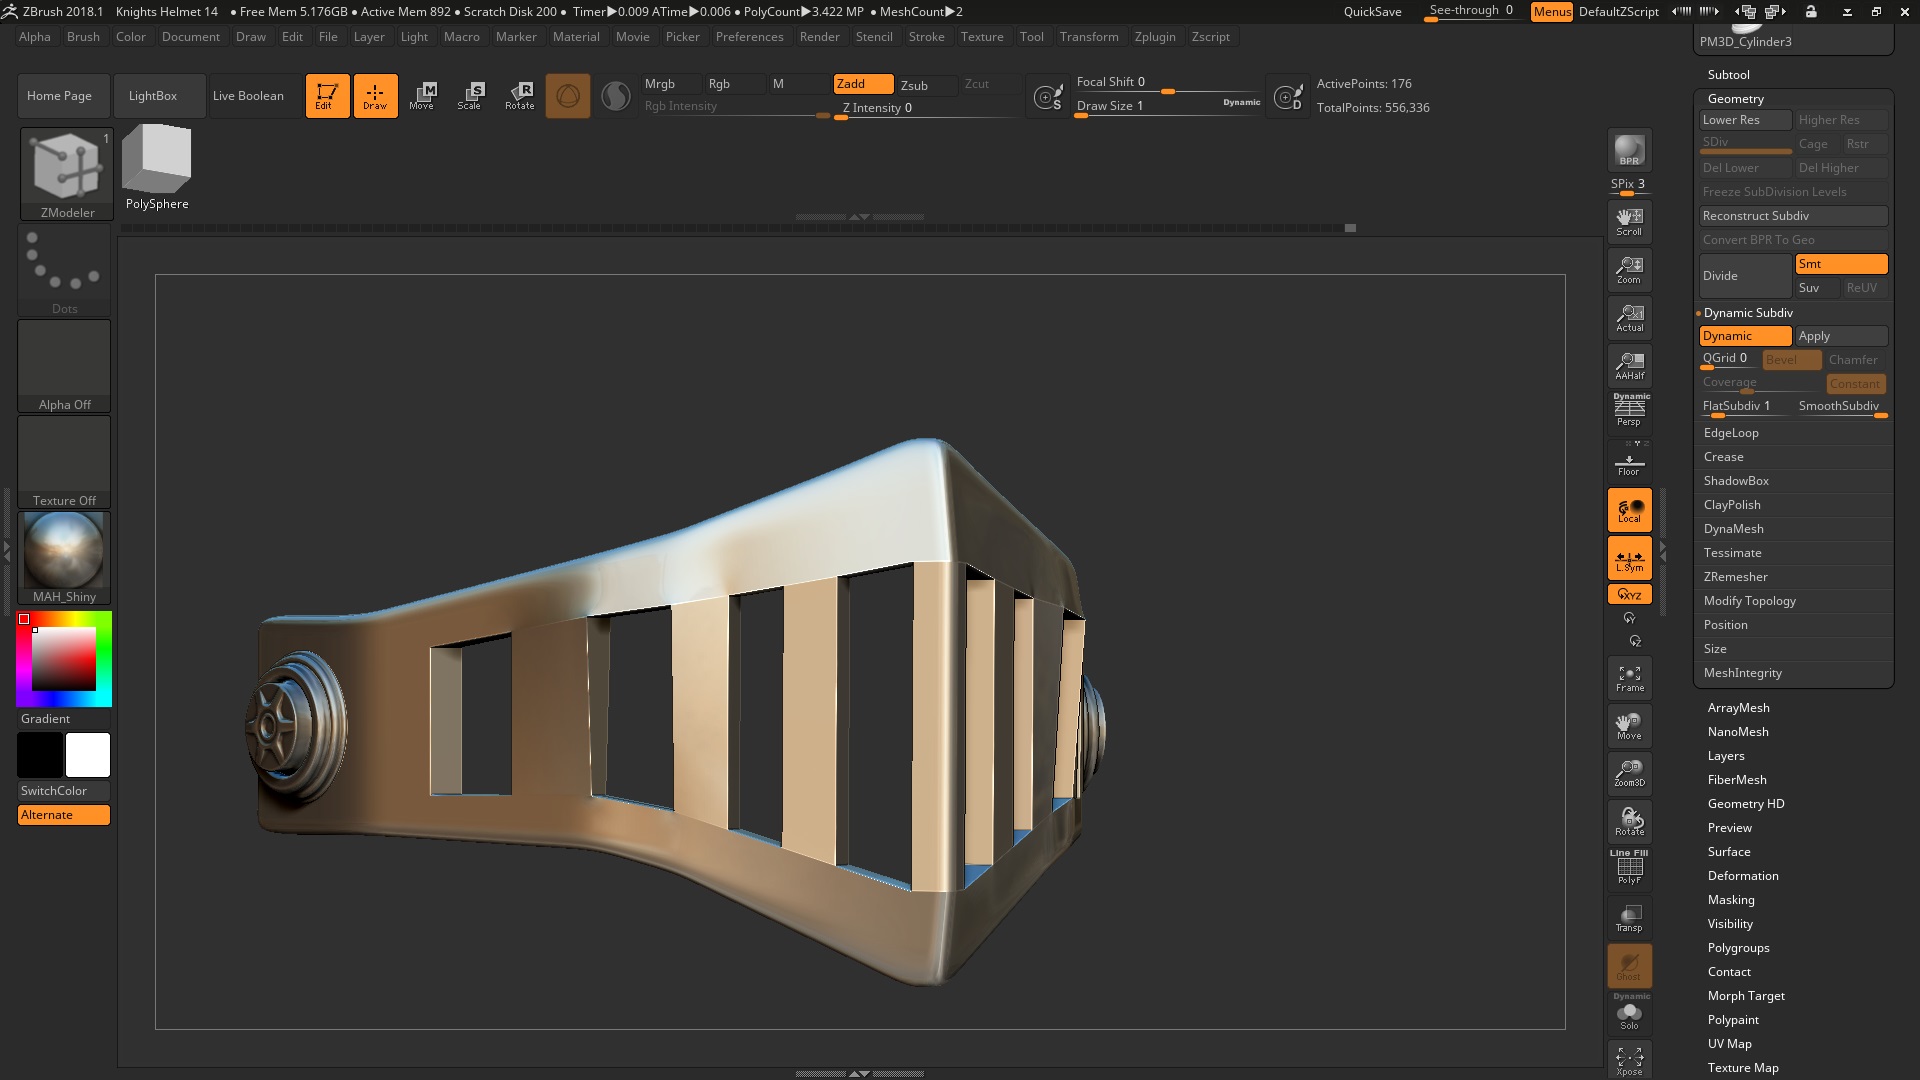
Attachments
It’s looking a lot better. The pinching is likely the result of a tight edge loop running across the entire surface. This is good for the holes to help control the sharpness, but not the rest of the mesh where you don’t want the sharpness to exist. And this is where classic subdivision modeling techniques really come into play.
If this were a traditional modeling program then I would suggest a different approach so you can take advantage of the program’s modeling stack, but since zbrush doesn’t have that kind of functionality (and because you might want topology that also favors sculpting / painting) I would stick to a more ‘brute force’ method that either mostly ignores topology (Live Booleans) or relies on using a lot more polygons to eventually hold the shape.
Here is an example of what I had meant earlier. You create the base shape with as few polygons as possible so that subdivision handles the heavy work of creating the real shape you want. Then you actually subdivide the model a few times and delete the lower levels so that the subdivided mesh becomes your new starting shape. You then cut your holes into this denser mesh so that the edges automatically will be tighter / sharper without destroying the smooth curve of the surface.

I really have to ask again did you make this tutorial yourself. and you are being extremely helpful:D thank you so much
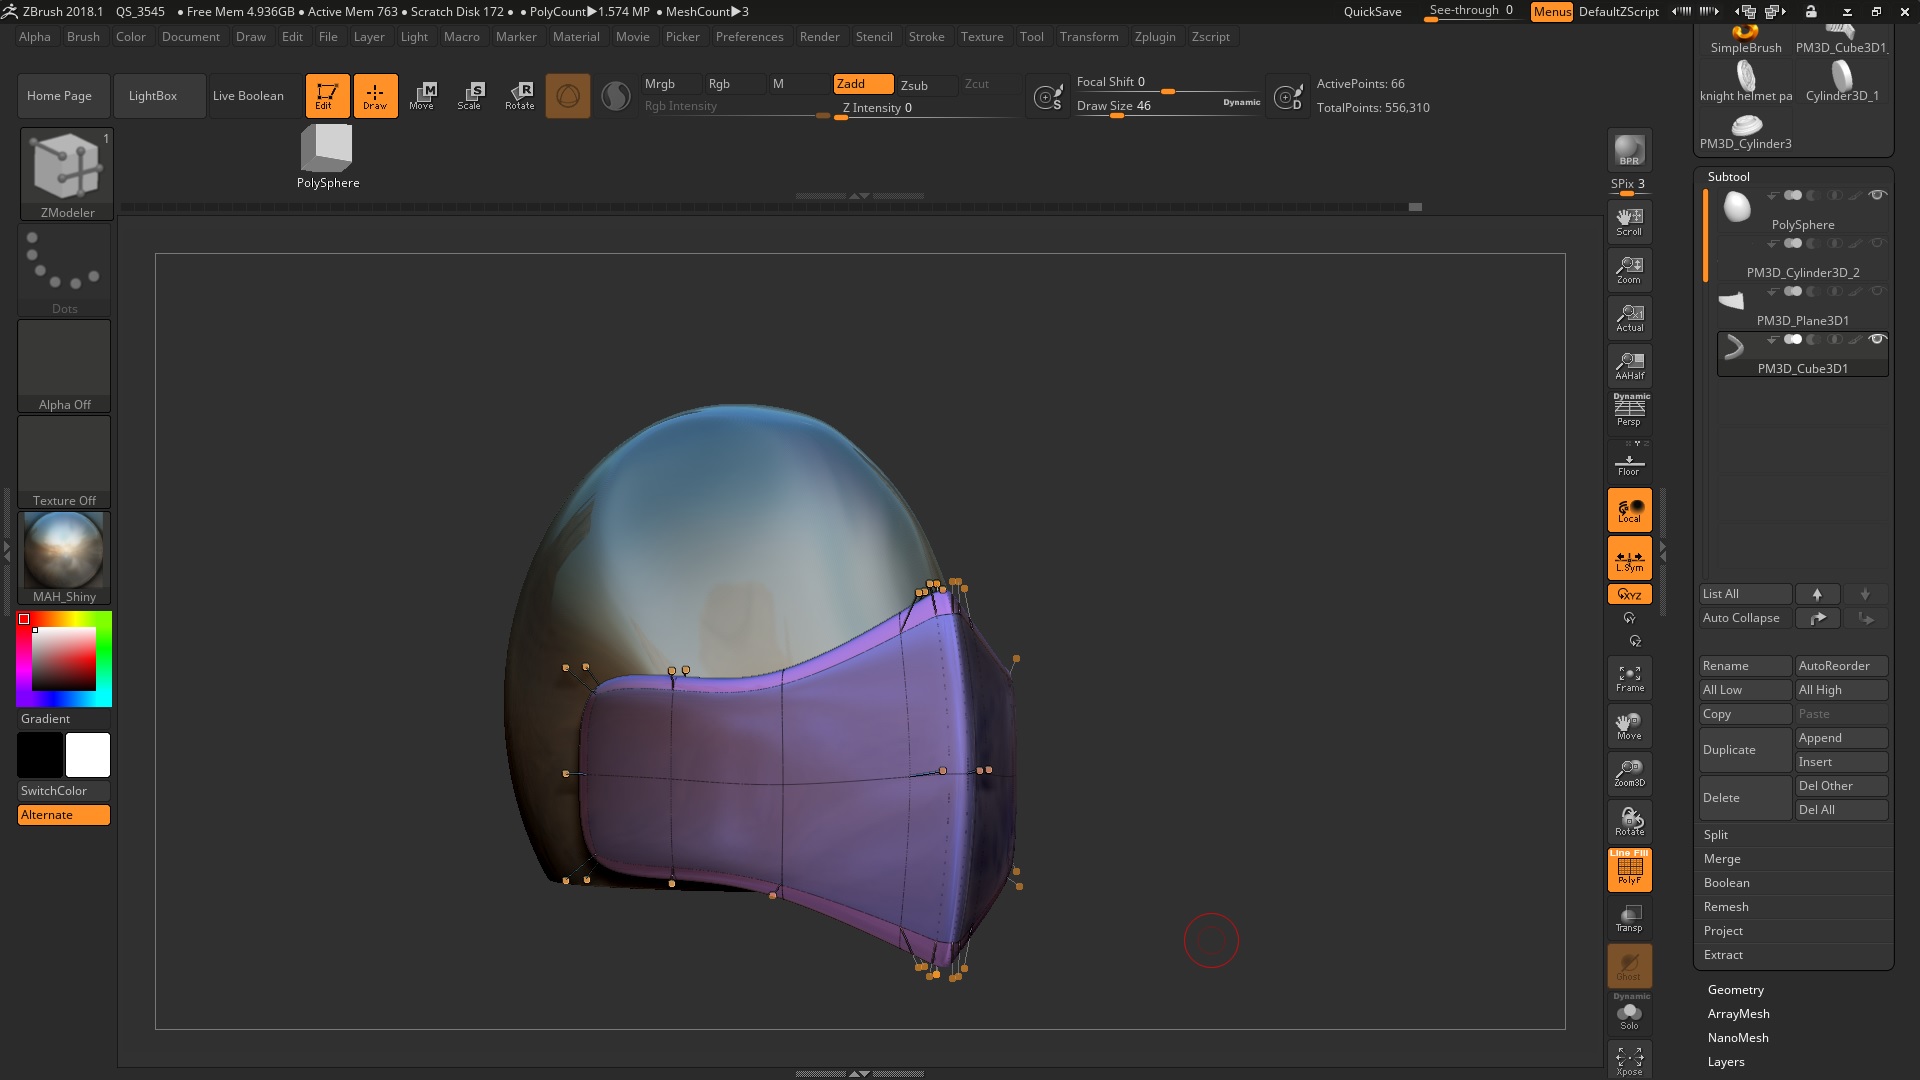
Hi i have tried subdividing the base mesh a few times and then making the holes before extruding the thickness theres less pinching then before but there is one near the front of the mouth piece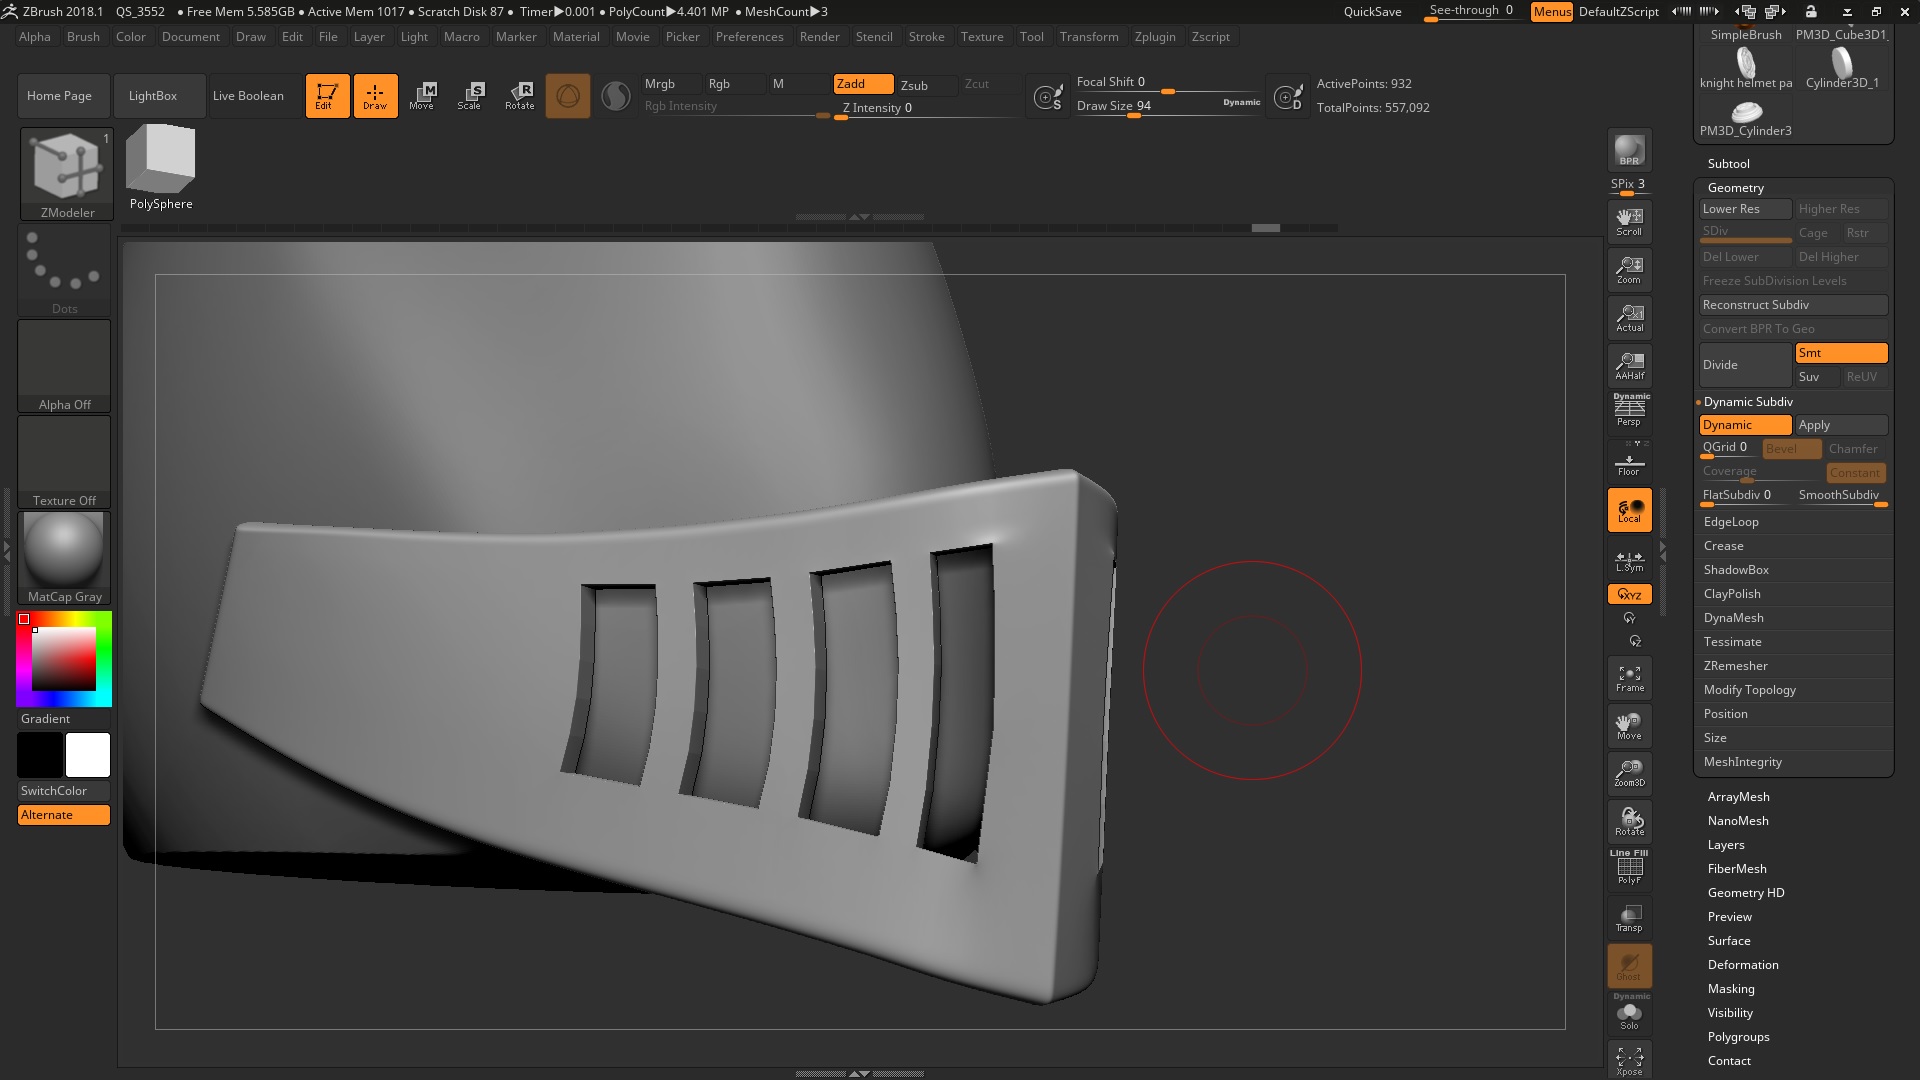
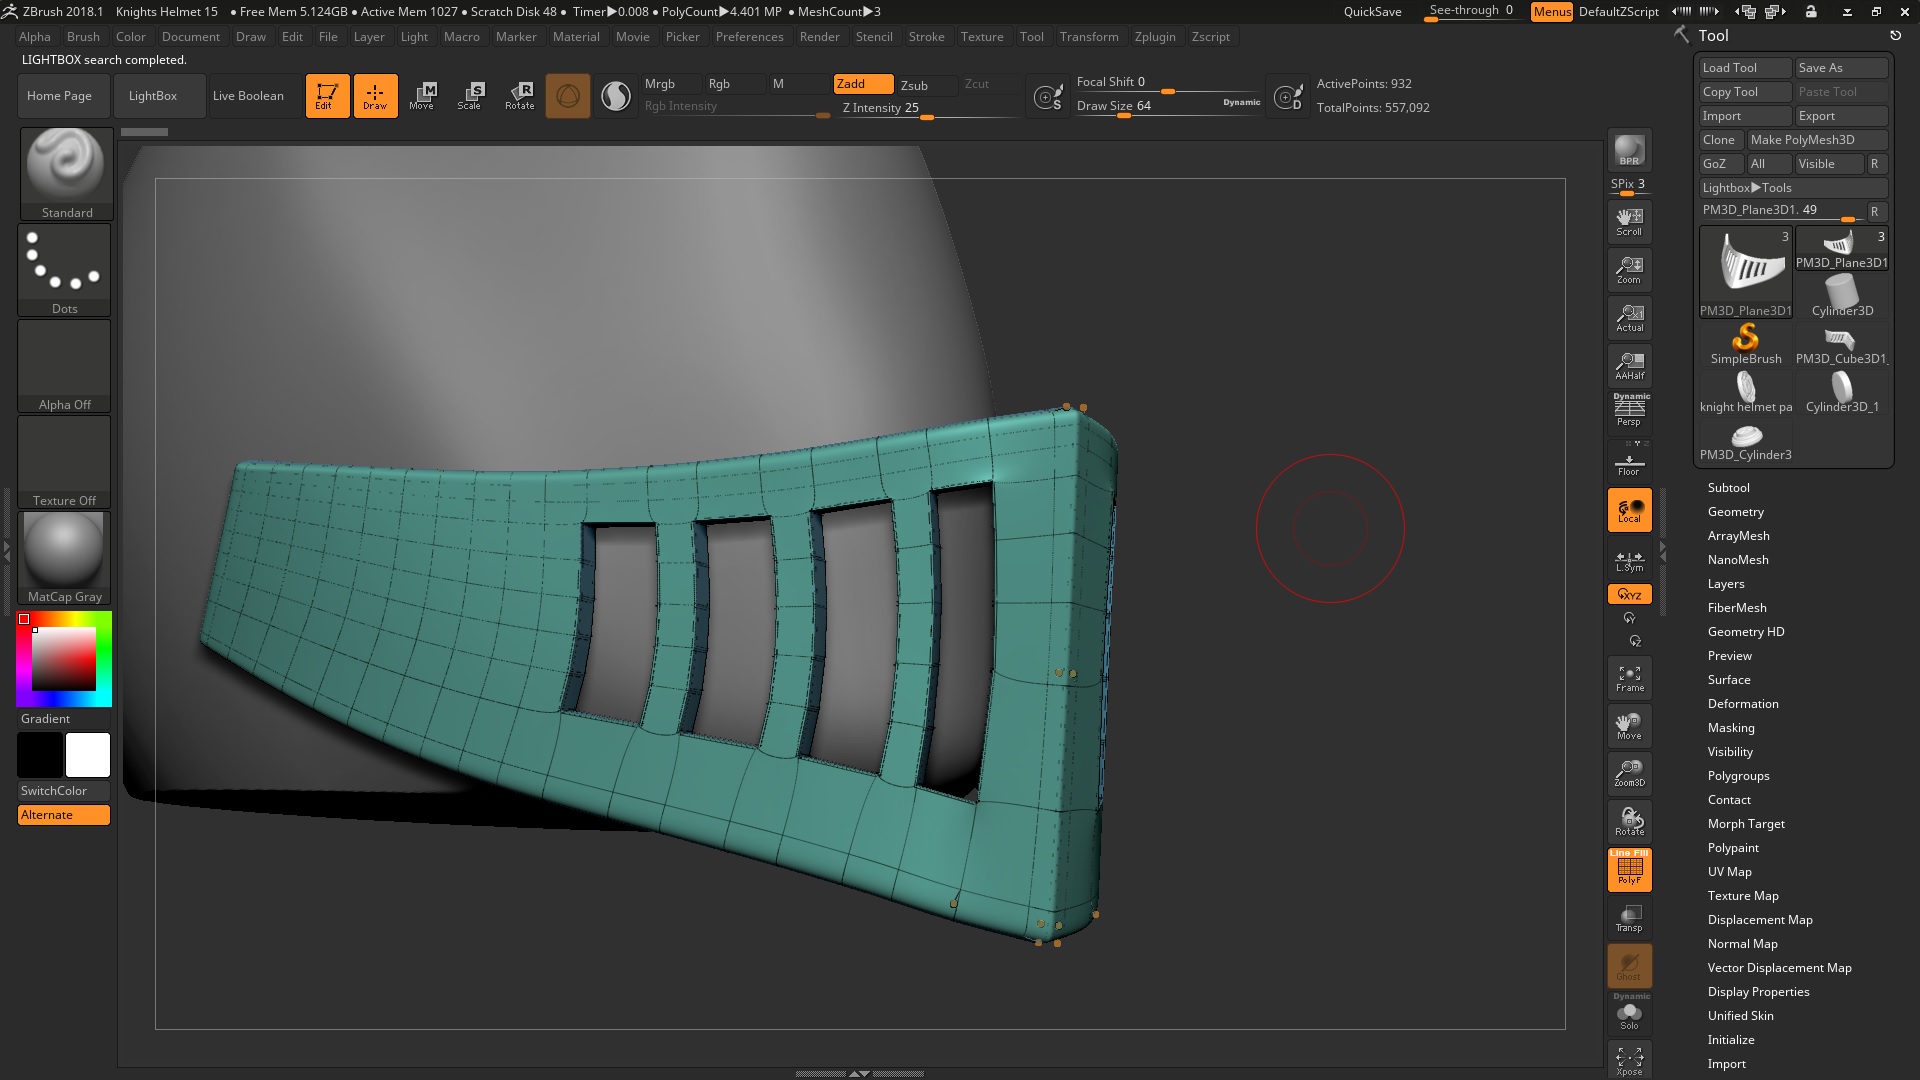
Attachments
Yup, I’ve been creating those images.
Personally I’d subdivide at least once more before you start making the holes.
thank you very much for the images there are really helpful because i think i learn better visually if you know what i am talking about. i will try and subdivide another time but i think i might a problem select all the poly faces for cutting out the hole if i subdivide it again. how did you select of the poly faces is there a method you are doing or does it take a bit of patience?
Today i extruded the thickness and then creating the holes a better result but there seems to be a bit of pinching in the top left corner of the holes in the back
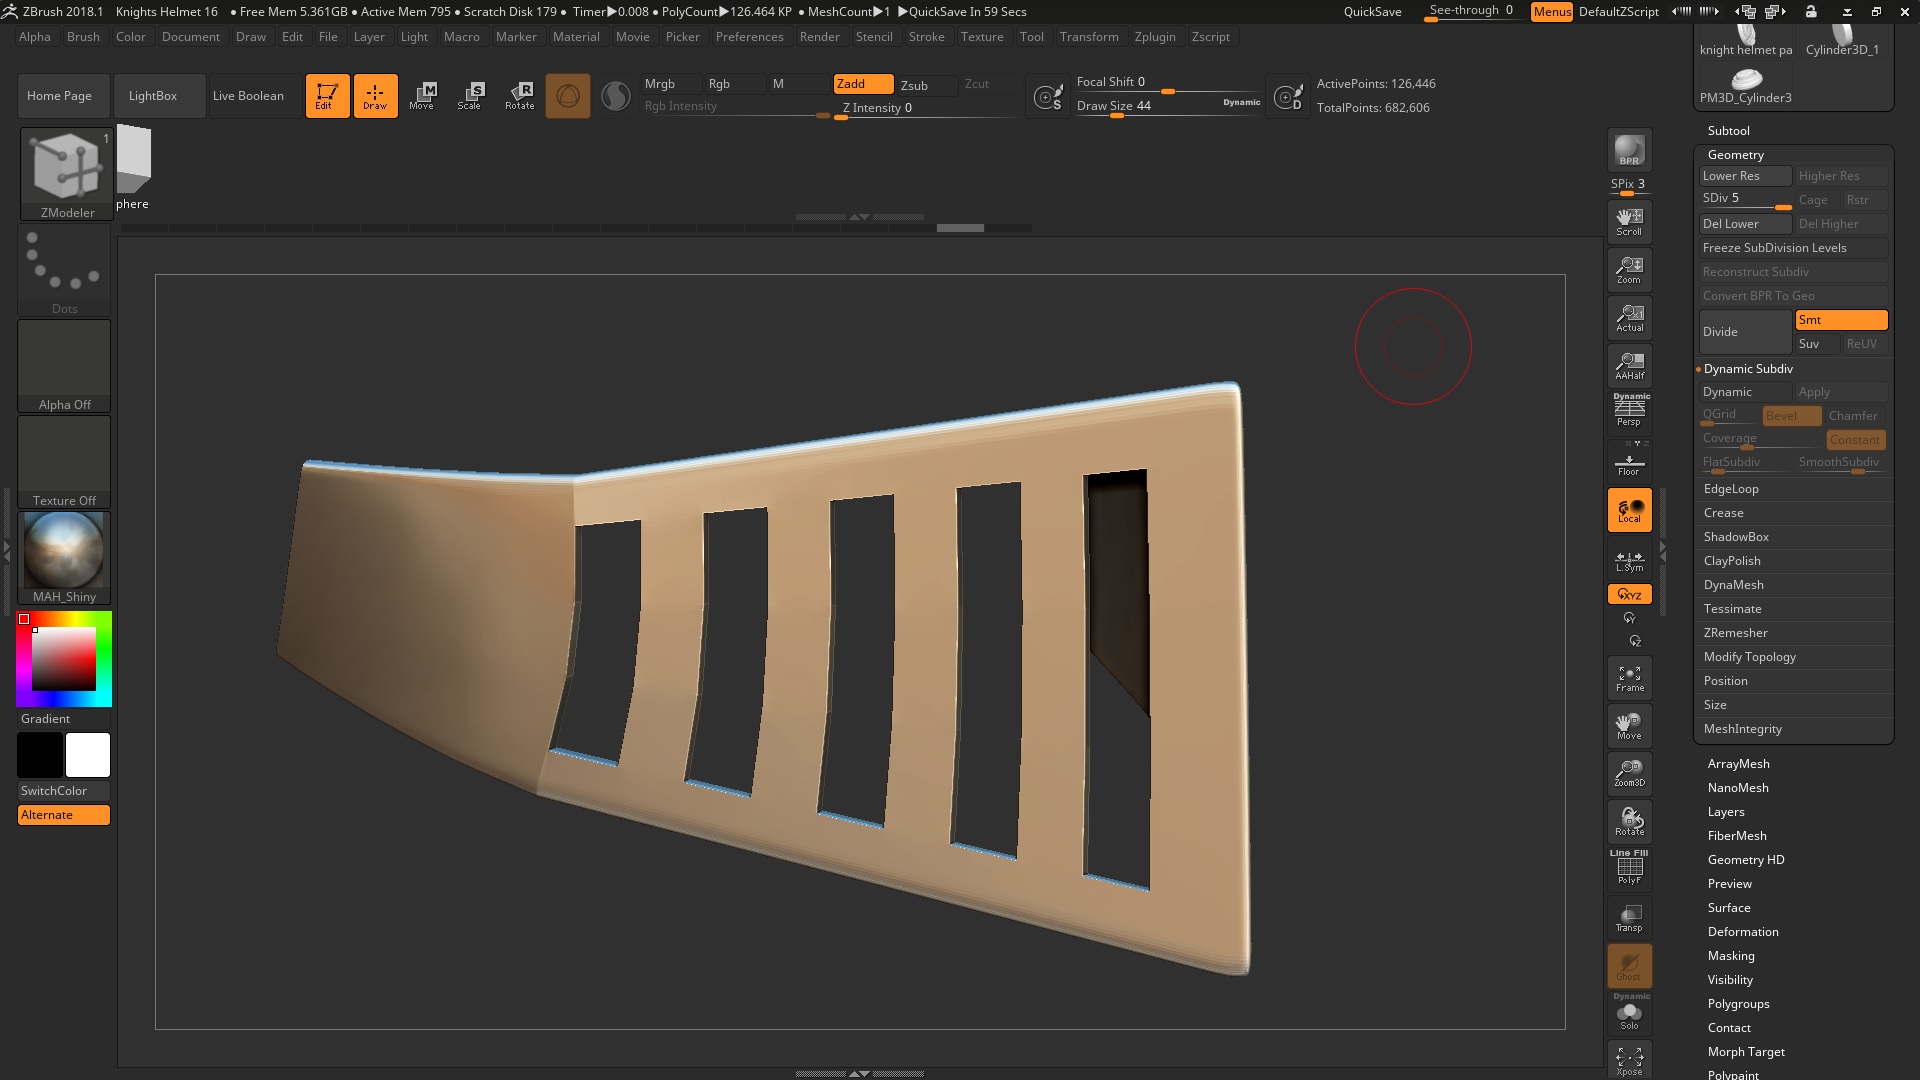
Attachments
i think one of things i am struggling is making the basic shape like you did. how you make move the points around? did you use z-zremesher or the move because i cant seem to move a whole edge loop around or moving it but moving other edges aswell. here is the 20 poly shape i start with using your instructions.
Attachments
ignore my last post i think i got it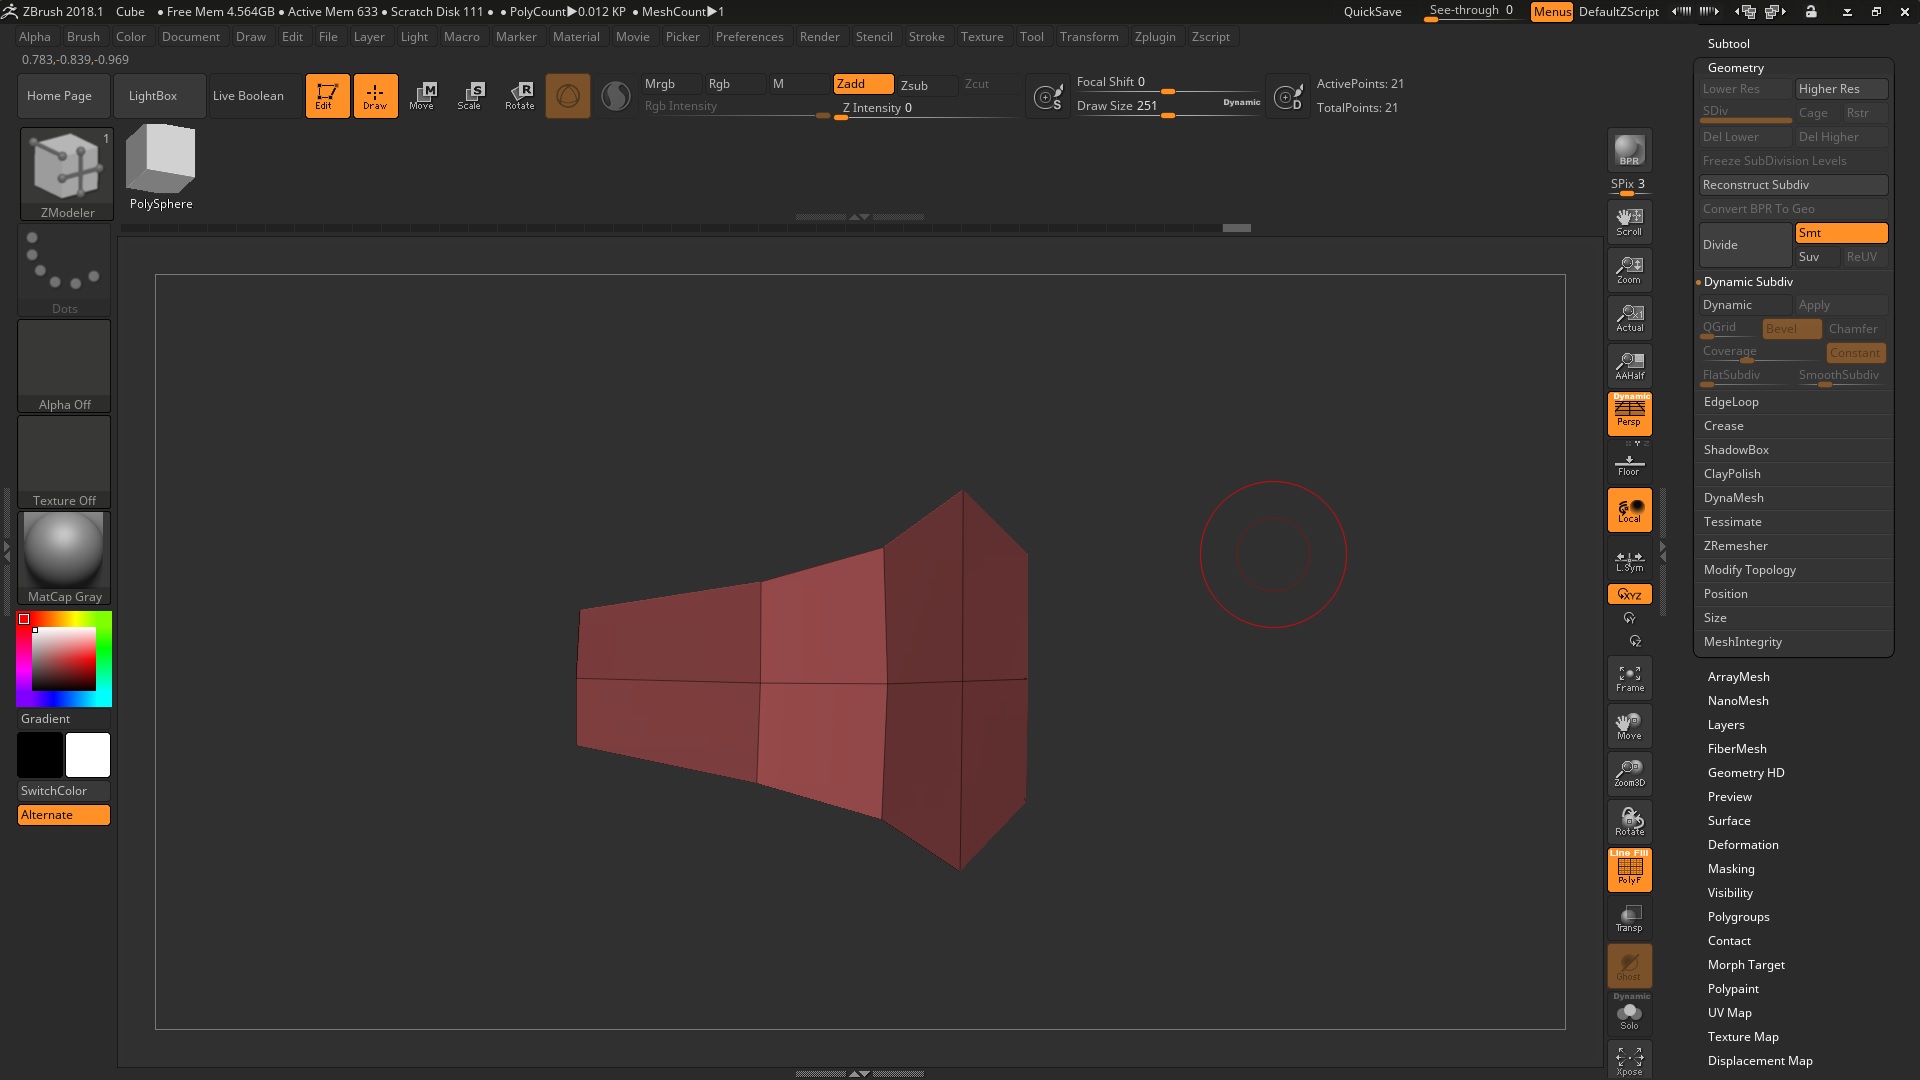
Attachments