I really have to ask again did you make this tutorial yourself. and you are being extremely helpful:D thank you so much
Hi i have tried subdividing the base mesh a few times and then making the holes before extruding the thickness theres less pinching then before but there is one near the front of the mouth piece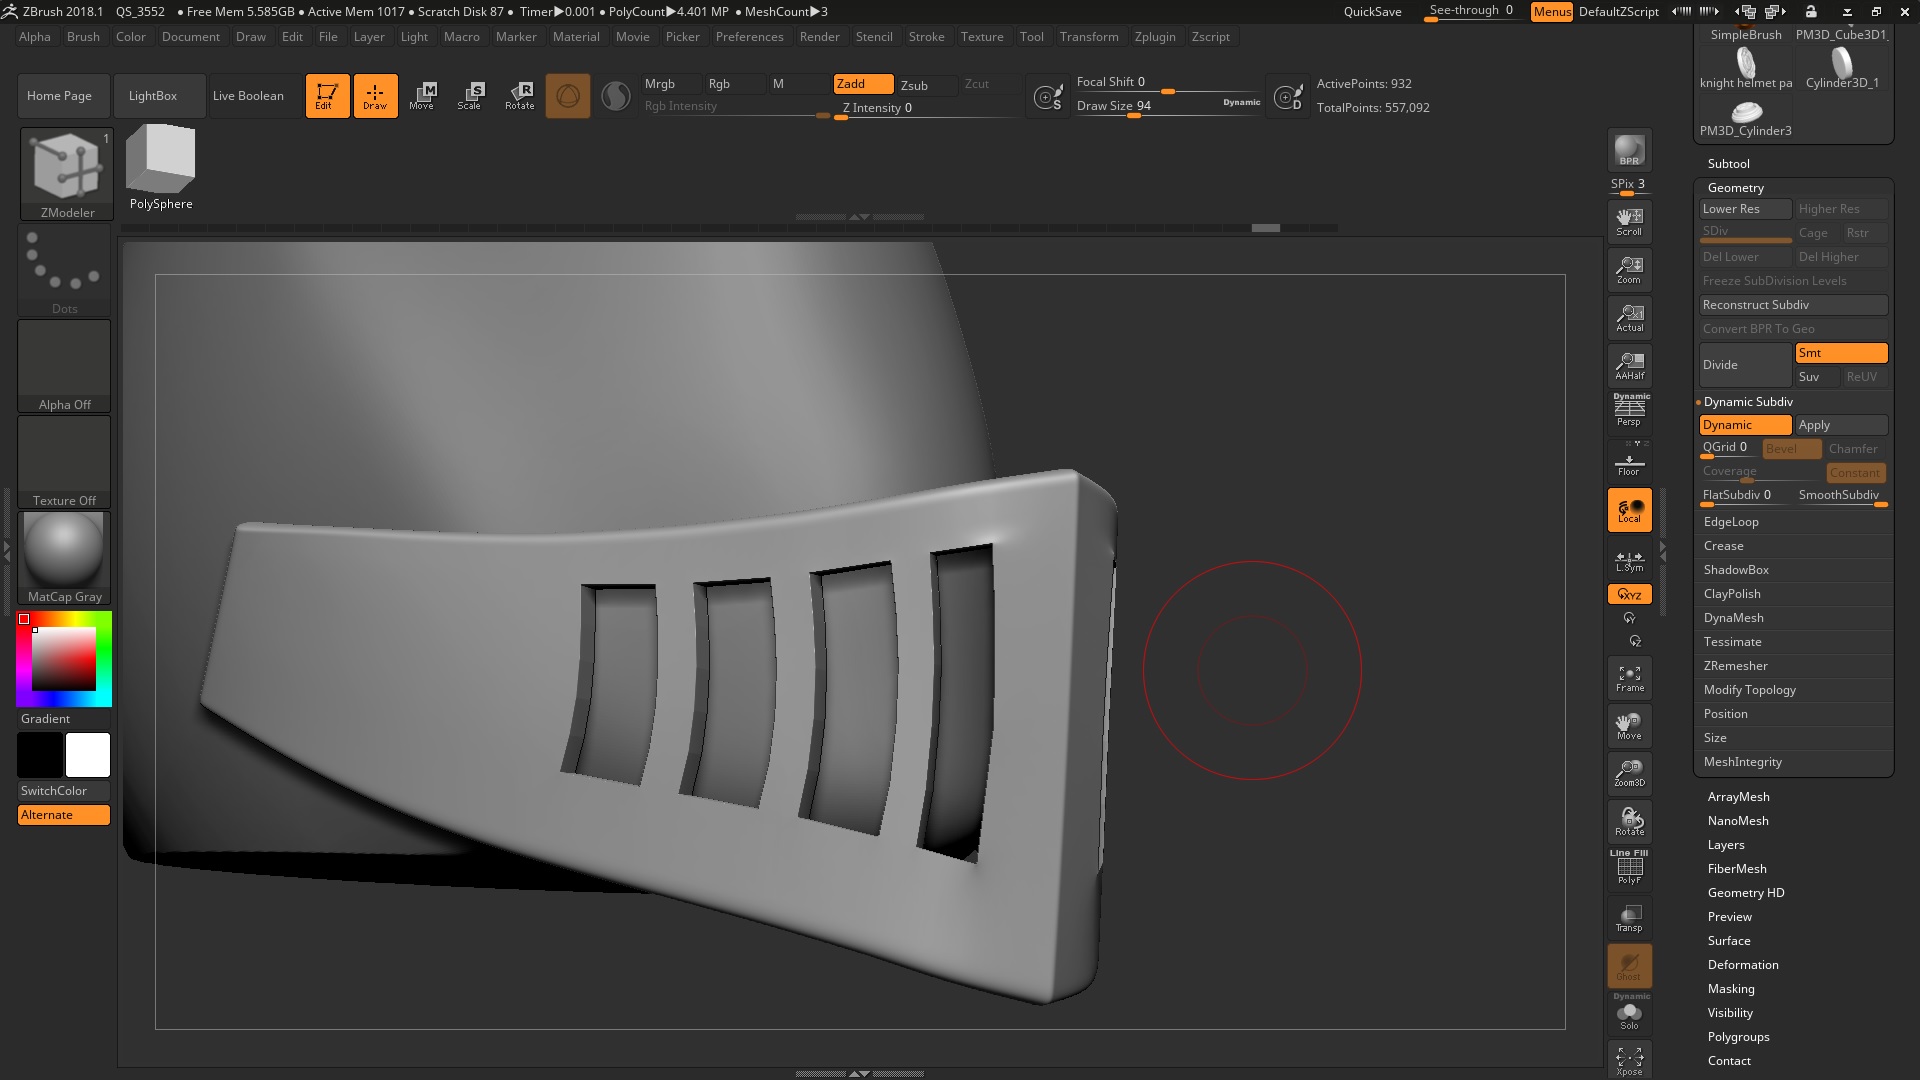
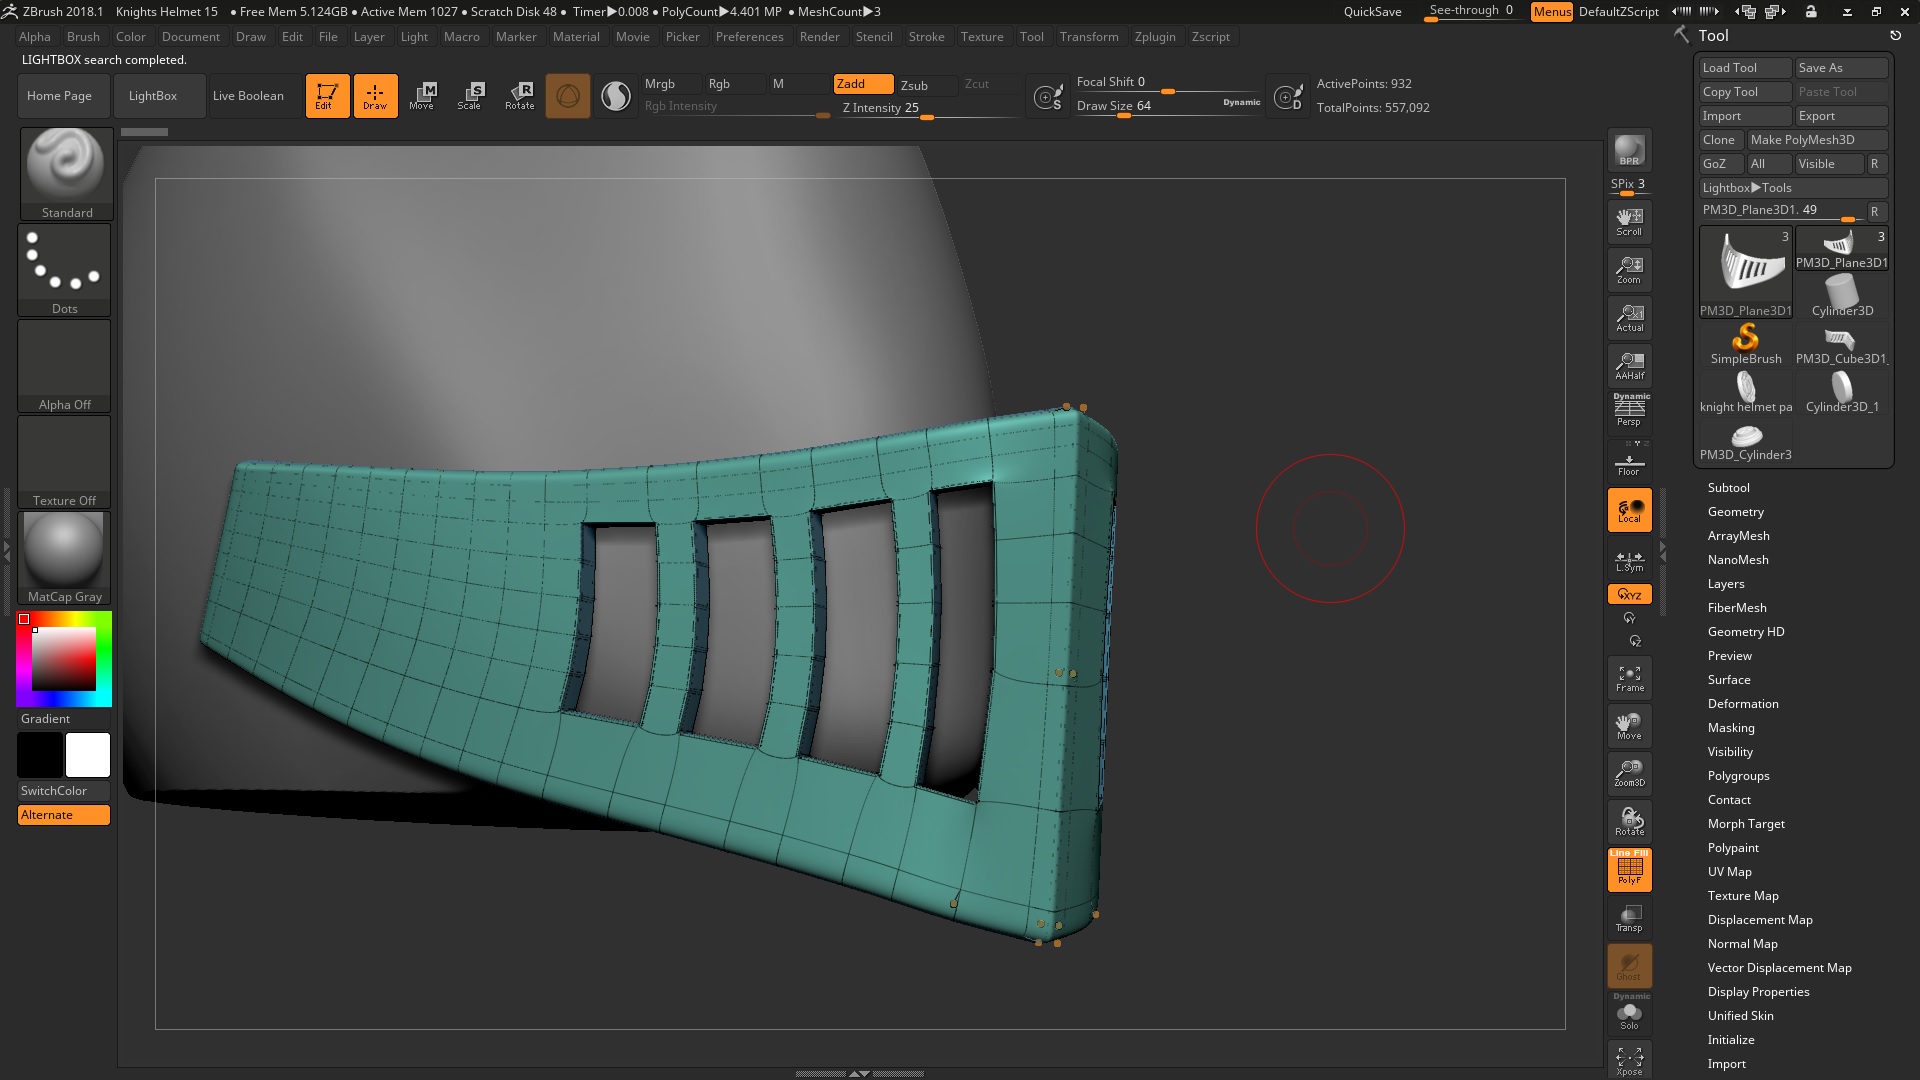
Attachments
Yup, I’ve been creating those images.
Personally I’d subdivide at least once more before you start making the holes.
thank you very much for the images there are really helpful because i think i learn better visually if you know what i am talking about. i will try and subdivide another time but i think i might a problem select all the poly faces for cutting out the hole if i subdivide it again. how did you select of the poly faces is there a method you are doing or does it take a bit of patience?
Today i extruded the thickness and then creating the holes a better result but there seems to be a bit of pinching in the top left corner of the holes in the back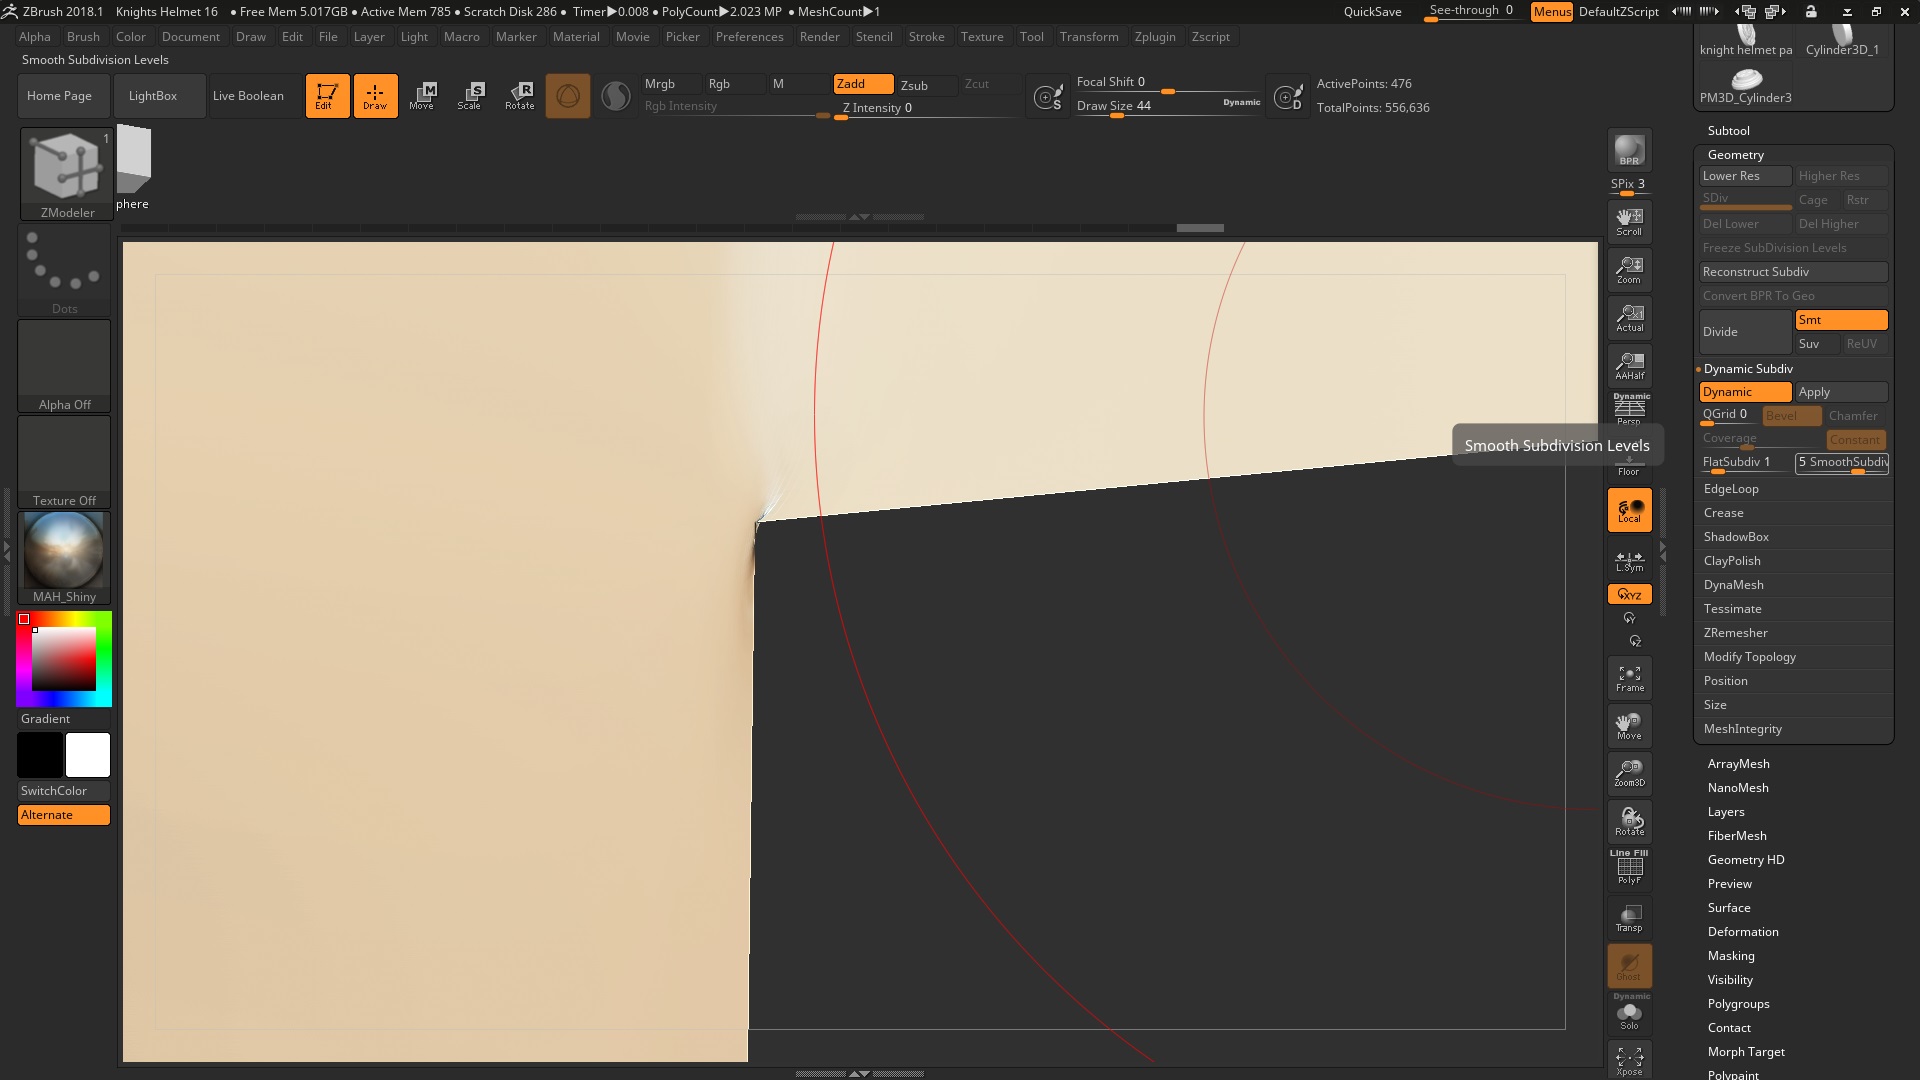
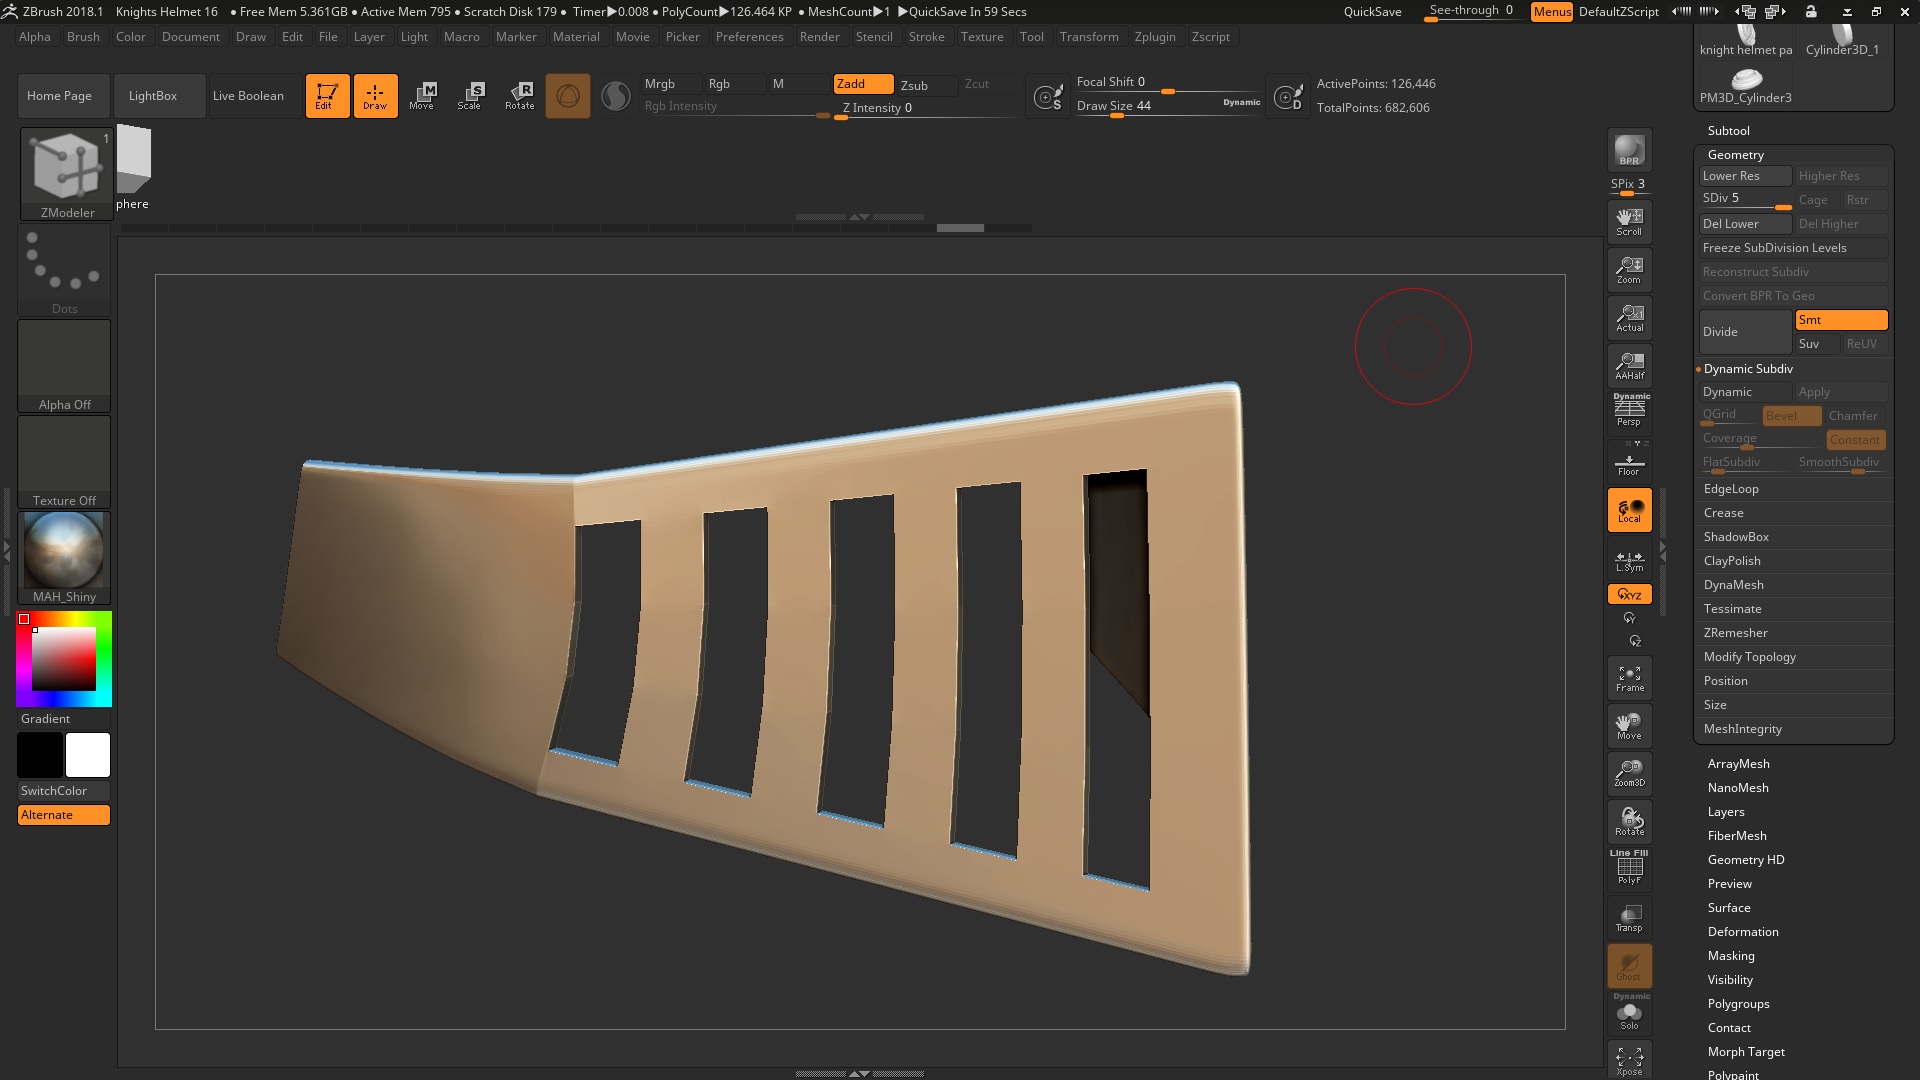
Attachments
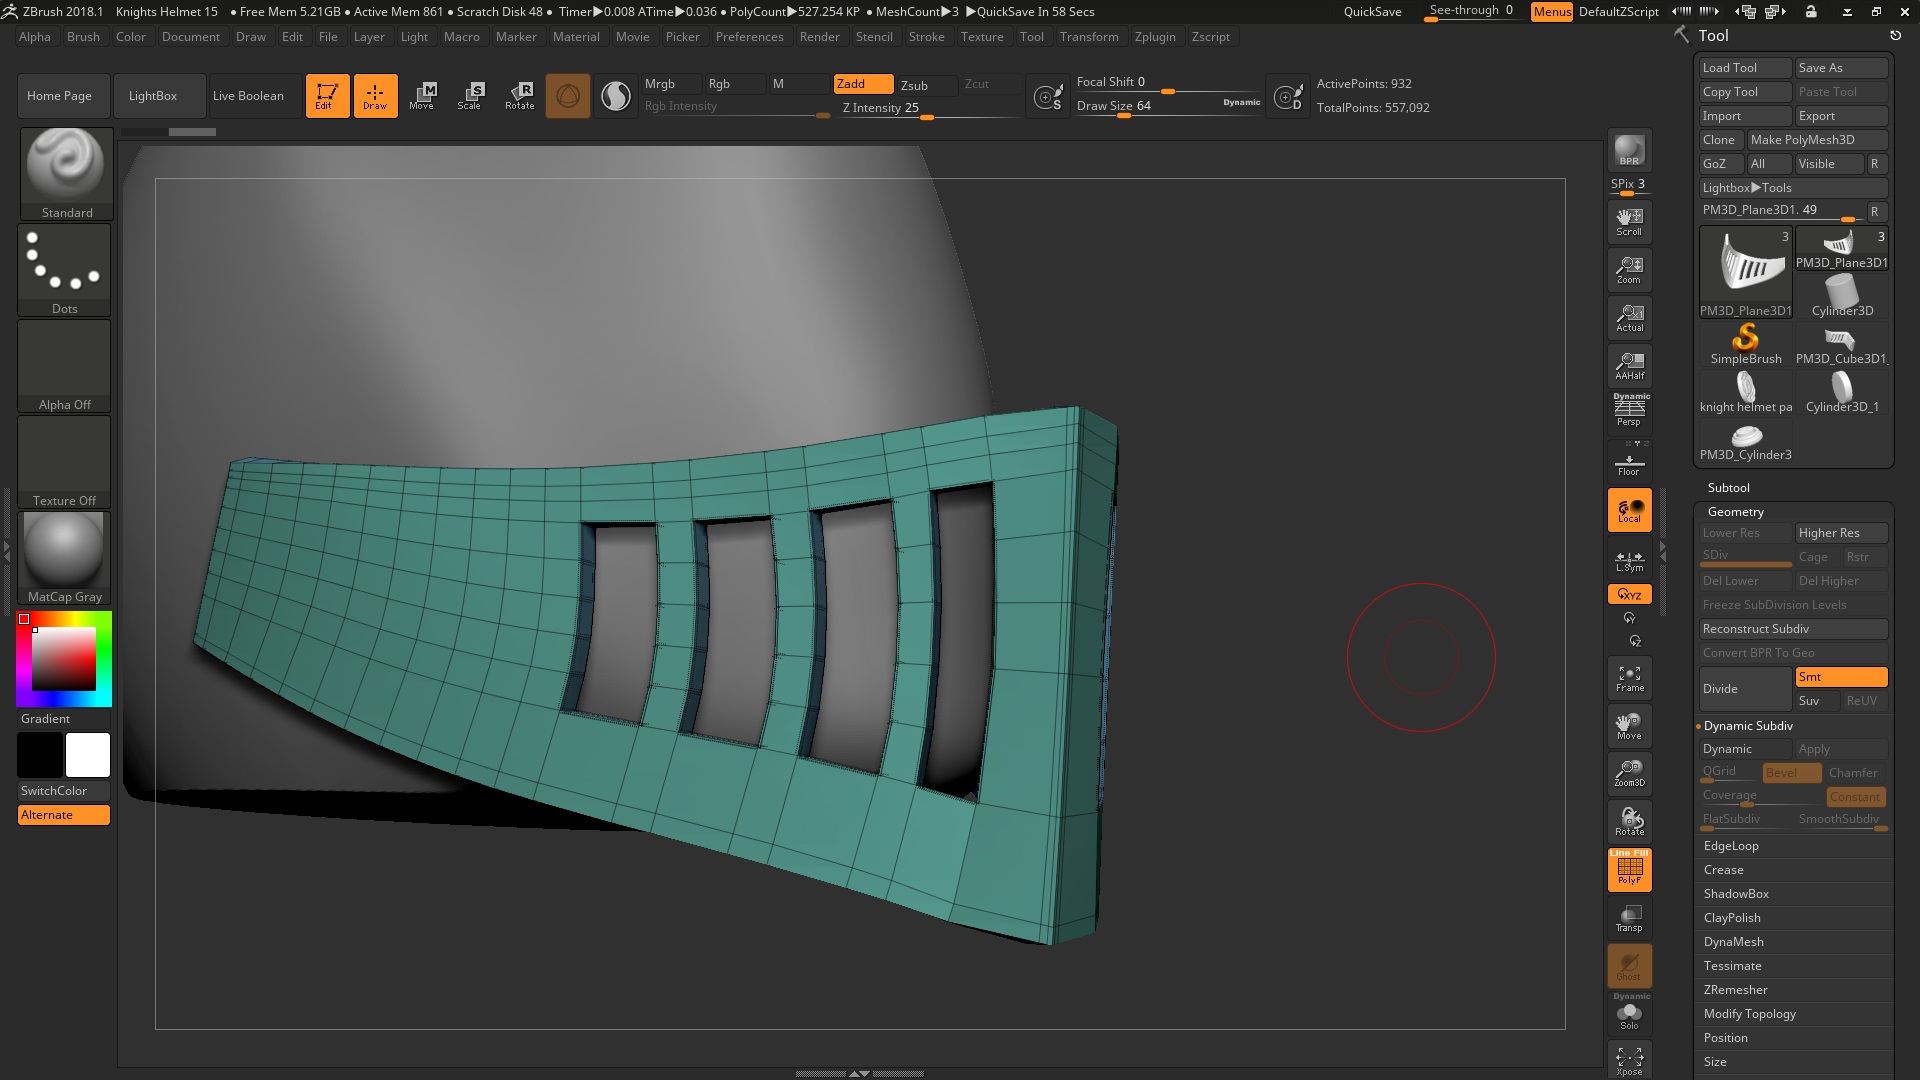
i think one of things i am struggling is making the basic shape like you did. how you make move the points around? did you use z-zremesher or the move because i cant seem to move a whole edge loop around or moving it but moving other edges aswell. here is the 20 poly shape i start with using your instructions.
Attachments
ignore my last post i think i got it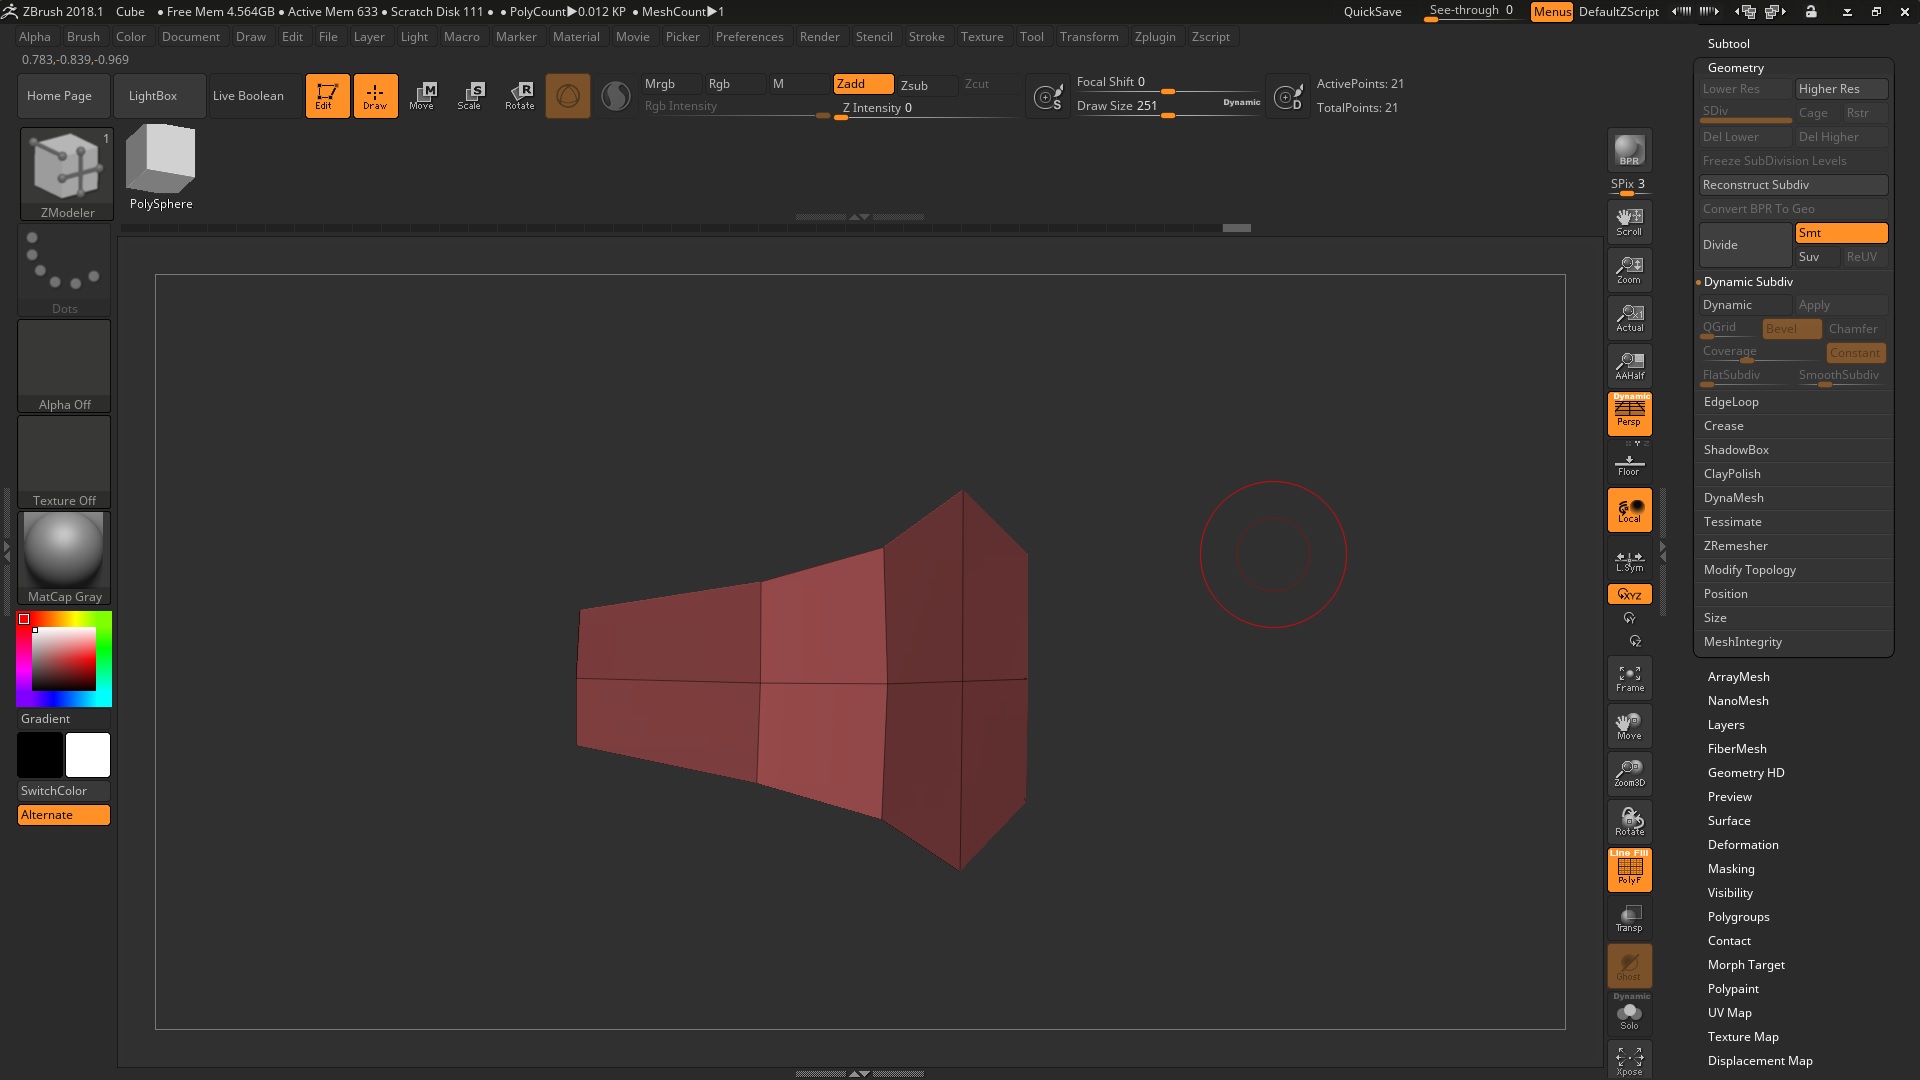
Attachments
i think i have actually done it.
the mask looks very good and i cant thank you enough for your help i think one of the mistakes i was mistaking was using dynamic subdivision a lot for the process instead of subdividing it normally. after that i used the smooth deformer in the deformation tab to get rid of some of the pinching.
thank you very much for your help i probably wouldn’t have known what to do without your help and you think theres anything else i can do to improve it just let me know
Attachments
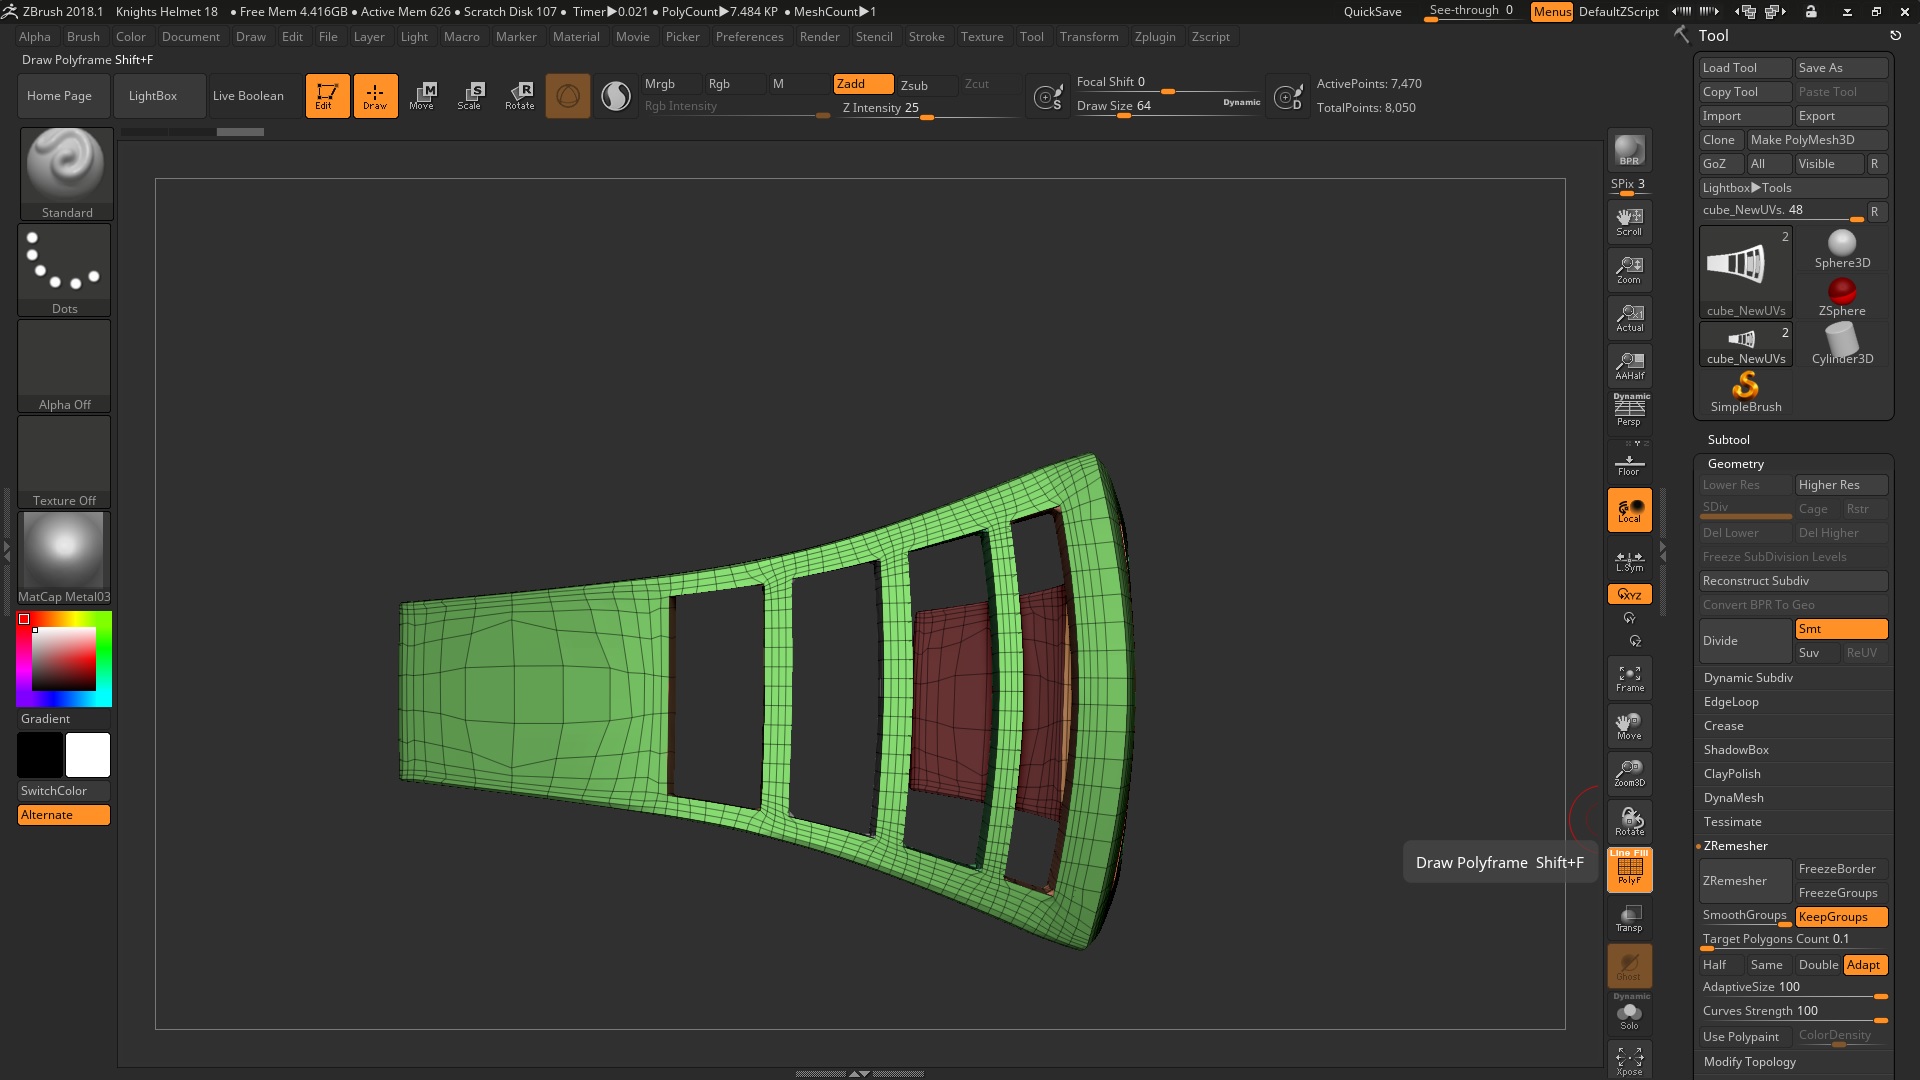
one last question: would my current model be considered low poly and if not want can i do to get a nice low poly for something like a video game? just wondering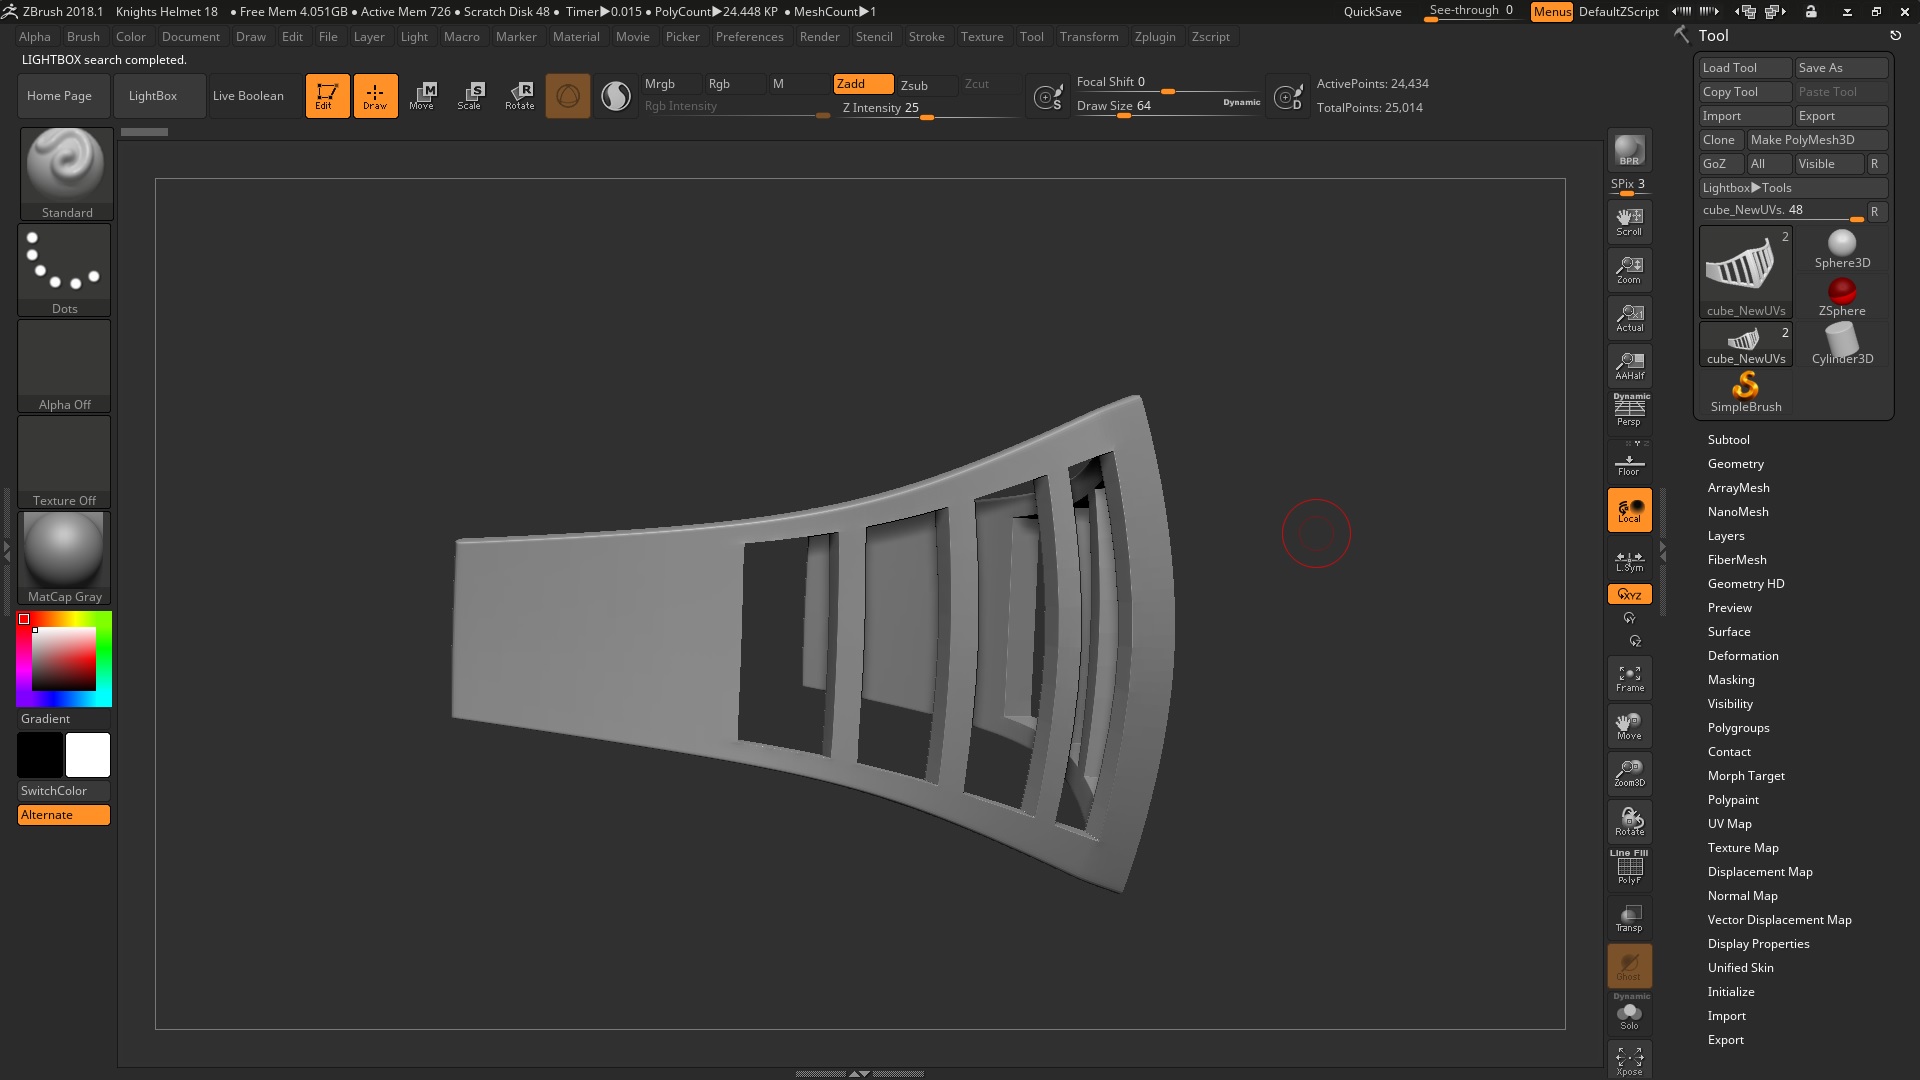
Attachments
That would be too high for a game model. It’s hard to pinpoint what a target polygon count should be when there are so many factors involved (the hardware the game runs on, the type of game, how far away the camera will be, how many characters are supposed to be on screen at once, the art style, etc)… a character could be 500 polygons on the low end to 150,000ish.
It might be better to think of a specific game you’re aiming for. Skyrim? For Honor? Kingdom Come: Deliverance? From there you can try to get a good look at what their average wireframes are like based on what goals those games are trying to accomplish across all the different variables. Once you have that target number in mind you can then start to consider your model more.
For example: if you are making a hero character and decide to aim for somewhere between 100-150k polygons for the model, is it then wise to use 20% of that amount purely on the visor alone?
For game model topology, the two things you normally want to consider most are deformation and silhouette. The helmet is a solid piece of metal that moves on a hinge, so you won’t have to worry about deformation. So focus more on just capturing its silhouette for the distance the model will be normally viewed from. If need be, normal maps and the like will be able to help make the game model look like it has more polygons than it does.
i see what you mean any tips or methods for retopologizing it when i use z remesher sometimes the mesh does not look as clean. Im at very good with reptopologizing things right now sorry.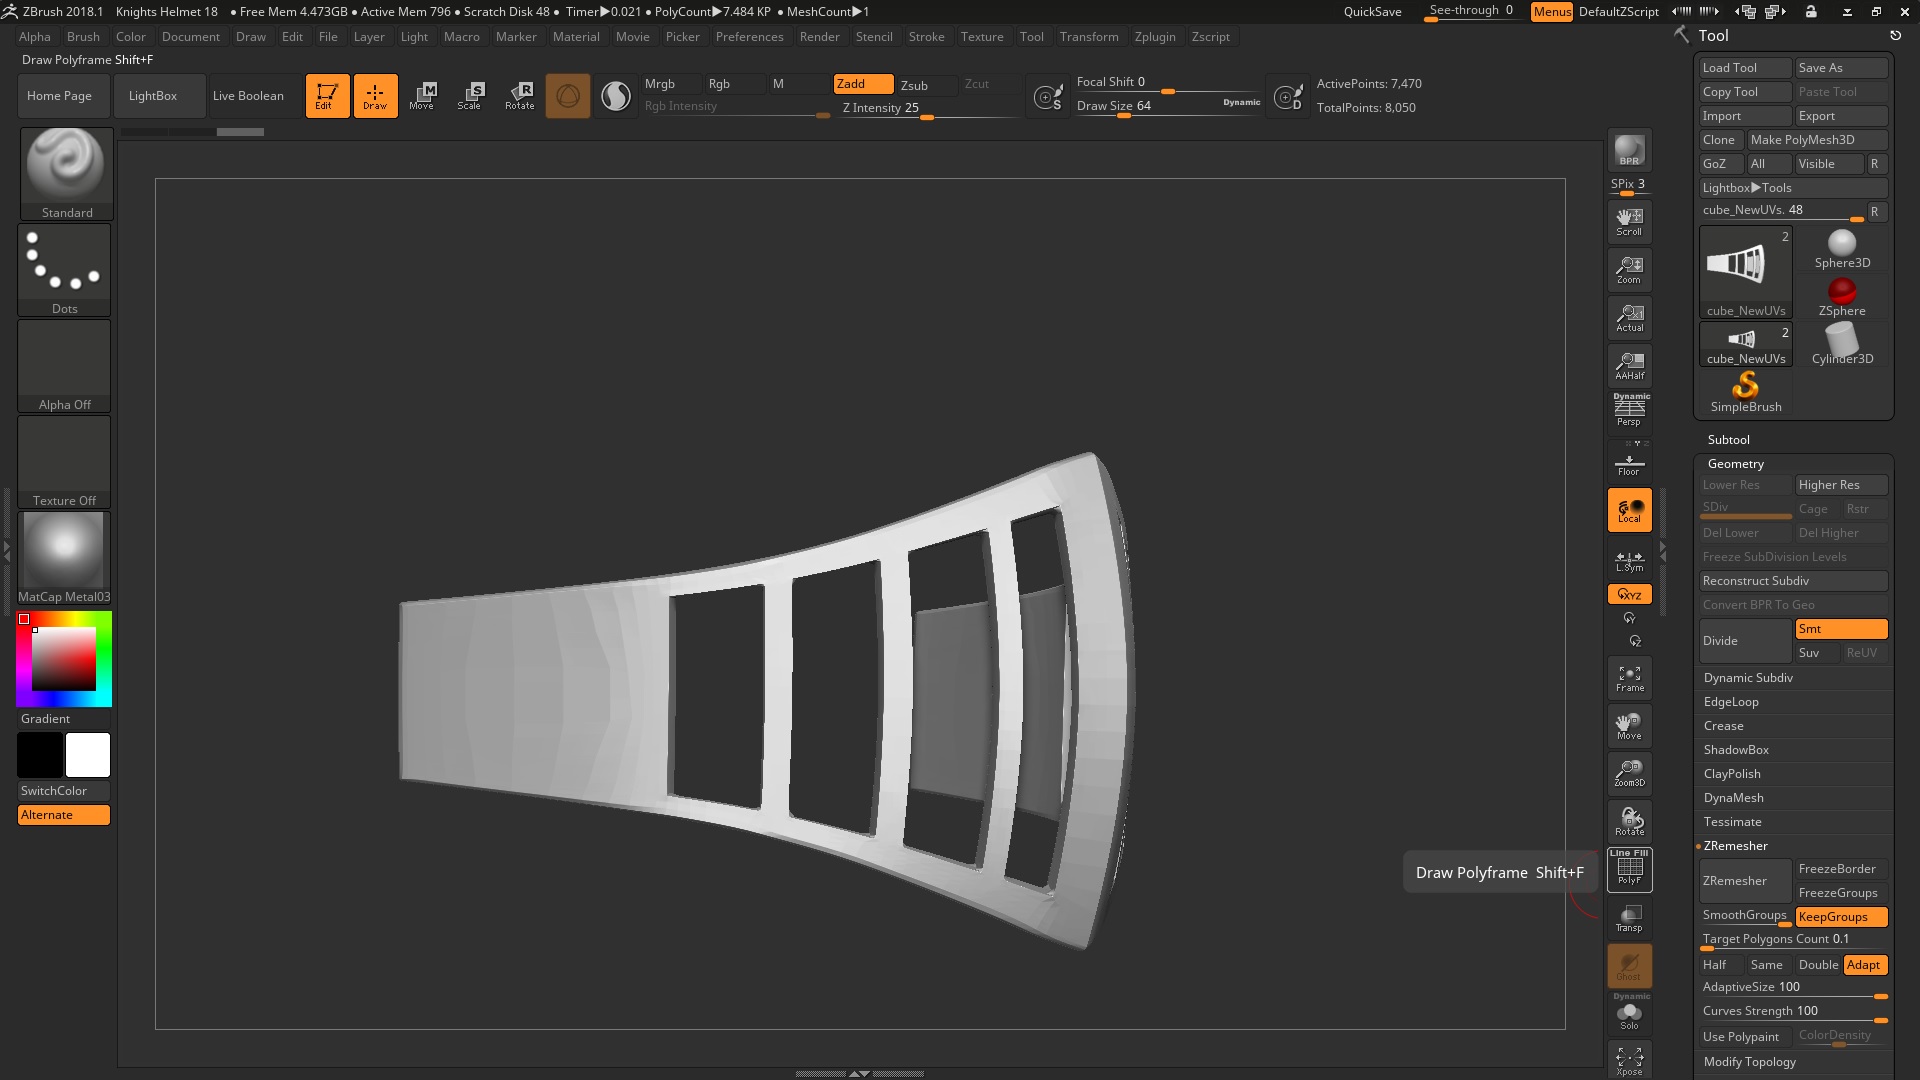
Attachments
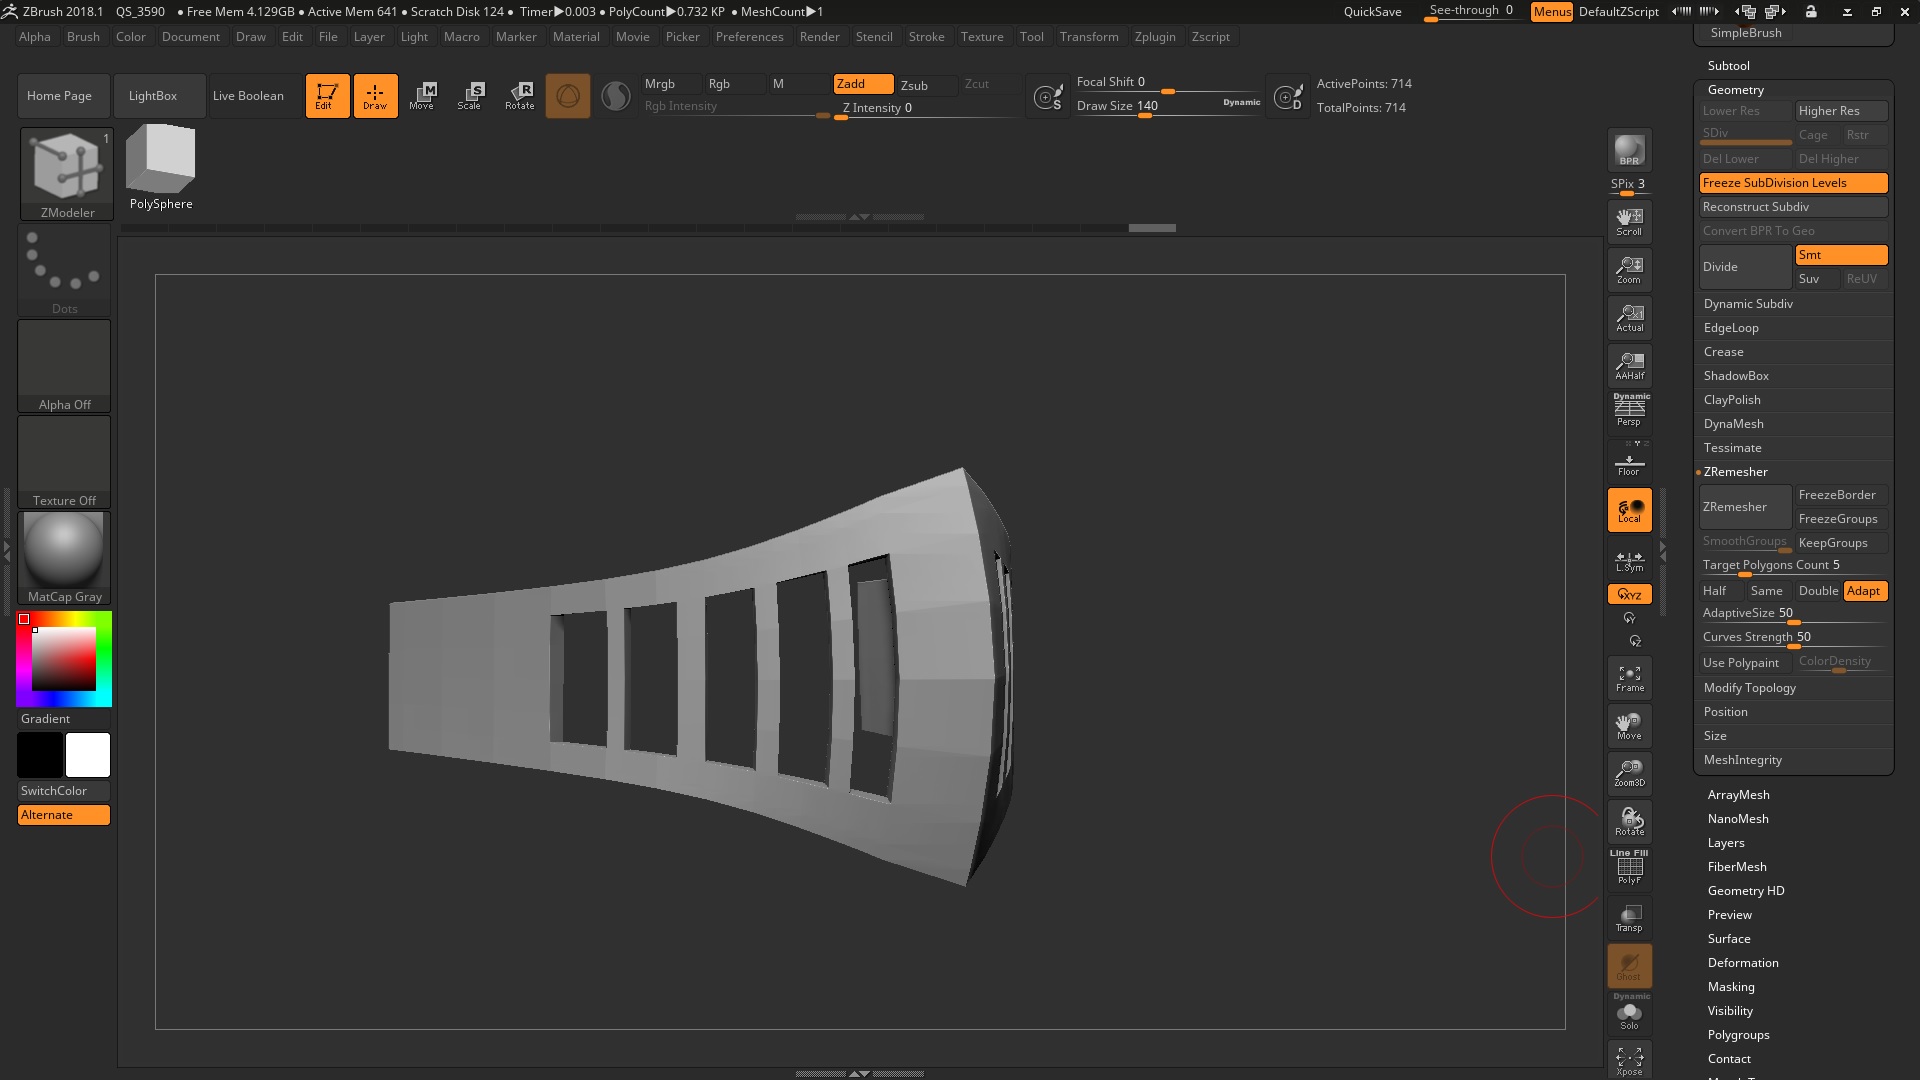
i think i have managed to make one with a nice low poly count basically what i did was follow your instructions but don’t sub divide it.
re topology is probably one of my weaknesses in z brush especially when i tried to sculpt human female characters and get i nice low poly count while keeps certain things such as the shape of the lips. but a problem for another thread i might post .
Attachments