ZBrushCentral

Male to beast Transformation

Nice Demo Reel. Is that you playing Hotel California?

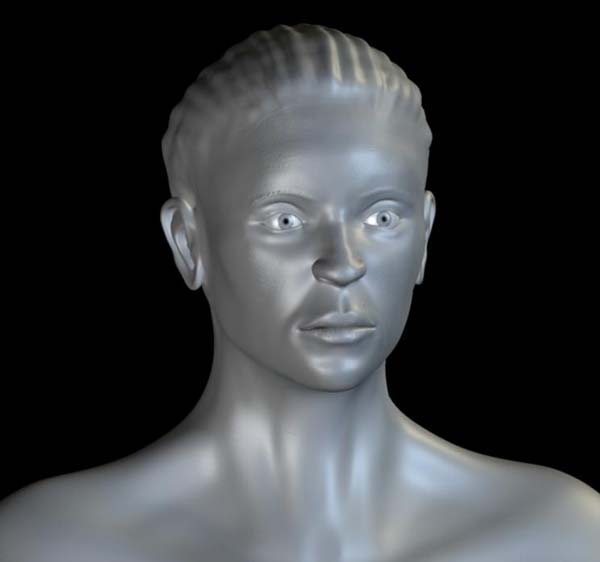
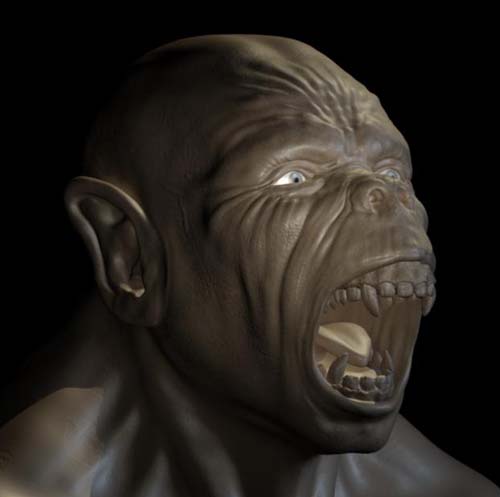
What tools would you use for the next step? You have nice morphing from human to ape. How do you get the monkey to talk? What tools would you use to get the face posed to speak to a script?

I.e. “I don’t feel so good… RARR!!!”

amazing models. As far as the animation goes, I allways like how they do it in the movies. the morph is in various stages. Like when they turn into werewolves, their mouth starts to protrude, then the head cracks and gets bigger, then th ears start to grow. The morphing has staging that kinda happens all at the same time but dont look like everything happens at once…sorry if I dont make since:+1:

Hi tgraupmann =)
As far as my reel goes, thats what I graduated with from Full Sail with, last June. I look back at it now and just cringe, but it did get my foot in the door, and for that I am greatful. At the time I was teaching myself zbrush, and I cant wait to make a new reel displaying my newer work made in zbrush.
As far as animating something like this with speech; you would have to rig your base model (before creating blendshape), and then create a lot of blend shape’s for speech. Both the books I mentioned about cover this extensively.

hi sparty! thanx for the tut…im trying to do a blendshap to learn how it work but something goes wrong when i try to create the second bump map node and try to connect it to the first one…i can see the “out normal” on the first outpout node but there is no “normal camera” in the input of the second node…
also can we use normal map instead as the result is much nicer?
it could be great if you could post an actual screenshot of you shader network?
how does it knows the amount of blending it has to do between each bump maps? and can it be set up? (if you have more than two bumps?
it’s a lot of questions but it be great to have them answered :slight_smile:
thanx for any help…

Missing a quiet background music and suddenly a terrifying cry :smiley:
:+1:
Pilou
Ps Of course a nice color texturing too :laughing:

abe_Tamazir:
“i try to create the second bump map node and try to connect it to the first one…i can see the “out normal” on the first outpout node but there is no “normal camera” in the input of the second node…”

Ok, this is a pretty simple one. I had the problem. At the top of the connection editor, you see the tabs “Left Display” and “Right Display”, make sure they both have “Show Hidden” selected.

As far as blending the bump maps goes. Im just simply animating the bump map values. The best way to do it would be to set up an SDK that connects you bump value to your blend shape.

great it worked! thanx …but another problem appear…how can you animate the bump value as it’s locked by the bump texture applied to it?..
must be mising something here…might try to add a multiply node to animate it’s depth but wont be very precise?

Abe,
Ok, so I think I understand the question. I think that you may be aplying the texture to the wrong thing. You apply the bump texture to the Bump Value, not the bump depth. That way you can animate the depth.

[bumpvalue.jpg
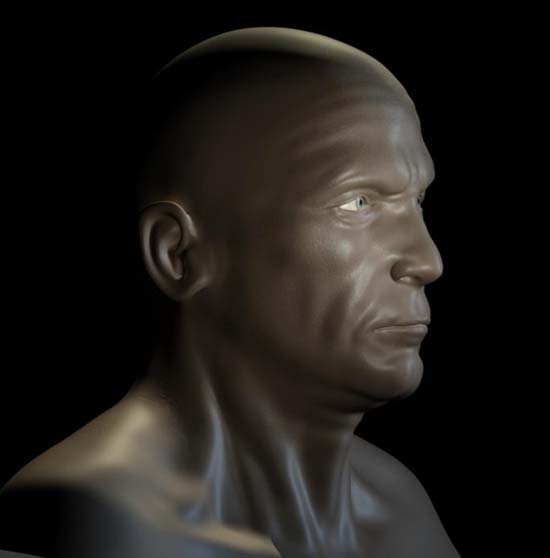
](javascript:zb_insimg(‘27892’,‘bumpvalue.jpg’,1,0))

While I imagine this tutorial is hard to read, and not much can be gained from it, I think the multiple bump trick is very cool!

great work… I lreally like the design of th nose guy
very orginal

I know this is not a Maya Forum…but here is my 2 cents on the Bump morph, you can also do with with a blend node…
funny thing I just figured out how to do it with displacment …kinda tricky though

here is the screen shot for hte bump morph
screen.jpg

Very cool, I’ll have to try this when I get home tonight.

Hey, I like the head design very much, sparty :+1:

KineMapper 3.0 is a pretty good Maya .mel solution for this kind of technique
also:

http://www-viz.tamu.edu/courses/tutorials/gary/what.html

Does disp. maps, too :wink:

Chris

Thanks Chris, I’ll have to check that out aswell. I think im learning more from this post then anyone =)

I decided to add two new heads to the transformation. A female, and another stylized head. The female is almost done and I’ll post some pics soon

great guys! thanx a lot for those types and links!
will ahve a try…
sparty, concerning the bump value, i was linking the texture to the right thing but once i changed the bump depth using its slider, nothing happened in the slider so i assumed i was doing something wrong…so the result can only be seen on renders if i understand?
will also try this script once i found it :slight_smile:

Here’s the script, abe:

http://www-viz.tamu.edu/courses/tutorials/gary/index.html

hehe…thanx …didn’t look a the "back to index " link…me very silly :wink:
thanx

“sparty, concerning the bump value, i was linking the texture to the right thing but once i changed the bump depth using its slider, nothing happened in the slider so i assumed i was doing something wrong…so the result can only be seen on renders if i understand?”

Yeah, you just have to do some test renders at different values. I almost always use a depth of 0.150 for my bump maps made in Zbrush.

look at this tutorial

it have the answer for u

http://www.cjolly.com/TUTbump1.htm

So here are a couple WIP shots of the last two heads im doing for this project. I’ll be posting a neato animation of all 5 heads blending in and out within a day or two hopefully.

[female1.jpg
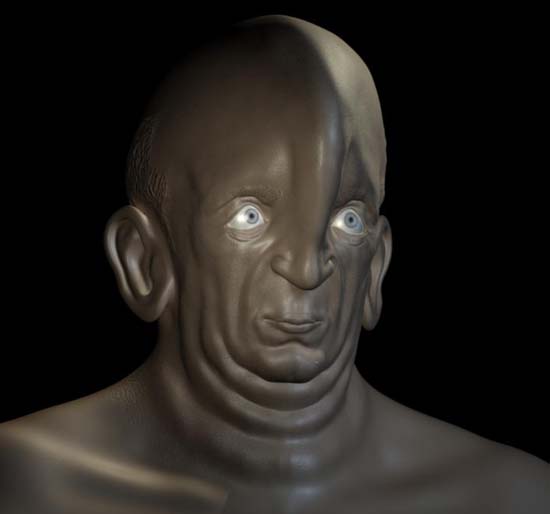
](javascript:zb_insimg(‘28098’,‘style2.jpg’,1,0))

Attachments

style2.jpg

I added a skin shader and changed the lighting a bit for some new renders. Still finishing the last two heads (Female and Fella with the mustache). Once those are done I’ll make an animation.
Anyway, here they are so far.

[beast.jpg
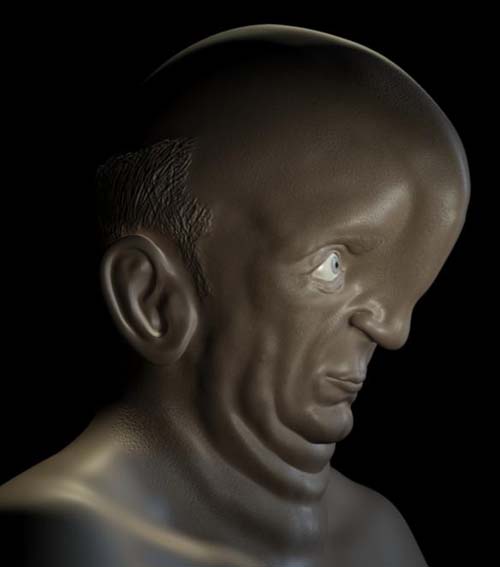
](javascript:zb_insimg(‘28148’,‘style2.jpg’,1,0))

Attachments

female.jpg

male1.jpg

male3.jpg

nose1.jpg

nose2.jpg

style1.jpg

style2.jpg

Stylized update…
[styleupdate.jpg
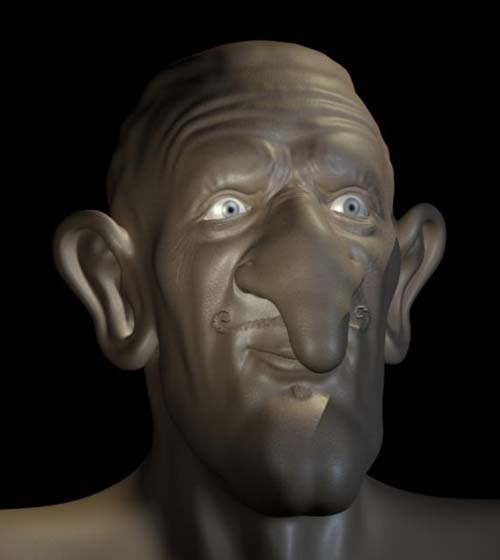
](javascript:zb_insimg(‘28201’,‘styleupdate.jpg’,1,0))